Integrating Twitter with Frontegg allows your application to read tweets, post on behalf of users, and access direct messages — all through Frontegg's integration layer using X's OAuth 2.0.
Prerequisites
Prerequisites
- A Twitter or X account
- Access to the X Developer Console
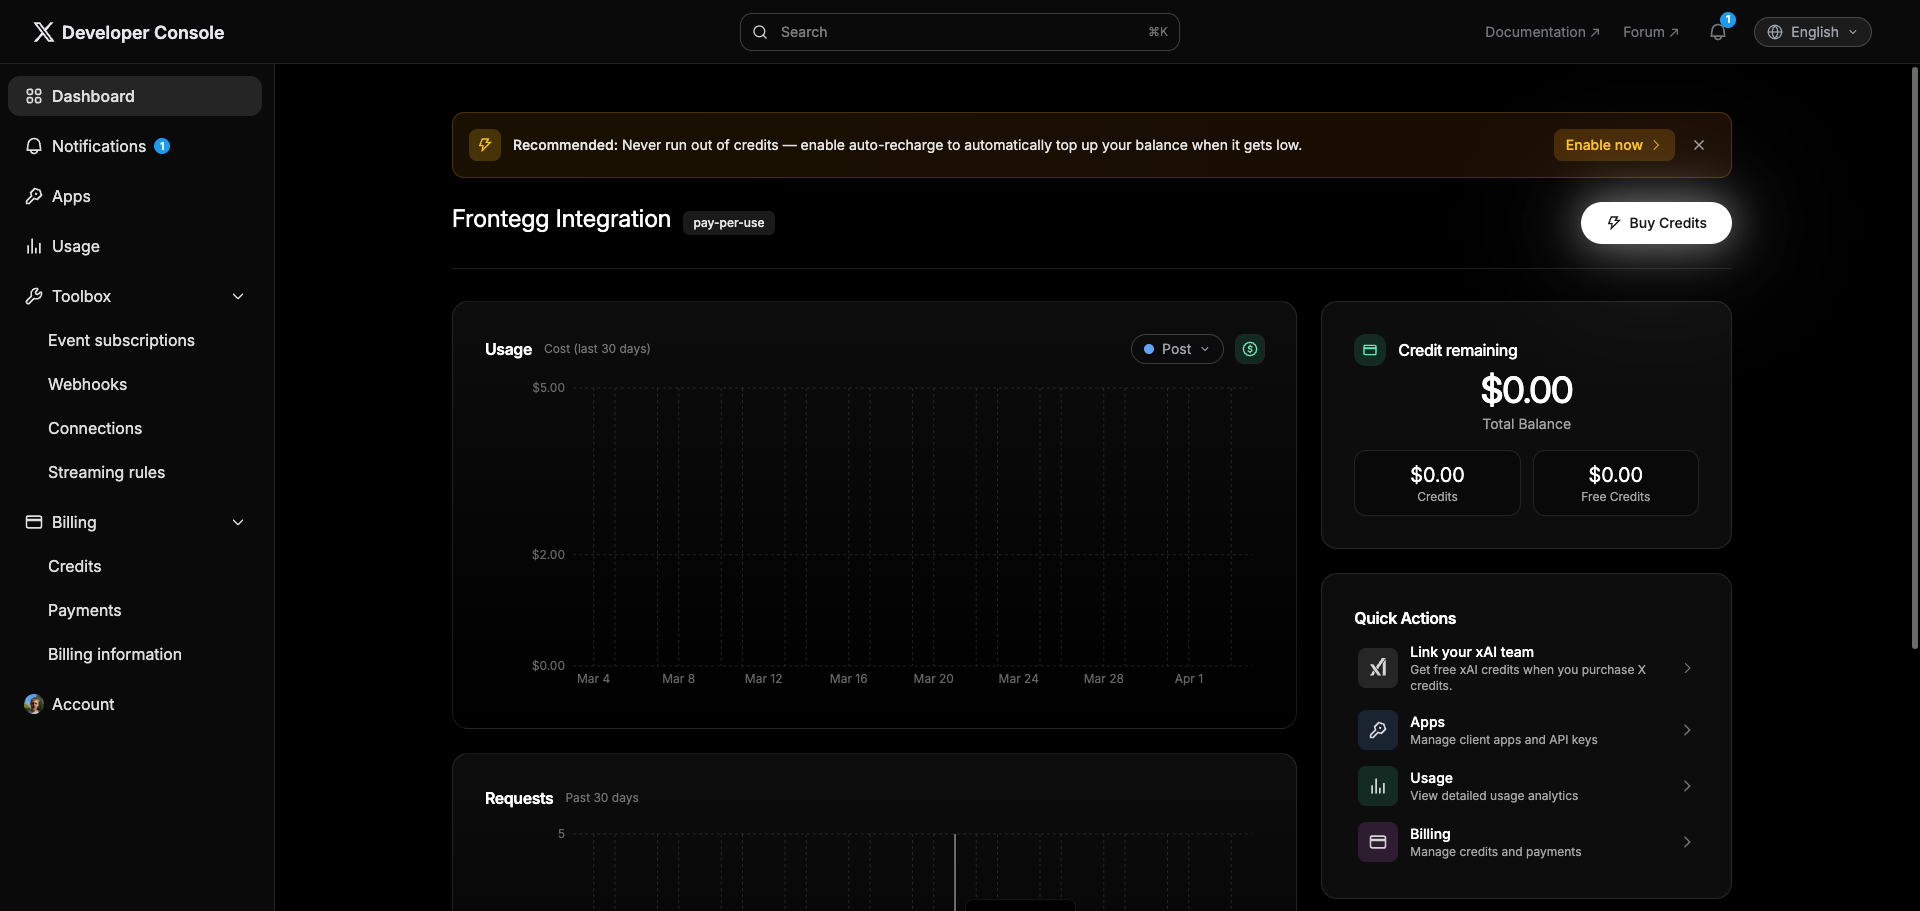
Go to console.x.com and sign in with your X (Twitter) account. After signing in, you land on the developer dashboard.
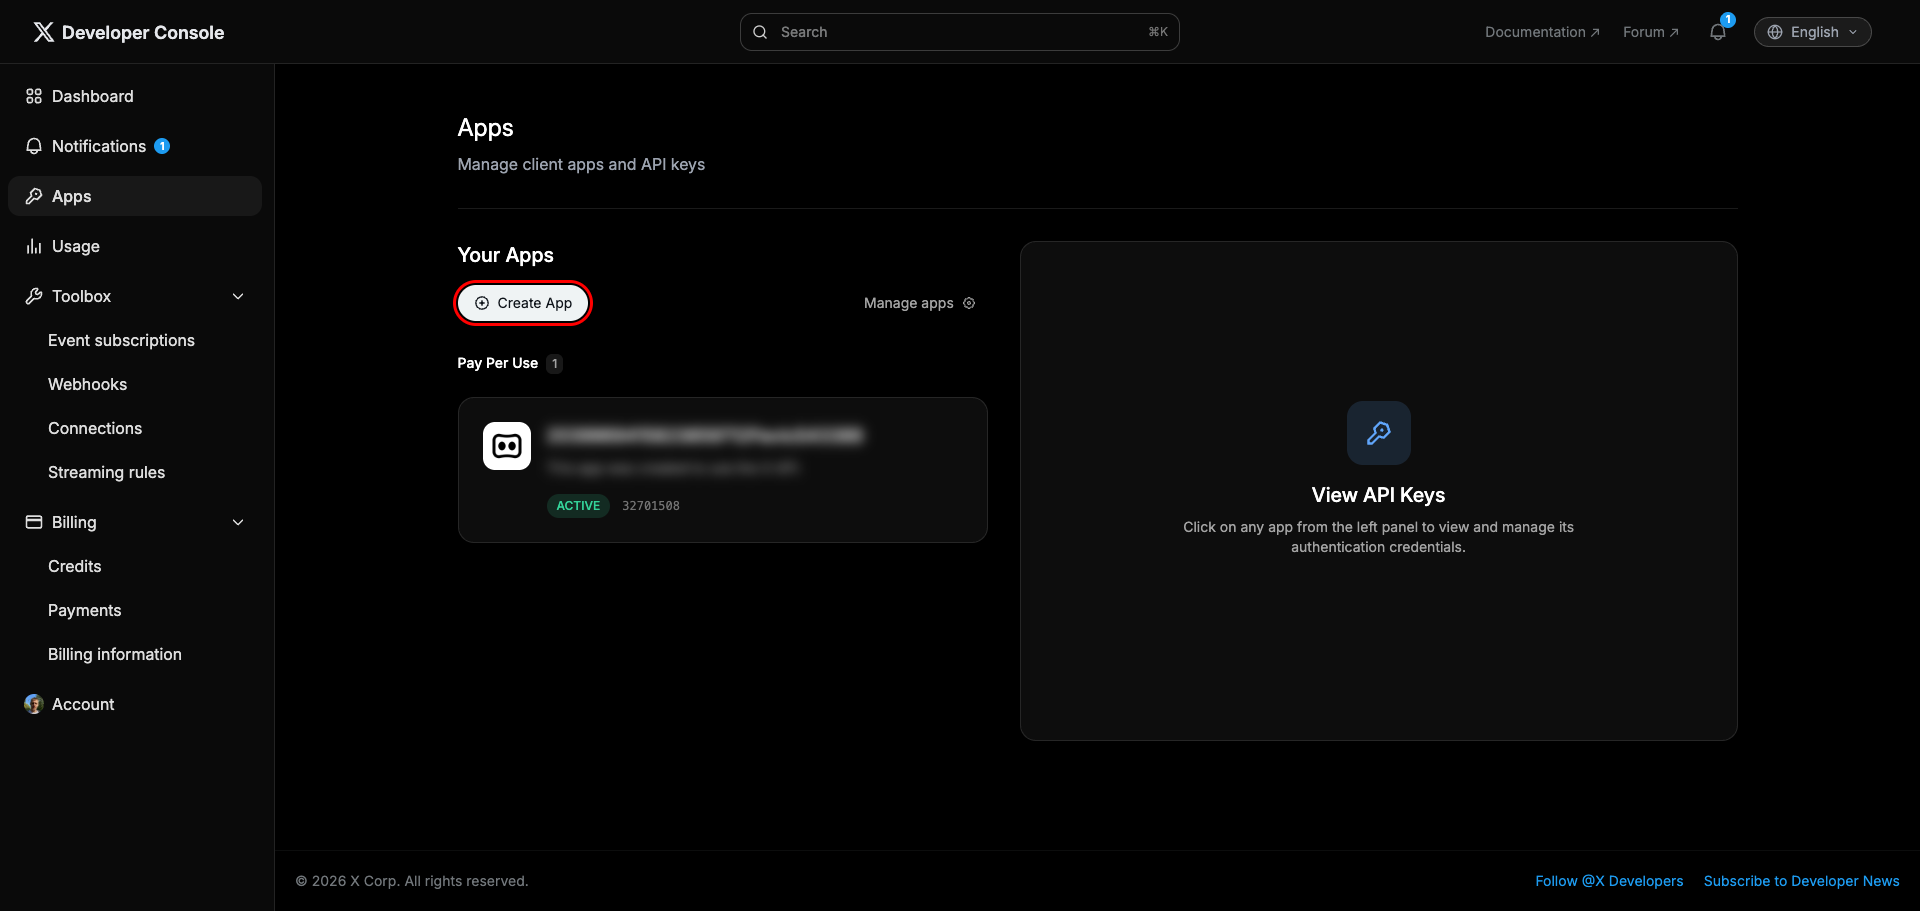
In the left sidebar, click Apps. On the Apps page, click Create App.
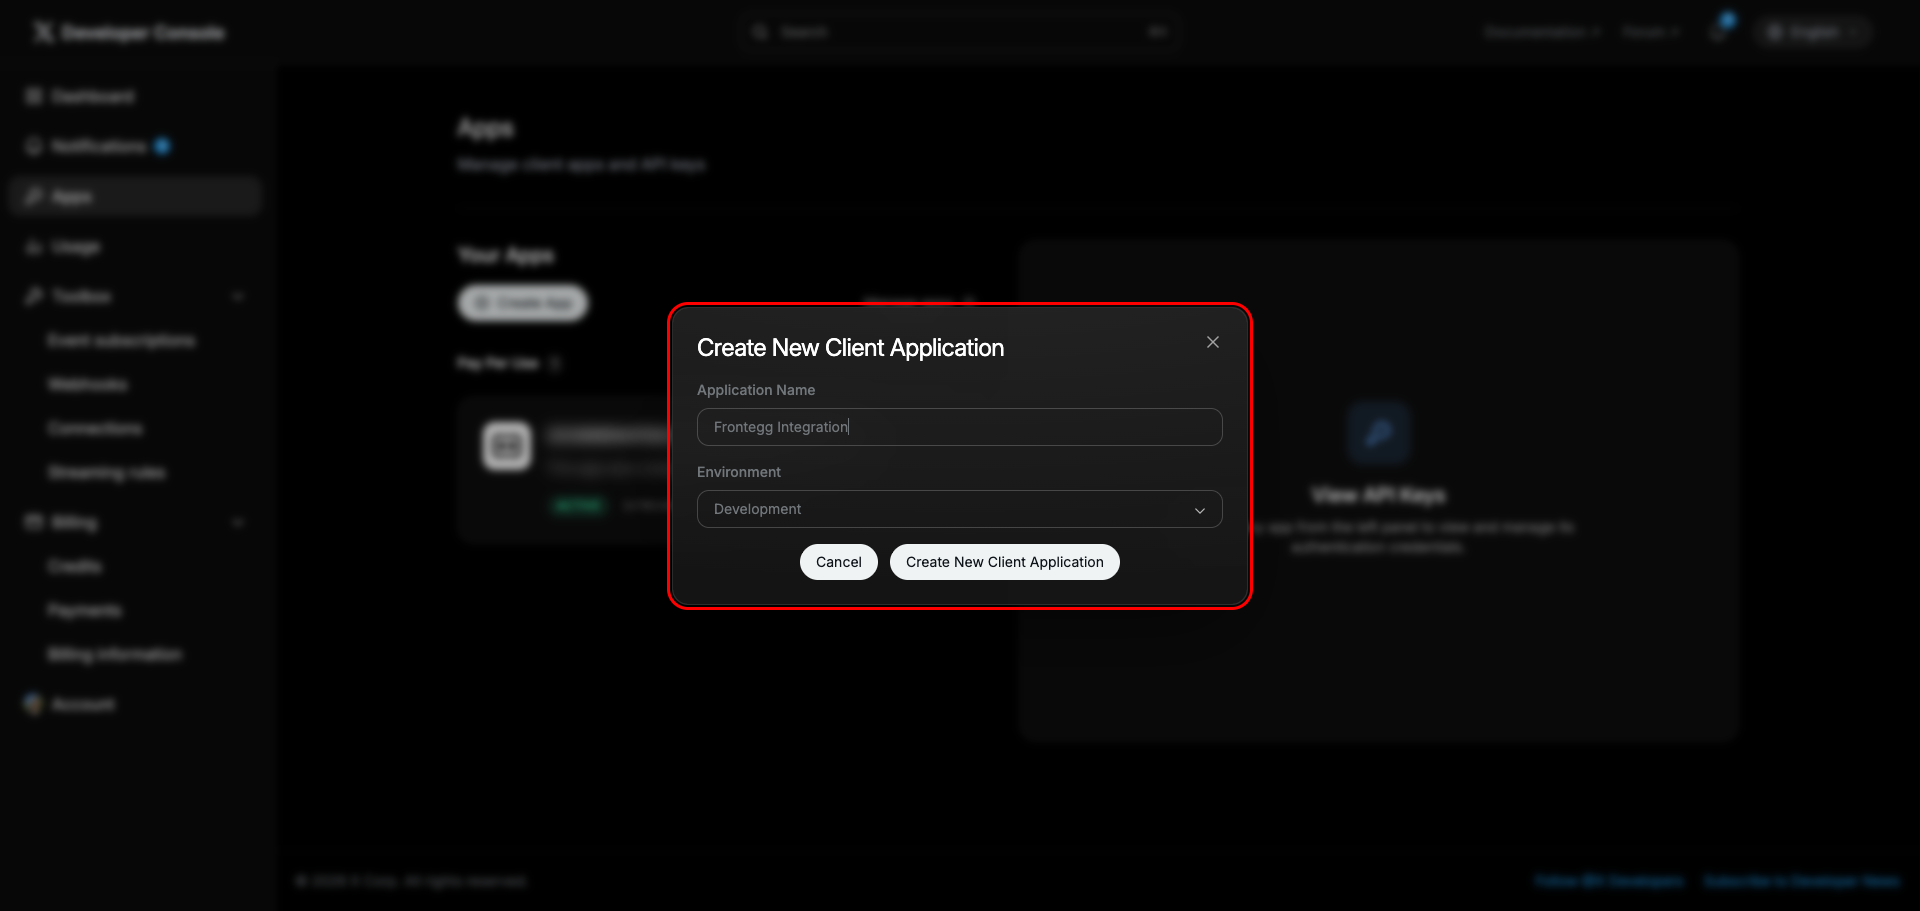
In the Create New Client Application dialog:
- Enter a name for the app — for example,
Frontegg Integration. - Leave Environment as Development.
- Click Create New Client Application.
After the app is created, a dialog displays a Consumer Key, Secret Key, and Bearer Token. These are OAuth 1.0a credentials — save them if you intend to use OAuth 1.0a access. For the Frontegg integration, you will use OAuth 2.0 credentials that are generated in a later step.
Click Close to dismiss the dialog.
Save your credentials
Save your credentials
The Secret Key and Bearer Token are shown only once. If you need OAuth 1.0a access, copy and save them before closing this dialog.

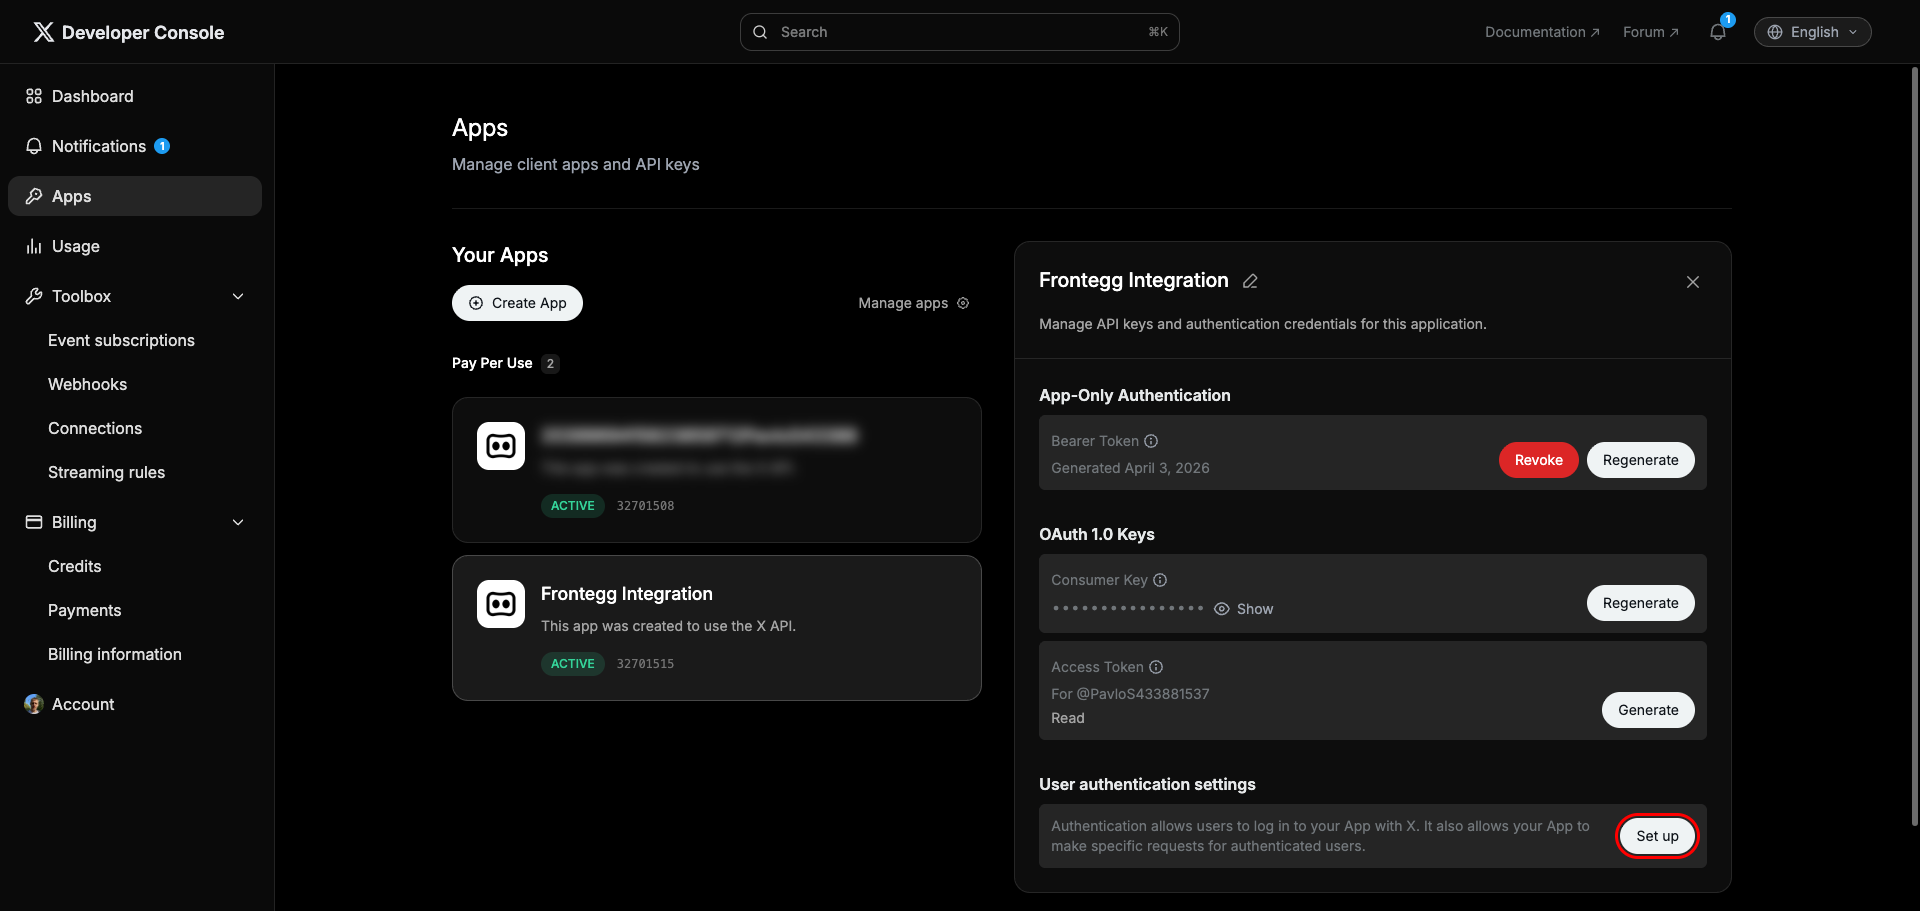
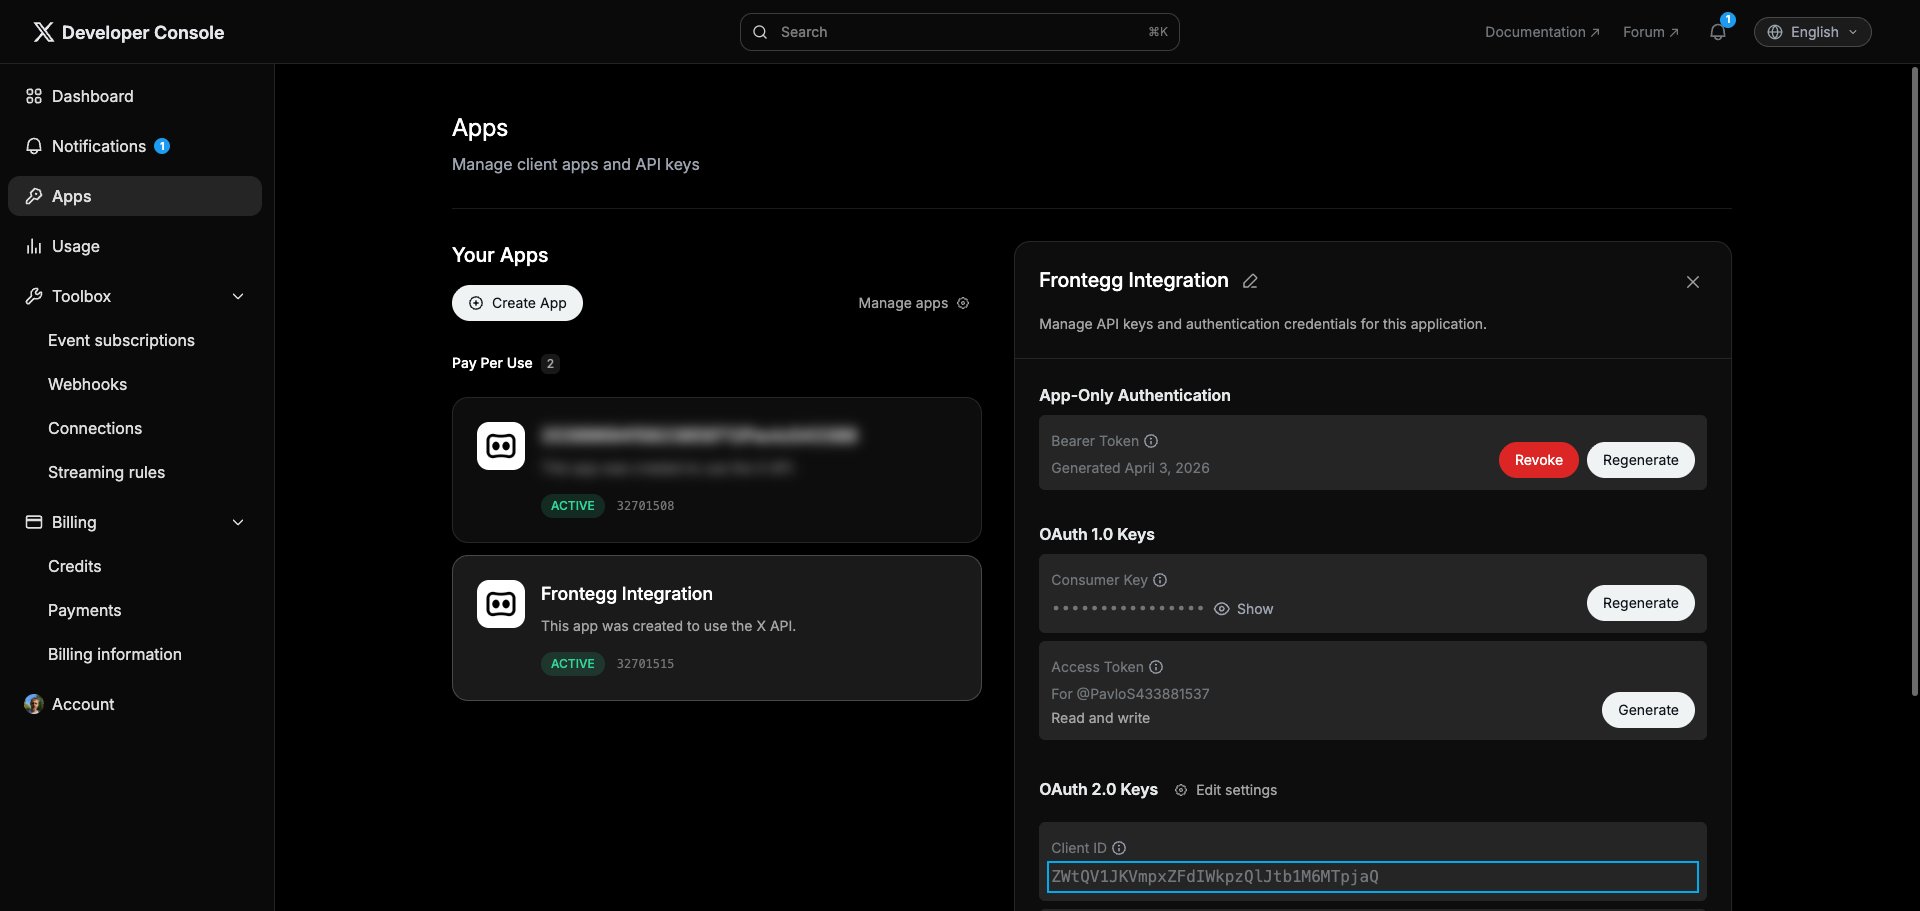
After closing the dialog, click on Frontegg Integration in the app list on the left. The app panel opens on the right. Under User authentication settings, click Set up.
On the Authentication settings page:
- Under App permissions, select Read and write and Direct message.
- Under Type of App, select Web App, Automated App or Bot (Confidential client).
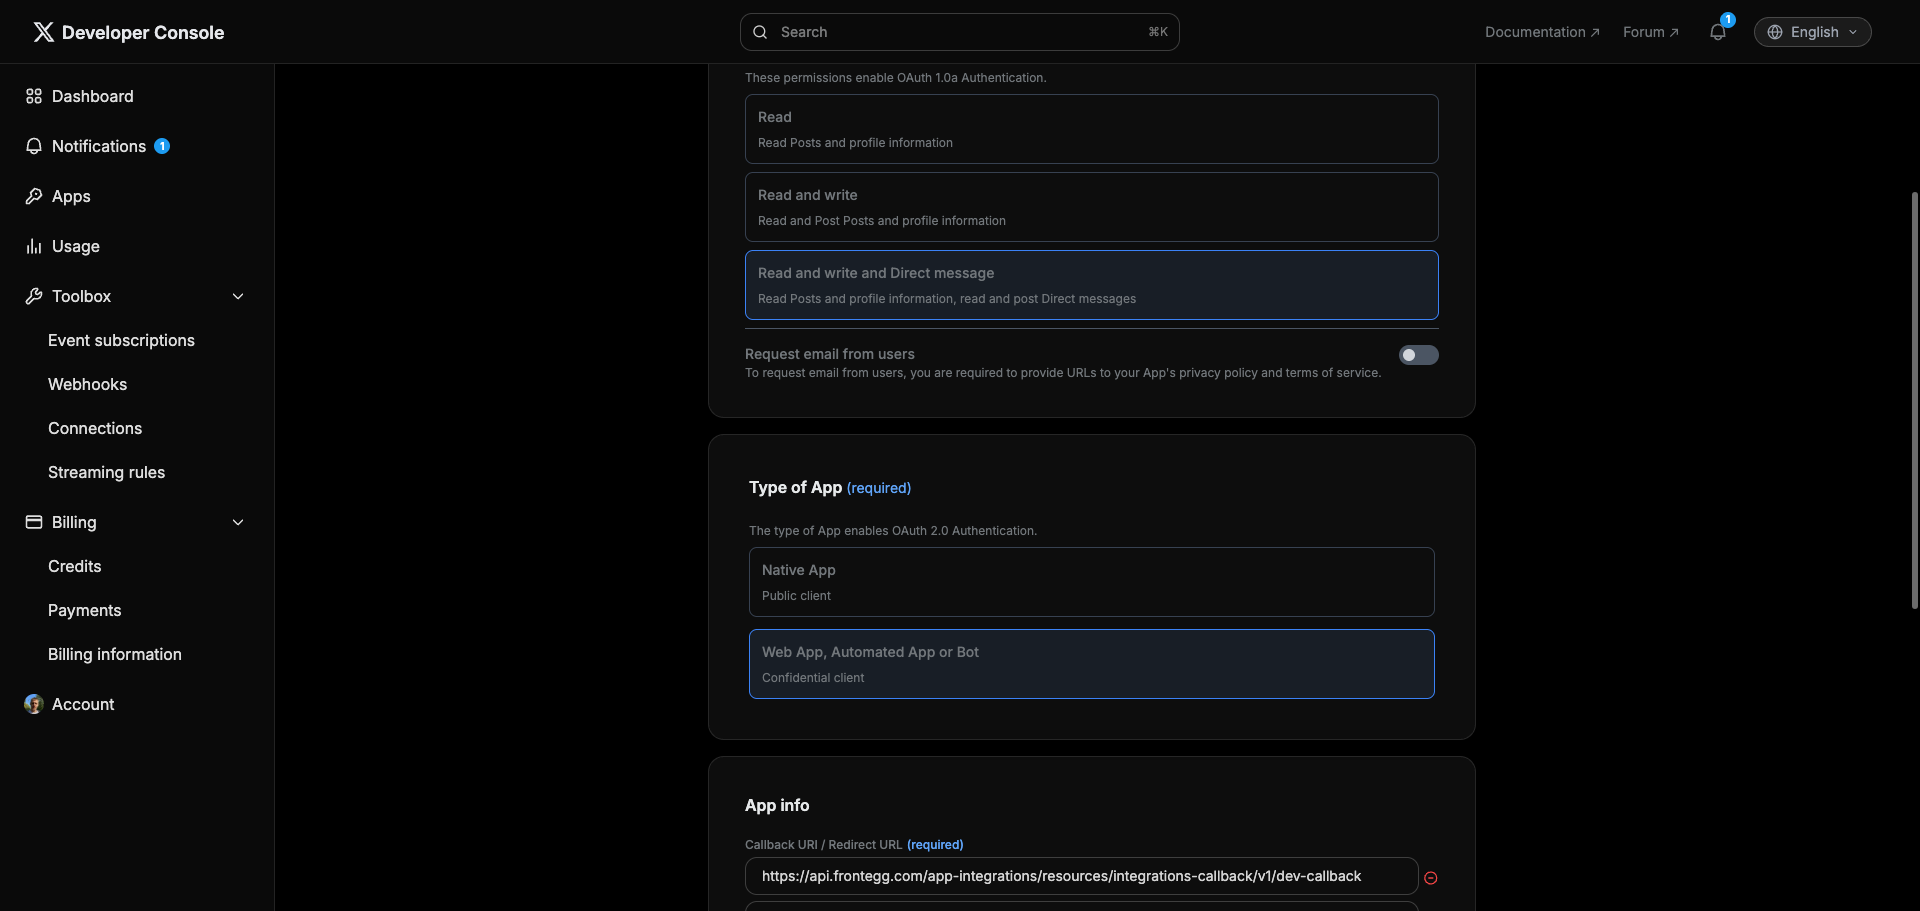
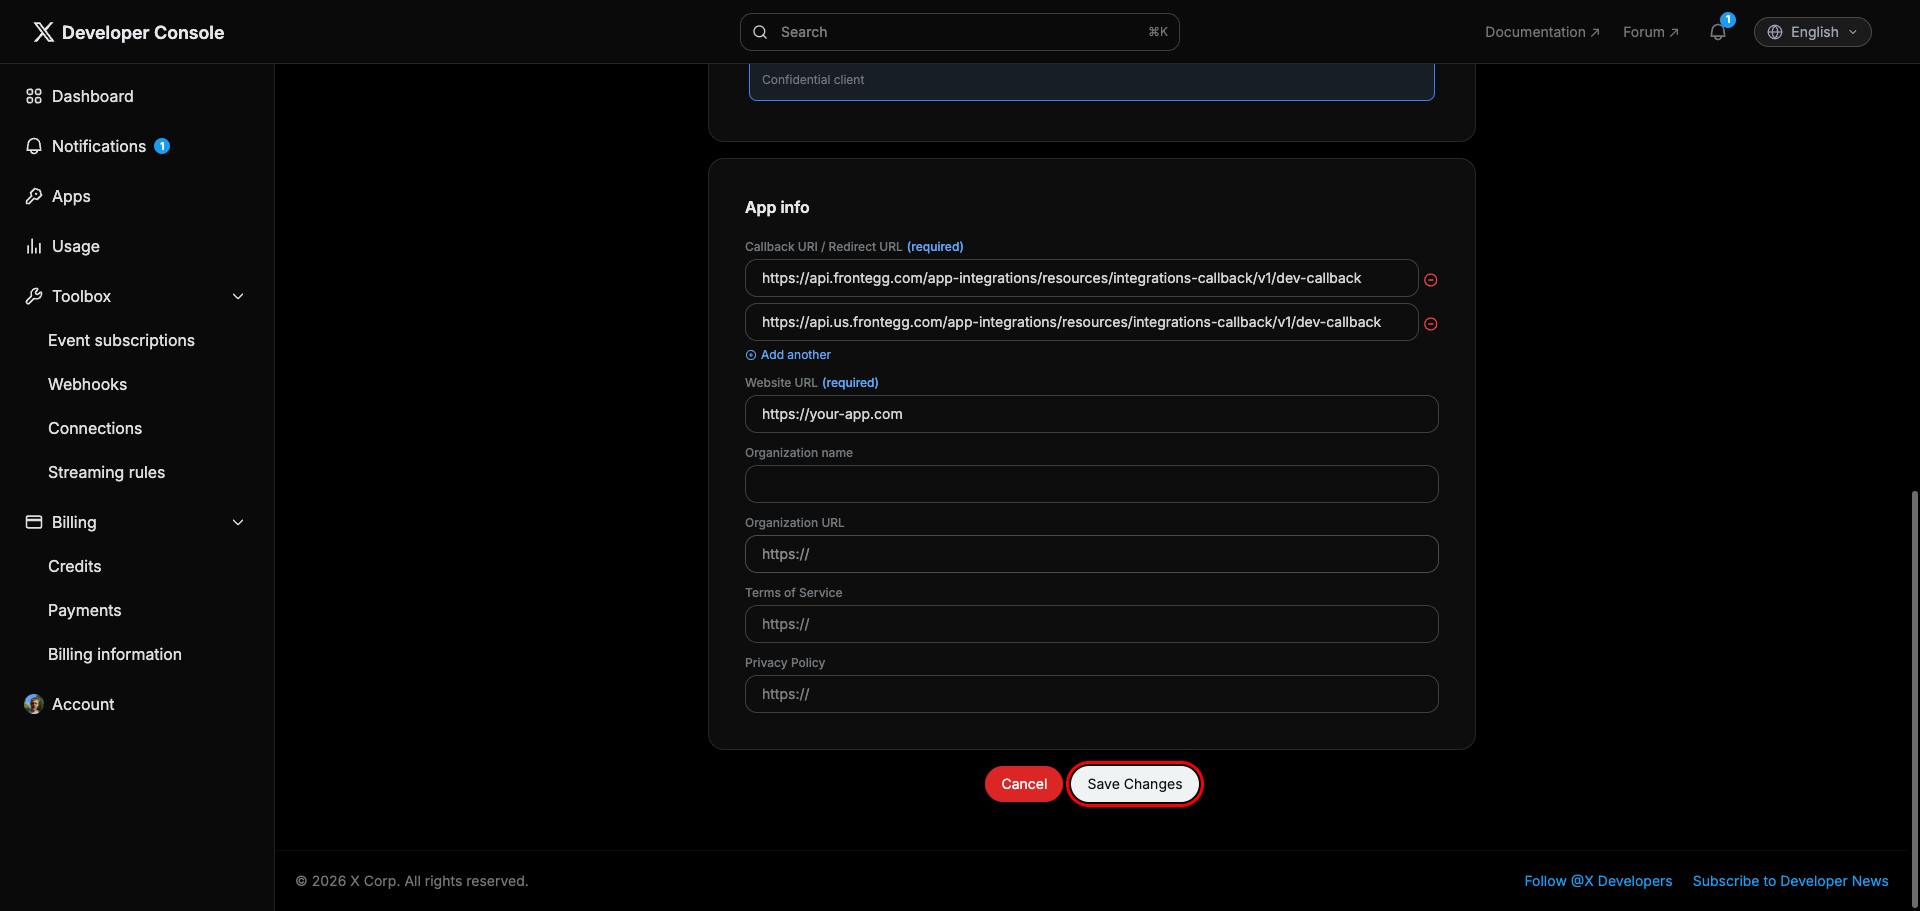
Under App info, configure the following fields:
- In the Callback URI / Redirect URL field, enter:
https://YOUR_MCP_GATEWAY_URL/integration-callback - Click Add another and enter:
- In the Website URL field, enter your application's URL.
- Click Save Changes.
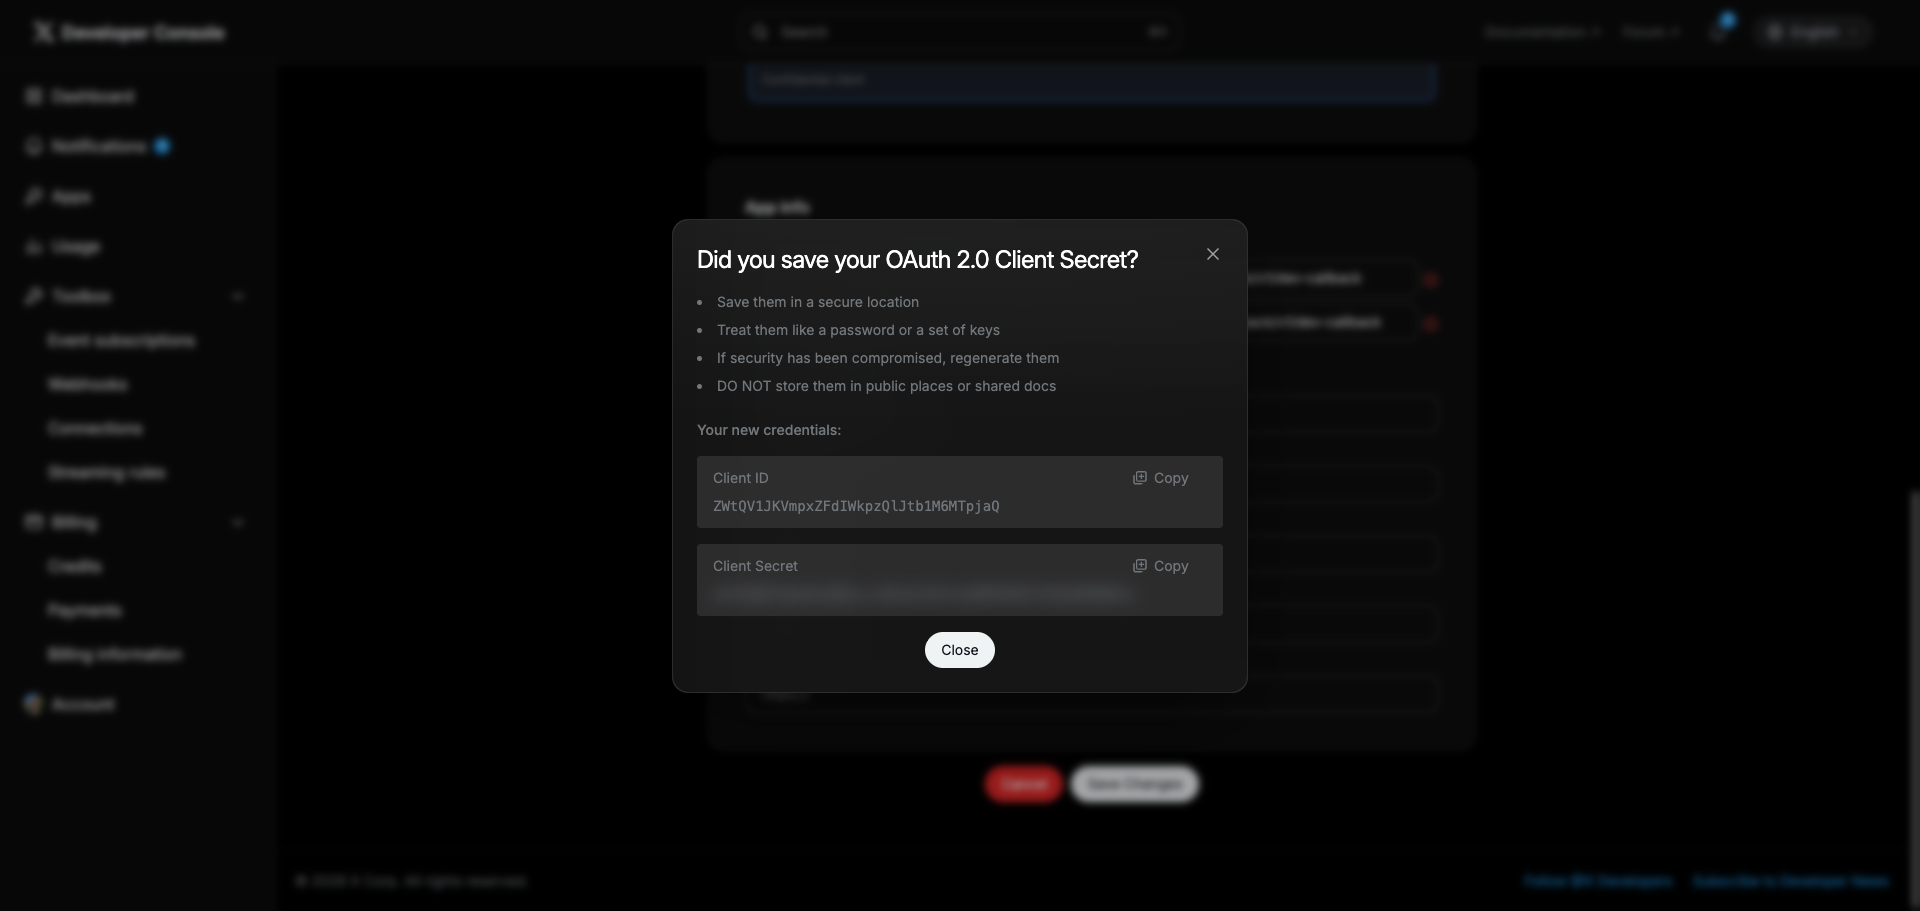
After saving, a dialog displays your OAuth 2.0 Client ID and Client Secret. Copy both values and store them securely.
Save your Client Secret now
Save your Client Secret now
The Client Secret is shown only once in this dialog. After you close it, you can only regenerate a new one — the original value cannot be retrieved.
You can view the Client ID at any time by clicking on the app name in the Apps list and scrolling to the OAuth 2.0 Keys section.
Once you have your Client ID and Client Secret, enter them in the Frontegg portal:
- Open the Frontegg portal and navigate to [ENVIRONMENT] → Integrations → Twitter.
- Enter the Client ID and Client Secret in the corresponding fields.
- Select the required scopes:
| Scope | Description |
|---|---|
tweet.read | Read tweets |
tweet.write | Post tweets |
users.read | Read user data |
offline.access | Stay connected to account |
dm.read | Read direct messages |
dm.write | Send direct messages |
- Click Save.
Keep your credentials secure
Keep your credentials secure
Never share or commit your Client Secret to version control.