Approval flows define who reviews and approves access requests when a policy enforces the Request approval action. Each flow specifies the notification channels, the approver chain, and the escalation behavior — giving you full control over how human-in-the-loop oversight works for sensitive AI agent operations.
When an AI agent attempts to use a tool governed by a Request approval policy, Agen for Work pauses the action and routes the request through the assigned approval flow. Approvers are notified through the configured channels and can approve or deny the request from the Requests page.
To access the Approval flows page, click the Approval flows icon in the left sidebar.
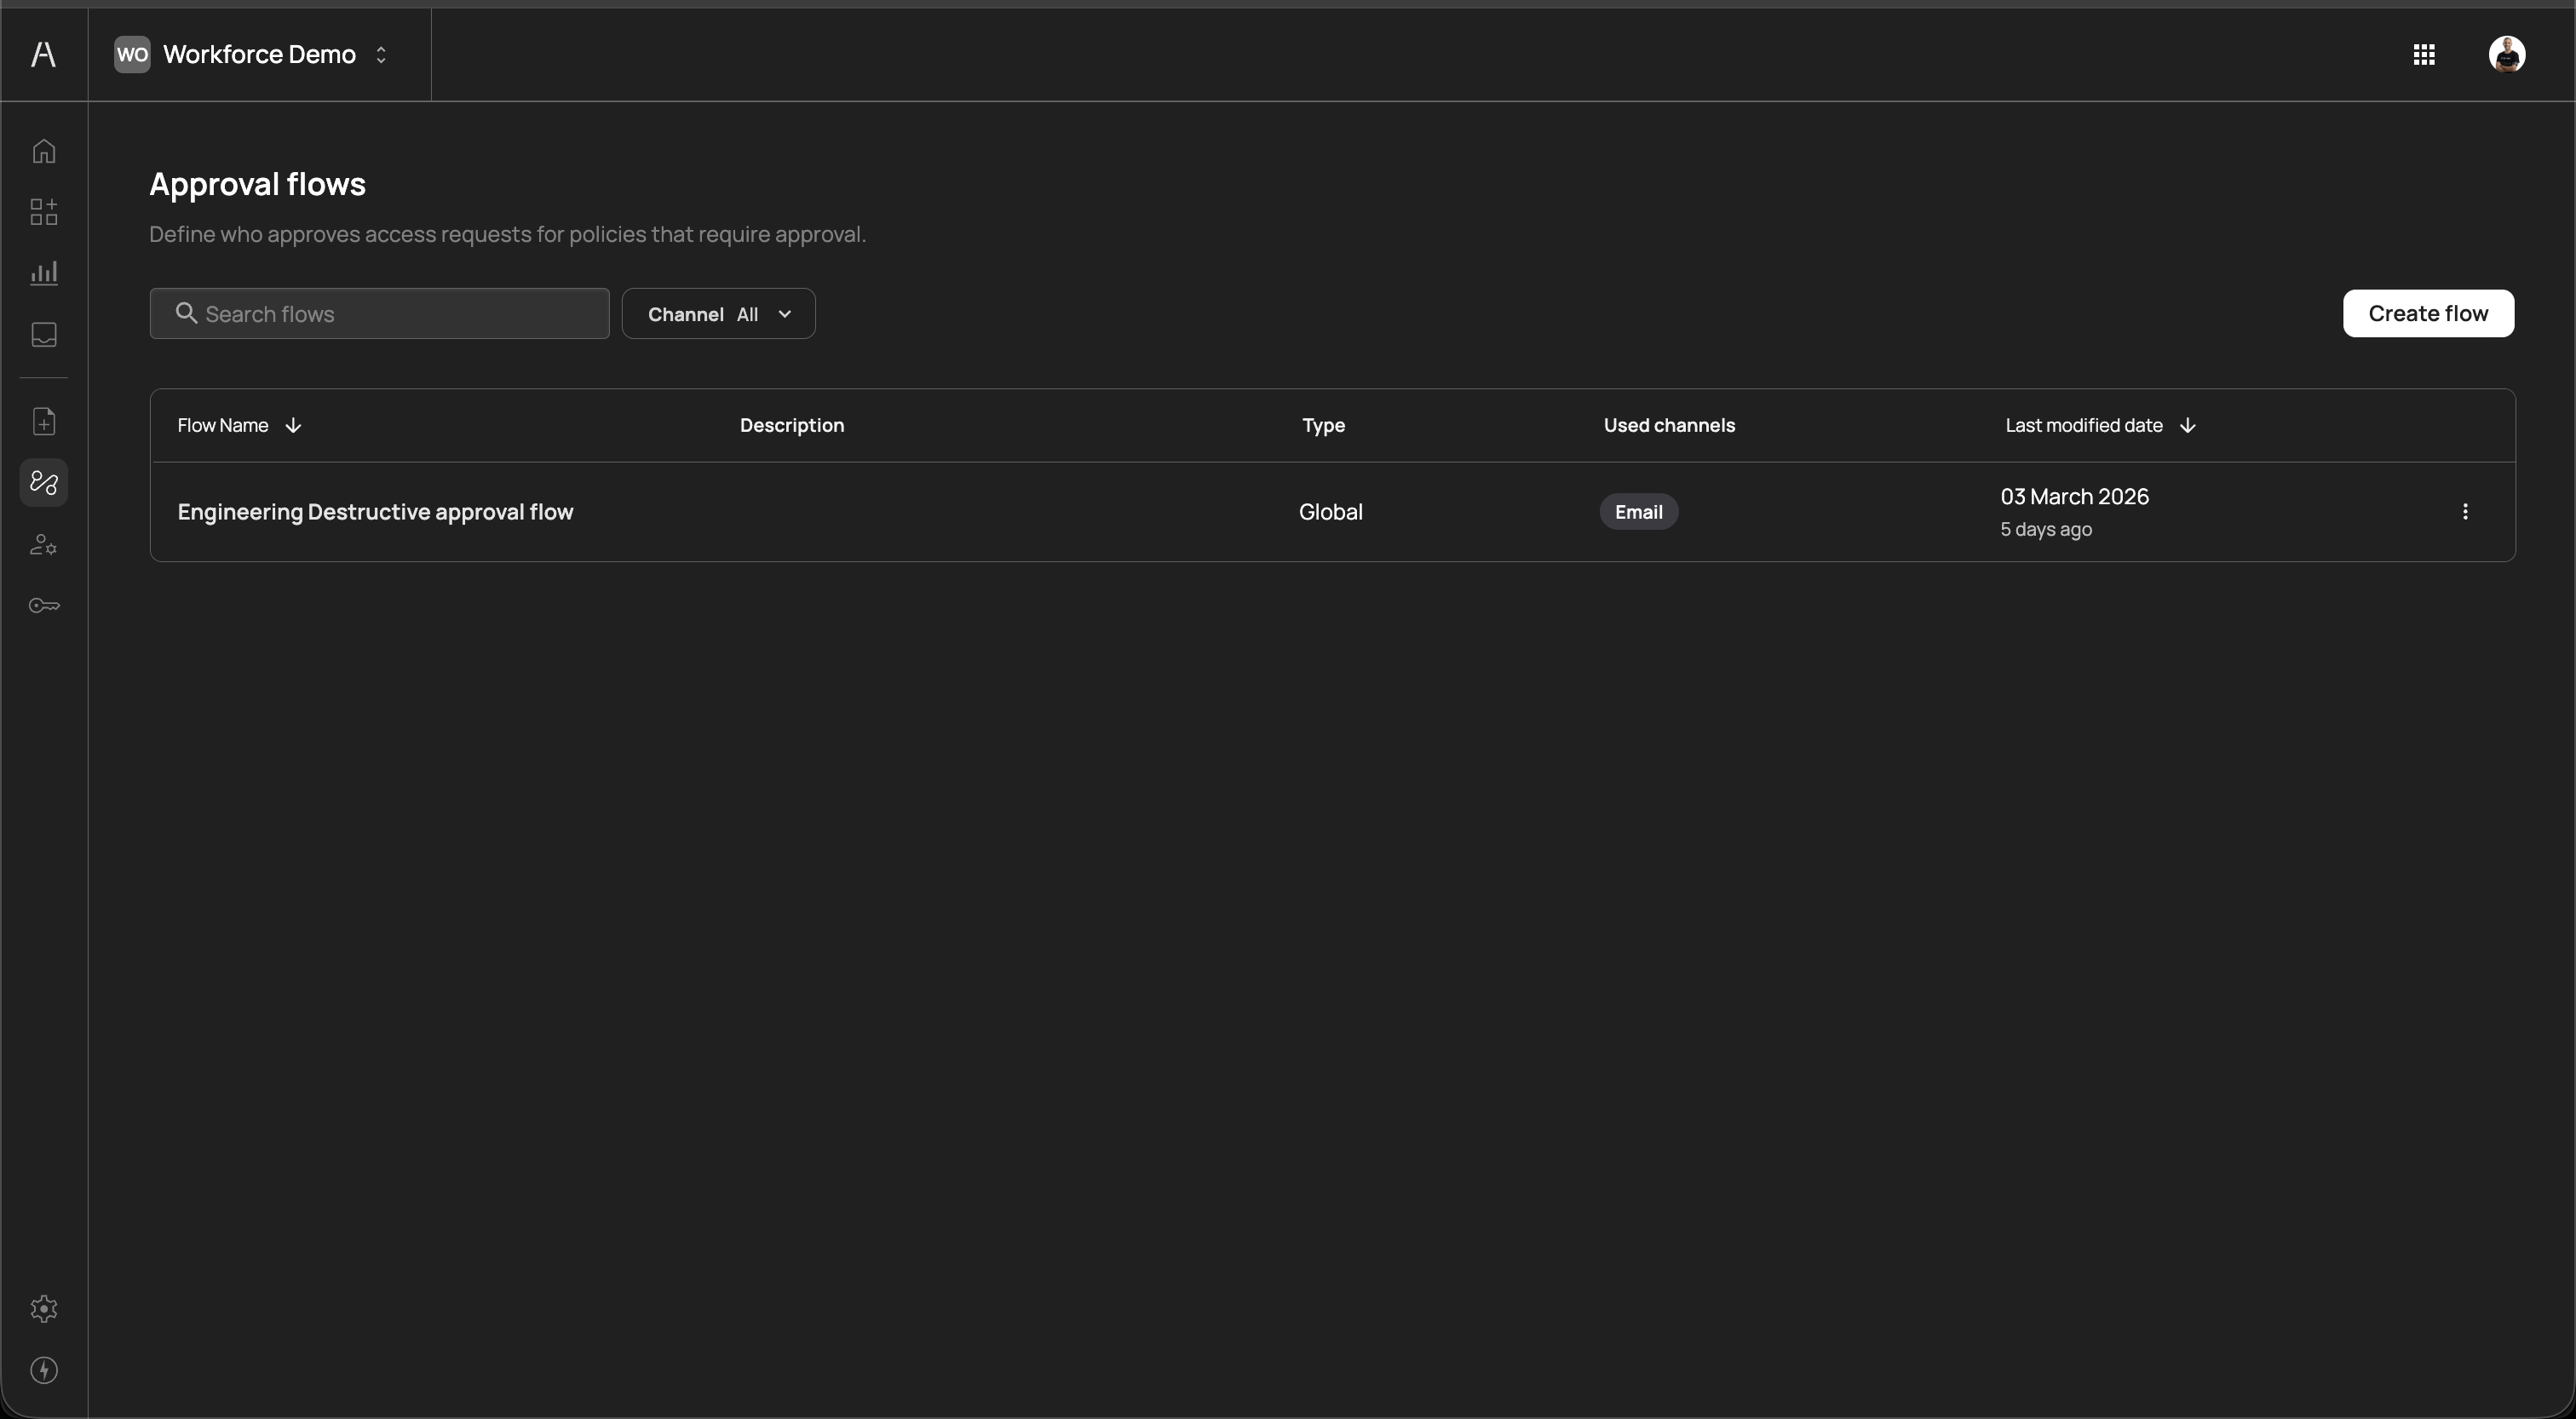
The page header reads "Define who approves access requests for policies that require approval" and includes a search field, a Channel filter dropdown, and a Create flow button.
The approval flows table includes the following columns:
| Column | Description |
|---|---|
| Flow Name | The descriptive name of the approval flow (e.g., "Engineering Destructive approval flow") |
| Description | An optional description of the flow's purpose |
| Type | The flow type (e.g., Global) |
| Used channels | The notification channels enabled for this flow, displayed as color-coded badges (e.g., Email, SMS) |
| Last modified date | The date the flow was last updated and the relative time since modification |
You can sort the table by clicking on the Flow Name or Last modified date column headers. Use the Search flows field to filter flows by name. Use the Channel dropdown to filter flows by their notification channel.
Each flow row includes a three-dot menu on the right side for additional actions such as editing or deleting the flow.
To create a new approval flow, click Create flow in the top-right corner of the Approval flows page. A multi-step wizard opens with four steps: General settings, Channel configuration, Approval management, and Advanced Settings.
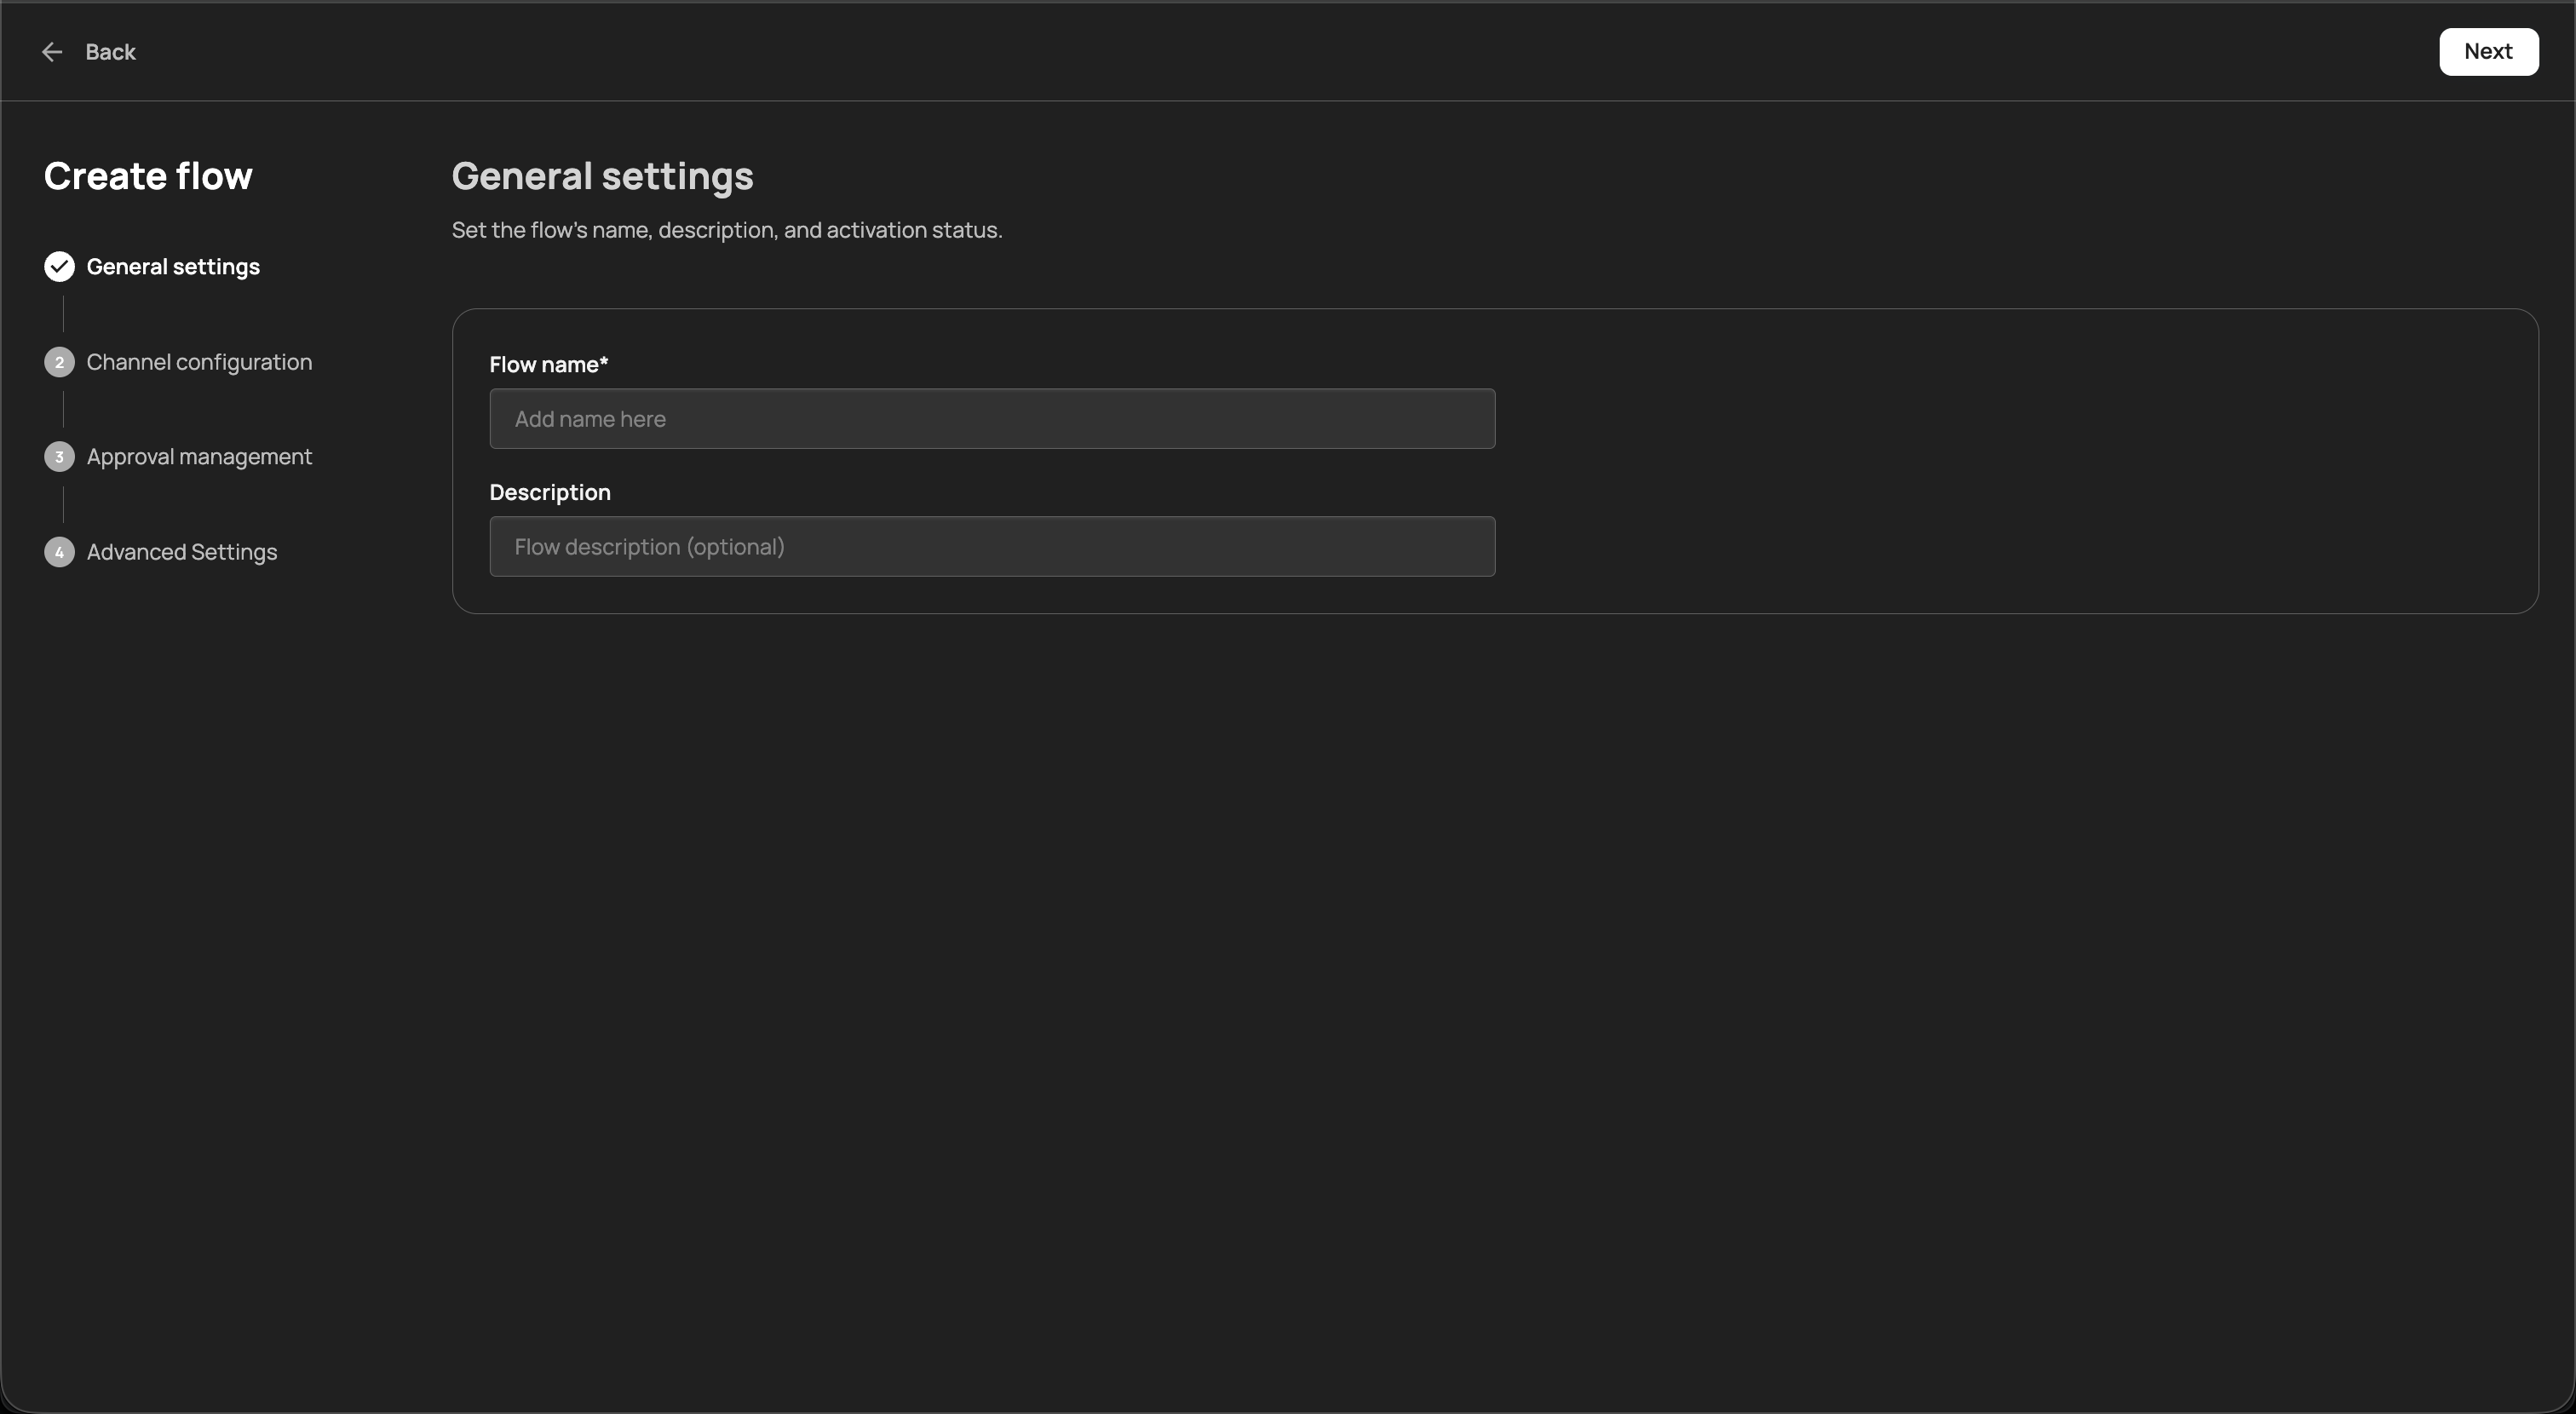
The General settings step sets the flow's name, description, and activation status. The form includes the following fields:
| Field | Required | Description |
|---|---|---|
| Flow name | Yes | A descriptive name for the approval flow (e.g., "Engineering Destructive approval flow") |
| Description | No | An optional explanation of the flow's purpose |
After completing the fields, click Next to proceed to channel configuration.
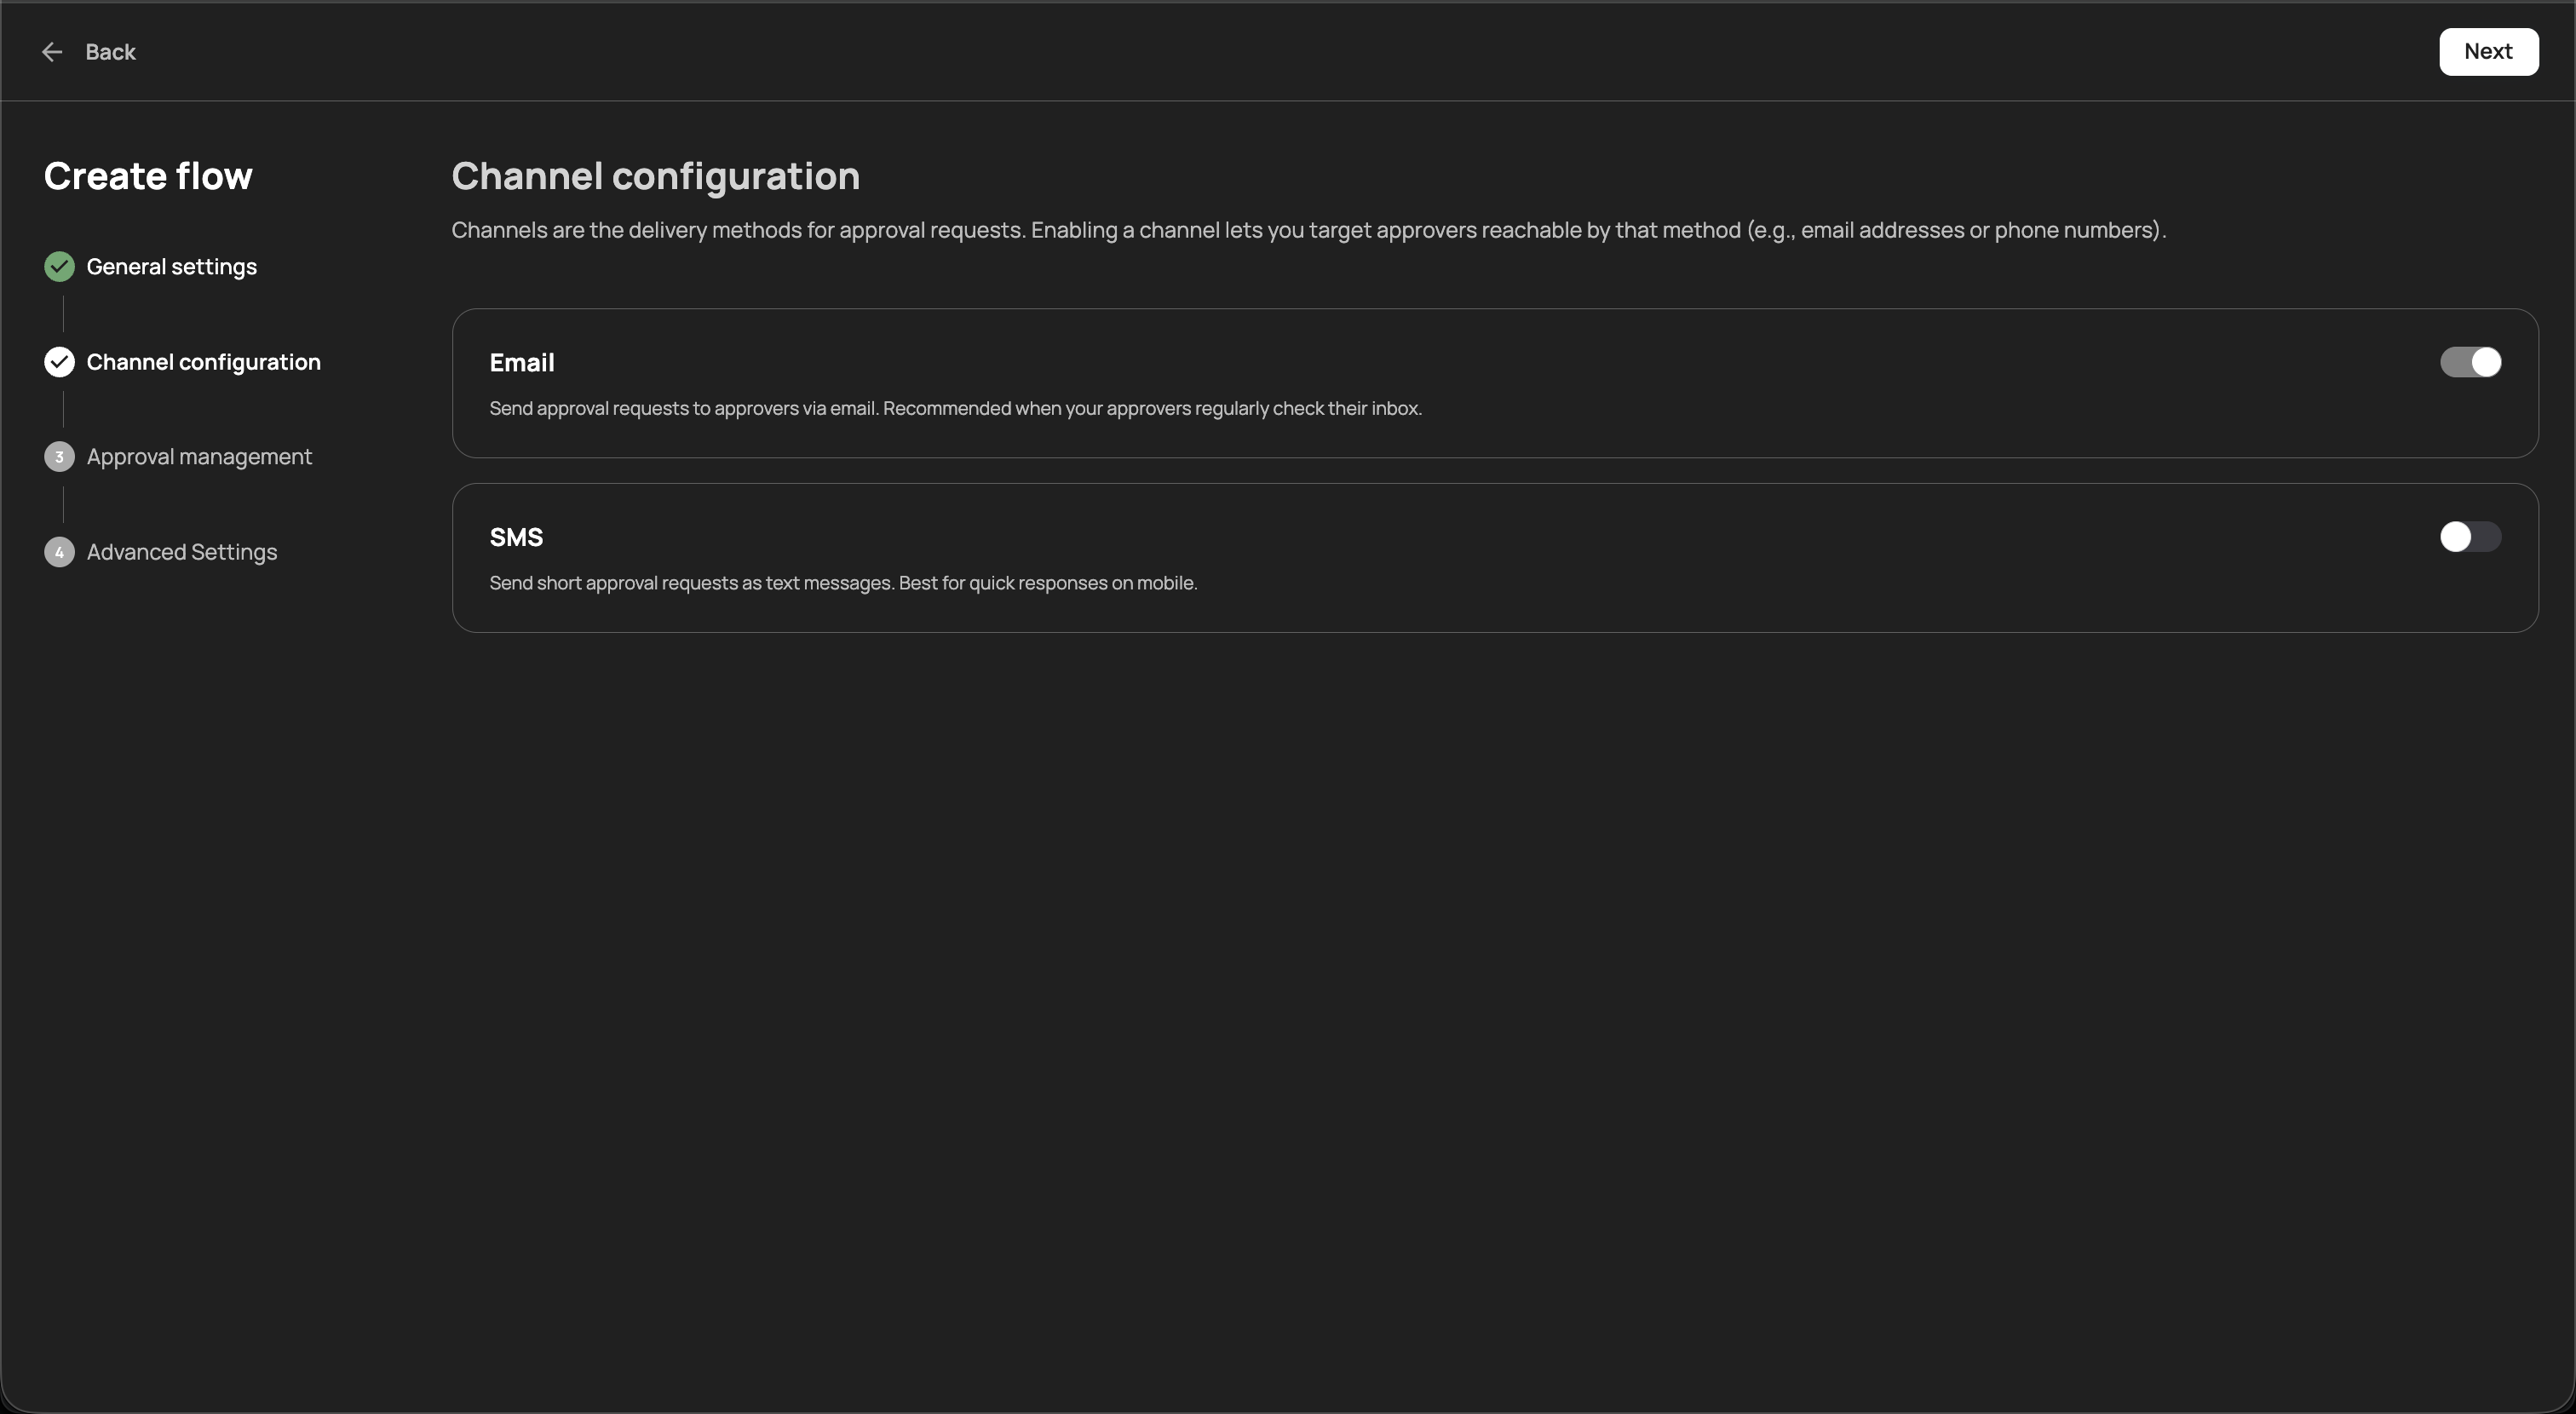
Channels are the delivery methods for approval requests. Enabling a channel lets you target approvers reachable by that method (e.g., email addresses or phone numbers). The following channels are available:
| Channel | Description |
|---|---|
| Send approval requests to approvers via email. Recommended when your approvers regularly check their inbox. | |
| SMS | Send short approval requests as text messages. Best for quick responses on mobile. |
Toggle one or both channels on depending on how you want approvers to be notified. You must enable at least one channel. Click Next to proceed to approval management.

The Approval management step defines the approver chain — the sequence of people or groups who must review each request. This step includes a visual flow builder on the right side that displays the approval sequence from Start flow to End flow.
Each approval step in the chain includes the following fields:
| Field | Description |
|---|---|
| Groups | Select approver groups from a dropdown. All members of the selected groups are eligible to approve the request at this step. |
| Emails | Add individual approver email addresses. Click + Add Email to include additional approvers. Each email entry includes a delete icon to remove it. |
| Required minimum approvers | The minimum number of approvers who must approve the request at this step before it advances to the next step (default: 1) |
The visual flow builder displays each approval step as a node in a sequential chain. For example, a two-step flow might route first to a "Sales" group and then to a specific email address like security@frontegg.com. Click the + button between steps to add additional approval steps to the chain.
This multi-step approval model supports scenarios such as:
- Manager then security review — Route requests first to the user's direct manager, then to the security team for final sign-off
- Team lead approval — Require a single approval from a team lead group before granting access
- Dual approval for sensitive tools — Require approvals from two different groups (e.g., engineering lead and compliance) before allowing destructive operations
Click Next to proceed to advanced settings.

The Advanced settings step provides fine-tuning options for how long approvals wait, whether reminders are sent, and how requesters are notified. You can also configure a webhook for status callbacks.
| Setting | Description |
|---|---|
| Auto-approve timeout | Automatically approve requests that remain pending beyond the specified time. Useful for low-risk flows where silence implies consent. Configure the timeout duration in minutes (e.g., 120 minutes). |
| Send reminder | Nudge approvers if a request stays pending. Reminders help keep the flow moving. Configure how long to wait before sending a reminder in minutes (e.g., 60 minutes). |
| Notify requester on decision | Let the requester know as soon as their request is approved or rejected. |
| CC traditional recipients | Keep additional stakeholders in the loop by sending them copies of all approval decisions. |
Each setting has a toggle to enable or disable it independently.
After configuring the advanced settings, click Create to finalize the approval flow. Click Back at any point to return to the previous step.
Approval flows and policies work together to enable human-in-the-loop oversight:
- Policy triggers the flow — When a policy with the Request approval action matches an AI agent's tool invocation, the action is paused
- Request is routed — The request is sent to the approvers defined in the assigned approval flow, through the configured notification channels
- Approvers review — Approvers receive notifications and review the request on the Requests page
- Decision is applied — If approved, the AI agent can proceed. If denied, the action remains blocked. If no decision is made within the auto-approve timeout (when configured), the request is automatically approved.
If no approval flow is configured when a Request approval policy is triggered, the request appears on the Requests page but approvers are not proactively notified. Create at least one approval flow and assign it to your Request approval policies to ensure timely reviews.
- Enable multiple channels — Configure both Email and SMS to maximize the chances that approvers see requests promptly, especially for time-sensitive operations
- Use multi-step flows for sensitive tools — For destructive or high-risk operations (e.g., deleting repositories, modifying CRM records), require approval from multiple groups to ensure proper oversight
- Set appropriate timeouts — Use the auto-approve timeout for low-risk flows where delays are more disruptive than the risk. Keep it disabled for high-risk flows that require explicit human review
- Enable reminders — Turn on the Send reminder setting to nudge approvers when requests stay pending, helping prevent bottlenecks
- Notify requesters — Enable the Notify requester on decision setting so users know immediately when their AI agent can proceed or needs to take an alternative approach
- Review requests regularly — Monitor the Requests page and the Dashboard pending requests widget to ensure requests are processed promptly
- Requests — Review and act on pending approval requests
- Policies — Configure Request approval policies that trigger approval flows
- Dashboard — Monitor pending approval requests from the dashboard
- Connectors — Manage the SaaS tools available to AI agents