BambooHR is a cloud-based human resources platform that helps companies manage employees, time off, time tracking, payroll, benefits, performance, and training. The BambooHR integration with Frontegg allows your application to access employee data, time off requests, time tracking entries, files, goals, and company information on behalf of your users via the BambooHR REST API.
Prerequisites
Prerequisites
- A BambooHR account with access to the BambooHR Developer Portal
- An organization registered in the Developer Portal with permission to create applications
Go to developers.bamboohr.com and sign in with your BambooHR developer account credentials. If multi-factor authentication is enabled, enter the 6-digit code from your authenticator app.
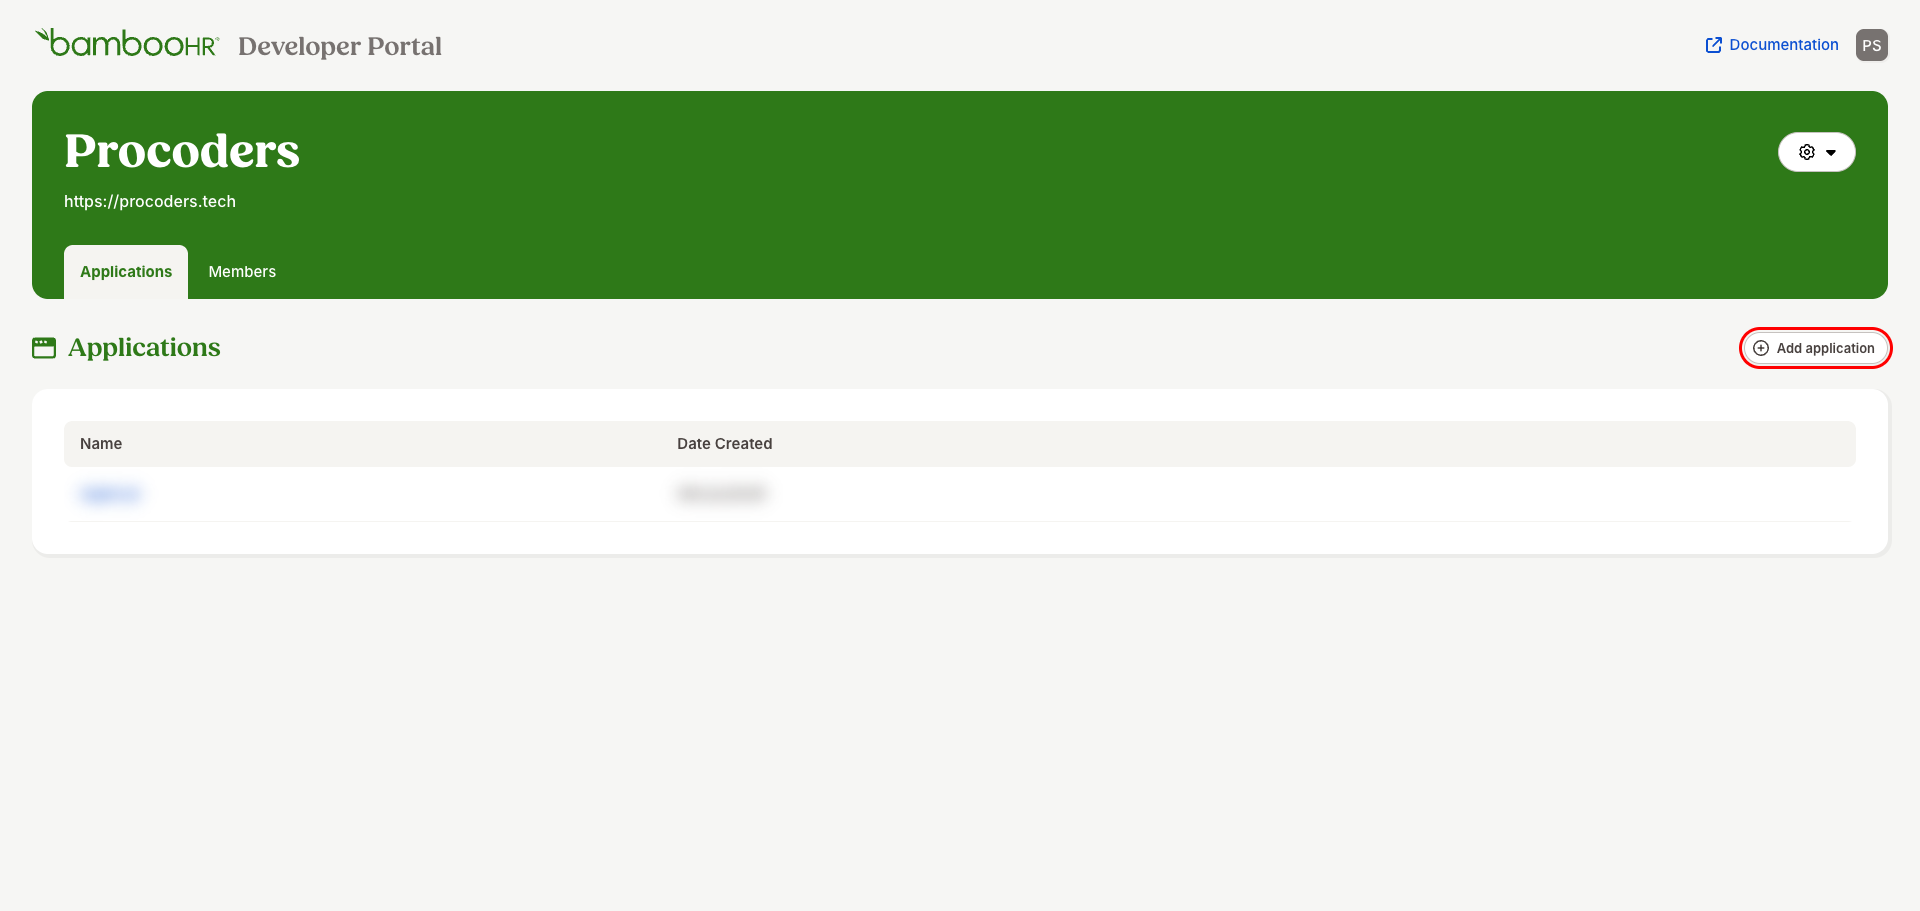
After logging in, you land on the Applications page of your organization. Click the Add application button in the top-right corner of the applications list.
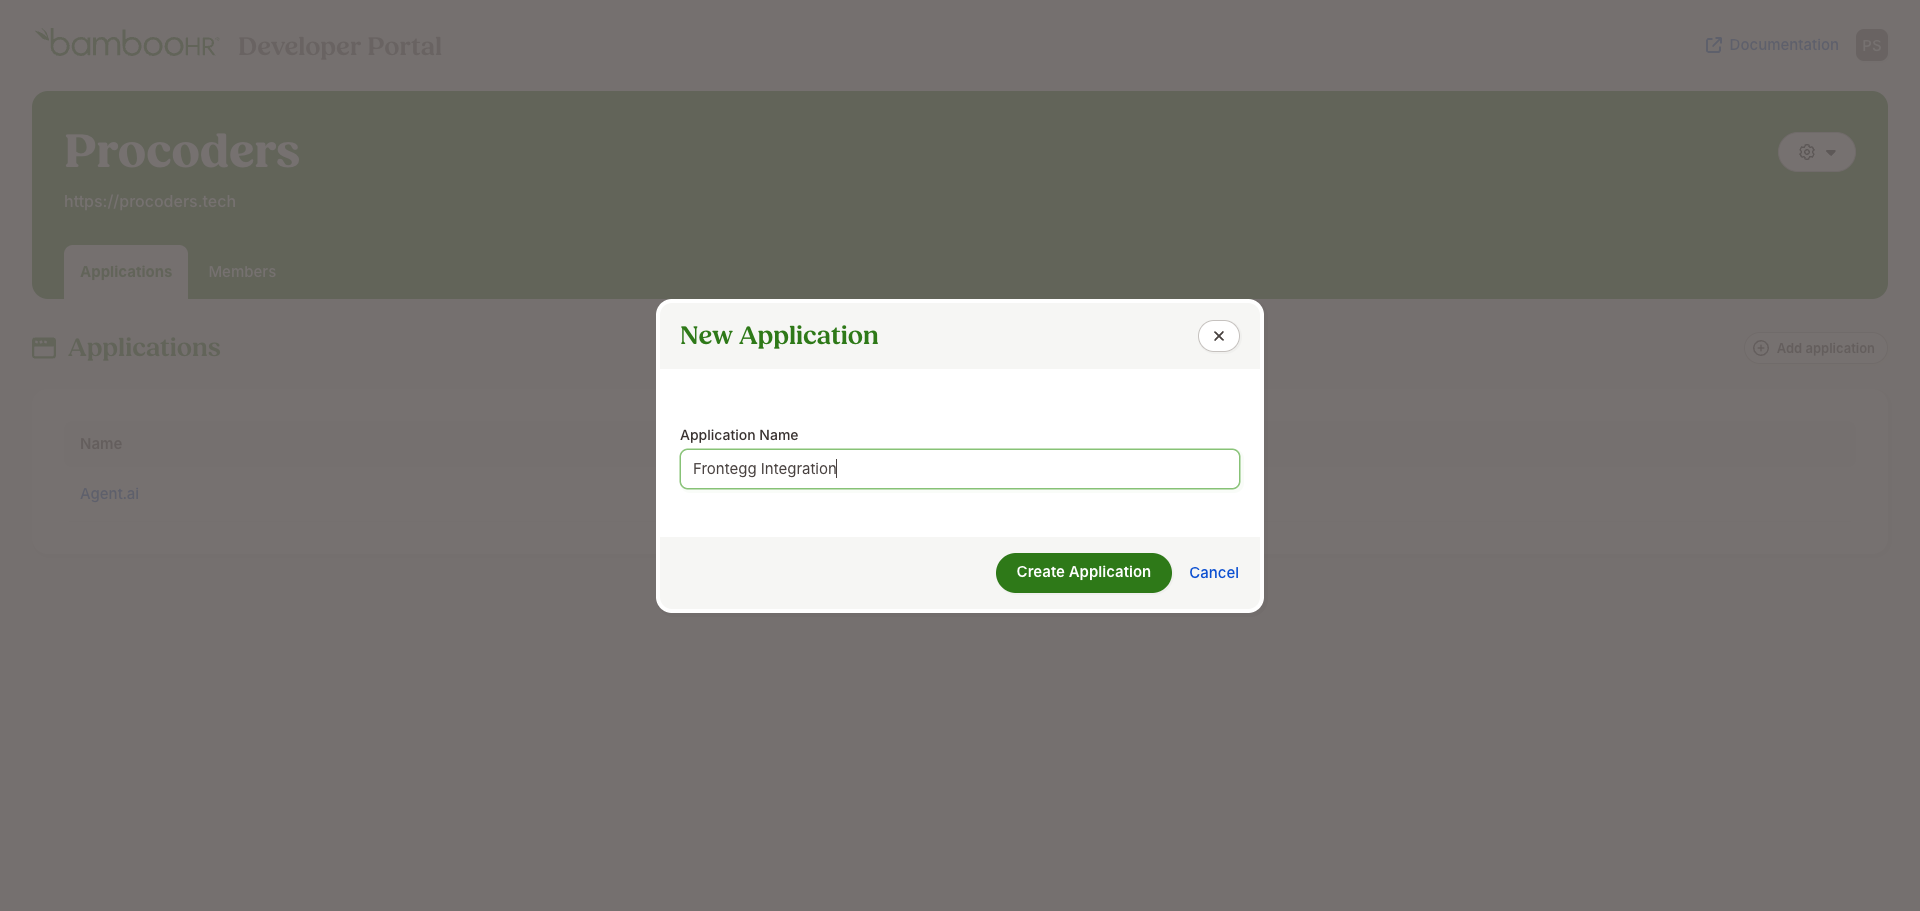
In the New Application dialog, enter an application name and click Create Application.
- Application Name:
Frontegg Integration
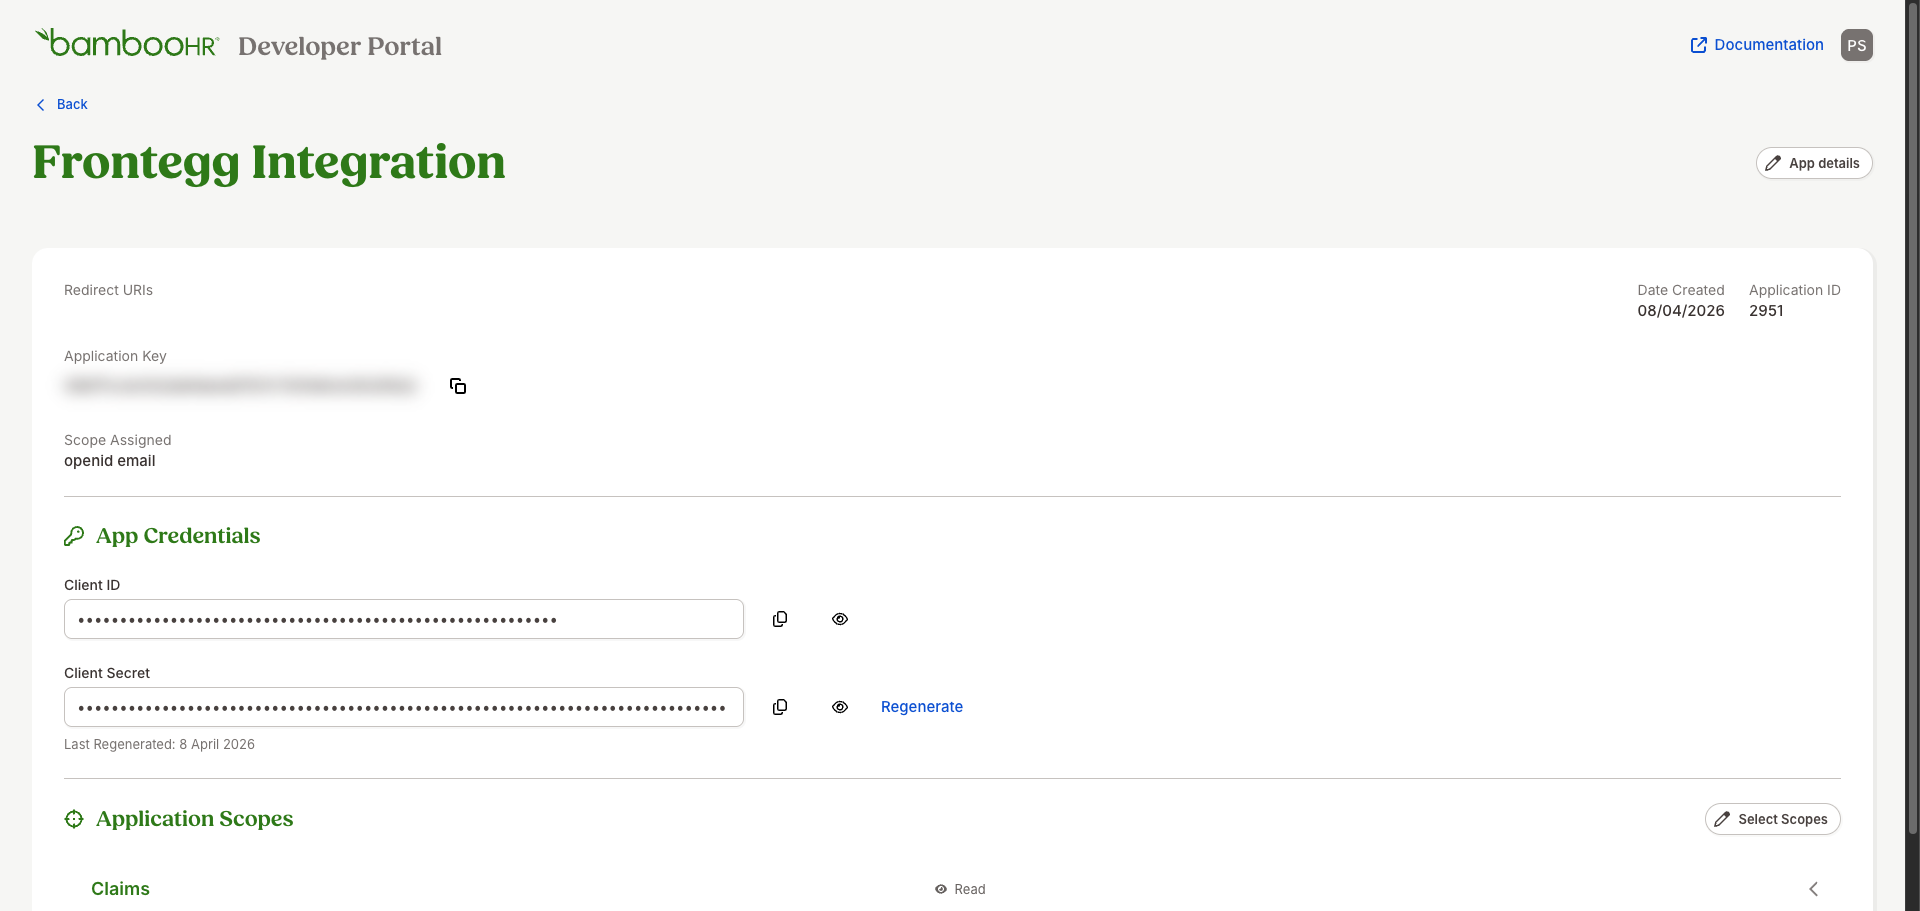
After the application is created, you are taken to the application detail page. Locate the App Credentials section to find your Client ID and Client Secret. Use the copy buttons next to each field to copy the values.
Save your Client Secret now
Save your Client Secret now
Copy the Client Secret immediately and store it securely. If you lose it, you will need to use the Regenerate button, which invalidates the previous secret.
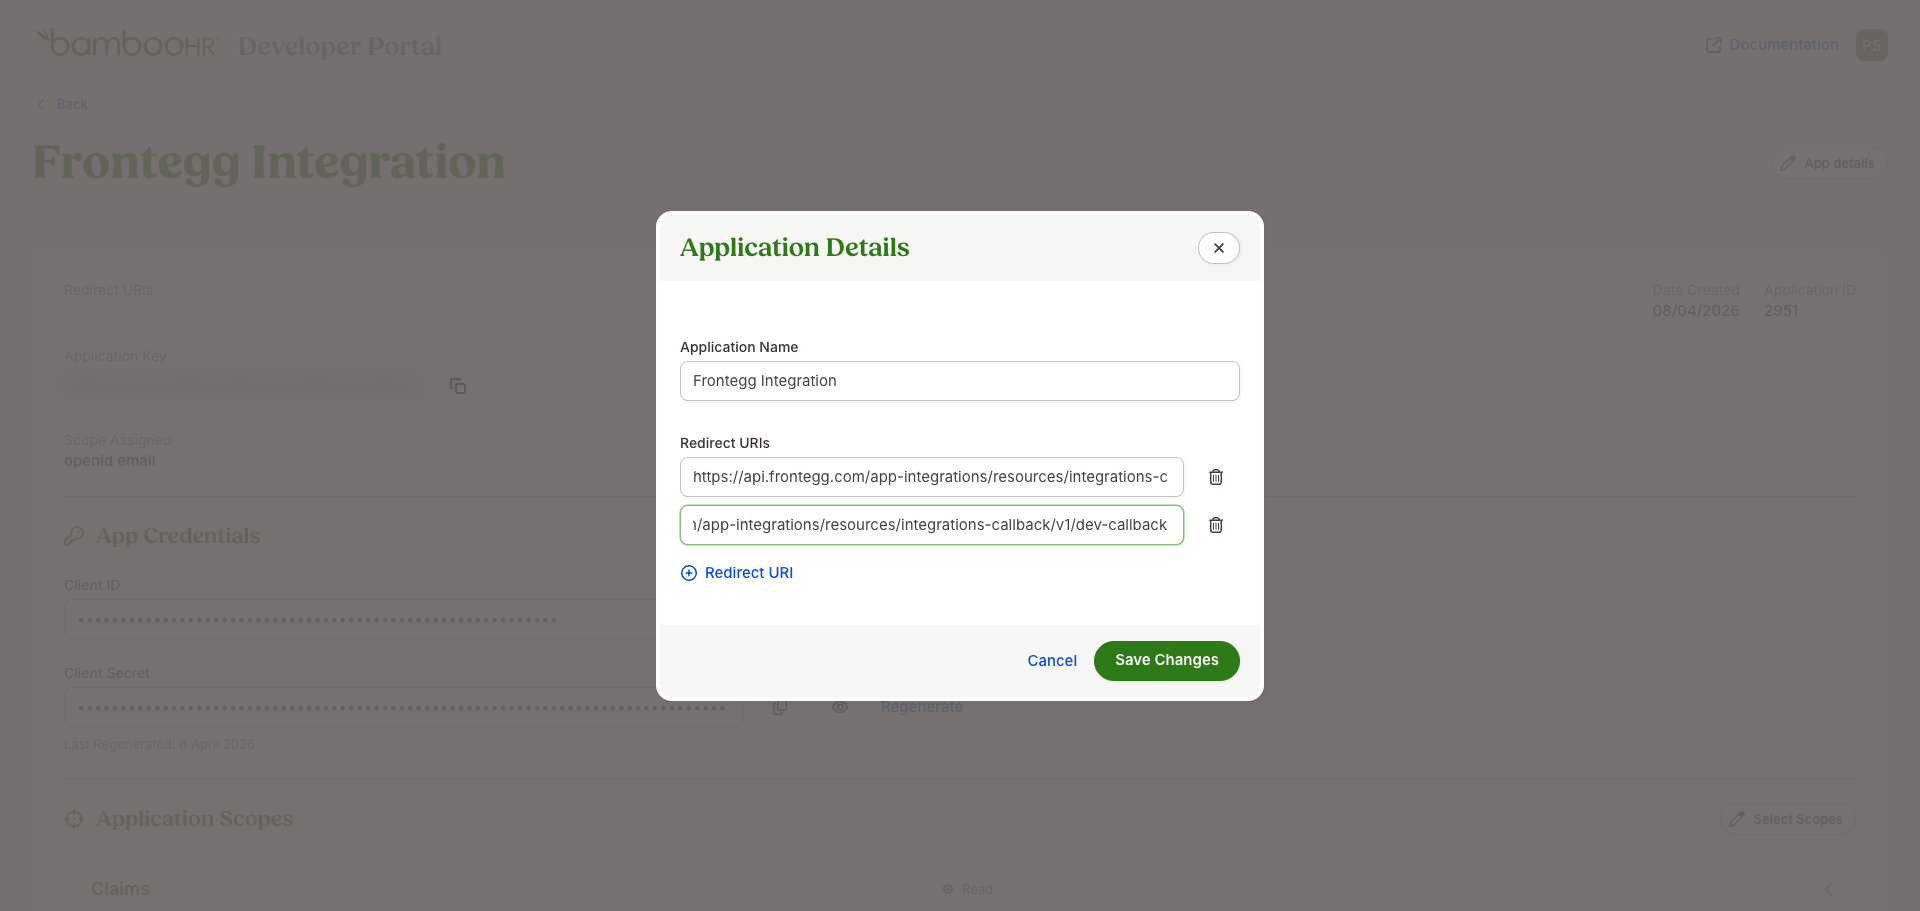
Click the App details button at the top of the page. In the Application Details dialog, add the Frontegg callback URL to the Redirect URIs field.
Enter the following redirect URI:
https://YOUR_MCP_GATEWAY_URL/integration-callback
Click Save Changes.
Back on the application detail page, scroll to the Application Scopes section and click Select Scopes. The Scope Selection dialog opens, showing all available scope groups: Background Checks, Benefits, Claims, Company, Employee, Hiring, Miscellaneous, Payroll, Reports, Scheduling, Time Off, and Time Tracking.
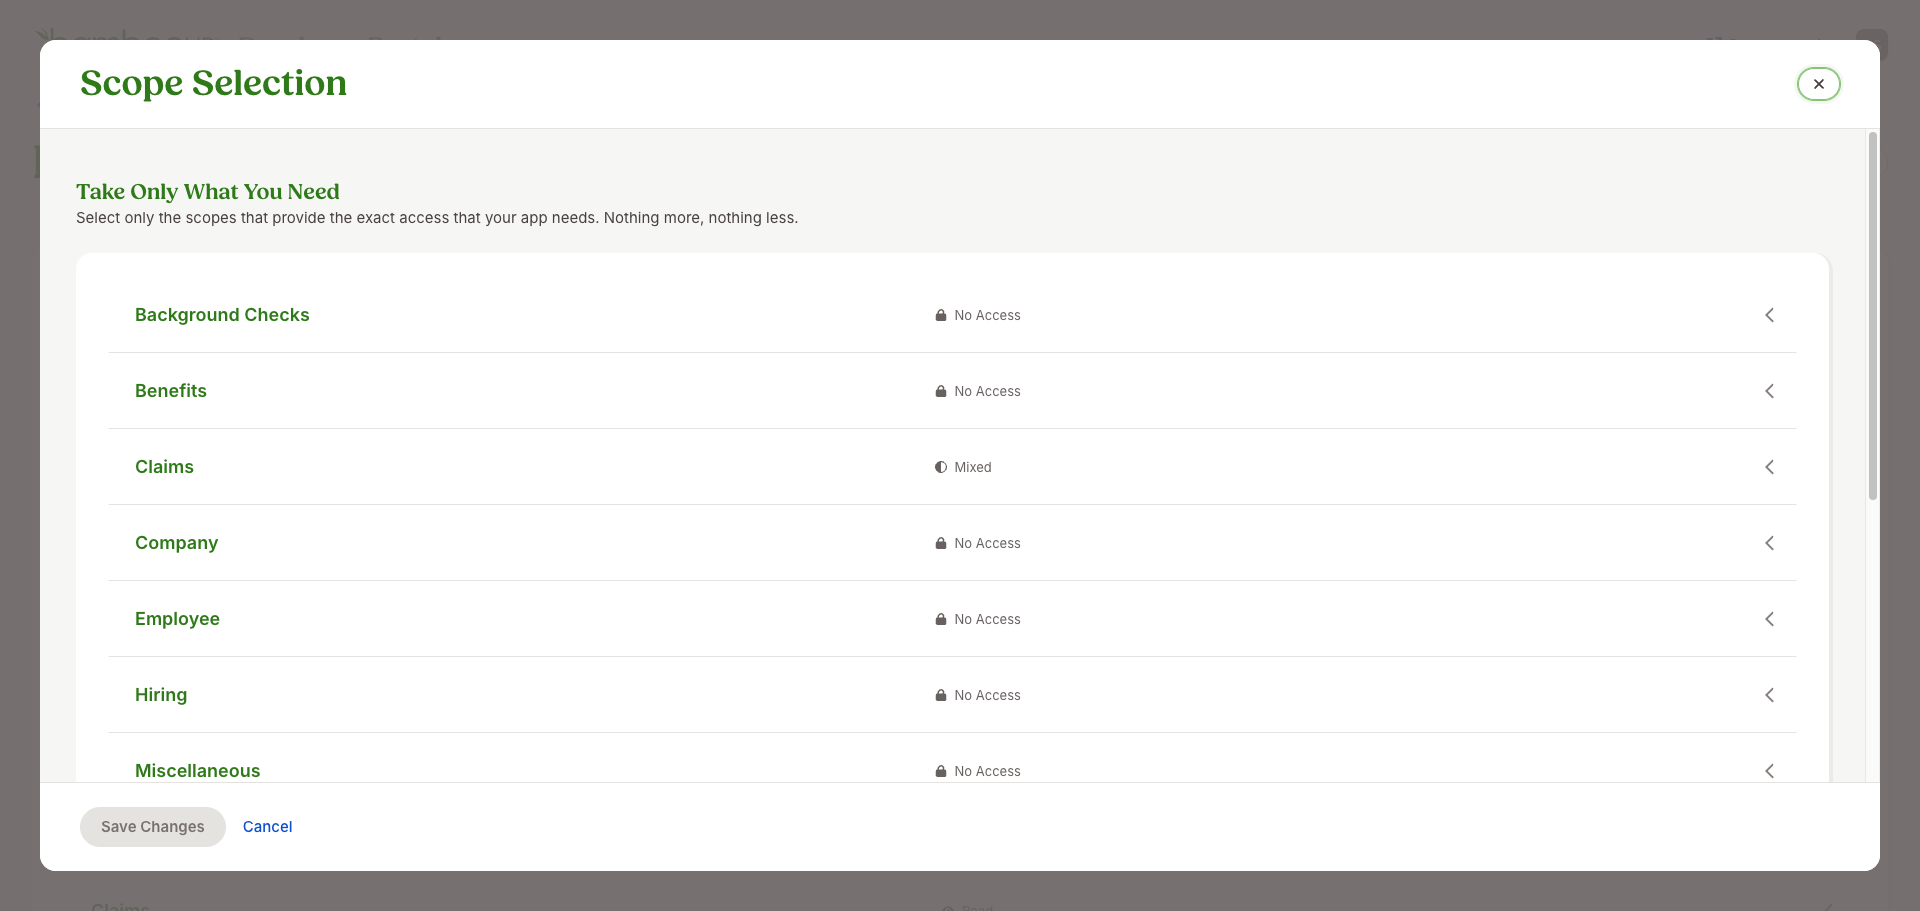
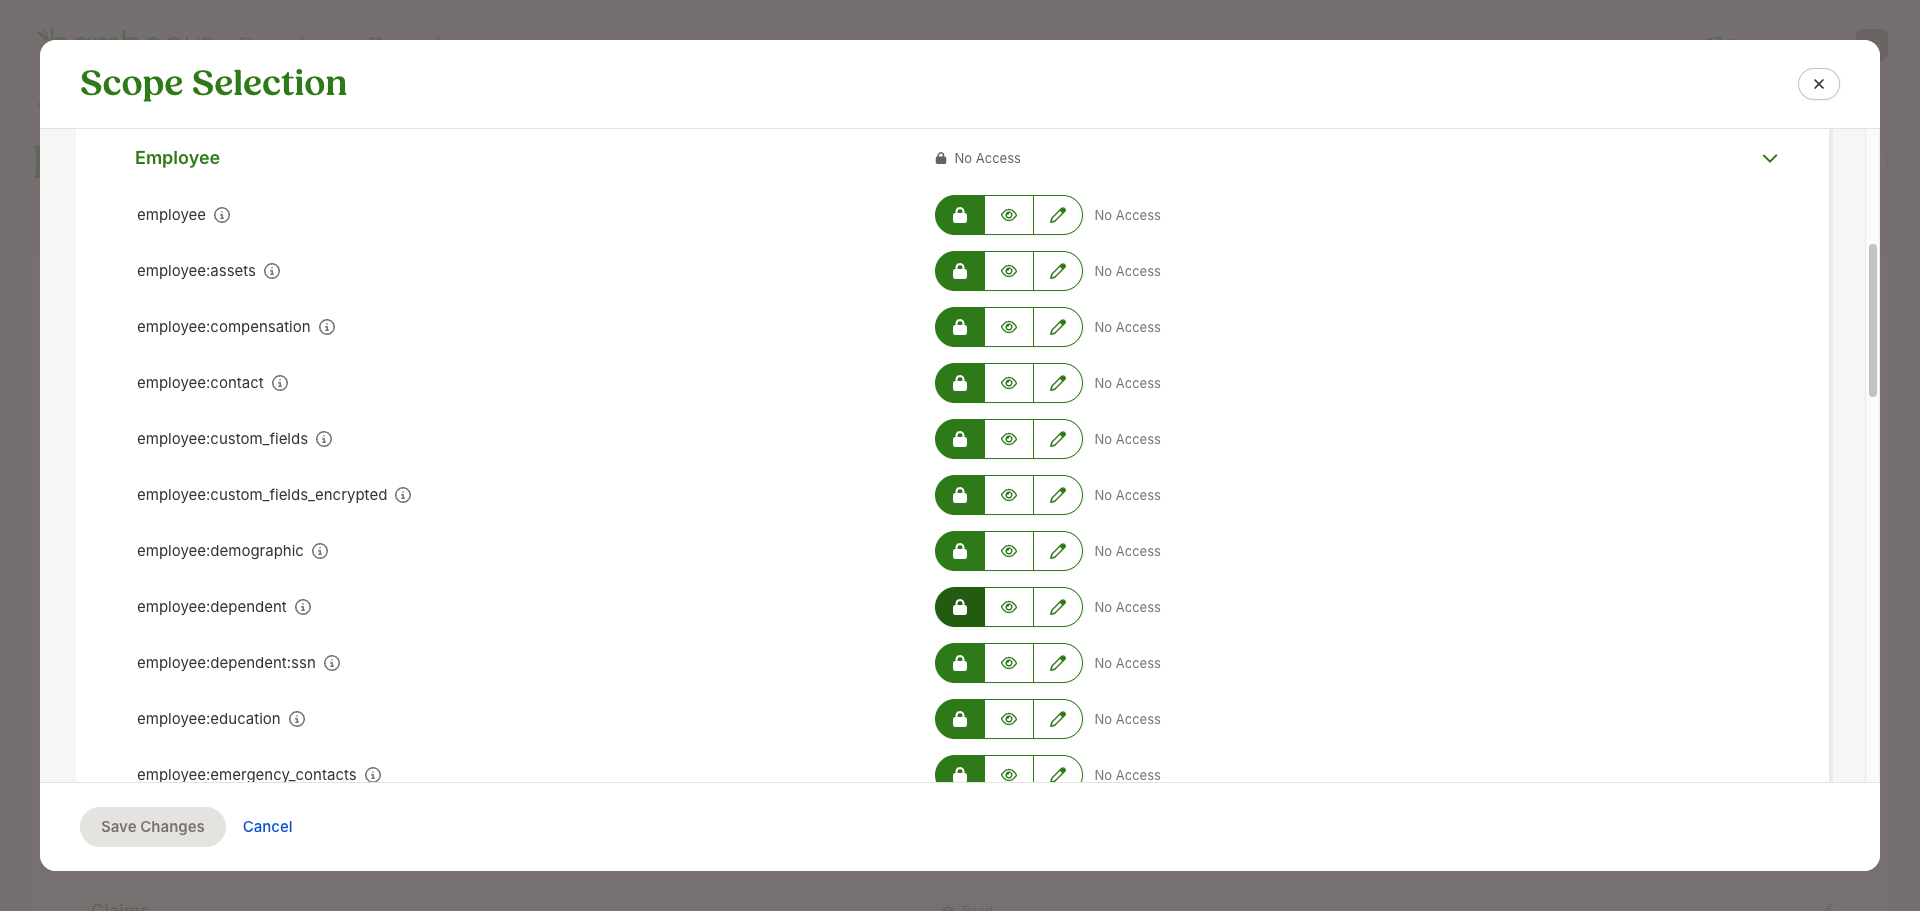
Expand each scope group you need and set the access level for individual scopes. For each row, click the access toggle (No Access, Read Only, or Read & Write) to grant the required permission.
For the Frontegg BambooHR integration, configure access for the following scopes based on the features you plan to use:
| Scope group | Scope | Recommended access |
|---|---|---|
| Employee | employee | Read Only or Read & Write |
| Employee | employee_directory | Read Only |
| Employee | employee:file | Read Only |
| Time Off | time_off | Read Only or Read & Write |
| Time Tracking | time_tracking | Read Only |
| Training | training | Read Only |
| Miscellaneous | goal | Read Only |
| Company | company:info | Read Only |
| Company | company_file | Read Only |
| — | openid | Required for OpenID Connect sign-in |
| — | offline_access | Required to obtain a refresh token |
Take only what you need
Take only what you need
Following the principle of least privilege, grant only the access levels your integration actually requires. You can always come back and adjust the scope assignments later.
After configuring all required scopes, click Save Changes at the bottom of the dialog.
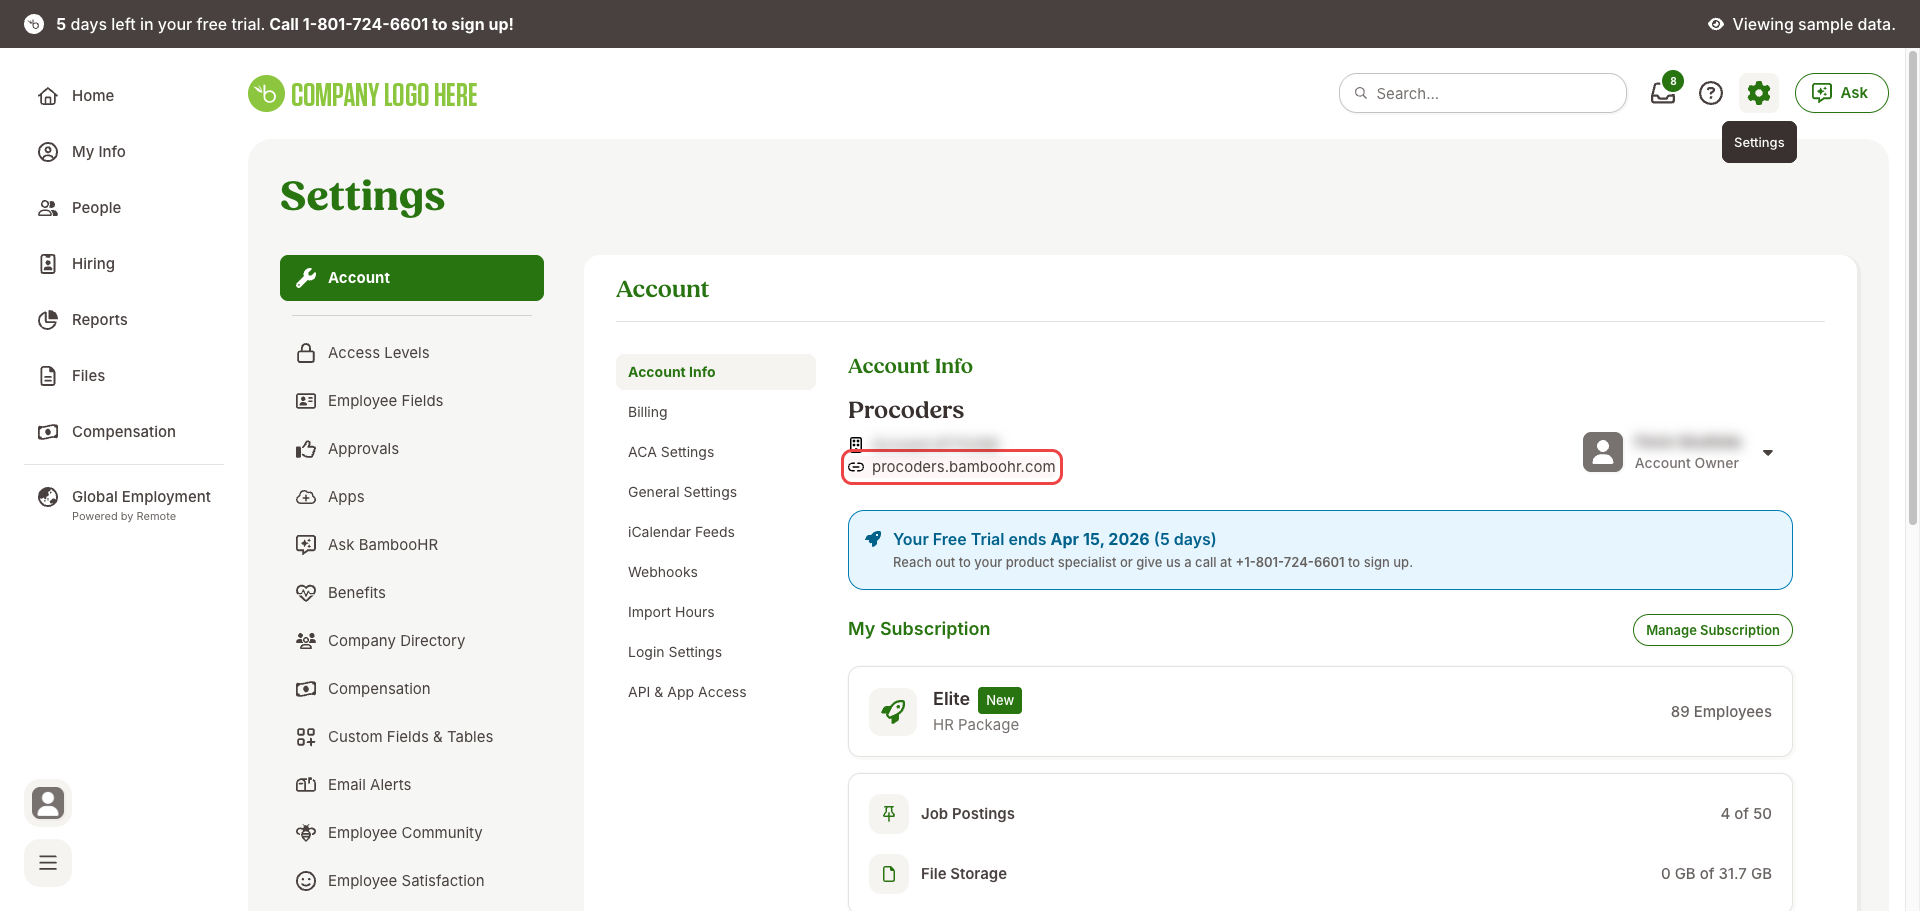
In addition to the OAuth credentials, the Frontegg integration needs your BambooHR subdomain — the unique company identifier in your BambooHR URL. If you sign in to BambooHR at https://yourcompany.bamboohr.com, your subdomain is yourcompany (without https:// and without .bamboohr.com).
To find it, sign in to your BambooHR instance and open Settings → Account → Account Info. Your company URL is shown right under the company name — copy only the subdomain part.
Once you have obtained your Client ID and Client Secret from the steps above, enter them in the integration configuration page of the Frontegg portal:
- Open the Frontegg portal and navigate to [ENVIRONMENT] → Integrations → BambooHR.
- Enter the Client ID and Client Secret in the corresponding fields.
- Enter your BambooHR subdomain (e.g.
yourcompany) in the BambooHR subdomain field. - Select the required scopes.
- Click Save.
Keep your credentials secure
Keep your credentials secure
Never share or commit your Client Secret to version control.