Sentry is an application monitoring platform that provides error tracking, performance monitoring, and release management. Integrating Sentry with Frontegg allows your application to manage projects, issues, events, and releases on behalf of your users through OAuth 2.0 authentication.
Prerequisites
Prerequisites
- A Sentry account with access to Account Settings → API → Applications
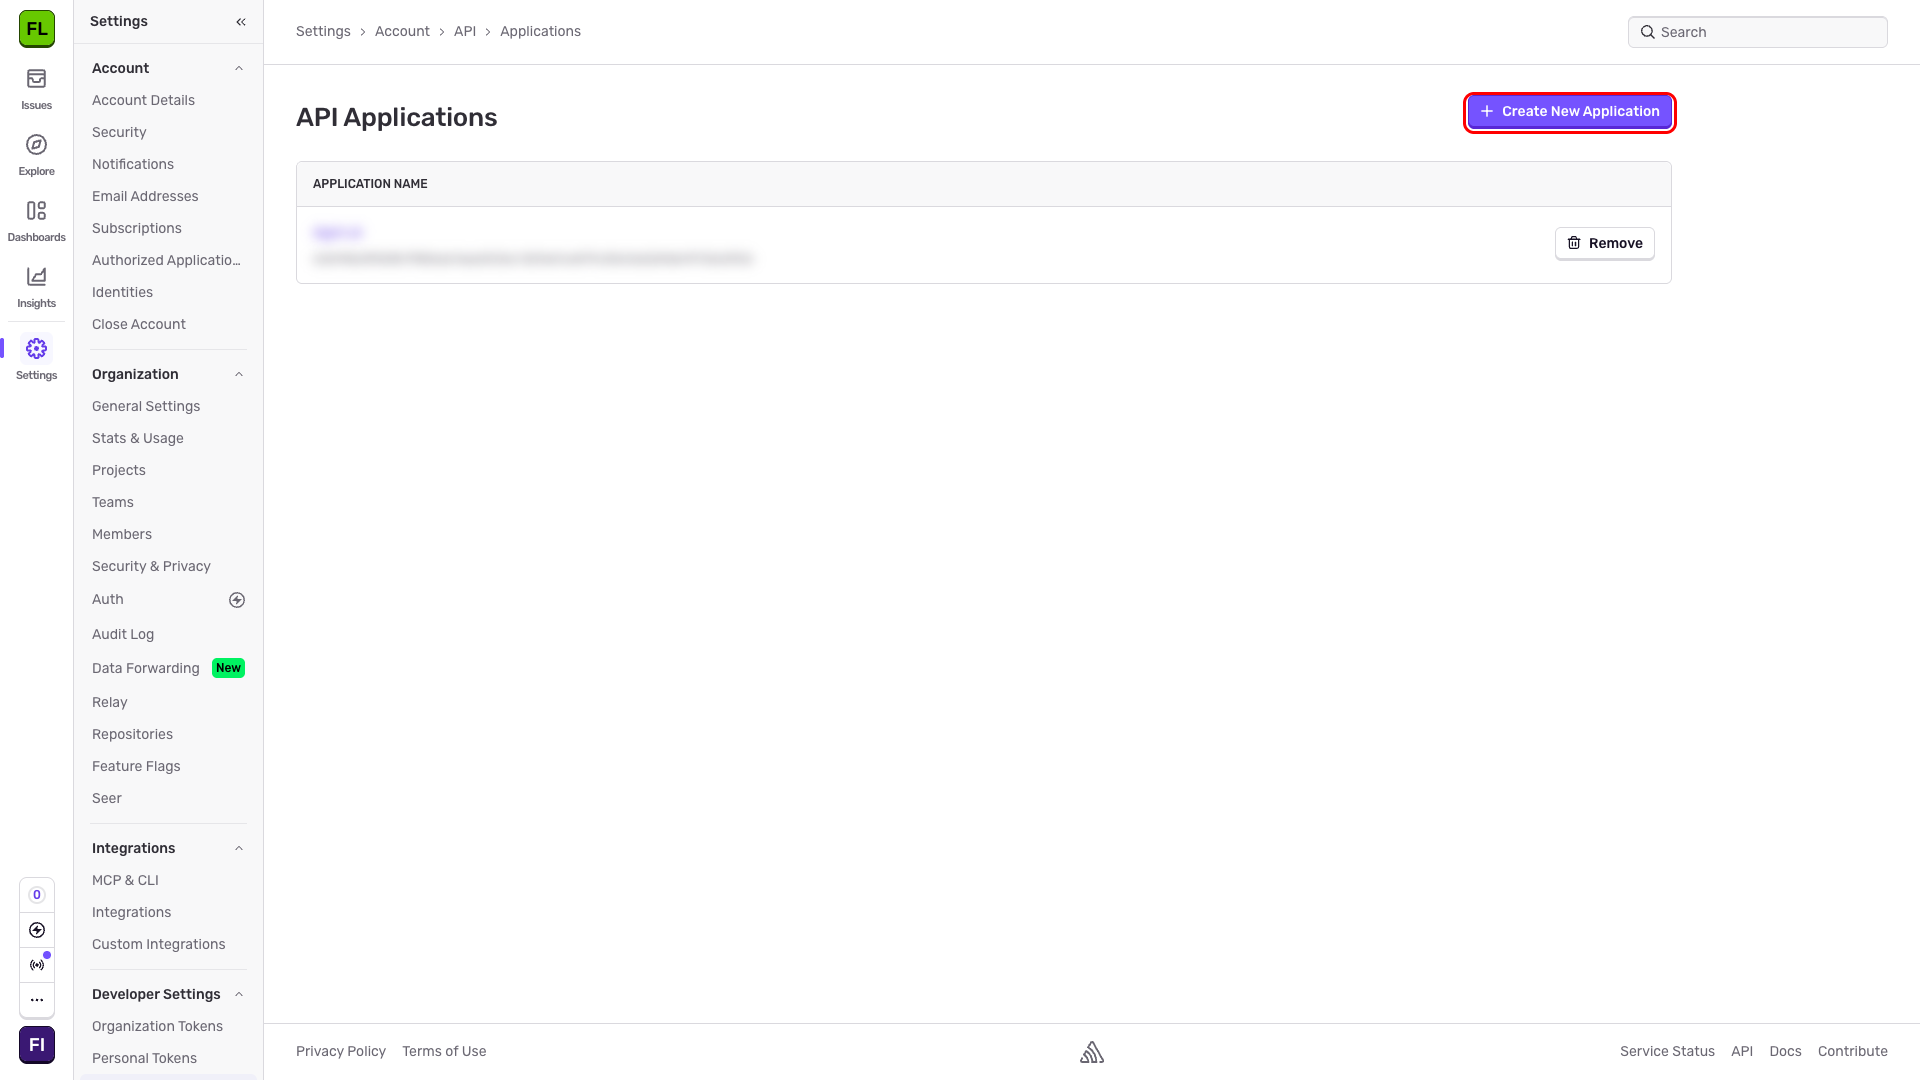
Sign in to Sentry and navigate to Settings → Account → API → Applications at https://sentry.io/settings/account/api/applications/.
This page lists all OAuth applications registered under your account. Click Create New Application.
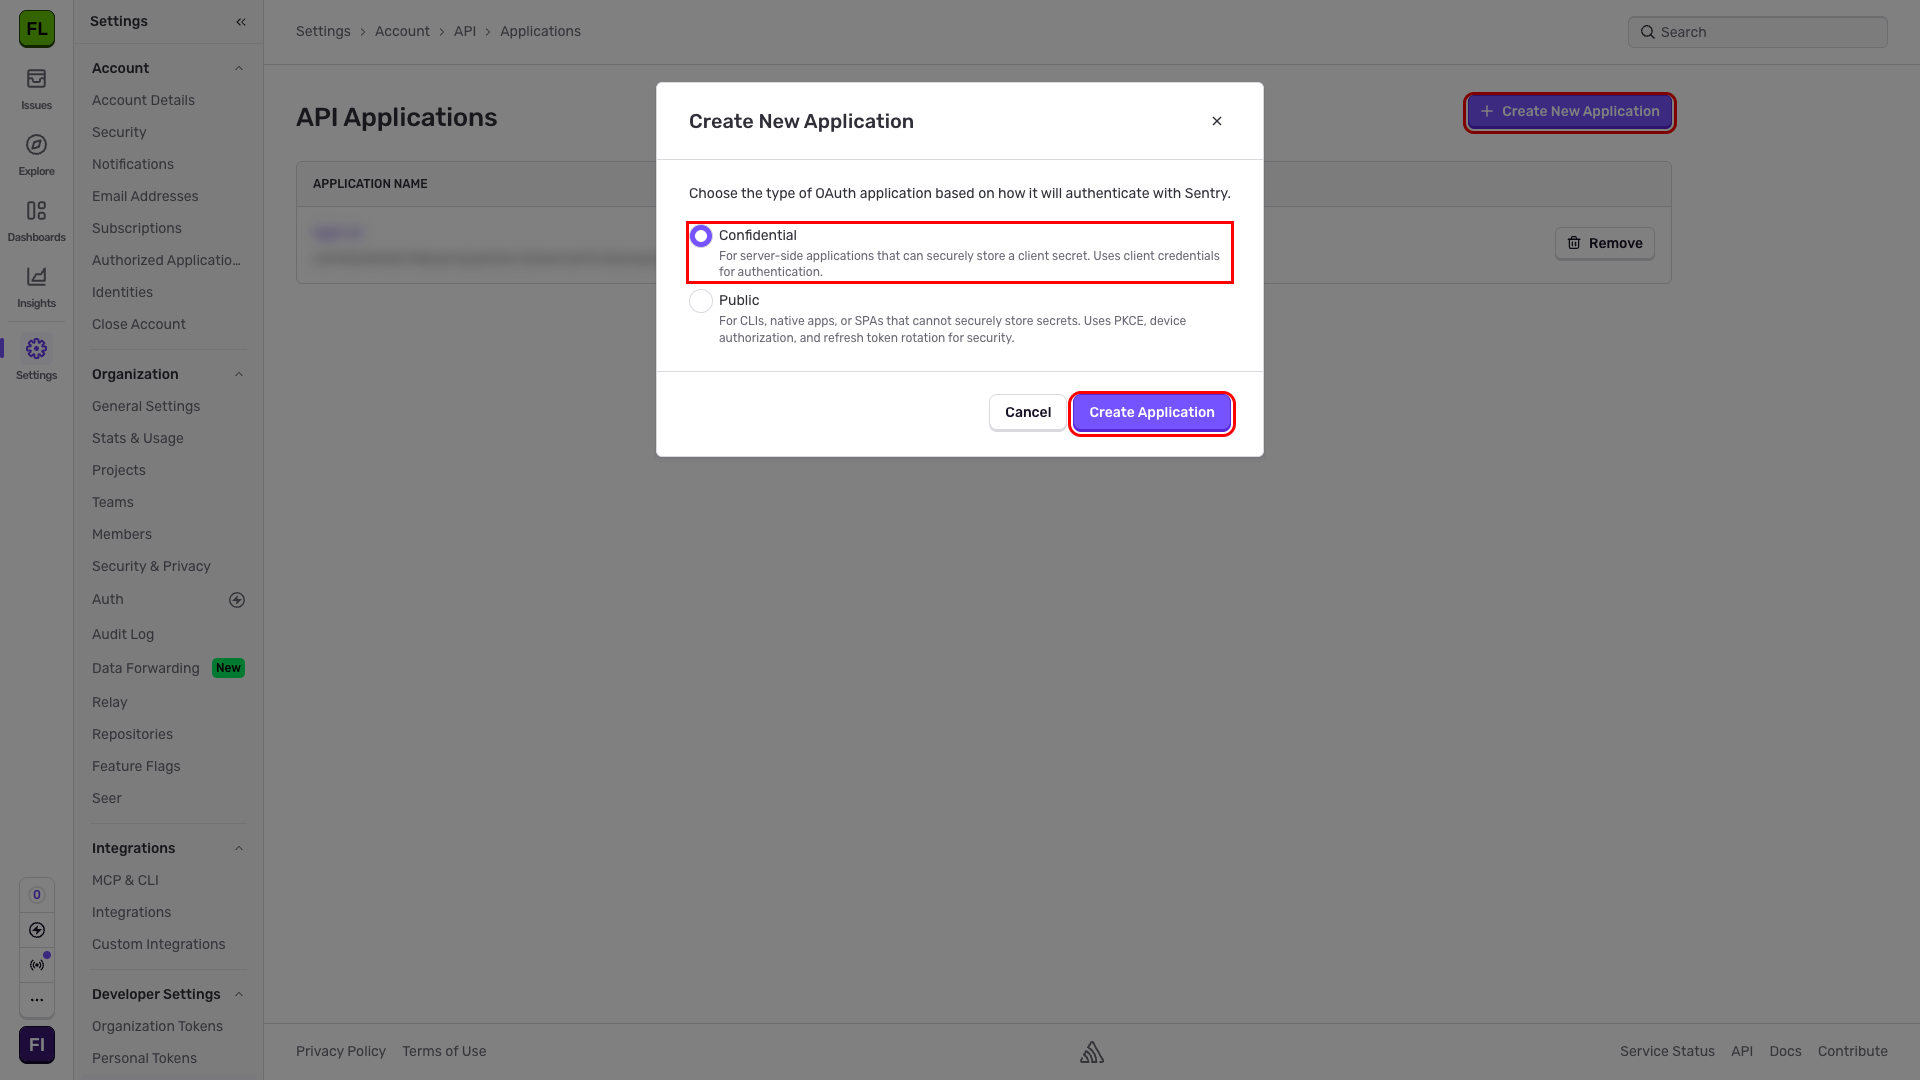
In the Create New Application dialog, select Confidential (selected by default). This is the recommended option for server-side applications that can securely store a client secret.
Click Create Application.
Sentry creates the application and redirects you to the Application Details page. Fill in the following fields:
| Field | Value |
|---|---|
| Name | A descriptive name, e.g., Frontegg Integration |
| Homepage | The URL of your application homepage |
| Authorized Redirect URIs | The Frontegg callback URIs (see below) |
In the Authorized Redirect URIs field, enter the callback URI:
https://YOUR_MCP_GATEWAY_URL/integration-callbackAuto-save
Auto-save
Each field saves automatically when you click away from it. There is no separate save button.
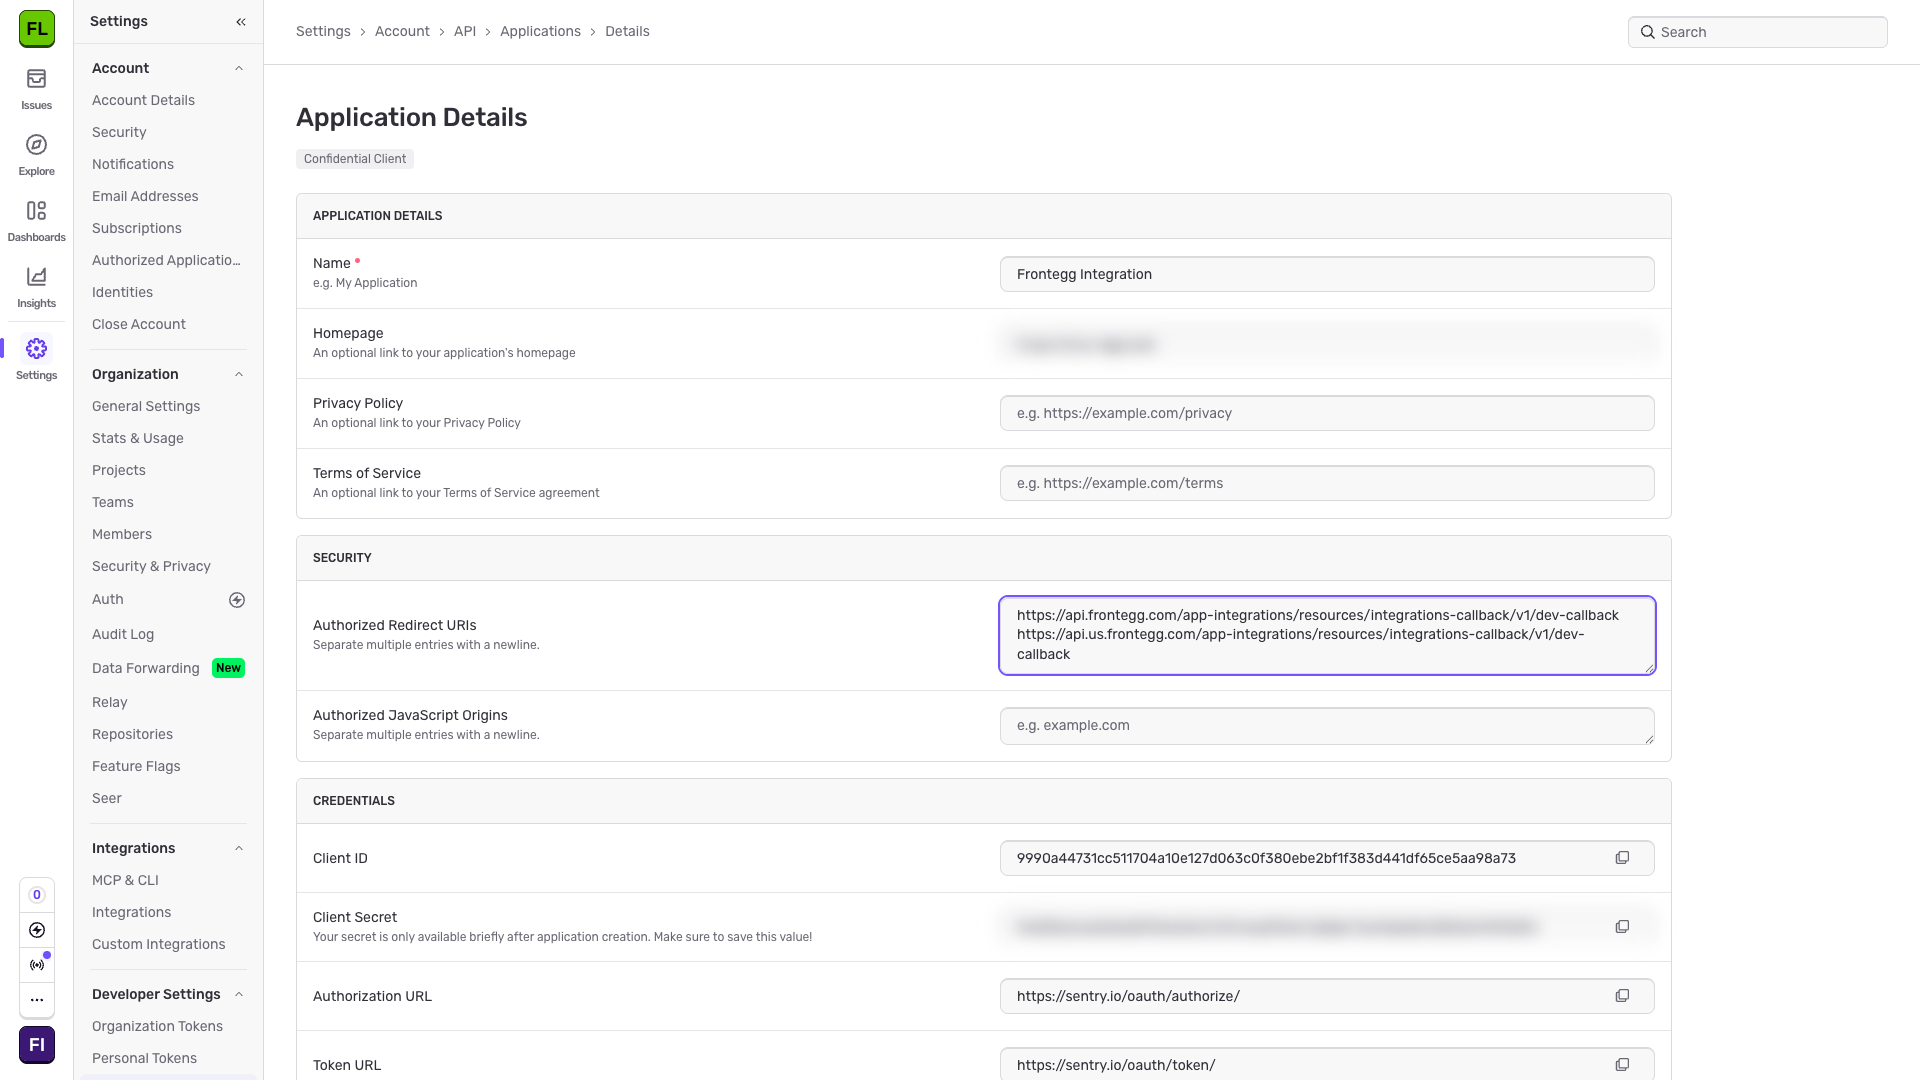
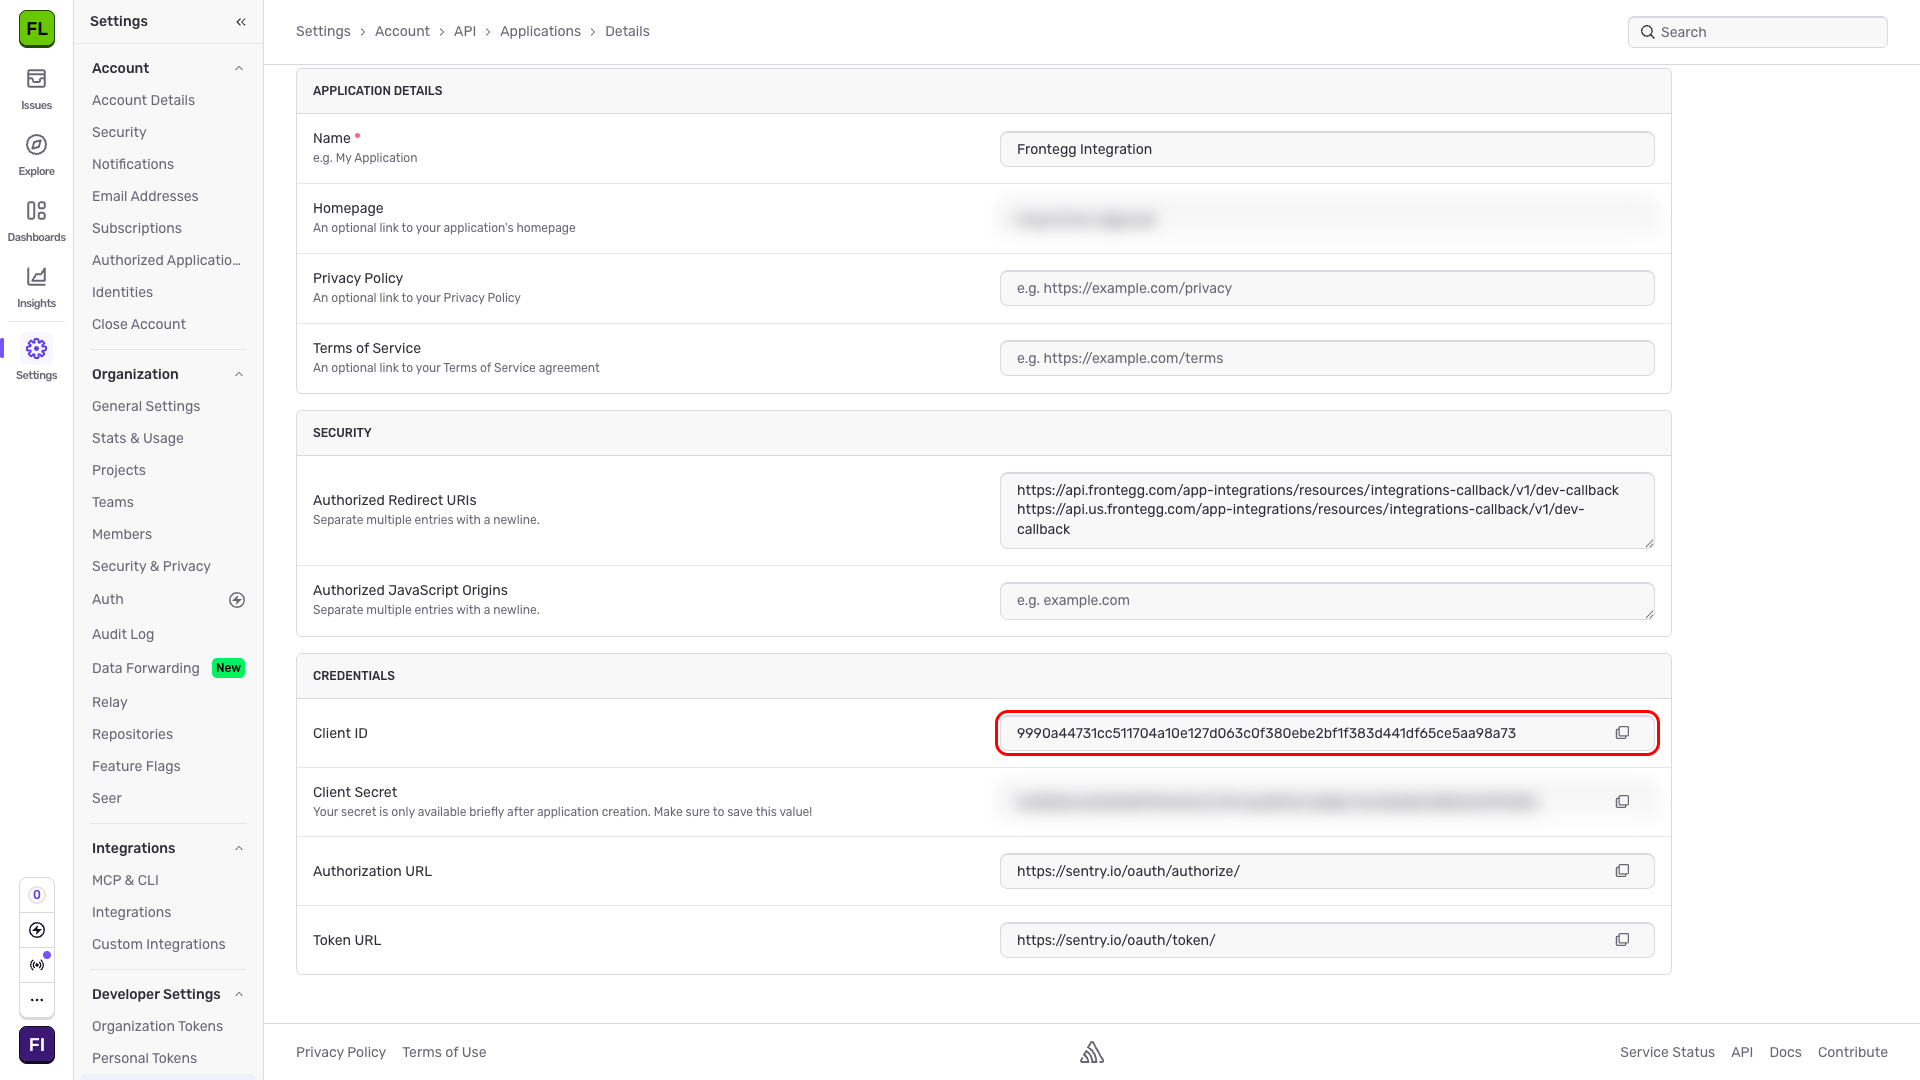
The Client ID and Client Secret are displayed in the CREDENTIALS section of the same page. Copy both values and store them securely.
One-time display
One-time display
The Client Secret is only available briefly after application creation. Copy it before leaving this page — it cannot be retrieved later.
Once you have the Client ID and Client Secret from the steps above, enter them in the integration configuration page of the Frontegg portal:
- Open the Frontegg portal and navigate to [ENVIRONMENT] → Integrations → Sentry.
- Enter the Client ID and Client Secret in the corresponding fields.
- Select the required scopes:
| Scope | Description |
|---|---|
project:read | Read project information |
project:write | Create and update projects |
project:admin | Full project administration |
project:releases | Manage releases |
team:read | Read team information |
team:write | Create and update teams |
team:admin | Full team administration |
org:read | Read organization information |
org:write | Update organization |
org:admin | Full organization administration |
member:read | Read member information |
member:write | Update member |
member:admin | Full member administration |
event:read | Read event data |
event:write | Update event data |
event:admin | Full event administration |
alerts:read | Read alerts |
alerts:write | Create and update alerts |
- Click Save.
Keep your credentials secure
Keep your credentials secure
Never share or commit your Client Secret to version control.