LiveChat is a customer service platform that helps teams manage real-time chat support, agents, and customer interactions. Integrating LiveChat with Frontegg allows your application to access chat data — including conversations, agents, and customers — on behalf of your users through OAuth 2.1 authentication.
Prerequisites
Prerequisites
- A LiveChat account with admin access
- Access to the Text Developer Console
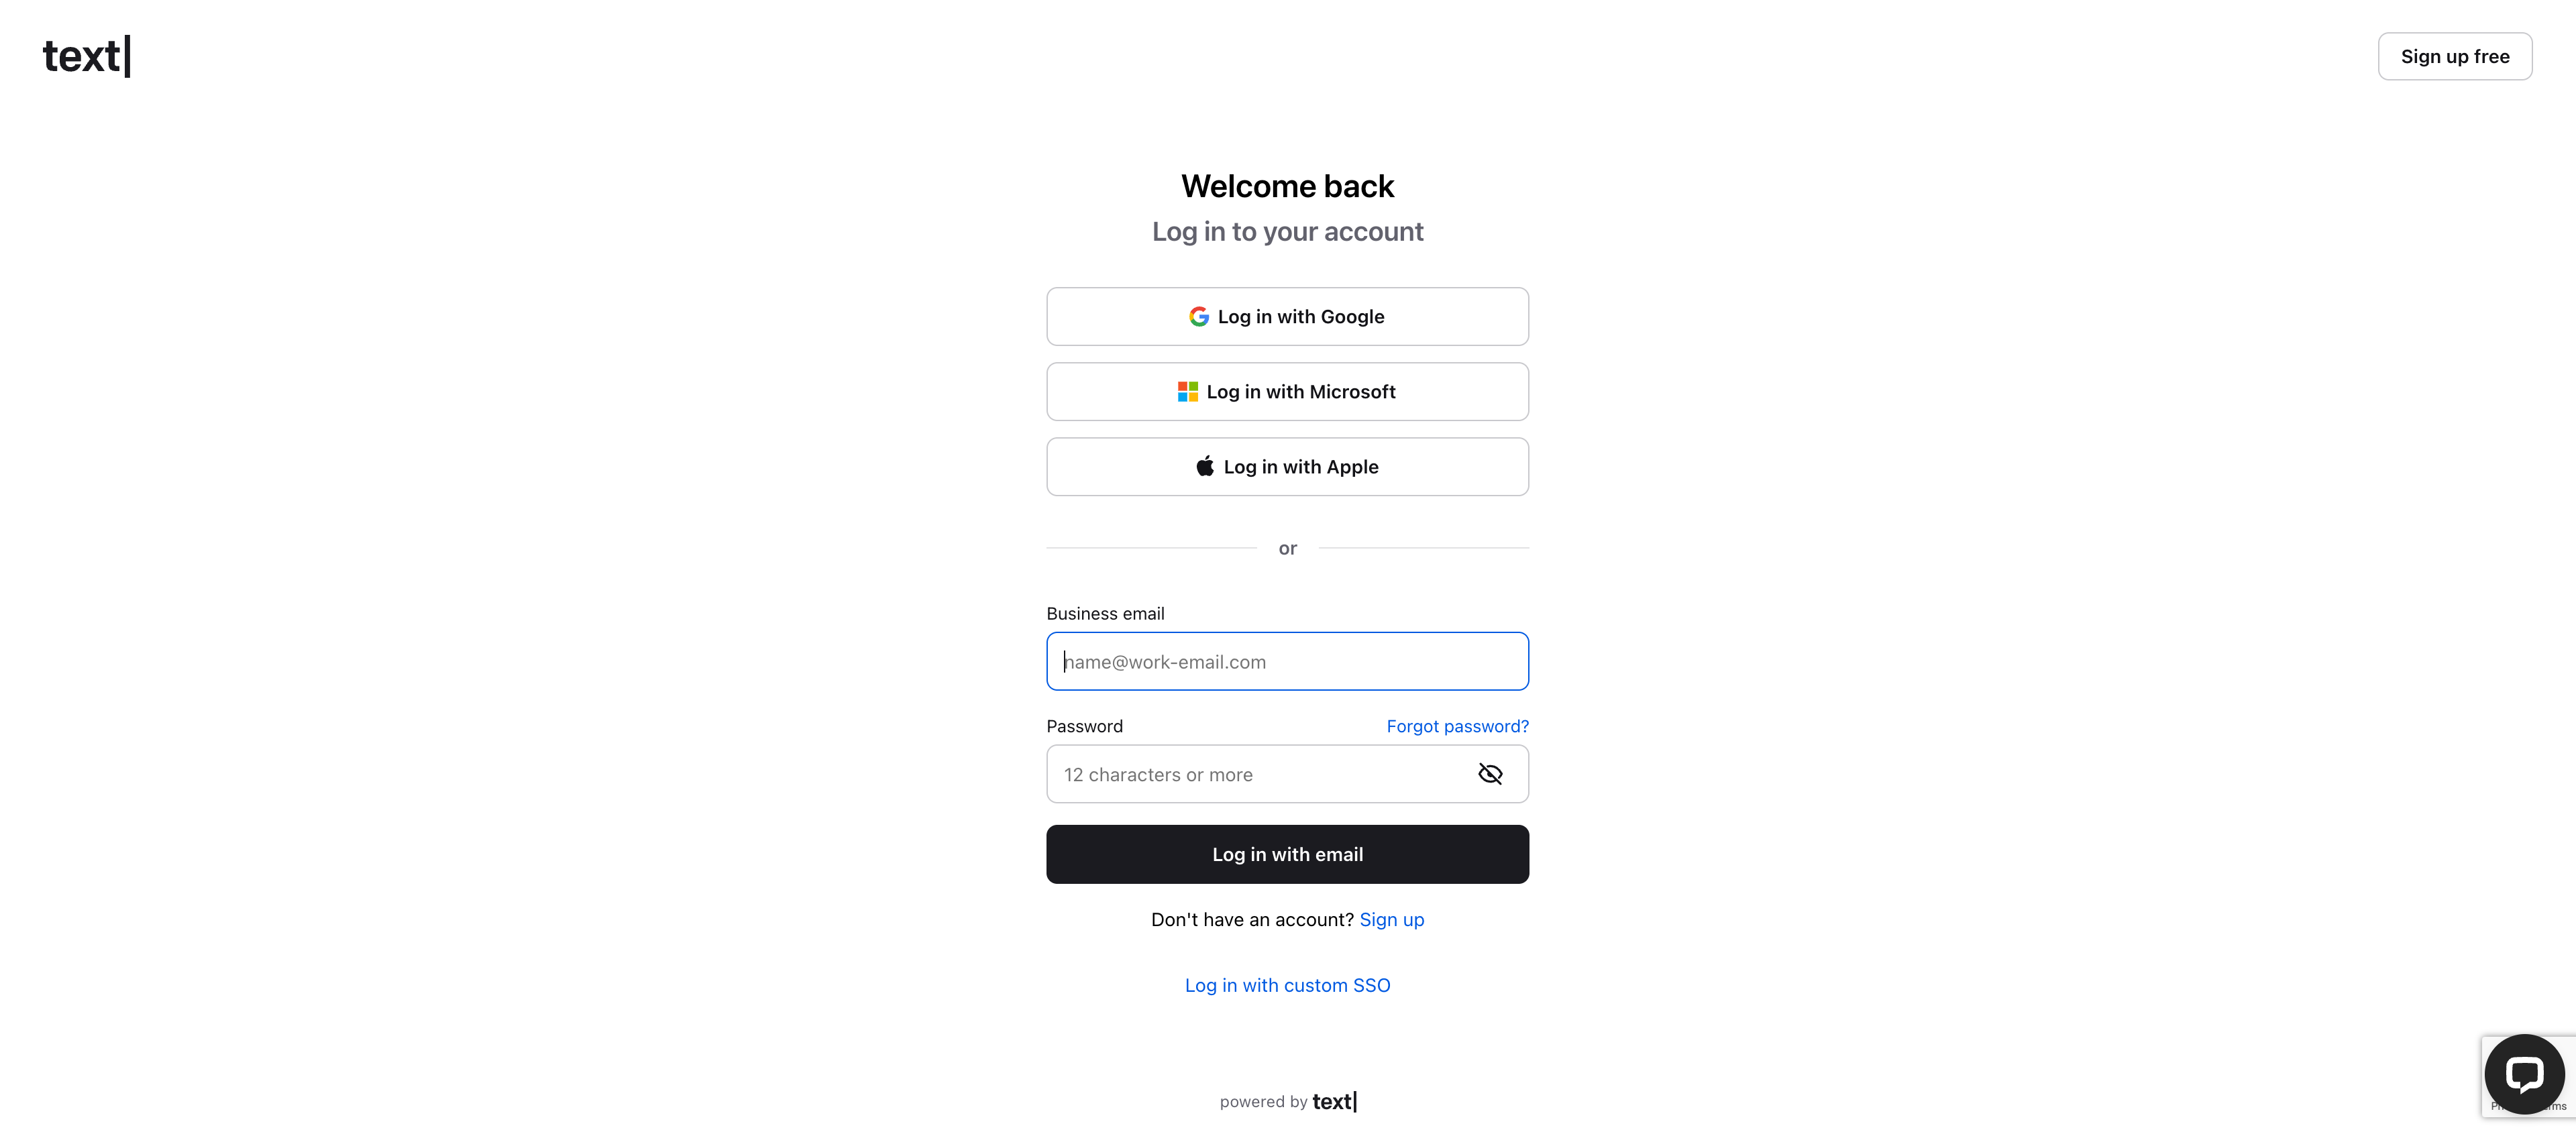
Navigate to platform.text.com/console and sign in with your LiveChat account. You can use Google, Microsoft, Apple, or email and password authentication.
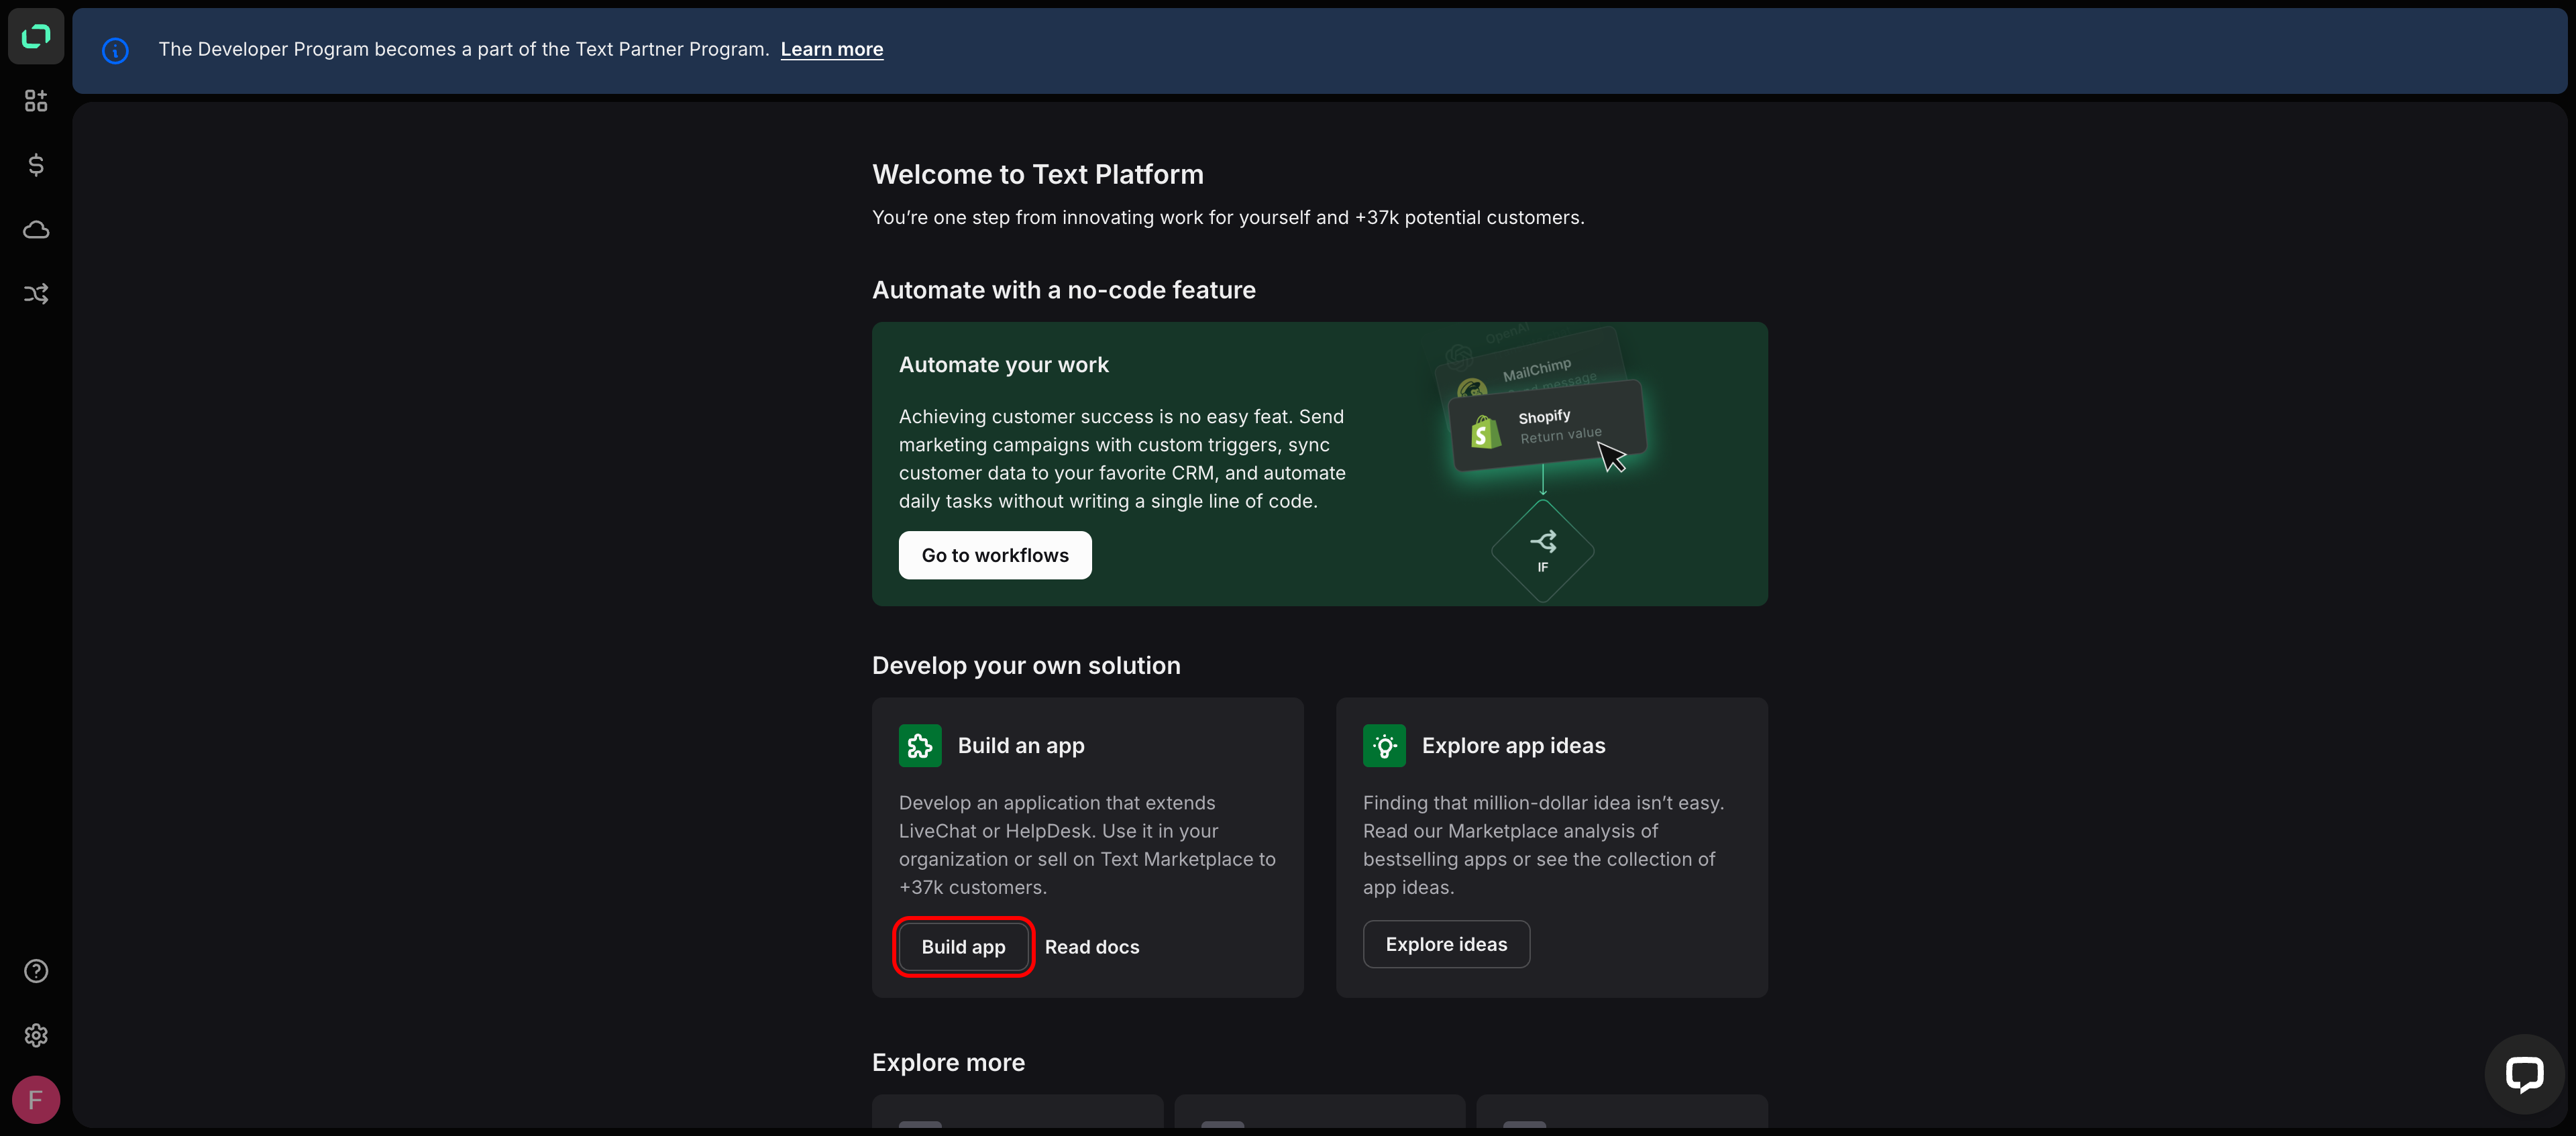
After signing in, you land on the Text Platform homepage. Under Develop your own solution, click Build an app to open the developer console.
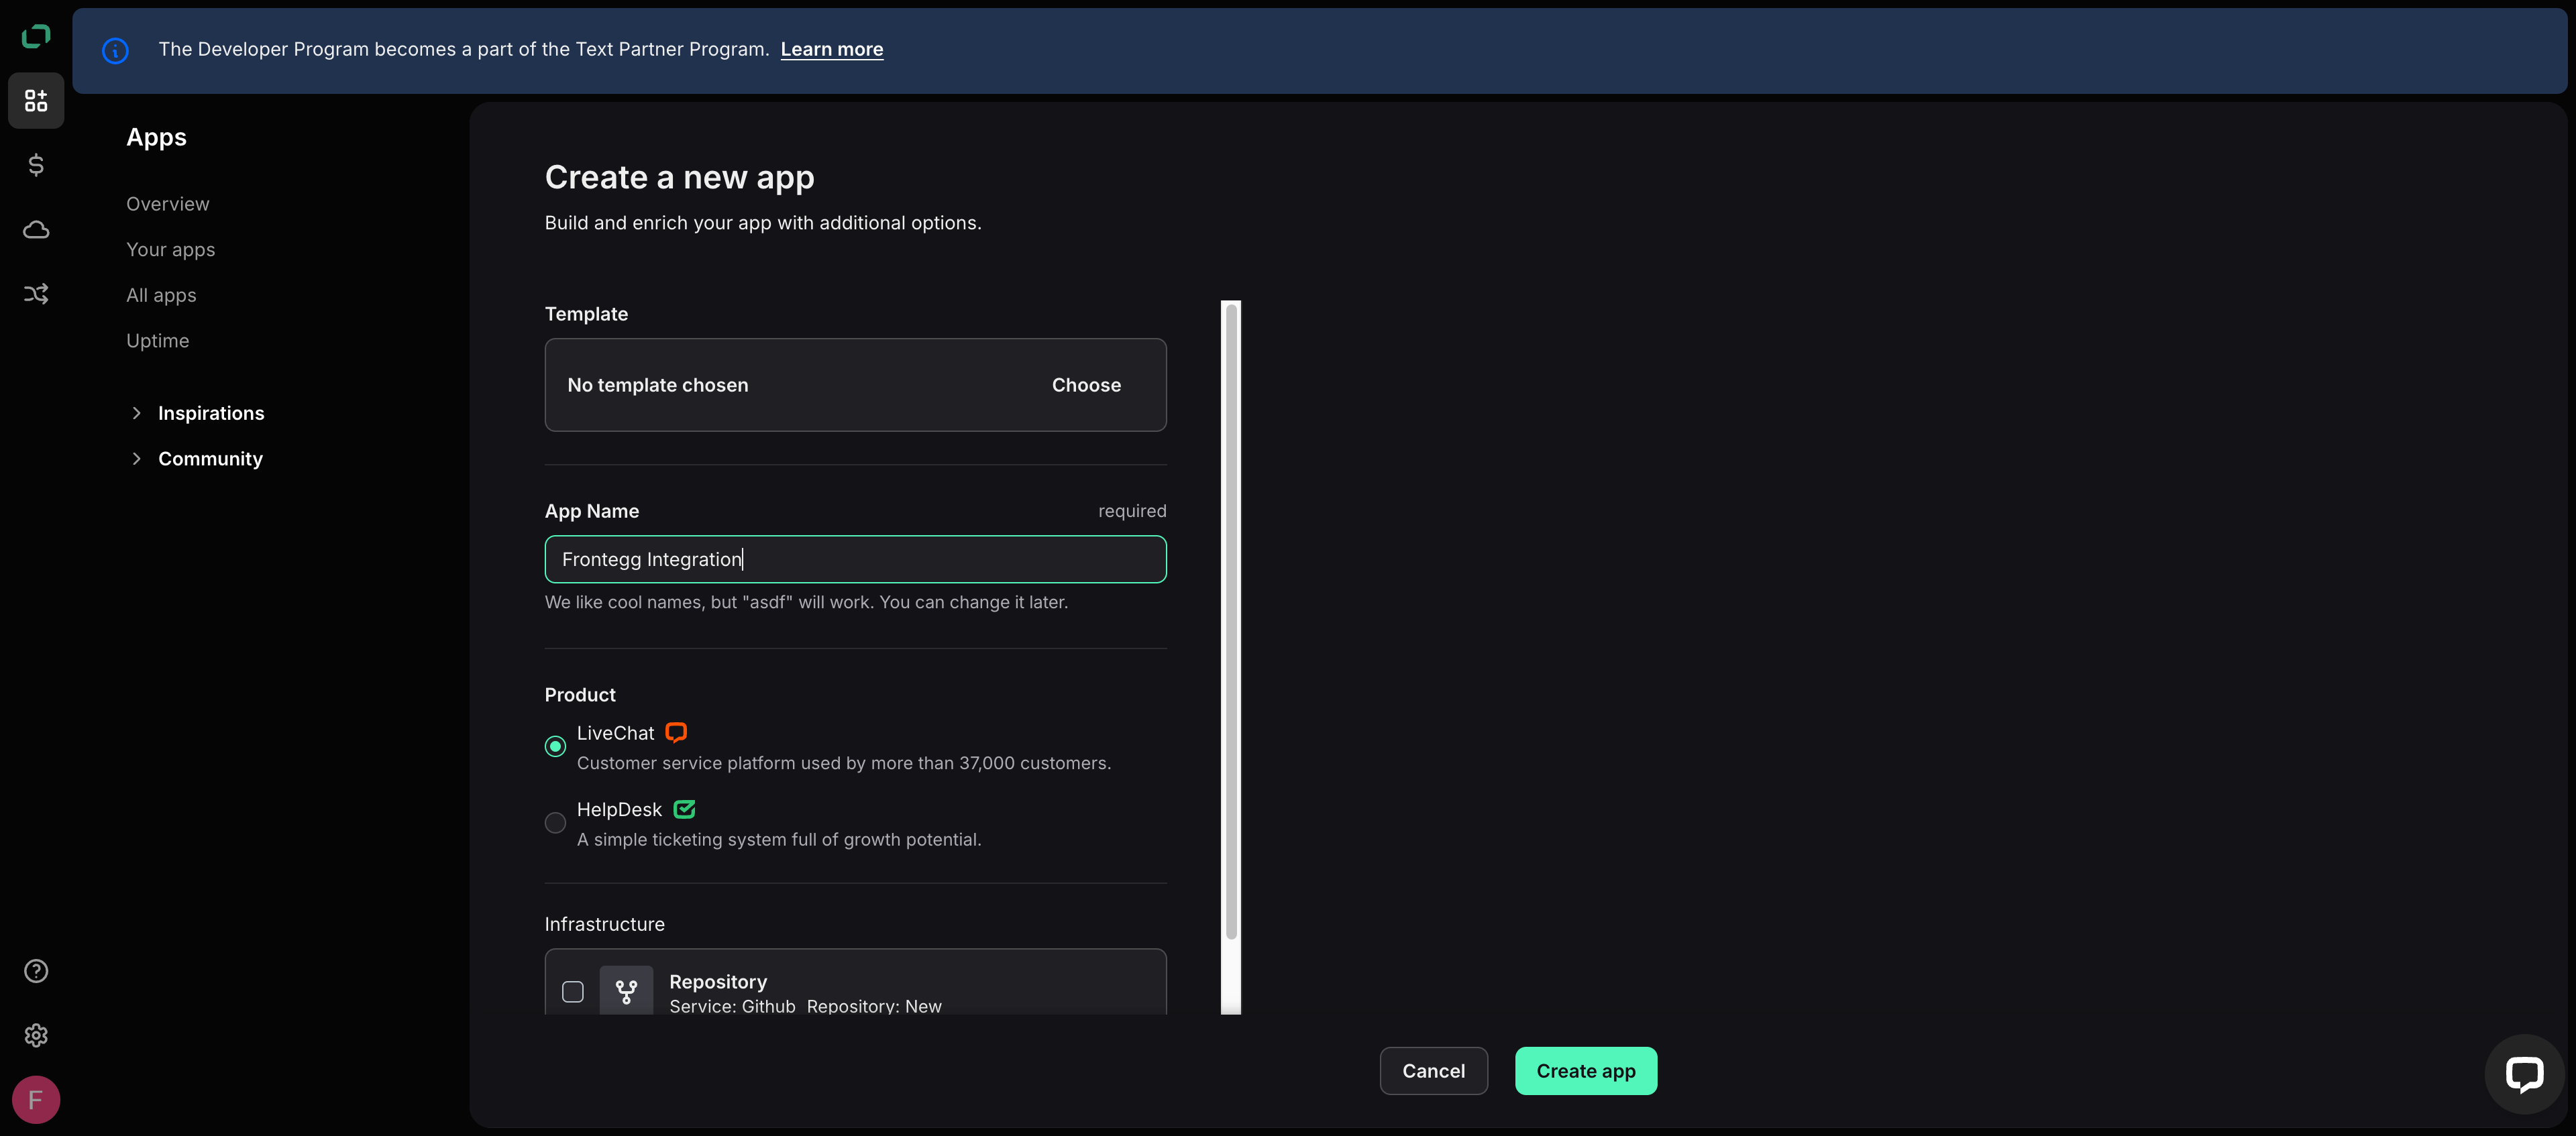
In the developer console, click Create new app. On the Create a new app form, fill in the following:
- App Name — Enter a name for your application, for example
Frontegg Integration. - Product — Select LiveChat.
Click Create app to continue.
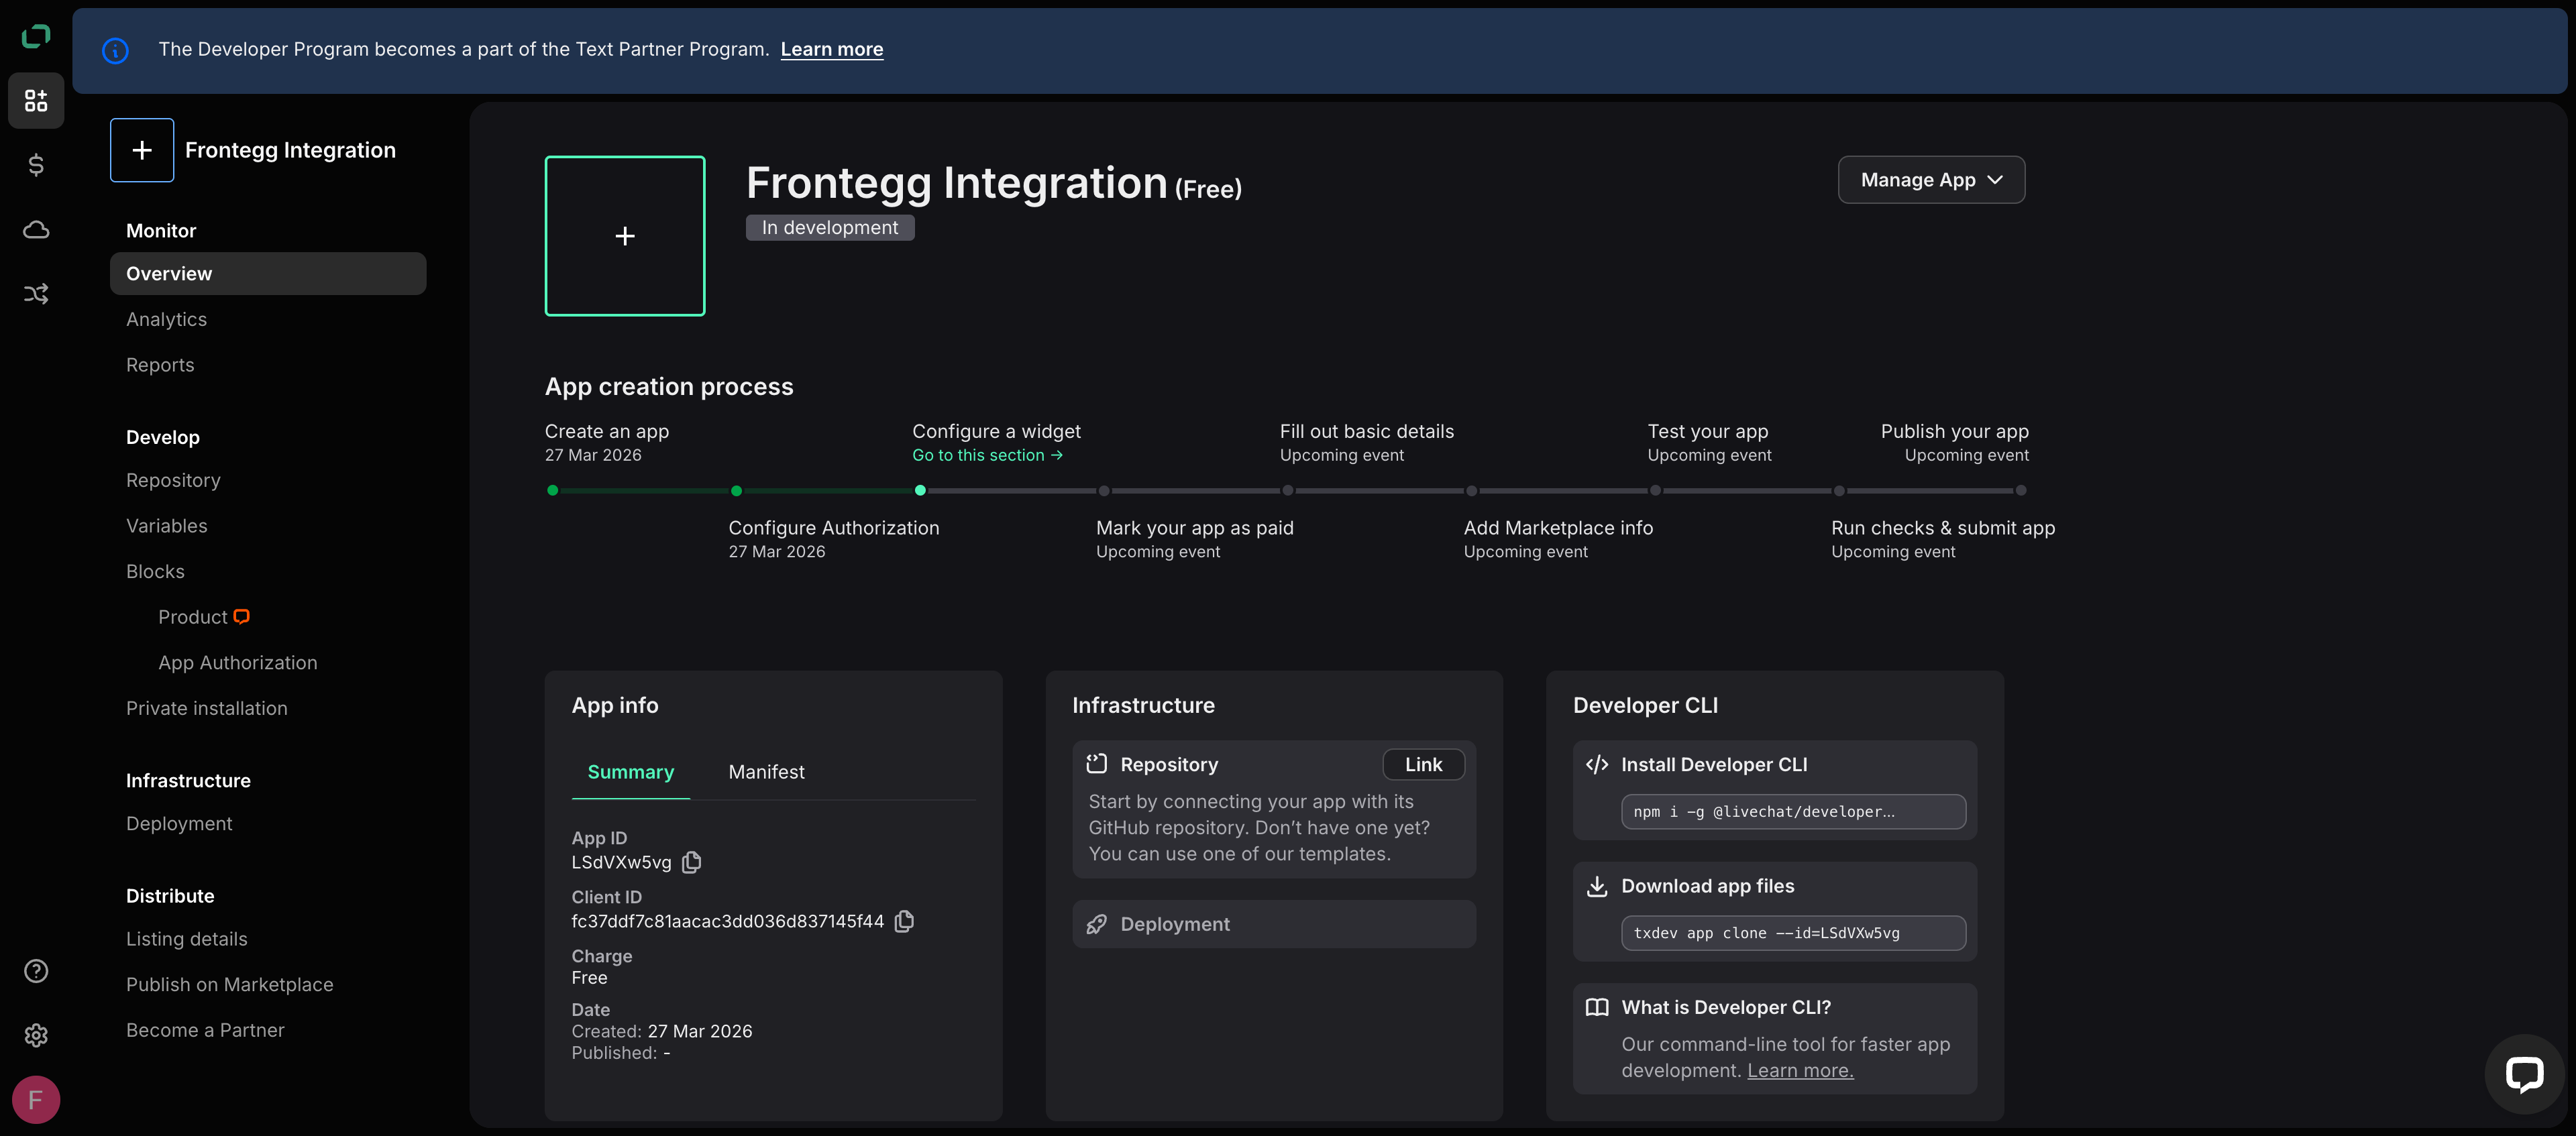
After the app is created, you land on the app overview page showing the App creation process steps. Click Configure Authorization or select App Authorization in the left sidebar under Blocks.
On the App Authorization page, set the Client type to Server-side app (backend, eg. Node, PHP). This is required for server-side OAuth flows used by the Frontegg integration.
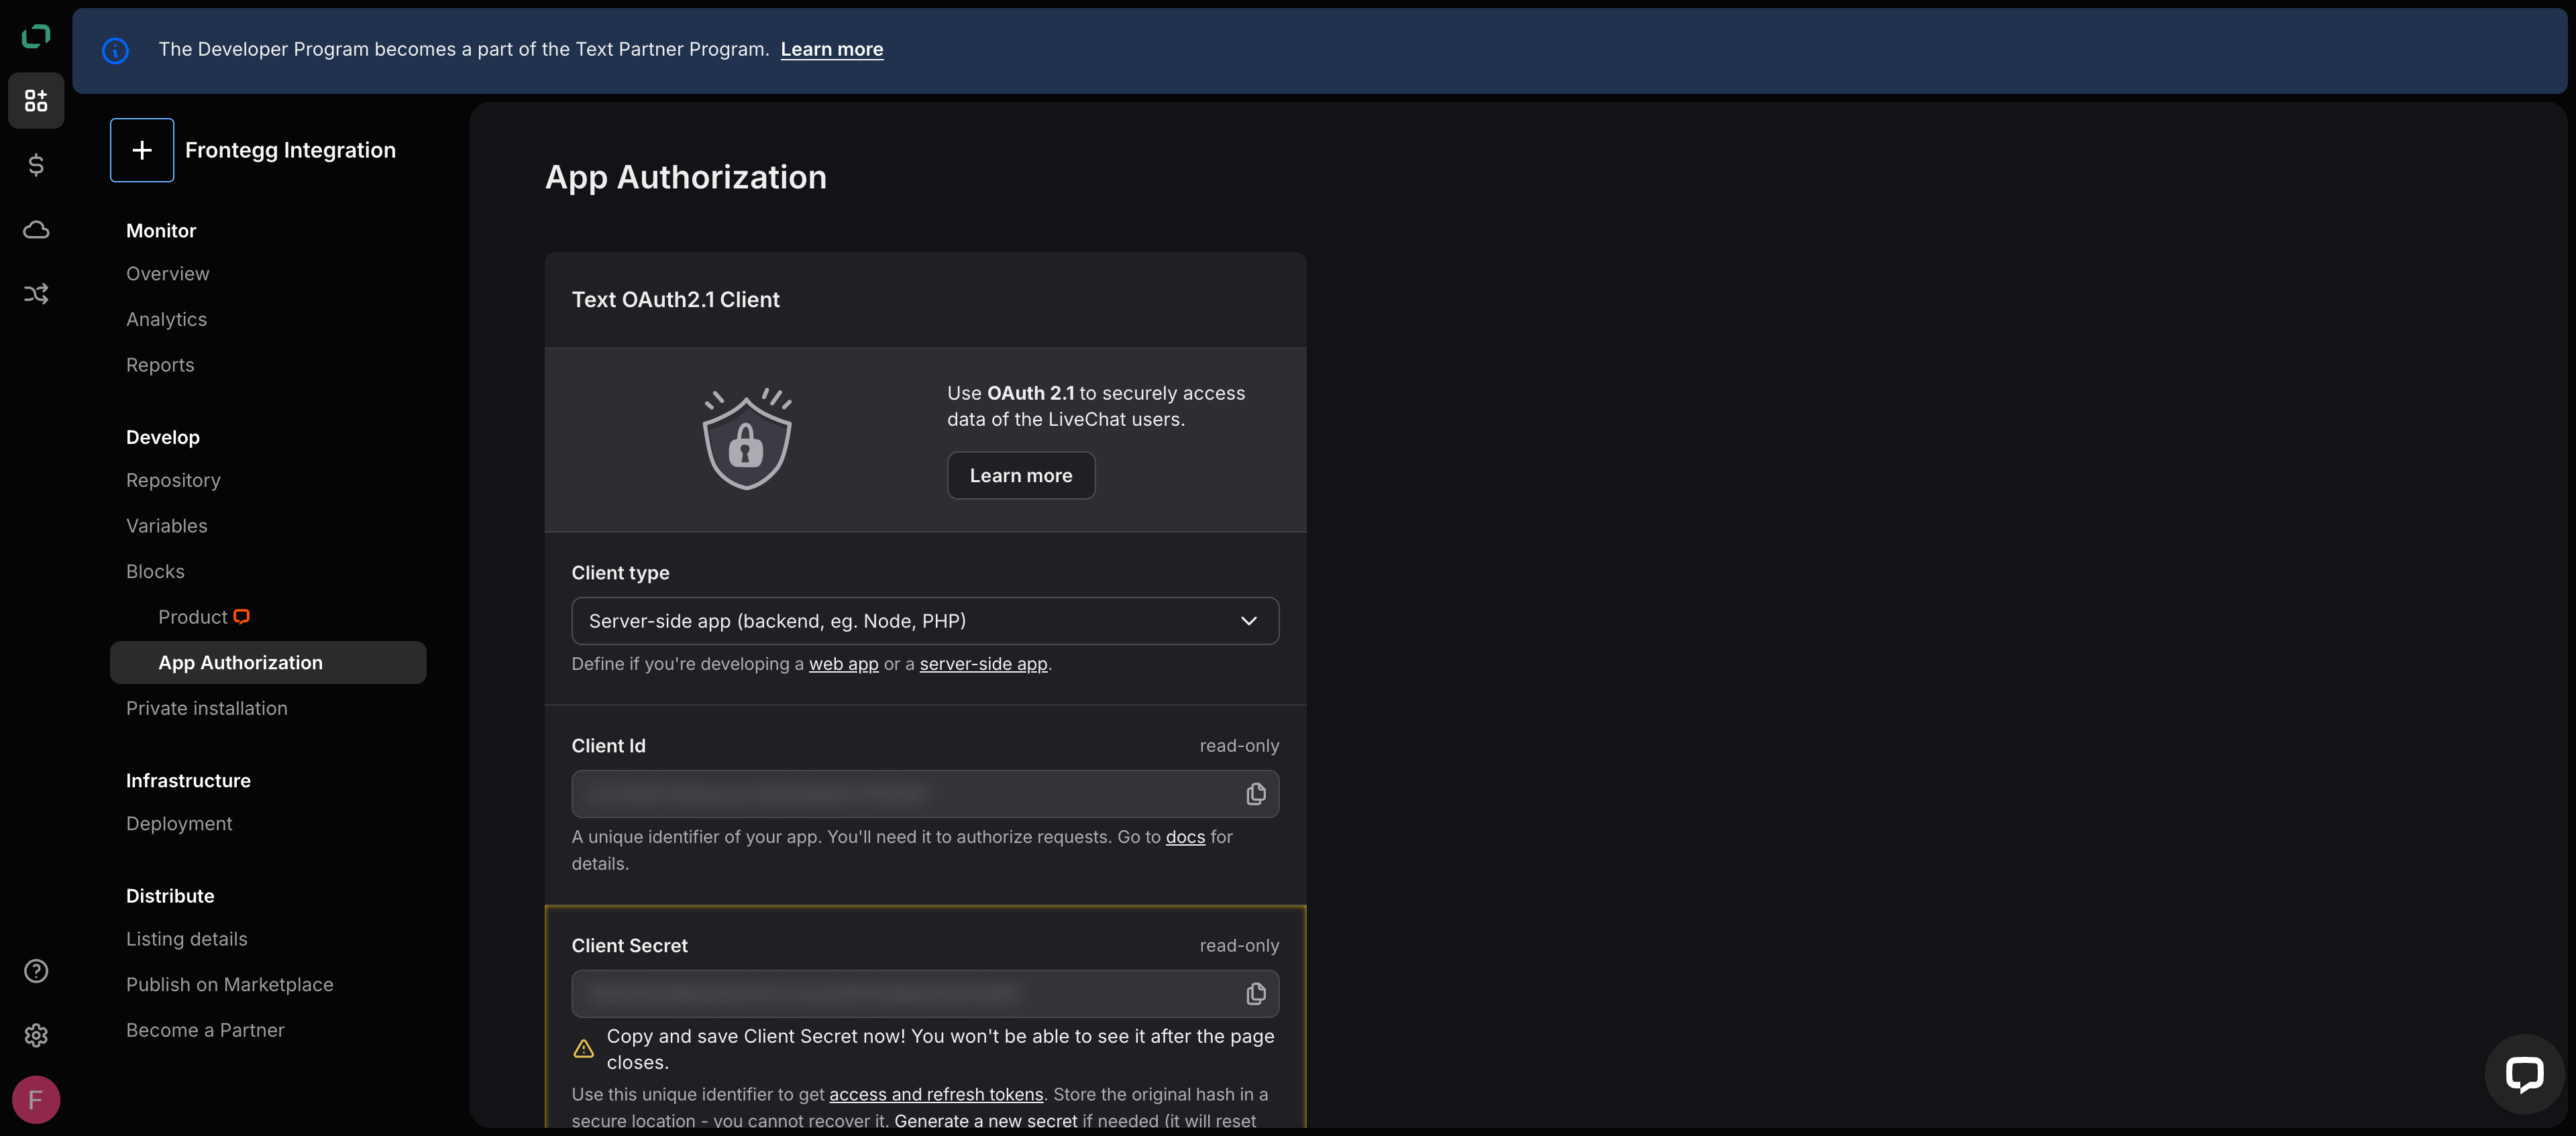
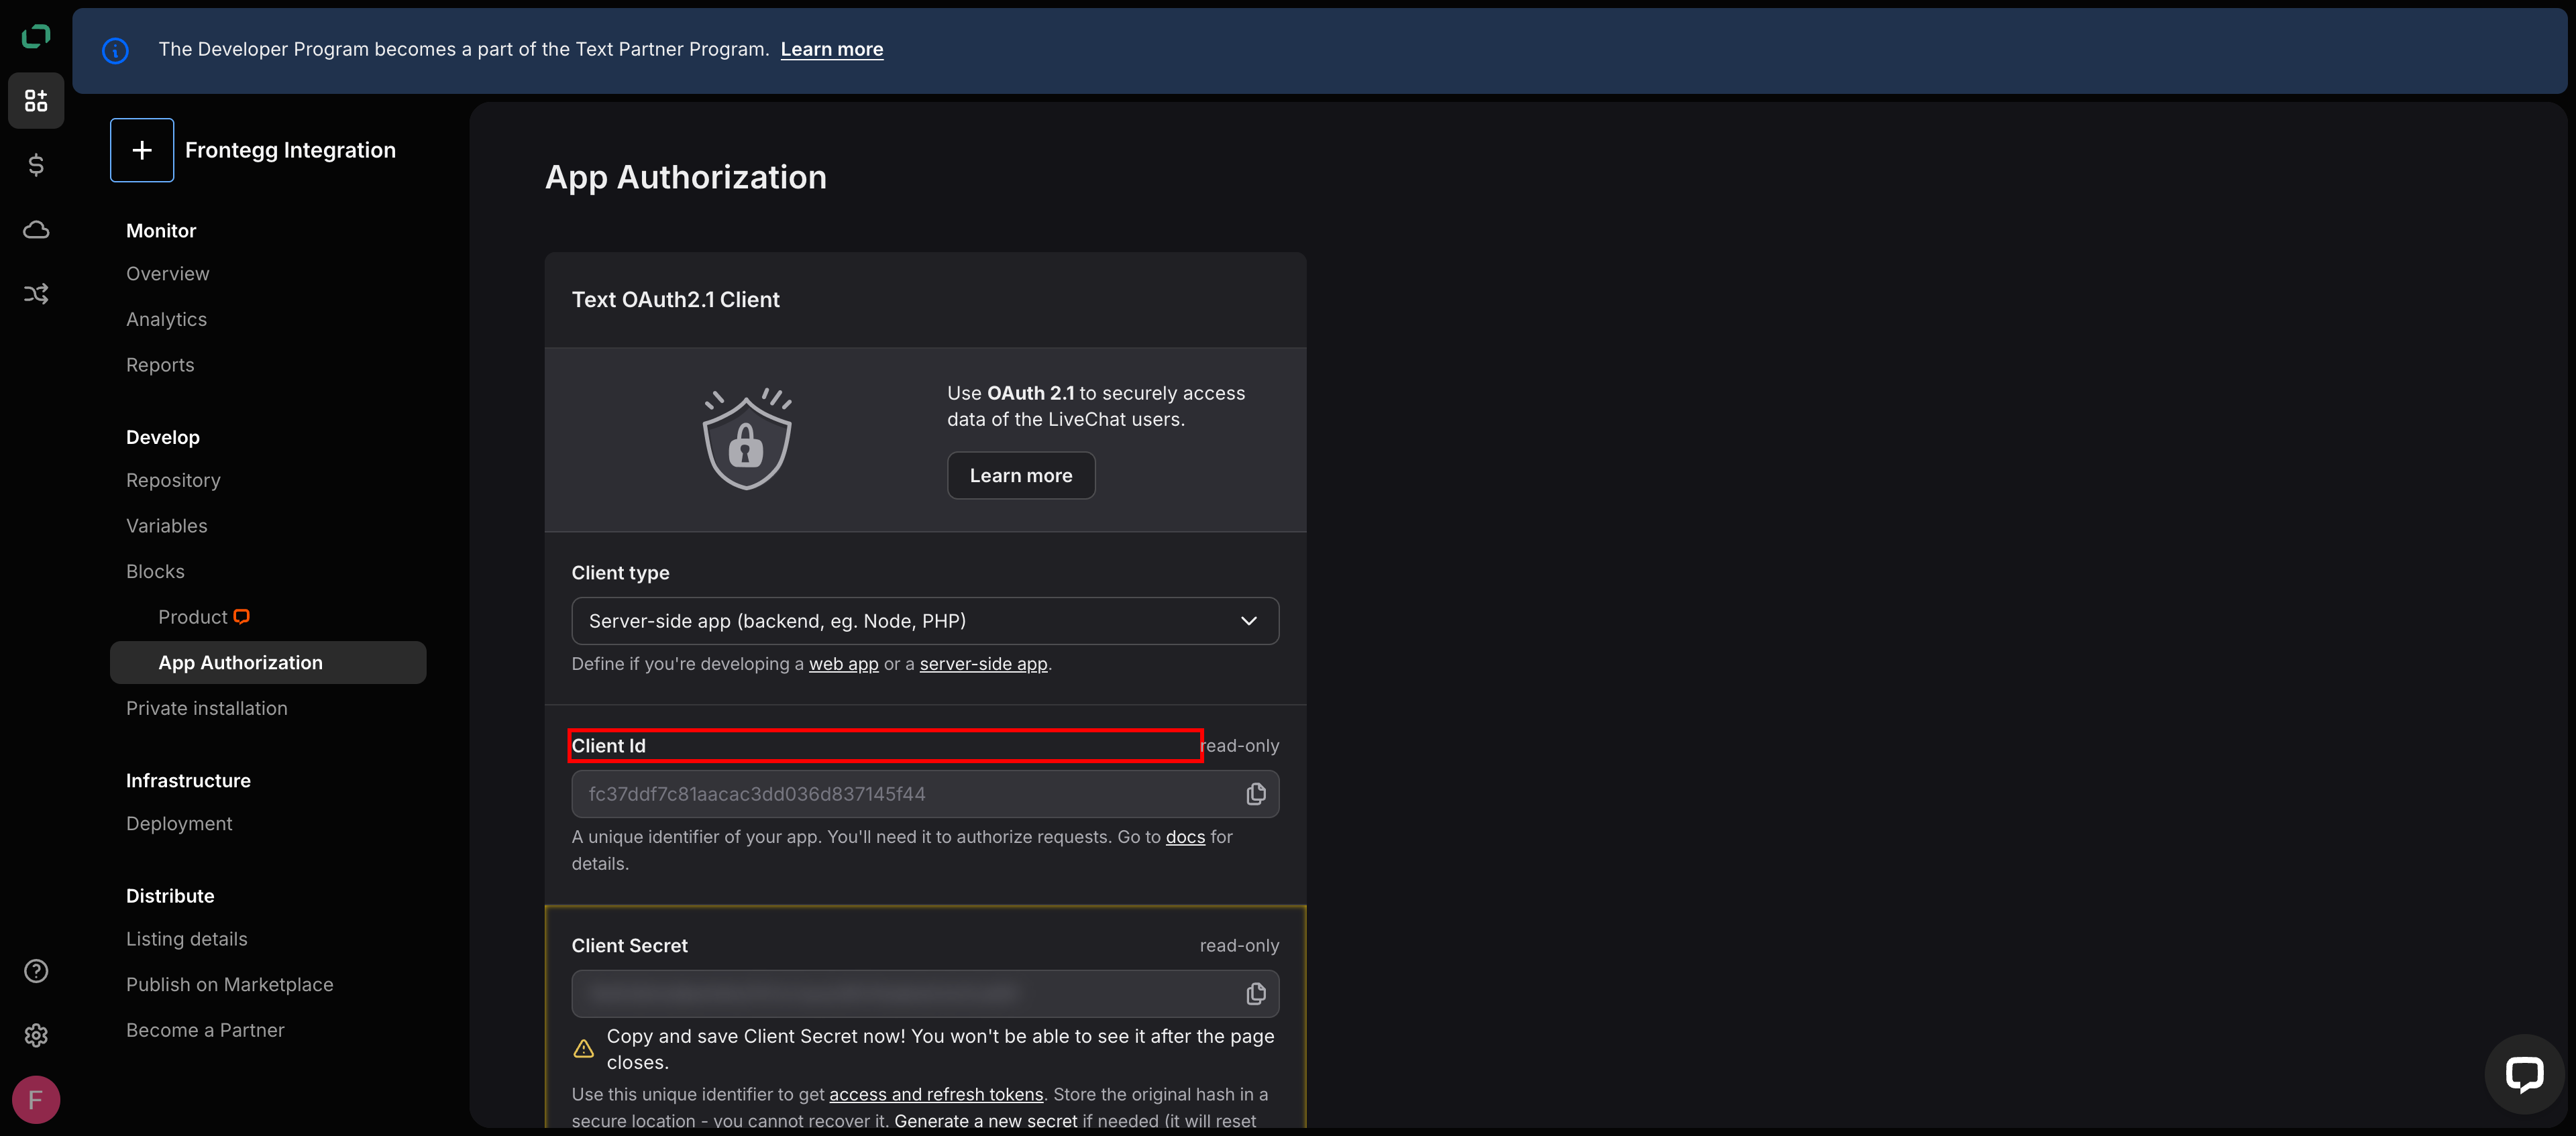
On the same page, locate the following credentials:
- Client Id — Your app's unique identifier used to initiate OAuth flows.
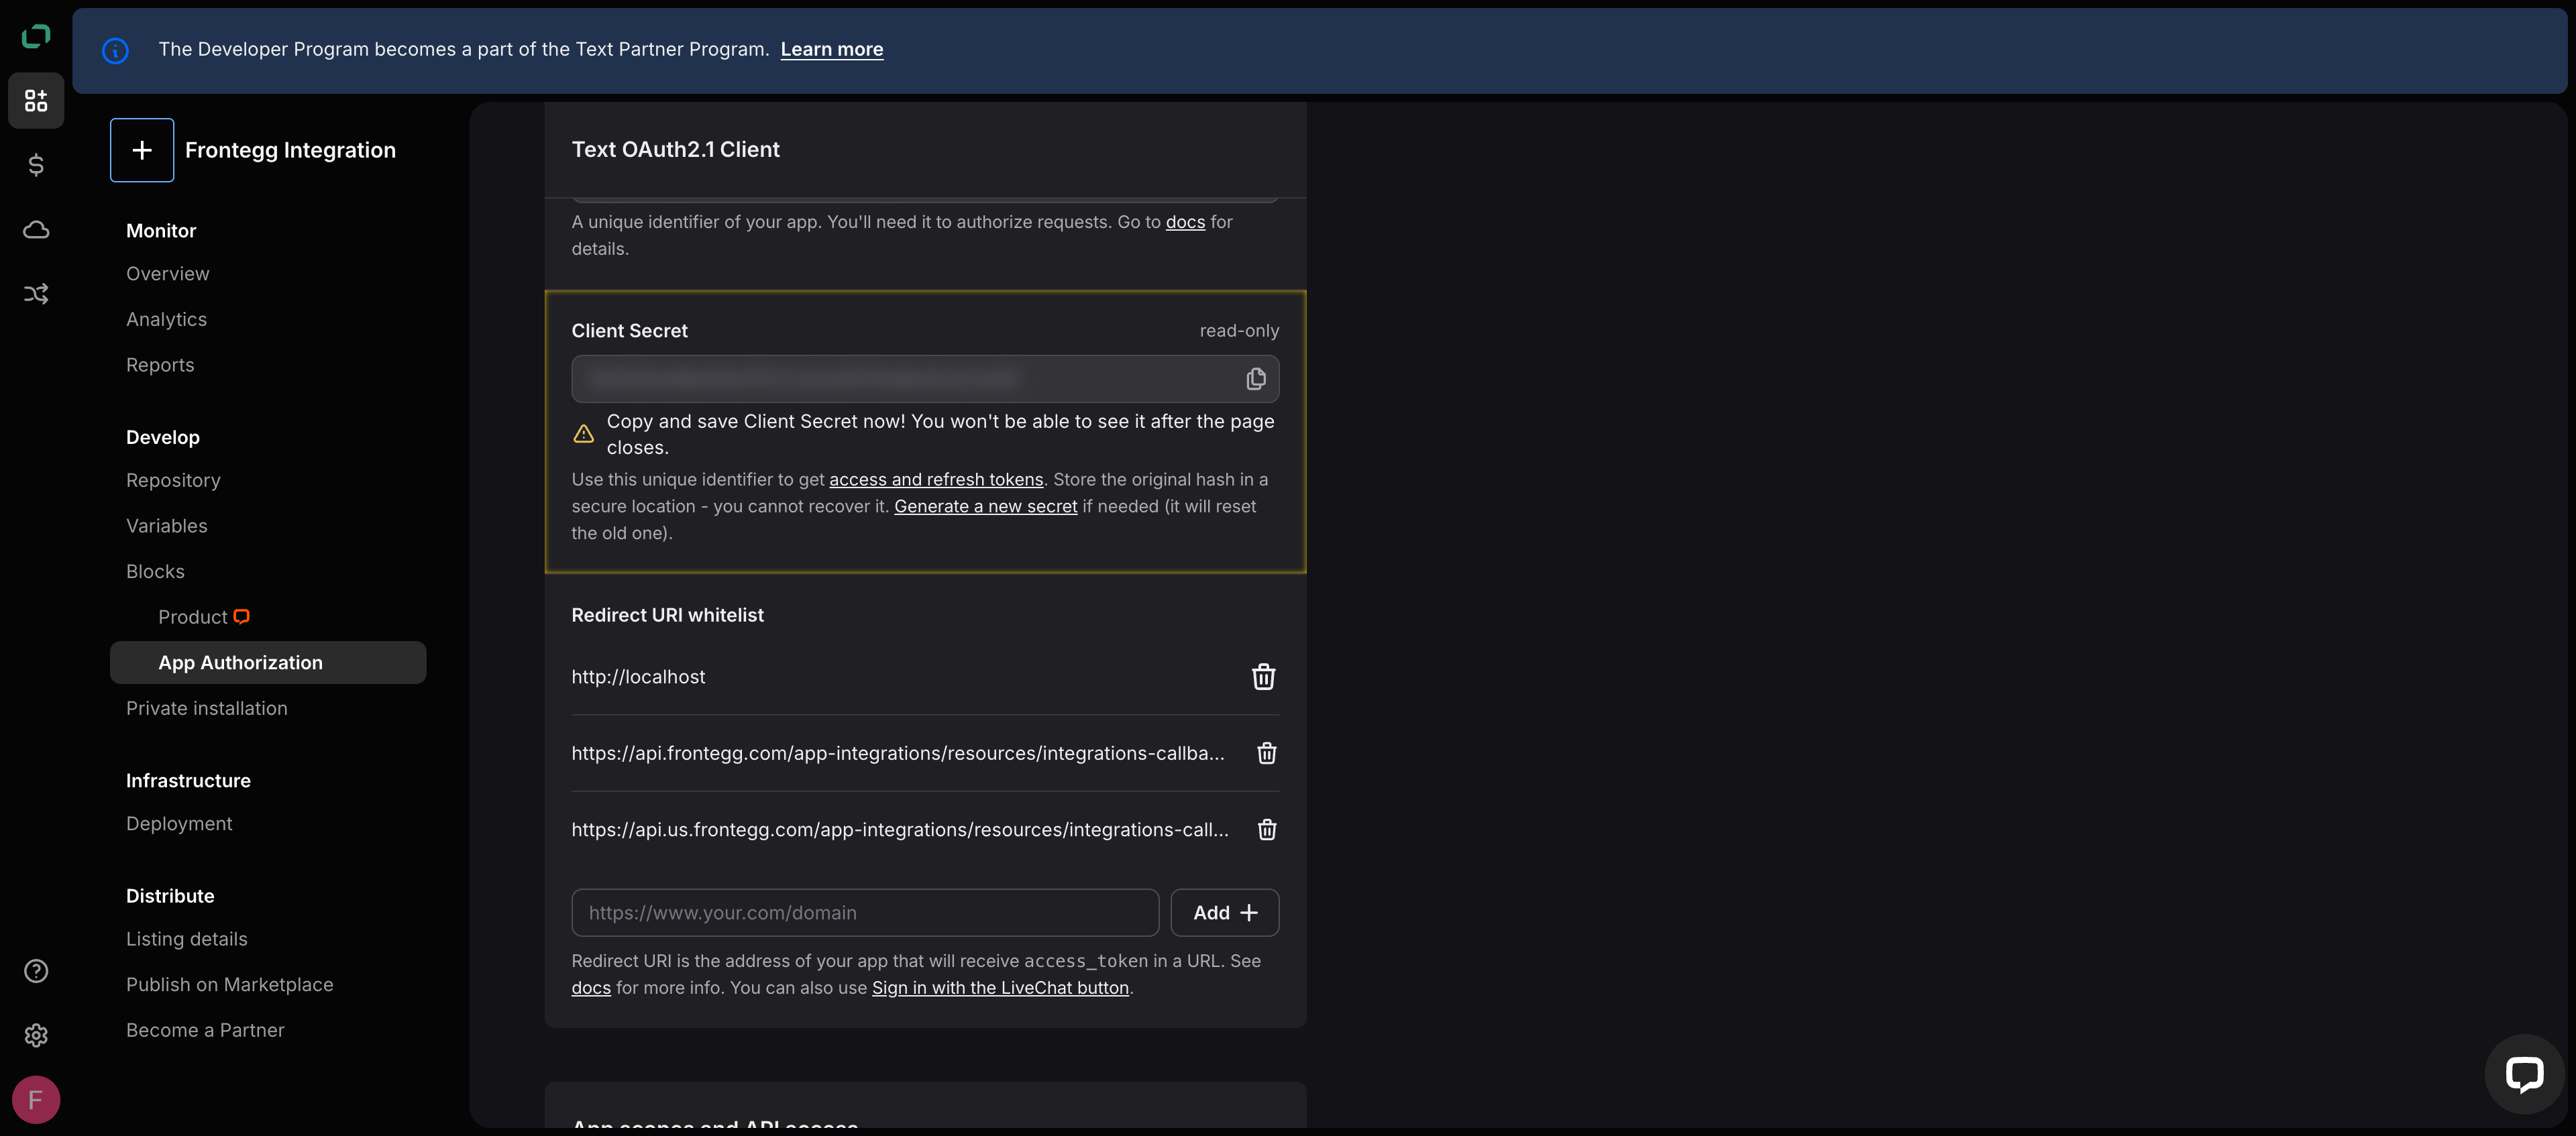
- Client Secret — Used to exchange authorization codes for access tokens. Copy and save this value now — it will not be shown again after you leave this page.
Keep your credentials secure
Keep your credentials secure
Never share or commit your Client Secret to version control.
Under Redirect URI whitelist, add the Frontegg callback URL by entering each one in the input field and clicking Add:
https://YOUR_MCP_GATEWAY_URL/integration-callback
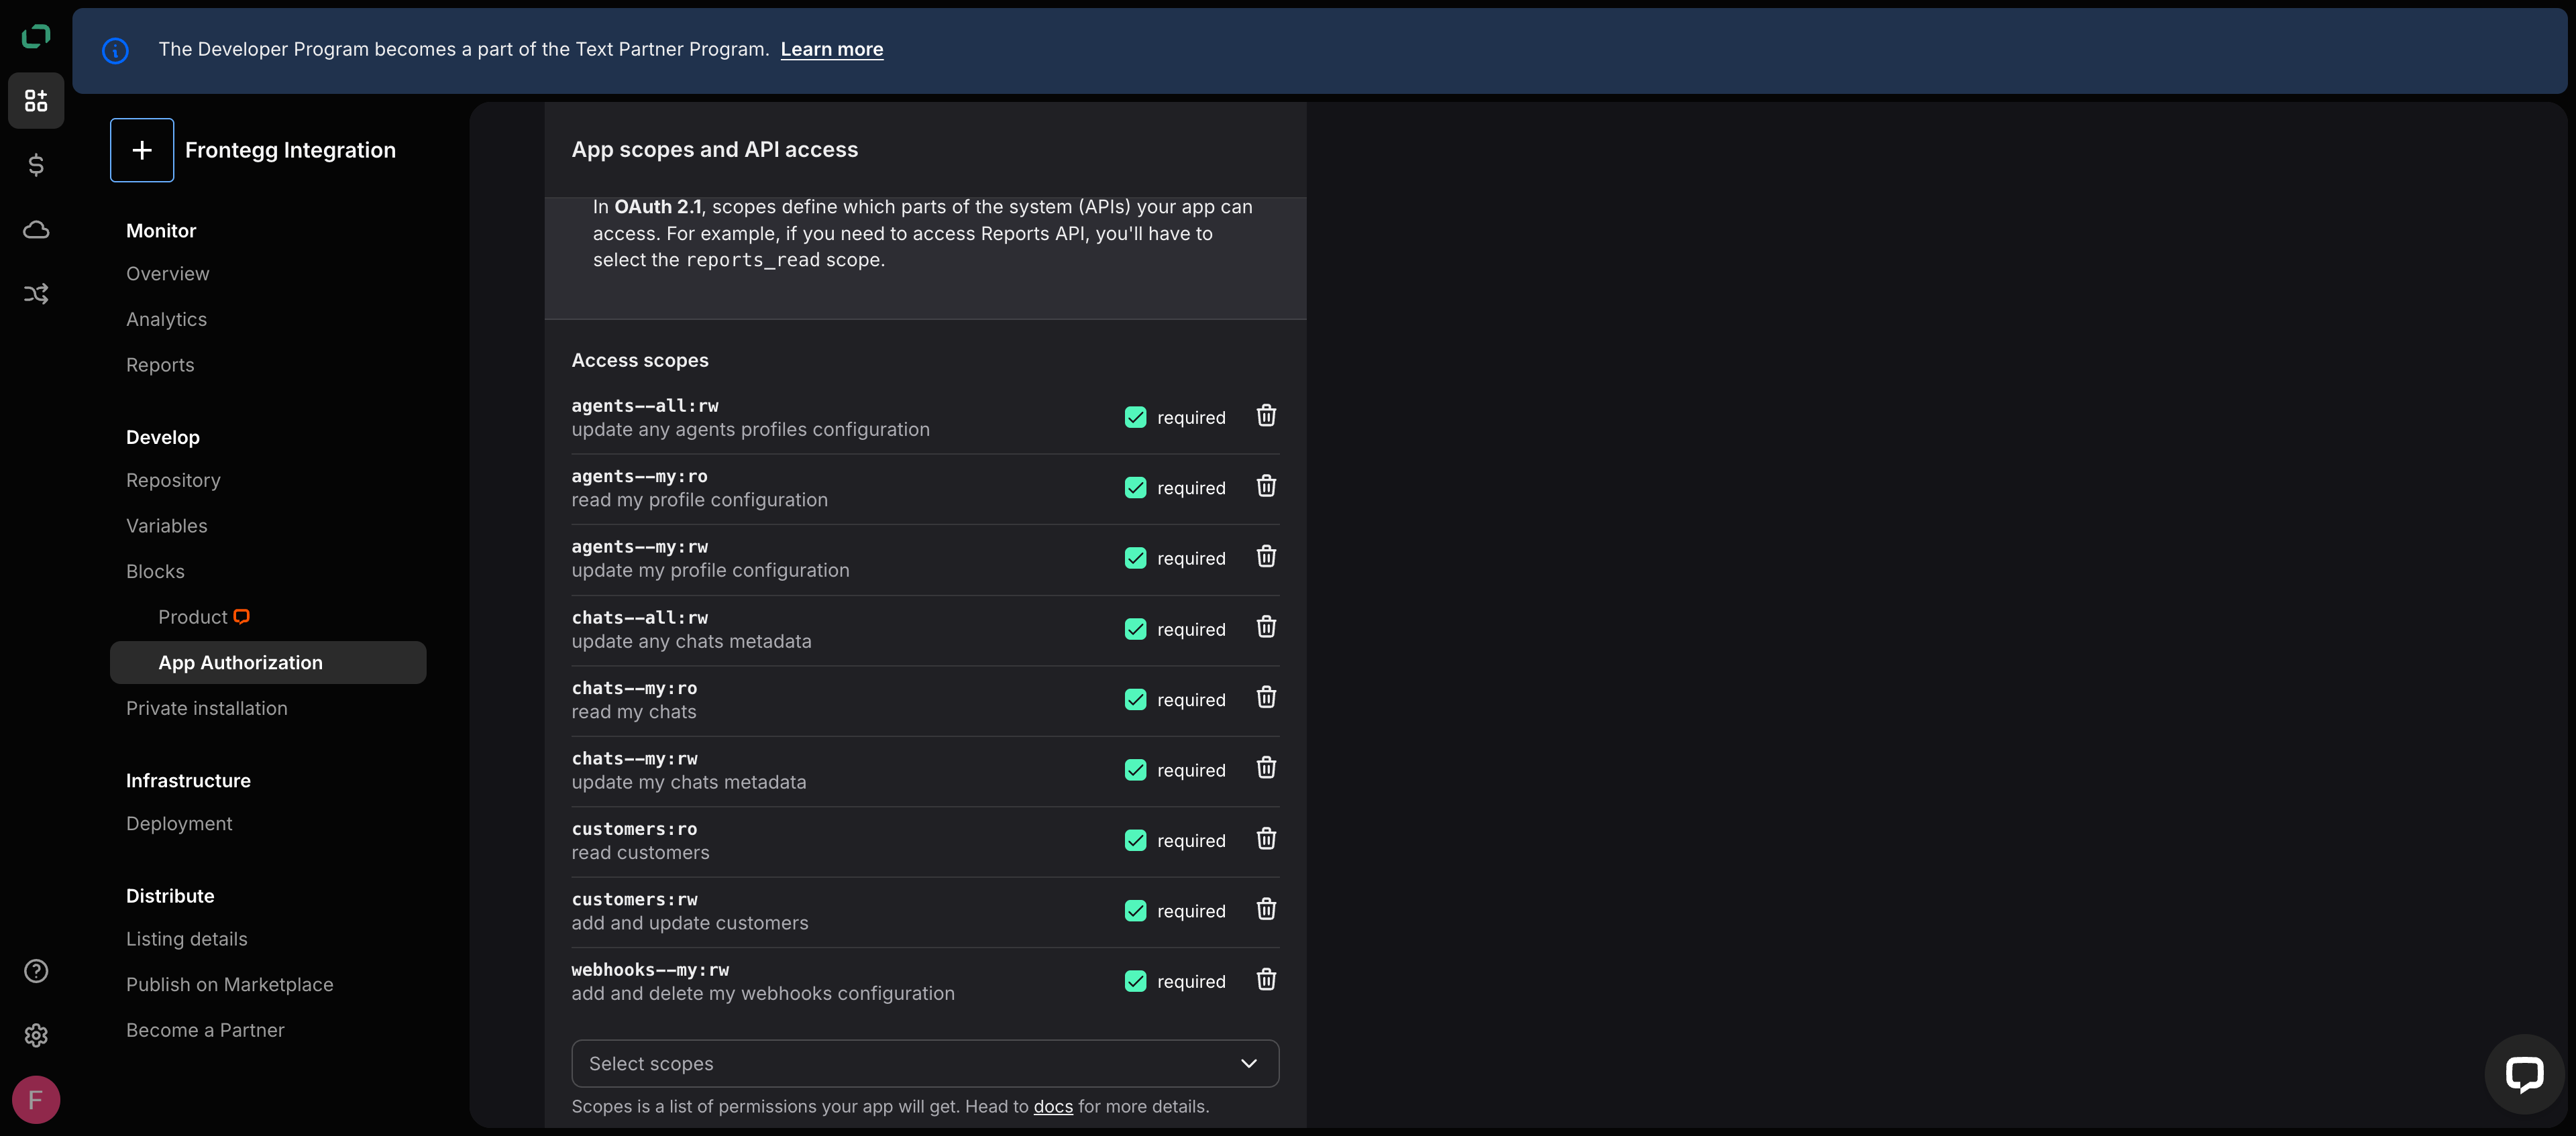
Under App scopes and API access, use the Select scopes dropdown to add the scopes your integration requires:
| Scope | Description |
|---|---|
agents--my:ro | Read my profile configuration |
agents--my:rw | Update my profile configuration |
agents--all:rw | Update any agents' profile configuration |
chats--my:ro | Read my chats |
chats--my:rw | Update my chats metadata |
chats--all:rw | Update any chats metadata |
customers:ro | Read customers |
customers:rw | Add and update customers |
webhooks--my:rw | Add and delete my webhooks configuration |
Minimum required scopes
Minimum required scopes
For basic chat functionality, you need: agents--my:ro, chats--my:ro, customers:ro.
Click Save changes to apply.
Once you have obtained your Client Id and Client Secret from the steps above, enter them in the integration configuration page of the Frontegg portal:
- Open the Frontegg portal and navigate to [ENVIRONMENT] → Integrations → LiveChat.
- Enter the Client Id and Client Secret in the corresponding fields.
- Select the required scopes.
- Click Save.