Acuity Scheduling is an online appointment scheduling platform by Squarespace that enables businesses to manage bookings, calendars, and client information. Integrating Acuity Scheduling with Frontegg allows your application to create, view, and manage appointments and calendars on behalf of your users using OAuth 2.0.
Prerequisites
Prerequisites
Navigate to the Acuity Scheduling OAuth2 registration page. This is where you register a new OAuth2 application that will allow your users to authorize access to their Acuity accounts.
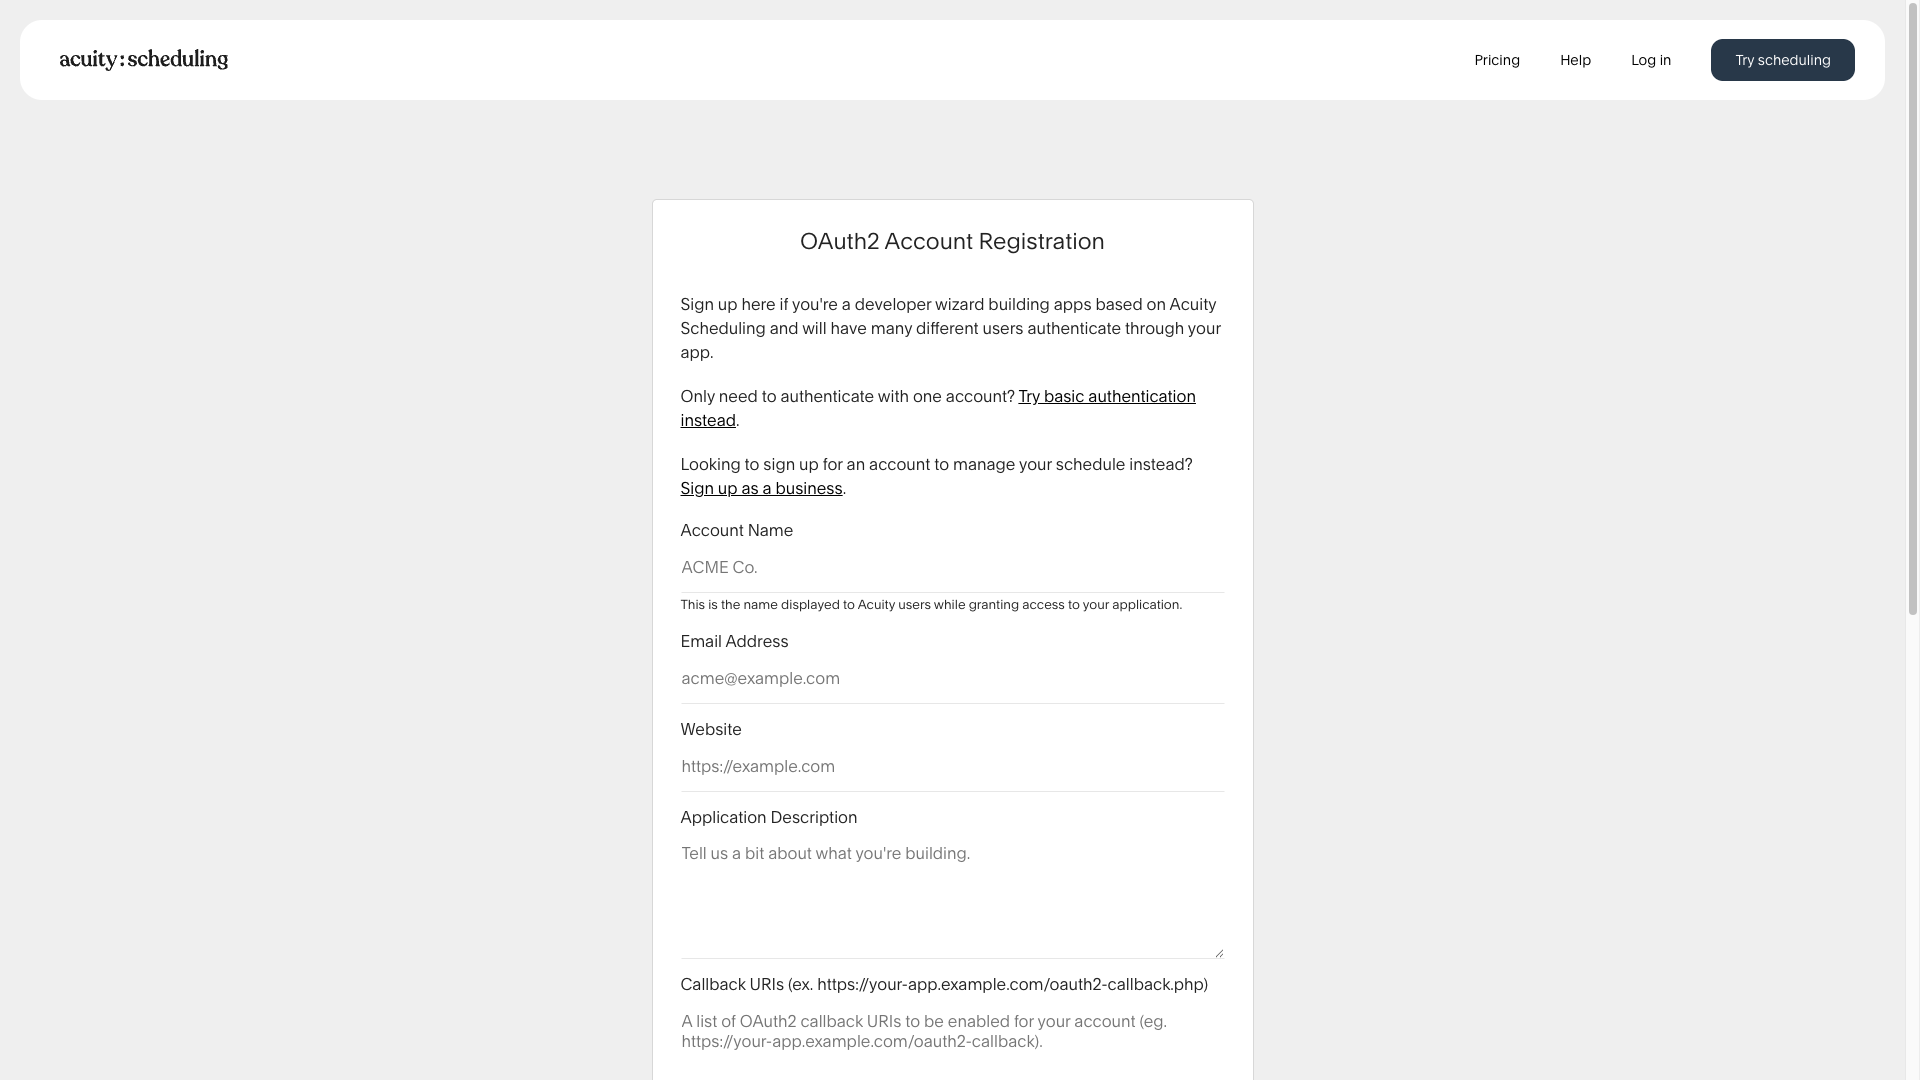
Complete the registration form with the following information:
- Account Name — Enter a descriptive name, for example
Frontegg Integration. This name is displayed to users when they are asked to grant access. - Email Address — Enter your developer email address.
- Website — Enter your application's website URL.
- Application Description — Enter a brief description of your integration.
- Callback URIs — Enter the following URI:
https://YOUR_MCP_GATEWAY_URL/integration-callback
Click Register to submit the form.
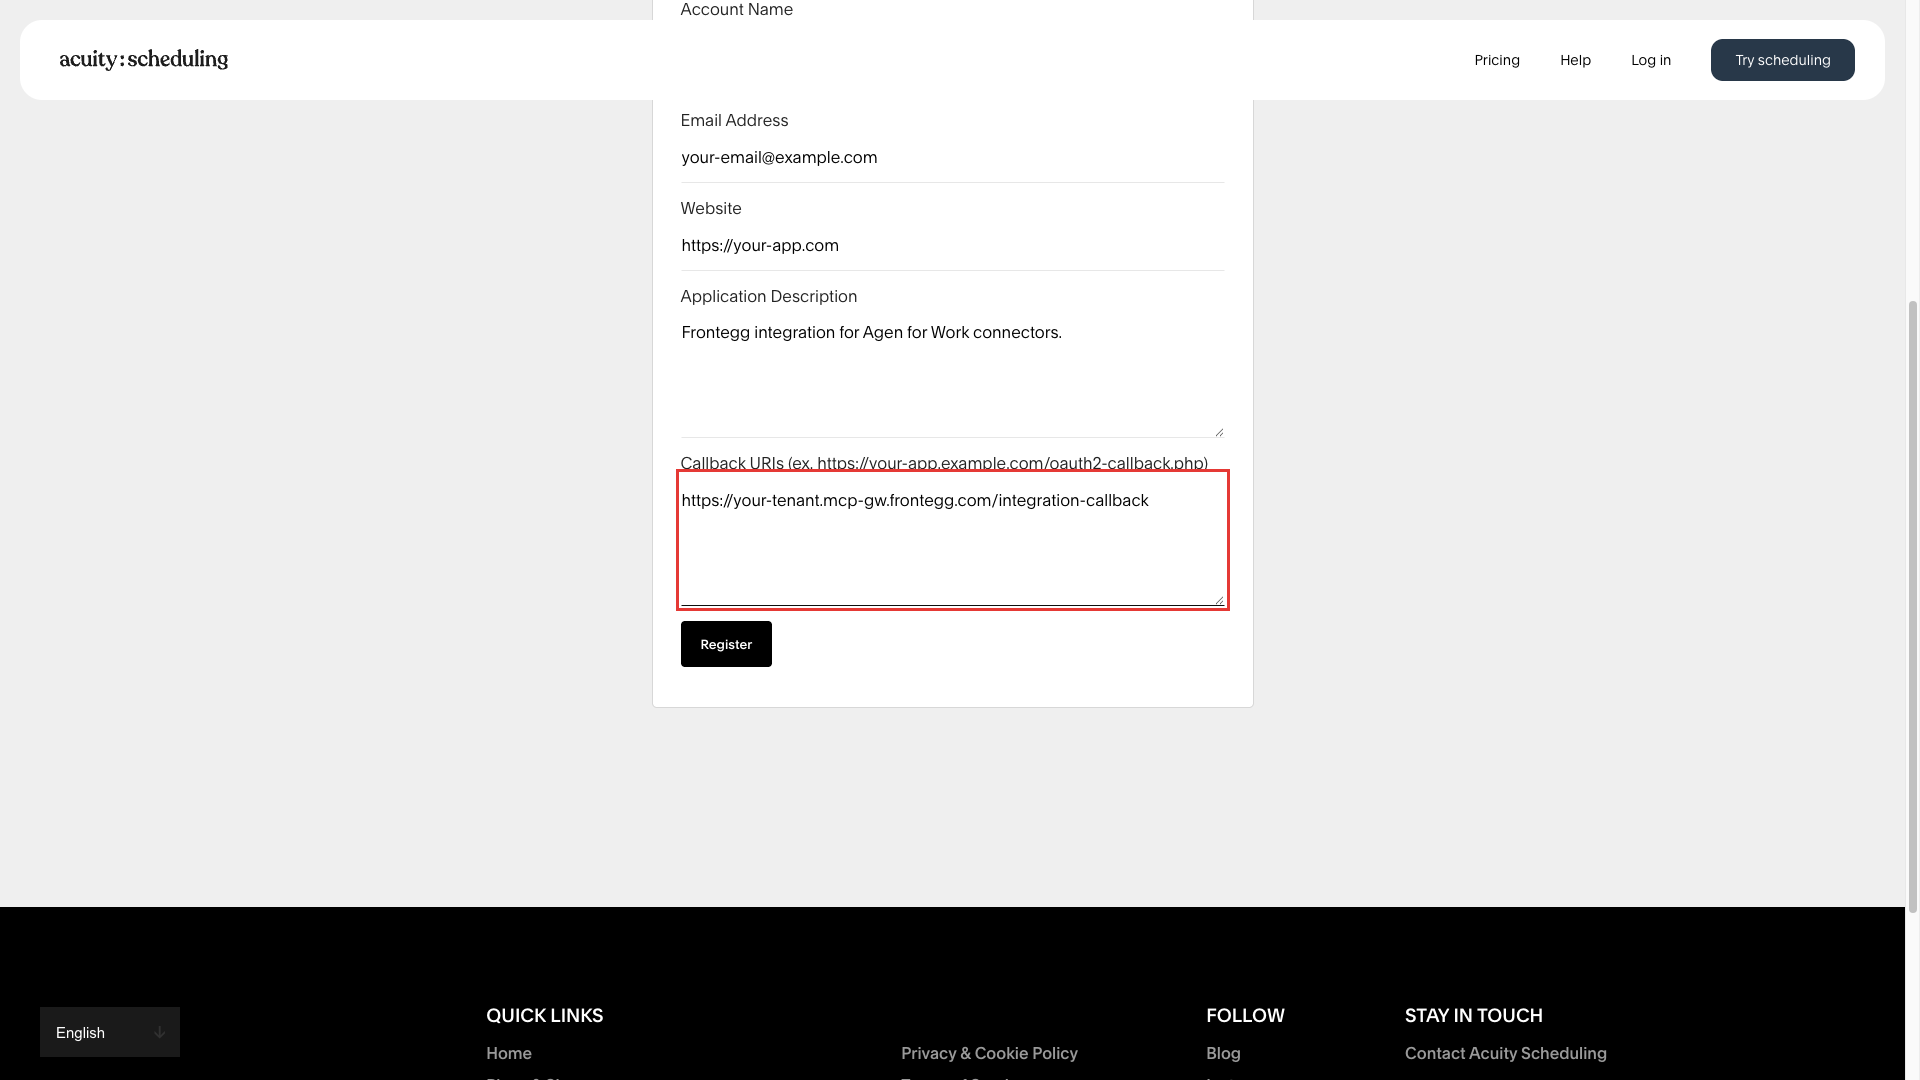
After submitting the form, the confirmation page displays your Client ID and Client Secret. Copy both values and store them in a secure location.
Copy your credentials now
Copy your credentials now
Acuity Scheduling displays your Client Secret only once. Copy it immediately and store it in a secure location. If you lose it, you will need to contact developers@acuityscheduling.com to request new credentials.

Once you have obtained your Client ID and Client Secret from the steps above, enter them in the integration configuration page of the Frontegg portal:
- Open the Frontegg portal and navigate to [ENVIRONMENT] → Integrations → Acuity Scheduling.
- Enter the Client ID and Client Secret in the corresponding fields.
- Select the required scopes.
- Click Save.
Keep your credentials secure
Keep your credentials secure
Never share or commit your Client Secret to version control.