Integrating Calendly with Frontegg allows your application to authenticate users via OAuth 2.0 and interact with their Calendly accounts — reading event types, listing scheduled events, managing invitees, and creating webhook subscriptions on their behalf.
Prerequisites
Prerequisites
- A Calendly account
- Access to the Calendly Developer Console
Navigate to developer.calendly.com. Click Log in / Sign up in the top navigation bar.
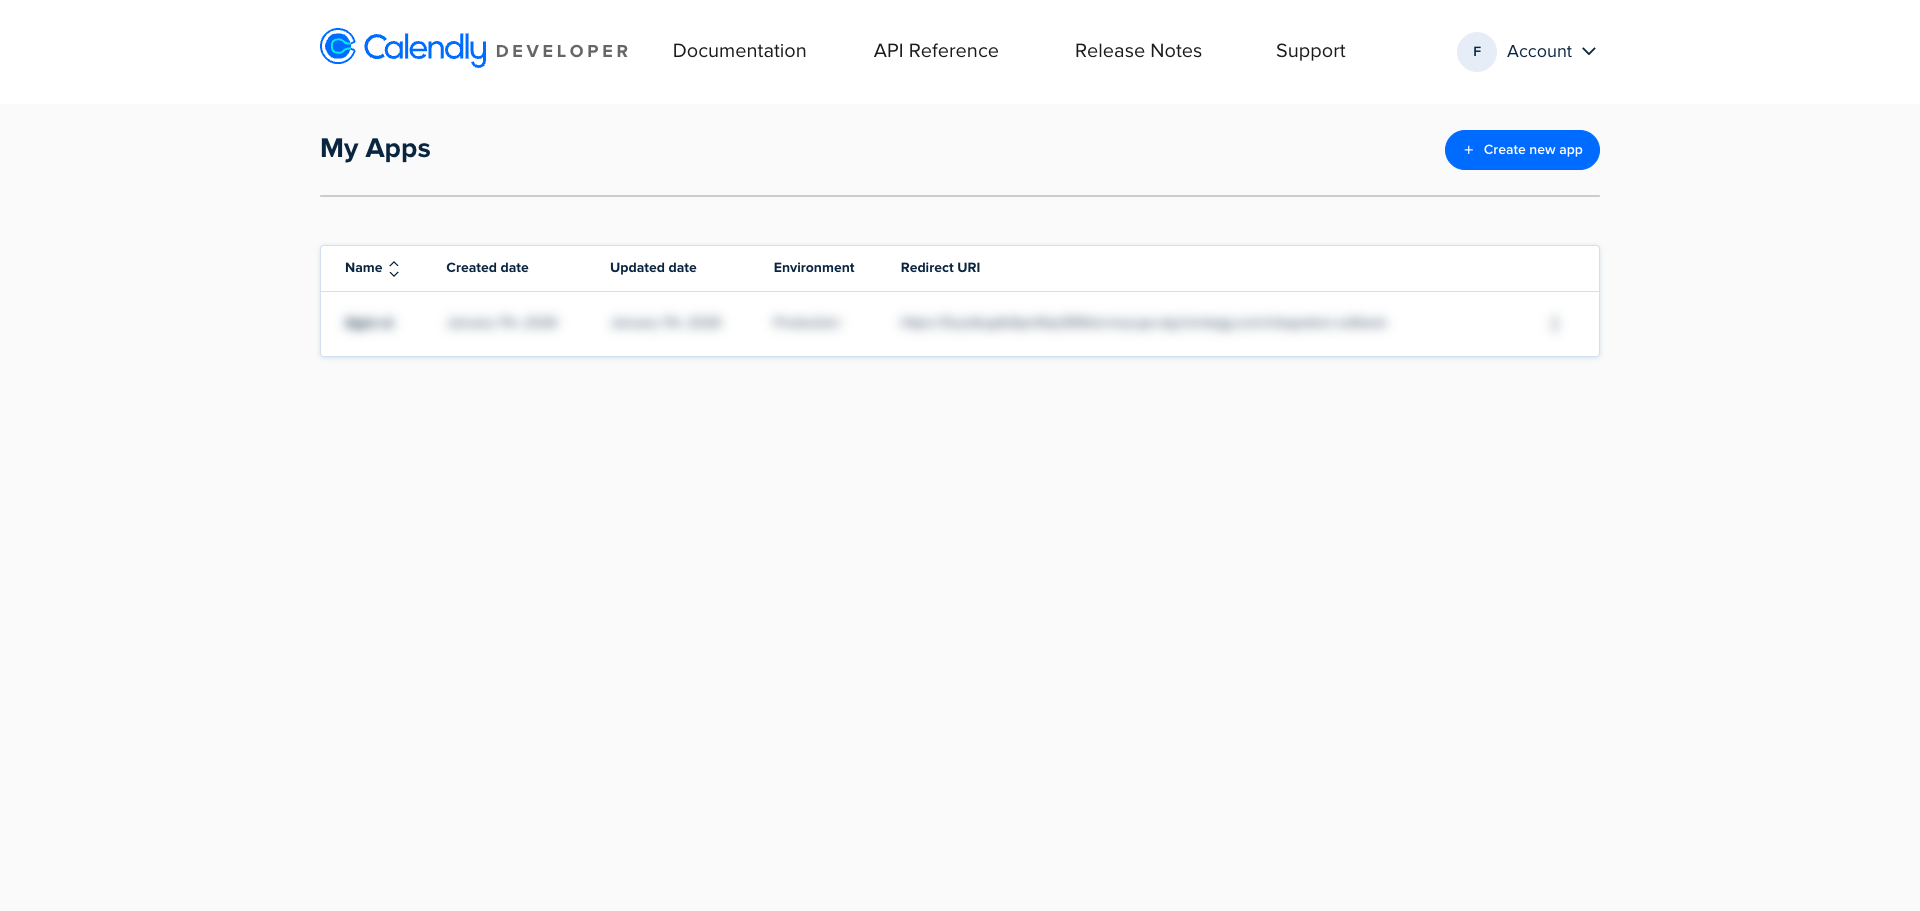
After signing in, you are redirected to the My Apps page at developer.calendly.com/console/apps. This page lists all your existing OAuth applications.
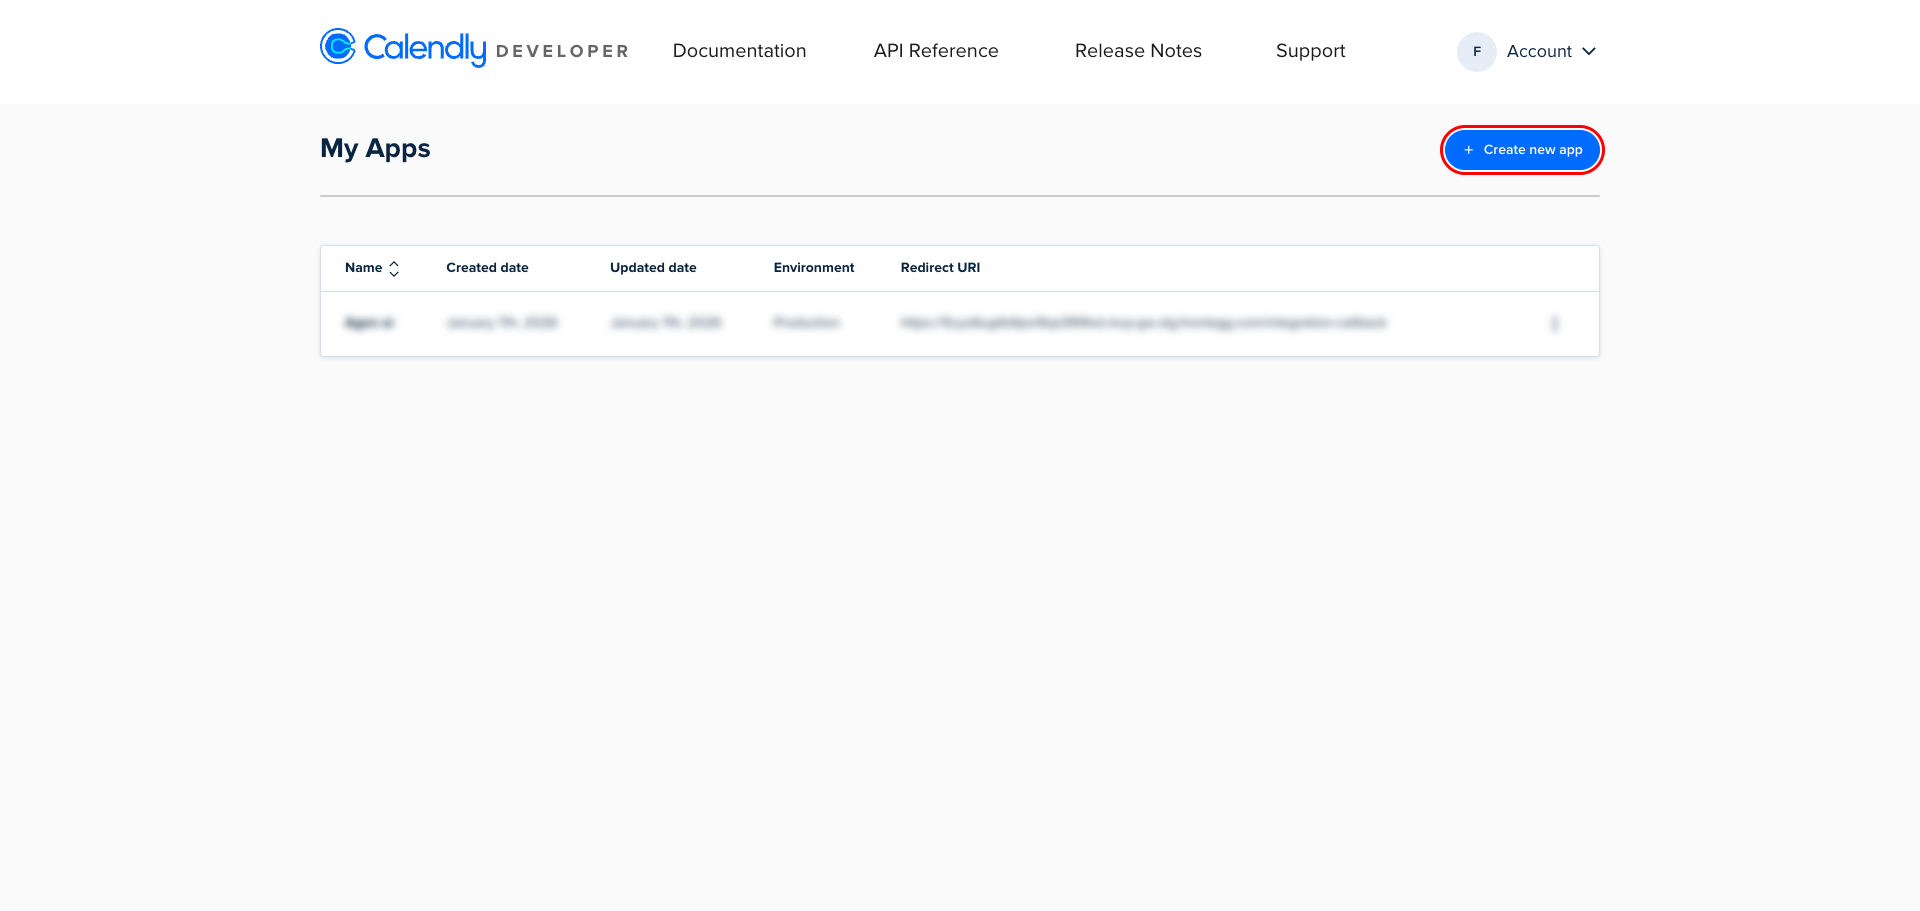
Click Create new app.
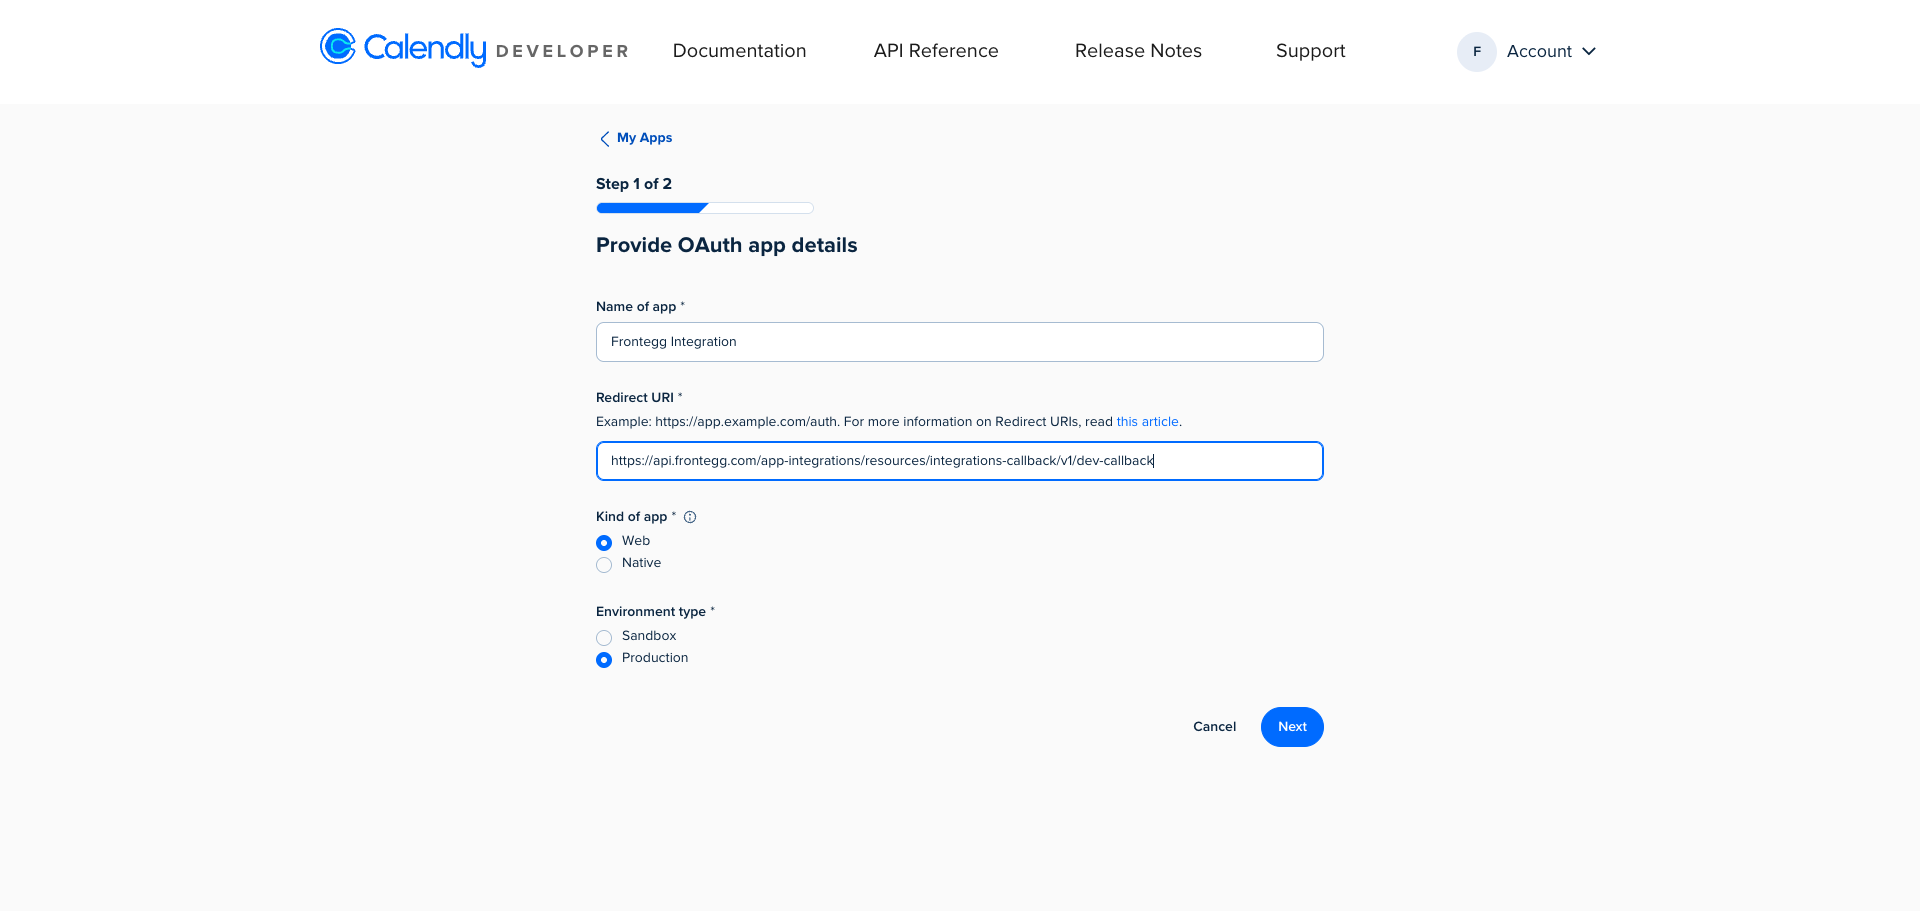
On the Provide OAuth app details form (Step 1 of 2), fill in the following fields:
- Name of app: Enter a name (for example,
Frontegg Integration). - Redirect URI: Enter the following URI:
https://YOUR_MCP_GATEWAY_URL/integration-callback - Kind of app: Select Web.
- Environment type: Select Production.
Click Next.
On the Choose scopes step (Step 2 of 2), you see scopes grouped by category. Each scope controls what your app can access in the user's Calendly account.
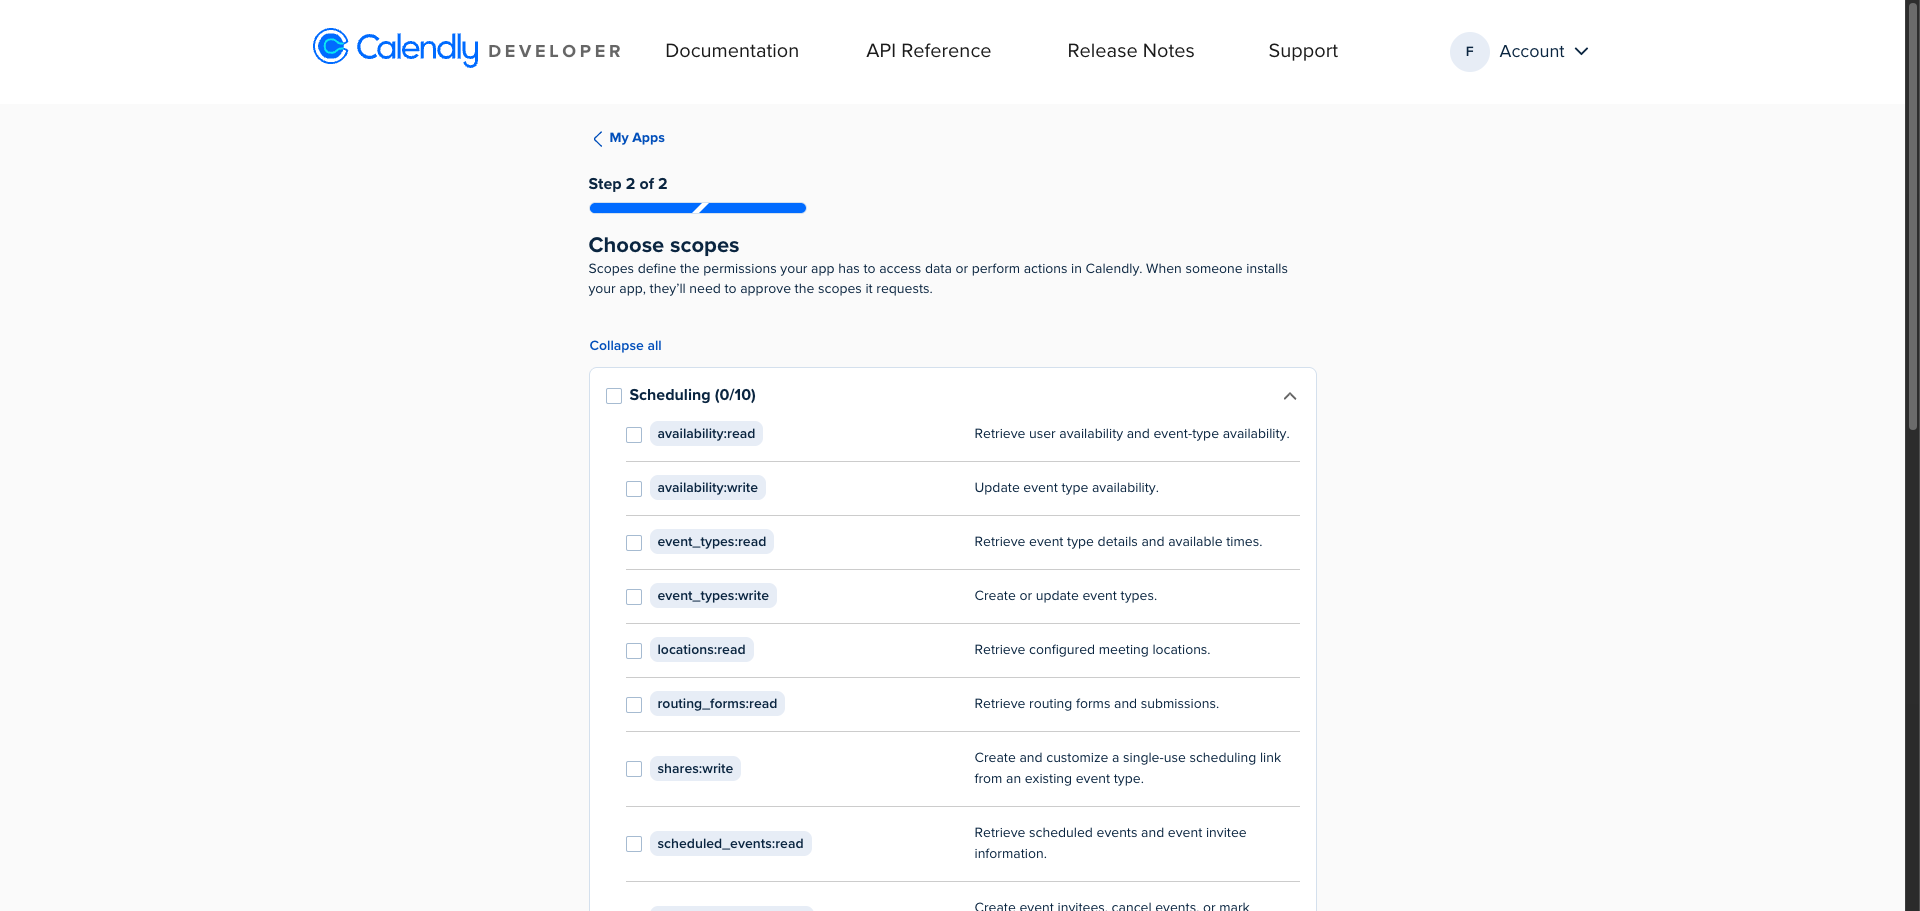
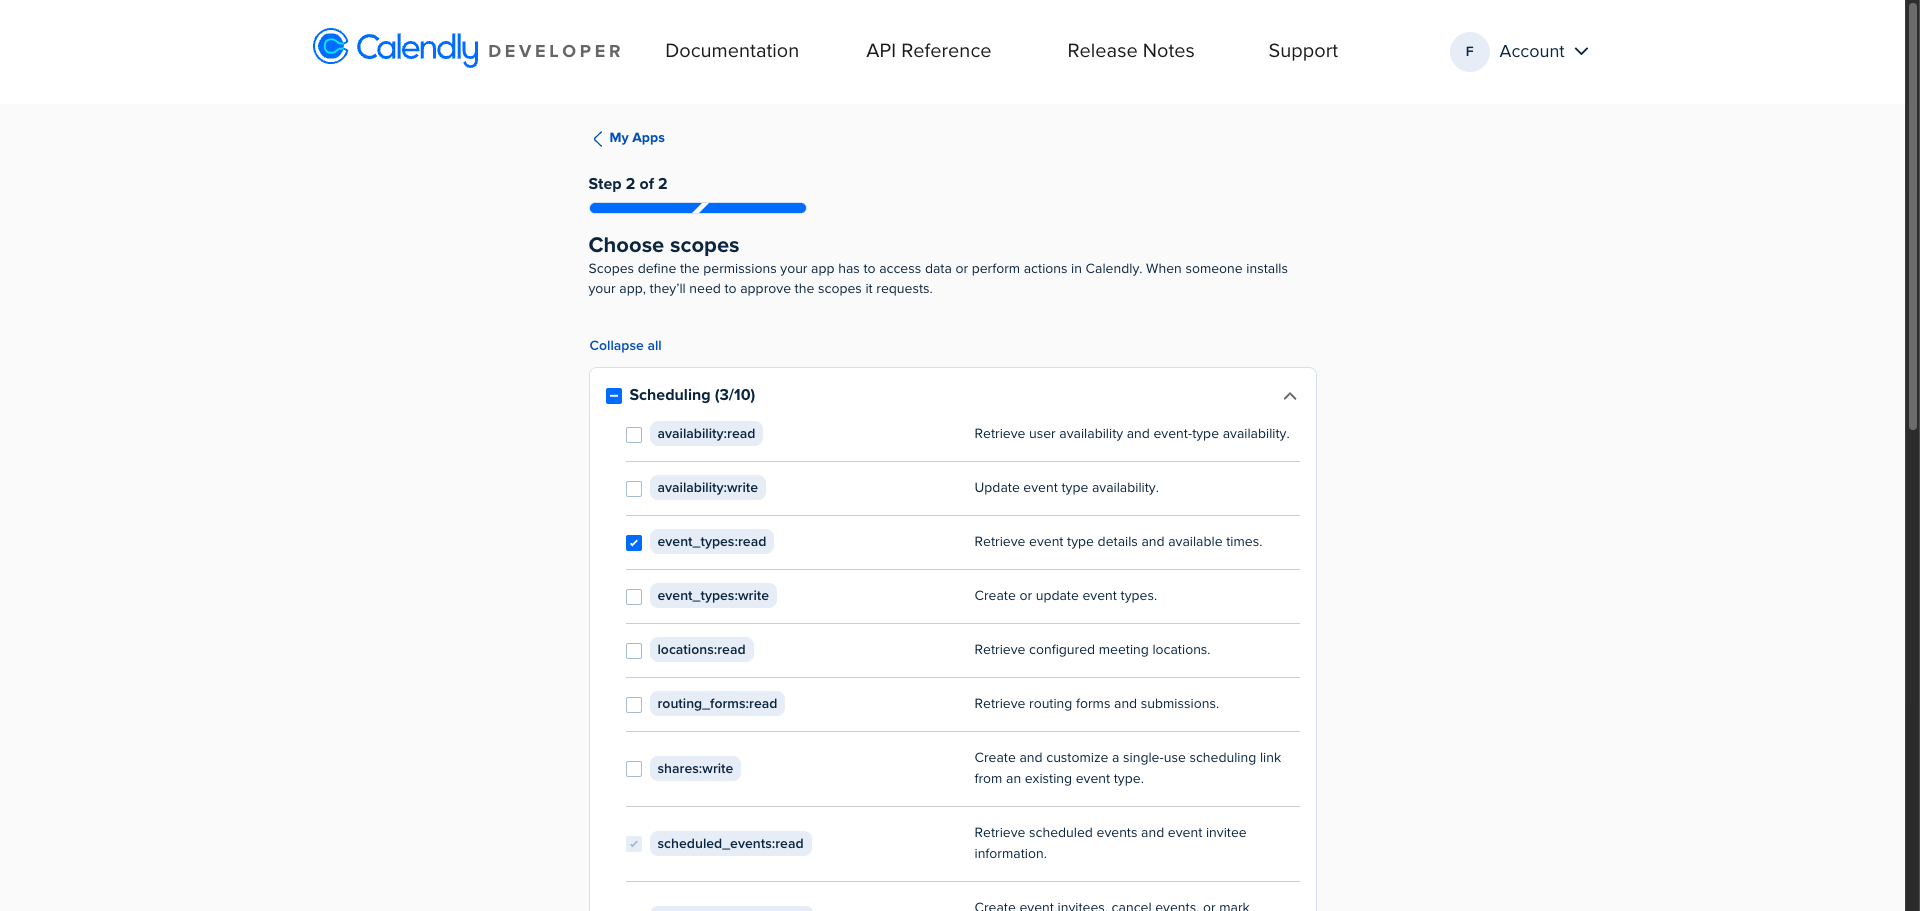
Enable the following scopes for the Frontegg integration:
| Scope | Description |
|---|---|
event_types:read | Retrieve event type details and available times |
scheduled_events:read | Retrieve scheduled events and event invitee information |
scheduled_events:write | Create event invitees, cancel events, or mark invitees as no-show |
users:read | Retrieve user information |
webhooks:read | Retrieve webhook subscriptions and sample payloads |
webhooks:write | Create or delete webhook subscriptions |
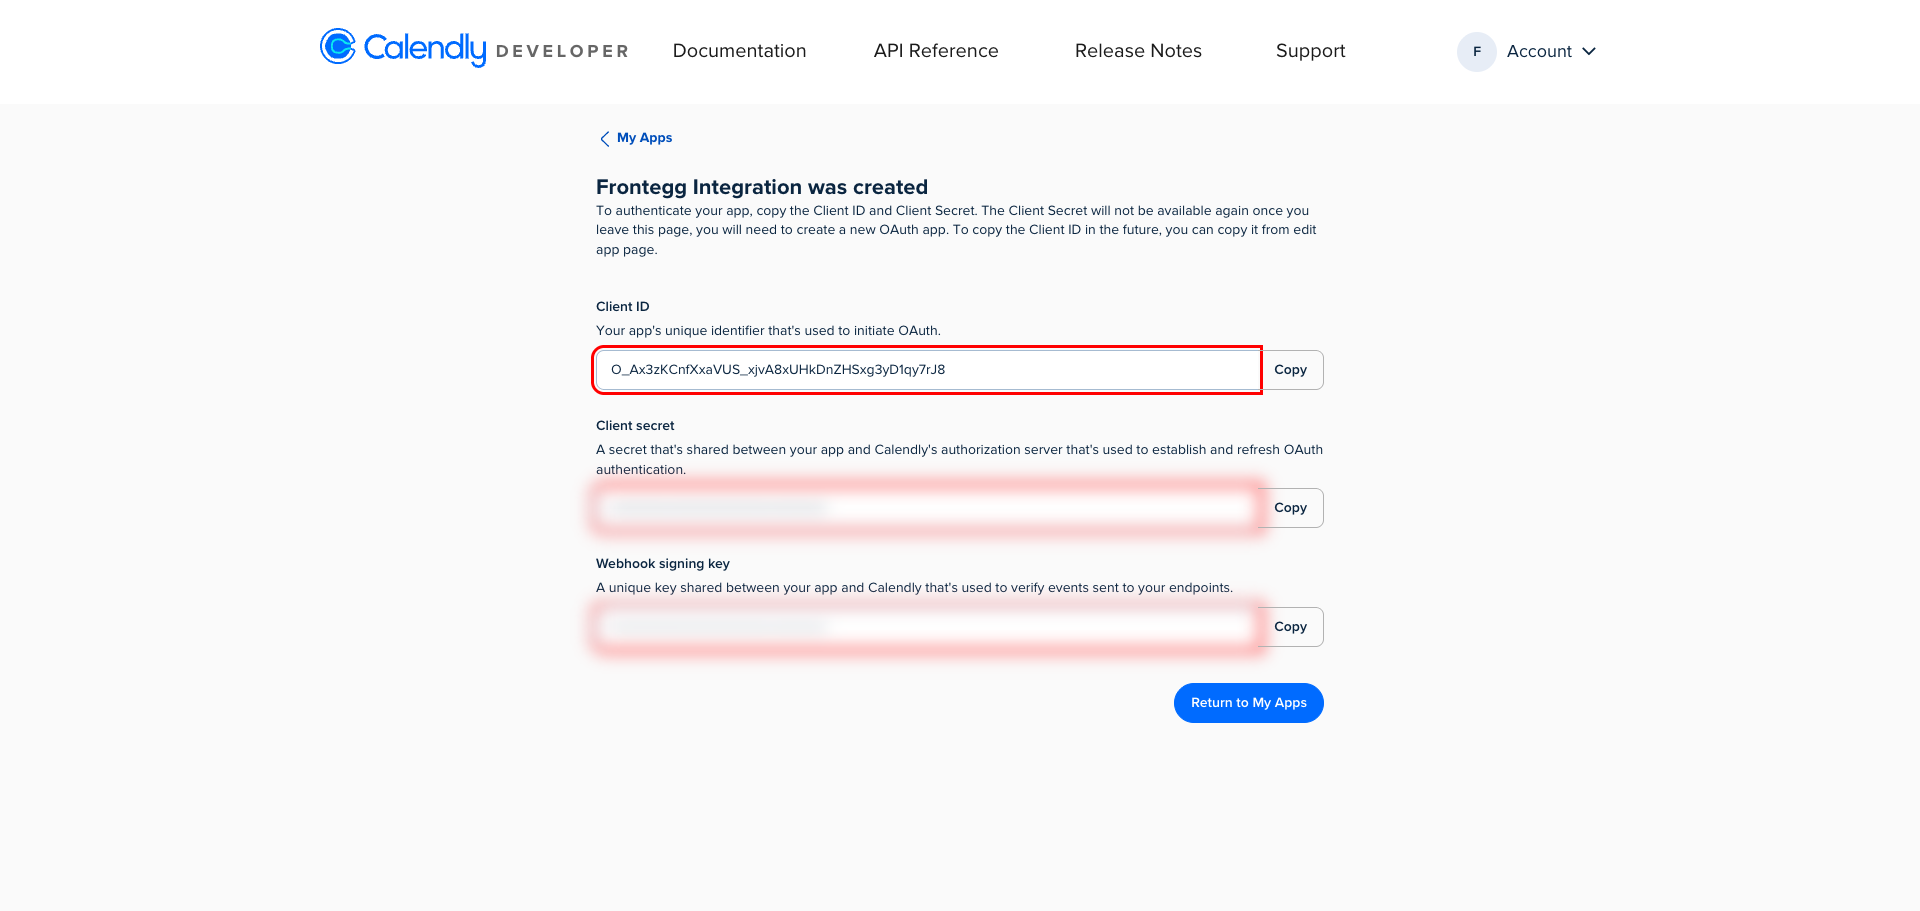
Click Create.
After the app is created, you land on the credentials page. Copy the Client ID and Client Secret for use in the Frontegg portal.
Keep your credentials secure
Keep your credentials secure
The Client Secret is shown only once. Store it immediately in a secure location. Never share or commit it to version control.
Once you have your Client ID and Client Secret, configure the integration in the Frontegg portal:
- Open the Frontegg portal and navigate to [ENVIRONMENT] → Integrations → Calendly.
- Enter the Client ID and Client Secret in the corresponding fields.
- Select the required scopes.
- Click Save.