Auth0 is an identity and access management platform that provides authentication, user management, and authorization services. Integrating Auth0 with Frontegg allows your application to manage users, organizations, roles, and logs on behalf of your users using OAuth 2.0.
Prerequisites
Prerequisites
- An Auth0 account with access to the Auth0 dashboard
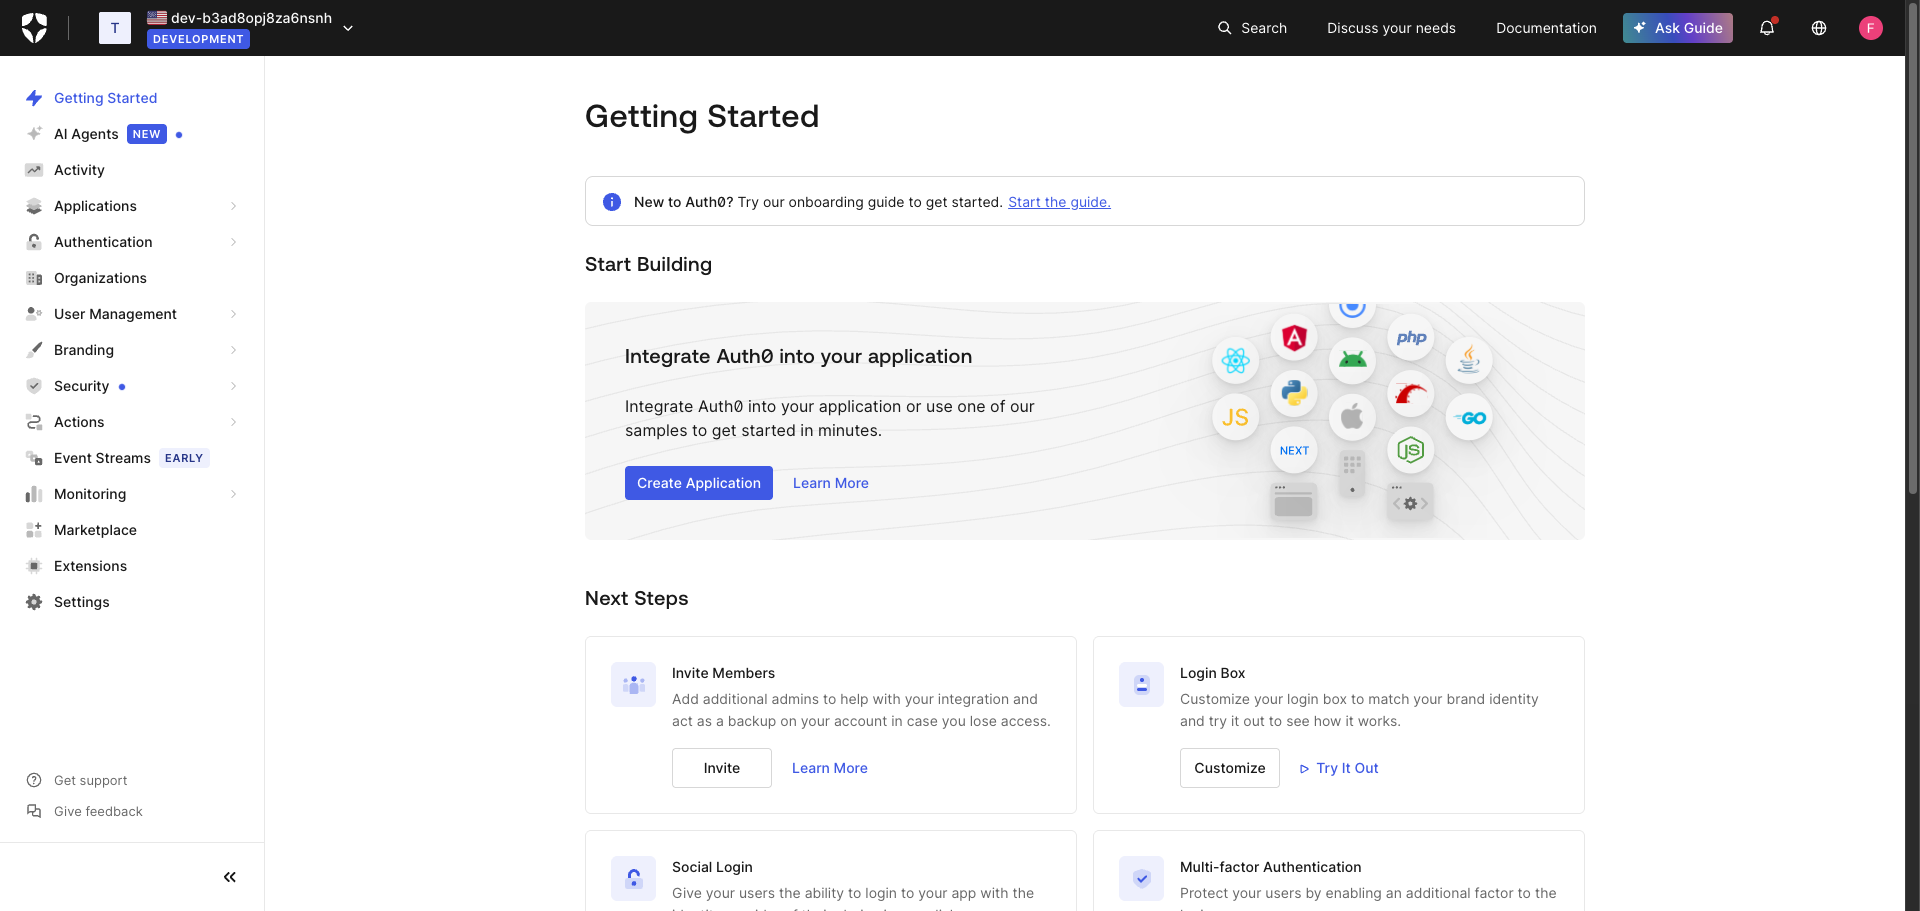
Sign in to your Auth0 account and navigate to the Auth0 dashboard. The dashboard URL follows the format https://manage.auth0.com/dashboard/{region}/{yourTenantName}/.
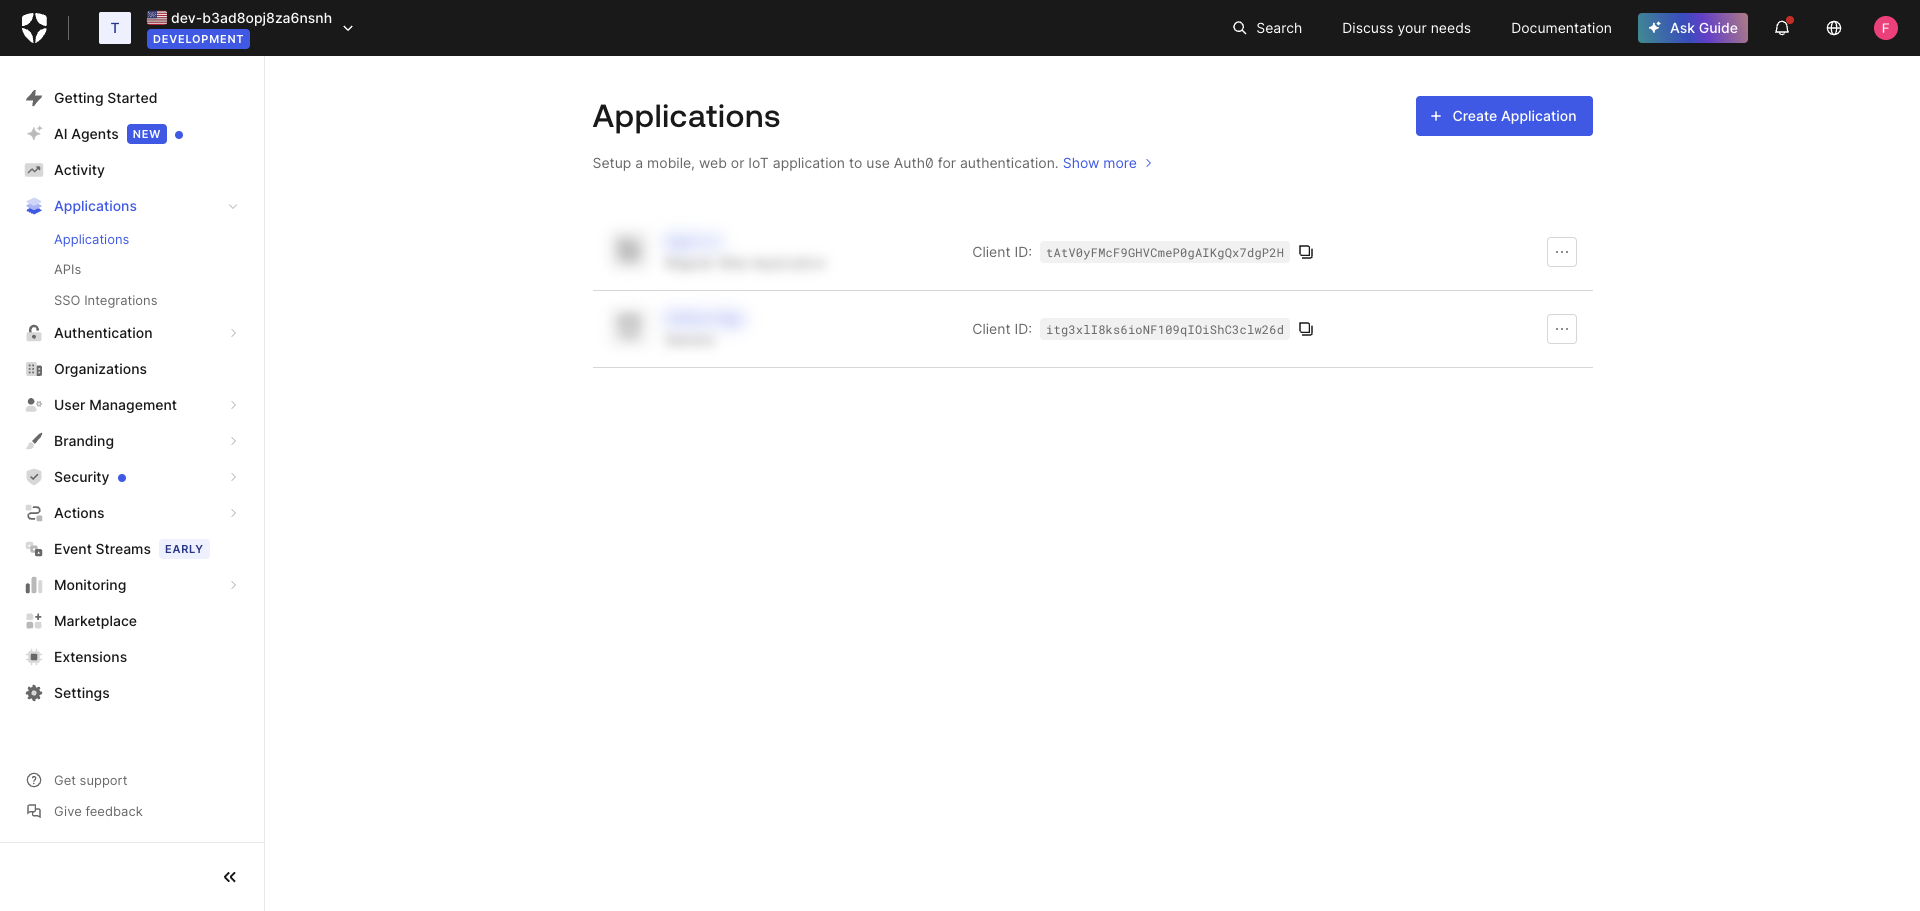
In the left navigation, click Applications → Applications. The Applications page lists all app integrations registered in your Auth0 tenant.
Click Create Application to start the wizard.
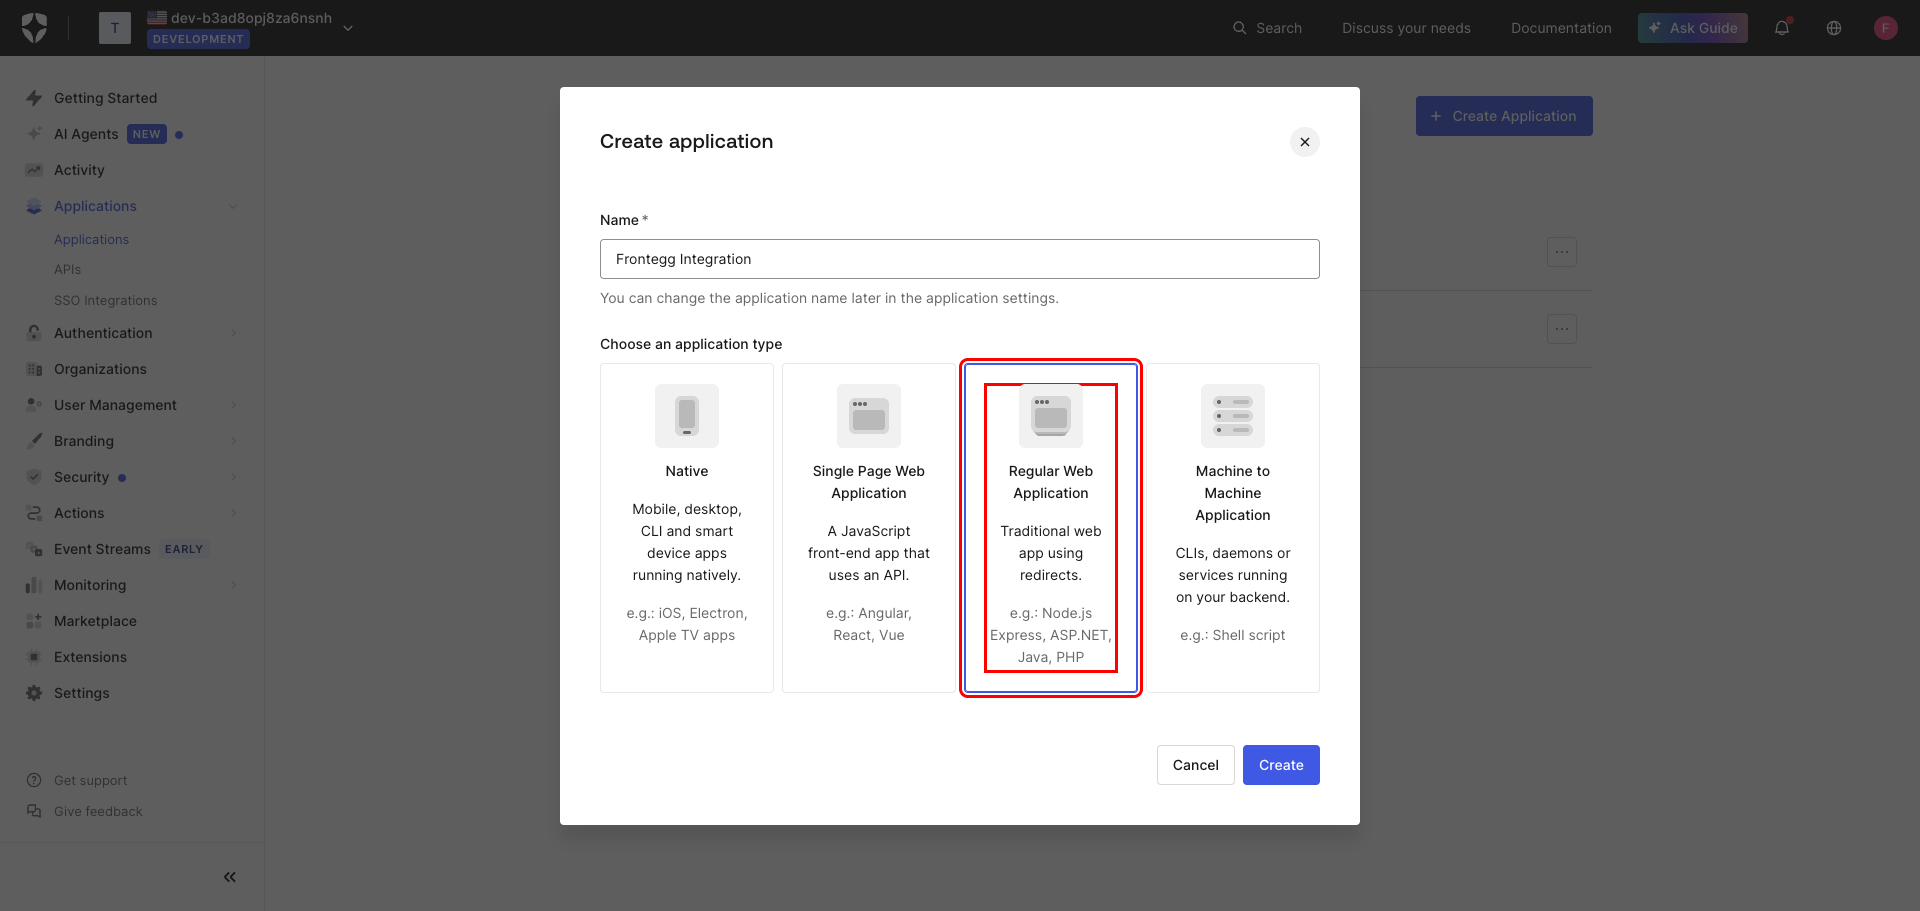
In the Create application dialog:
- Enter a descriptive name in the Name field, for example
Frontegg Integration. - Under Choose an application type, select Regular Web Application.
Click Create.
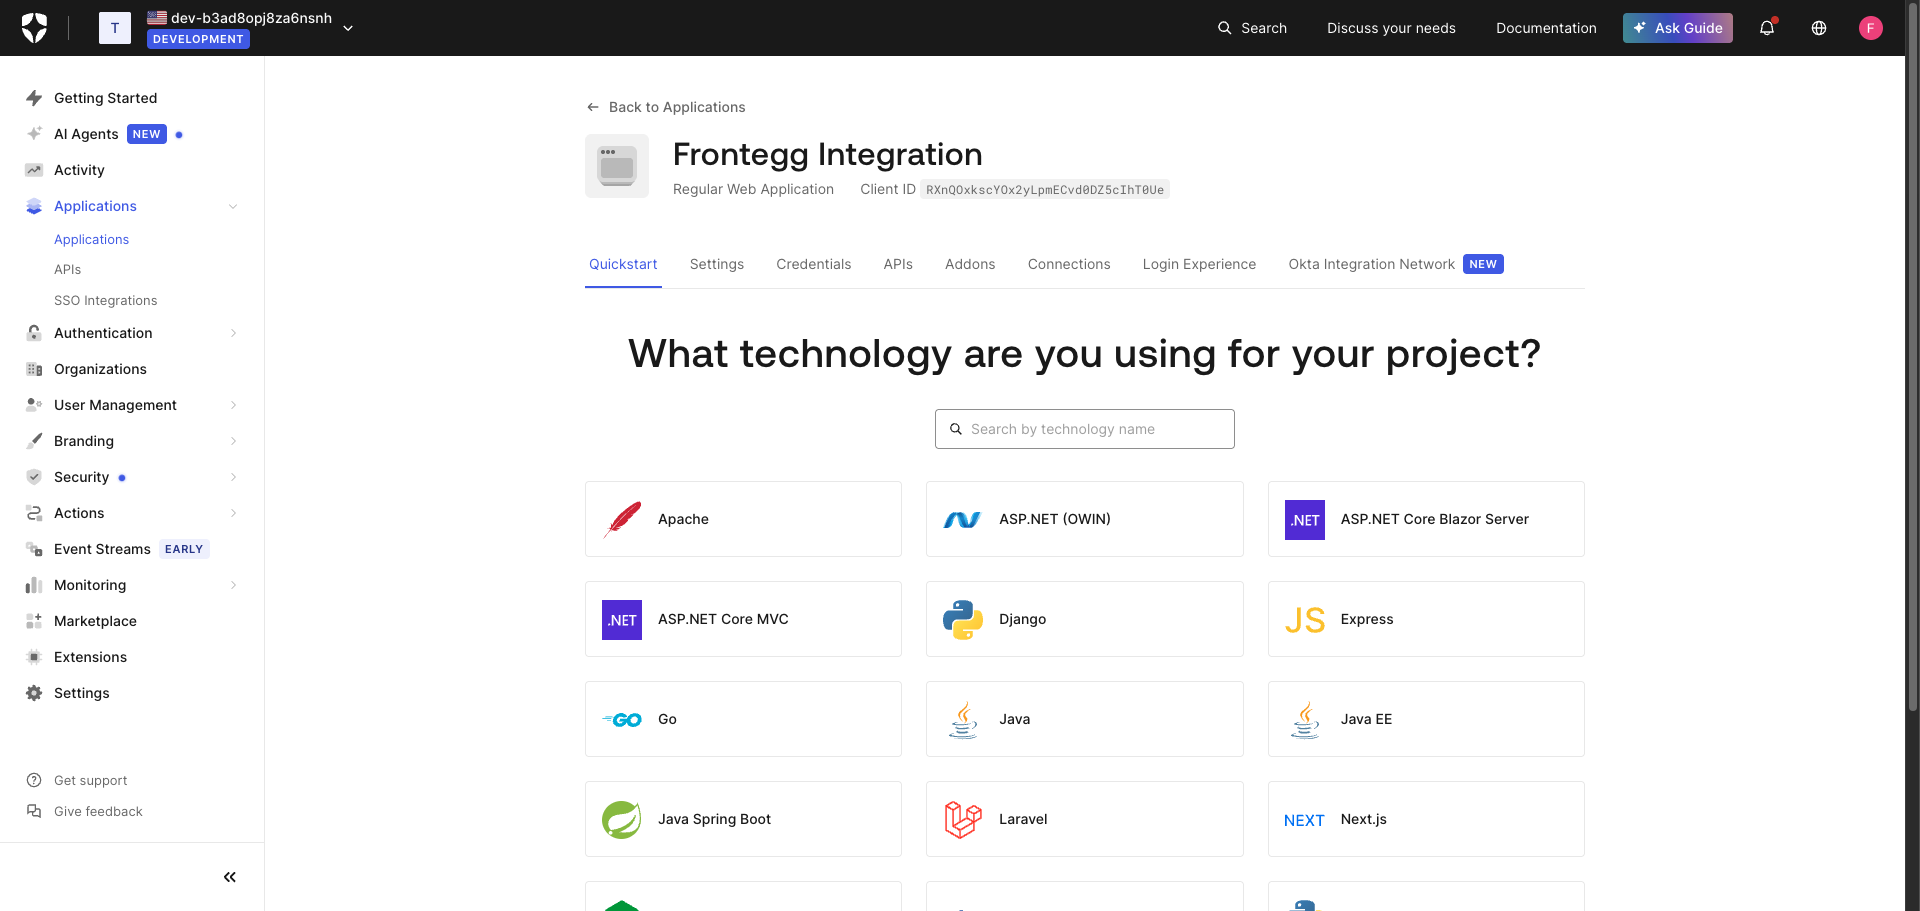
After clicking Create, Auth0 redirects you to the Quickstart page for your new application. This confirms the application was created successfully.
Click the Settings tab to continue configuration.
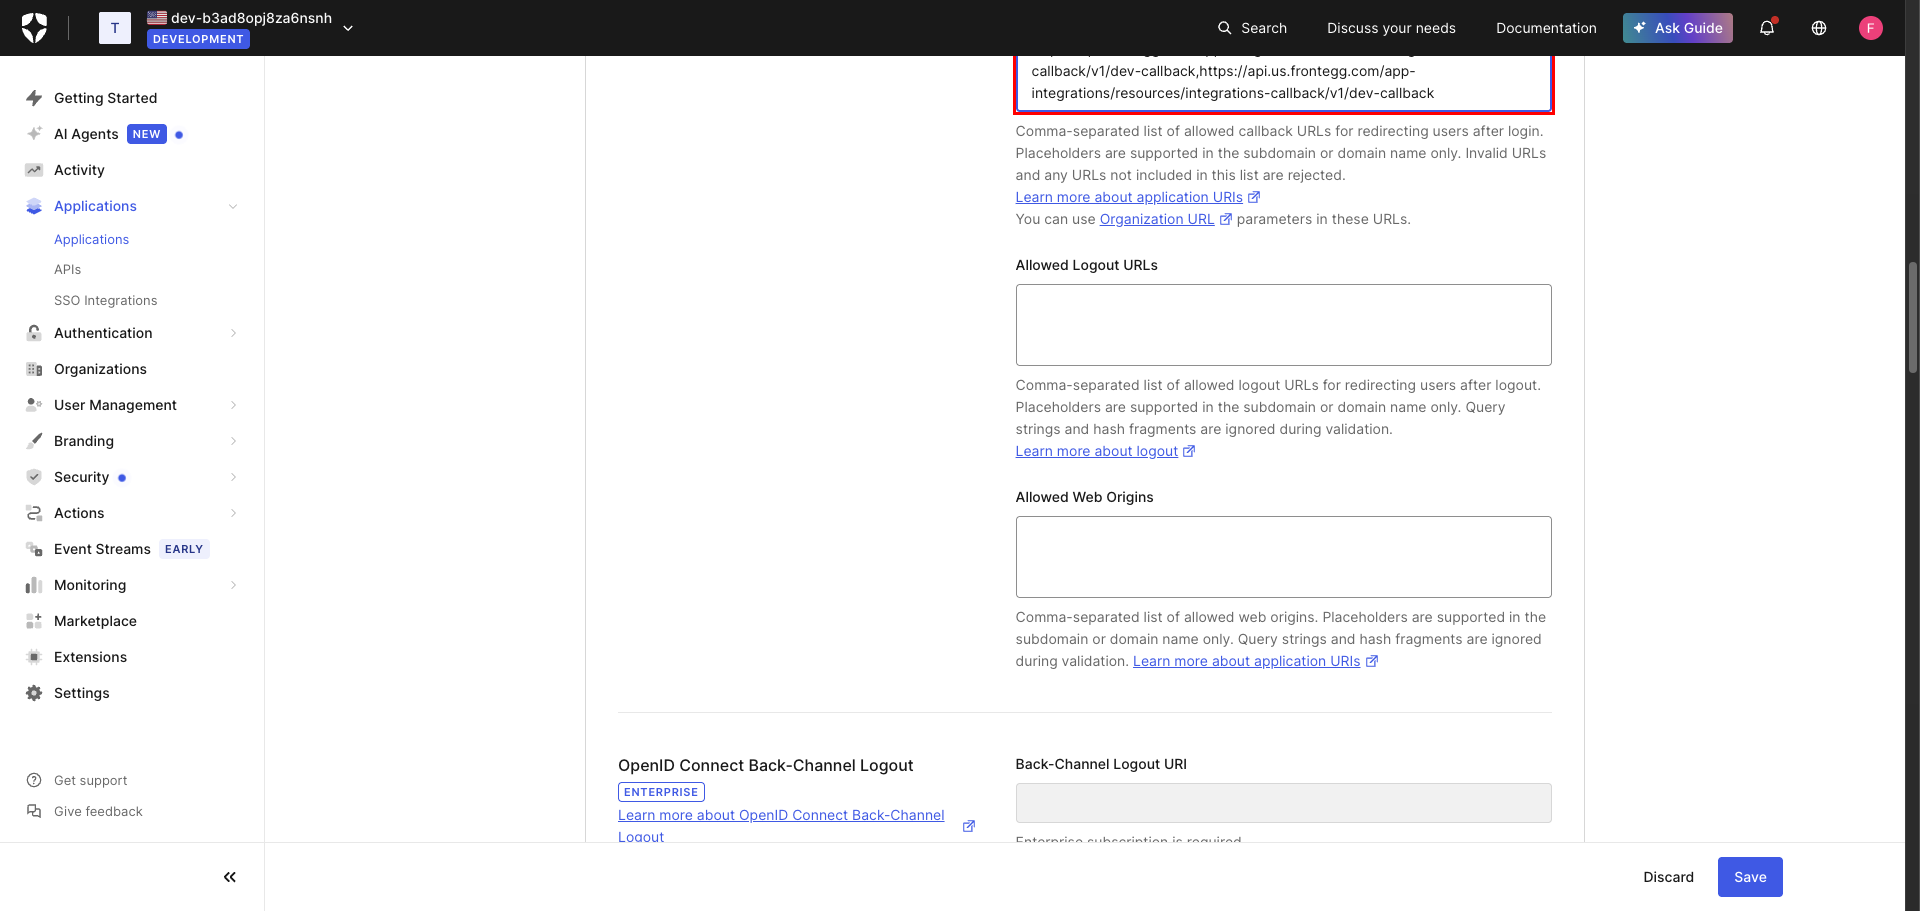
On the Settings tab, scroll down to the Application URIs section.
In the Allowed Callback URLs field, enter the following URL:
https://YOUR_MCP_GATEWAY_URL/integration-callback
Scroll to the bottom of the page and click Save.
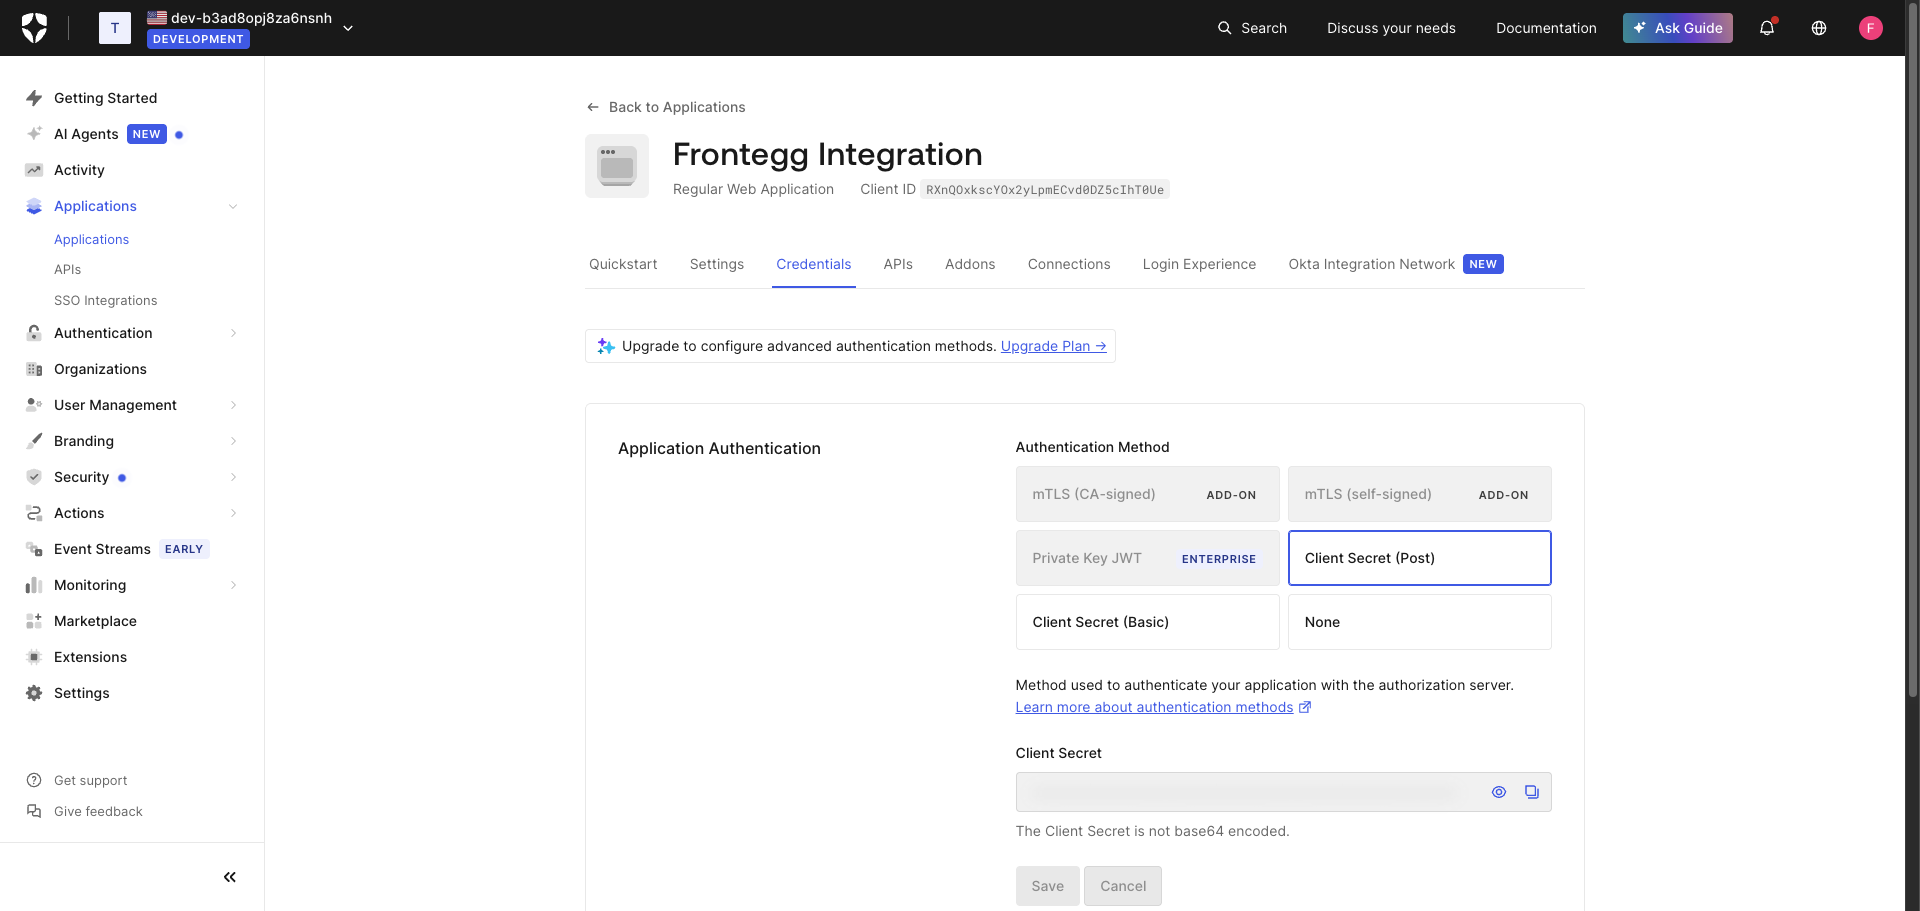
Click the Credentials tab. This page shows your application's Client Secret and authentication method.
- Client ID — Visible in the page header under the application name.
- Client Secret — Click Reveal Client Secret to display it, then use the Copy icon to copy it to your clipboard.
Copy your Client Secret now
Copy your Client Secret now
The Client Secret is masked by default. Use the Reveal Client Secret button to display it, then copy it immediately and store it in a secure location.
Your Auth0 domain
Your Auth0 domain
Your Auth0 domain is also visible on the Settings tab in the Domain field, for example your-tenant.us.auth0.com. You will need this when configuring the Frontegg portal.
Once you have obtained your Client ID, Client Secret, and Auth0 domain, configure the integration in the Frontegg portal:
- Open the Frontegg portal and navigate to [ENVIRONMENT] → Integrations → Auth0.
- Enter your Auth0 domain — the hostname of your Auth0 tenant. For example, if your dashboard URL is
https://manage.auth0.com/dashboard/us/my-tenant, your domain ismy-tenant.us.auth0.com. - Enter the Client ID and Client Secret in the corresponding fields.
- Select the required scopes:
| Scope | Description |
|---|---|
openid | Required for OpenID Connect authentication |
profile | Access user profile information |
email | Access user email address |
offline_access | Obtain refresh tokens for long-lived access |
read:users | Read user information |
update:users | Update user information |
delete:users | Delete users |
create:users | Create users |
read:user_idp_tokens | Read user identity provider tokens |
read:organizations | Read organization information |
update:organizations | Update organization information |
create:organizations | Create organizations |
delete:organizations | Delete organizations |
read:organization_members | Read organization members |
manage:organization_members | Manage organization members |
read:roles | Read roles |
create:roles | Create roles |
update:roles | Update roles |
delete:roles | Delete roles |
read:logs | Read log events |
read:clients | Read client (application) information |
update:clients | Update client (application) information |
- Click Save.
Keep your credentials secure
Keep your credentials secure
Never share or commit your Client Secret to version control.