Okta is an identity and access management platform that provides authentication, user management, and authorization services. Integrating Okta with Frontegg allows your application to list users, manage groups, access applications, and read system logs on behalf of your users using OAuth 2.0.
Prerequisites
Prerequisites
- An Okta account with admin access to the Okta Admin Console
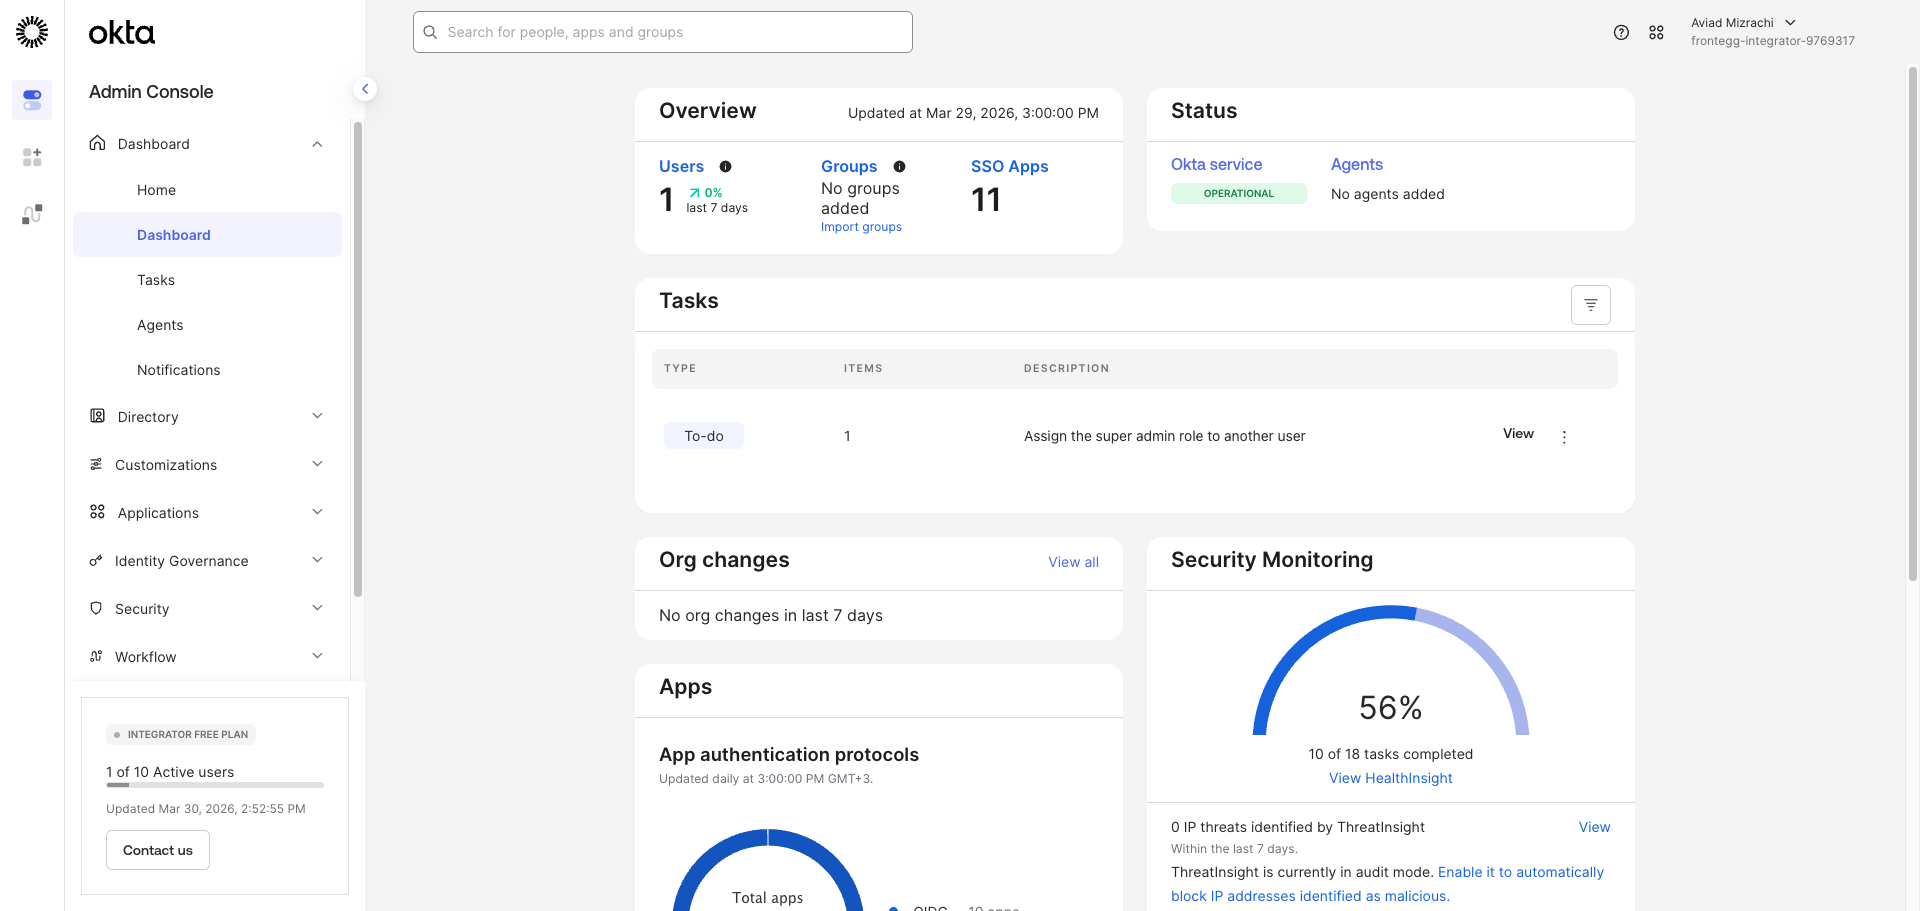
Sign in to your Okta Admin Console. The URL follows the format https://{yourOktaDomain}-admin.okta.com/admin/dashboard. Your Okta domain is visible in the browser address bar — for example, if your URL is https://acme-admin.okta.com, your domain is acme.okta.com.
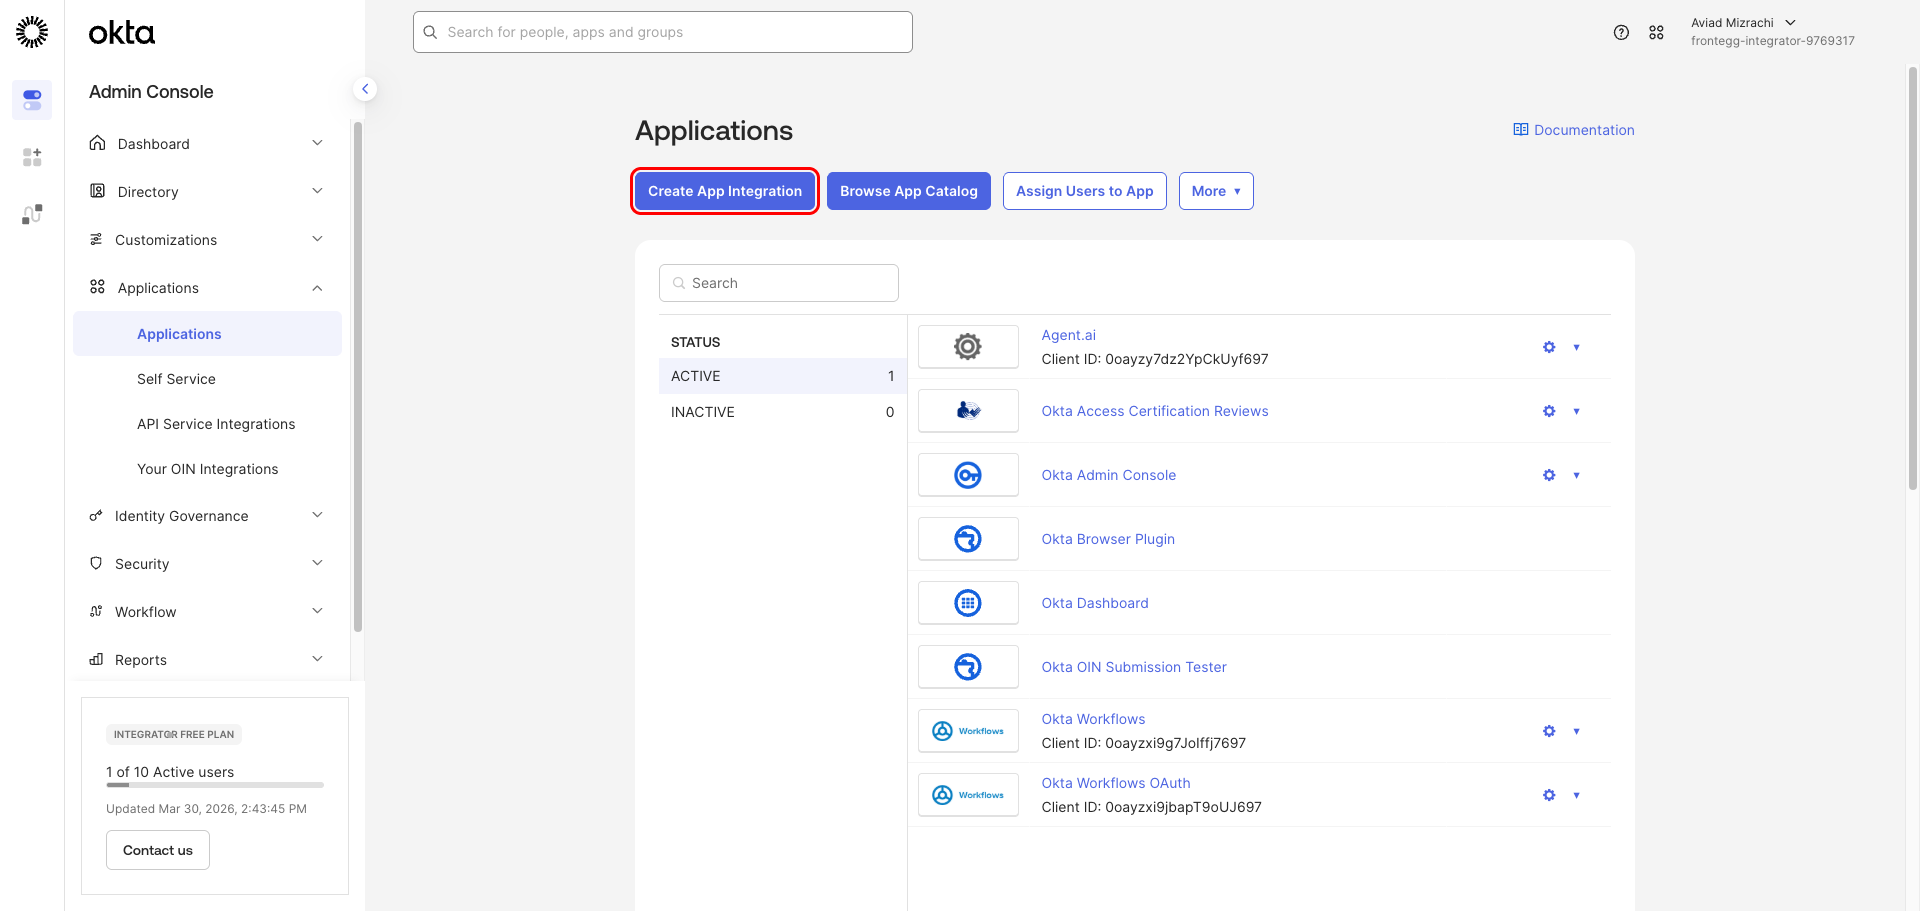
In the left navigation, click Applications → Applications. The Applications page lists all app integrations registered in your Okta org.
Click Create App Integration to start the wizard.
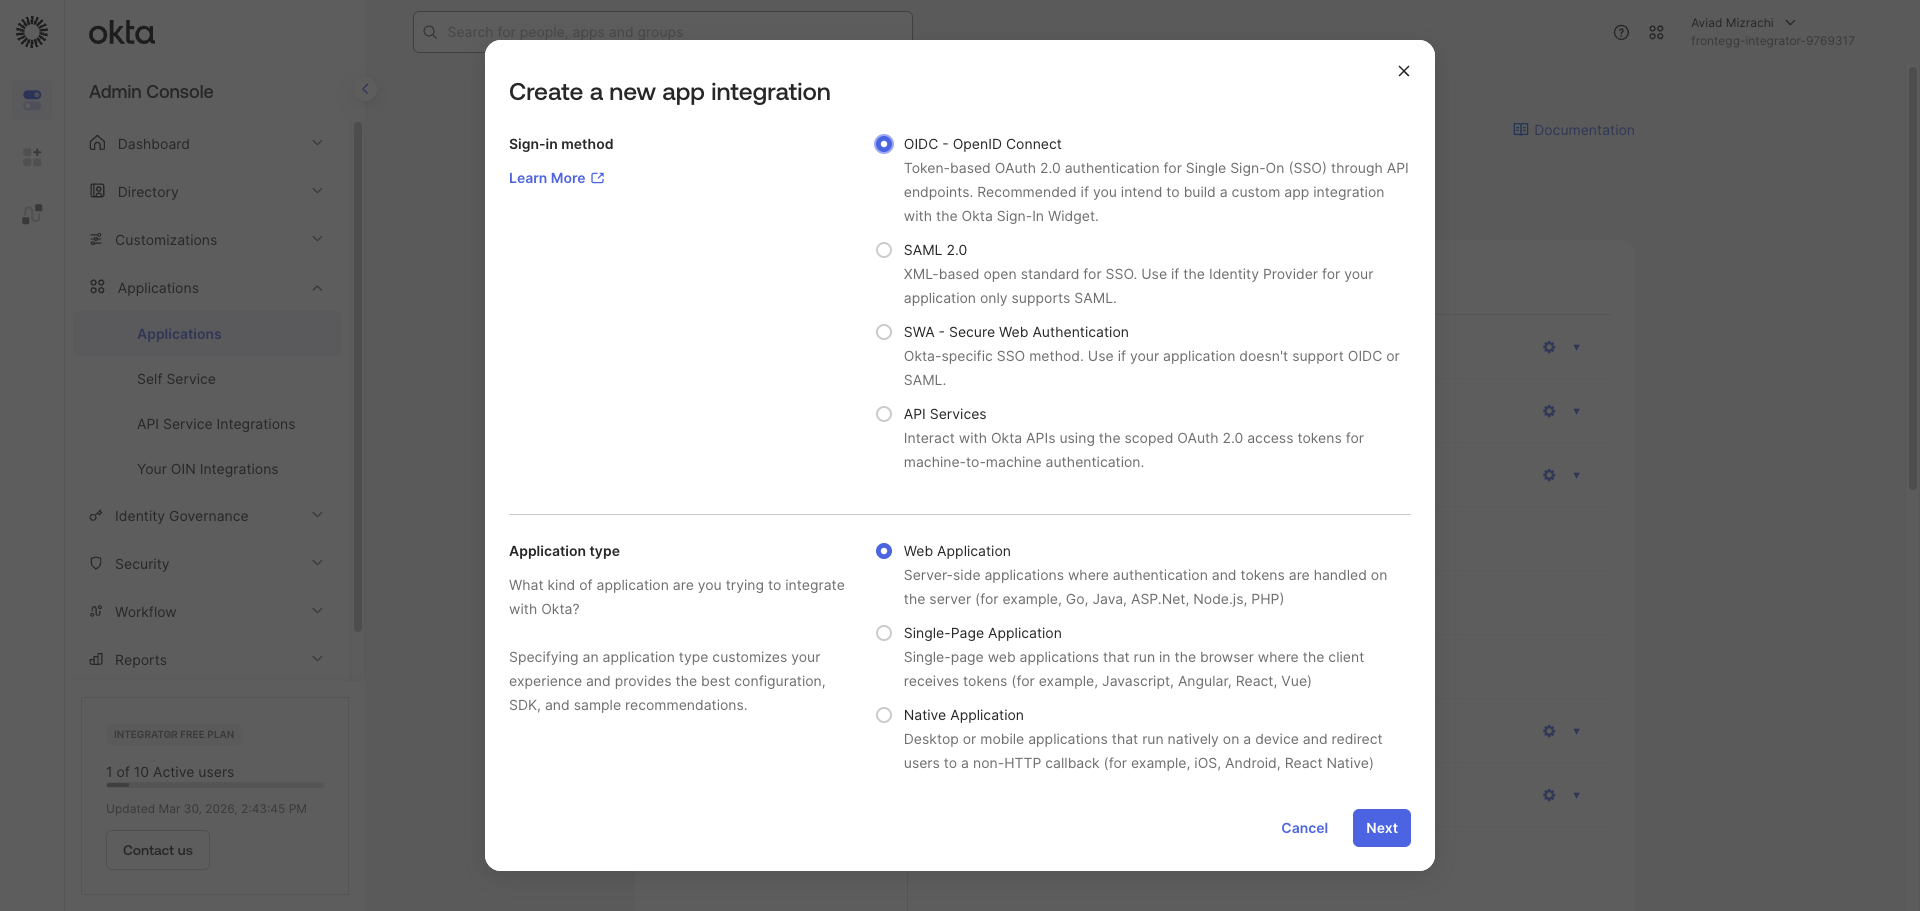
In the Create a new app integration dialog:
- Under Sign-in method, select OIDC - OpenID Connect.
- Under Application type, select Web Application.
Click Next.
Complete the New Web App Integration form:
- App integration name — Enter a descriptive name, for example
Frontegg Integration. - Grant type — Under Core grants, keep Authorization Code checked (required). Also check Refresh Token.
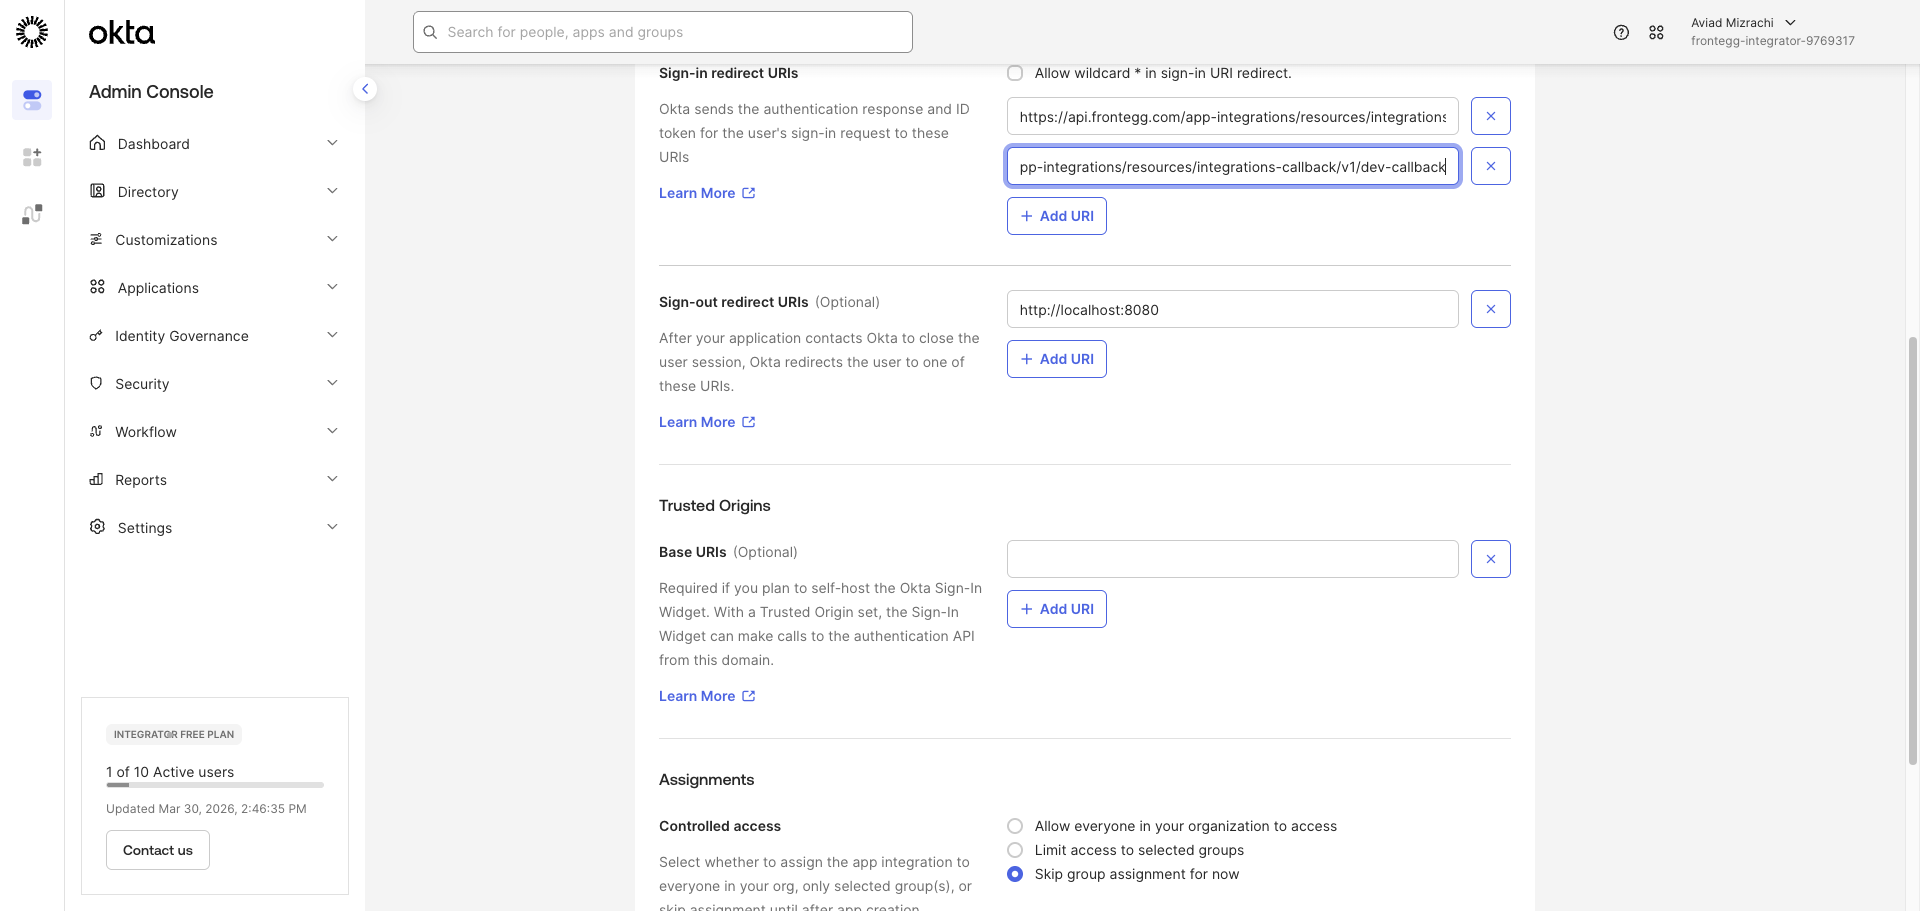
- Sign-in redirect URIs — Replace the default value with the following URI:
https://YOUR_MCP_GATEWAY_URL/integration-callback
- Controlled access — Select Skip group assignment for now.
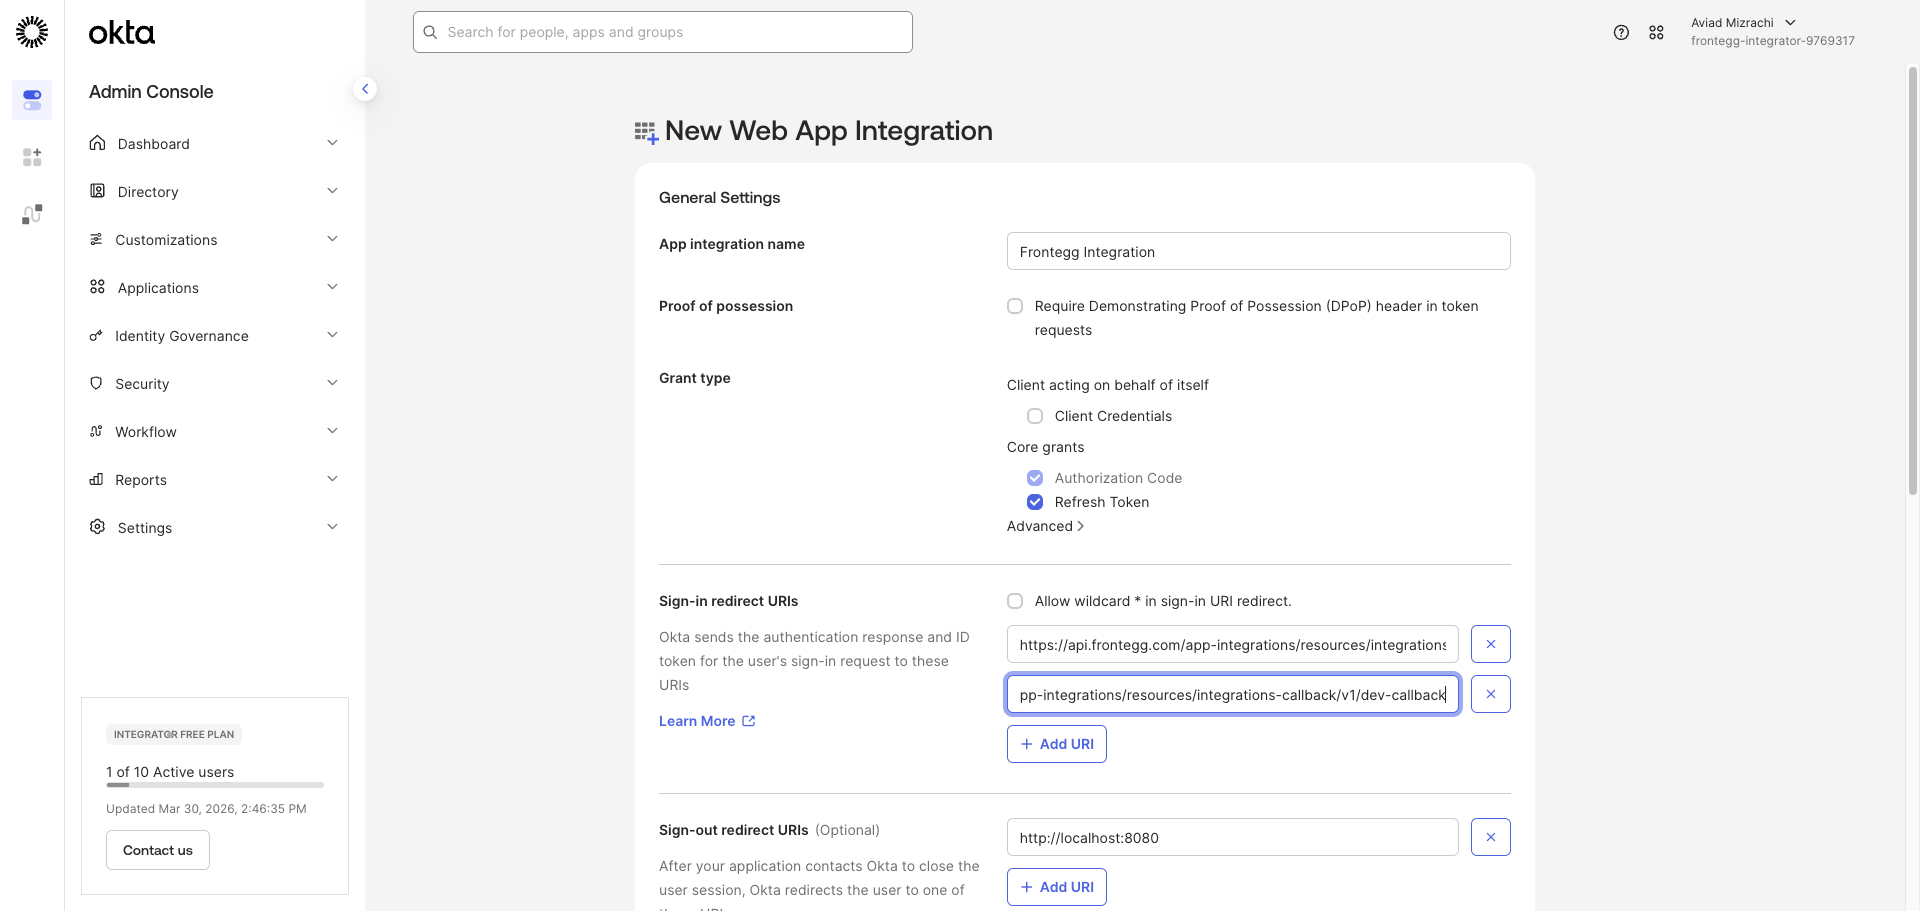
Confirm that the Frontegg redirect URI appears in the Sign-in redirect URIs section before saving.
Click Save.
After saving, Okta redirects you to the app details page for Frontegg Integration. This confirms the app was created successfully.
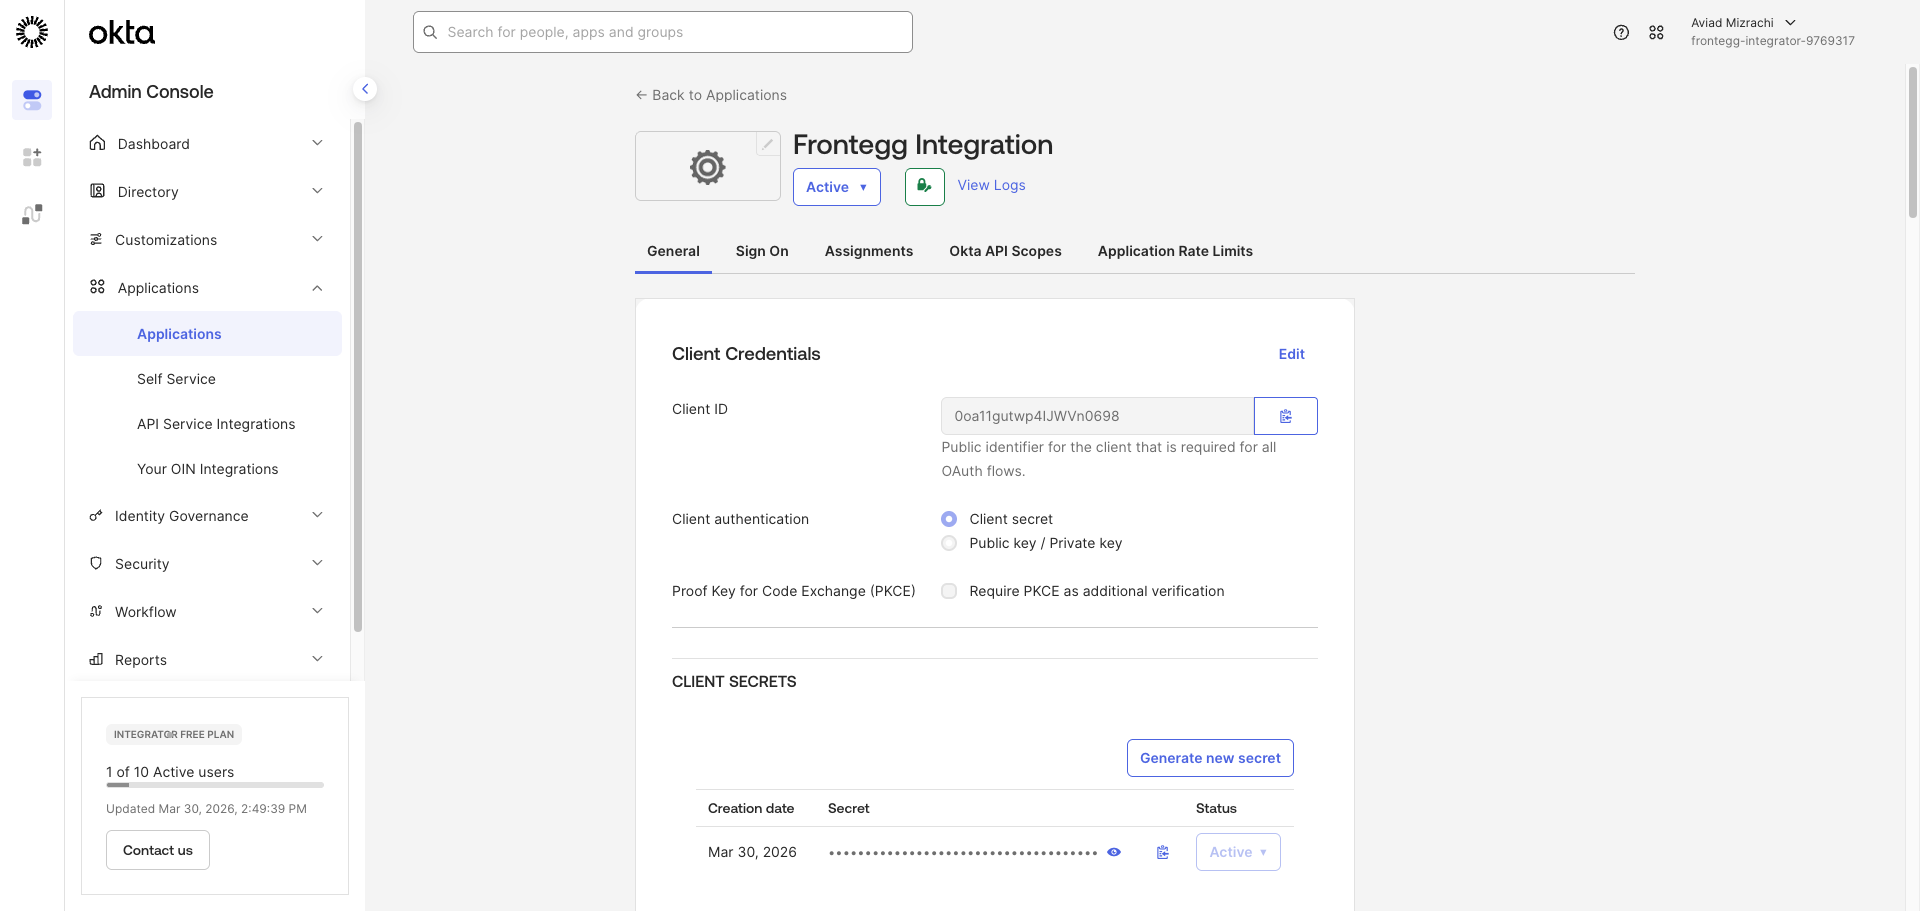
On the General tab, scroll to the Client Credentials section:
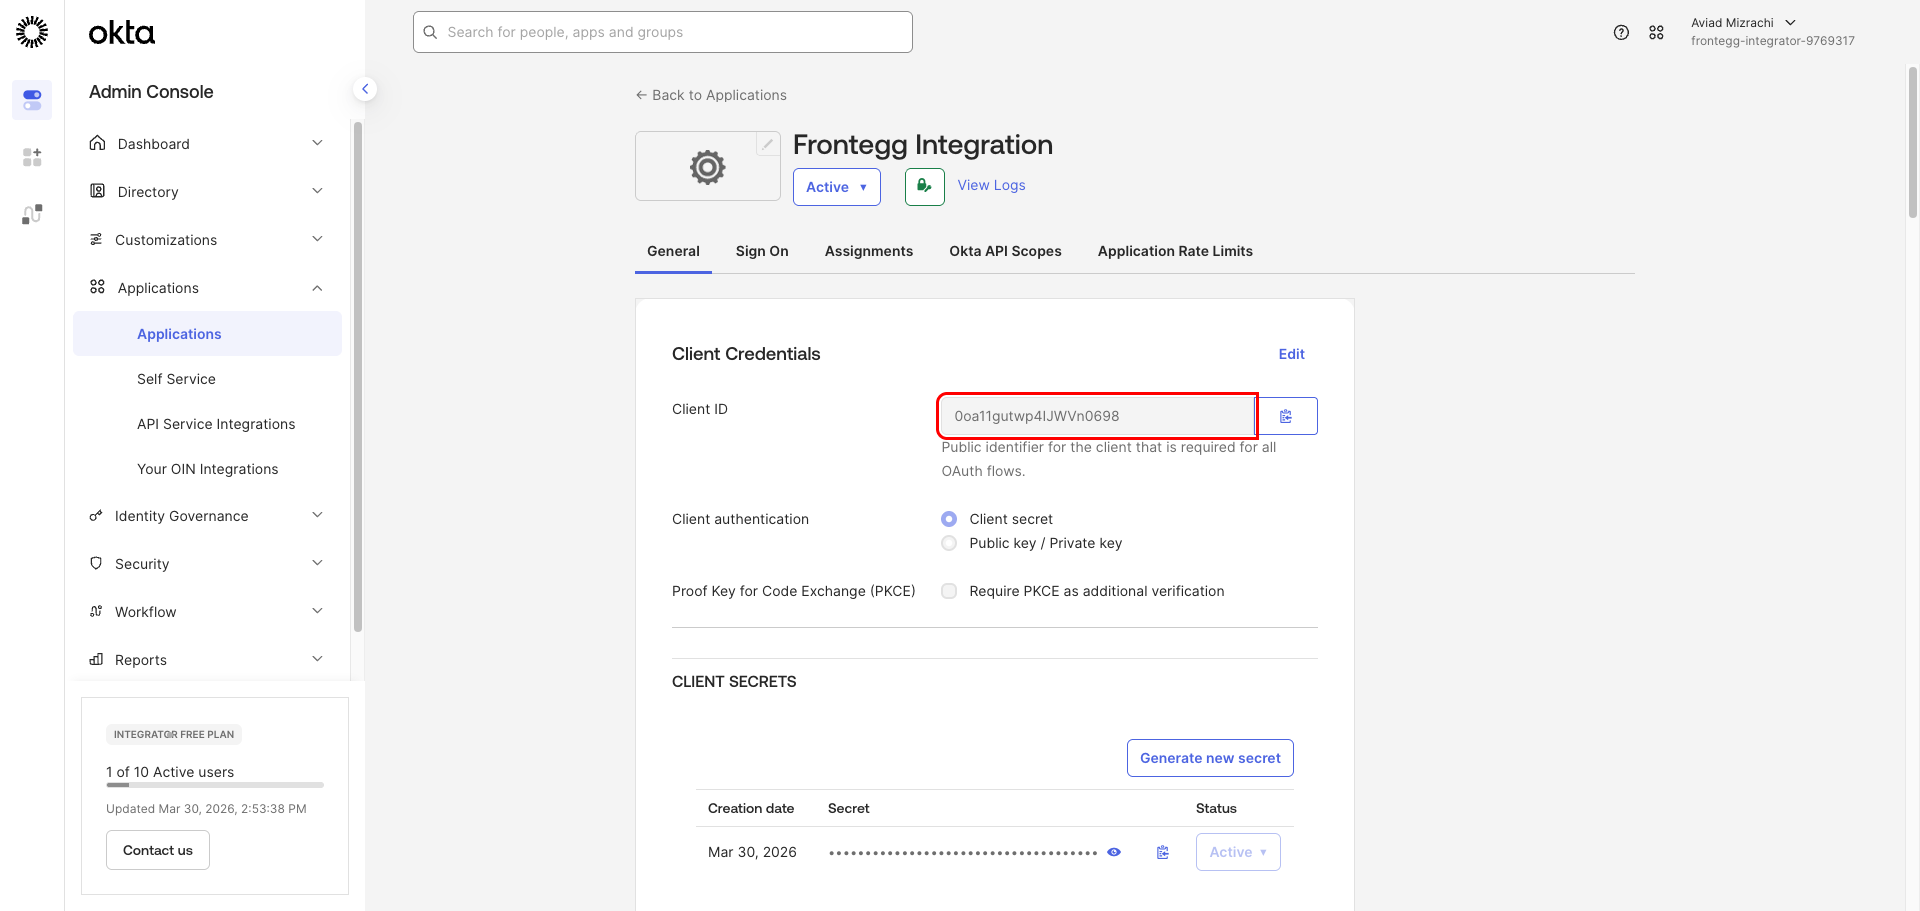
- Client ID — Copy the value shown in the Client ID field.
- Client Secret — Under CLIENT SECRETS, click the copy icon next to the masked secret value to copy it to your clipboard.
Copy your Client Secret now
Copy your Client Secret now
The Client Secret is masked after creation. Use the copy icon to retrieve it. If you lose it, click Generate new secret to create a replacement.
Once you have obtained your Client ID and Client Secret from the steps above, configure the integration in the Frontegg portal:
- Open the Frontegg portal and navigate to [ENVIRONMENT] → Integrations → Okta.
- Enter your Okta domain — the hostname of your Okta org. For example, if your admin console URL is
https://acme-admin.okta.com, your domain isacme.okta.com. - Enter the Client ID and Client Secret in the corresponding fields.
- Select the required scopes:
| Scope | Description |
|---|---|
openid | Required for OpenID Connect authentication |
profile | Access user profile information |
email | Access user email address |
phone | Access user phone number |
address | Access user address |
offline_access | Obtain refresh tokens for long-lived access |
okta.users.read | Read user information |
okta.users.manage | Create, update, and deactivate users |
okta.groups.read | Read group information |
okta.groups.manage | Create, update, and delete groups |
okta.apps.read | Read application information |
okta.apps.manage | Manage applications |
okta.authorizationServers.read | Read authorization server information |
okta.authorizationServers.manage | Manage authorization servers |
okta.logs.read | Read system log events |
- Click Save.
Keep your credentials secure
Keep your credentials secure
Never share or commit your Client Secret to version control.