Box is a cloud content management platform for storing, sharing, and collaborating on files and folders. Integrating Box with Frontegg allows your application to access files, folders, and collaborations on behalf of your users using OAuth 2.0.
Prerequisites
Prerequisites
- A Box developer account
- Access to the Box developer console
Log in to Box and navigate to the Box Developer Console. The console lists all your platform apps.
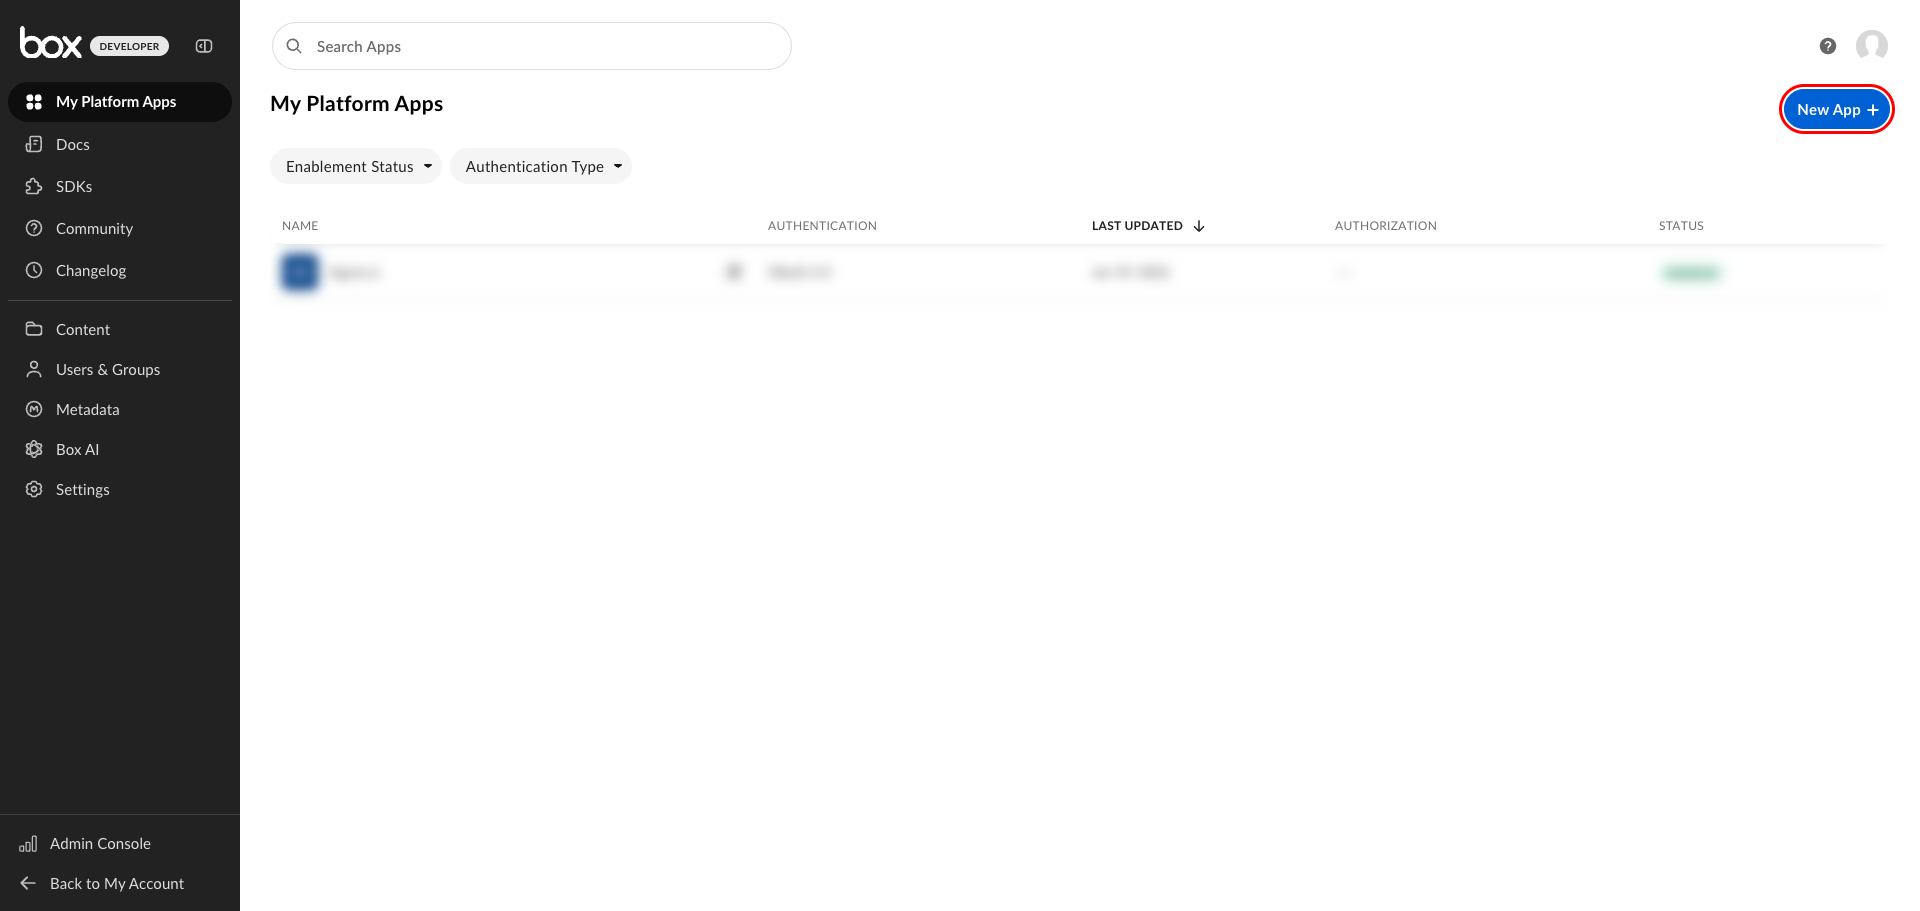
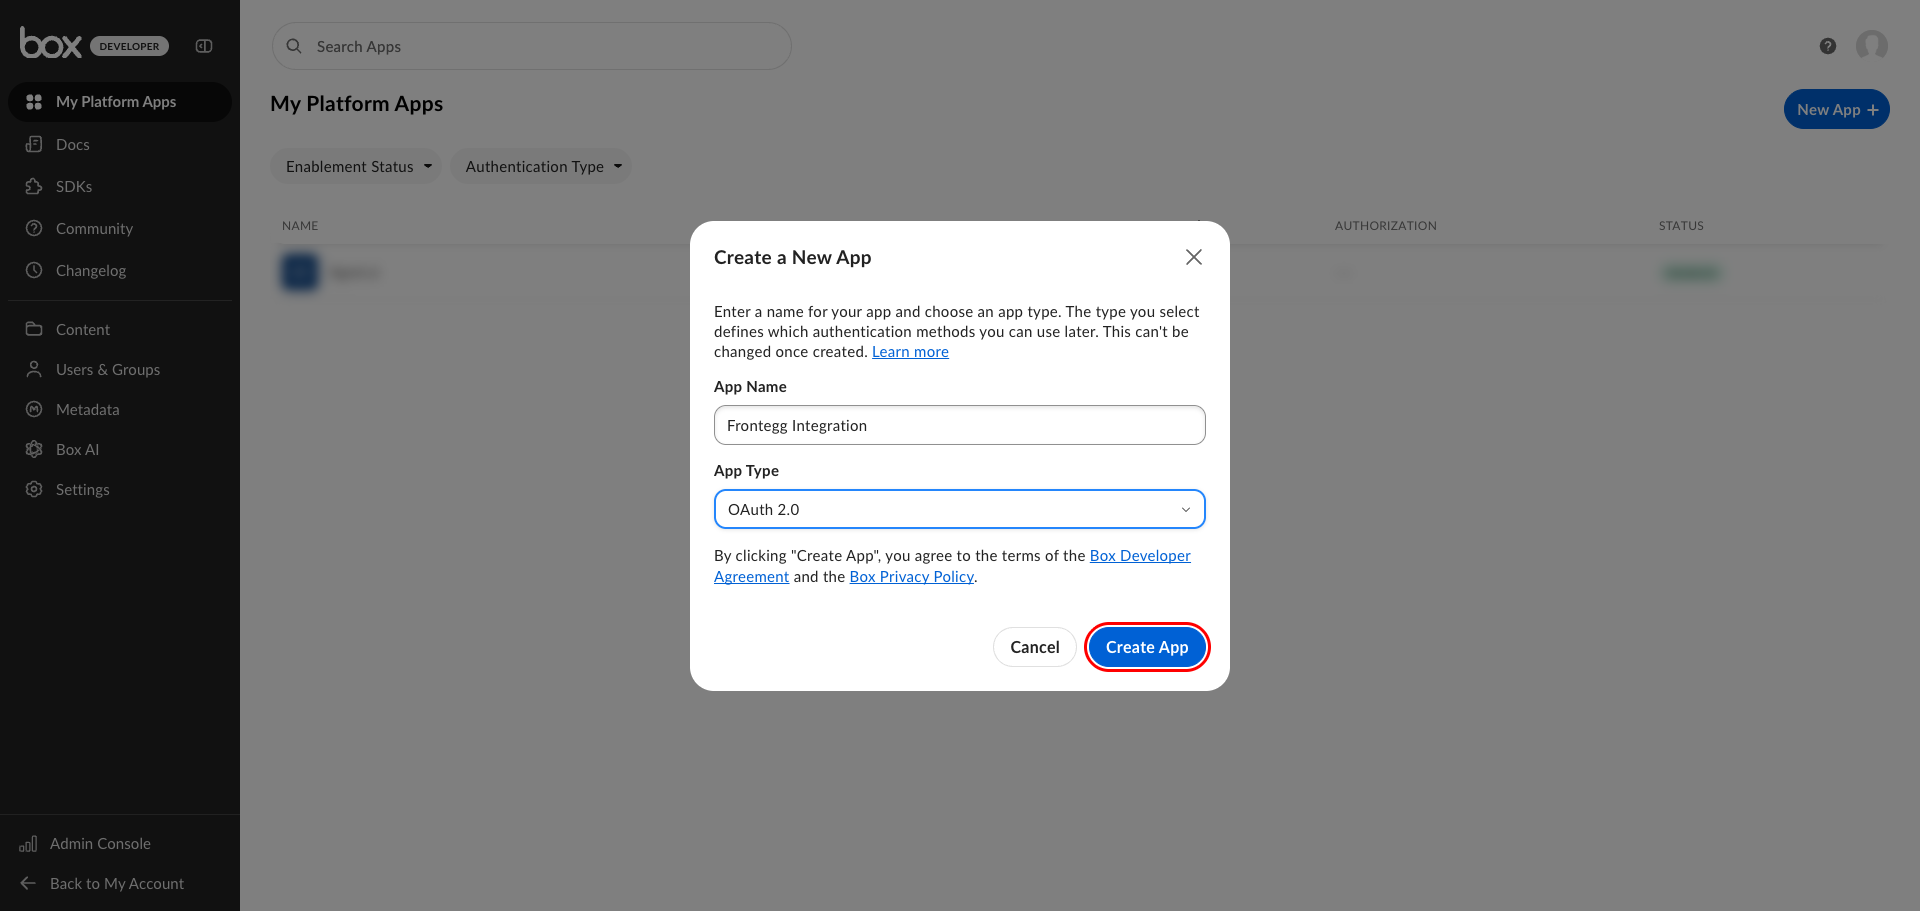
Click New App. In the dialog that appears:
- App Name — Enter a descriptive name, for example
Frontegg Integration. - App Type — Select OAuth 2.0 (User or Client Authentication).
Click Create App.
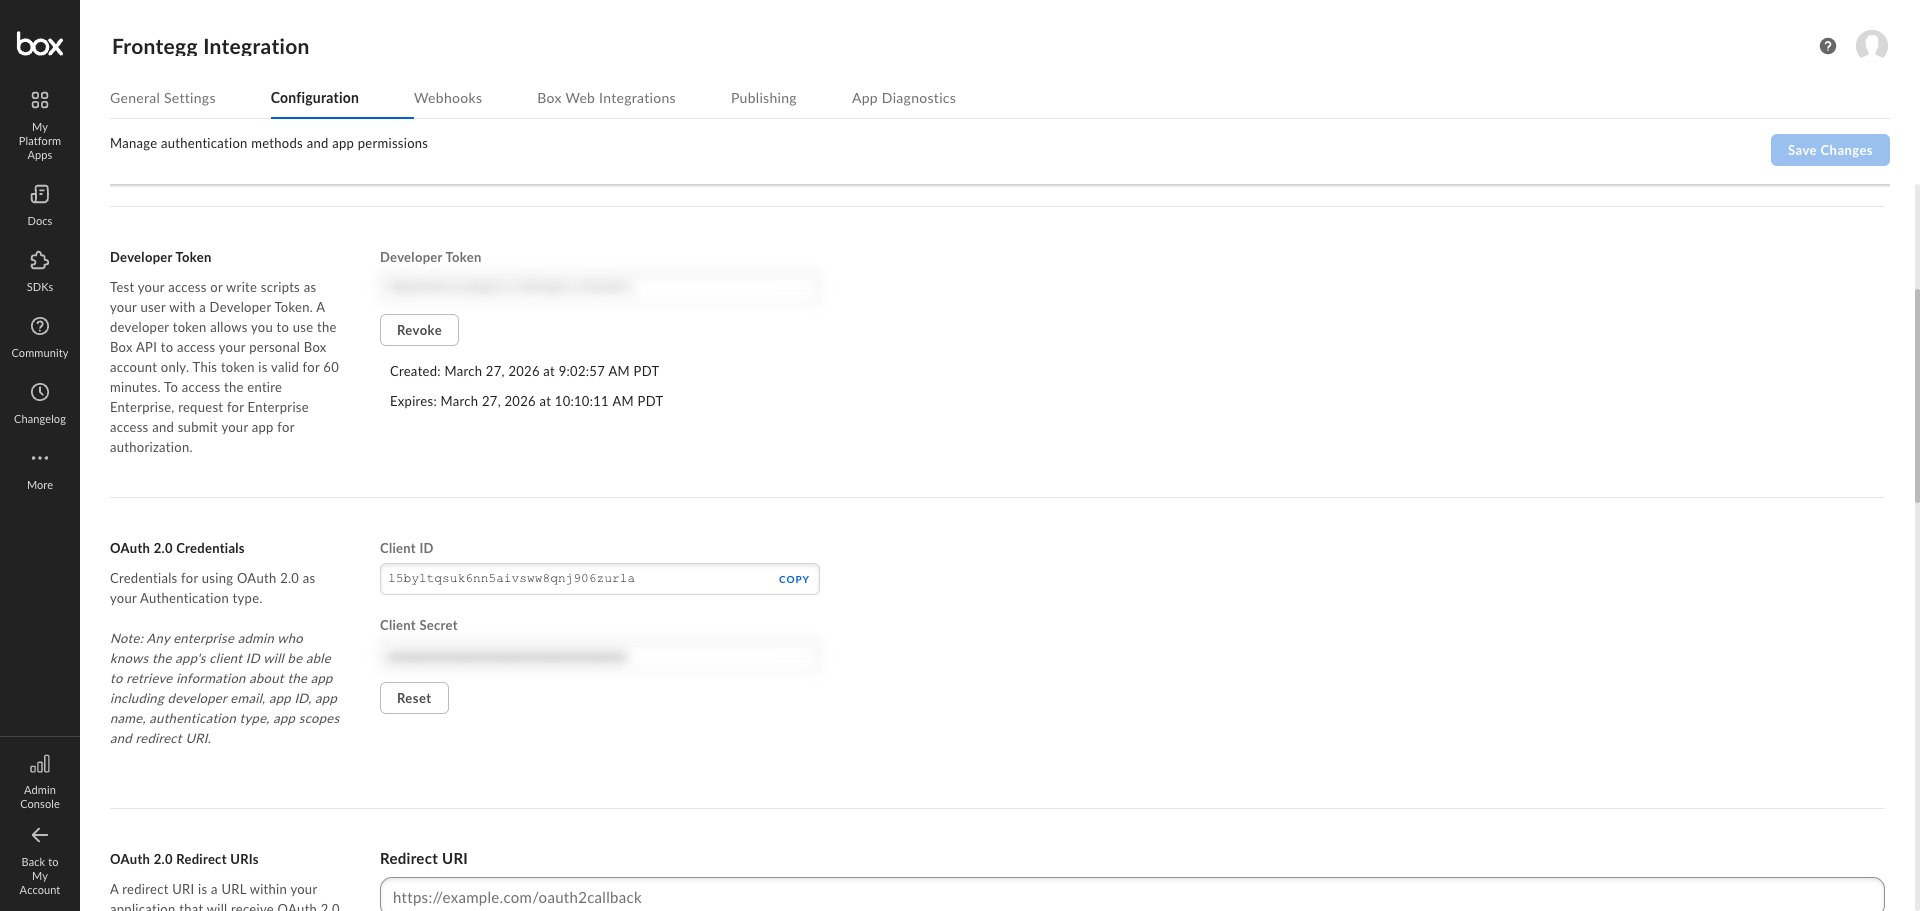
After the app is created, you are taken to the Configuration tab. Scroll down to the OAuth 2.0 Credentials section. Copy your Client ID and Client Secret — you will need both when configuring the Frontegg portal.
Client Secret visibility
Client Secret visibility
The Client Secret is masked on screen. Use the Copy button next to the Client Secret field to copy it to your clipboard.
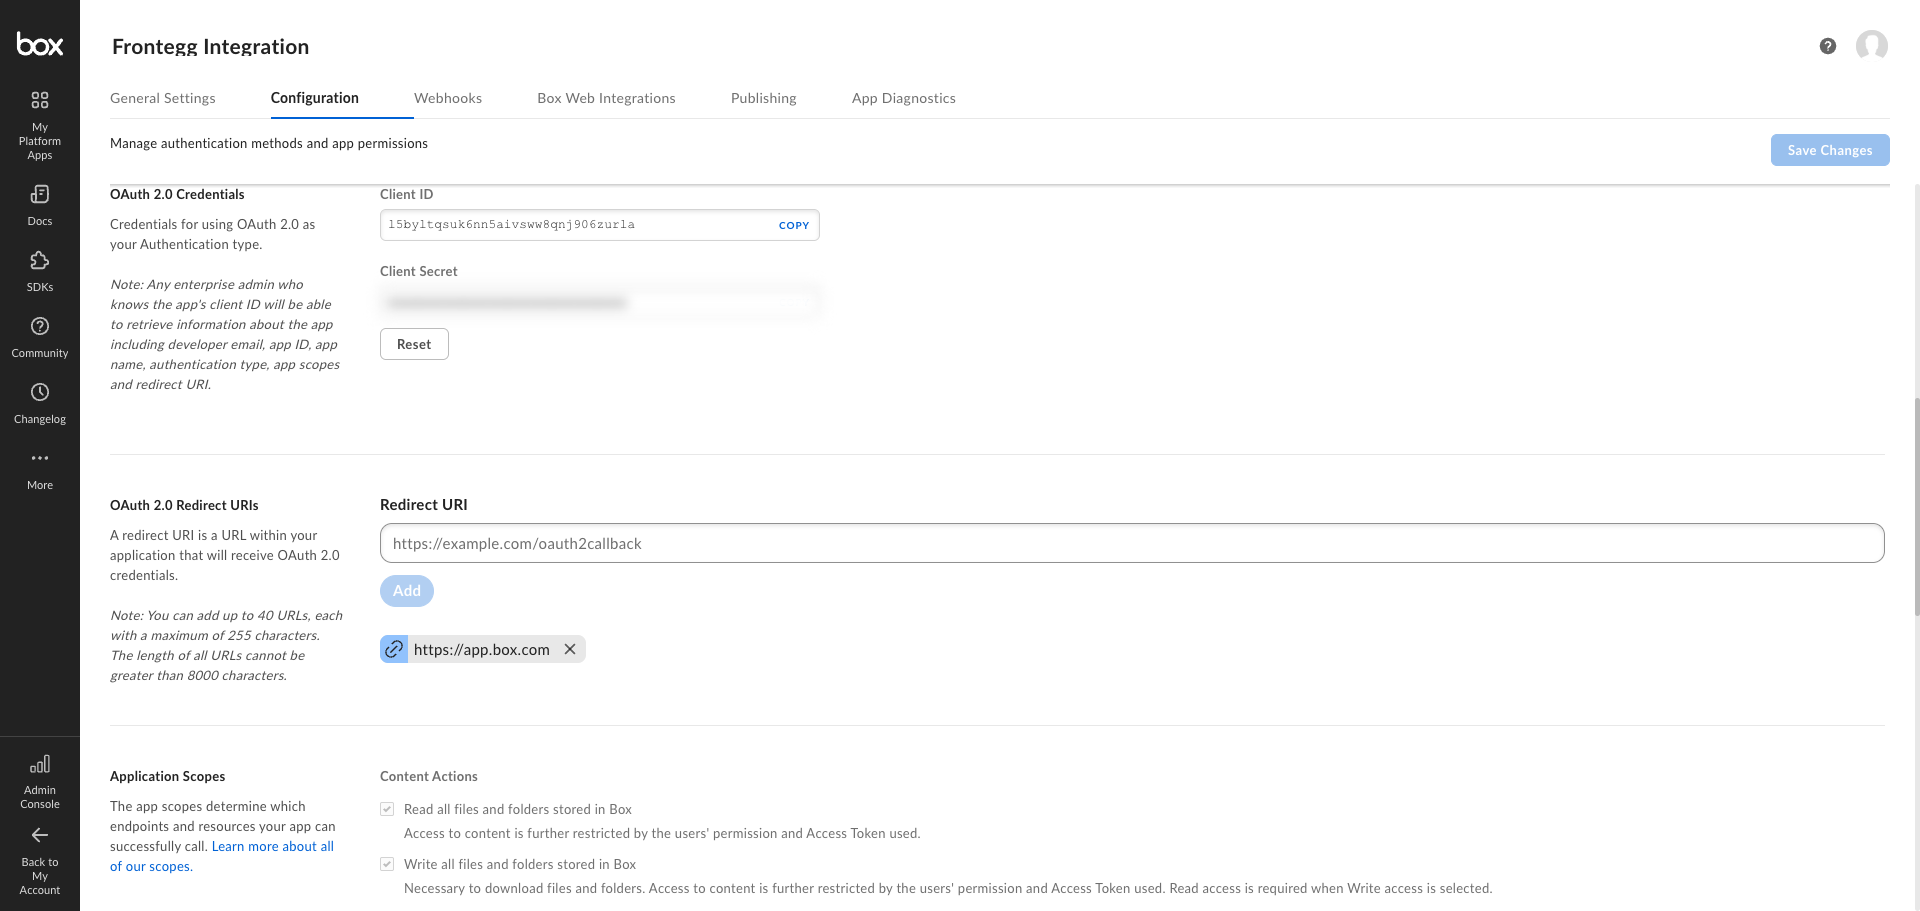
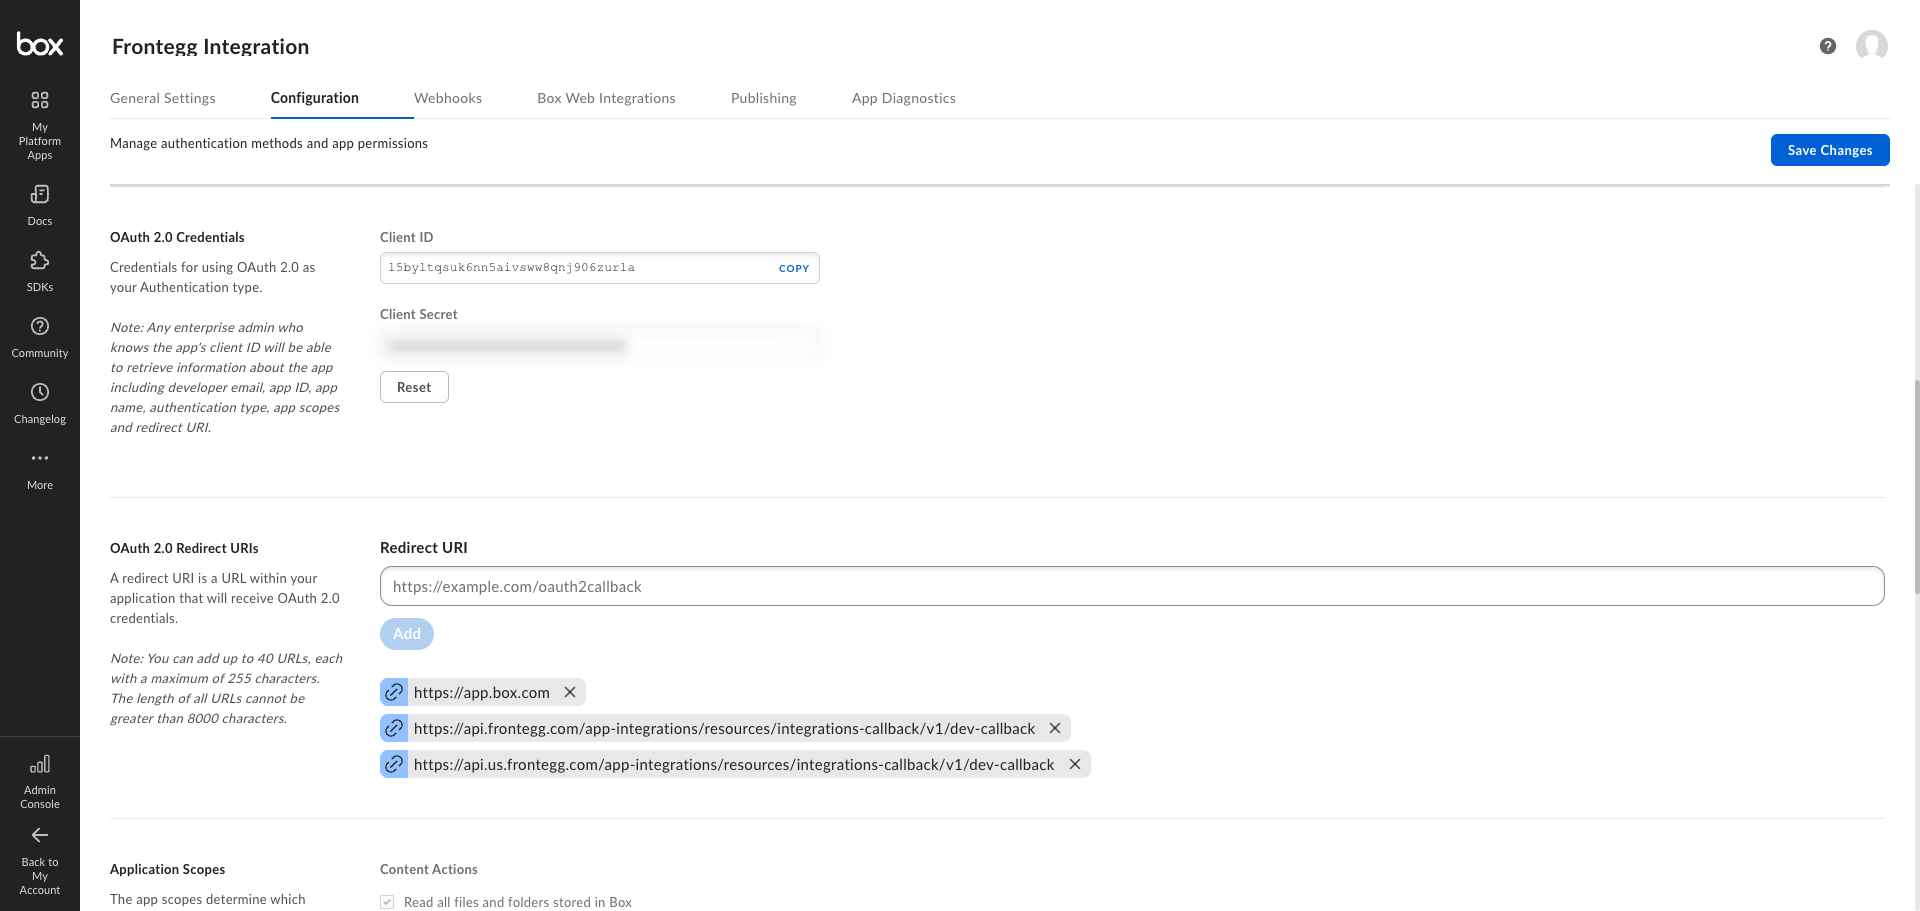
Scroll down to the OAuth 2.0 Redirect URIs section. Enter the following URI in the Redirect URI field and click Add:
https://YOUR_MCP_GATEWAY_URL/integration-callback
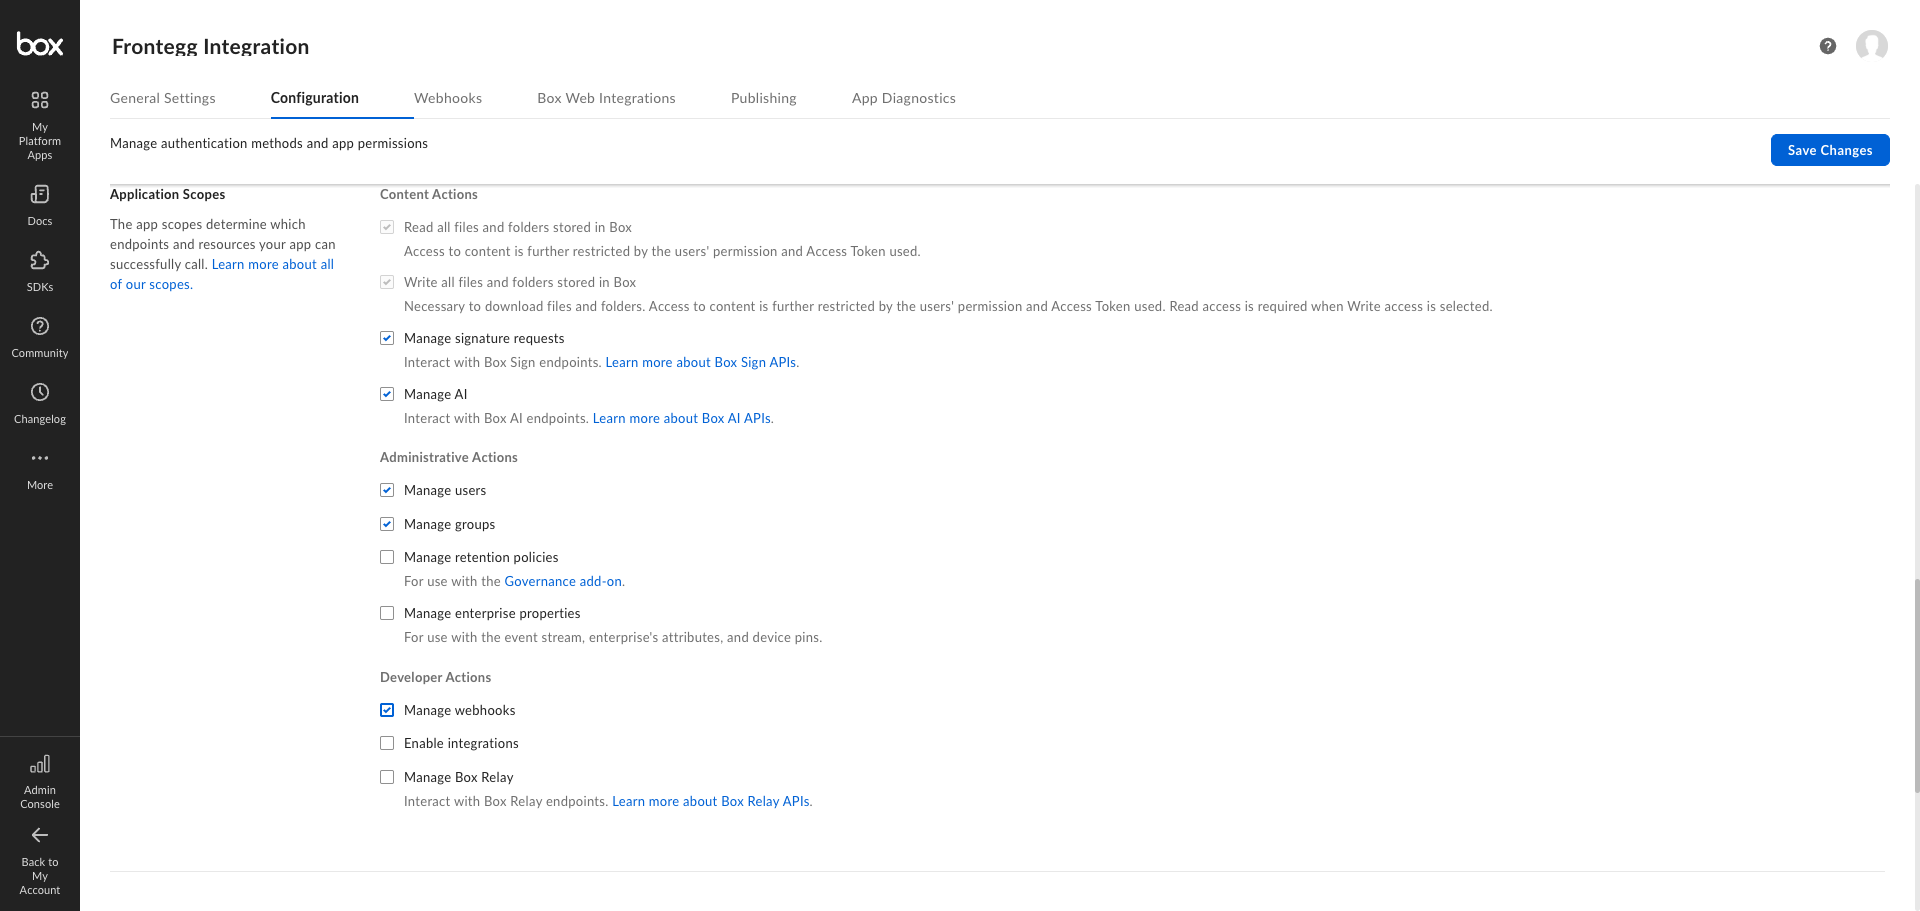
Scroll down to the Application Scopes section. Select the following scopes:
| Scope | Description |
|---|---|
| Read all files and folders stored in Box | Required to read files and folders |
| Write all files and folders stored in Box | Required to create, update, and delete files and folders |
| Manage users | Required to manage user accounts |
| Manage groups | Required to manage groups |
| Manage webhooks | Required to manage webhooks |
Default scopes
Default scopes
The Read and Write scopes for files and folders are enabled by default when you create an OAuth 2.0 app.
Click Save Changes at the top of the configuration page to apply all settings.
Once you have obtained your Client ID and Client Secret from the steps above, enter them in the integration configuration page of the Frontegg portal:
- Open the Frontegg portal and navigate to [ENVIRONMENT] → Integrations → Box.
- Enter the Client ID and Client Secret in the corresponding fields.
- Select the required scopes.
- Click Save.
Keep your credentials secure
Keep your credentials secure
Never share or commit your Client Secret to version control.