Azure DevOps provides services for source control, work tracking, builds and releases, test plans, and package management. Integrating Azure DevOps with Frontegg allows your application to access projects, repositories, pipelines, work items, and pull requests on behalf of your users through Microsoft Entra ID OAuth 2.0.
Prerequisites
Prerequisites
- A Microsoft Entra ID tenant with permission to register applications (typically through the Azure portal)
- An Azure DevOps organization linked to the user's Entra tenant
Use Microsoft Entra ID OAuth, not legacy Azure DevOps OAuth
Use Microsoft Entra ID OAuth, not legacy Azure DevOps OAuth
Microsoft retired the legacy Azure DevOps OAuth platform (app.vssps.visualstudio.com) and stopped accepting new registrations. New apps must register through Microsoft Entra ID → App registrations in the Azure portal, as described below.
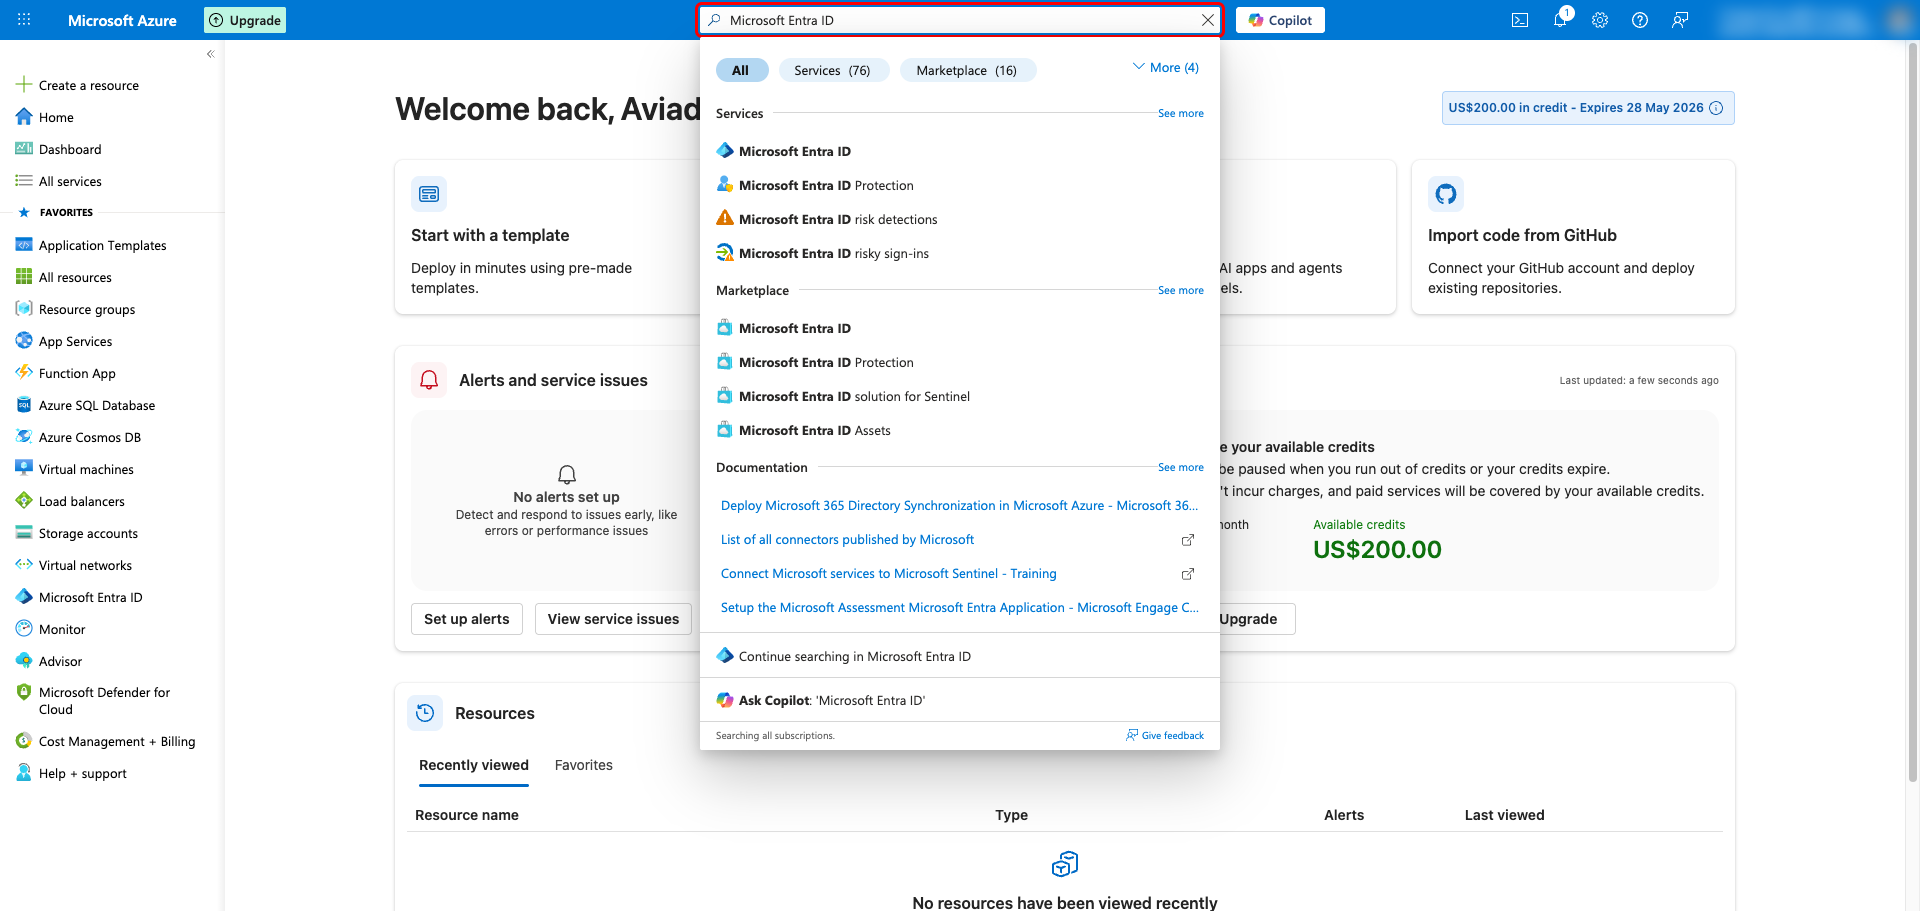
Sign in to the Azure portal with an account that can register applications in your Microsoft Entra ID tenant. Use the top search bar to find Microsoft Entra ID and open it.
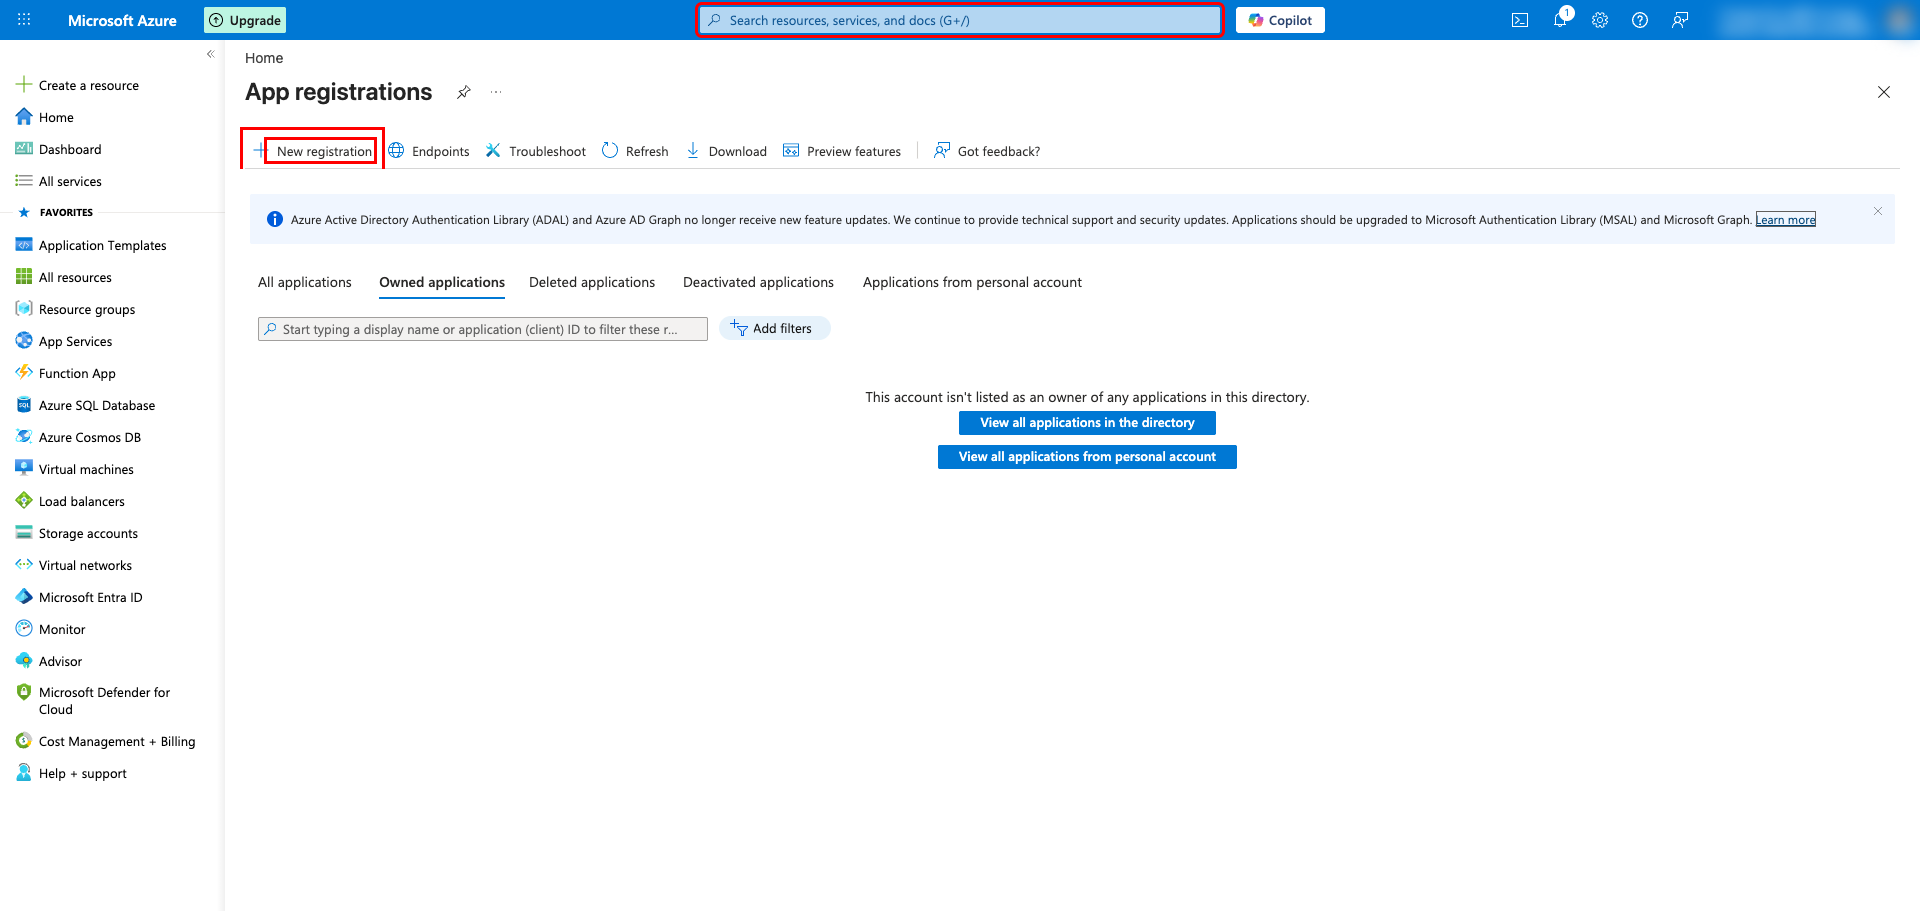
In the Microsoft Entra ID menu, select App registrations, then click + New registration at the top of the page.
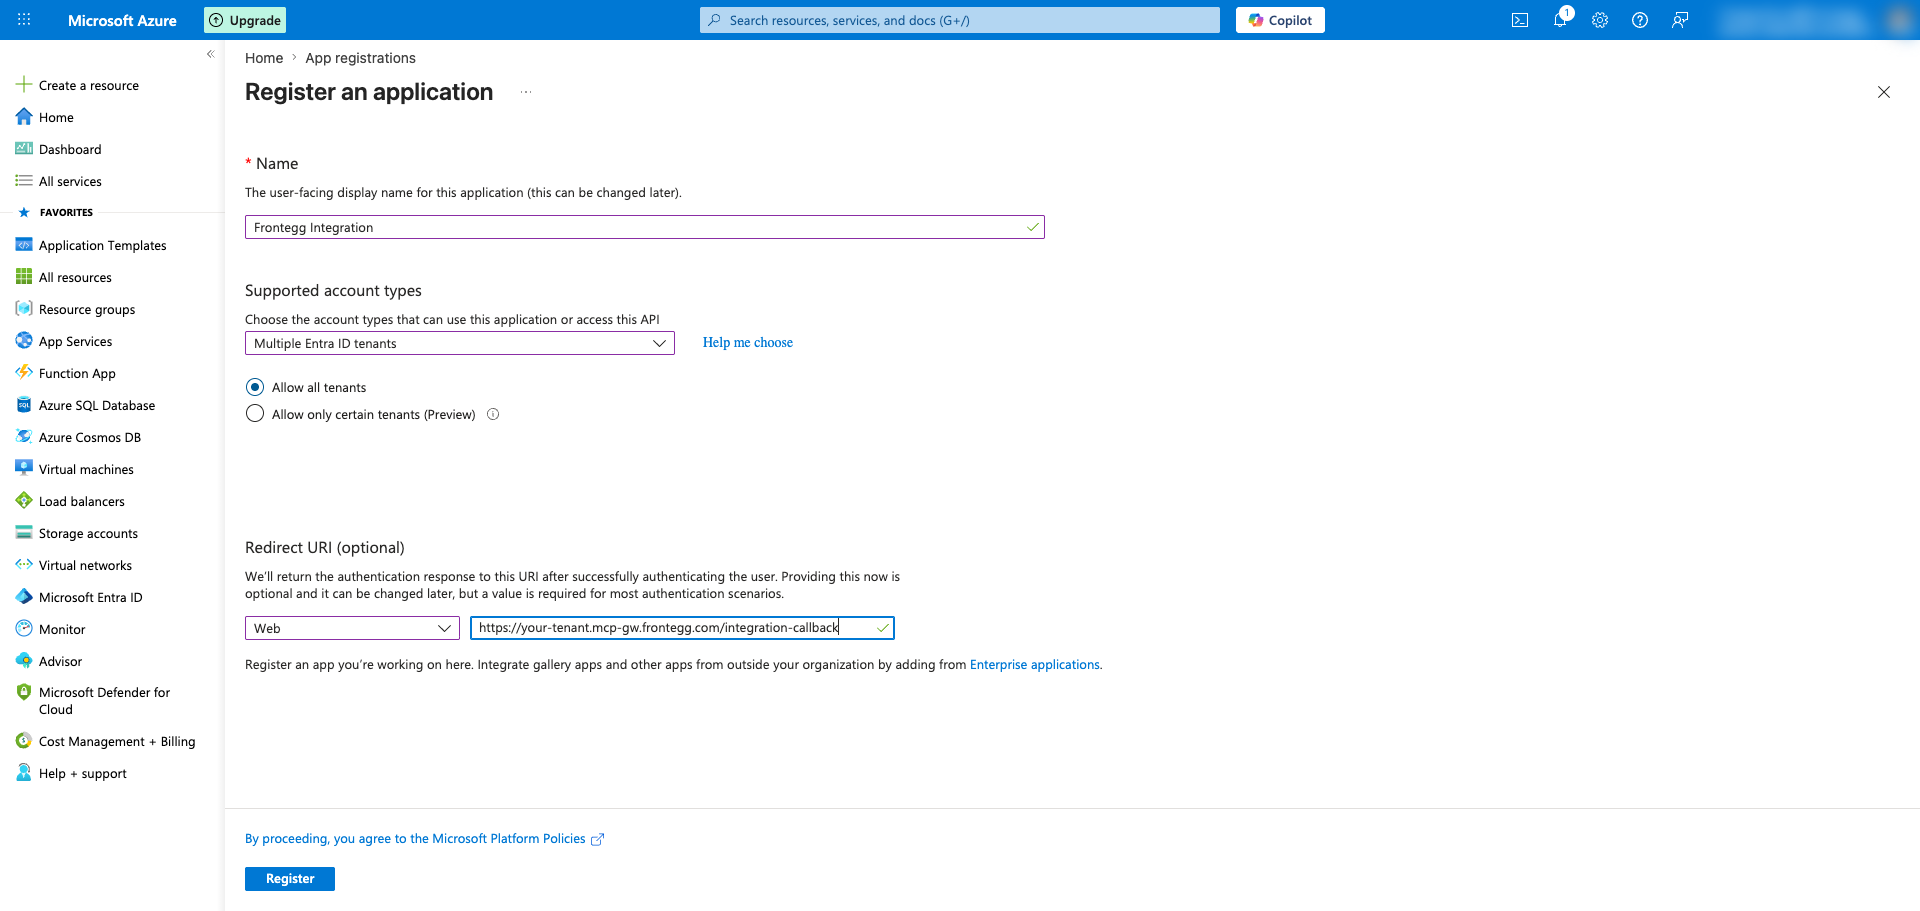
Fill in the Register an application form:
- Name — Enter a descriptive name (for example,
Frontegg Integration) - Supported account types — Select Accounts in any organizational directory (Any Microsoft Entra ID tenant - Multitenant) and then choose Allow all tenants so users from any Entra tenant can connect
- Redirect URI — Choose Web as the platform and enter your Frontegg redirect URL:
https://YOUR_MCP_GATEWAY_URL/integration-callback
Click Register to create the application.
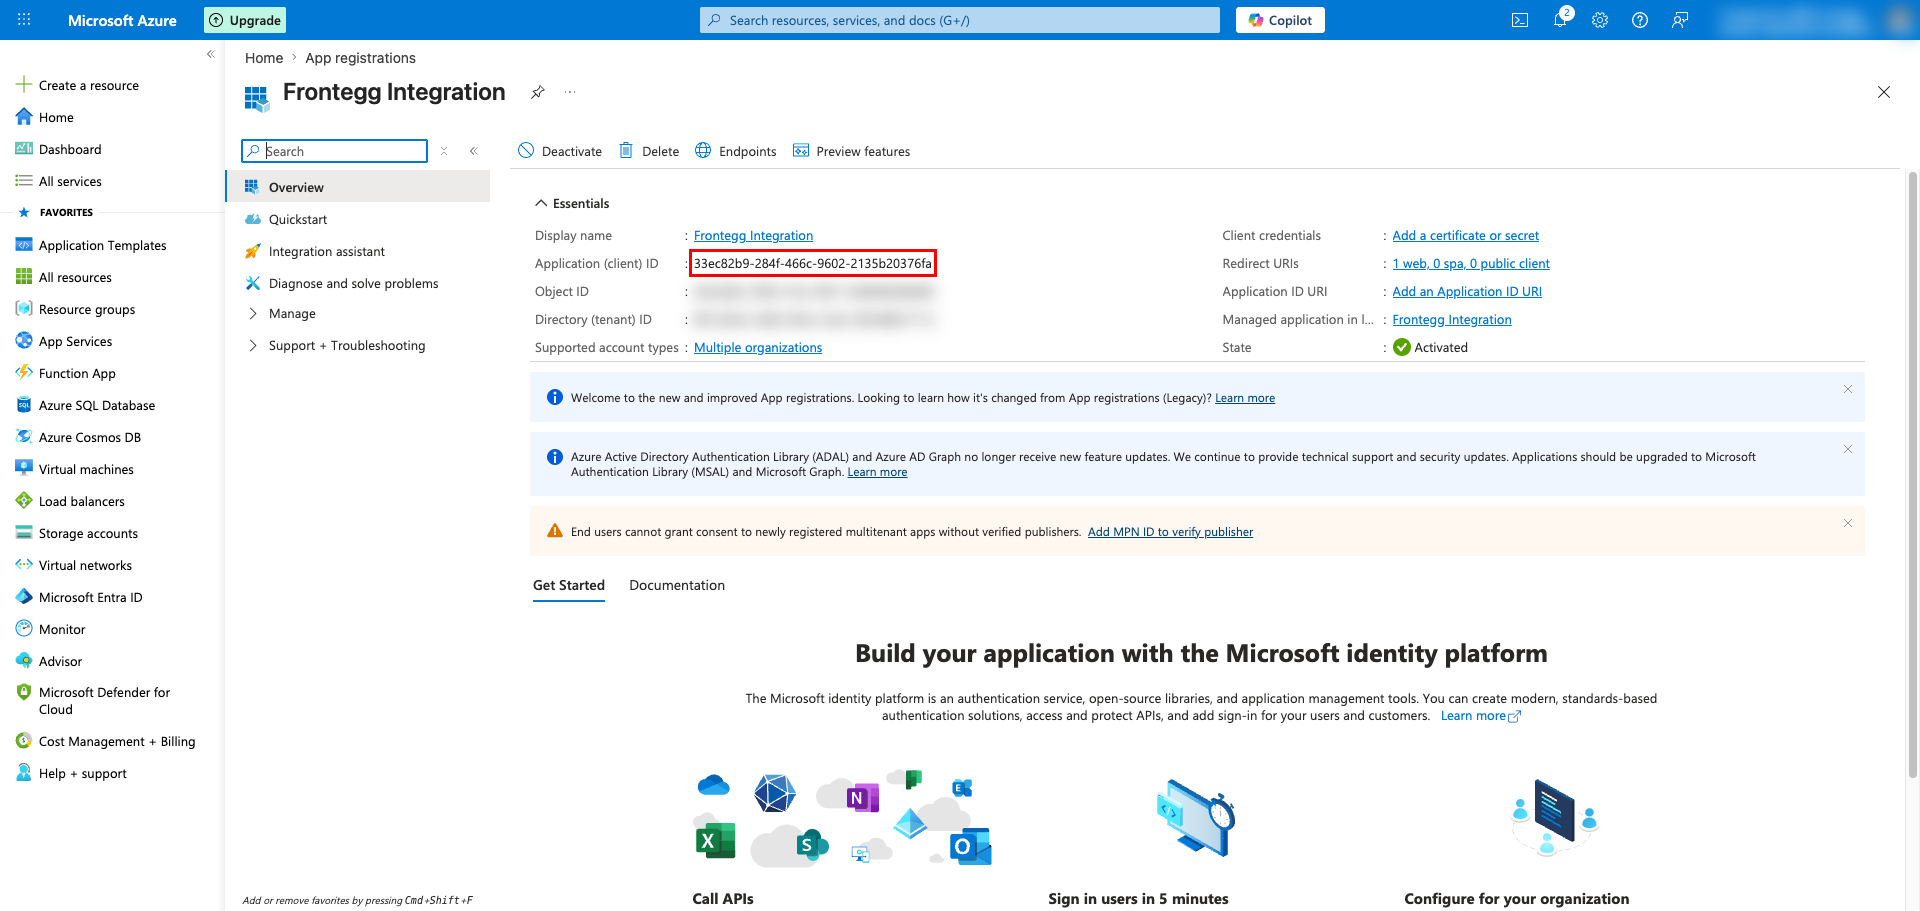
After registration, the application Overview page opens. Copy the Application (client) ID — this is the Client ID you will paste into the Frontegg portal.
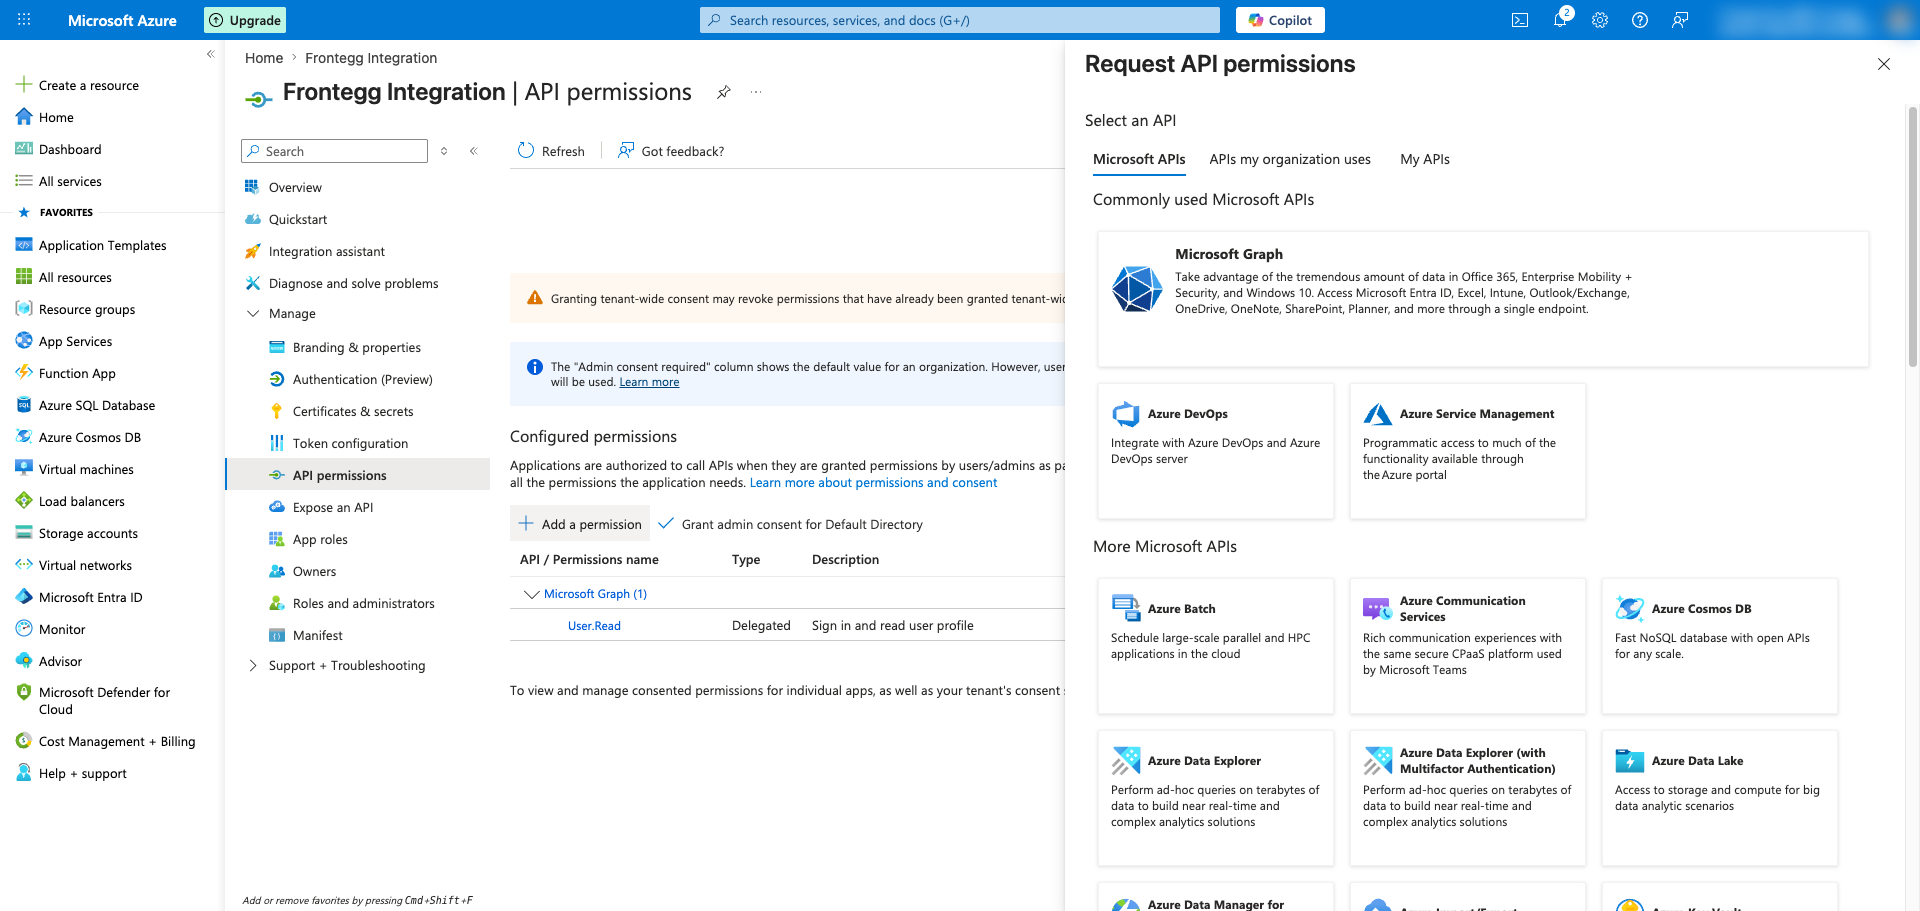
In the application's left sidebar, open API permissions and click + Add a permission. In the Microsoft APIs tab, choose Azure DevOps.
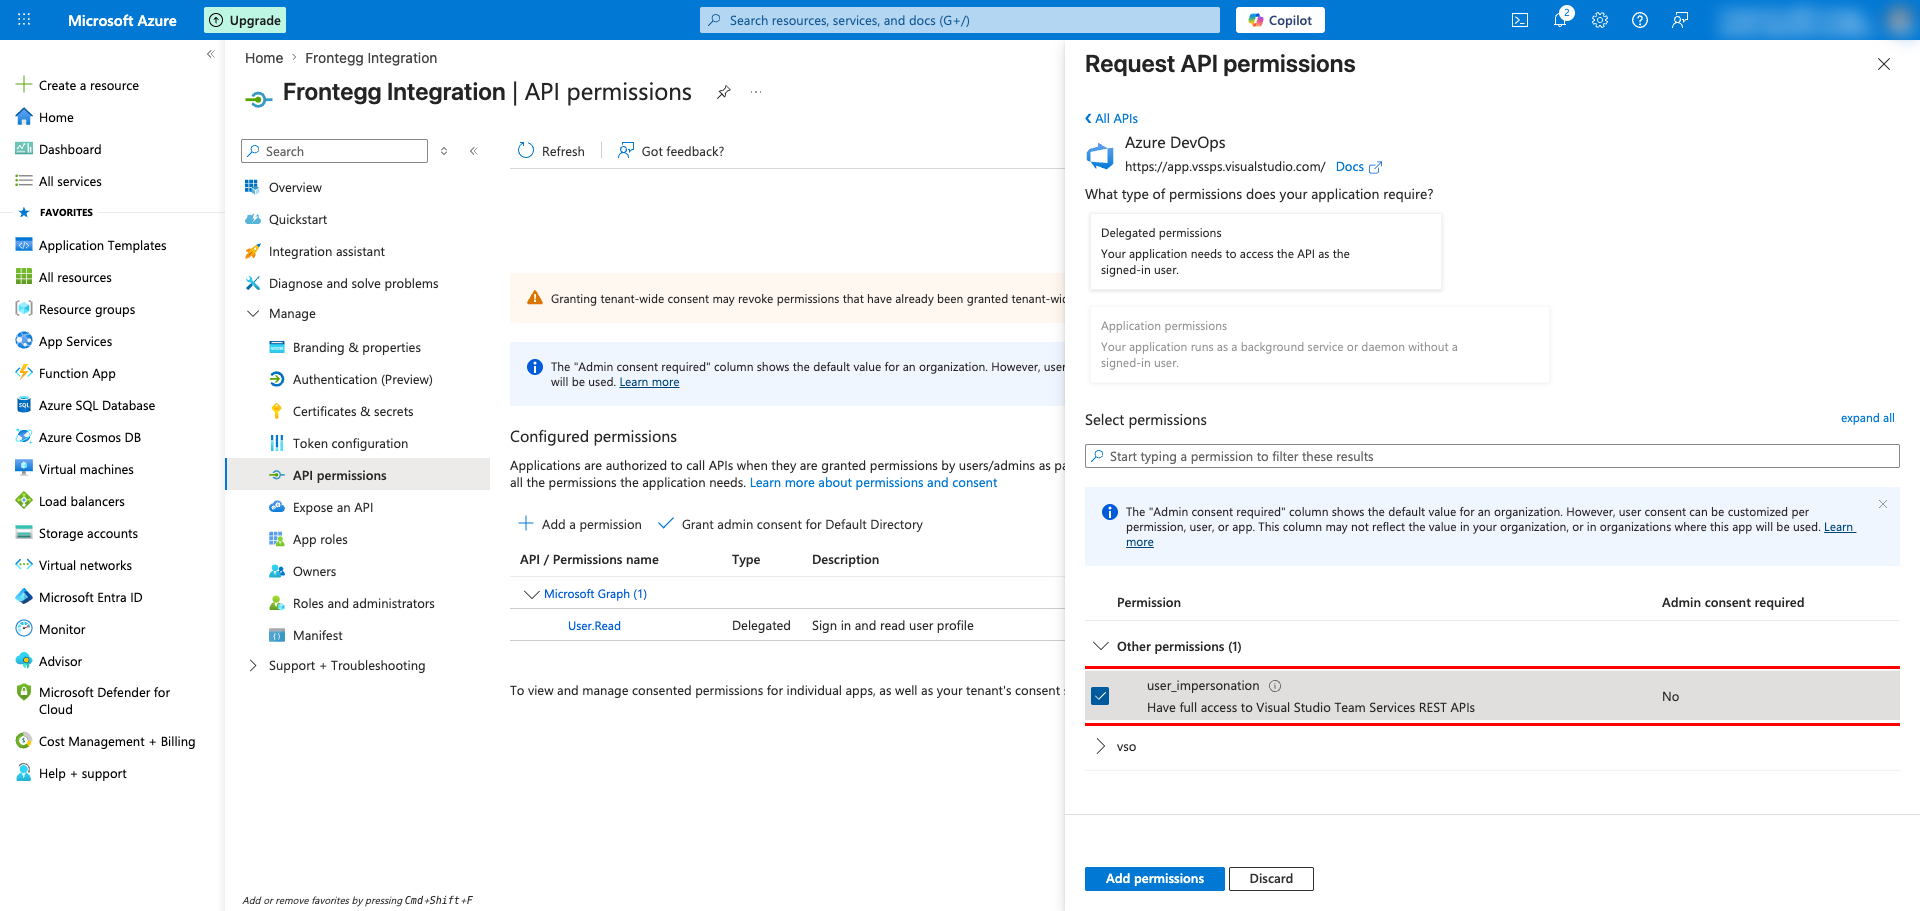
Choose Delegated permissions, then expand Other permissions and select user_impersonation. This grants the application access to Azure DevOps REST APIs on behalf of the signed-in user. Click Add permissions.
Granular vs. user_impersonation
Granular vs. user_impersonation
The Azure DevOps API tile also exposes granular vso.* scopes (for example, vso.code, vso.work, vso.build). The user_impersonation permission is the Microsoft-recommended option for new Entra ID OAuth apps and lets the integration request the specific granular scopes it needs at sign-in time.
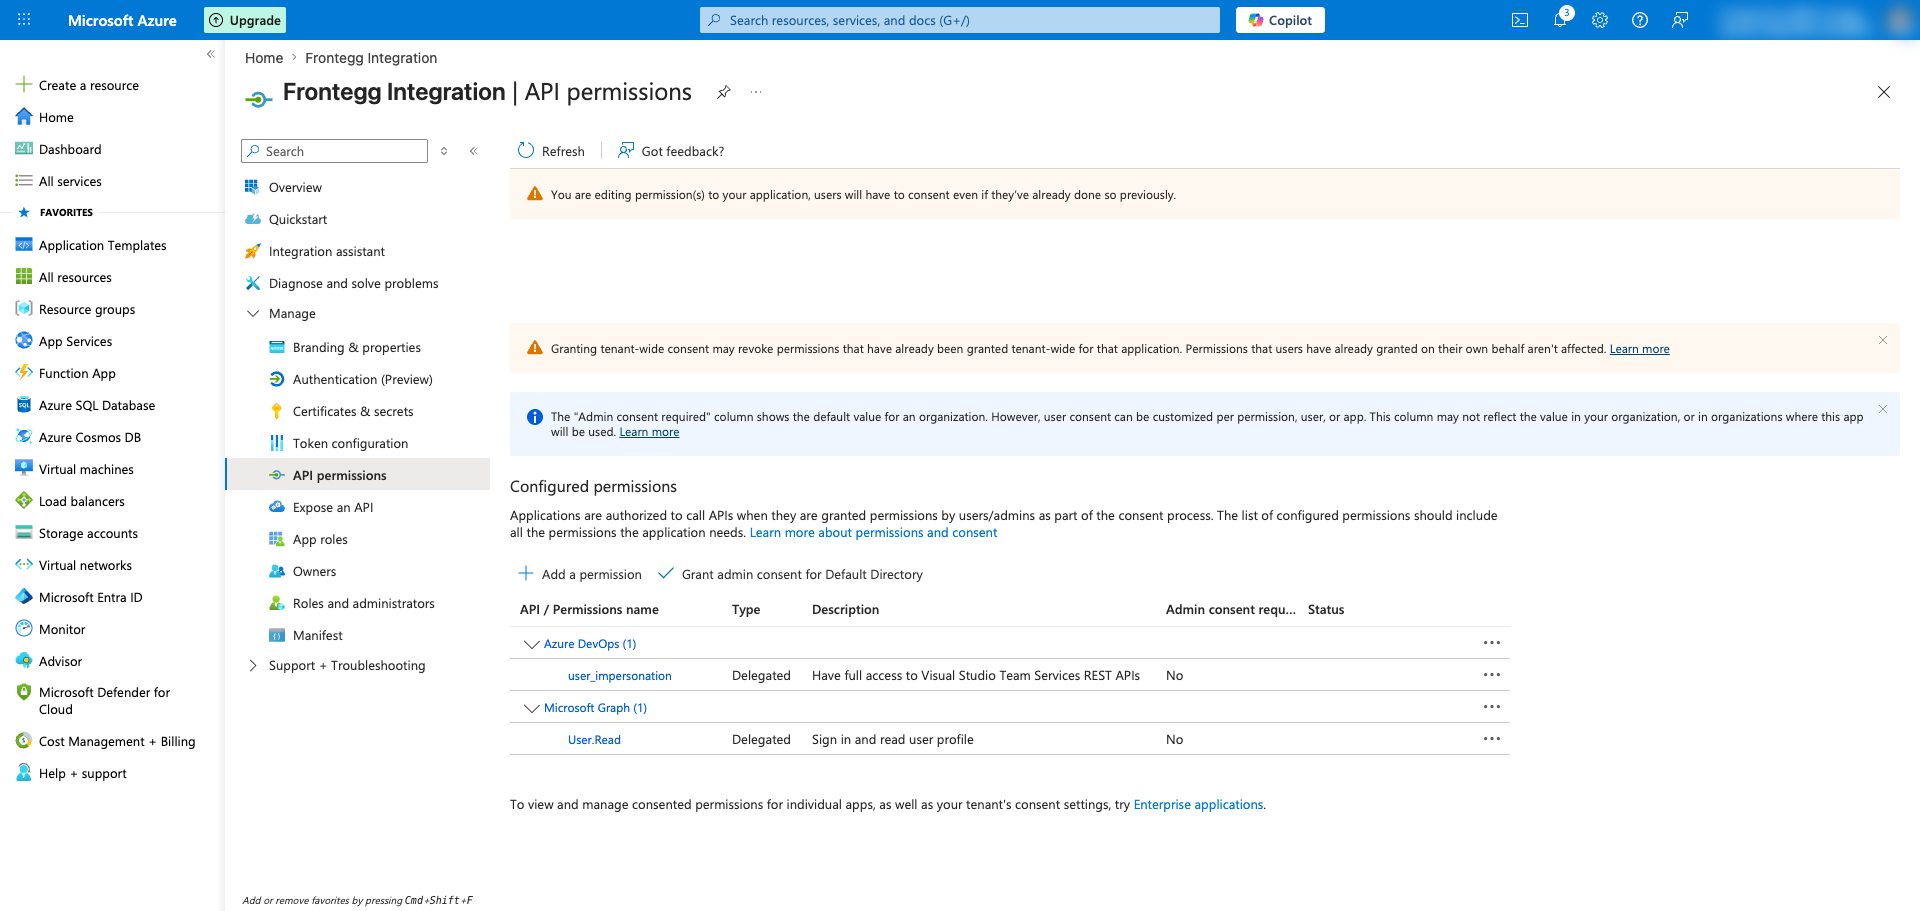
The configured permissions list now shows Azure DevOps → user_impersonation alongside the default Microsoft Graph → User.Read permission.
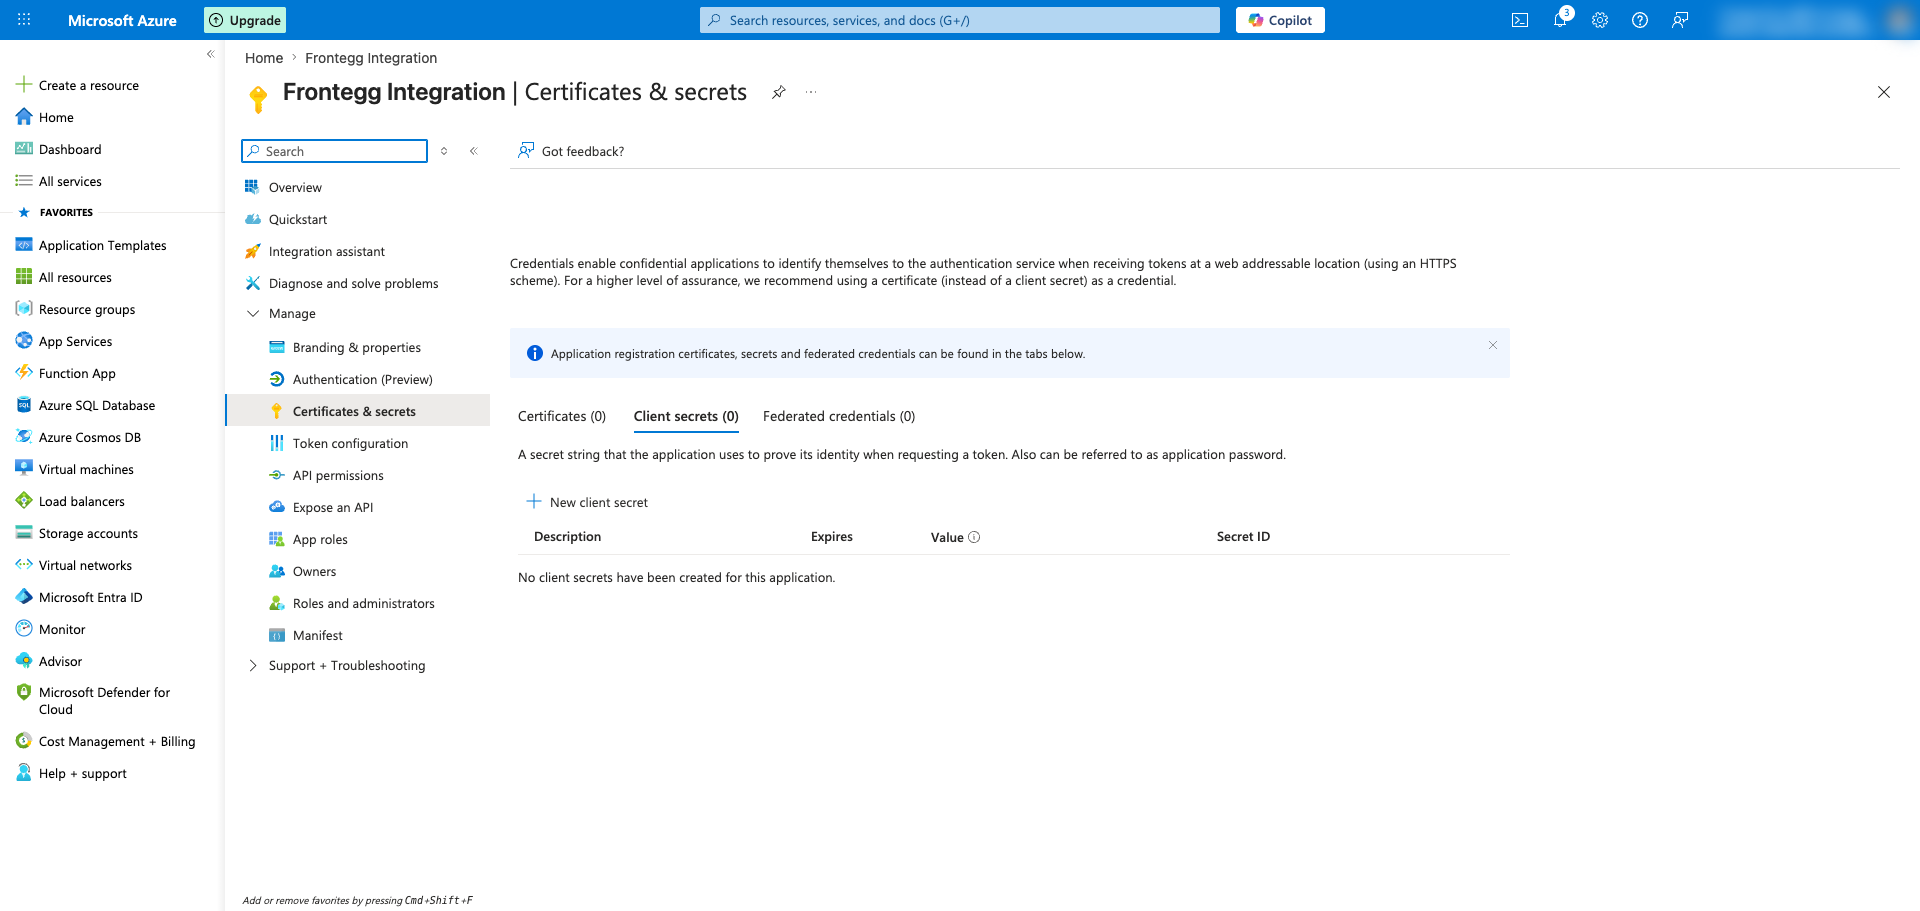
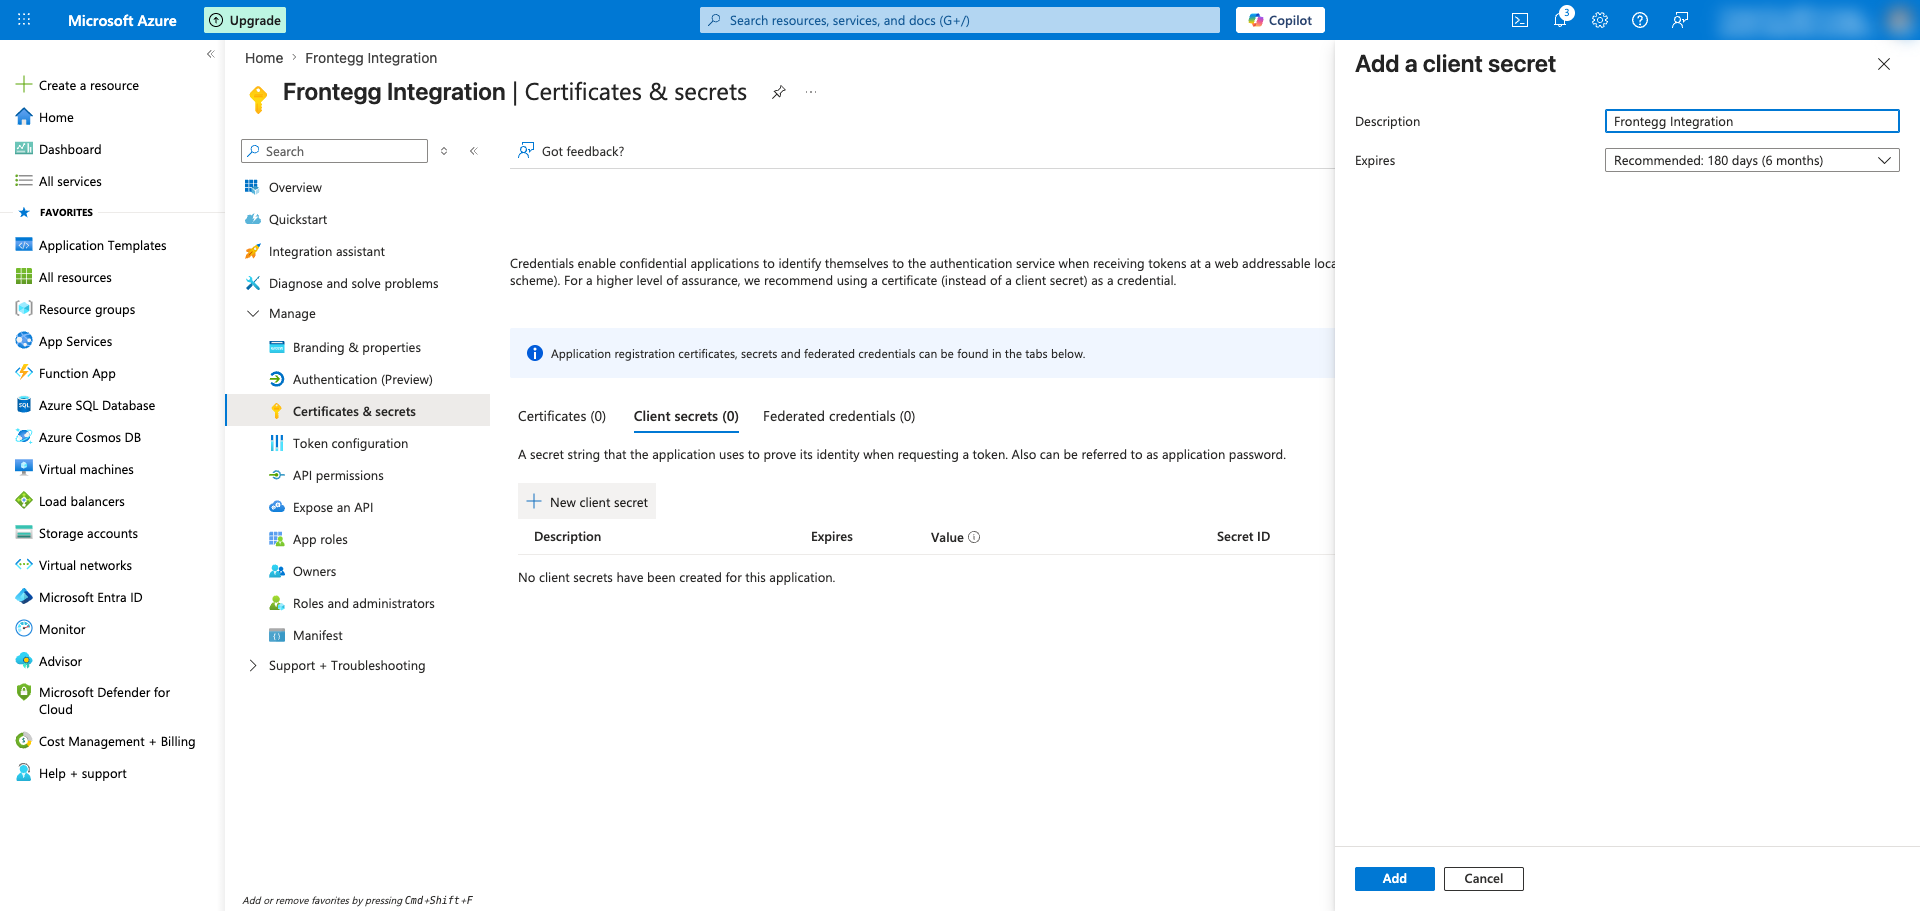
In the application's left sidebar, open Certificates & secrets. Make sure the Client secrets tab is selected and click + New client secret.
Enter a description (for example, Frontegg Integration) and choose an expiration period. Click Add to create the secret.
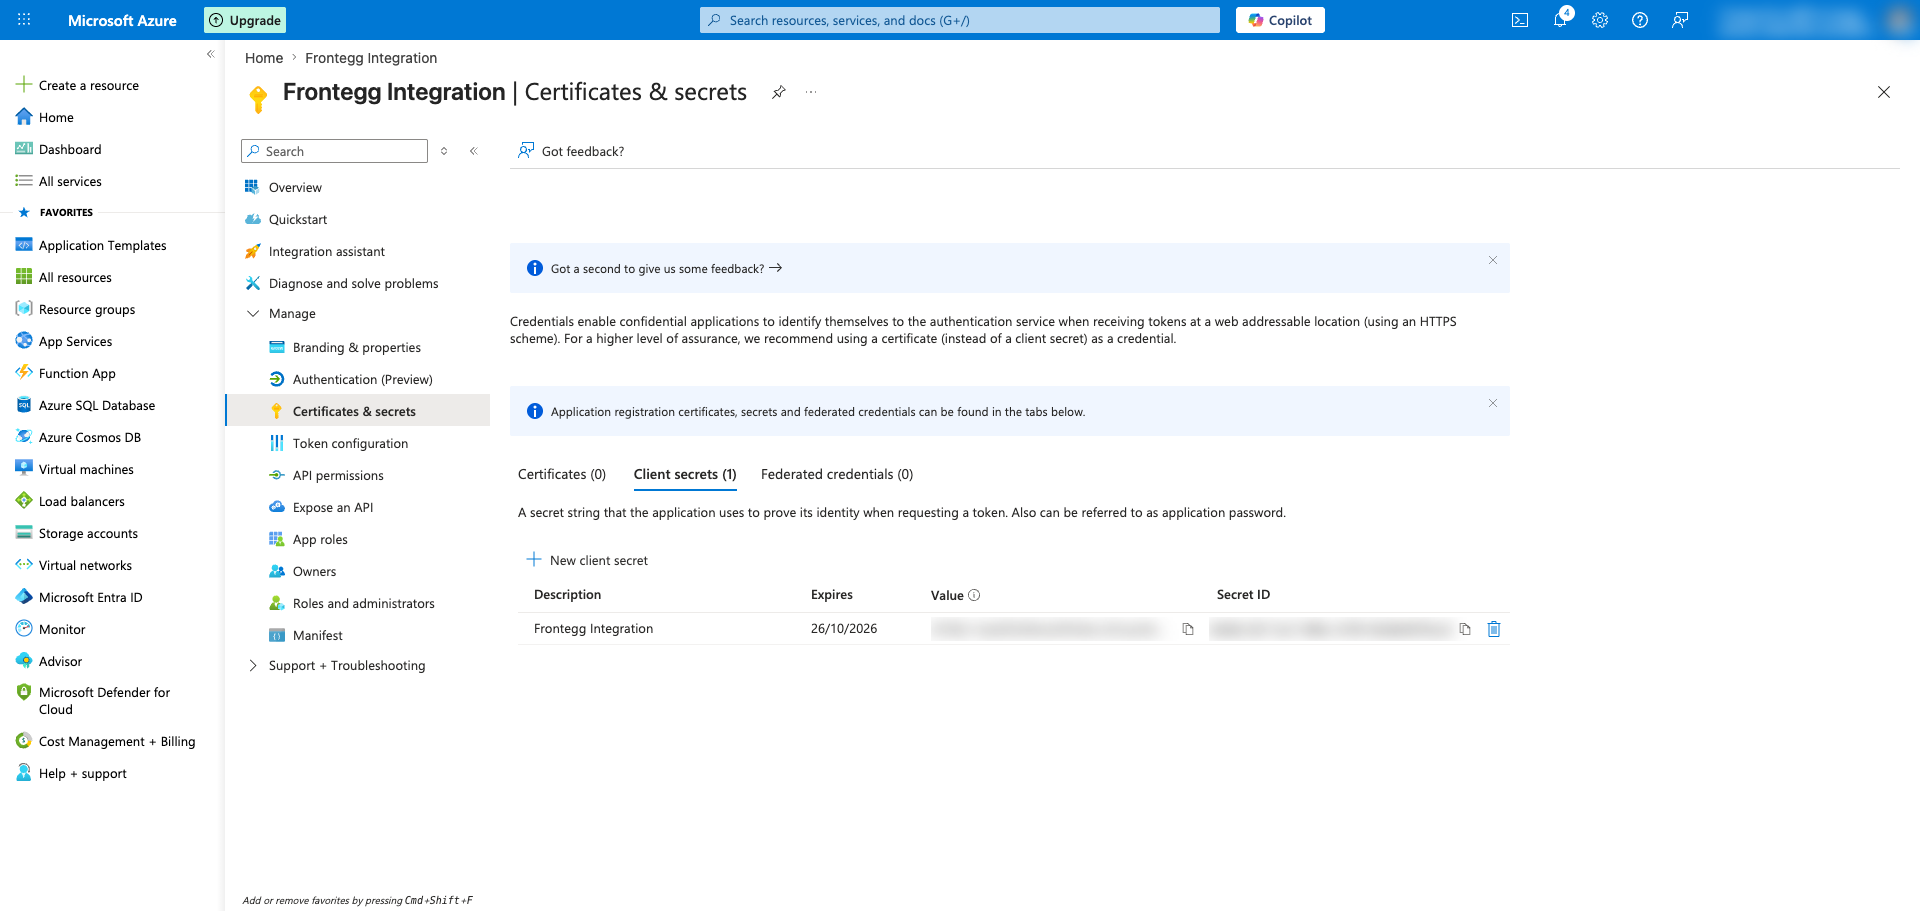
Immediately copy the Value column of the new secret using the copy icon — this value is shown only once and cannot be retrieved later. Store it securely and paste it into the Frontegg portal as the Client Secret.
Copy the secret immediately
Copy the secret immediately
The client secret value is hidden as soon as you leave this page. If you lose it, you must delete the secret and create a new one.
Open Azure DevOps and select your organization. Open Organization settings → Overview — the organization slug is shown next to the Name field and in the URL https://dev.azure.com/{organization}/.
For example, in https://dev.azure.com/mycompany/, the organization slug is mycompany.

Once you have obtained your Application (client) ID, client secret value, and Azure DevOps organization slug from the steps above, enter them in the integration configuration page of the Frontegg portal:
- Open the Frontegg portal and navigate to [ENVIRONMENT] → Integrations → Azure DevOps.
- Enter the Application (client) ID as the Client ID and the client secret value as the Client Secret in the corresponding fields.
- Enter your Azure DevOps organization slug in the Azure DevOps organization field (for example,
mycompany). - Select the required scopes.
- Click Save.
Keep your credentials secure
Keep your credentials secure
Never share or commit your client secret to version control.