Asana is a work management platform that helps teams organize, track, and manage their tasks and projects.
It can be connected to Agen.co two ways, matching the Official / In-house filter in the connector picker:
- Official — Agen.co connects through Asana's own hosted MCP server, so your AI agents get access to tasks, projects, teams, and more through Asana's native OAuth flow.
- In-house — Agen.co wraps the Asana API directly through its own integration layer, using an OAuth app you register in the Asana developer console.
Pick Official if the built-in MCP tools cover what your agents need. Fall back to In-house if you need broader API coverage.
Prerequisites
Prerequisites
- An Asana account with access to the Asana developer console
- Permissions to create apps in your Asana workspace
- In Agen.co, go to Connectors → My connectors, click Add connector, search for
Asana, and select it. At the top of the Add Asana panel, keep Official selected — the same card also opens the In-house flow. Keep this panel open — you'll need the Callback URL and Gateway callback URL it displays in the next steps. - In the Instance Slug field, enter a slug for this connector instance — it prefixes each imported tool as
slug__tool, so a second instance of the same connector needs a slug of its own. Use lowercase kebab-case. You can change it later from the connector's settings. - Go to the Asana developer console and sign in.
- Click Create new app. Select Asana MCP as the app type, enter a name (for example,
Agen.co Asana MCP), and click Create app.
The app type cannot be worked around later
The app type cannot be worked around later
Only an app registered under the Asana MCP type mints tokens Asana accepts for MCP. Don't pick External MCP, the option next to it: it works in the opposite direction, registering your own MCP server for Asana's AI Teammates to call, and the connector won't work with it. A regular API app authenticates and passes the consent screen normally, and then every MCP request fails with invalid_token: Token audience must be 'mcp-service' for MCP access.
- On the app's settings page, copy the Client ID and Client Secret.
Keep your Client Secret safe
Keep your Client Secret safe
Treat the Client Secret like a password: don't share it or commit it to source control. If it's exposed, reset it from the app's OAuth tab by clicking Reset next to the secret, then update it in Agen.co.
Return to the Agen.co panel and fill in the Client ID and Client Secret from step 5.
Go back to Asana. In the left sidebar, click OAuth. Under redirect URIs, click Add redirect URL and add both URLs from the Agen.co panel you opened in step 1:
- Callback URL — completes the initial OAuth handshake between Agen.co and your Asana app.
- Gateway callback URL — used by the Agen.co MCP gateway for per-user authorization at runtime.
Then click Save changes at the bottom of the page.
Add doesn't save the redirect URLs
Add doesn't save the redirect URLs
The Add button in the Add redirect URL dialog only adds the URL to the unsaved form, and the list looks correct until you reload. Without Save changes, both URLs are silently dropped. After saving, reload the page and confirm both URLs are still listed.
- In the left sidebar, click Manage distribution. Under Distribution method, choose Specific workspaces and select at least one workspace, or choose Any workspace, then click Save changes. If you choose Specific workspaces without selecting one, sign-in fails with
This app is not available to your Asana workspace or organization. - Return to Agen.co and click Connect.
- You're redirected to Asana to sign in and approve access.
- Return to Agen.co and click Add below the list of tools. Until you do, nothing is imported and the connector is not created — the callback page reports success either way.
Once connected, Asana appears under My connectors with tools spanning:
| Area | What it covers |
|---|---|
| Tasks | Creating, reading, updating, and deleting tasks |
| Projects | Listing, reading, creating, and managing projects |
| Portfolios | Reading portfolios and the items they contain |
| Teams & users | Reading team and user information |
| Search | Searching tasks and other objects |
| Status updates | Creating project status updates and reading status overviews |
| Templates | Creating tasks and projects from templates |
| Stories | Reading and creating task comments |
| Attachments | Reading attachment details |
| Agents | Listing a workspace's Asana AI Teammates and reading an agent's details |
The tool list comes from Asana, not from Agen.co, and can include internal or preview tools such as get_project_internal or create_task_preview_v4. It also ships *_confirm and *_preview variants of several write and search tools, such as create_task_confirm and search_tasks_preview. Asana marks the *_confirm tools as invoked by its own widget UI rather than by the model, so leave them out of your policy unless you have a reason to include them. Grant only the tools you intend your agents to use.
Enabling the Asana connector isn't enough on its own. Tool calls remain denied until you create a policy that grants access to the specific tools you want to expose.
Asana is a work management platform that helps teams organize, track, and manage their tasks and projects. The Frontegg integration with Asana allows your application to create, update, and manage tasks and projects on behalf of your users using OAuth 2.0.
Prerequisites
Prerequisites
- An Asana account with access to the developer console
- Permissions to create apps in your Asana workspace
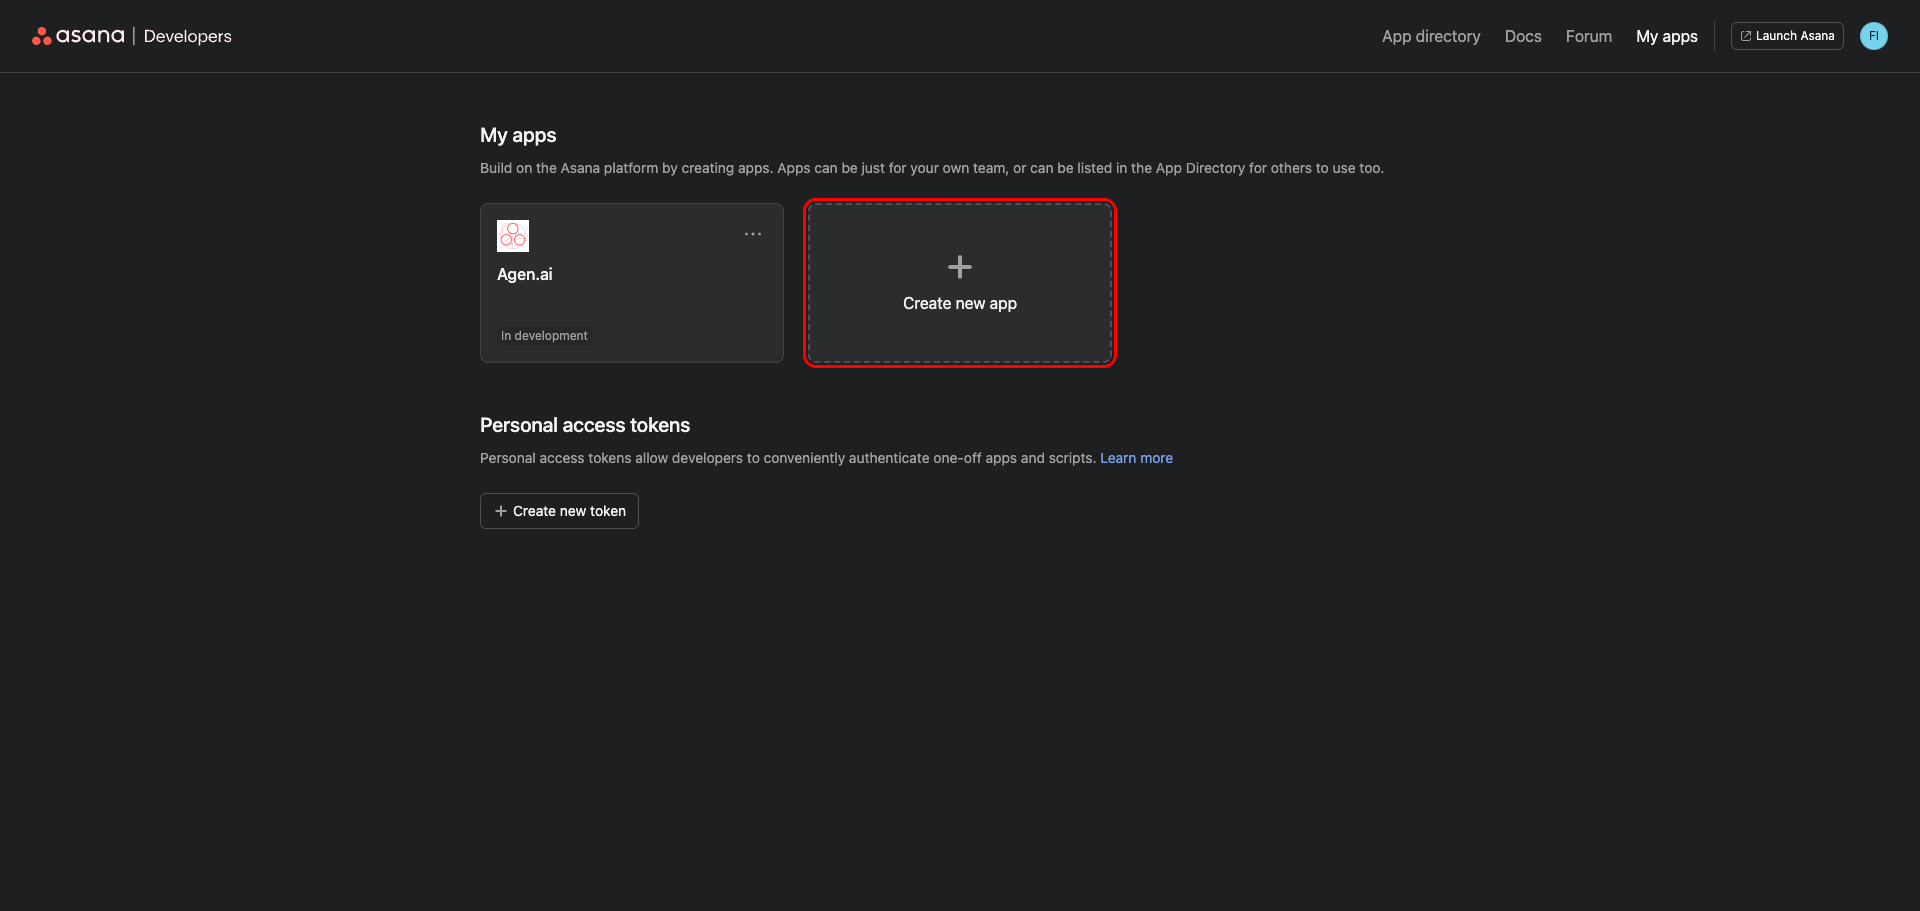
Go to app.asana.com/0/my-apps and sign in with your Asana account. This is the My apps page where you manage your OAuth applications.
Click Create new app.
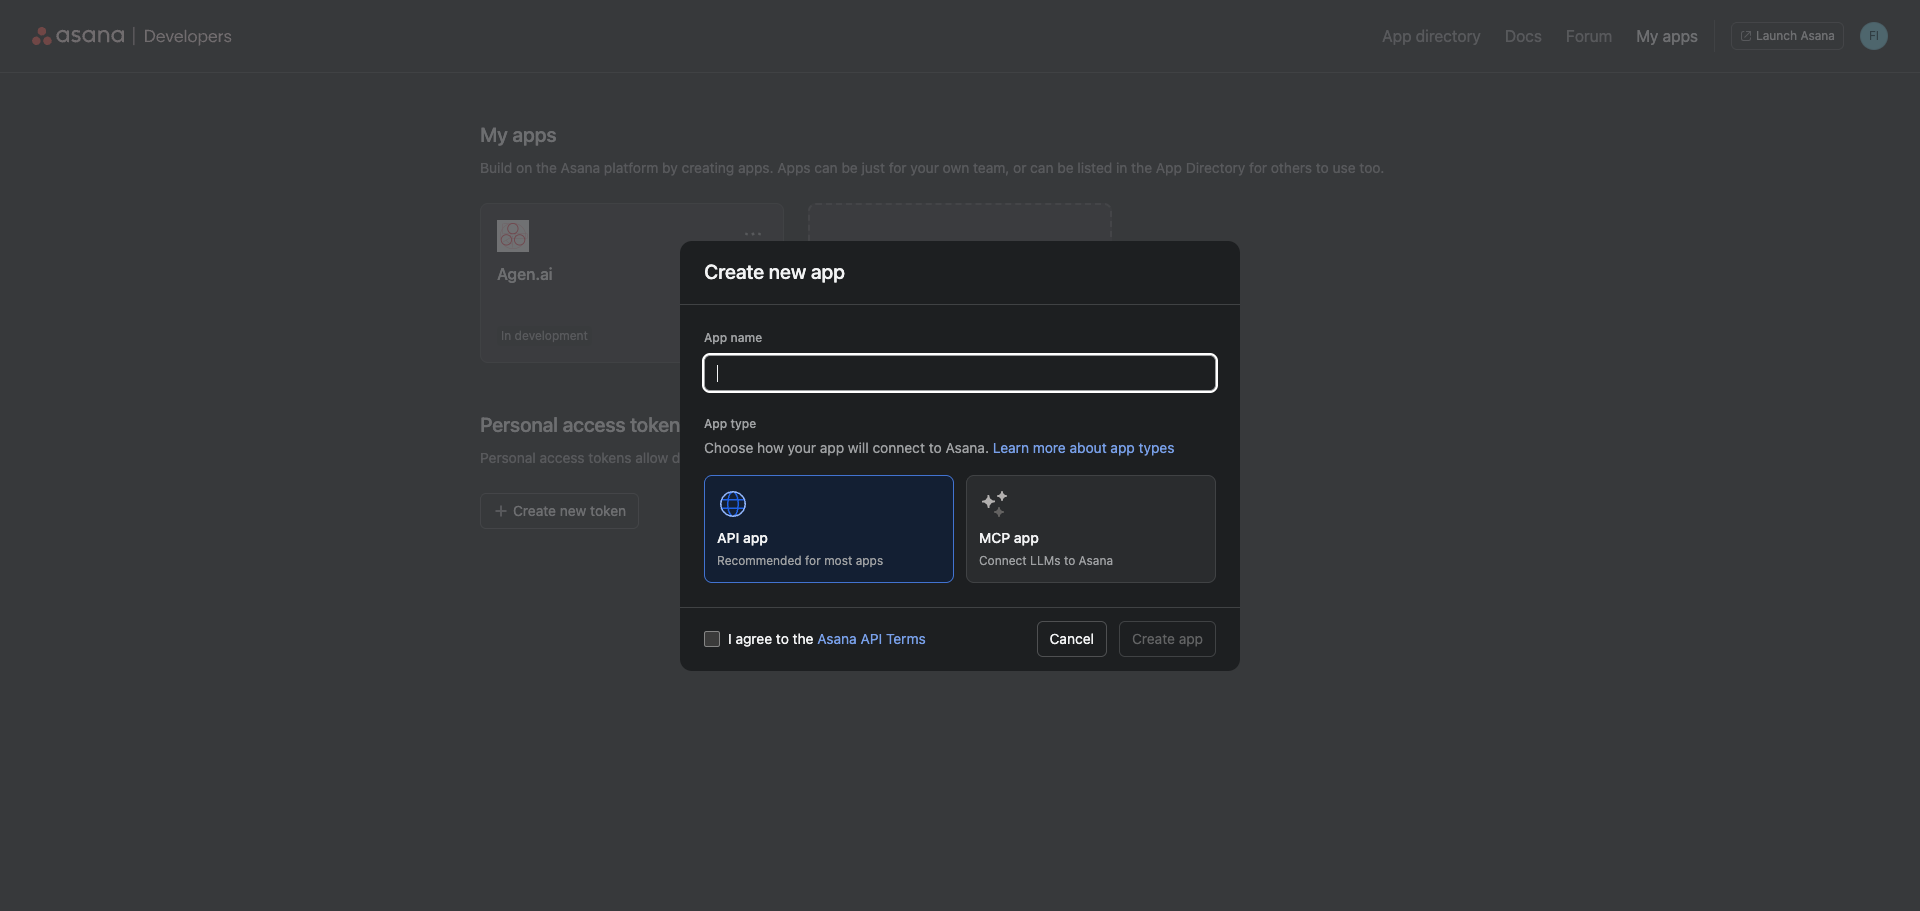
In the Create new app dialog, enter a name for your application. You can use any name that identifies this integration, for example Frontegg Integration.
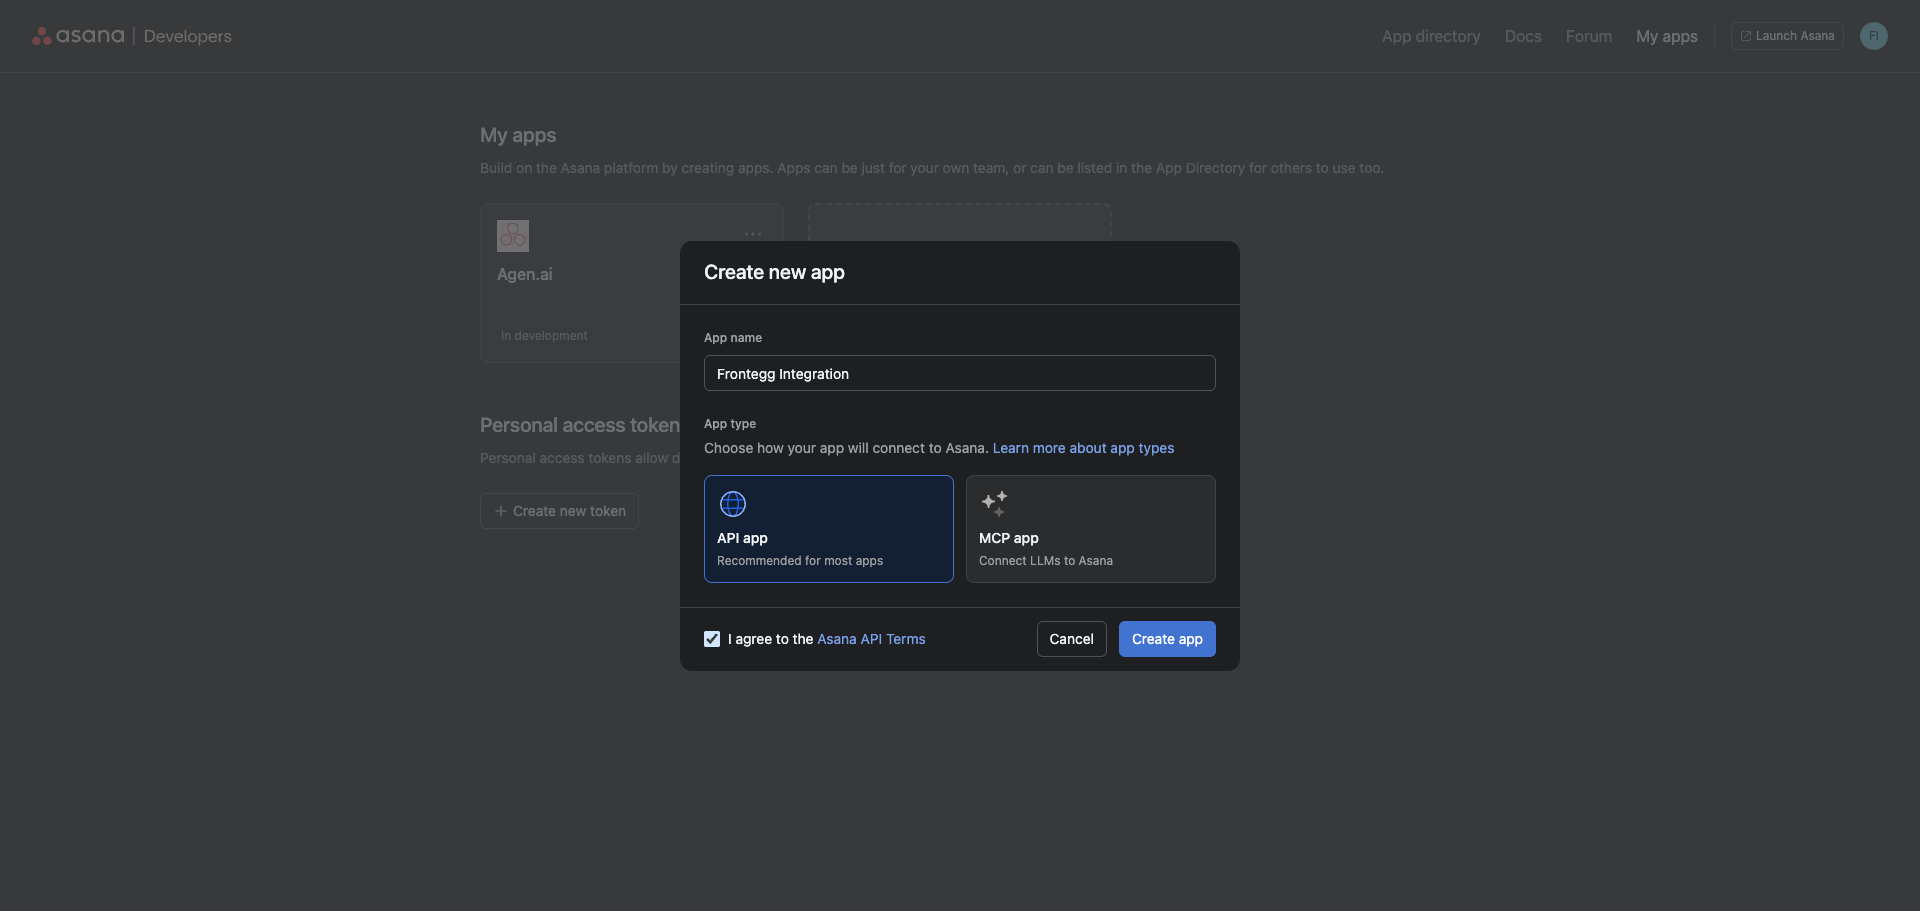
Check I agree to the Asana API Terms, then click Create app.
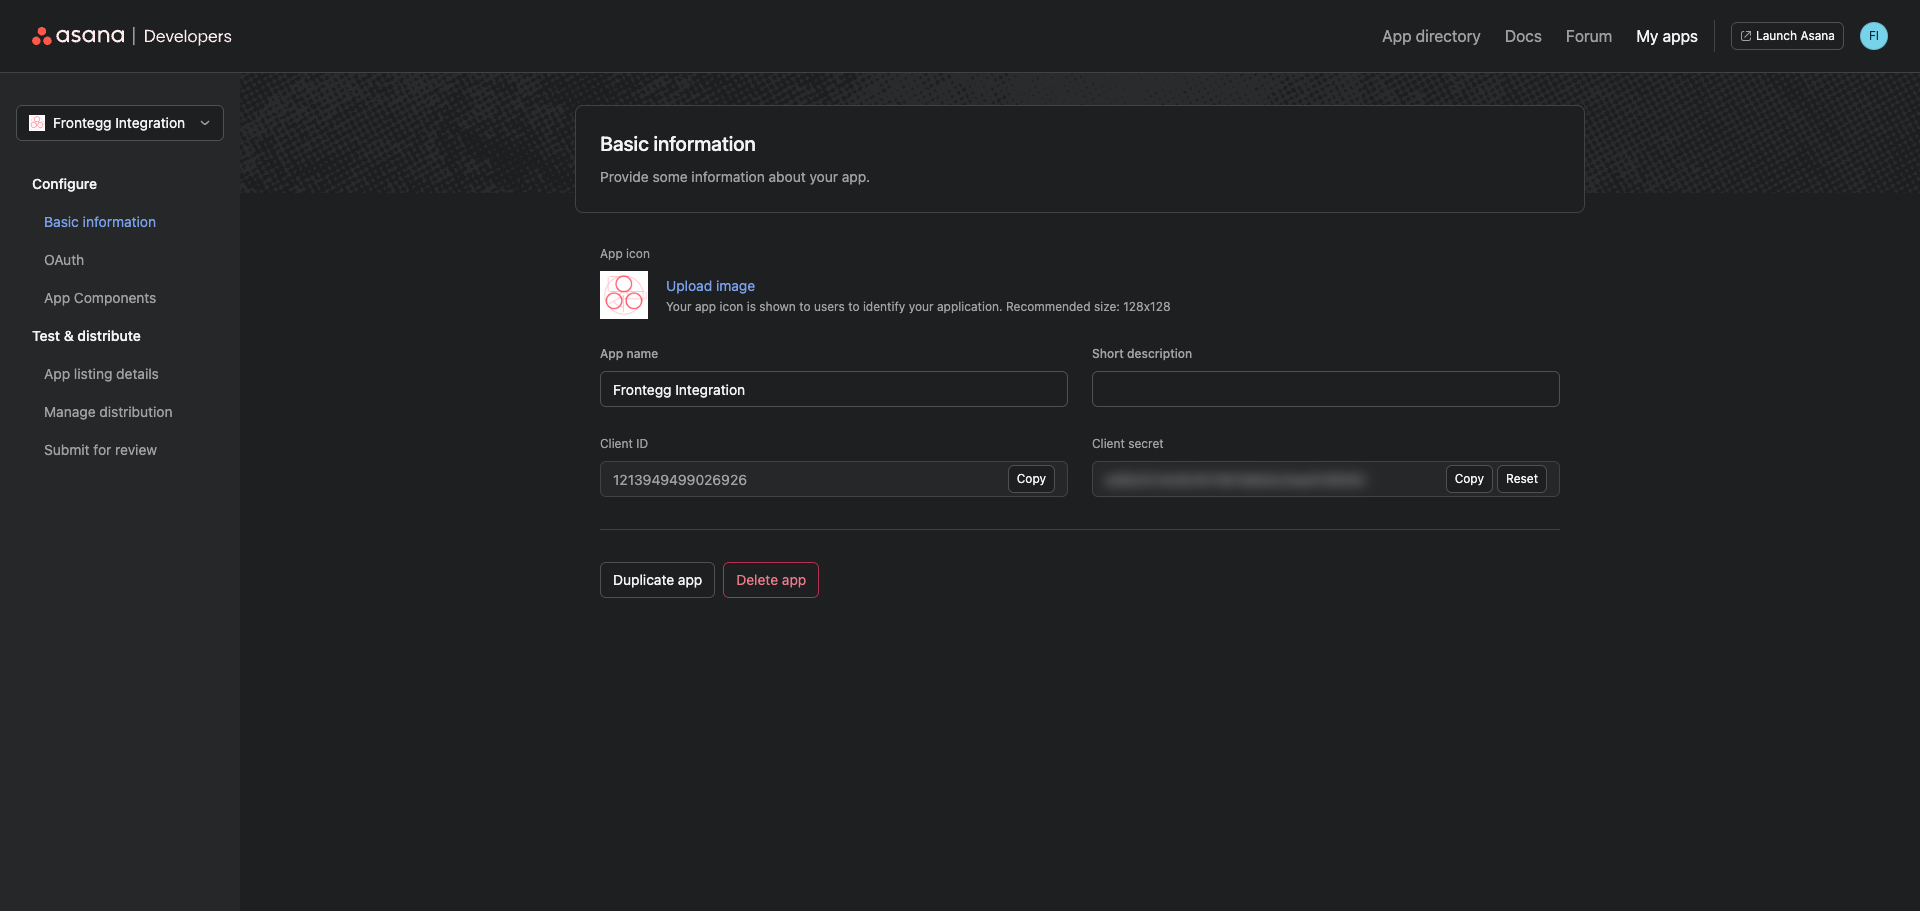
After the app is created, you are taken to the Basic information page. Copy your Client ID — you will need it when configuring the integration in Frontegg.
Your Client Secret is also shown here. Copy it and store it securely — it is only shown once in full.
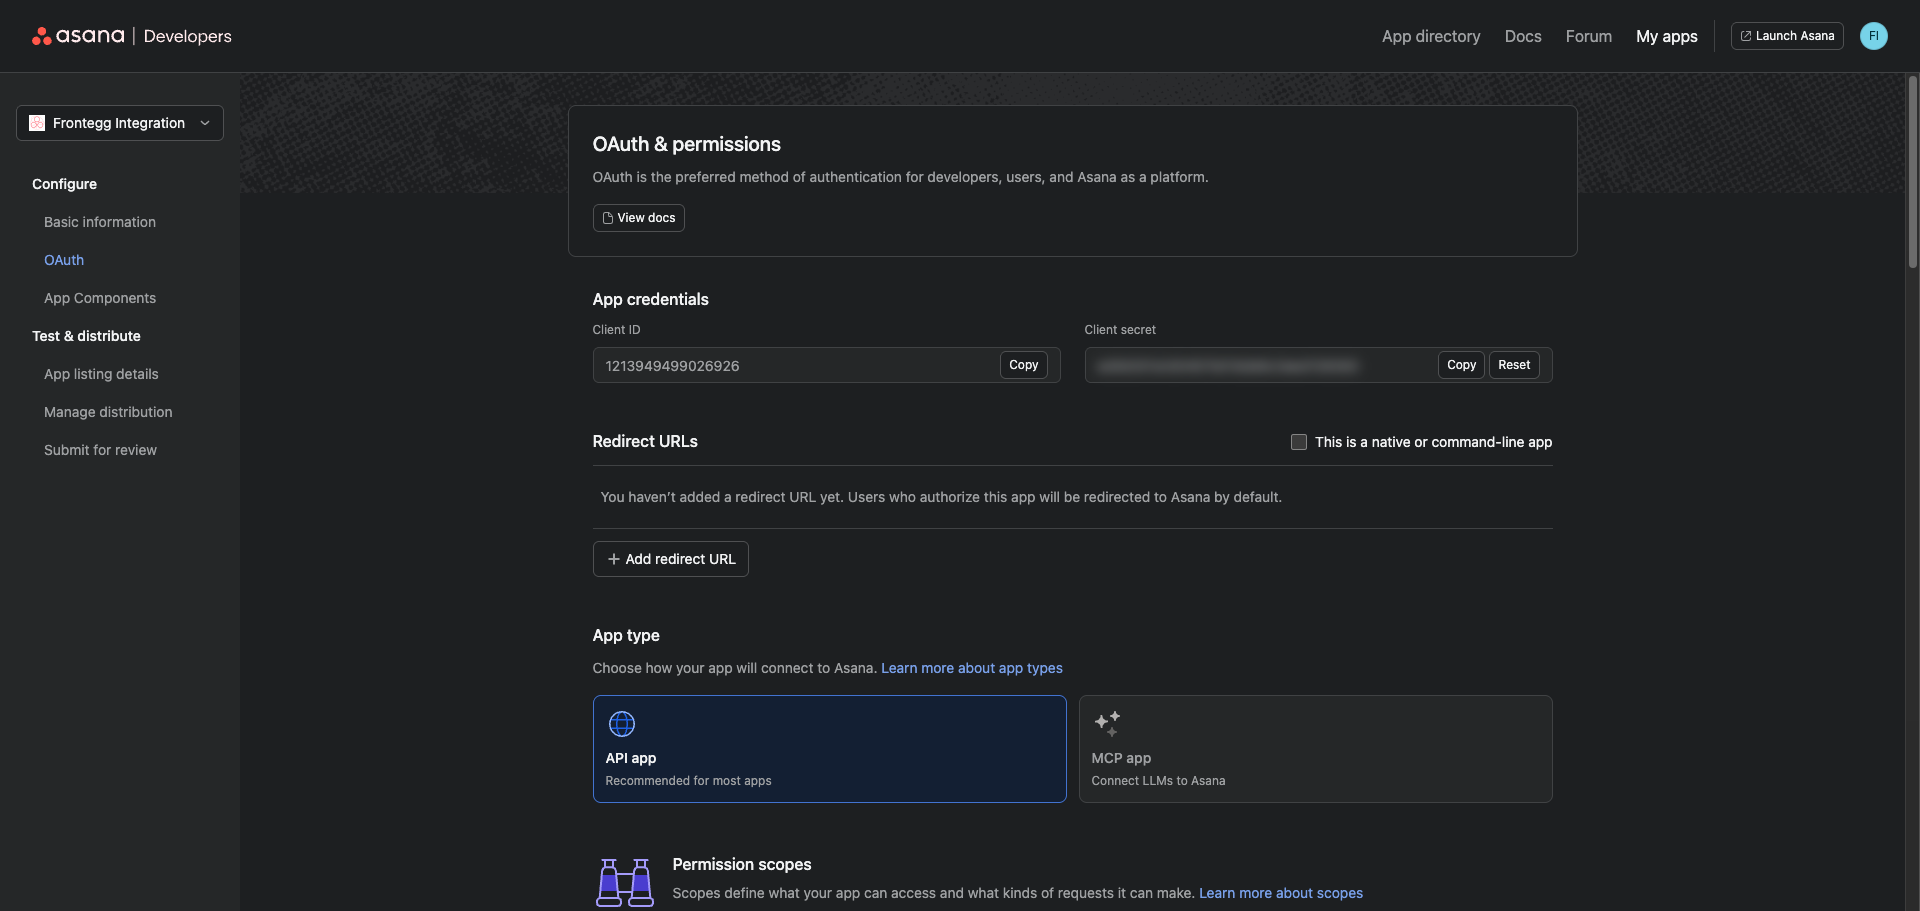
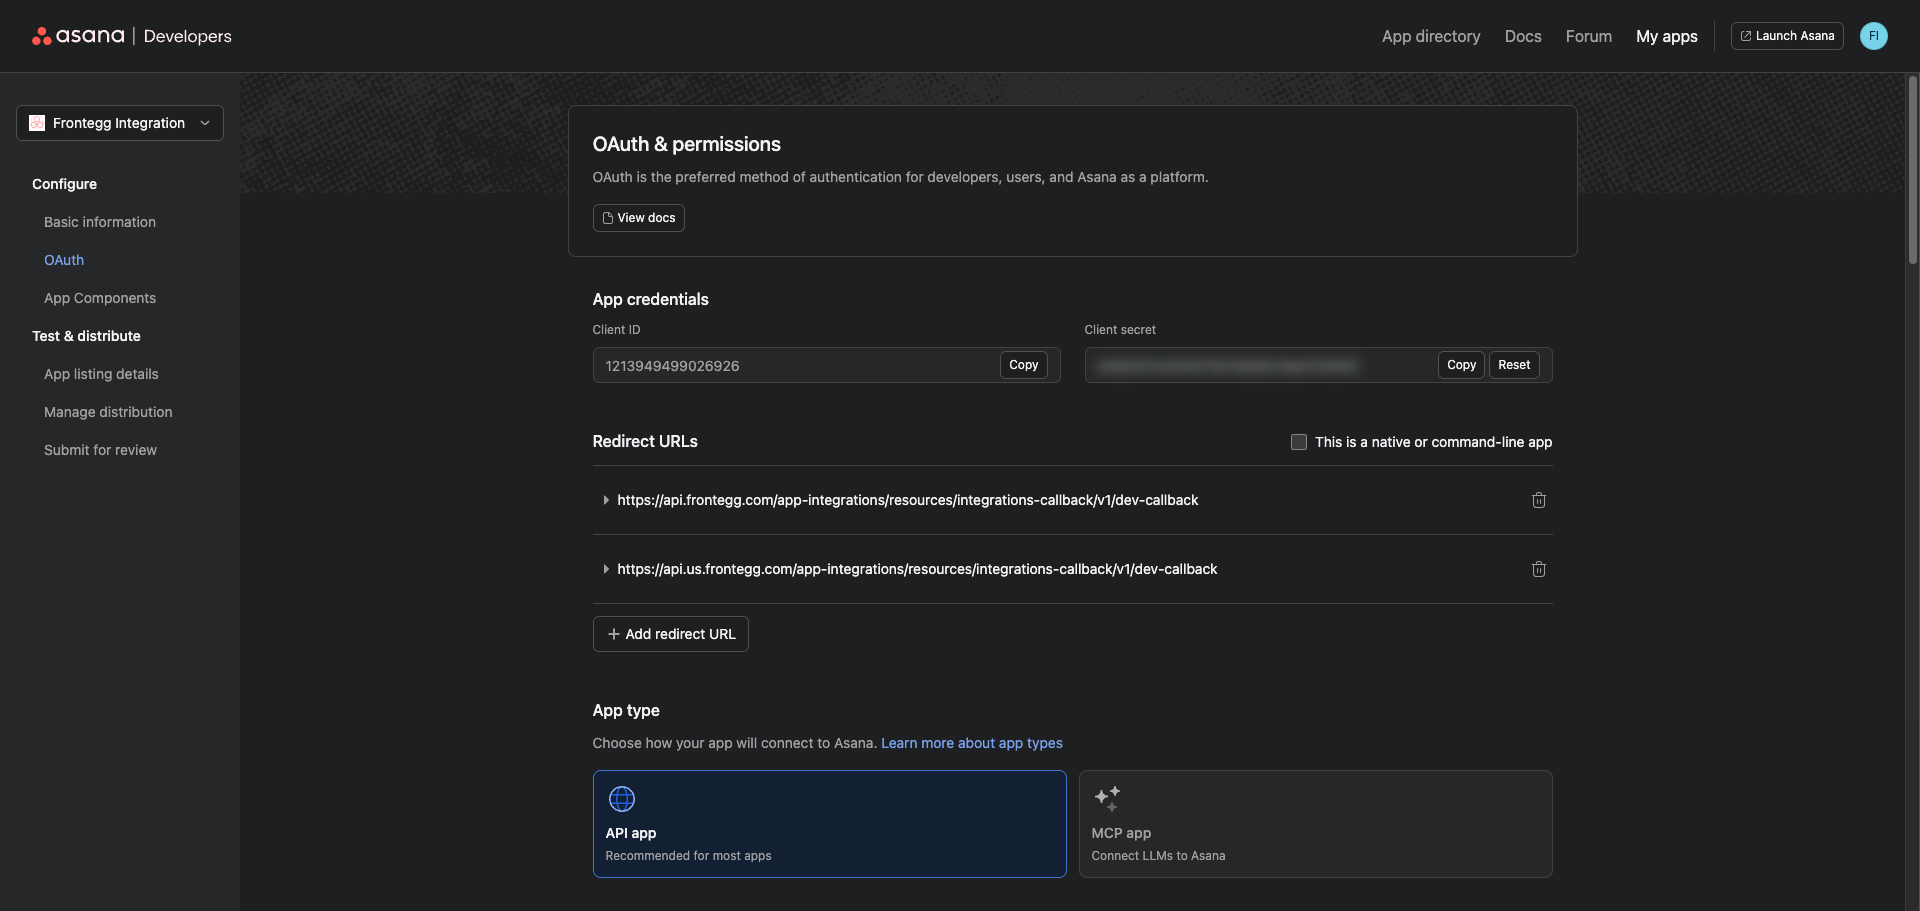
In the left sidebar, click OAuth. This opens the OAuth & permissions page where you configure redirect URLs and permission scopes.
Click Add redirect URL.
In the Add redirect URL dialog, enter the following URL and click Add:
https://YOUR_MCP_GATEWAY_URL/integration-callback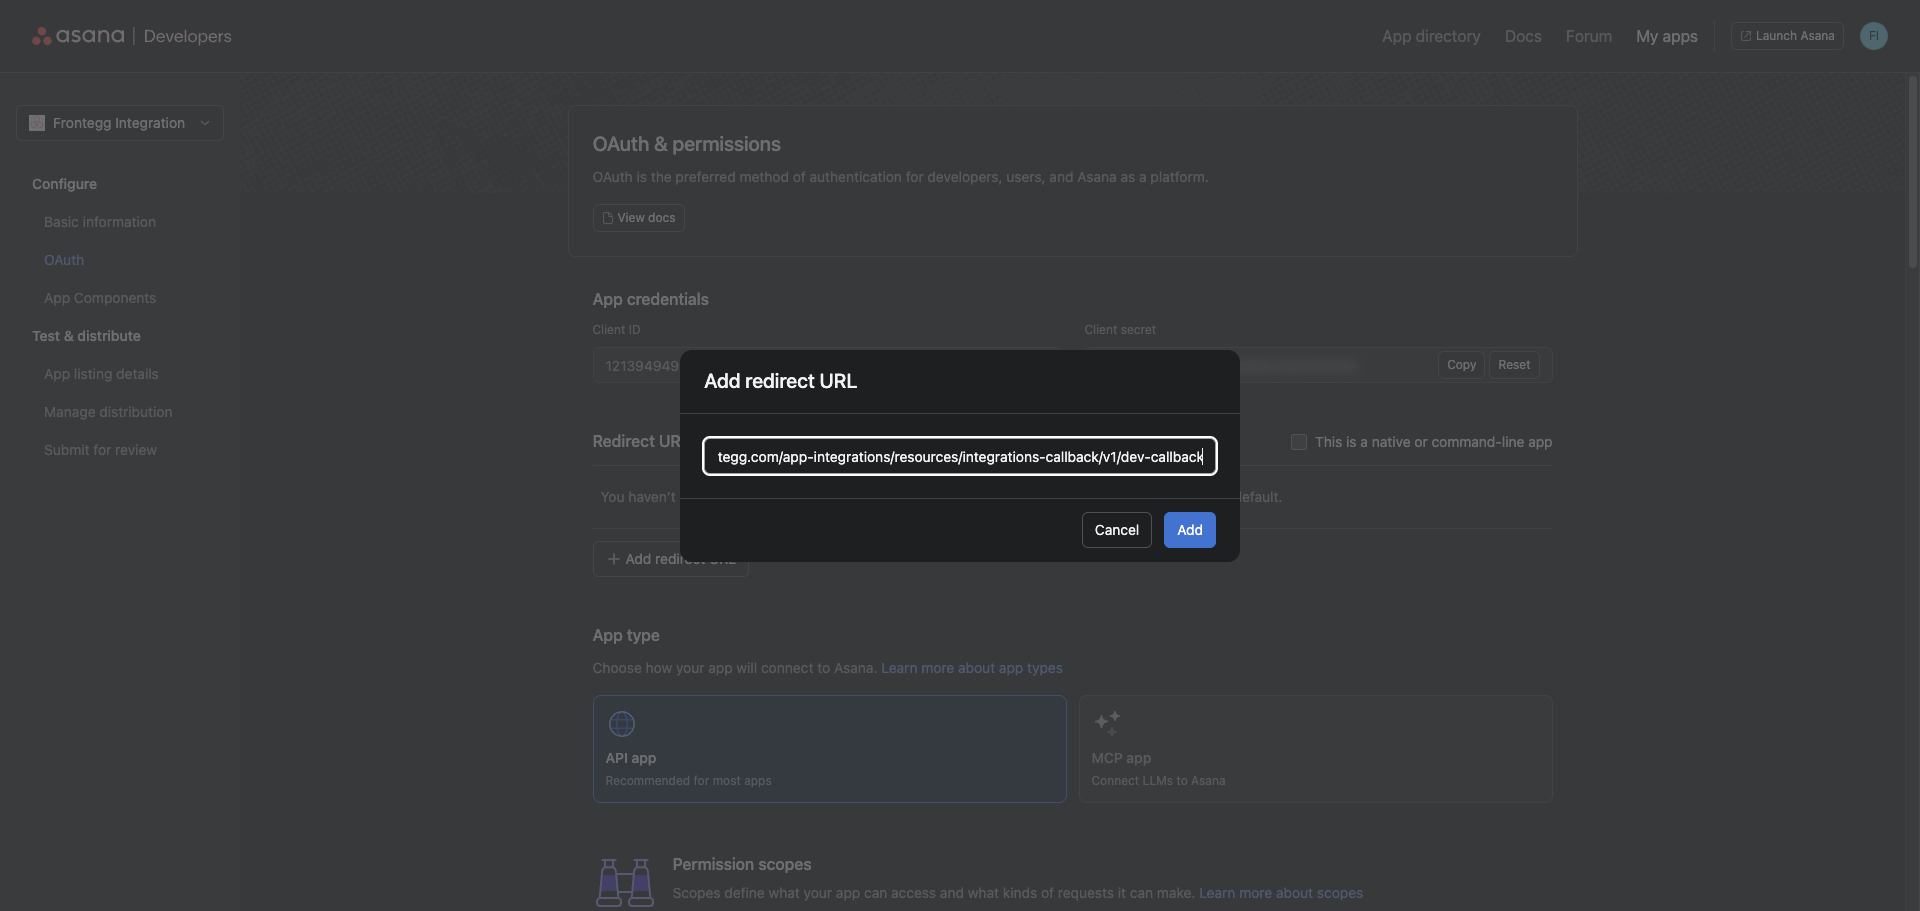
Scroll down to the Permission scopes section. Select the following scopes required for the integration:
| Scope | Permission | Description |
|---|---|---|
| Attachments | Read | Read attachment details |
| Identity / OpenID Connect | OpenID, Email, Profile | Access user identity and profile info |
| Projects | Read, Write, Delete | Manage projects |
| Stories | Read, Write | Read and create task comments |
| Tags | Read, Write | Manage task tags |
| Tasks | Read, Write, Delete | Manage tasks |
| Teams | Read | Read team information |
| Users | Read | Read user information |
| Workspaces | Read | Read workspace information |
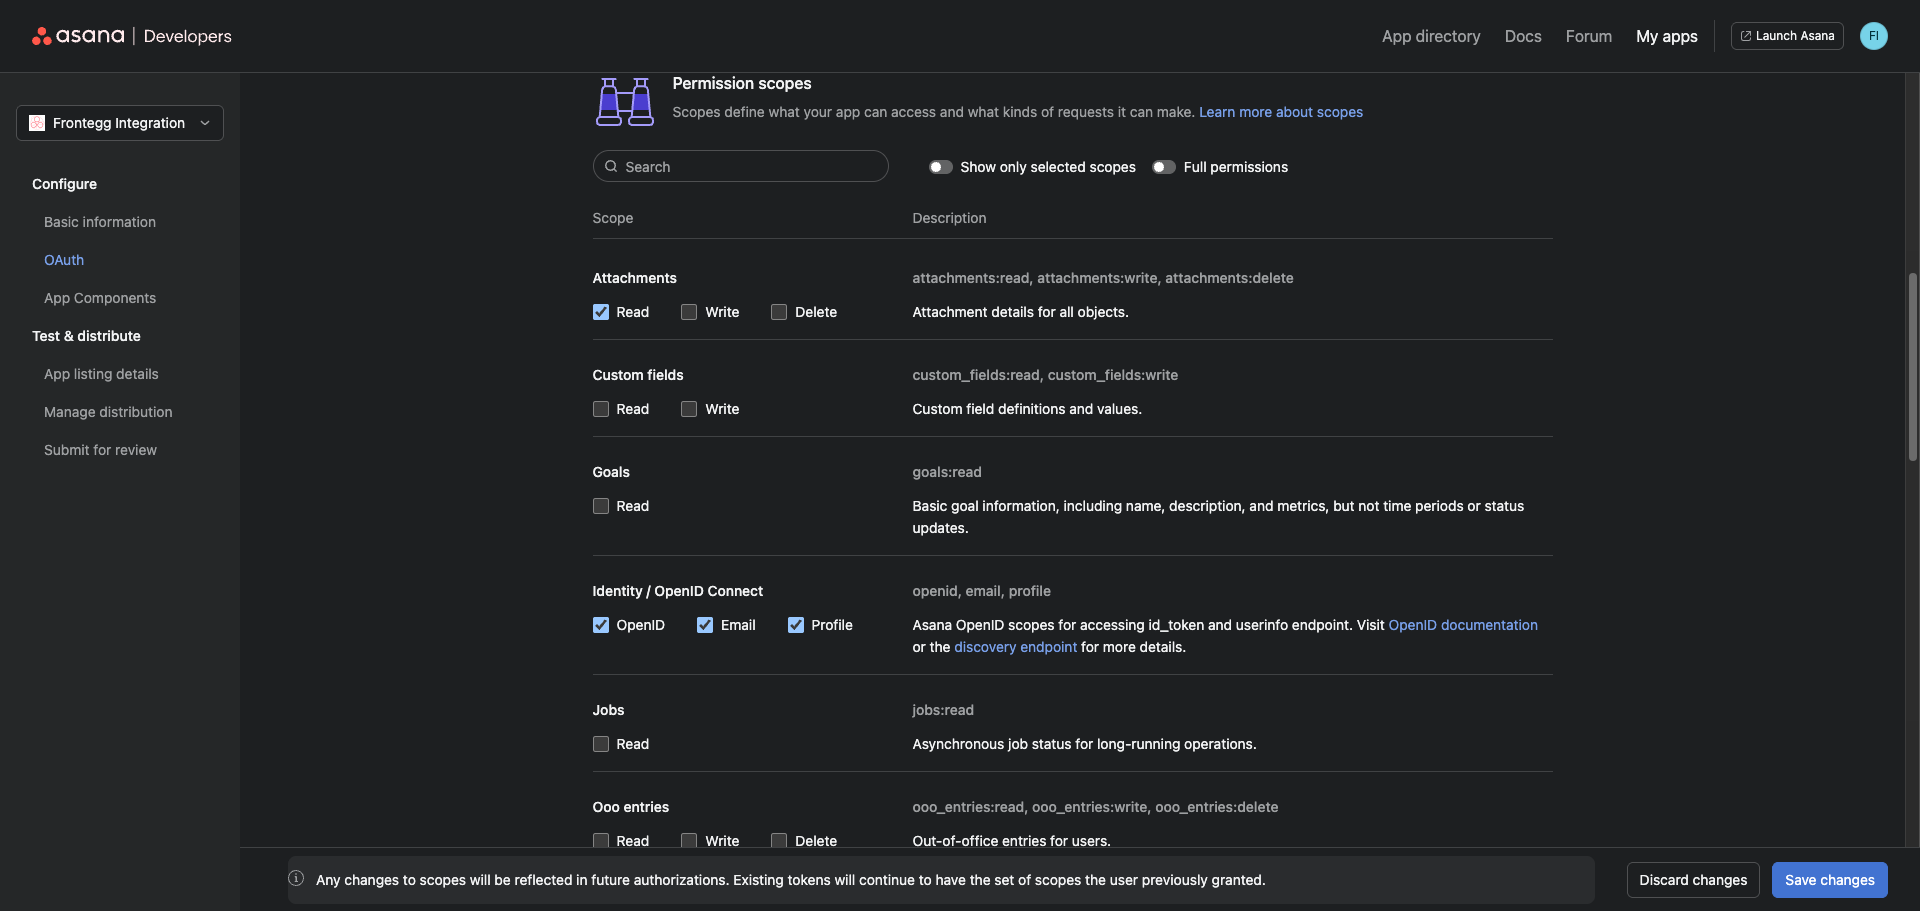
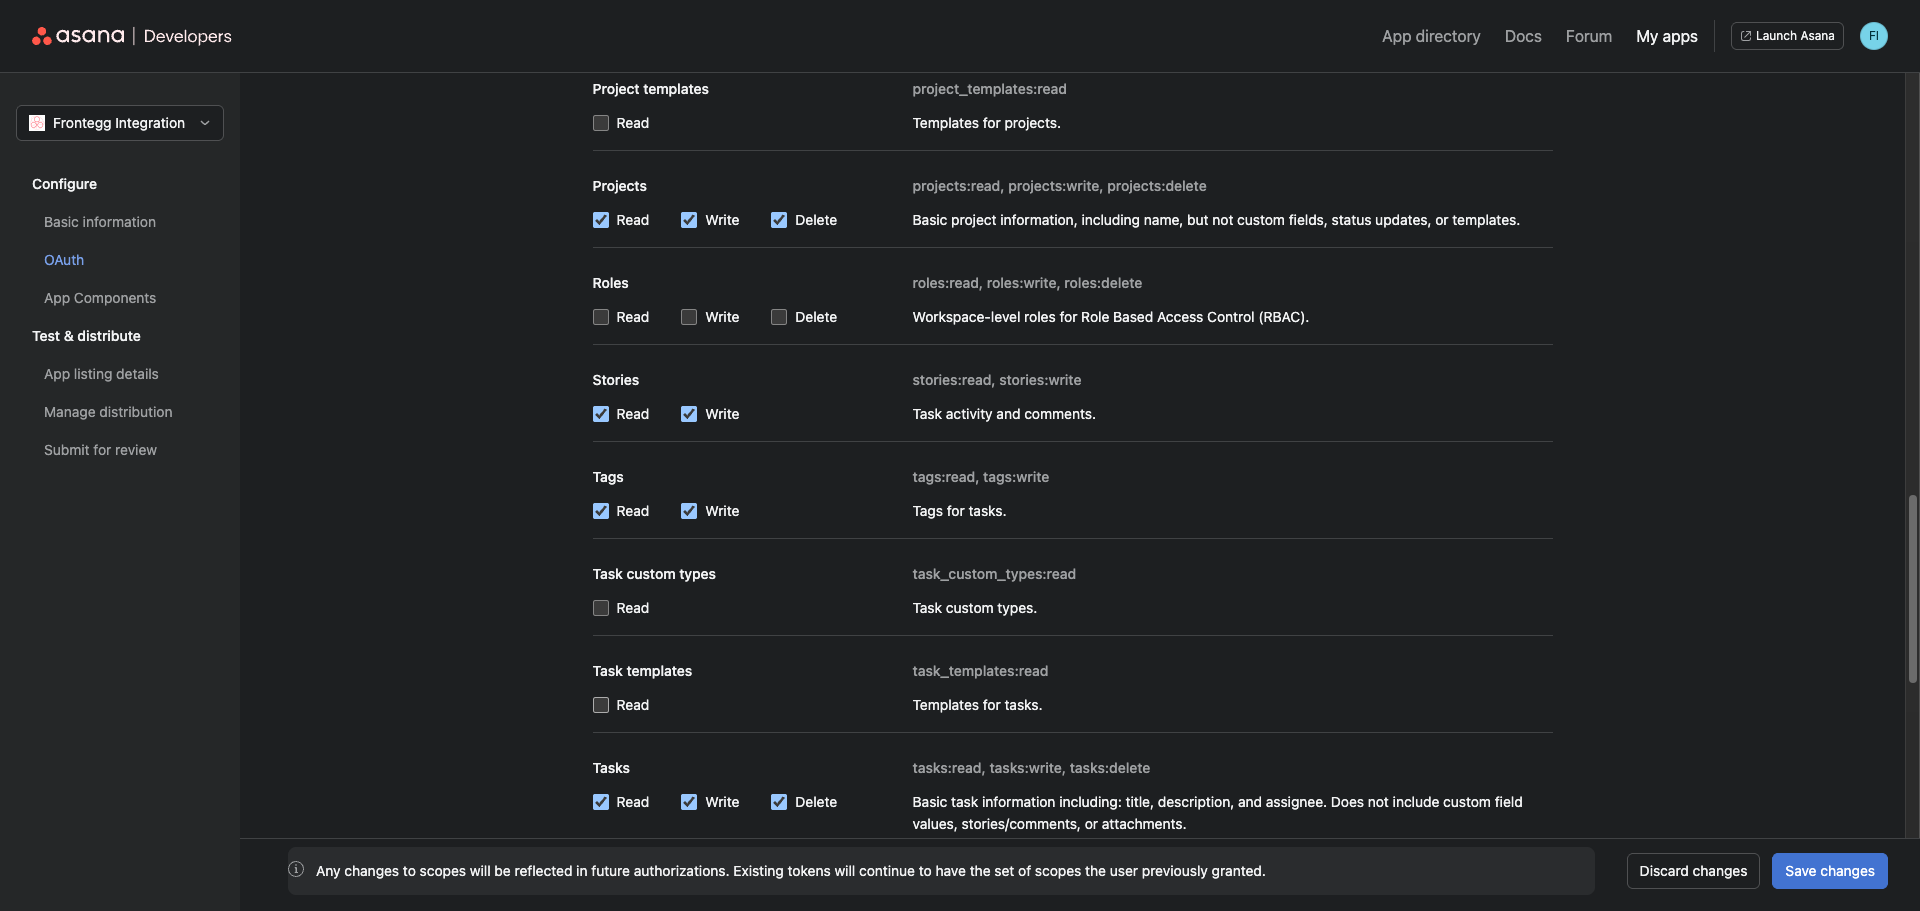
Click Save changes. Asana will confirm that your settings were saved successfully.
Once you have obtained your Client ID and Client Secret from the steps above, enter them in the integration configuration page of the Frontegg portal:
- Open the Frontegg portal and navigate to [ENVIRONMENT] → Integrations → Asana.
- Enter the Client ID and Client Secret in the corresponding fields.
- Select the required scopes.
- Click Save.
Keep your credentials secure
Keep your credentials secure
Never share or commit your Client Secret to version control.