ClickUp is an all-in-one project management platform for tasks, docs, goals, and team collaboration. The ClickUp integration with Frontegg allows your application to access and manage ClickUp workspaces, spaces, folders, lists, and tasks on behalf of your users.
Prerequisites
Prerequisites
- A ClickUp account with admin access to your workspace
- Permissions to manage apps in ClickUp settings
Sign in to ClickUp and navigate to Settings → ClickUp API. You can access this page directly at app.clickup.com/settings/apps.
On the ClickUp API Settings tab, you will see the list of existing apps and a + Create an App link.

Click the ClickUp API Settings tab to switch from API tokens to the OAuth app management view.
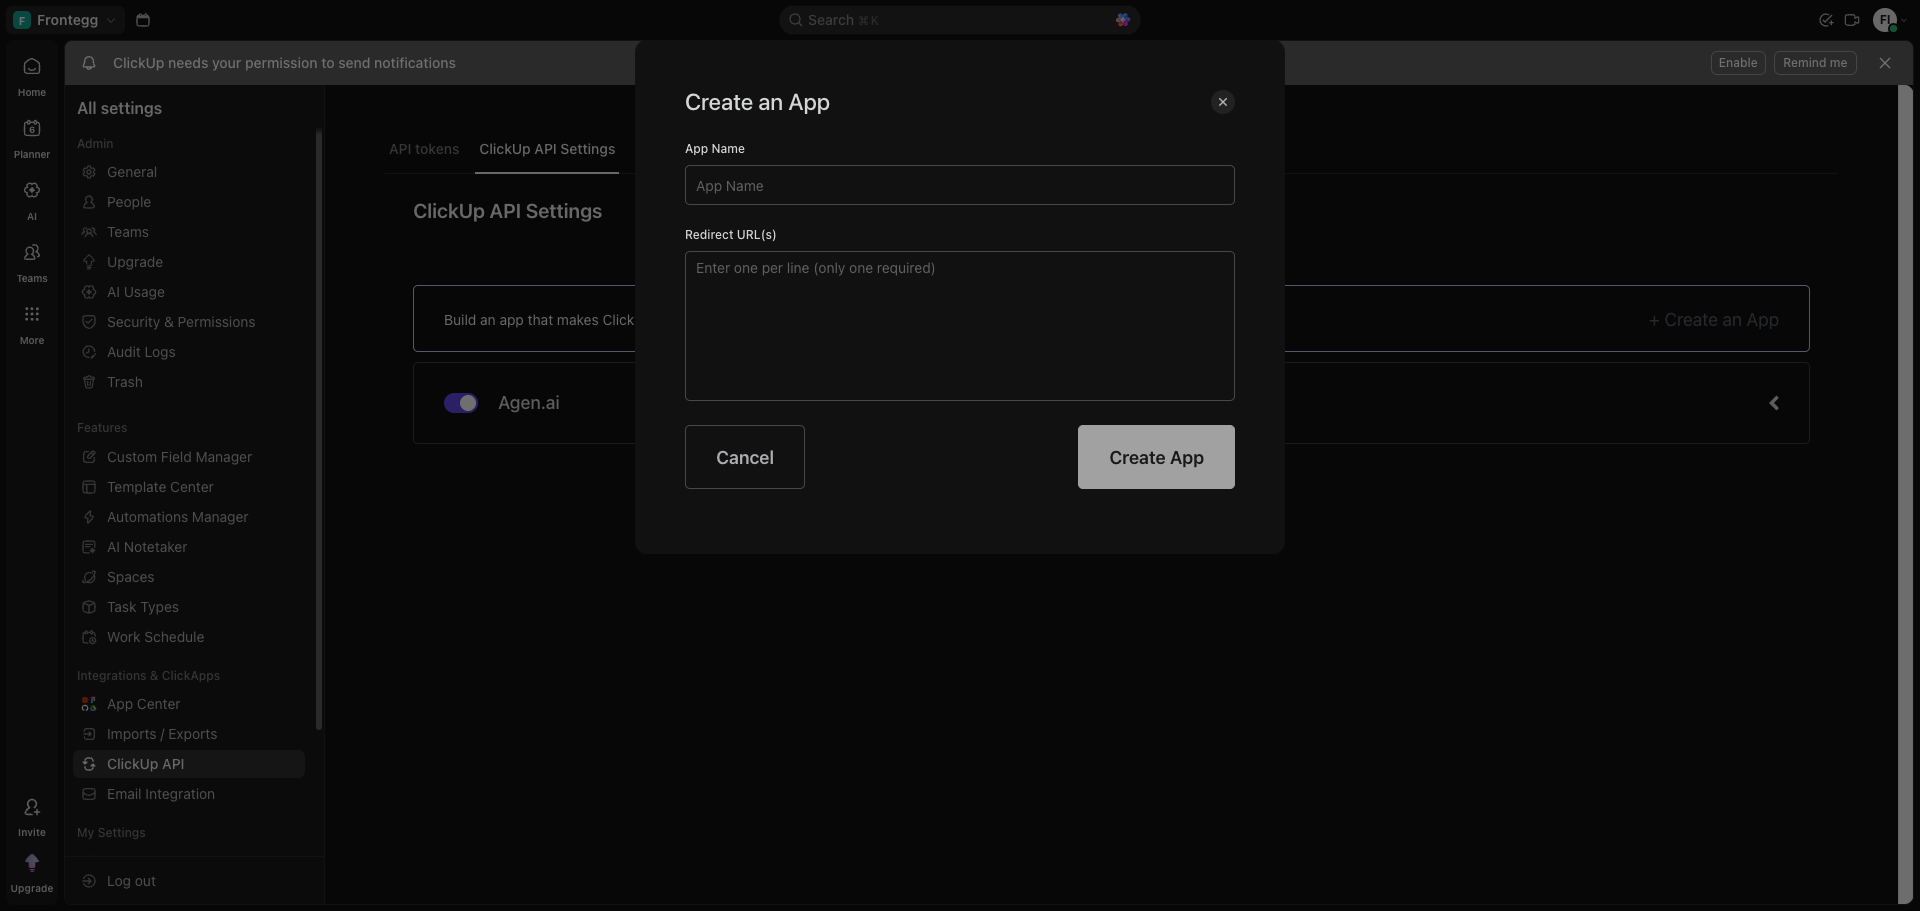
Click + Create an App. In the dialog that appears, enter the app name and redirect URLs.
Fill in the form:
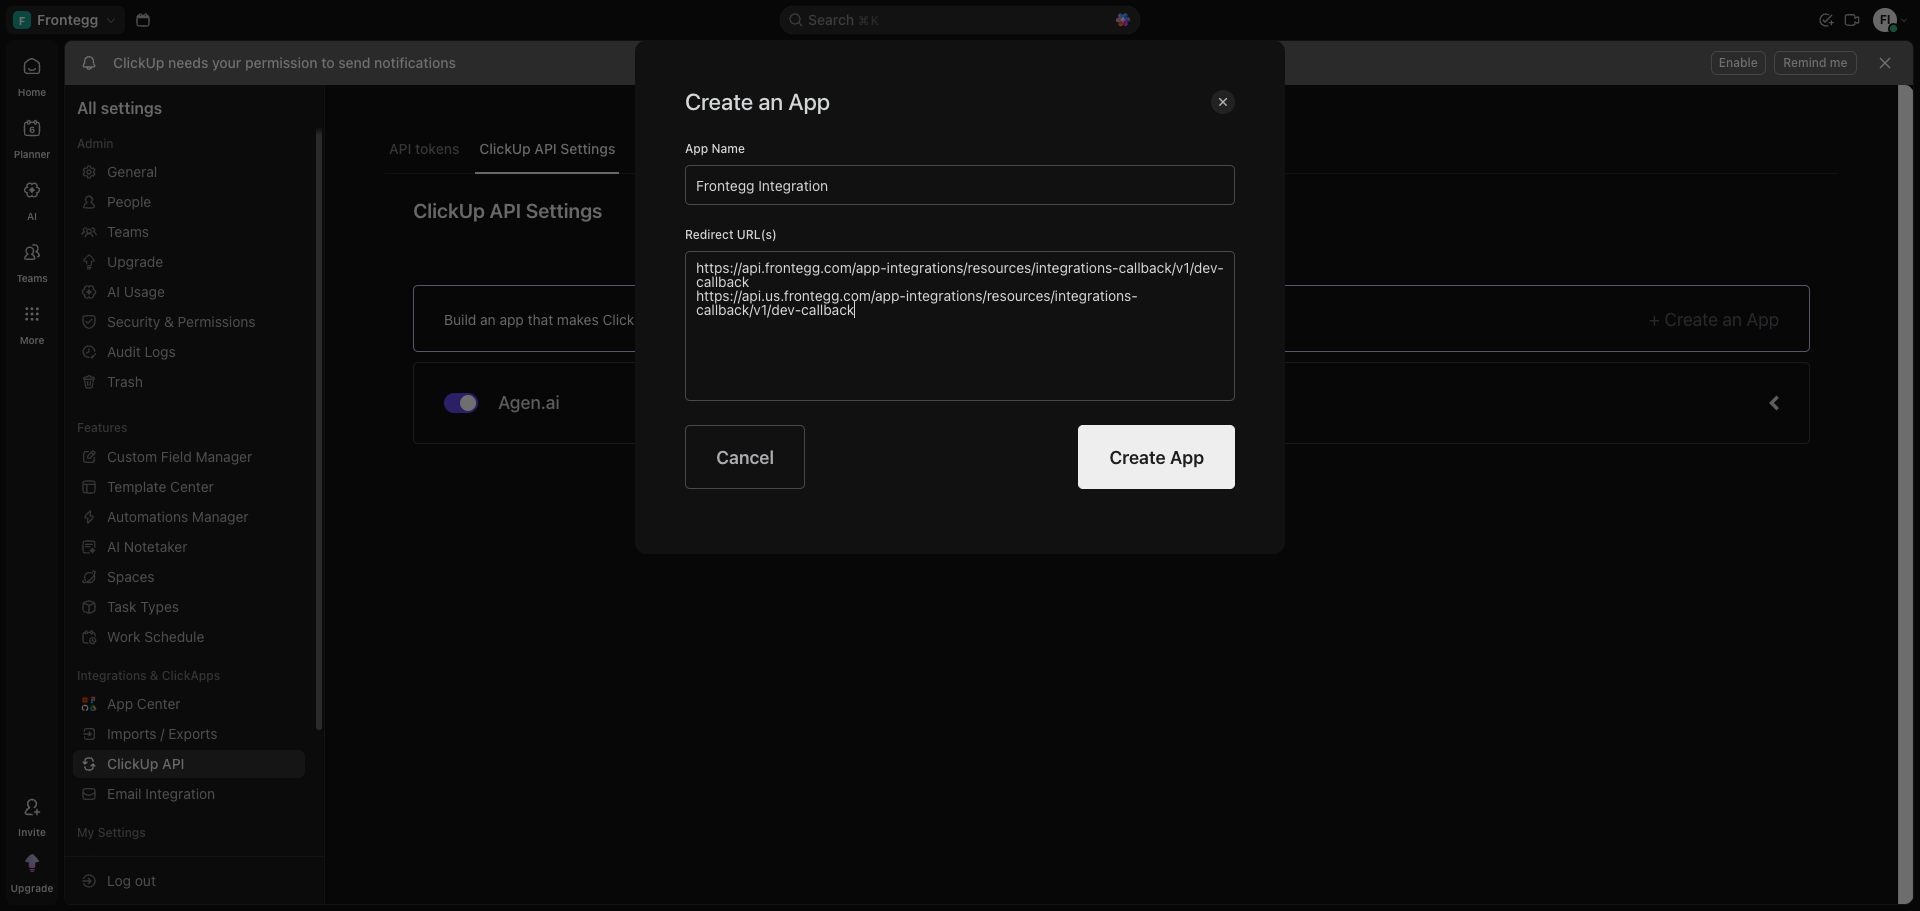
- App Name:
Frontegg Integration - Redirect URL(s): Enter the following URLs, one per line:
https://YOUR_MCP_GATEWAY_URL/integration-callback
Click Create App.
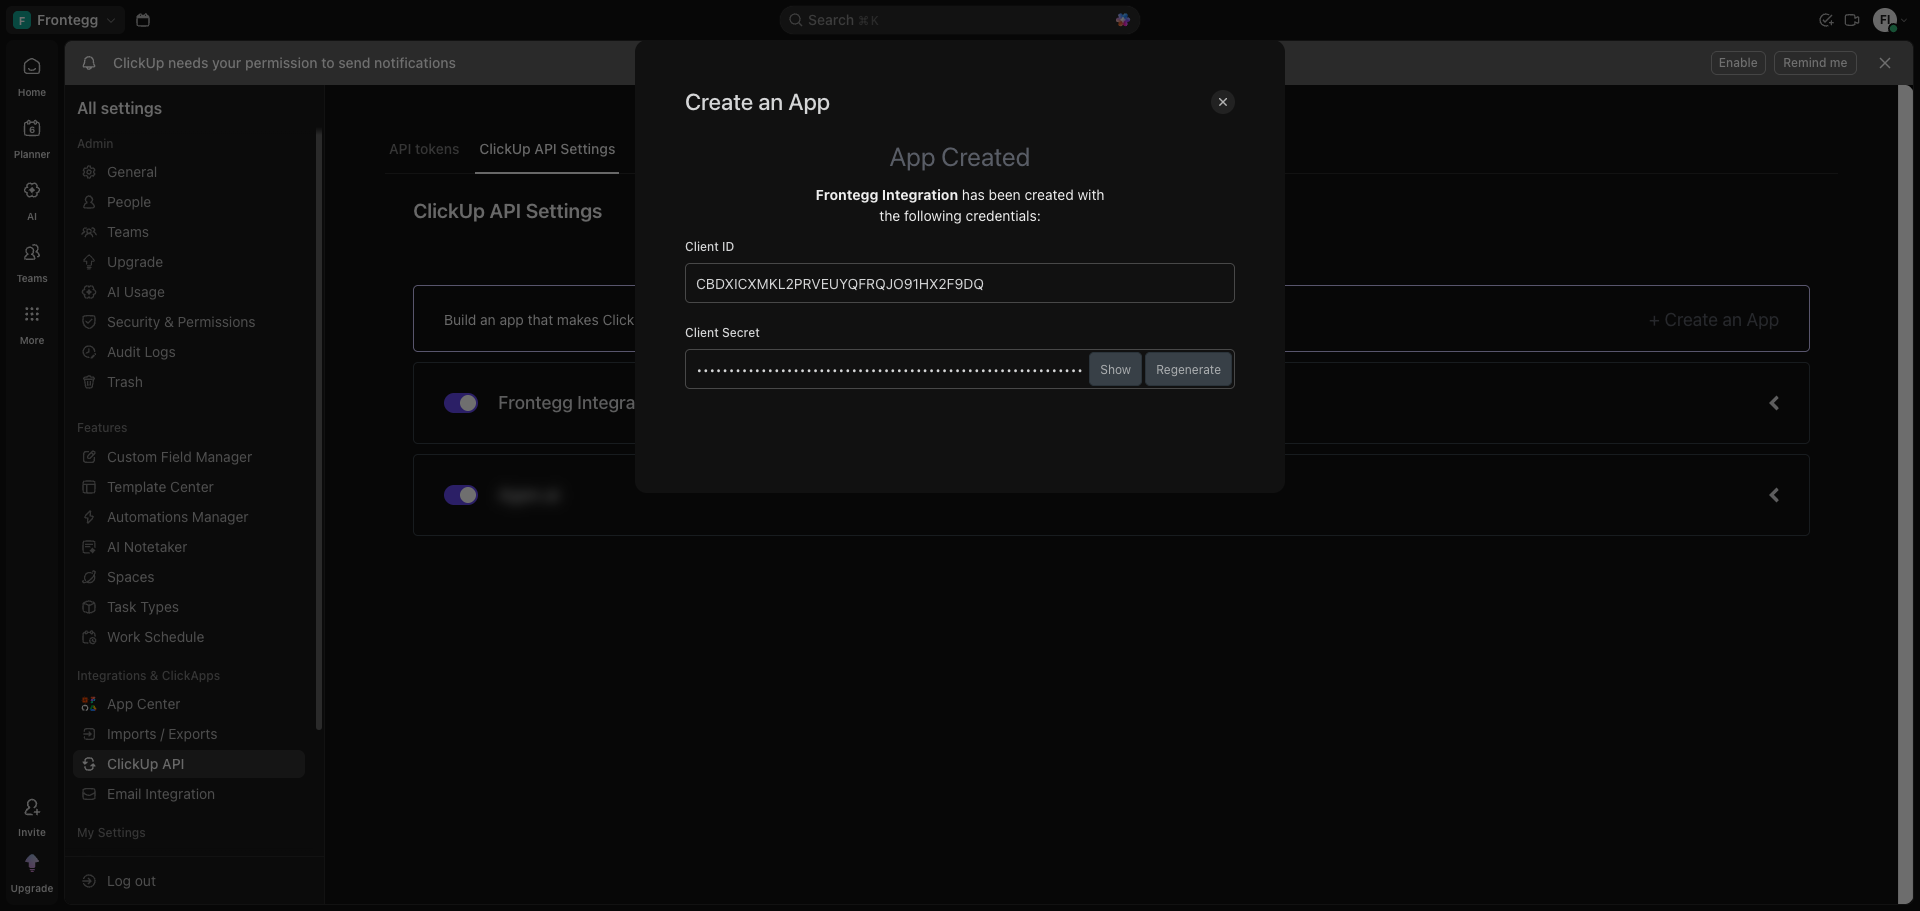
After the app is created, a confirmation dialog shows your Client ID and Client Secret.
Save your Client Secret now
Save your Client Secret now
The Client Secret is only shown once at creation time. Copy it immediately and store it securely before closing this dialog.
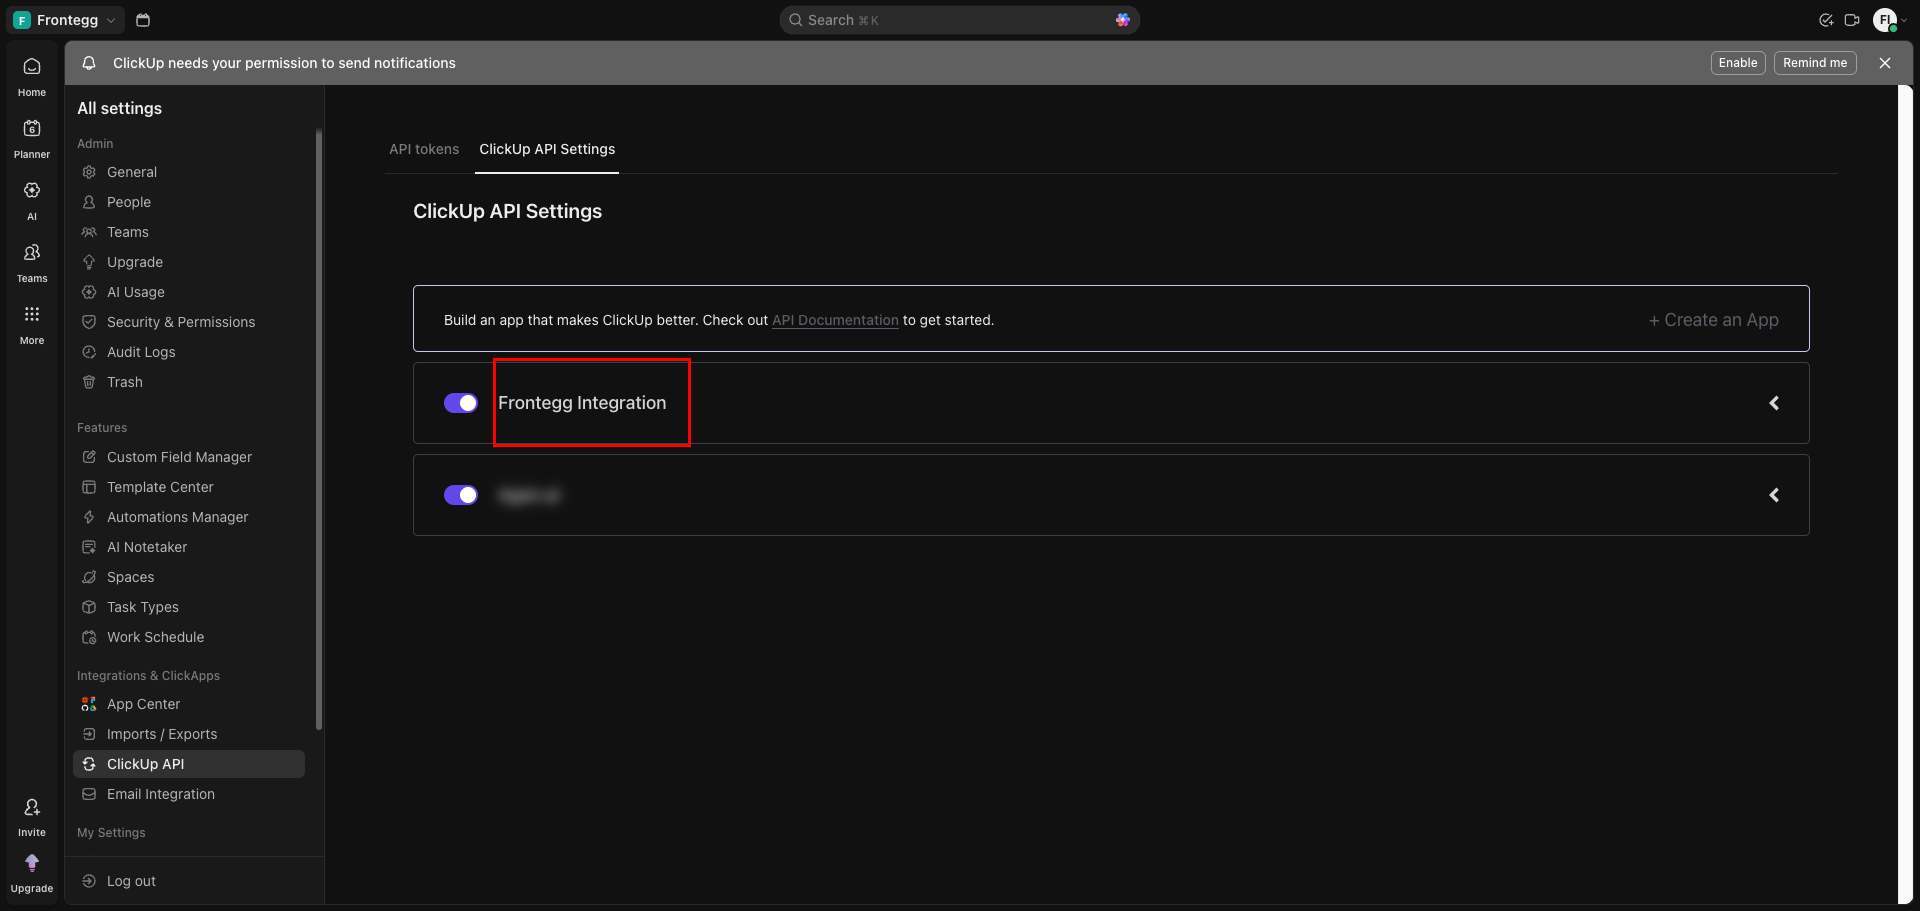
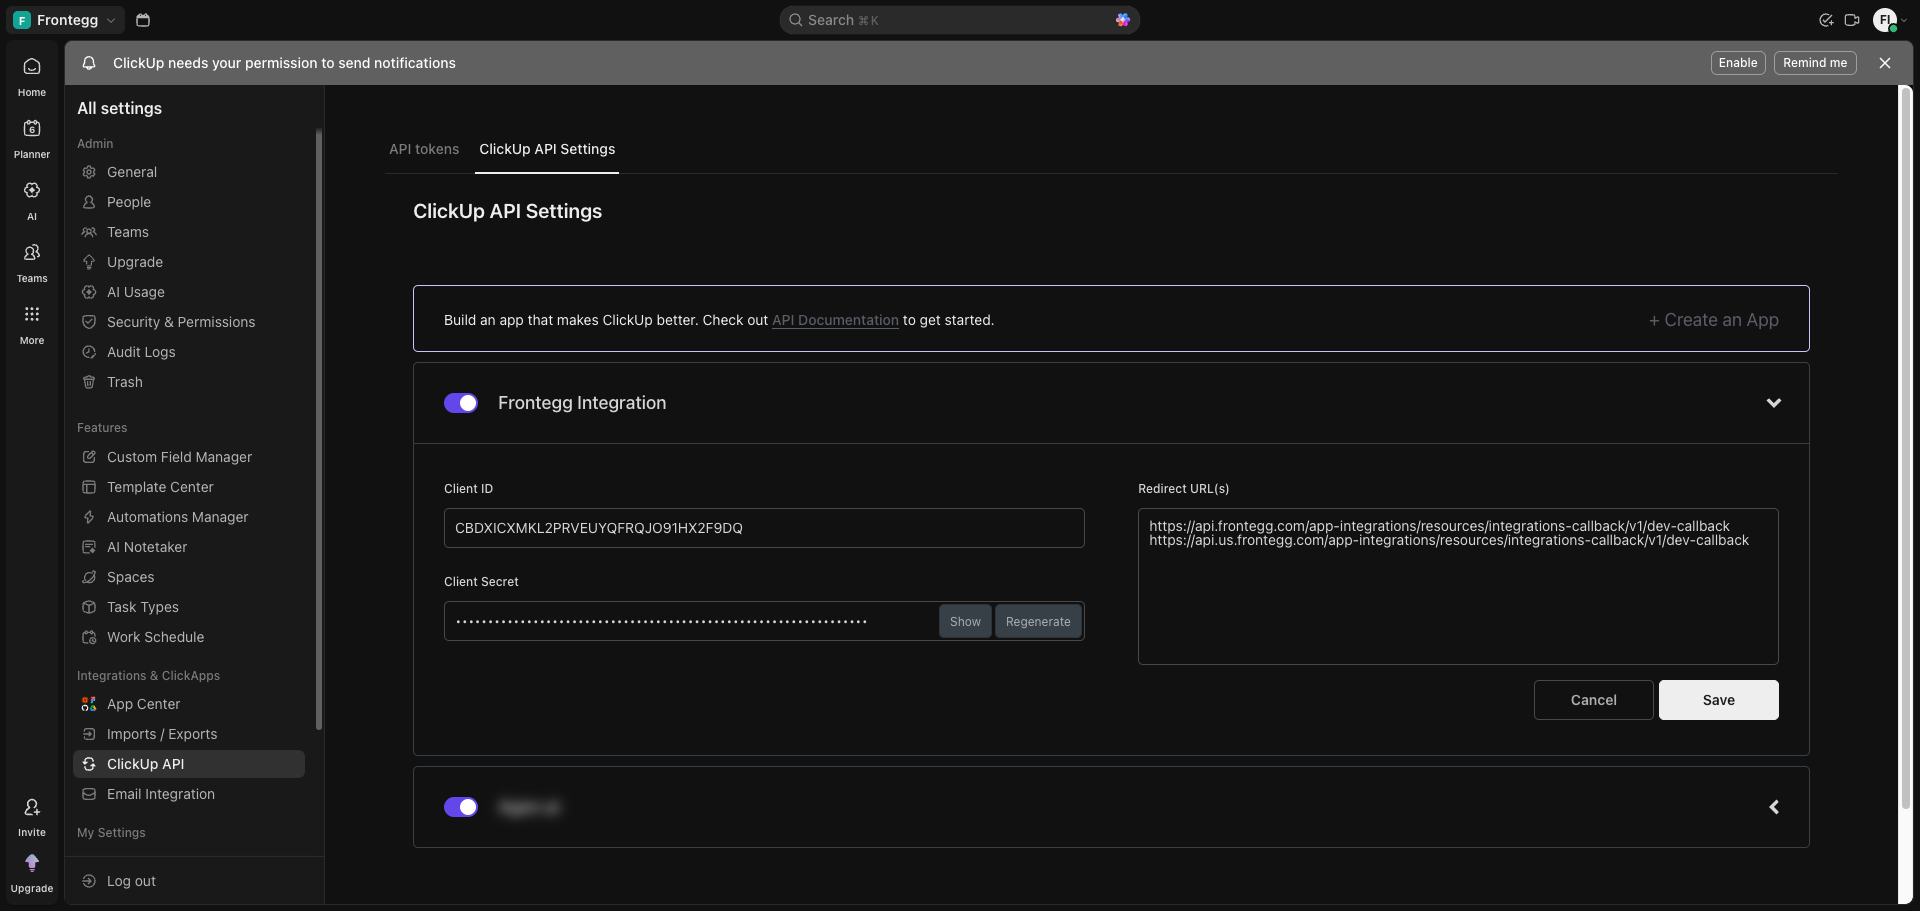
After closing the dialog, your app appears in the ClickUp API Settings list. Click on the app name to expand its details and confirm the saved configuration.
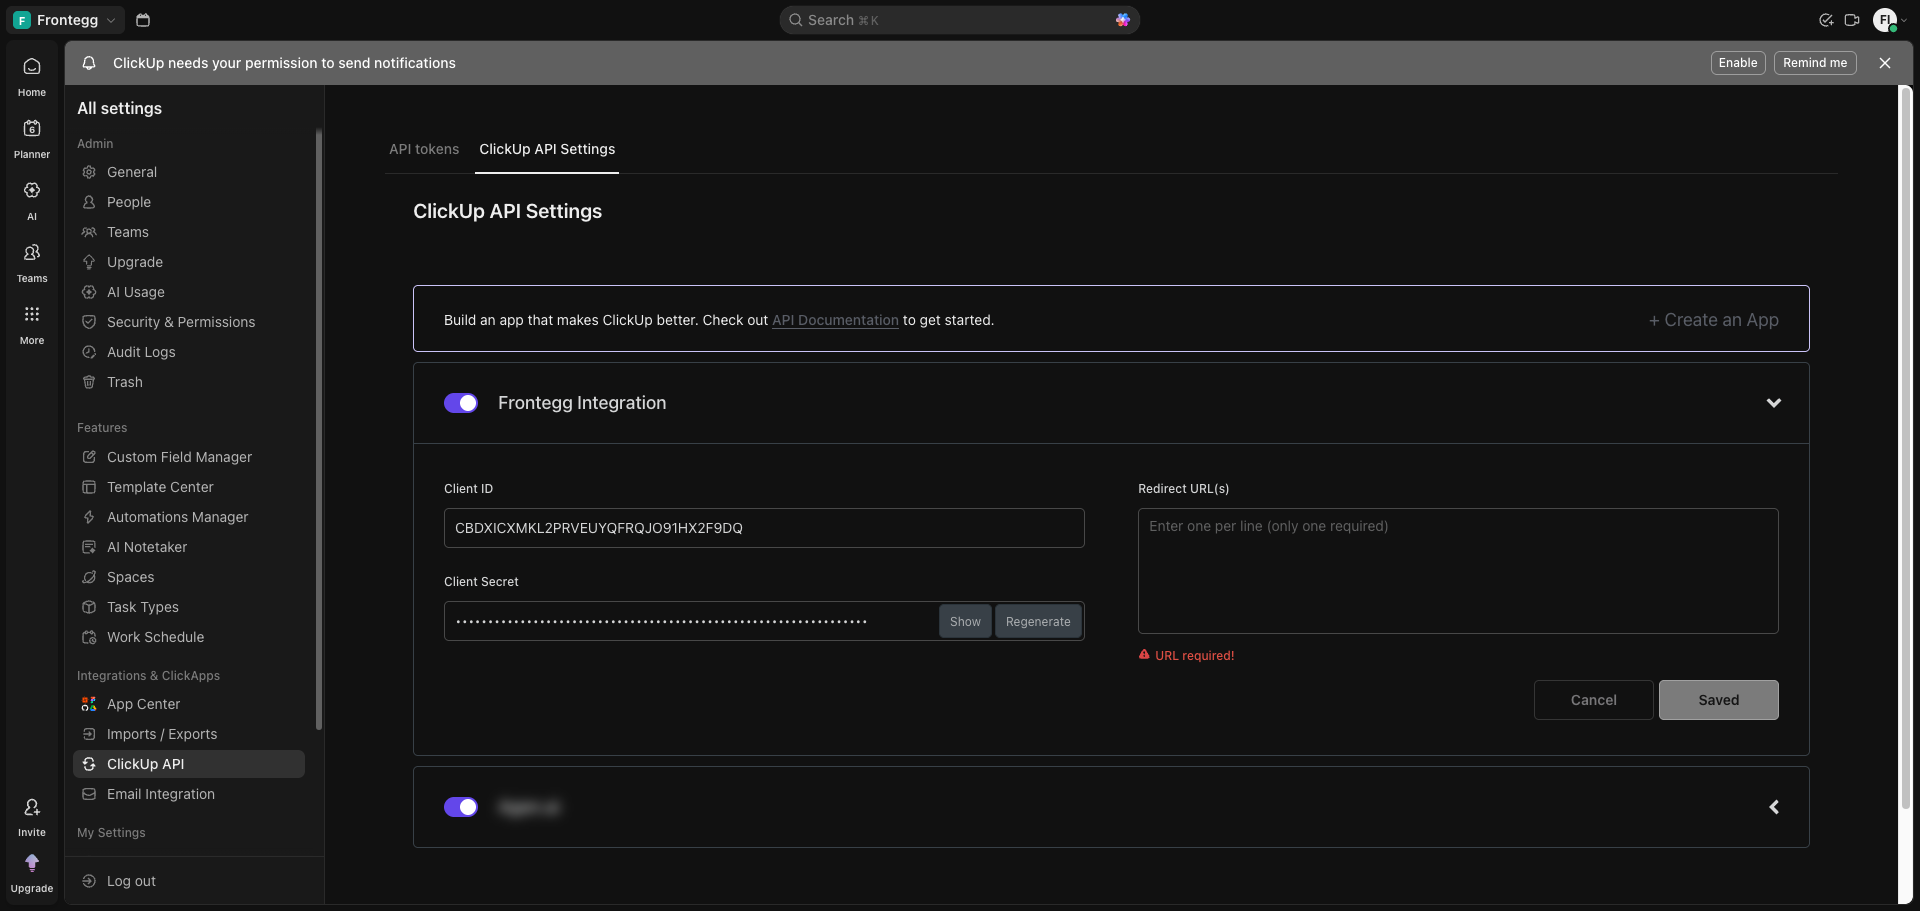
In the expanded app view, you can verify or update the Redirect URL(s). Enter the Frontegg callback URL and click Save.
Once you have your Client ID and Client Secret, enter them in the Frontegg portal:
- Open the Frontegg portal and navigate to [ENVIRONMENT] → Integrations → ClickUp.
- Enter the Client ID and Client Secret in the corresponding fields.
- Click Save.
Keep your credentials secure
Keep your credentials secure
Never share or commit your Client Secret to version control.