DocuSign is a digital signature and agreement cloud platform. Integrating DocuSign with Frontegg allows your application to manage envelopes, templates, and documents on behalf of your users through OAuth 2.0 authentication. DocuSign provides both a production environment and a free developer sandbox for testing your integration before going live.
Prerequisites
Prerequisites
- A DocuSign account with access to Apps and Keys — production or sandbox
Sign in to DocuSign and navigate to Admin → Integrations → Apps and Keys. The URL depends on which environment you are using:
| Environment | Admin URL |
|---|---|
| Production | https://admin.docusign.com |
| Sandbox | https://admindemo.docusign.com |
Which environment to choose
Which environment to choose
Use the sandbox environment (admindemo.docusign.com) for development and testing. Sandbox accounts are free and can be created at developers.docusign.com. Use production (admin.docusign.com) only when you are ready to work with real documents and signatures.
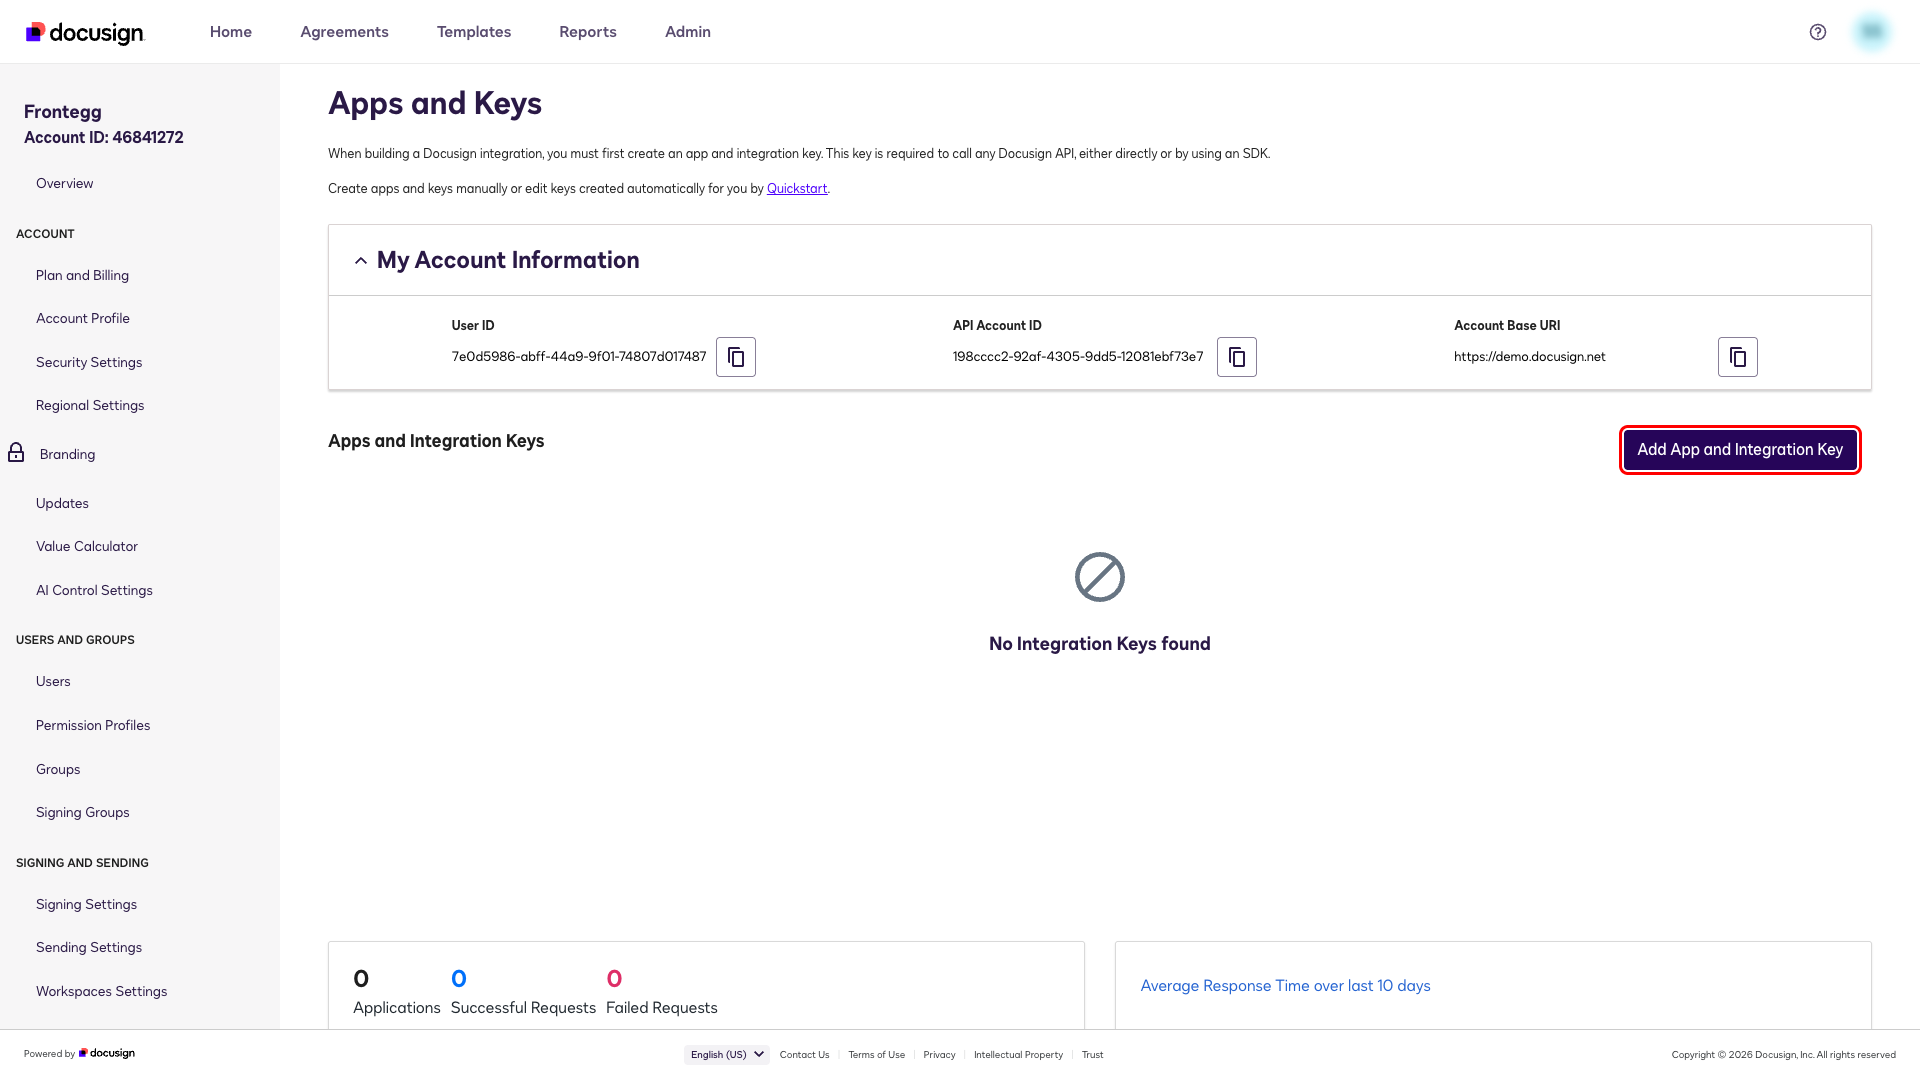
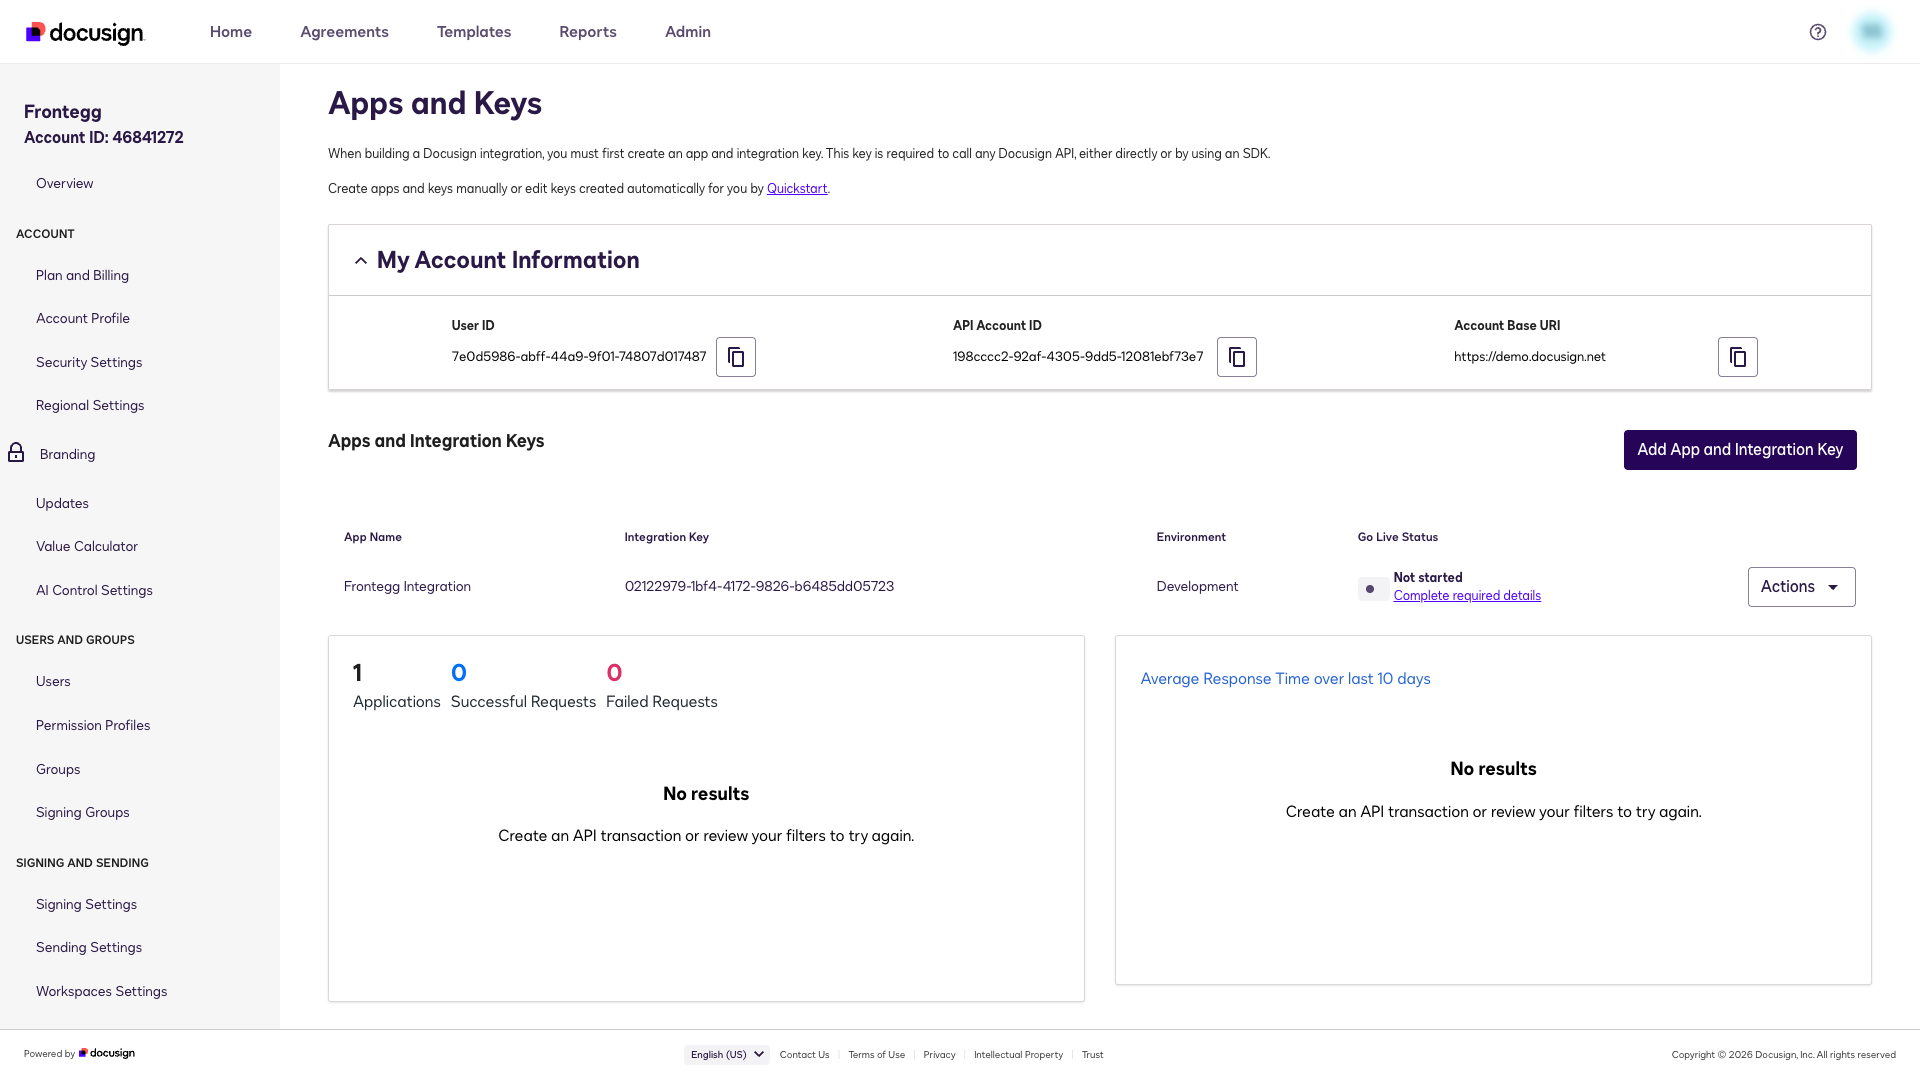
This page lists all OAuth applications registered under your account. Click Add App and Integration Key.
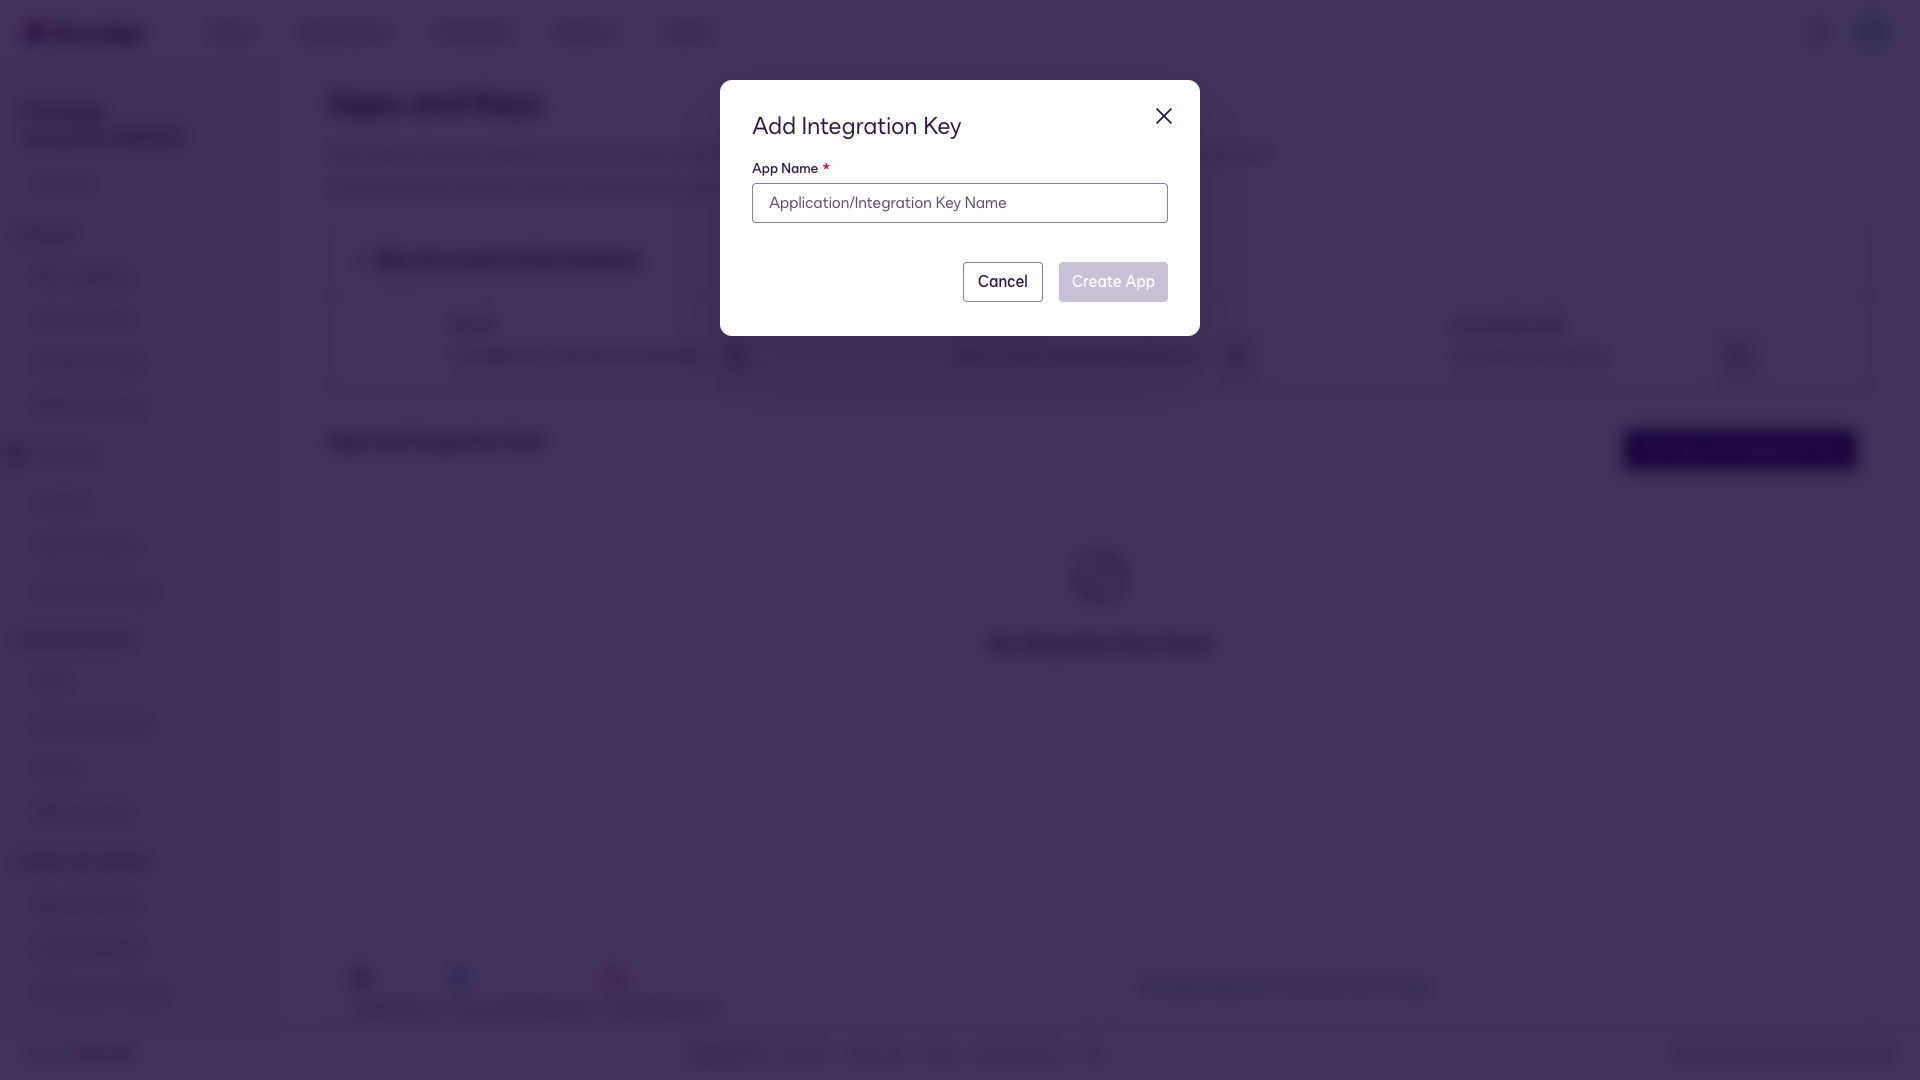
In the Add Integration Key dialog, enter a descriptive name for your application.
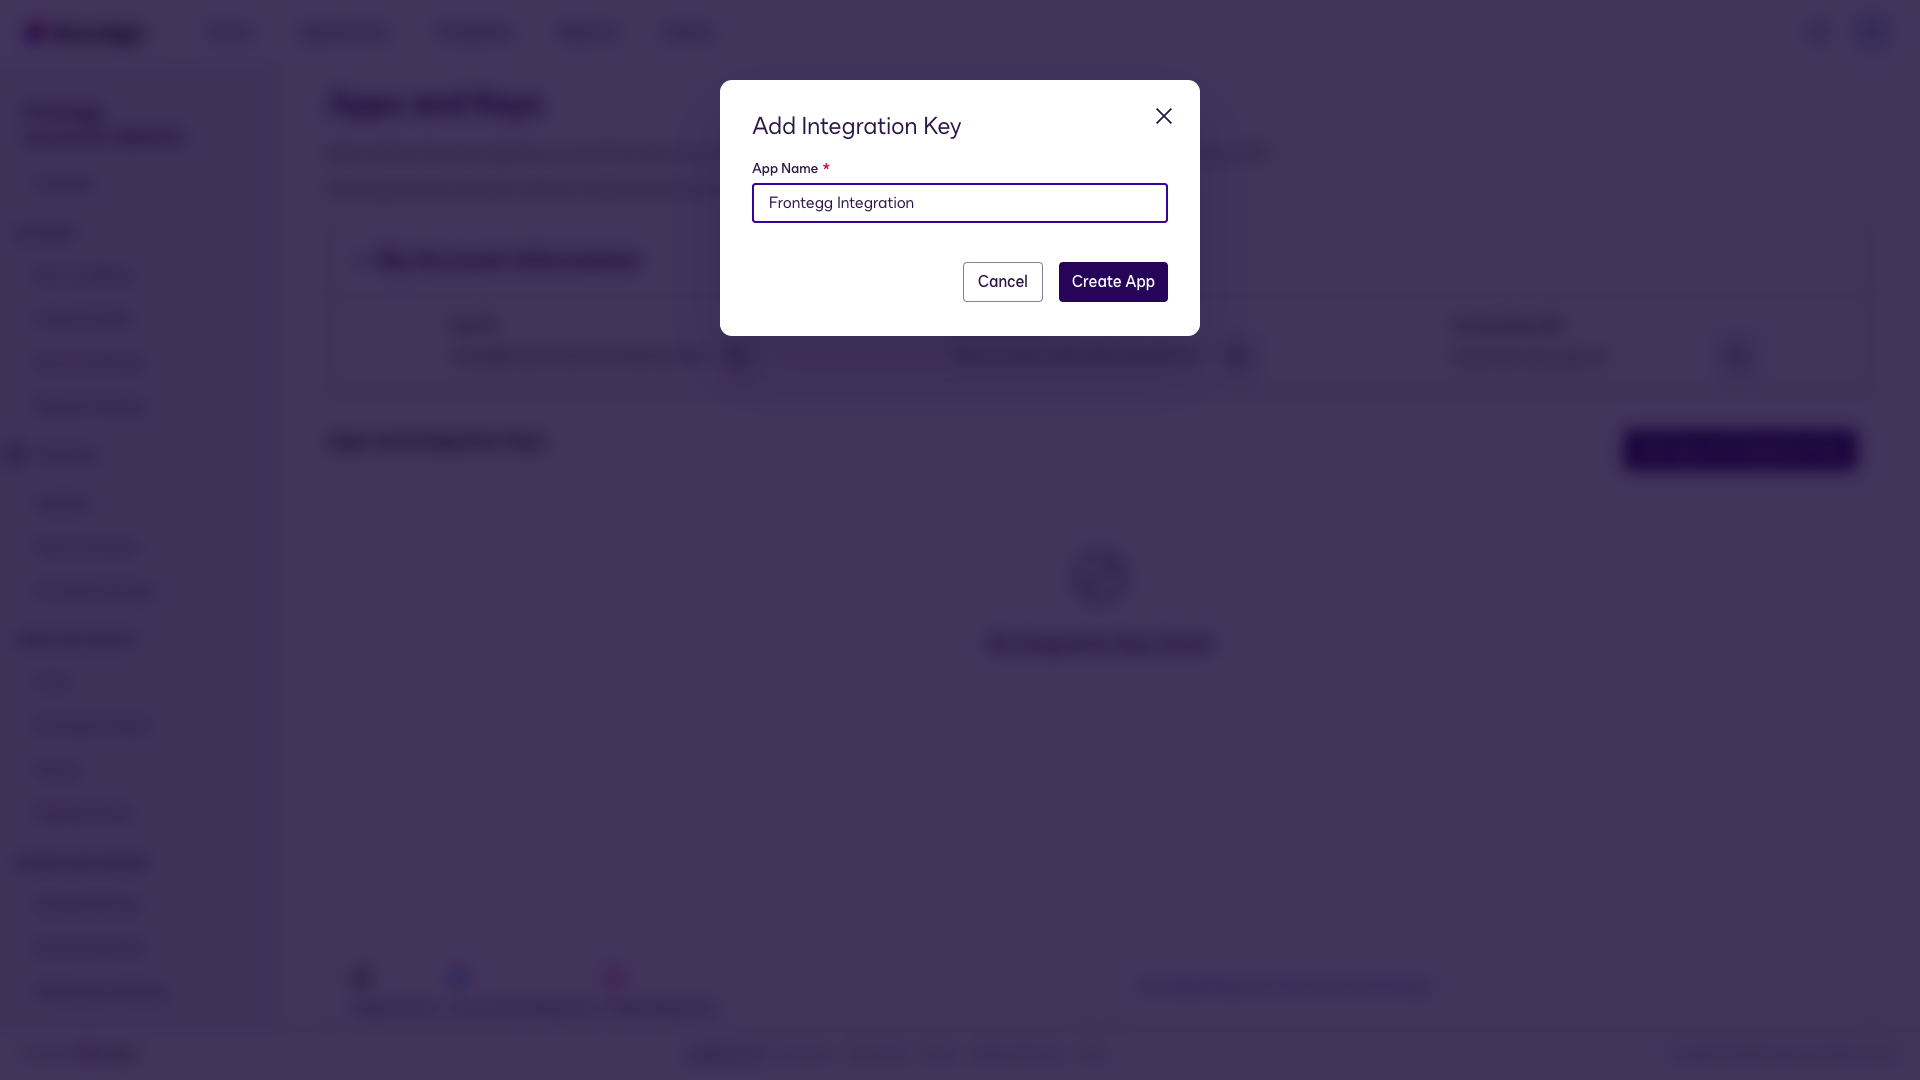
Enter Frontegg Integration and click Create App.
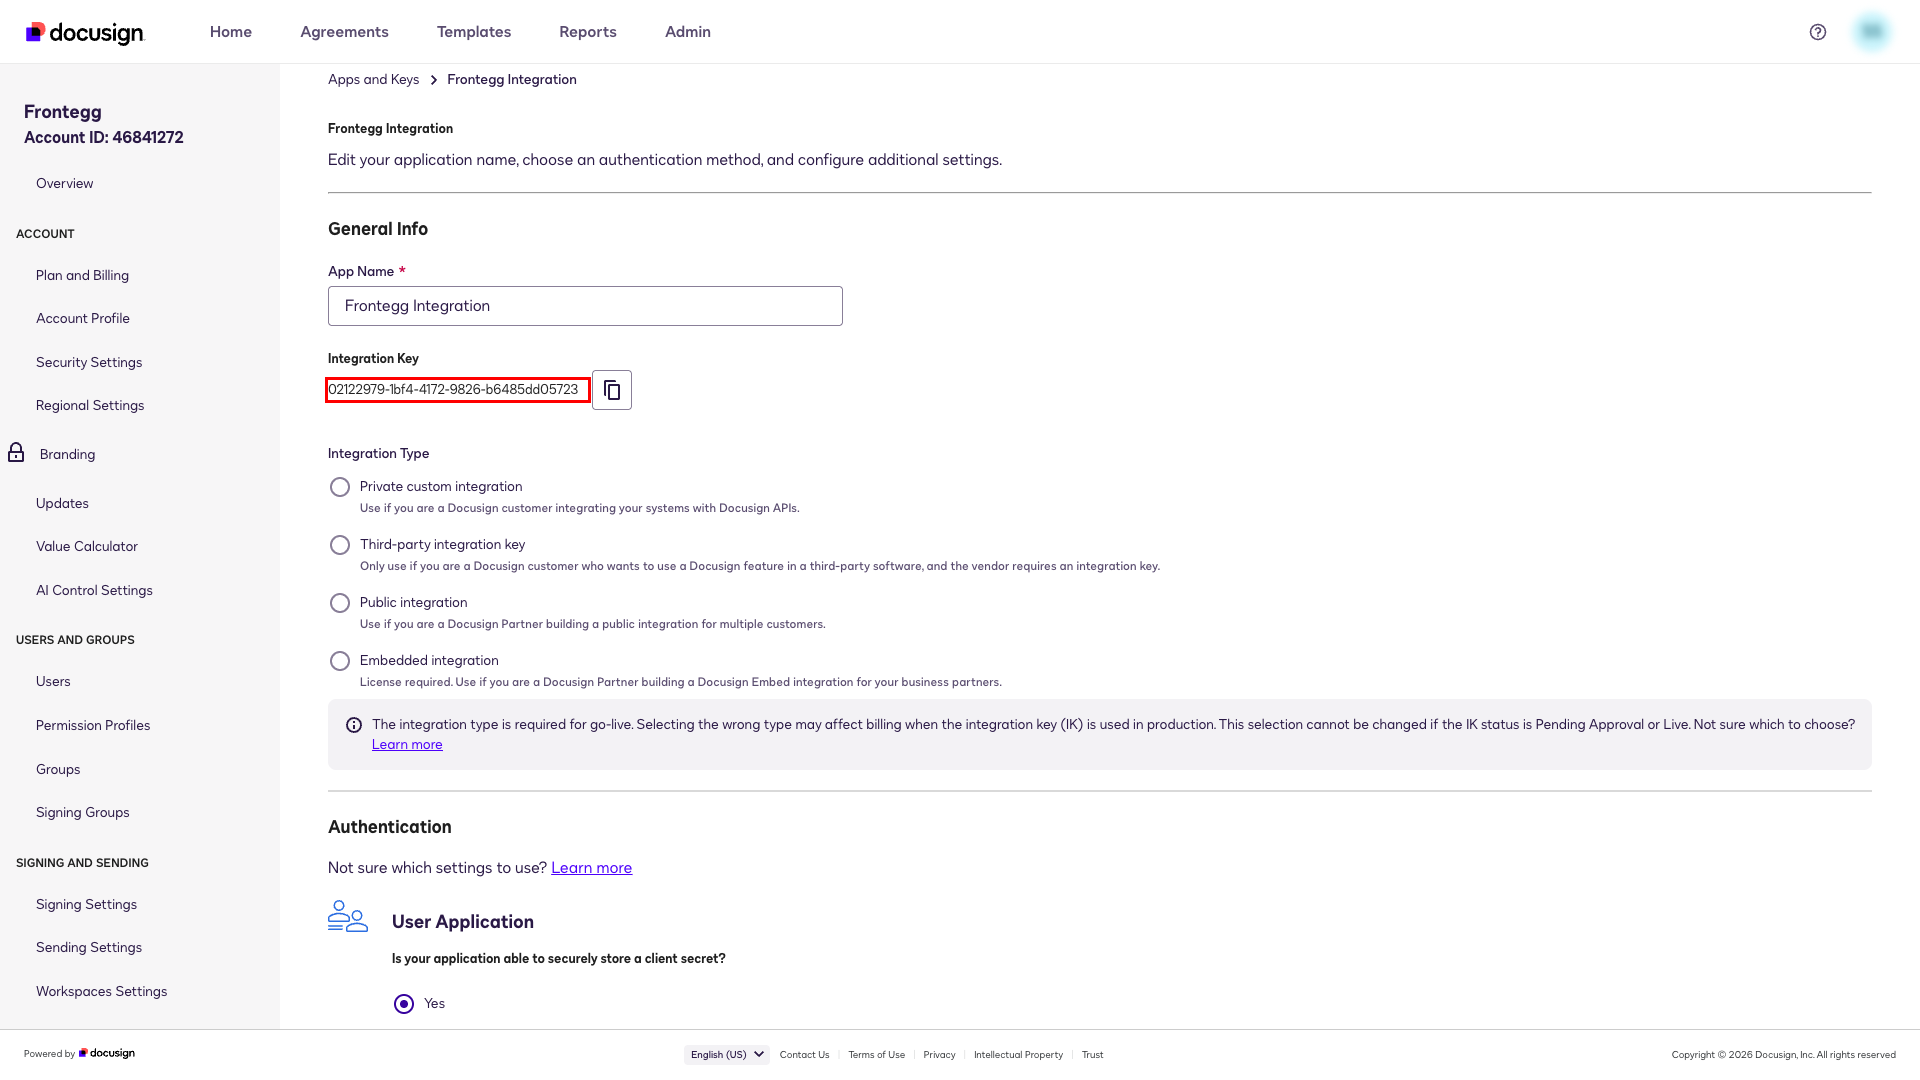
DocuSign creates the app and opens its configuration page. The Integration Key serves as the Client ID. Copy it from the General Info section and store it securely.
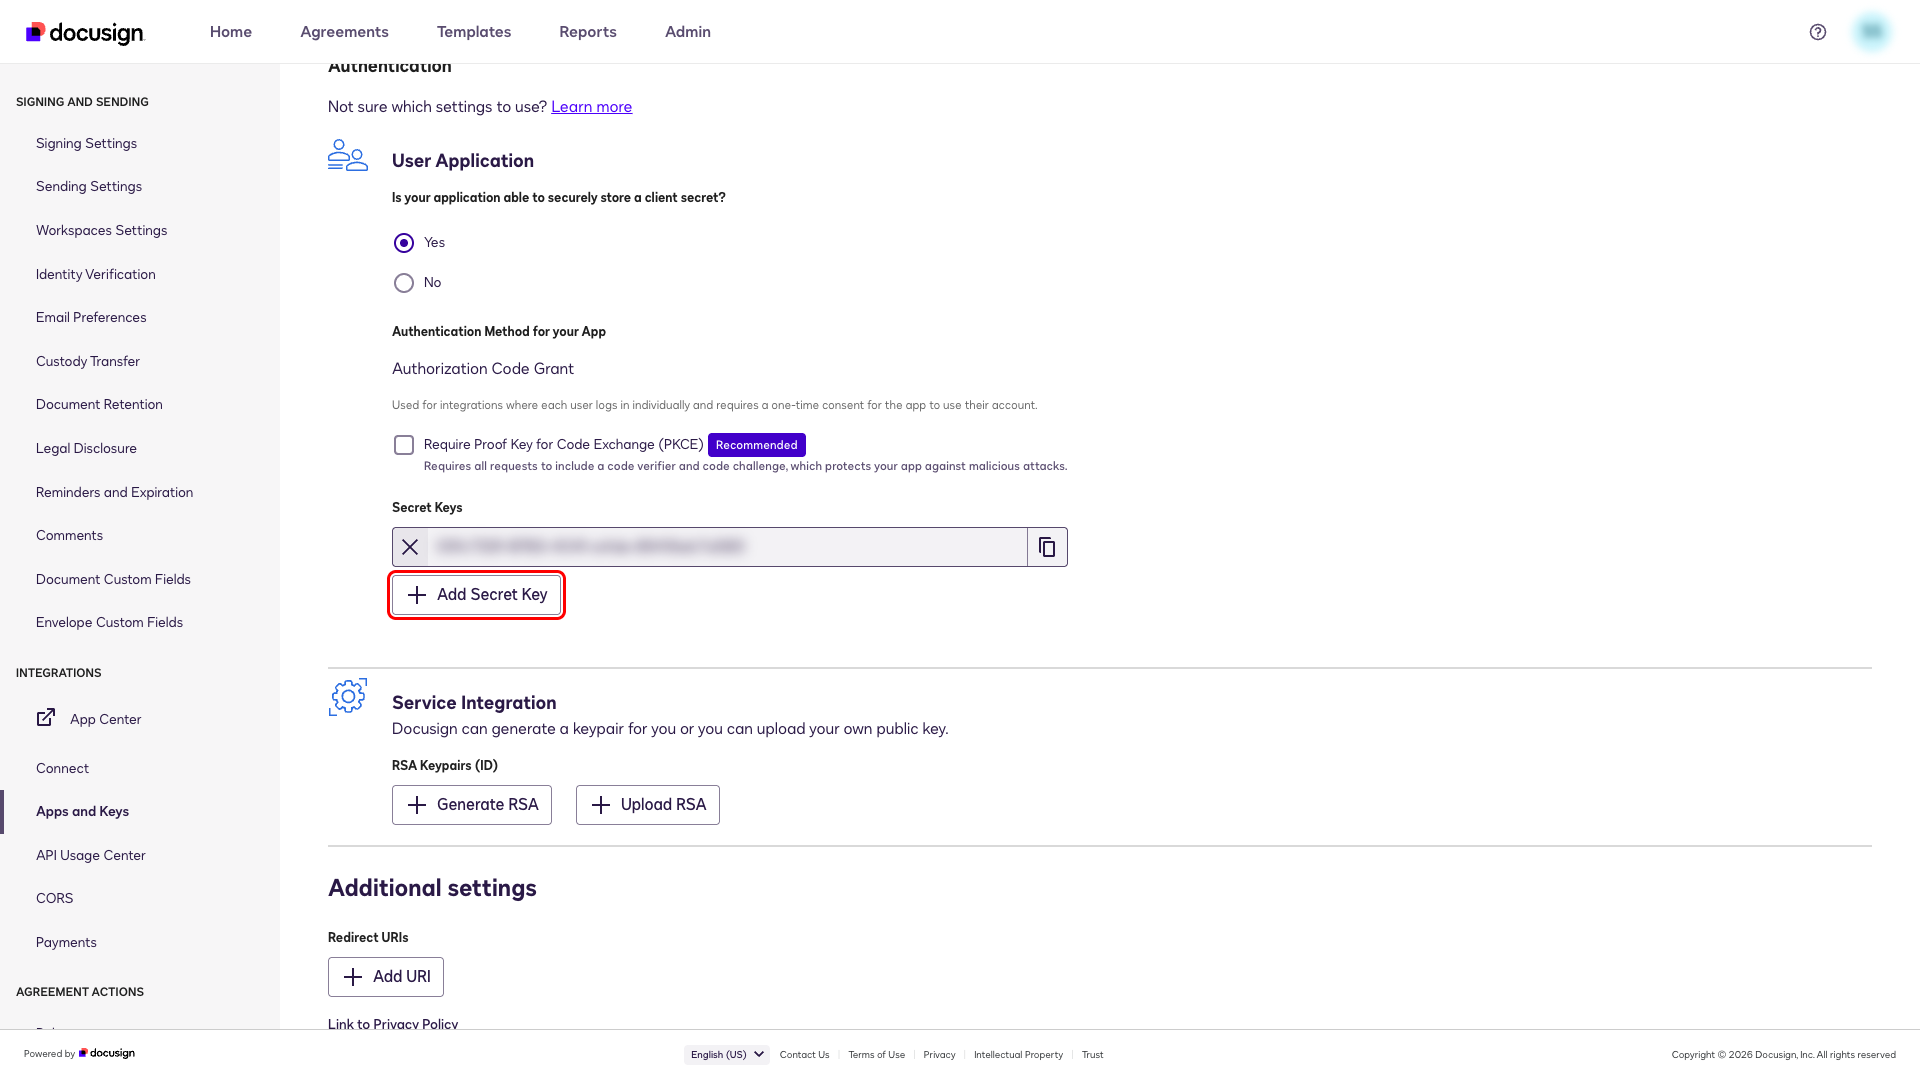
Scroll to the Authentication section and click Add Secret Key to generate a Client Secret.

One-time display
One-time display
The Secret Key is shown once. Copy it immediately before leaving this page — it cannot be retrieved later.
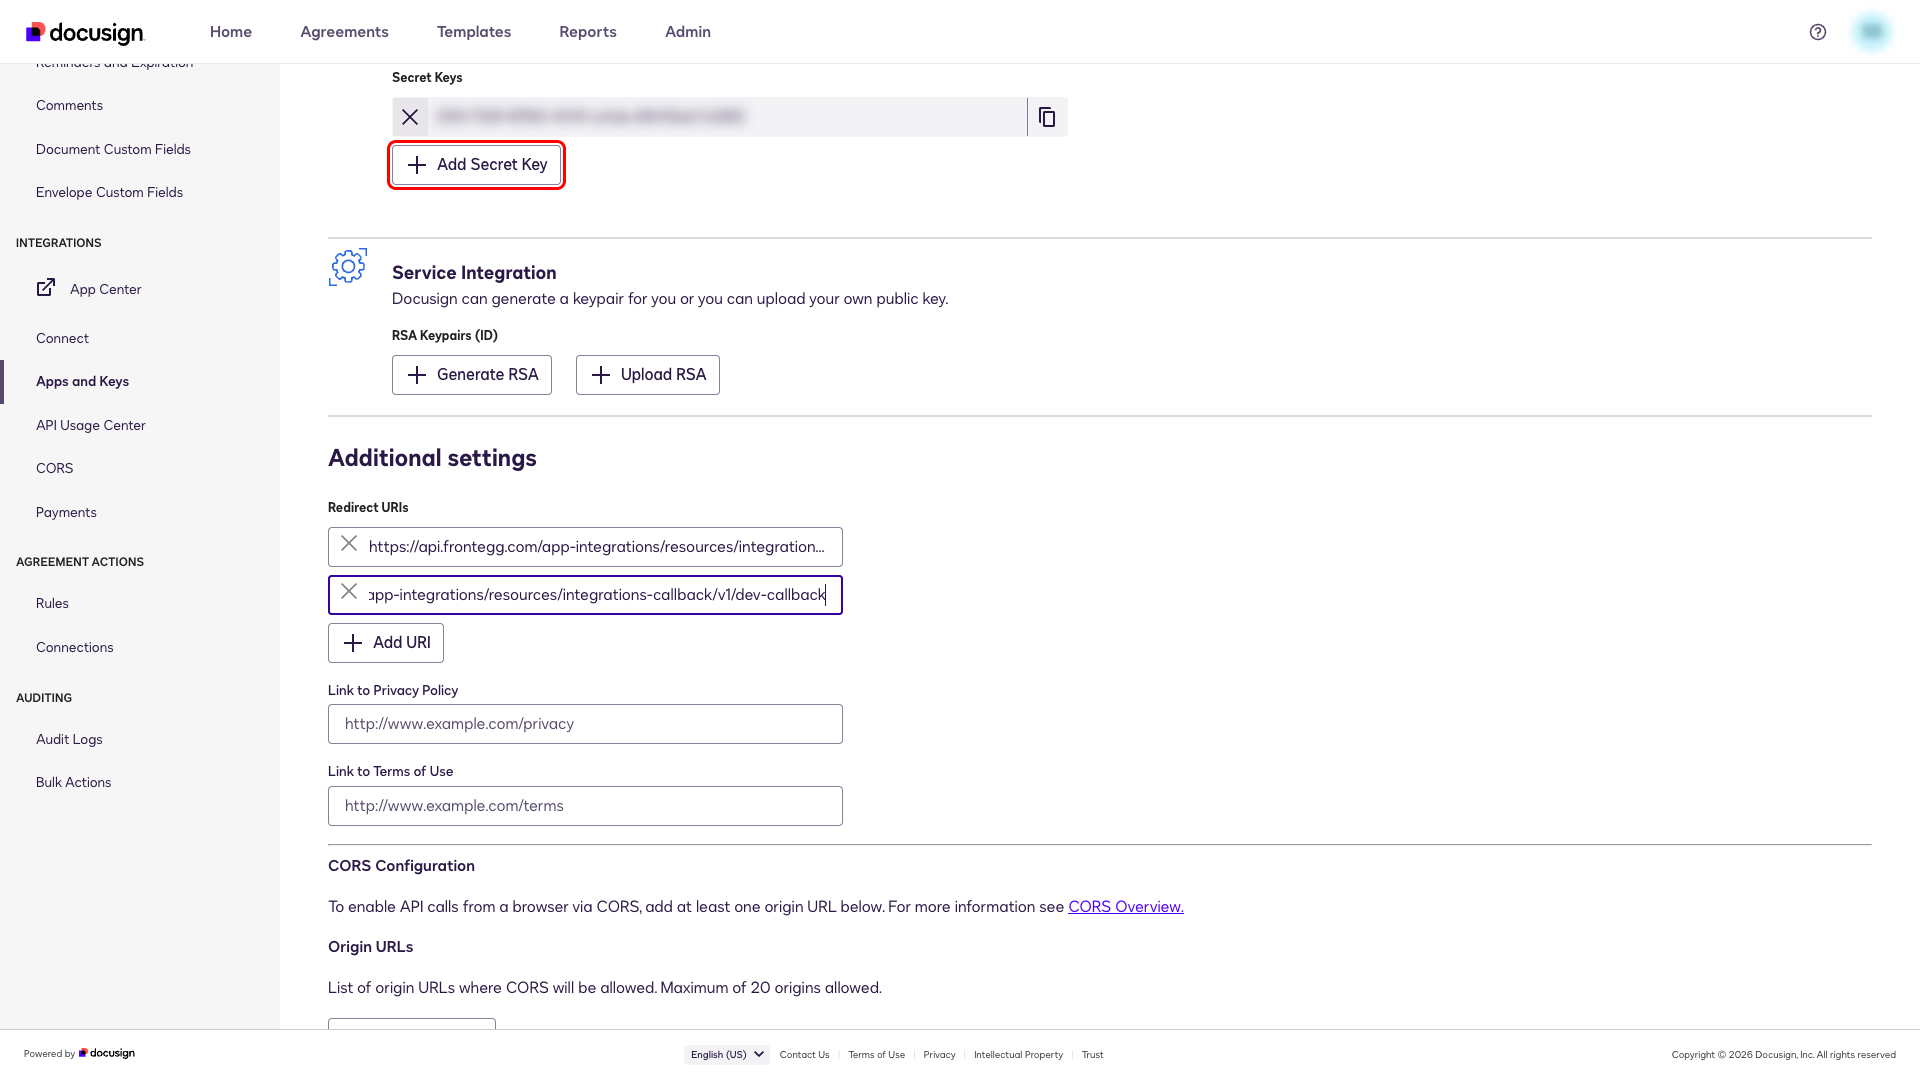
Scroll to Additional settings. Click Add URI and enter the Frontegg callback URI:
https://YOUR_MCP_GATEWAY_URL/integration-callbackThis redirect URI is the same for both sandbox and production environments.
Click Save at the bottom of the page. DocuSign confirms the integration key was saved successfully.
Once you have the Integration Key (Client ID) and Secret Key (Client Secret) from the steps above, enter them in the integration configuration page of the Frontegg portal:
- Open the Frontegg portal and navigate to [ENVIRONMENT] → Connectors → DocuSign.
- Under Connector credentials, select Bring your own and enter the Integration Key in the Client ID field and the Secret Key in the Client Secret field.
- Configure the Use Sandbox toggle:
- Enabled — connects to the DocuSign developer sandbox (
account-d.docusign.com). Use this for testing and development. - Disabled — connects to the DocuSign production environment (
account.docusign.com). Use this for live data.
- Enabled — connects to the DocuSign developer sandbox (
Sandbox vs. production
Sandbox vs. production
DocuSign provides a free developer sandbox at developers.docusign.com. Sandbox credentials are separate from production — make sure the Client ID and Client Secret match the environment selected by the toggle.
- Select the required scopes:
| Scope | Description |
|---|---|
signature | Request signatures on documents |
extended | Extended access to DocuSign features |
impersonation | Act on behalf of other users |
organization_read | Read organization information |
group_read | Read group information |
permission_read | Read permission profile information |
user_read | Read user information |
user_write | Create and update users |
account_read | Read account information |
domain_read | Read domain information |
identity_provider_read | Read identity provider information |
- Click Save.
Keep your credentials secure
Keep your credentials secure
Never share or commit your Secret Key to version control.
If you initially configured the connector with sandbox credentials, follow these steps to switch to production.
API-enabled plan required
API-enabled plan required
Your production DocuSign account must be on a plan that supports API integrations (e.g., Business Pro or higher). Standard plans without API access will show the error "These accounts don't support API integrations" during the Go-Live process. Contact DocuSign support to verify or upgrade your plan before proceeding.
Open the sandbox Apps and Keys page at https://admindemo.docusign.com. Find your application, click Edit, and select the Integration Type that matches your use case (e.g., eSignature). Enter your production account credentials when prompted. DocuSign runs automatic validation and, if eligible, promotes the integration key instantly.
Simplified Go-Live
Simplified Go-Live
DocuSign no longer requires 20 API calls before promoting an integration. The process is now automatic for most integration types. See Docusign Go-Live for full details.
Once promoted, open the production Apps and Keys page at https://admin.docusign.com. Your application now appears there with the same Integration Key (Client ID). Click Actions → Edit, scroll to Authentication, and click Add Secret Key to generate a new Client Secret for production.
Sandbox secrets do not carry over
Sandbox secrets do not carry over
The Secret Key from sandbox is not valid in production. You must generate a new one and copy it immediately — it is displayed only once.
Confirm that the Frontegg callback URI is listed under Additional settings → Redirect URIs in the production app. The URI is the same as in sandbox:
https://YOUR_MCP_GATEWAY_URL/integration-callbackOpen the Frontegg portal and navigate to the DocuSign connector settings:
- Replace the Client Secret with the new production Secret Key.
- Disable the Use Sandbox toggle to connect to the production environment (
account.docusign.com). - Click Save.
The Client ID remains the same and does not need to be changed.