GoToMeeting is a video conferencing platform by GoTo that enables online meetings, webinars, and collaboration. Integrating GoToMeeting with Frontegg allows your application to create, manage, and access meetings on behalf of your users using OAuth 2.0.
Prerequisites
Prerequisites
- A GoTo developer account
- Access to the GoTo Developer Center
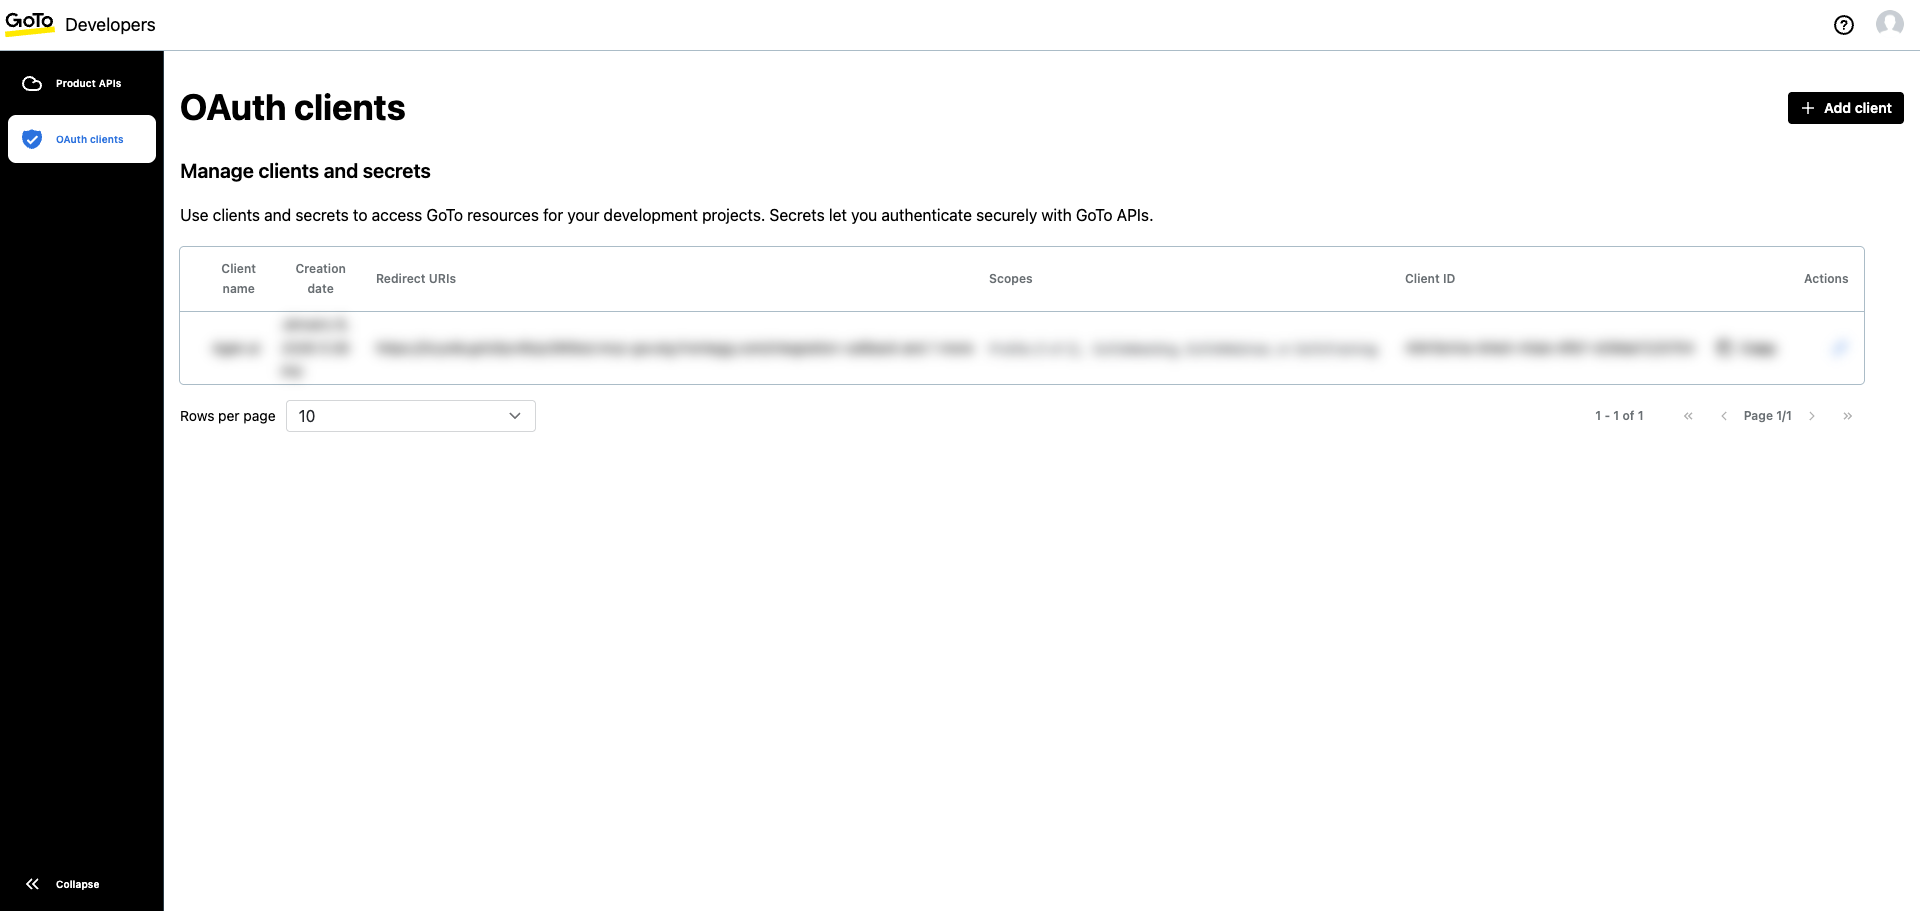
Log in to the GoTo Developer Center and click OAuth Clients in the top navigation bar to manage your OAuth applications.
On the OAuth clients page, you can create and manage clients that access GoTo APIs. Click + Add client to create a new OAuth client.
On the Client details step, fill in the following fields:
- Name — Enter a descriptive name, for example
Frontegg Integration. - Redirect URIs — Enter the following URI:
https://YOUR_MCP_GATEWAY_URL/integration-callback
Click Next to continue.

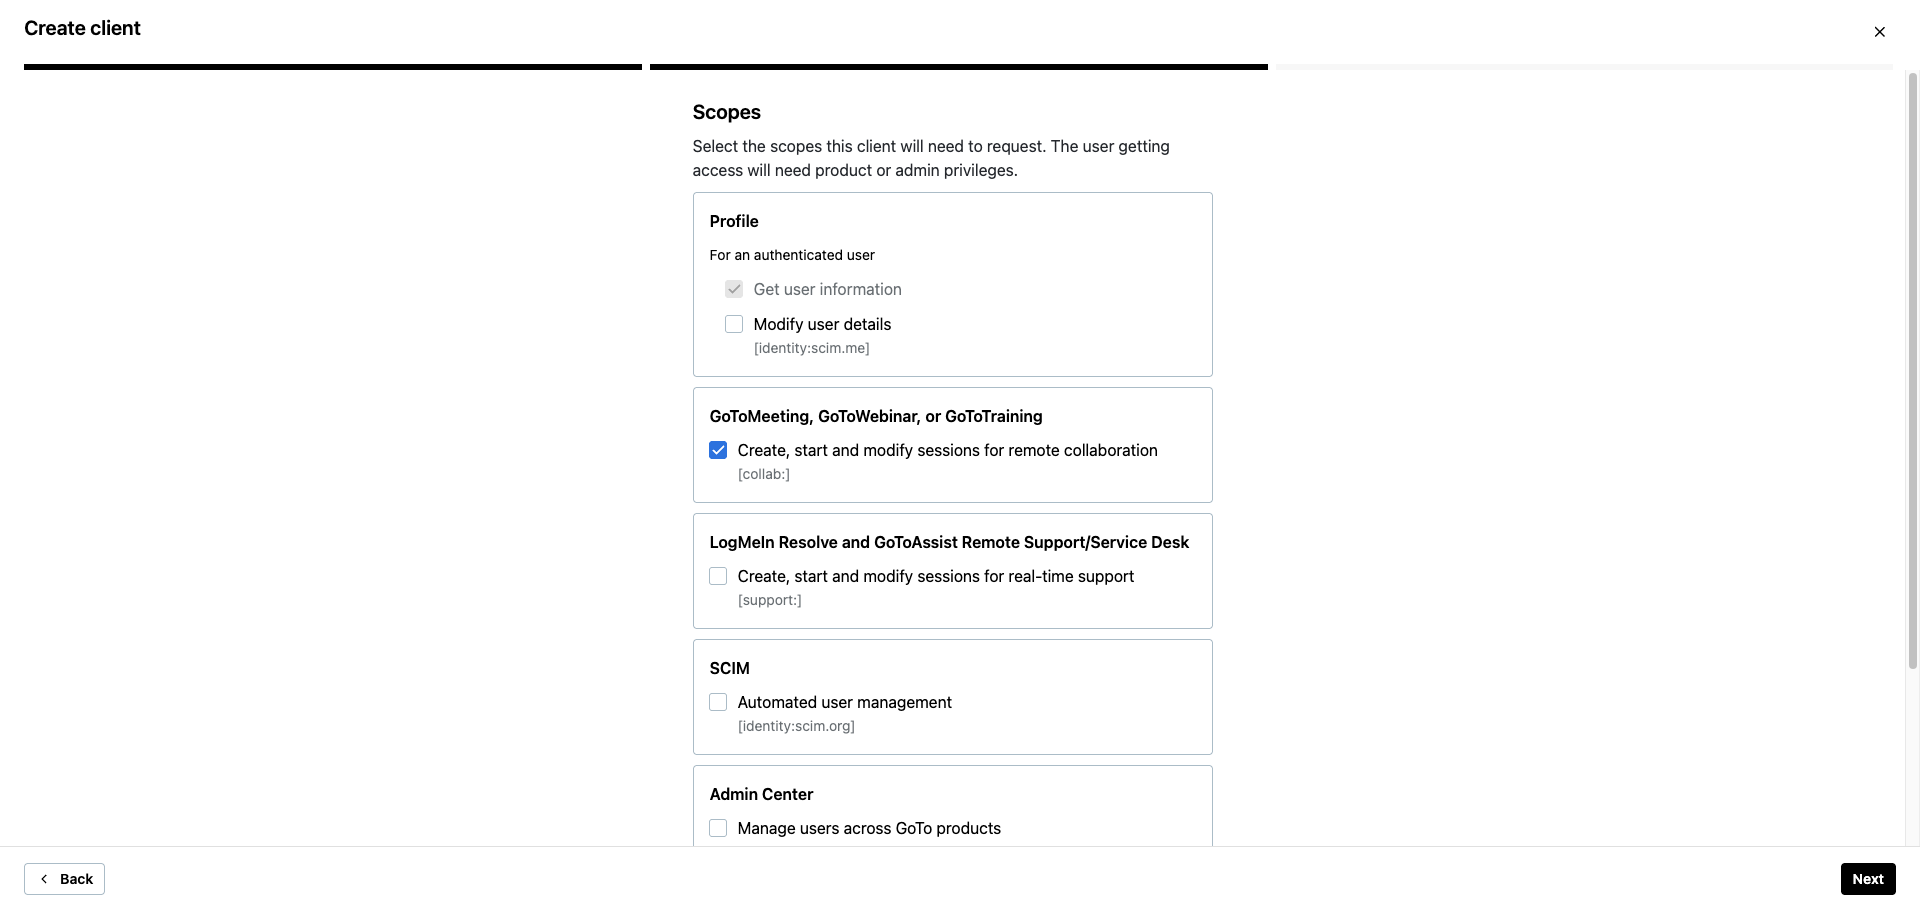
On the Scopes step, locate the GoToMeeting, GoToWebinar, or GoToTraining section and select the following scope:
| Scope | Description |
|---|---|
collab: | Create, start and modify sessions for remote collaboration (GoToMeeting, GoToWebinar, GoToTraining) |
Click Next to continue.
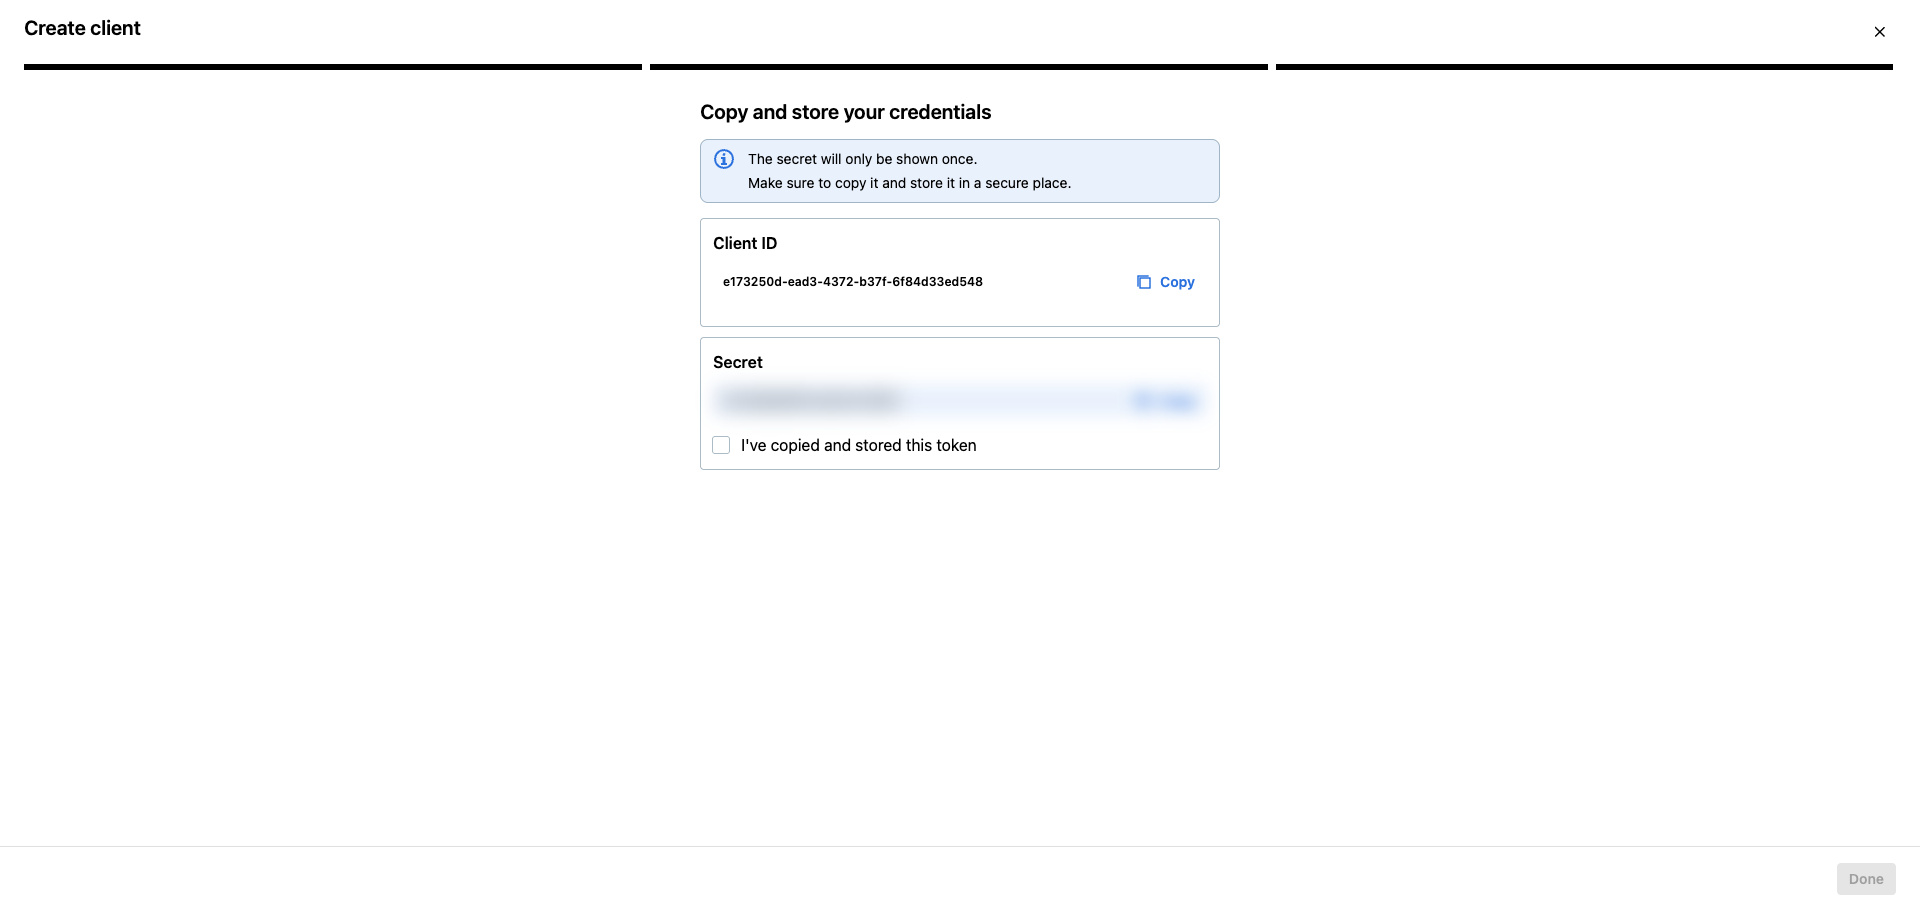
The final step displays your Client ID and Secret. Copy both values and store them in a secure location.
Copy your Secret now
Copy your Secret now
The Secret is shown only once. Copy it immediately and store it in a secure location. If you lose it, you will need to create a new client.
Check I've copied and stored this token and click Done.
Once you have obtained your Client ID and Secret from the steps above, enter them in the integration configuration page of the Frontegg portal:
- Open the Frontegg portal and navigate to [ENVIRONMENT] → Integrations → GoToMeeting.
- Enter the Client ID and Secret in the corresponding fields.
- Select the required scopes.
- Click Save.
Keep your credentials secure
Keep your credentials secure
Never share or commit your Secret to version control.