Databricks is a unified data analytics platform for data engineering, data science, and machine learning. Integrating Databricks with Frontegg allows your application to list clusters, run jobs, and execute SQL queries on behalf of your users using OAuth 2.0.
Prerequisites
Prerequisites
- A Databricks account with account admin permissions
- Access to the Databricks account console
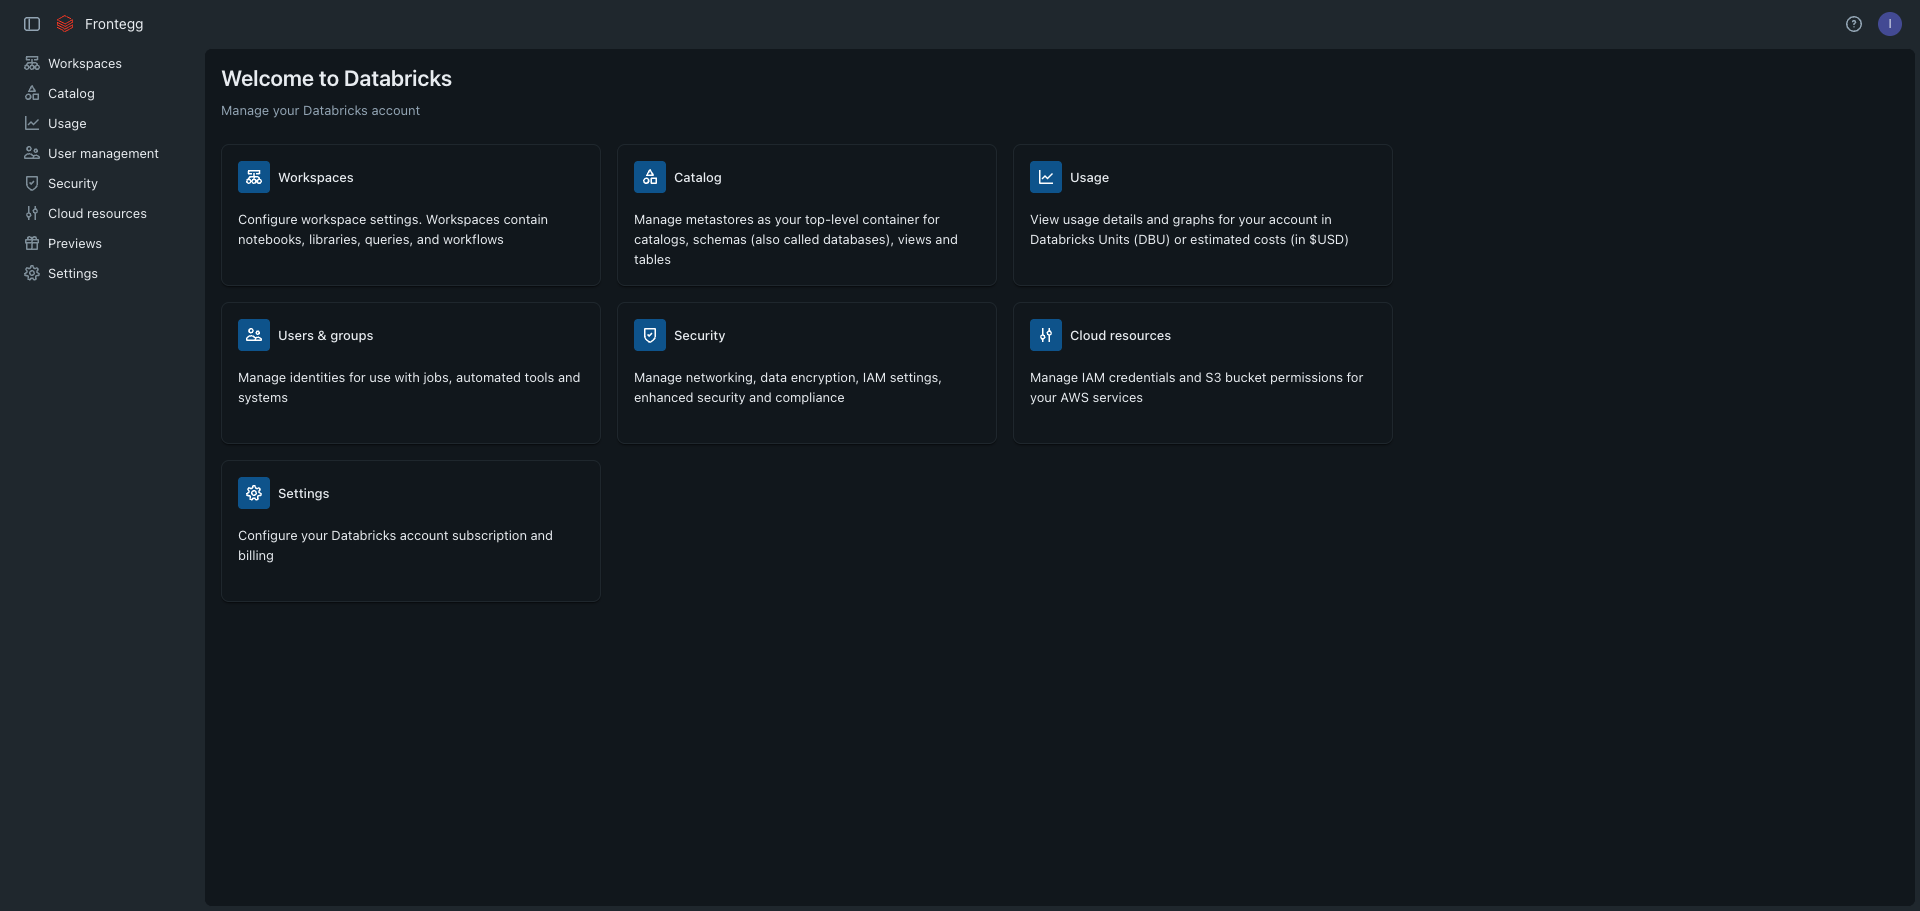
Navigate to accounts.cloud.databricks.com and sign in. This is the Databricks account console where you manage workspaces, users, and OAuth app connections.
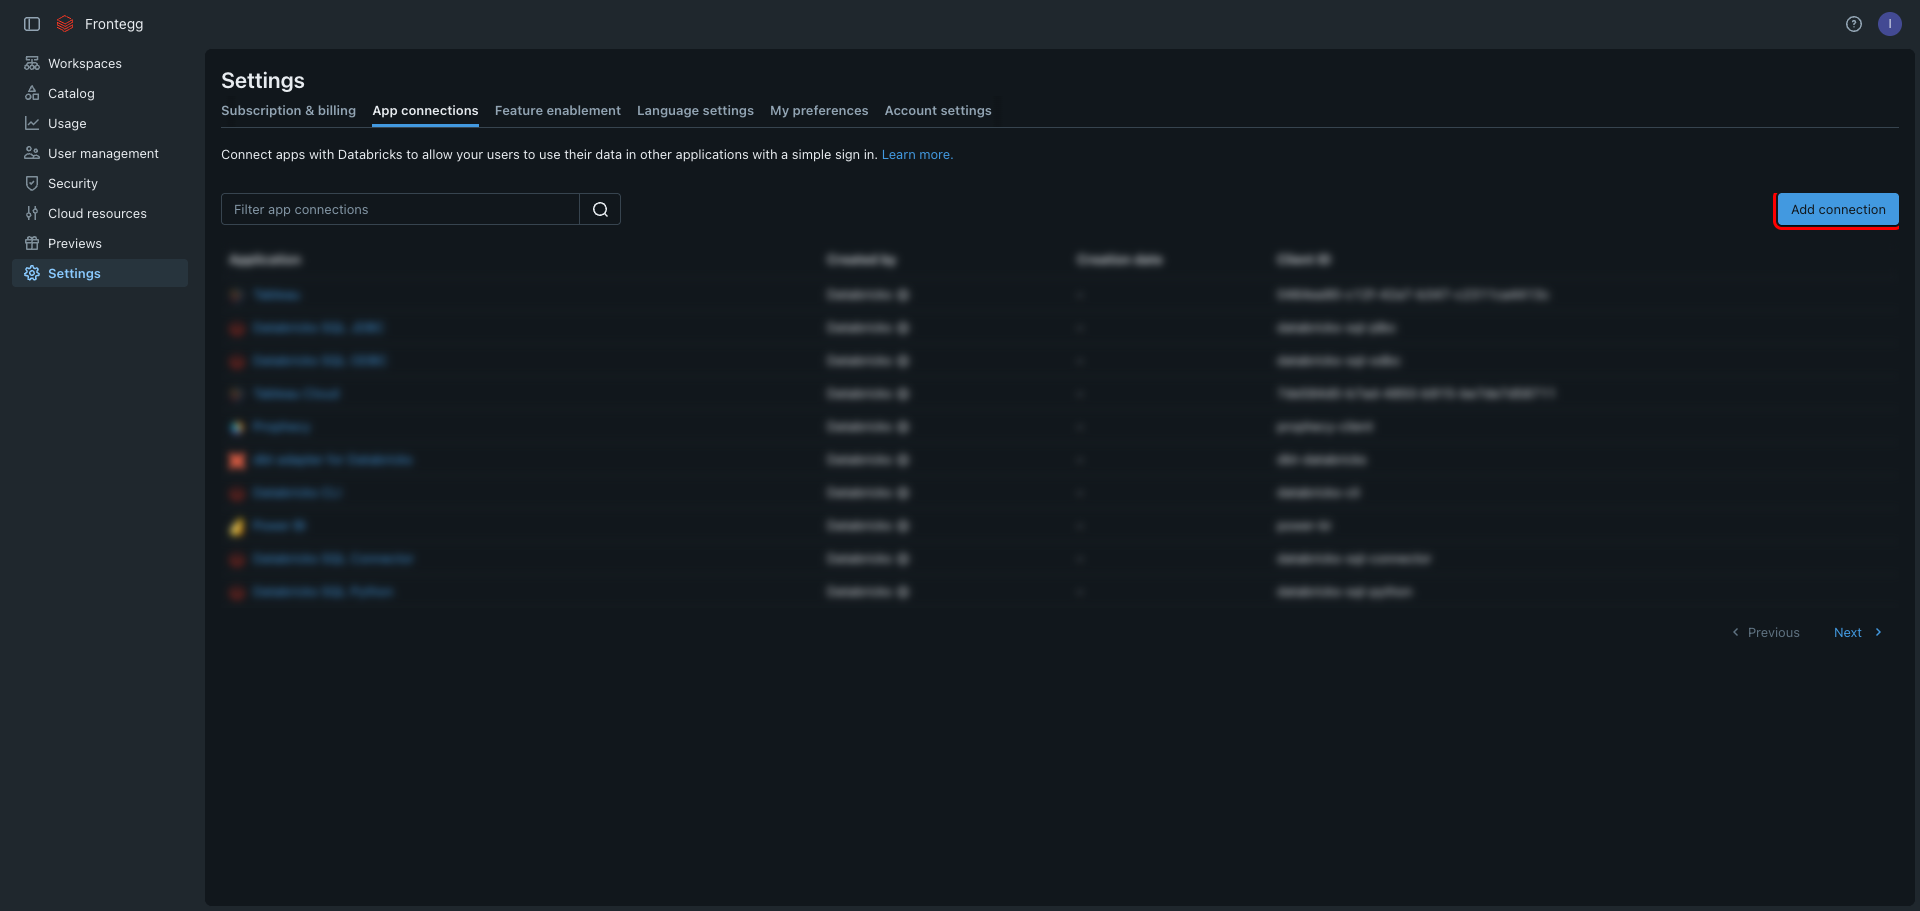
In the left navigation, click Settings. On the Settings page, click the App connections tab. This page lists all OAuth applications registered for your Databricks account.
Click Add connection to create a new OAuth application.
The Add connection form lets you configure a new OAuth application with a name, redirect URLs, and access scopes.
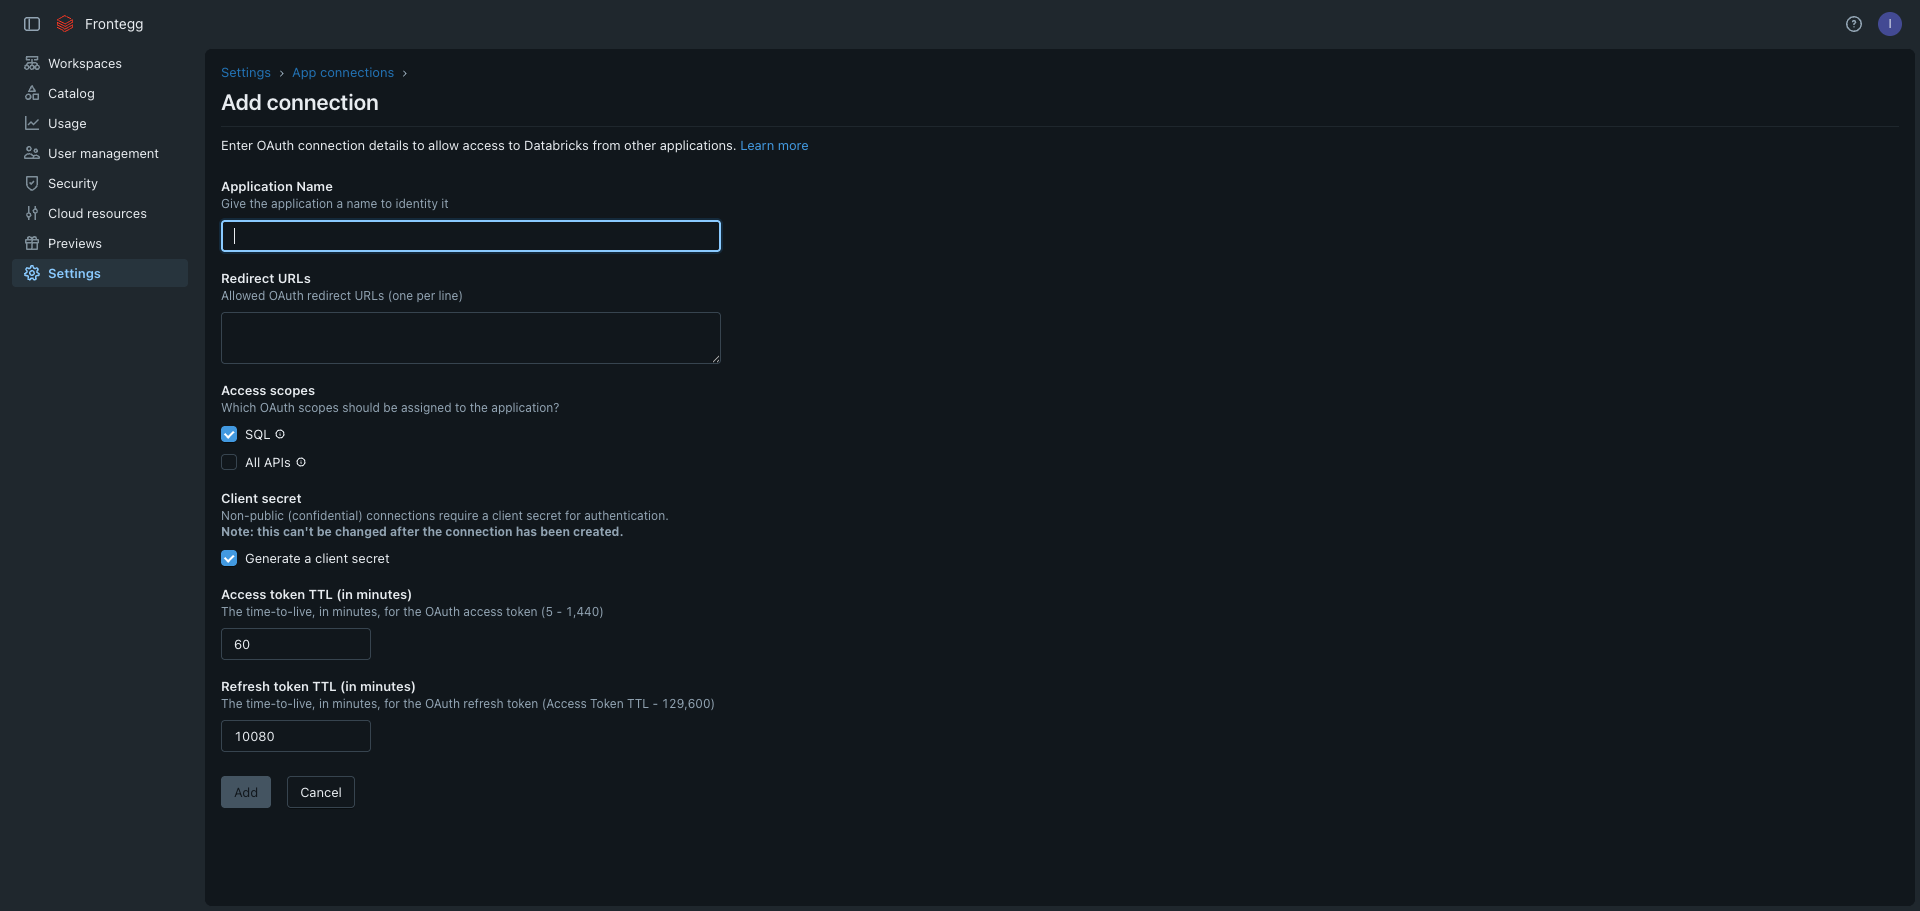
Complete the form with the following values:
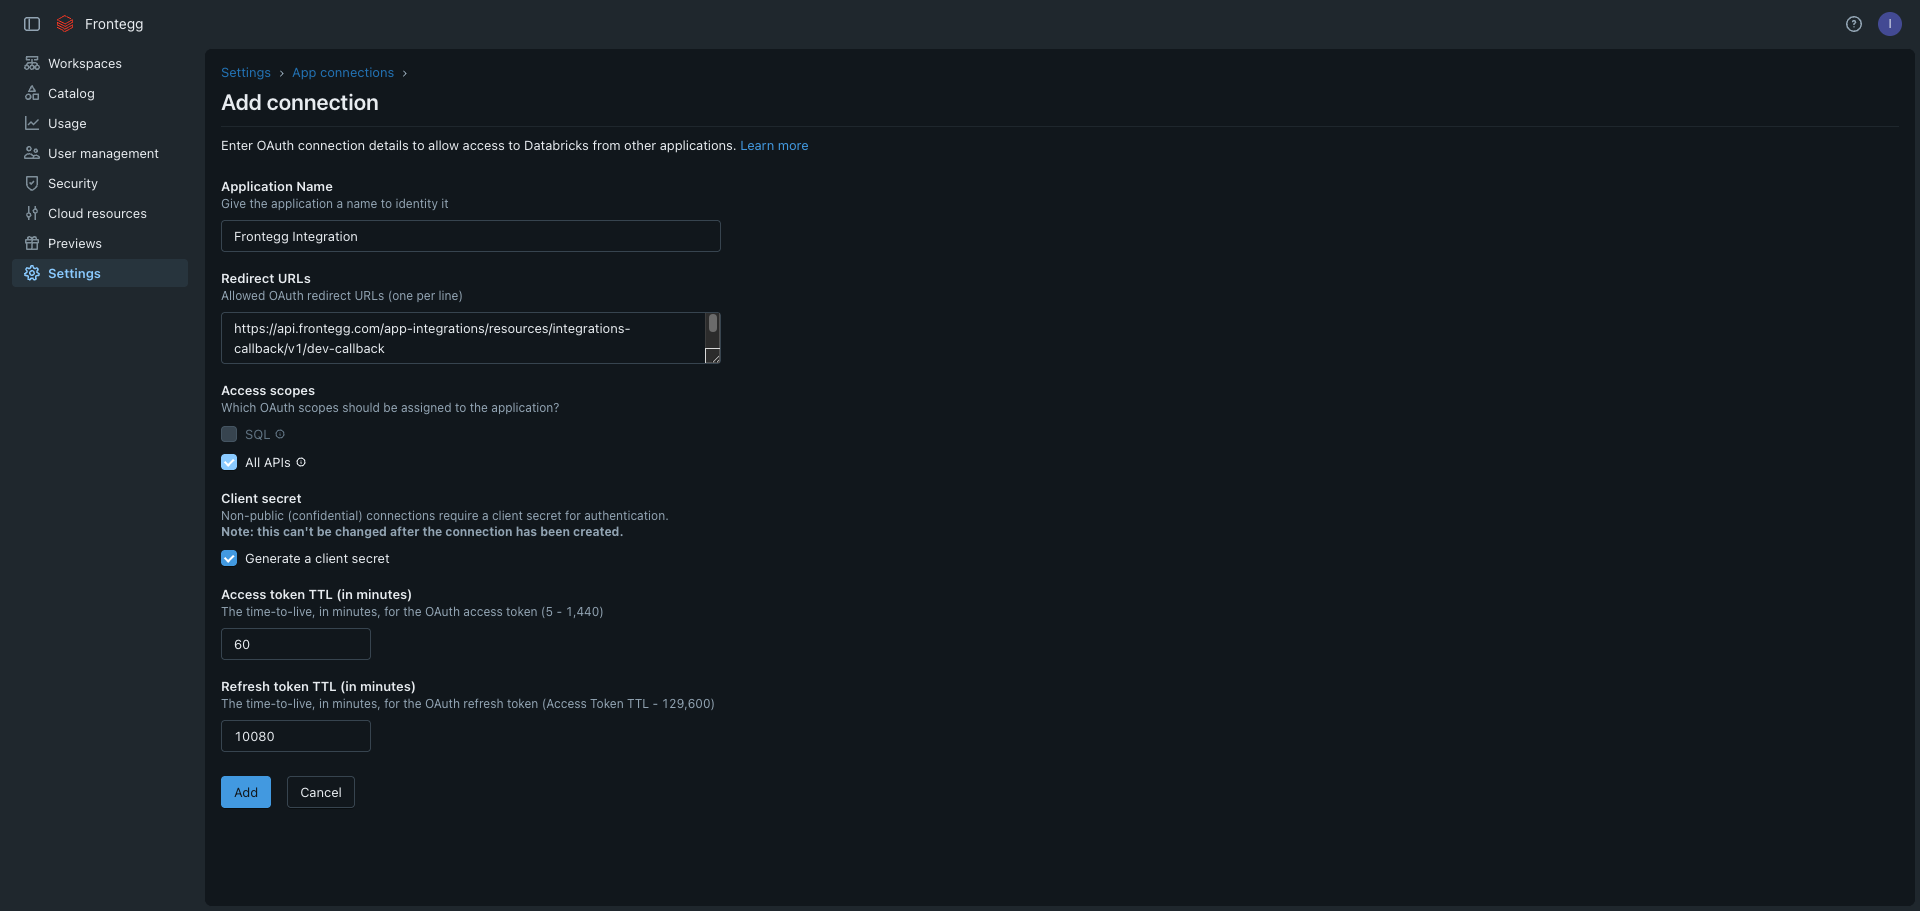
- Application Name — Enter a descriptive name, for example
Frontegg Integration. - Redirect URLs — Enter the following URL:
https://YOUR_MCP_GATEWAY_URL/integration-callback
- Access scopes — Select the scopes required for your integration:
| Scope | Description |
|---|---|
sql | SQL execution |
all-apis | Full API access |
- Client secret — Leave Generate a client secret checked. This is required for the OAuth authorization code flow.
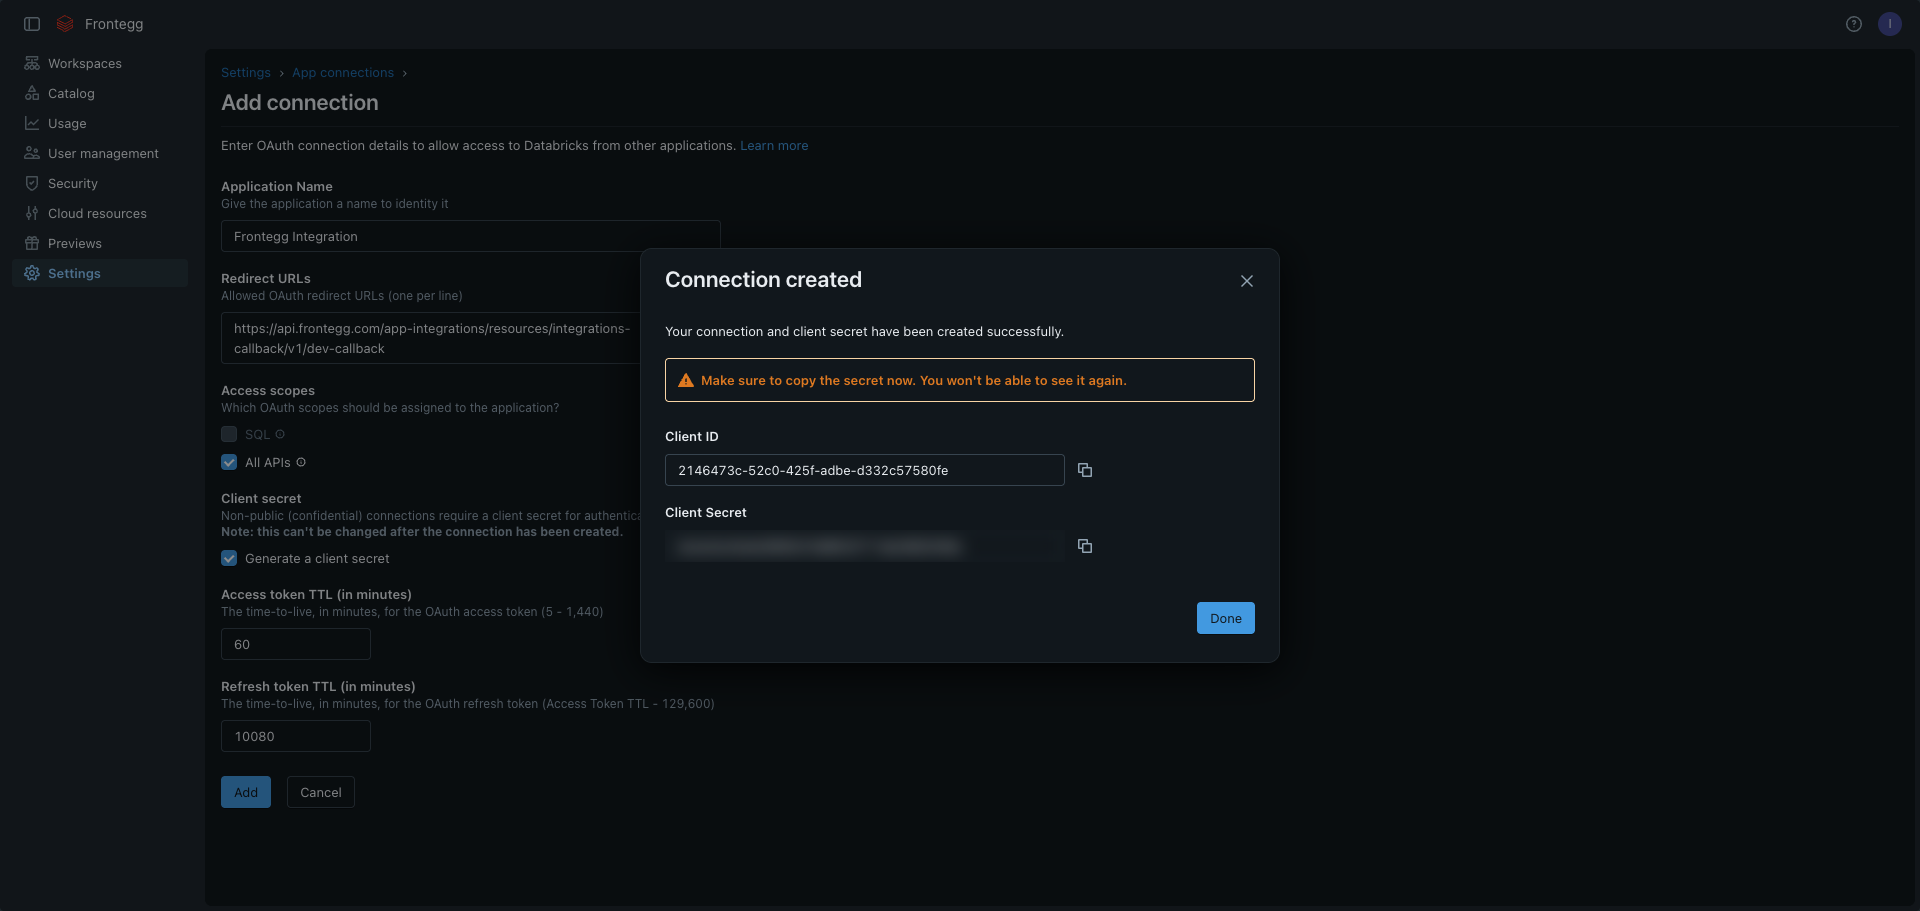
Click Add to create the connection.
After clicking Add, a dialog displays your Client ID and Client Secret. Copy both values and store them in a secure location.
Copy your Client Secret now
Copy your Client Secret now
The Client Secret is shown only once. Copy it immediately and store it in a secure location. If you lose it, you must delete the connection and create a new one.
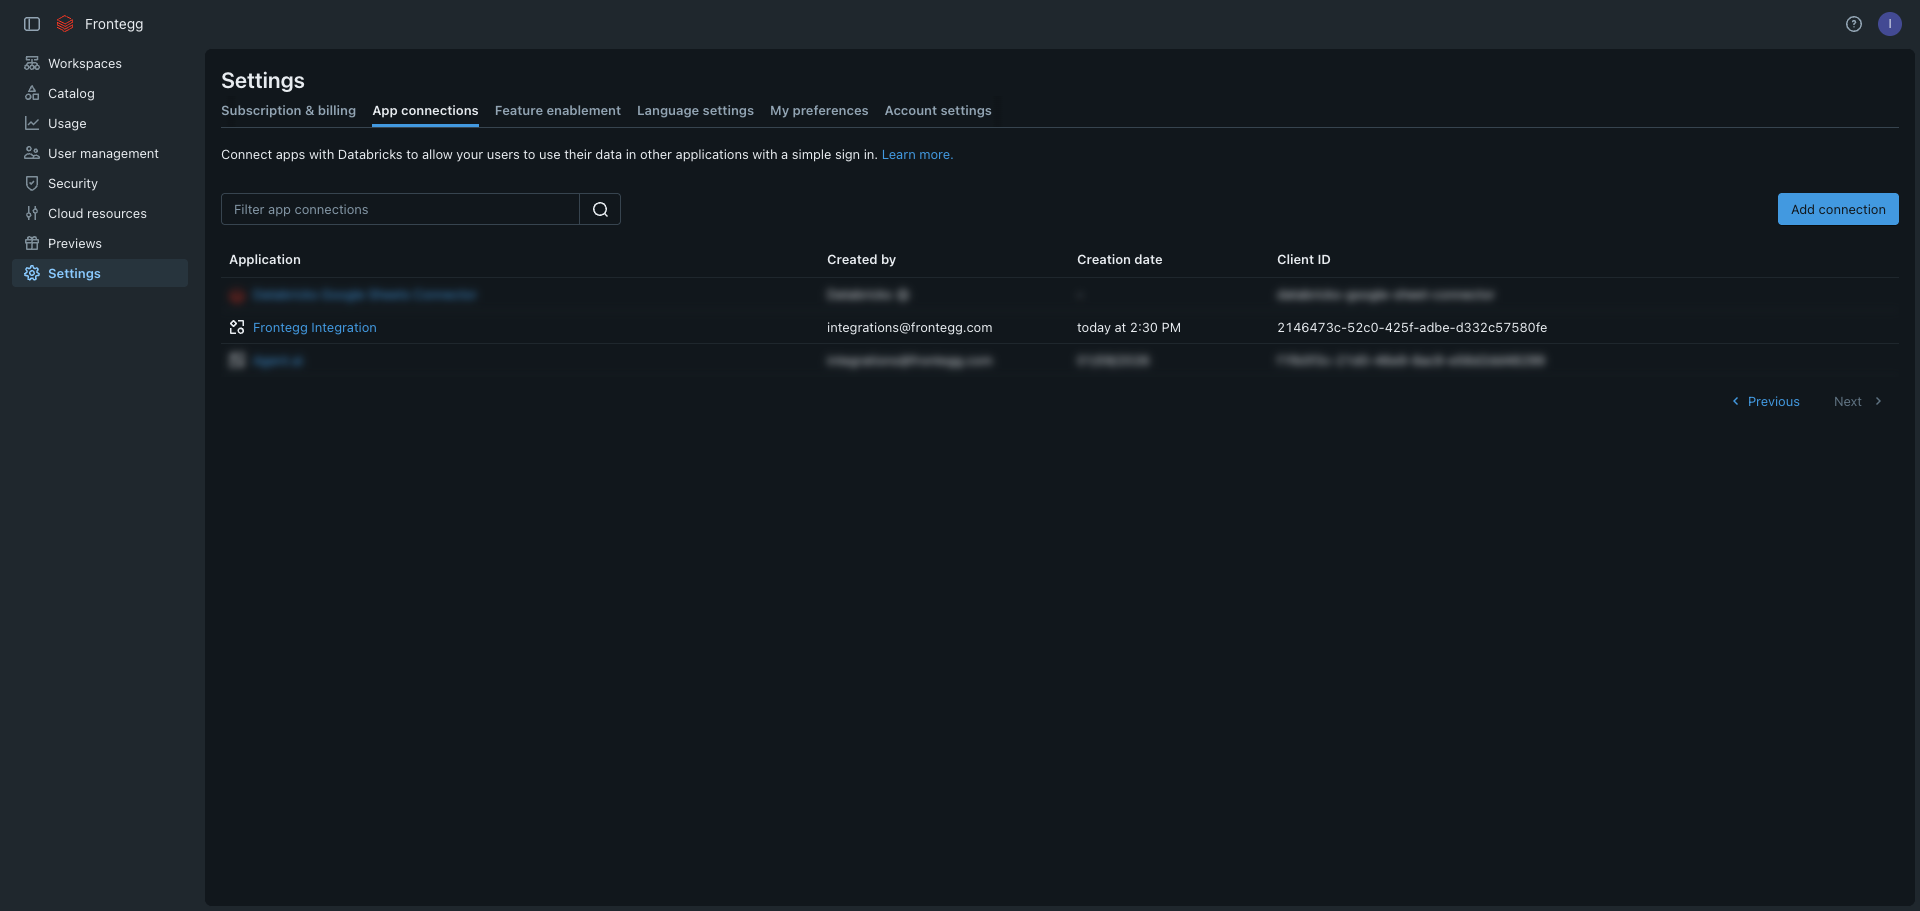
Click Done to close the dialog and return to the App connections list.
The App connections list now shows your Frontegg Integration entry with its Client ID and creation date.
Once you have your Client ID and Client Secret, configure the integration in the Frontegg portal:
- Open the Frontegg portal and navigate to [ENVIRONMENT] → Integrations → Databricks.
- Enter your Databricks instance URL — the hostname of your Databricks workspace. For example, if your workspace URL is
https://dbc-12345678-abcd.cloud.databricks.com, your instance isdbc-12345678-abcd. - Enter the Client ID and Client Secret from the dialog above.
- Select the required scopes.
- Click Save.
Keep your credentials secure
Keep your credentials secure
Never share or commit your Client Secret to version control.