Shopify is a commerce platform that helps businesses create online stores, manage products, process orders, and handle customer relationships. Integrating Shopify with Frontegg allows your application to access and manage store data — including products, orders, customers, inventory, and fulfillments — on behalf of your users through OAuth 2.0 authentication.
Prerequisites
Prerequisites
- A Shopify Partner account (free to create at partners.shopify.com)
Go to partners.shopify.com and log in with your Shopify account. If you do not have a Partner account yet, click Become a partner to create one for free.
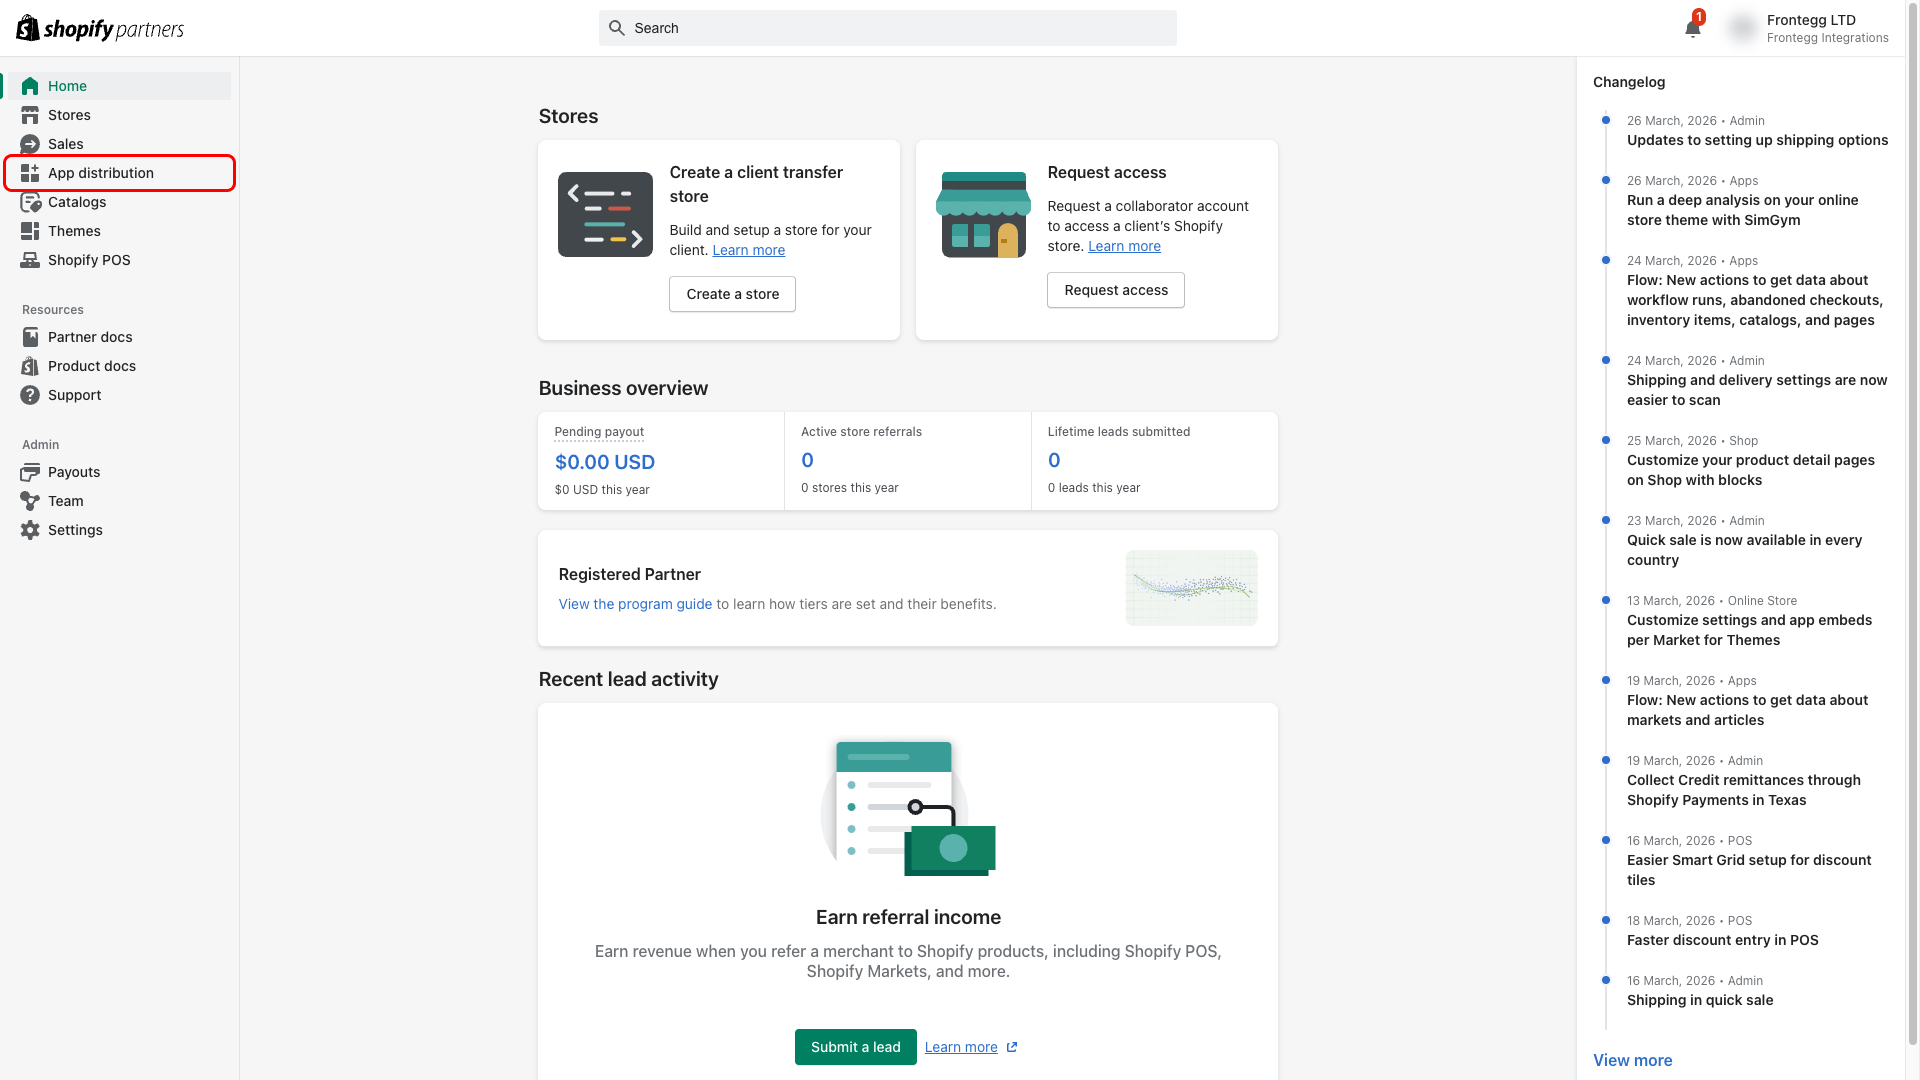
Once logged in, navigate to App distribution in the left sidebar.
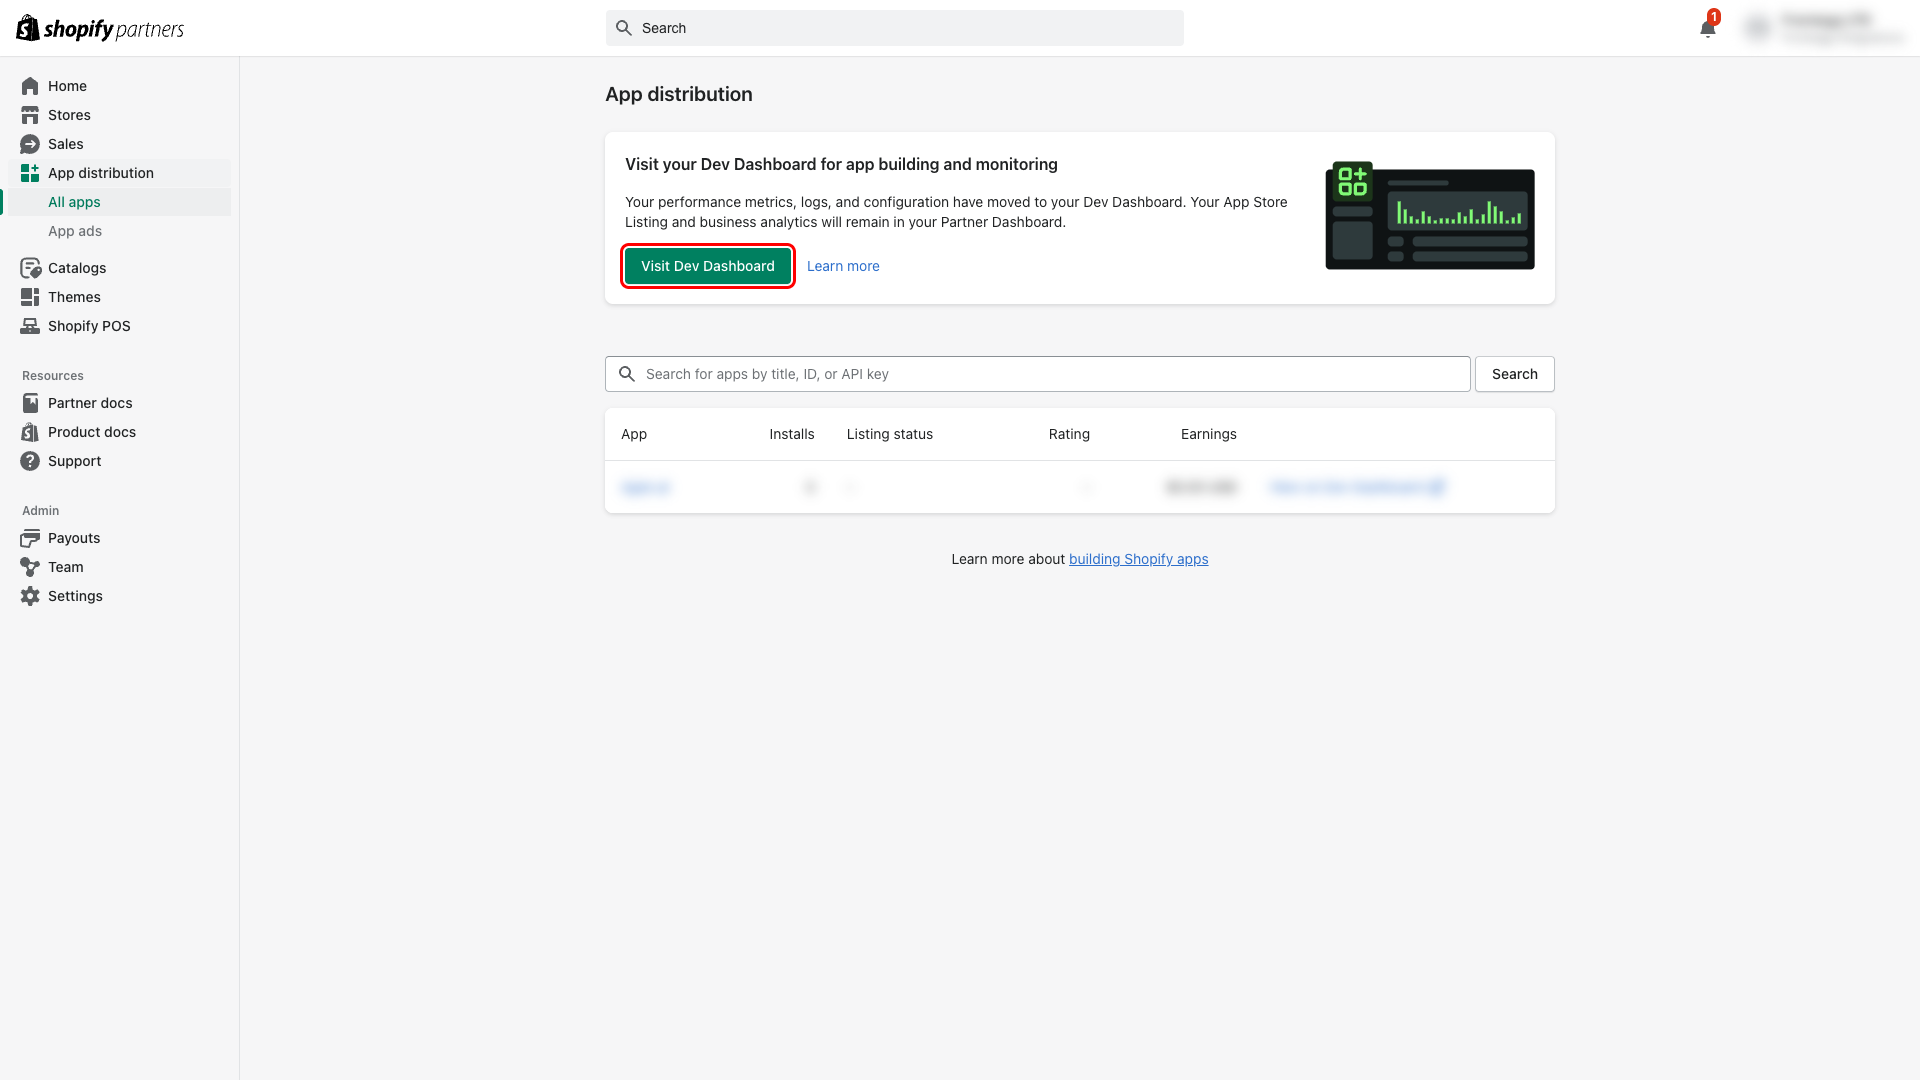
On the App distribution page, click Visit Dev Dashboard to open the Shopify Dev Dashboard where you create and manage apps.
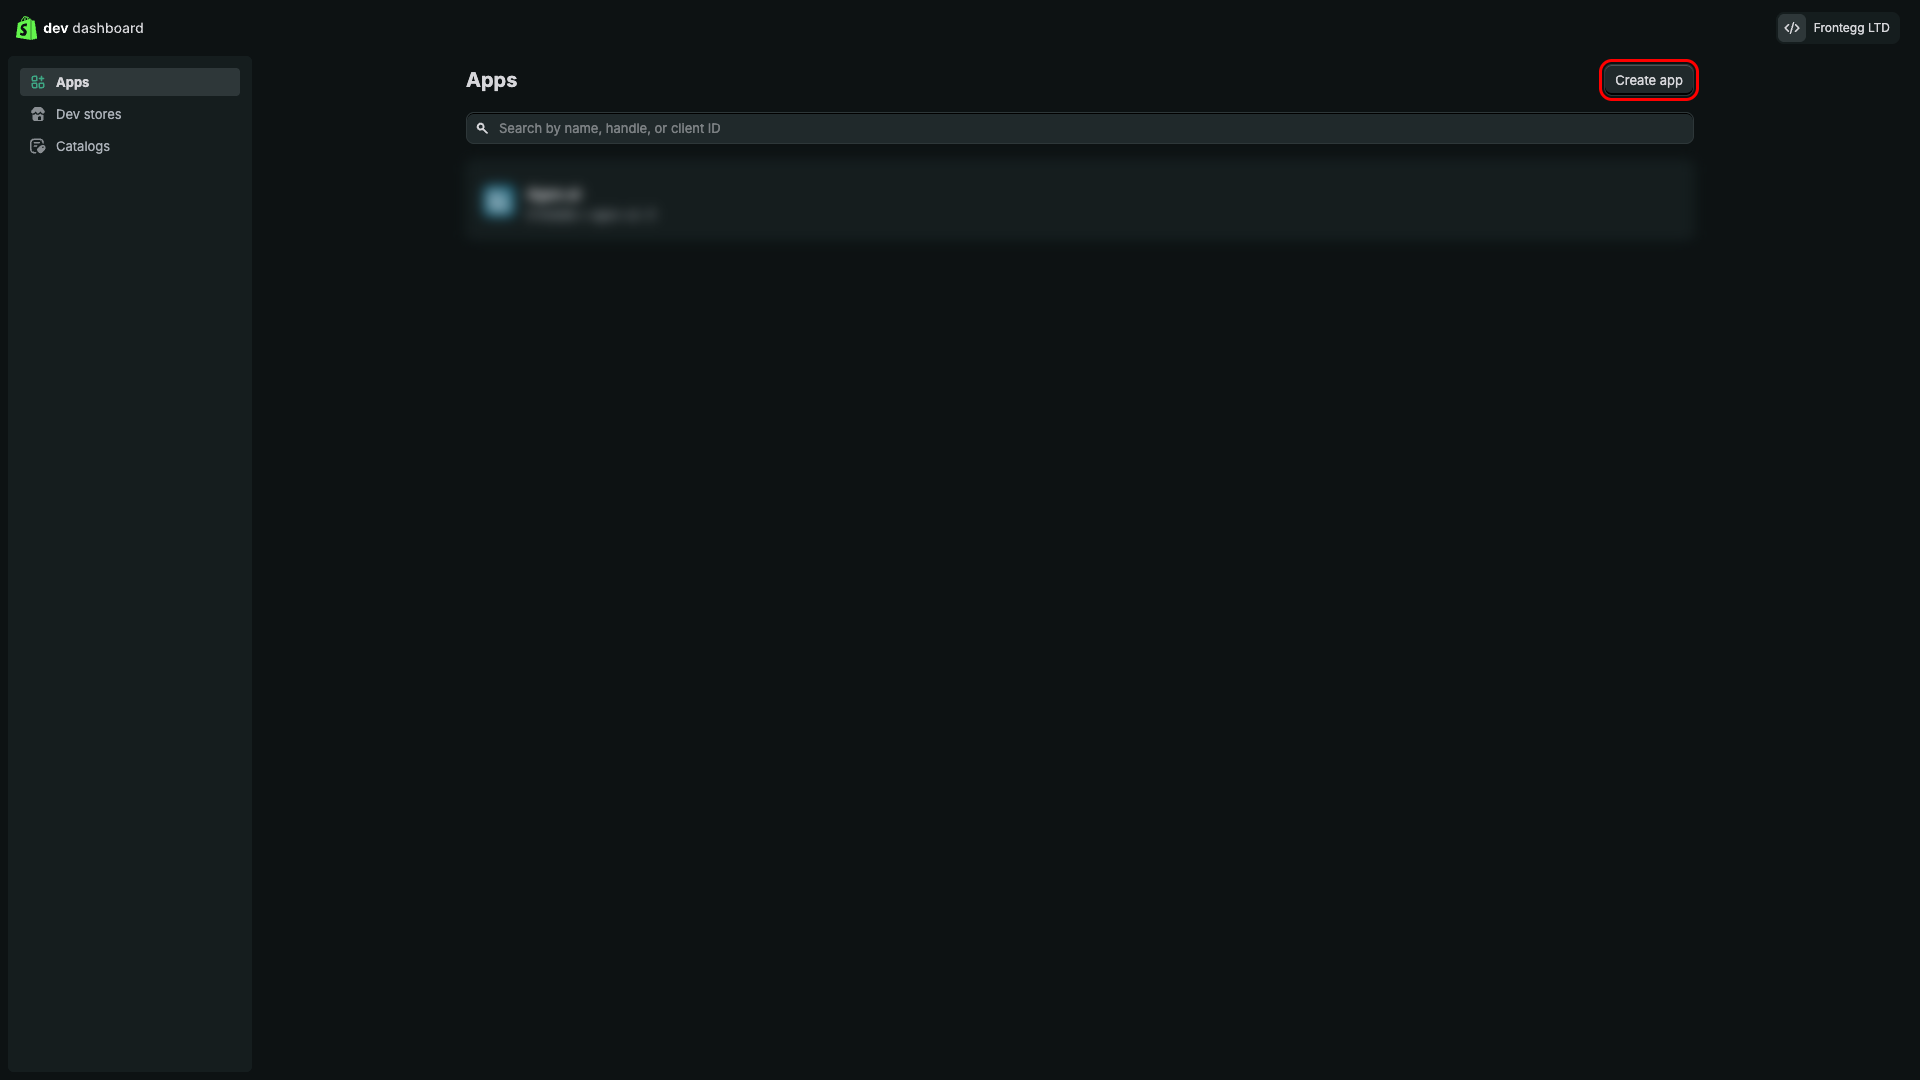
In the Dev Dashboard, click Create app in the top right corner.
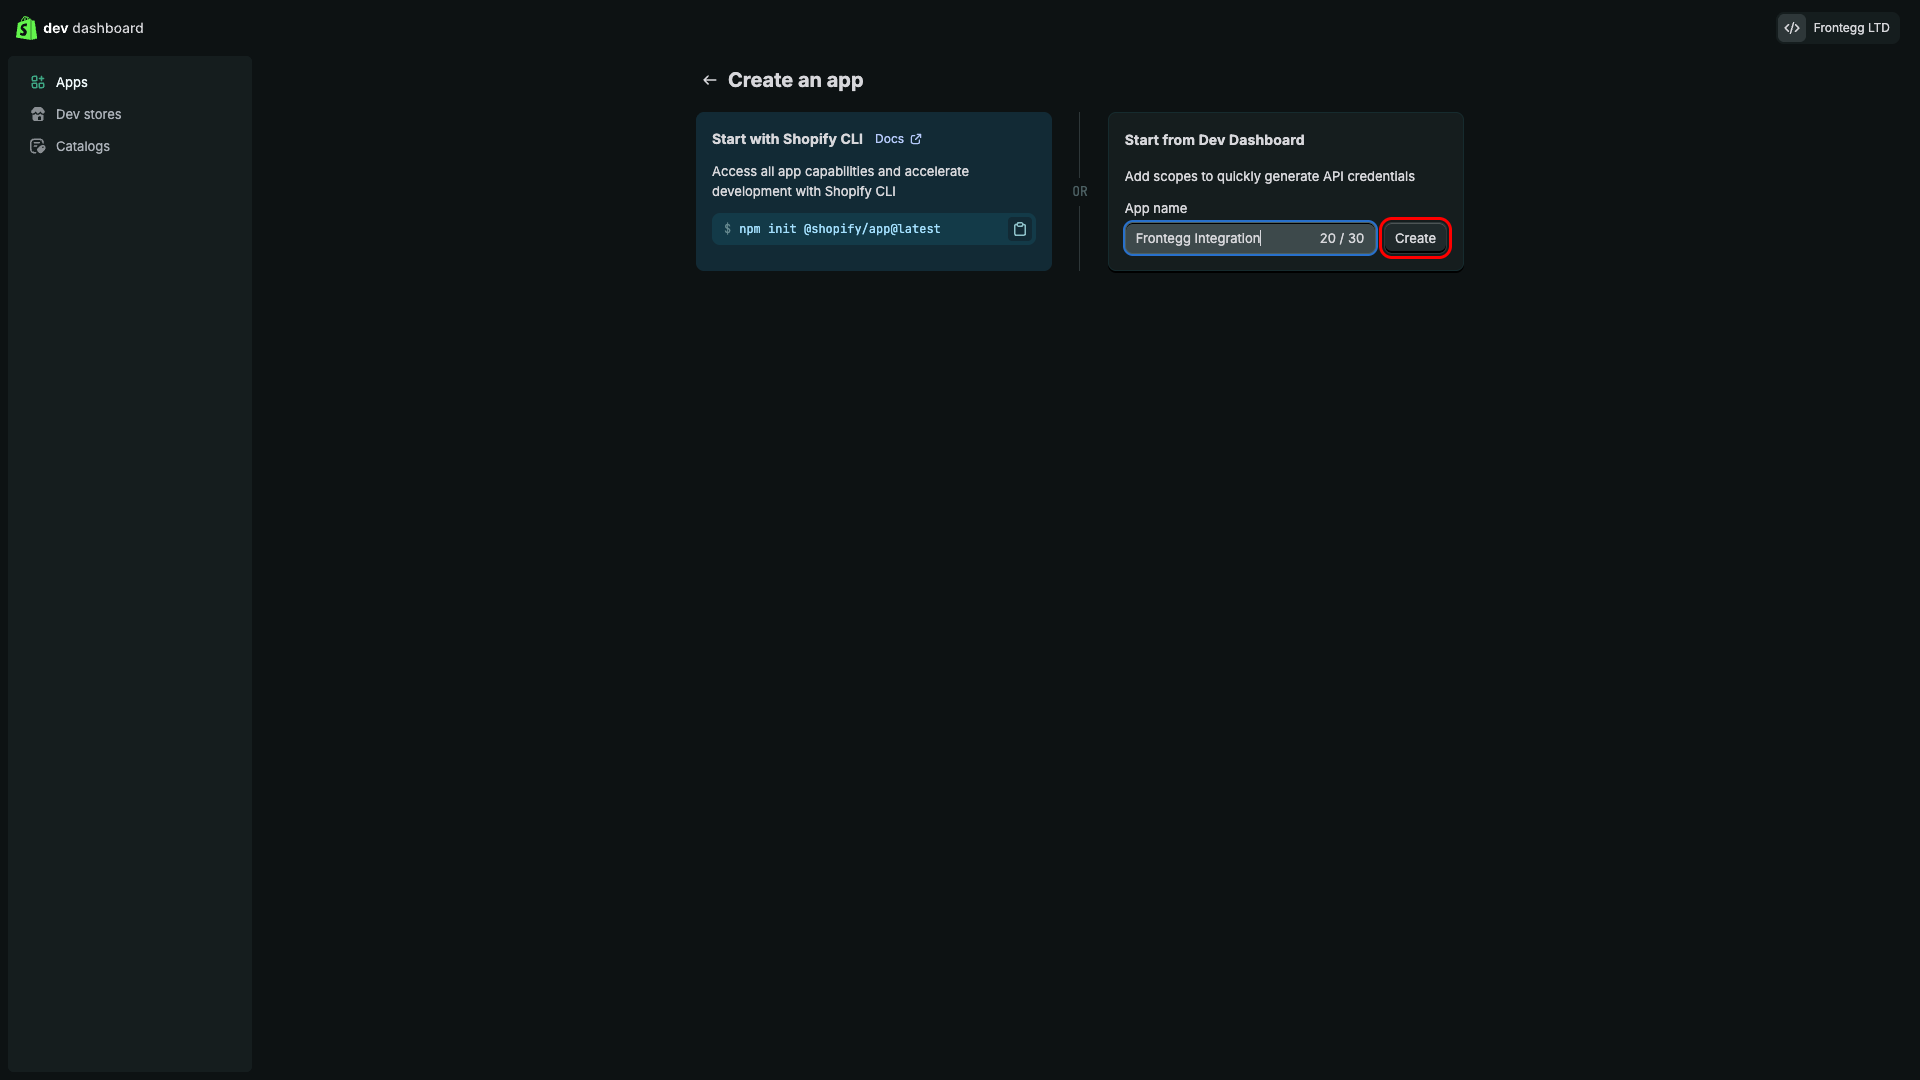
Under the Start from Dev Dashboard section, enter a name for your application in the App name field (for example, "Frontegg Integration") and click Create.
After creating the app, you are redirected to the Create version page. This page lets you configure your app's URLs, scopes, and redirect URLs before releasing a version.
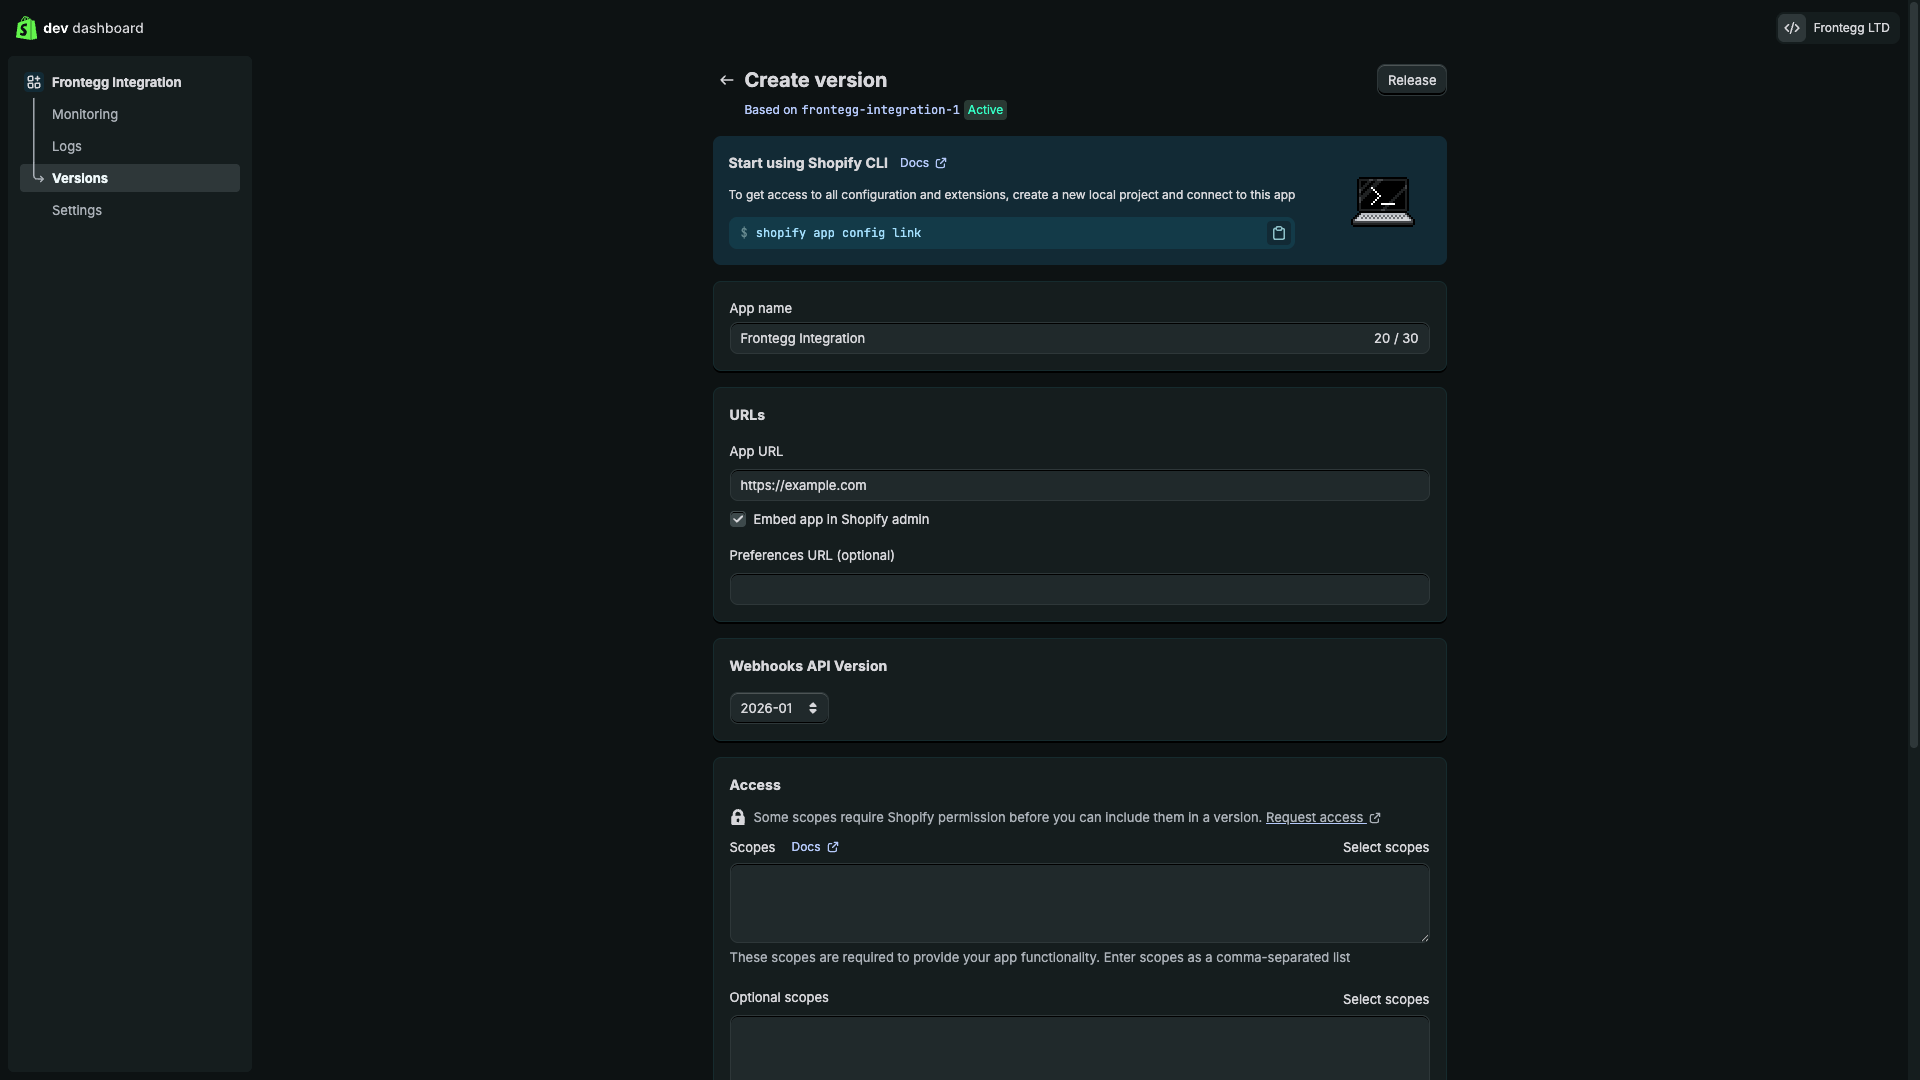
Scroll down to the Scopes section. Click Select scopes to open the scope selection dialog, then select the required scopes from the list:
| Scope | Description |
|---|---|
read_products | Read product data |
write_products | Create and update products |
read_orders | Read order data |
write_orders | Create and update orders |
read_customers | Read customer data |
write_customers | Create and update customers |
read_inventory | Read inventory levels |
write_inventory | Update inventory levels |
read_fulfillments | Read fulfillment data |
write_fulfillments | Create and update fulfillments |
read_locations | Read store locations |
read_reports | Read settlement reports |
write_reports | Create settlement reports |
Minimum required scopes
Minimum required scopes
For basic functionality, you need: read_products, read_orders, read_customers.
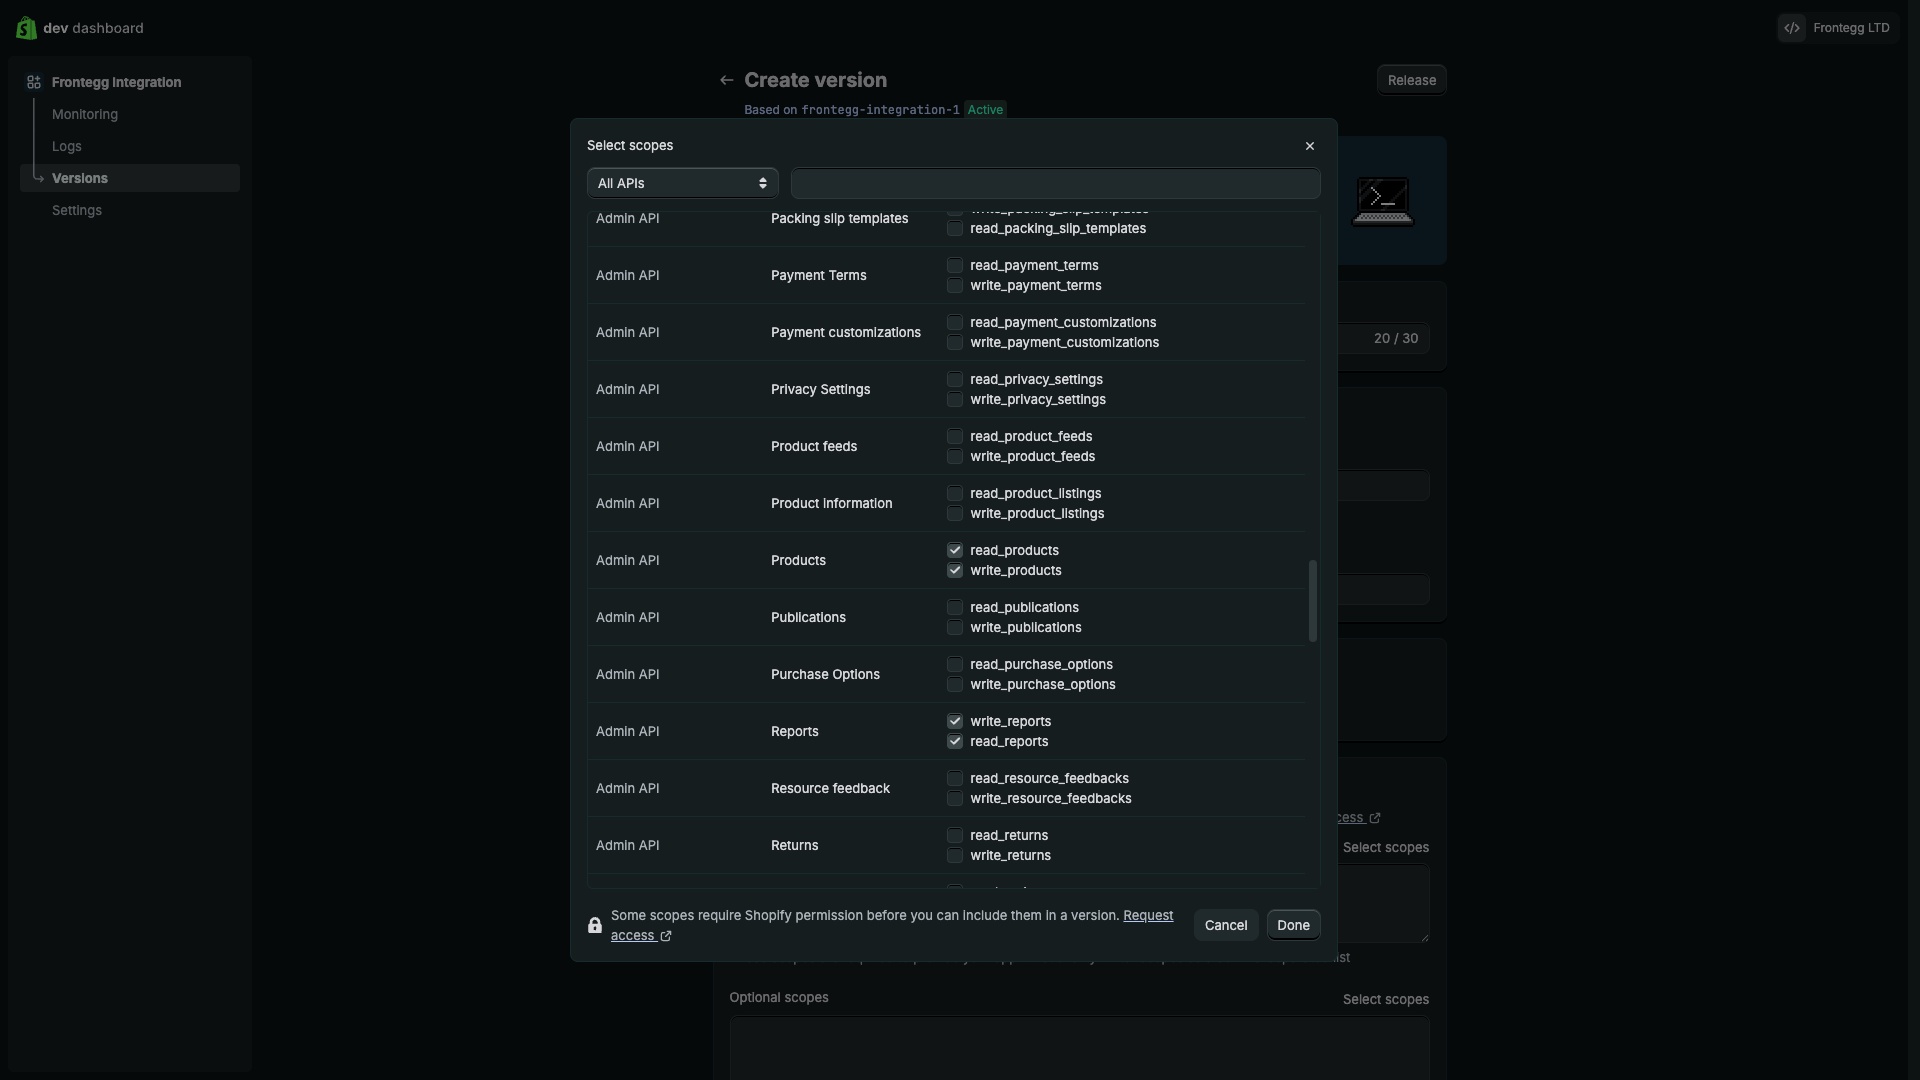
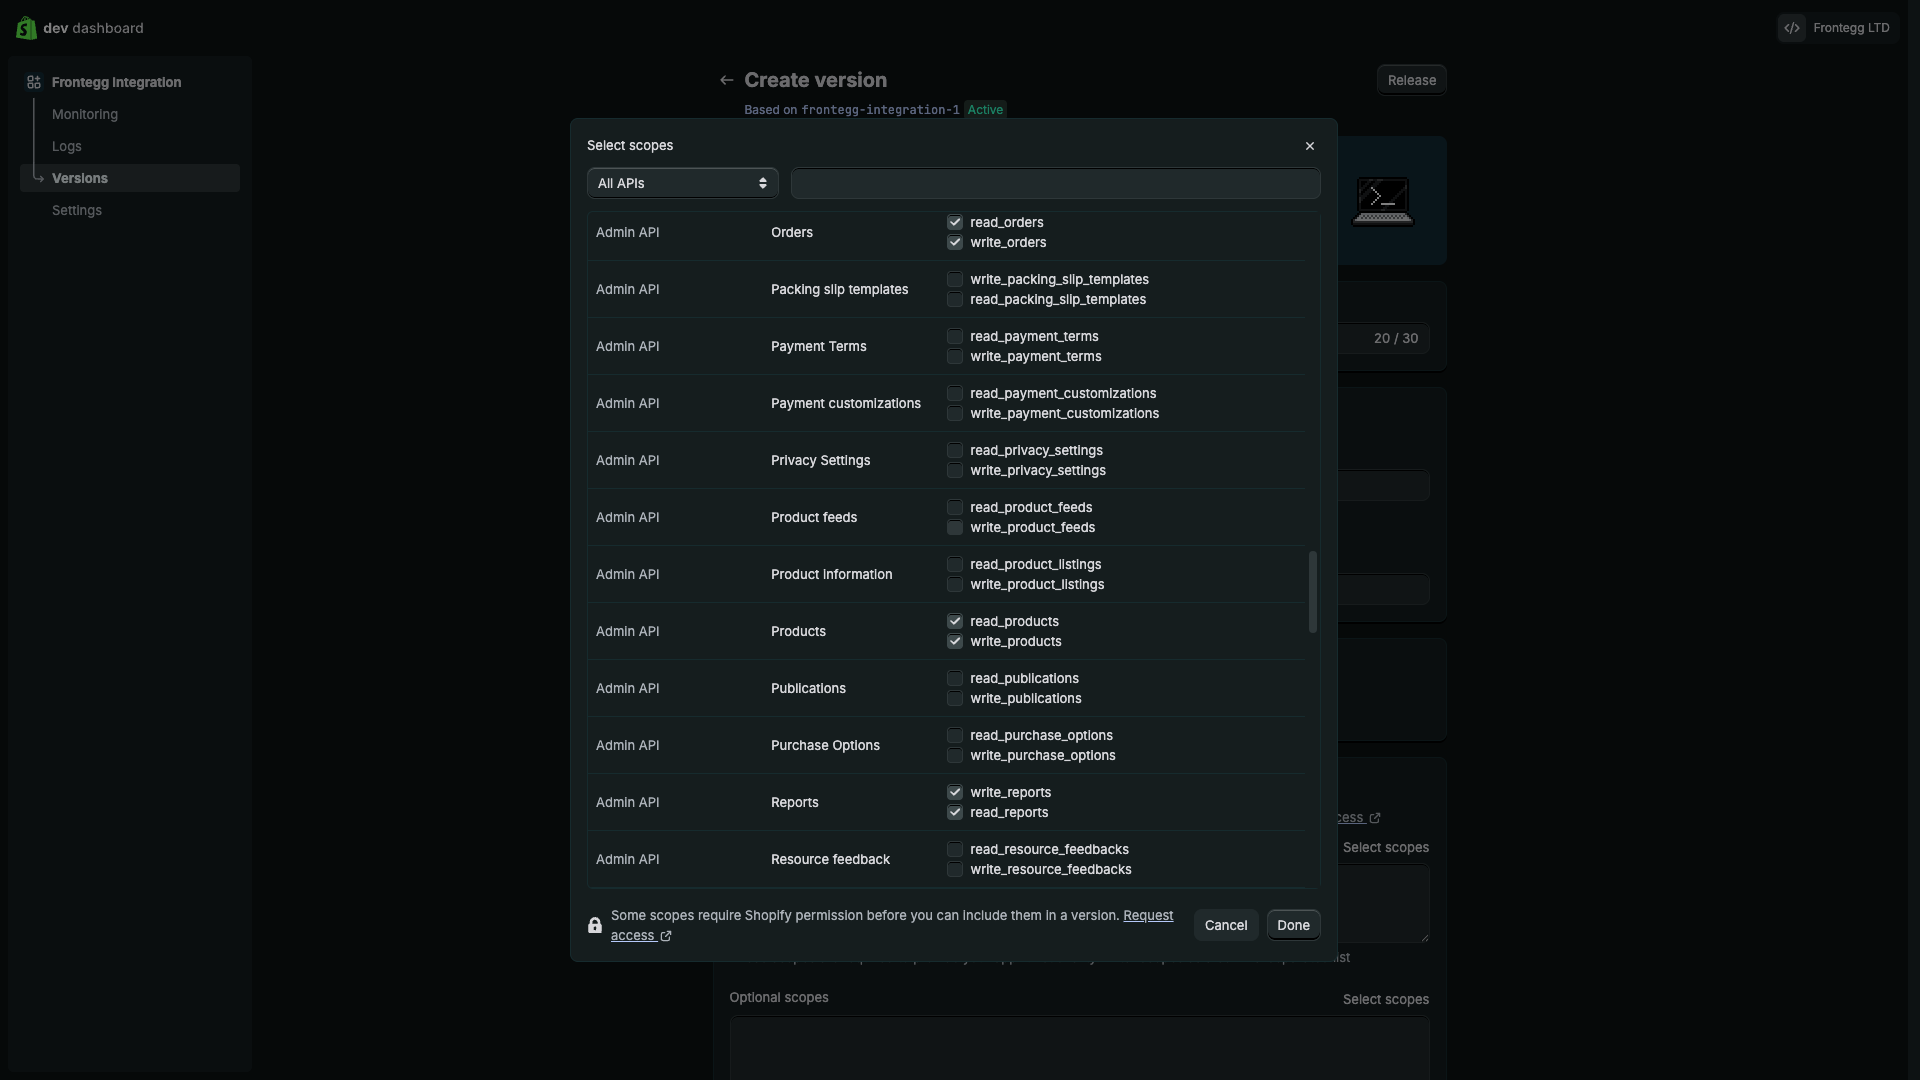
After selecting all required scopes, click Done.
Scroll down to the Redirect URLs field and enter the following redirect URL:
https://YOUR_MCP_GATEWAY_URL/integration-callback

Click Release at the top or bottom of the page. In the confirmation dialog, click Release again. The version is now active and your app credentials are generated.
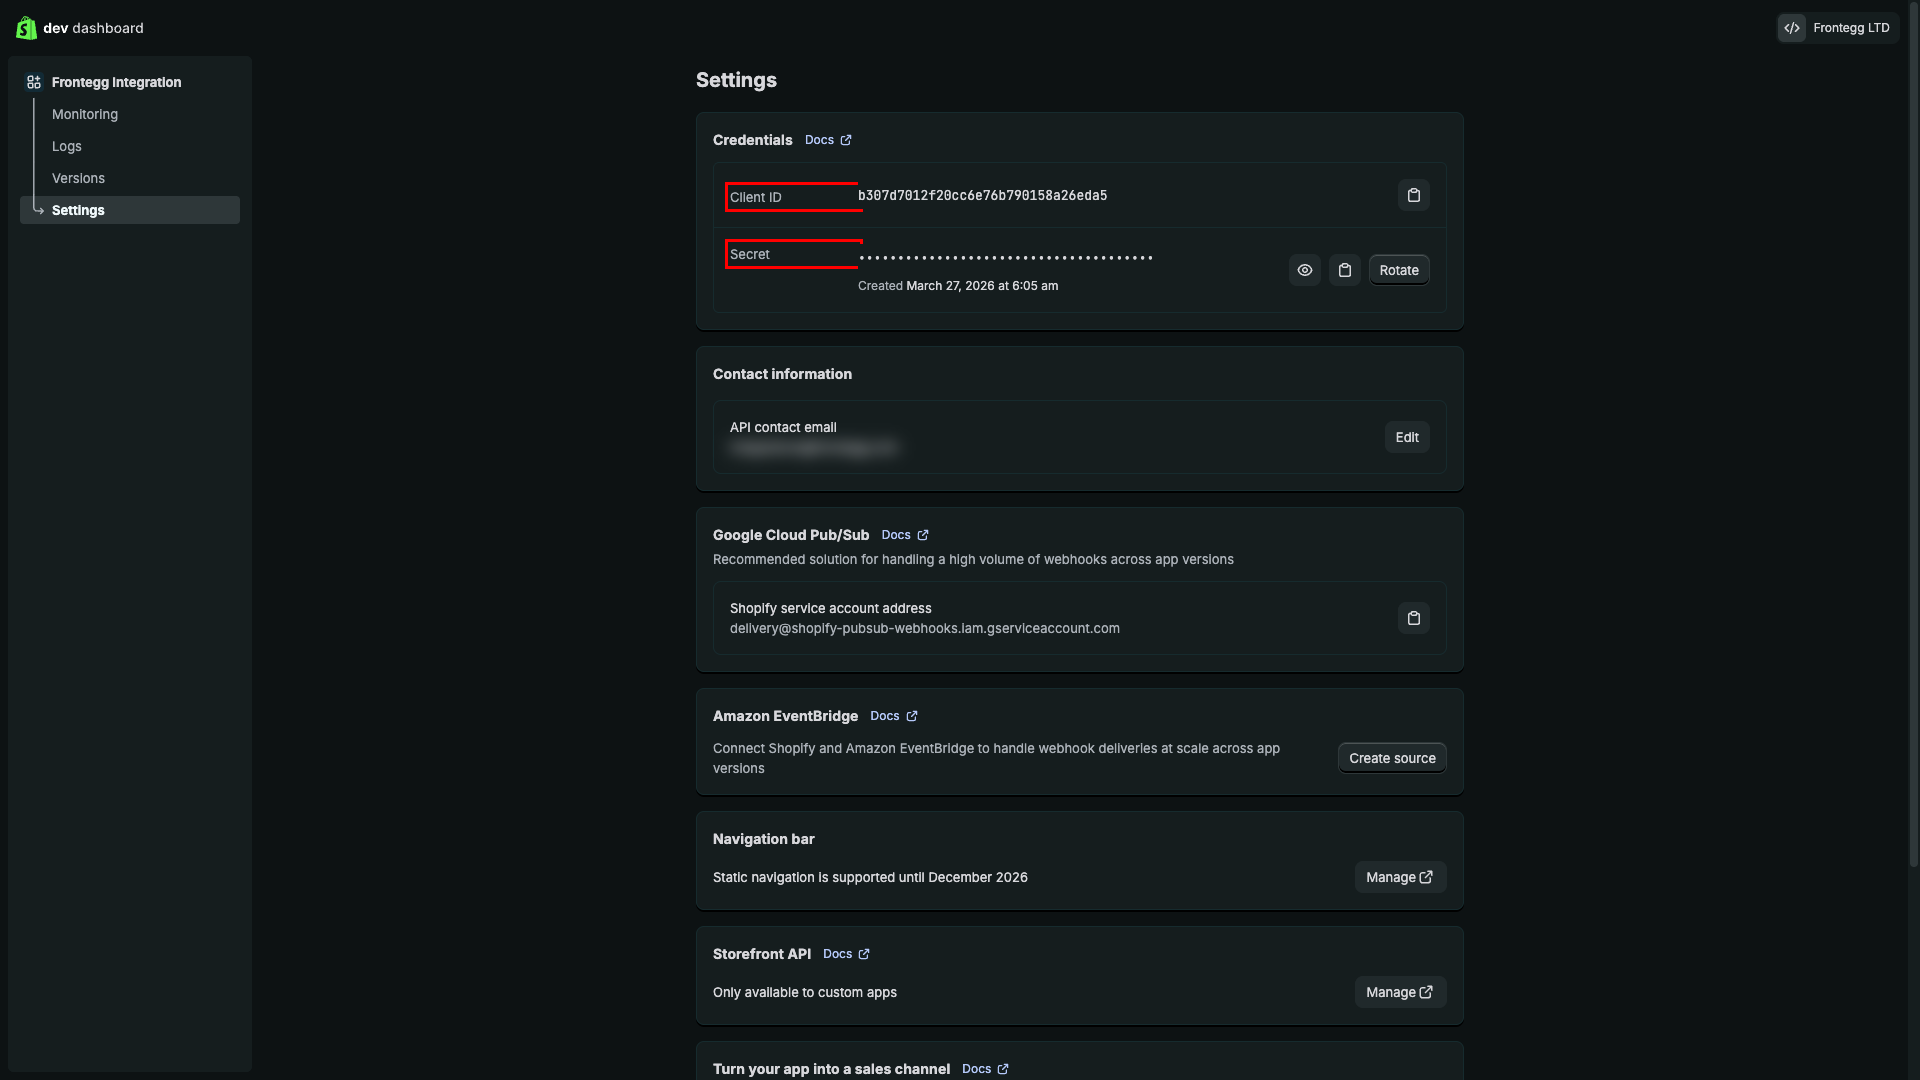
Navigate to the Settings tab in the left sidebar. The credentials section displays:
- Client ID — your app's unique identifier used to initiate OAuth.
- Secret — click Reveal client secret to view the secret. Used to exchange authorization codes for access tokens.
Copy both values and store them securely.
Keep your credentials secure
Keep your credentials secure
Never share or commit your Client secret to version control.
Once you have obtained your Client ID and Client secret from the steps above, enter them in the integration configuration page of the Frontegg portal:
- Open the Frontegg portal and navigate to [ENVIRONMENT] → Integrations → Shopify.
- Enter the Client ID and Client secret in the corresponding fields.
- Select the required scopes.
- Click Save.