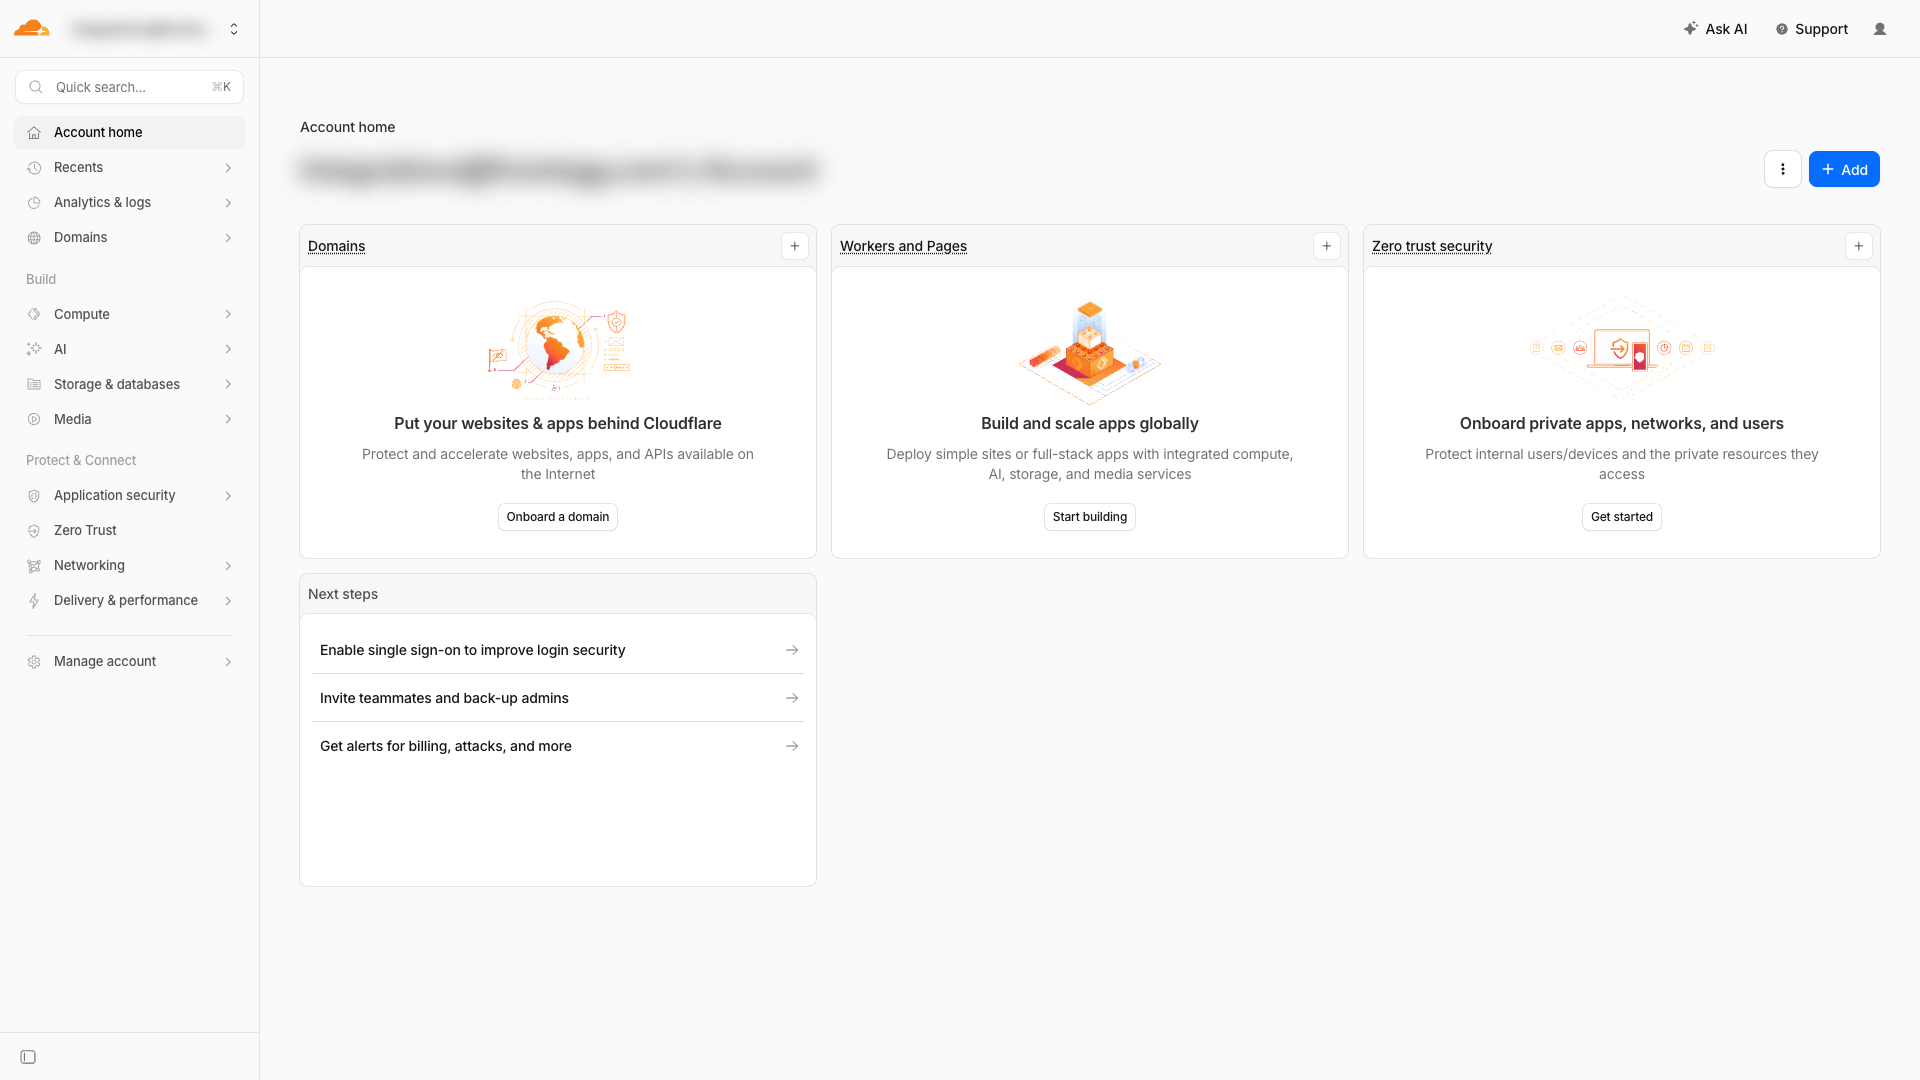
Cloudflare is a global cloud platform that provides CDN, DNS, DDoS protection, and security services for websites and applications. The Cloudflare integration allows your application to connect to Cloudflare through Frontegg, enabling users to manage zones, DNS records, firewall rules, caching, analytics, and Workers — all through a secure API token connection.
Prerequisites
Prerequisites
- A Cloudflare account (free or paid plan)
- At least one zone (domain) added to your Cloudflare account, if you need zone-level access
Navigate to dash.cloudflare.com and log in with your Cloudflare account credentials.
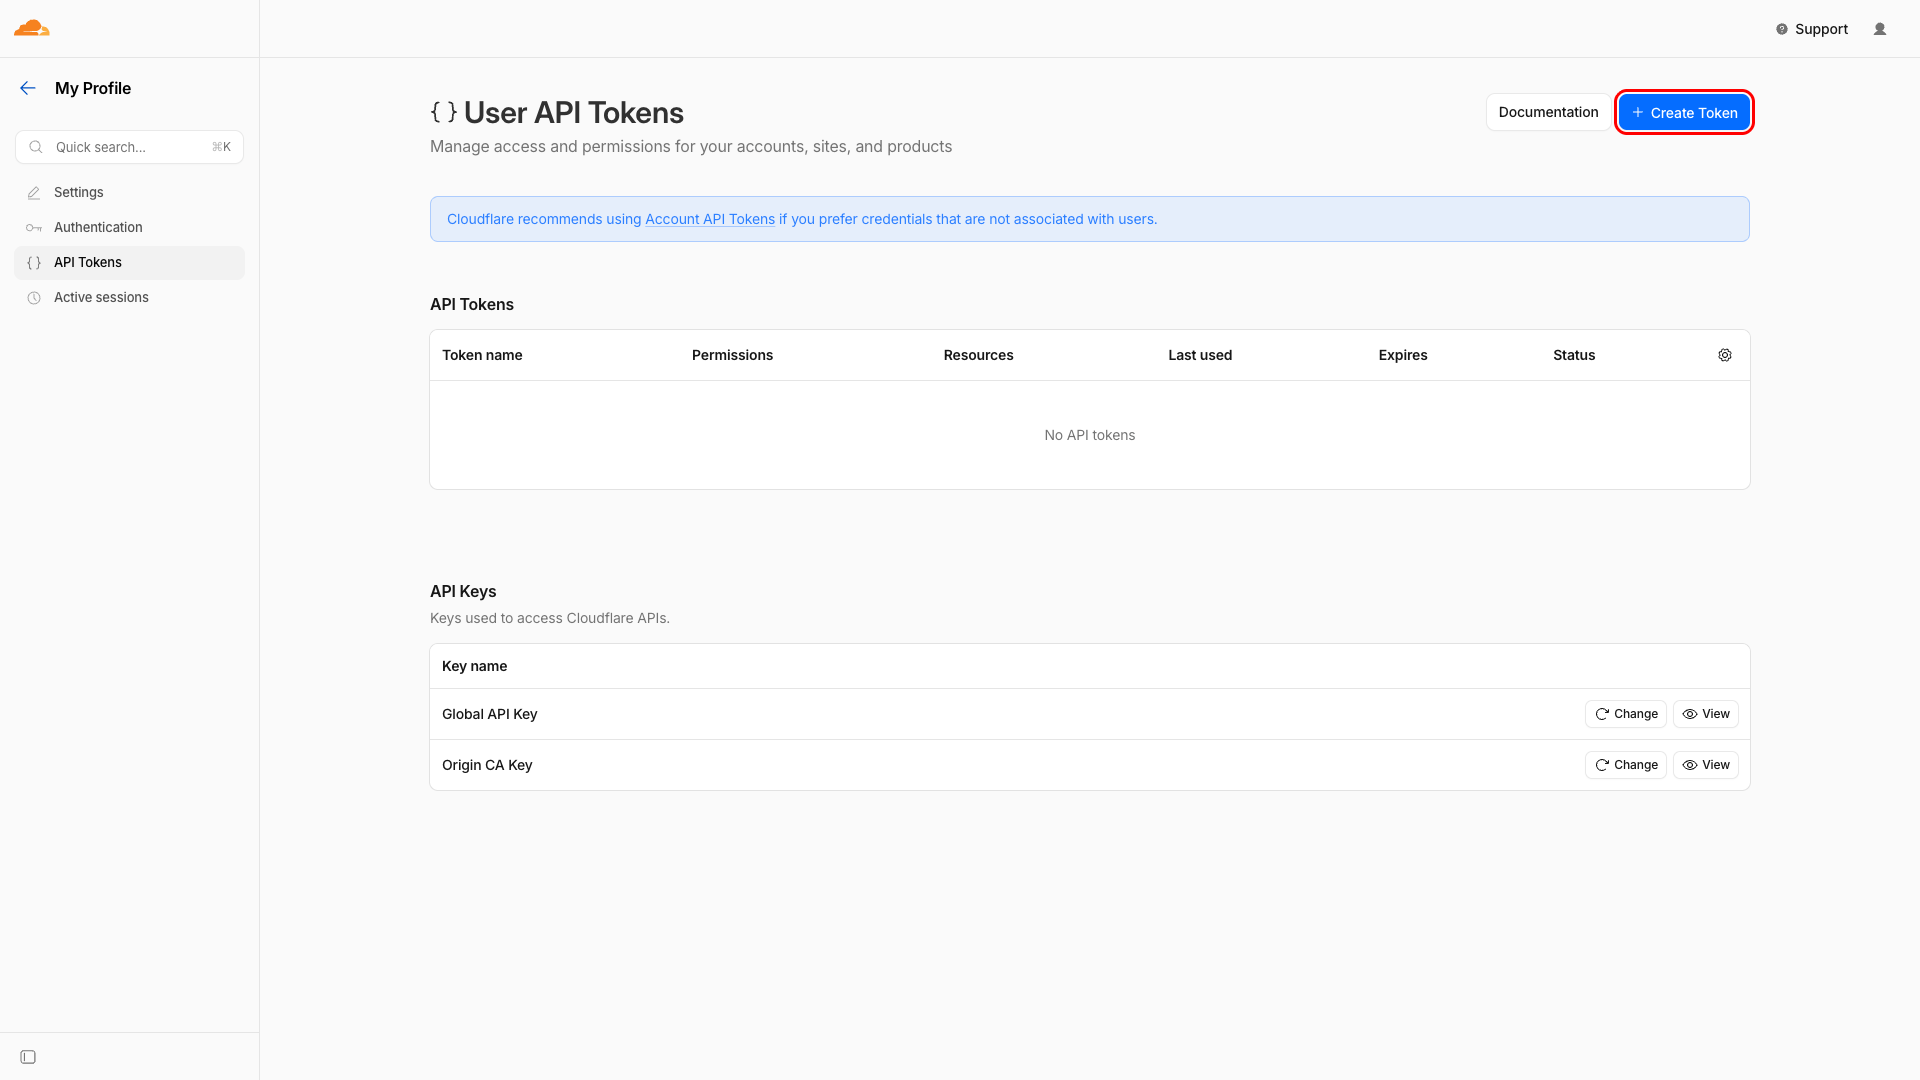
Click on the user icon in the top-right corner and select My Profile, then click API Tokens in the left sidebar. Alternatively, navigate directly to dash.cloudflare.com/profile/api-tokens.
Click Create Token to begin creating a new API token.
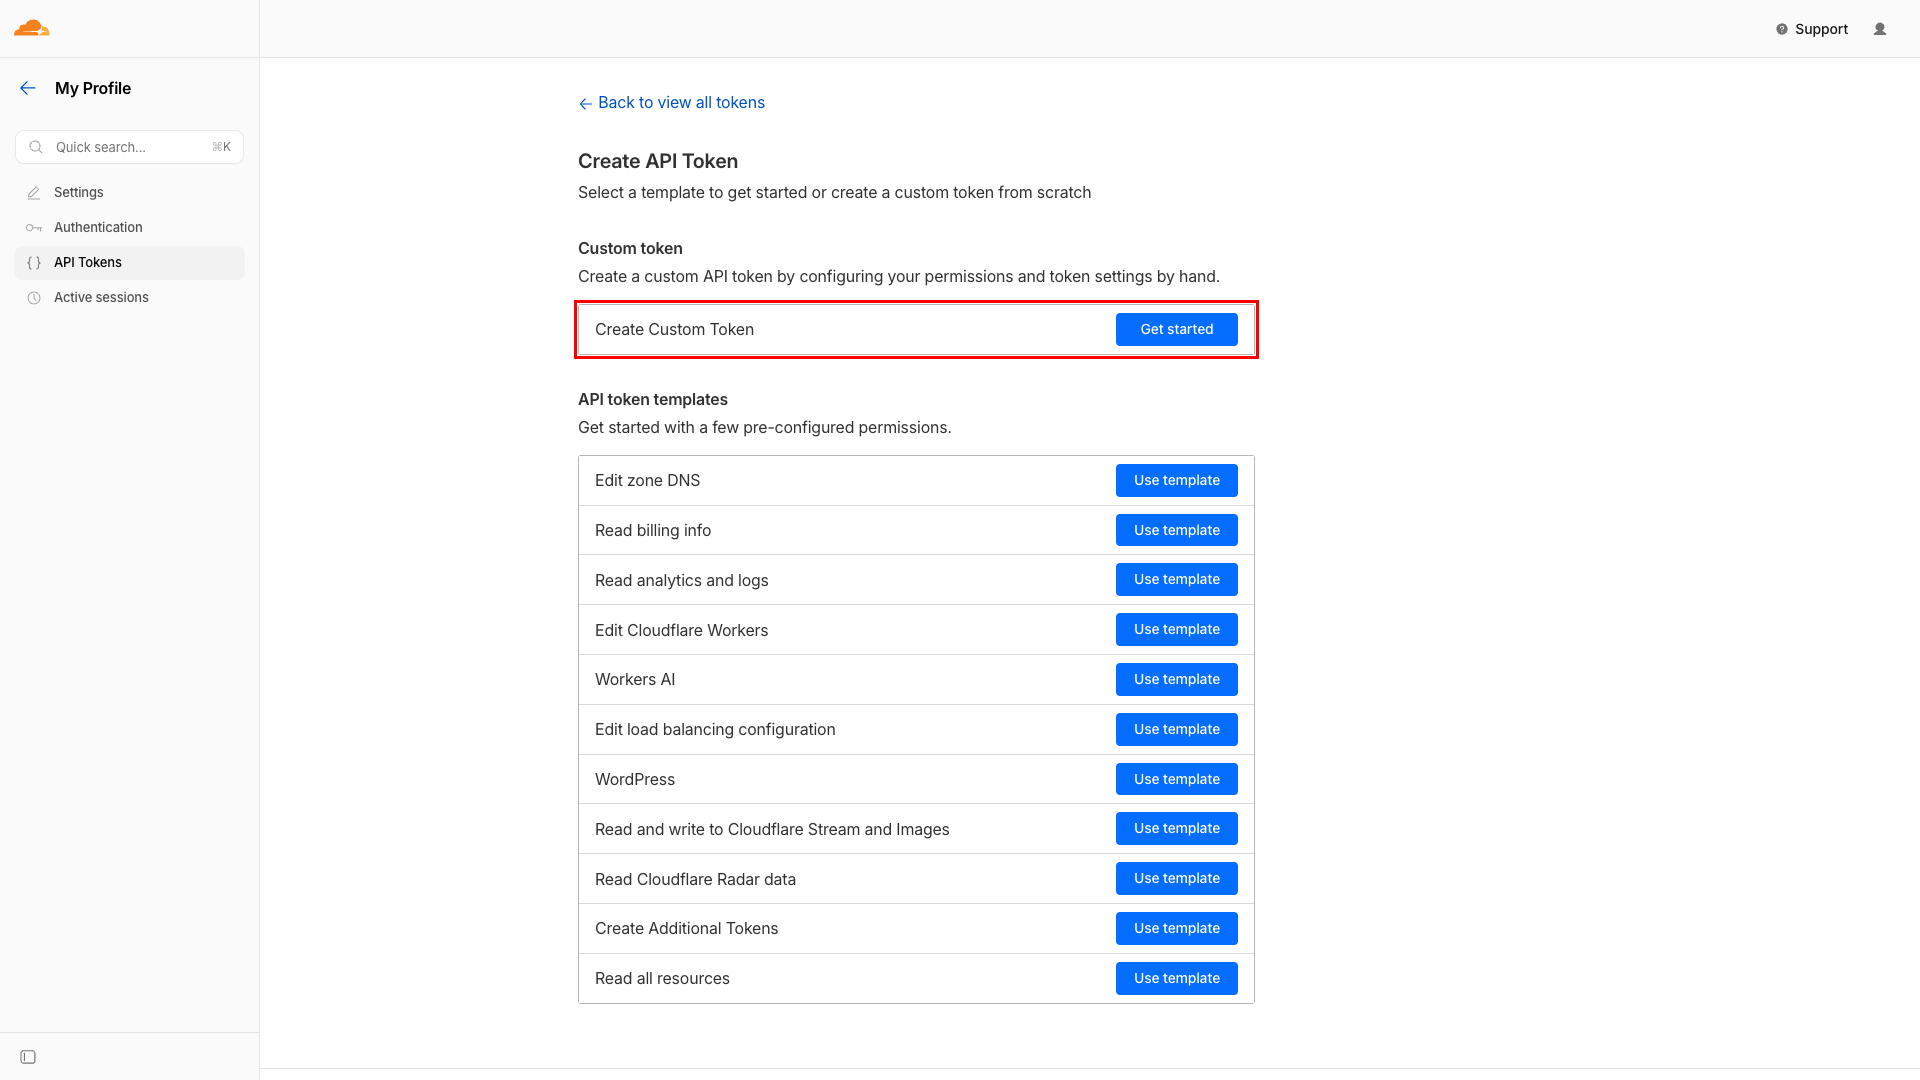
On the token creation page, find the Custom token section at the top and click Get started next to Create Custom Token. This allows you to configure specific permissions for the integration.
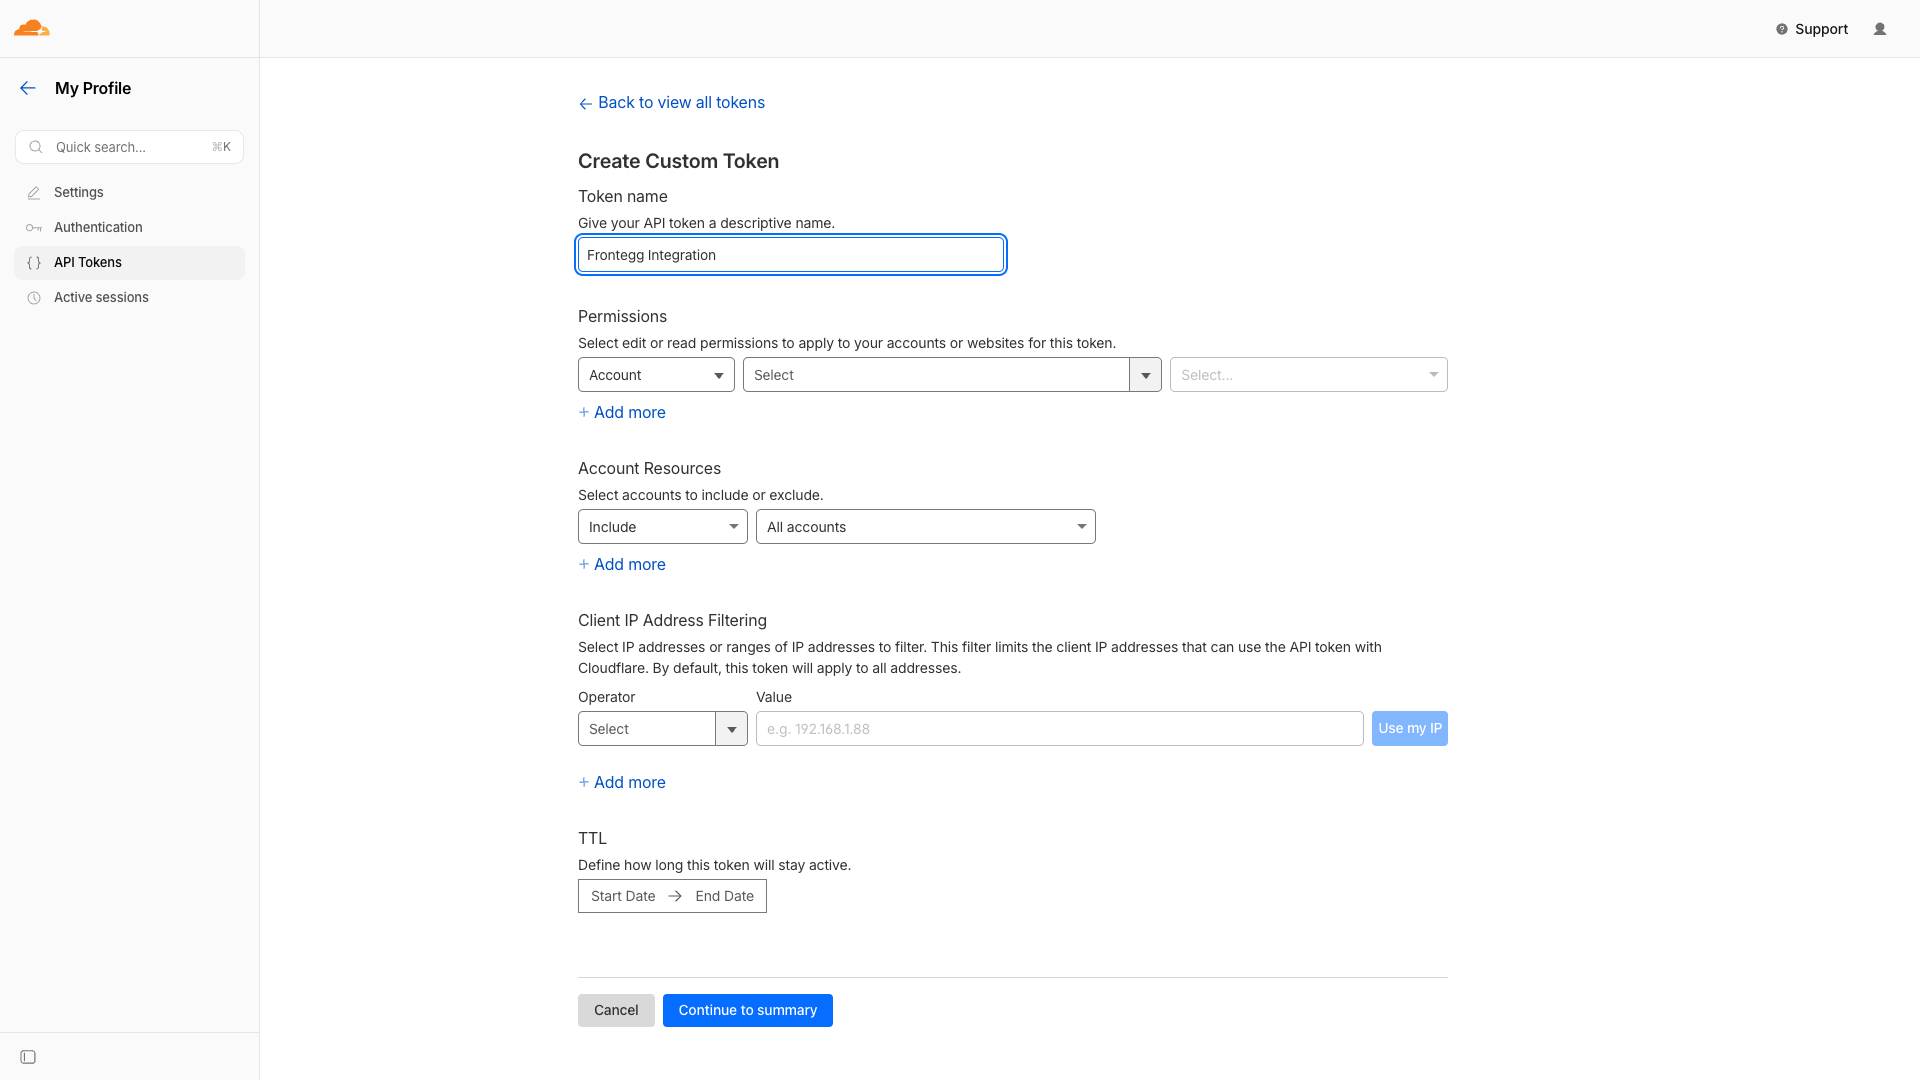
Set the following fields:
- Token name - Enter a descriptive name such as
Frontegg Integration. - Permissions - Add the required permissions using the dropdowns. Select the resource type, permission, and access level for each entry. Click Add more to add additional permissions.
Add the following permissions by clicking Add more for each additional row. Each permission requires three selections: resource type, permission name, and access level.
| Resource | Permission | Access level |
|---|---|---|
| Zone | Zone | Read |
| Zone | DNS | Edit |
| Zone | Cache Purge | Purge |
| Zone | Firewall Services | Read |
| Zone | Page Rules | Read |
| Zone | Analytics | Read |
| Zone | Load Balancers | Read |
| Zone | SSL and Certificates | Read |
| Account | Account Settings | Read |
| User | User Details | Read |
Minimum required permissions
Minimum required permissions
For basic functionality, you need at least: Zone - Zone - Read and Zone - DNS - Read. Add additional permissions based on the features you plan to use.
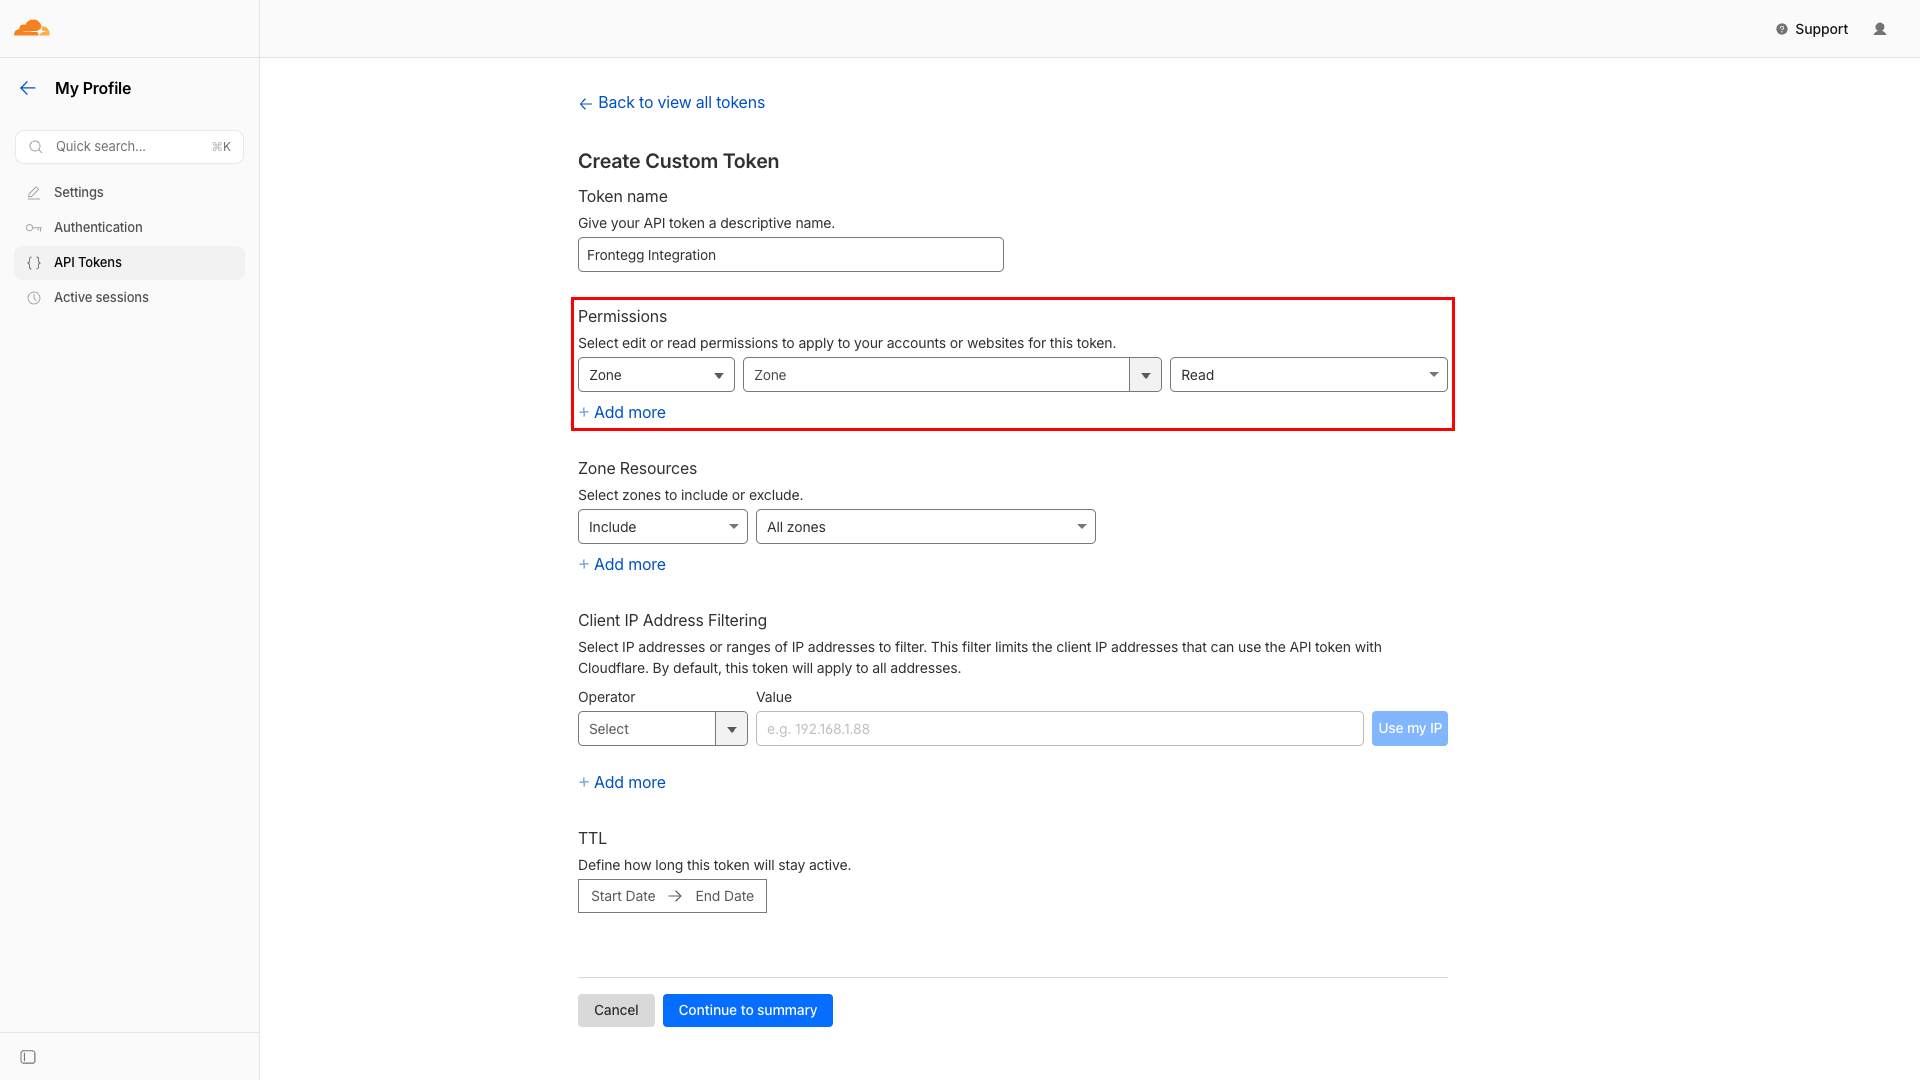
Under Zone Resources, keep the default setting of Include → All zones to grant the token access to all zones in your account. You can restrict access to specific zones if needed.
Under Account Resources, keep the default setting of Include → All accounts.
Leave the Client IP Address Filtering and TTL sections at their default values unless you have specific security requirements. Click Continue to summary to review your token configuration, then click Create Token.
Save your API token
Save your API token
After creating the token, Cloudflare displays the token value only once. Copy it immediately and store it securely. You will not be able to view this token again.
Once you have your API Token from the steps above, enter it in the integration configuration page of the Frontegg portal:
- Open the Frontegg portal and navigate to your environment's Integrations section.
- Find Cloudflare and open its configuration page.
- Enter the API Token in the corresponding field.
- Select the required scopes for your integration.
- Click Save.