Productboard is a product management platform that helps teams understand customer needs, prioritize features, and align everyone around a product roadmap. Integrating Productboard with Frontegg allows your application to access and manage features, notes, releases, companies, and users on behalf of your users through OAuth 2.0 authentication.
Prerequisites
Prerequisites
- A Productboard account with admin (Maker) access
- Access to the Productboard OAuth2 applications management page
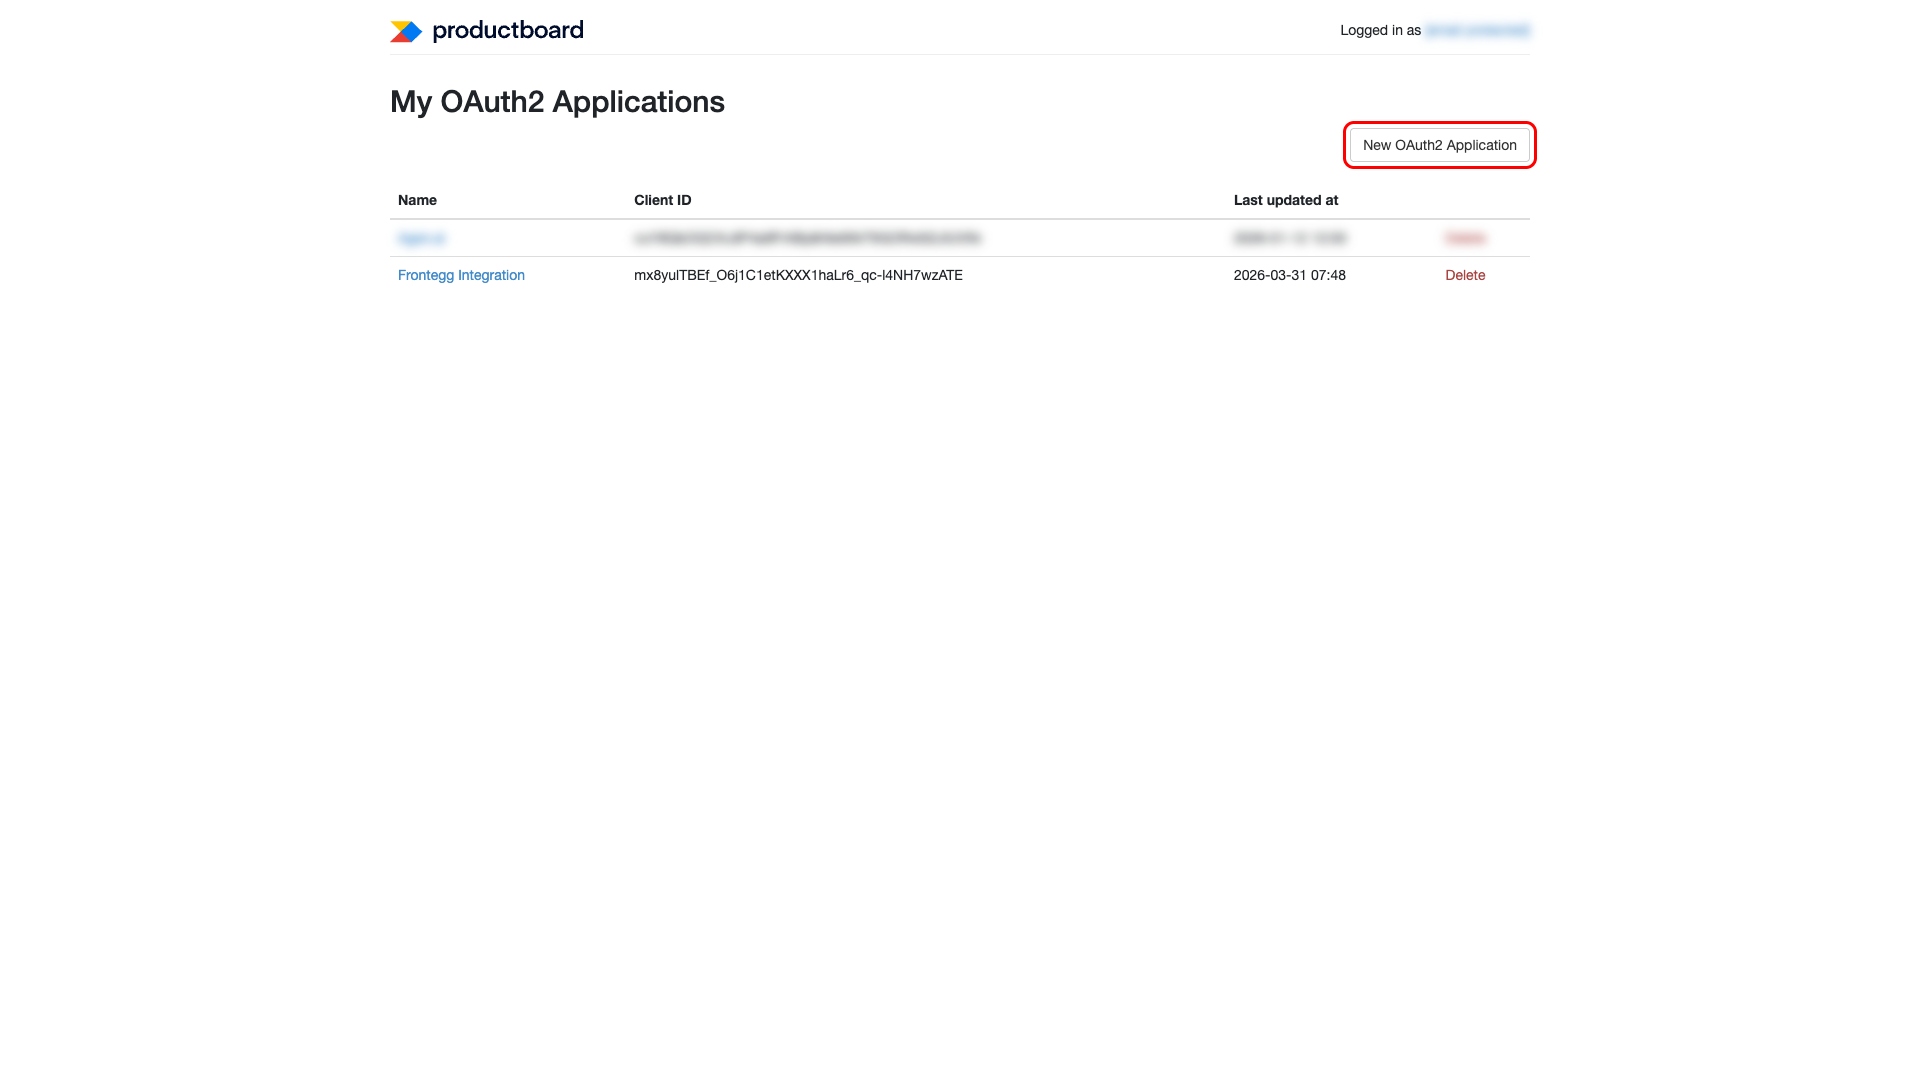
Log in to your Productboard account. Navigate to the OAuth2 applications management page at app.productboard.com/oauth2/applications. Click New OAuth2 Application to create a new application.
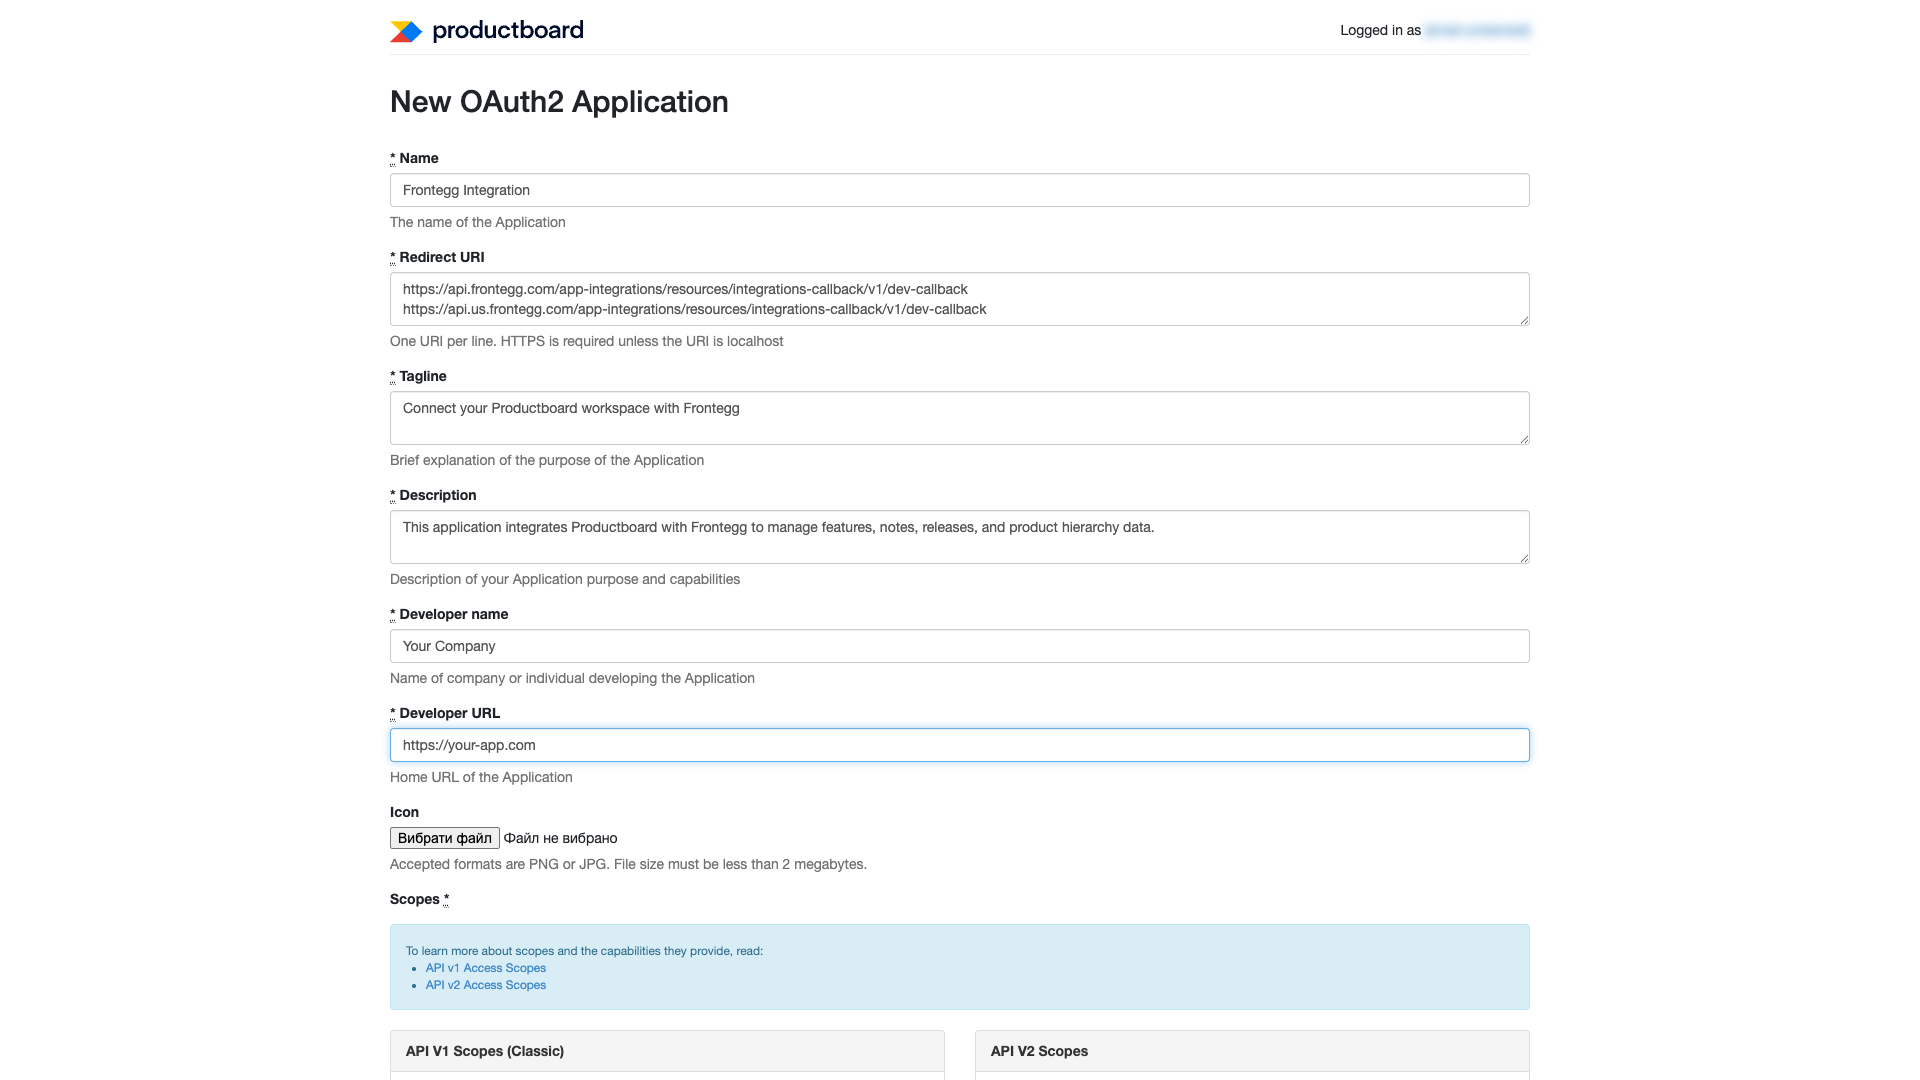
In the New OAuth2 Application form, fill in the following fields:
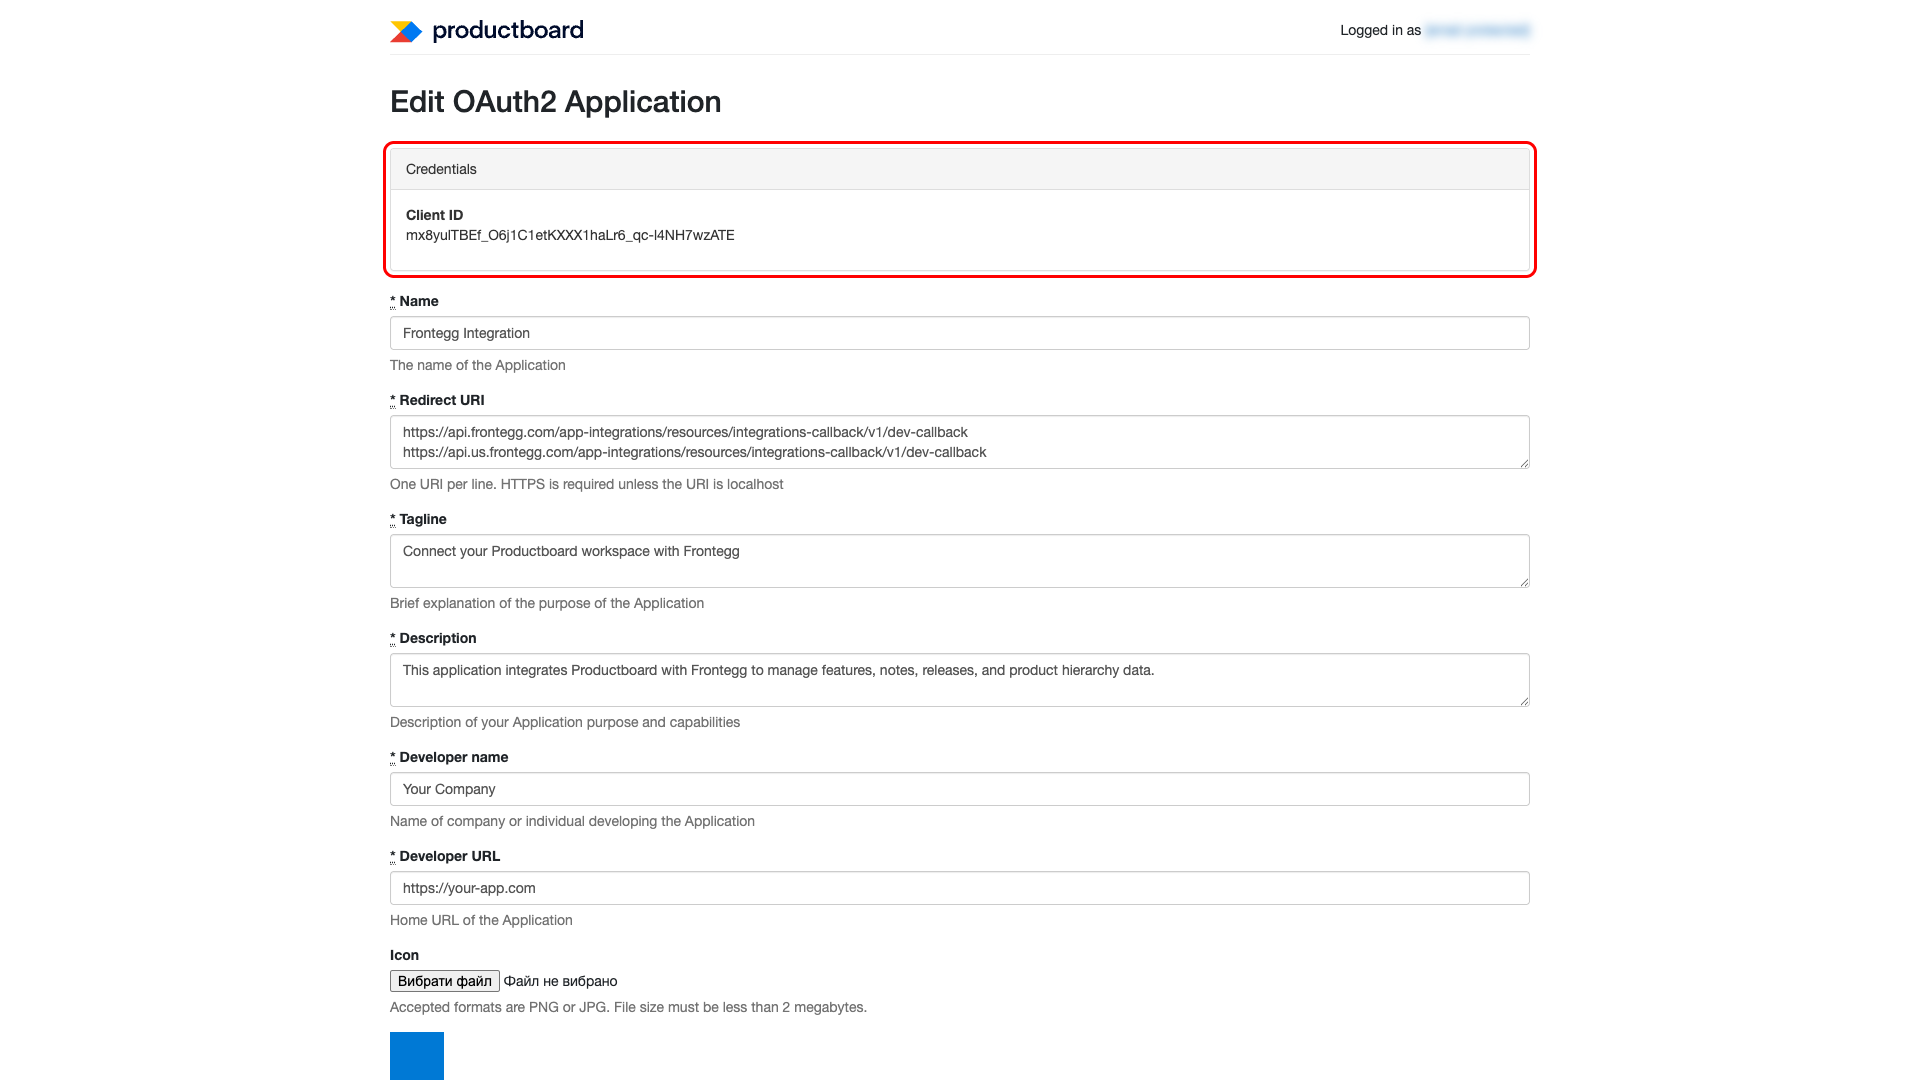
- Name — Enter a descriptive name (e.g., "Frontegg Integration")
- Tagline — Enter a brief description of the integration
- Description — Enter a detailed description of the application's purpose
- Developer name — Enter your company name
- Developer URL — Enter a link to your application or company homepage
- Icon — Upload a PNG or JPG image (under 2 MB)

In the Redirect URI field, enter the following redirect URIs, each on a new line:
https://YOUR_MCP_GATEWAY_URL/integration-callback
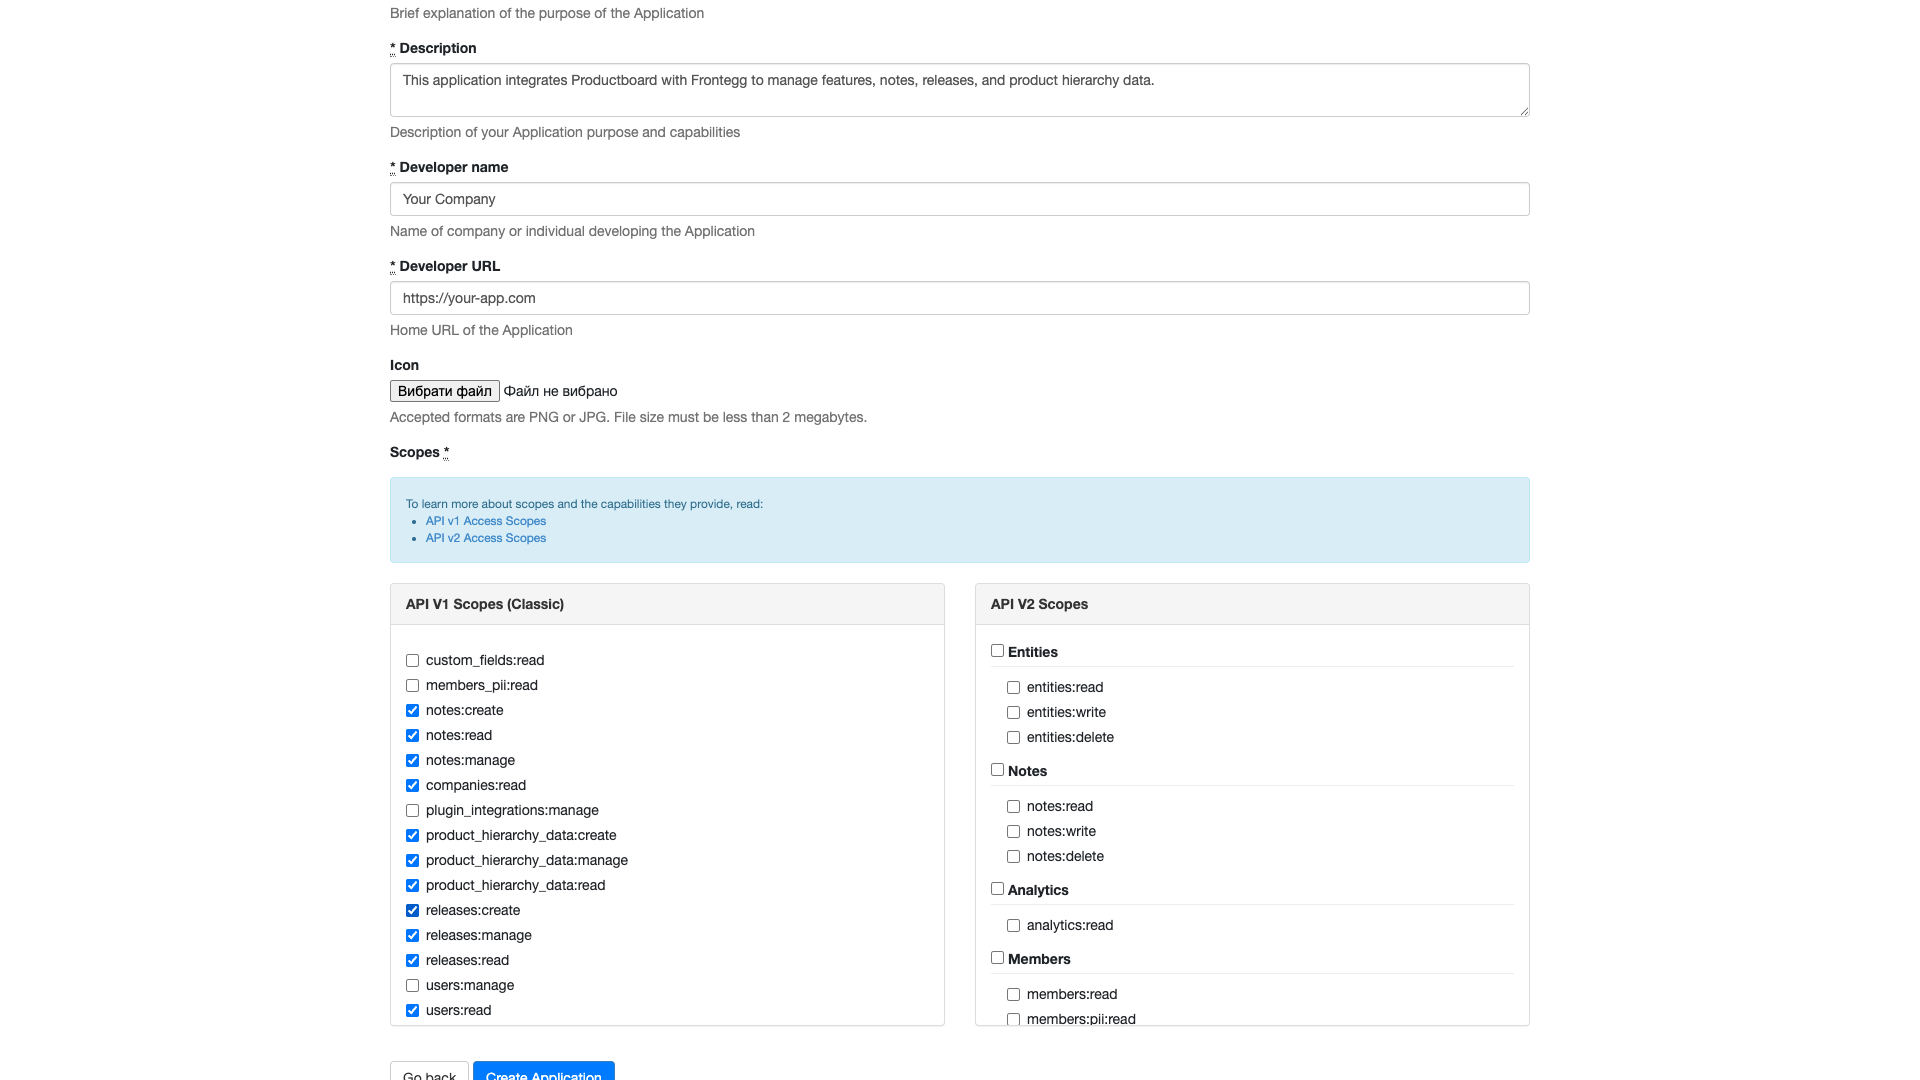
Scroll down to the Scopes section and select the required API V1 scopes:
| Scope | Description |
|---|---|
product_hierarchy_data:read | Read all hierarchy entities (products, components, and features) |
product_hierarchy_data:create | Create features and attributes |
product_hierarchy_data:manage | Edit and delete features and attributes |
notes:read | Read notes |
notes:create | Create notes |
notes:manage | Edit and delete notes |
companies:read | Read companies |
users:read | List users |
releases:read | Read releases and release groups |
releases:create | Create releases and release groups |
releases:manage | Edit and delete releases and release groups |
Minimum required scopes
Minimum required scopes
For basic read-only functionality, you need: product_hierarchy_data:read, notes:read, companies:read, users:read, releases:read.
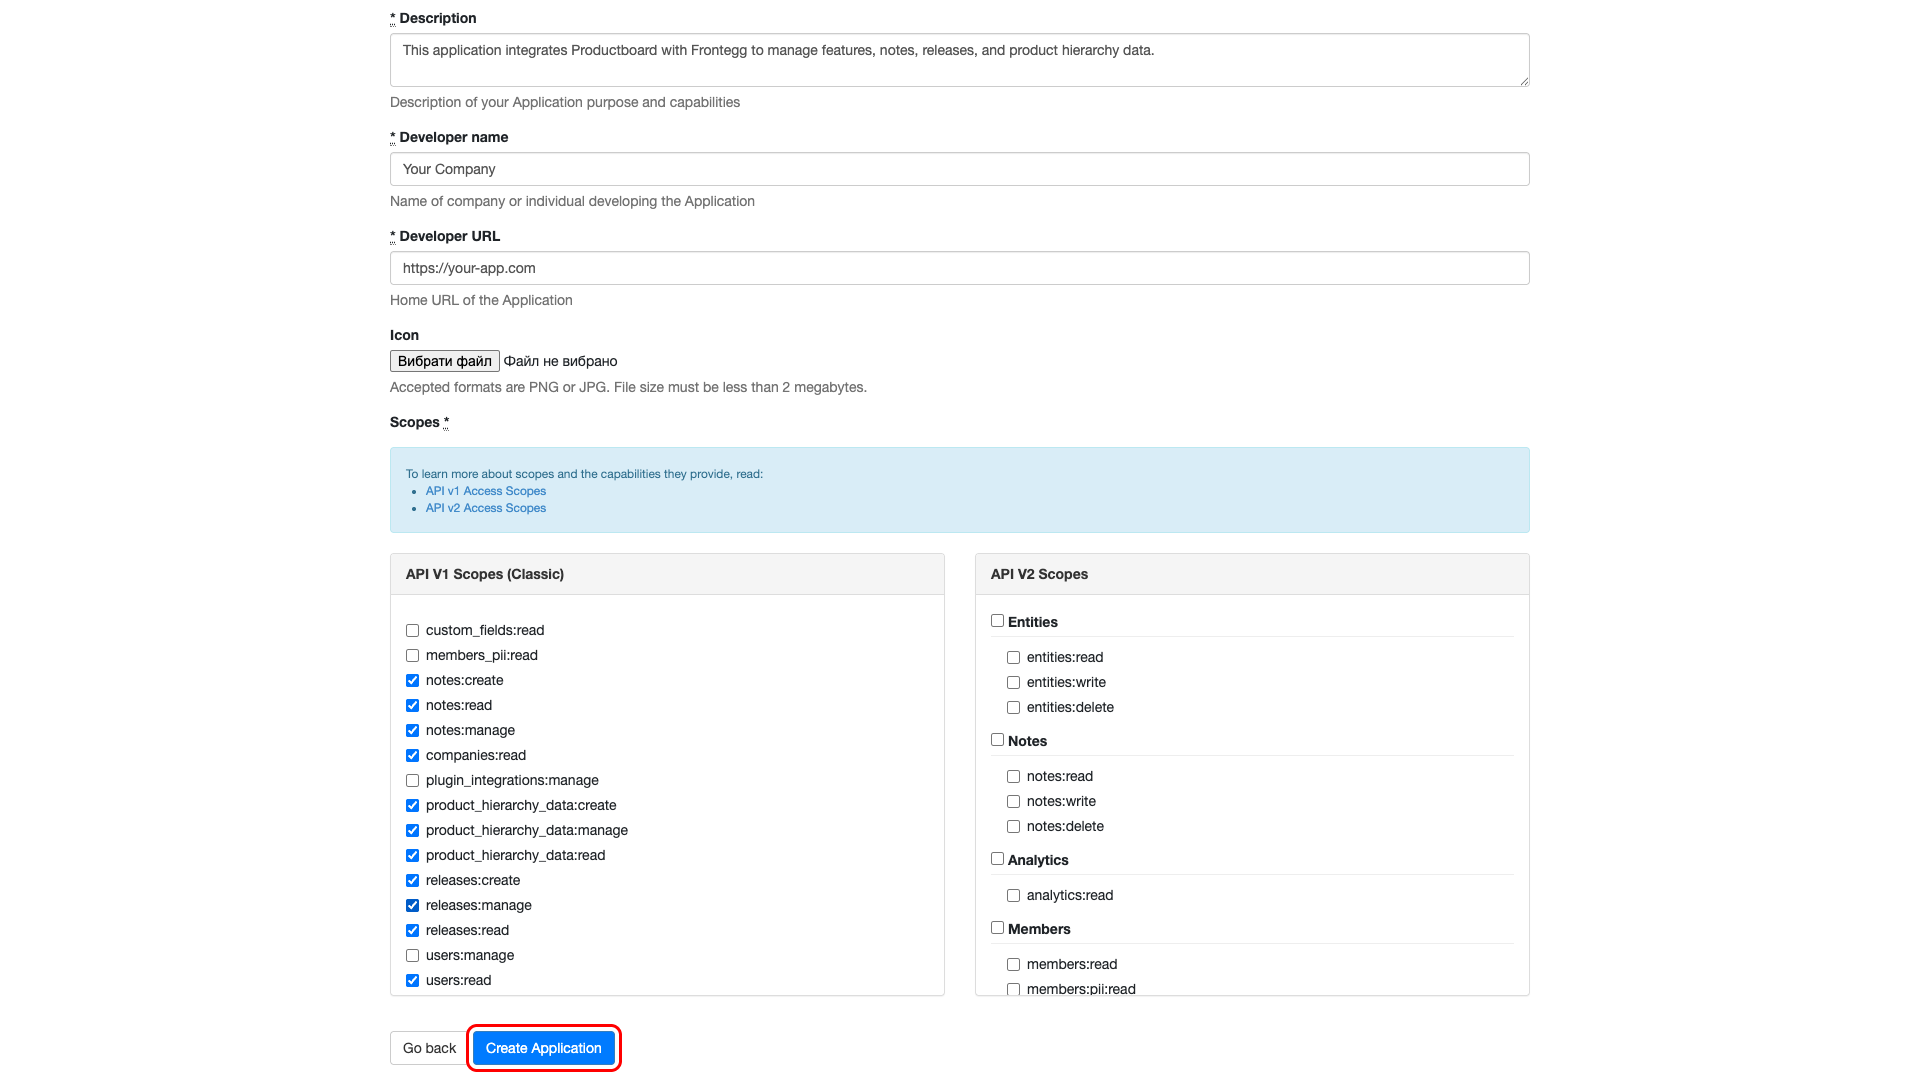
Click the Create Application button at the bottom of the form.
After creating the application, you are redirected to the edit page. At the top, you can find the Client ID and Client Secret under the Credentials section.
Copy the Client ID and Client Secret values. You will need them to configure the integration in the Frontegg portal.
Keep your credentials secure
Keep your credentials secure
The Client Secret is only displayed once after creation. Make sure you save it immediately. Never share or commit your Client Secret to version control.
Once you have obtained your Client ID and Client Secret from the steps above, enter them in the integration configuration page of the Frontegg portal:
- Open the Frontegg portal and navigate to [ENVIRONMENT] → Integrations → Productboard.
- Enter the Client ID and Client Secret in the corresponding fields.
- Select the required scopes.
- Click Save.