Front is a customer operations platform that combines email, SMS, chat, and social channels in a shared inbox. The integration connects your Front workspace to Frontegg Agen for Work, enabling AI agents to read and manage conversations, contacts, messages, and other workspace resources on your behalf.
Prerequisites
Prerequisites
- A Front account with admin access
- Access to the Front developer portal at app.frontapp.com/settings/developers
Sign in to Front and go to Settings → Integrations → Developers. The Developers page lists your existing apps. Click Create app.

Front creates an untitled app and opens its configuration page. Go to the Settings tab, enter a name (for example, Frontegg Integration), and click Save.
Open the Features tab of your new app and click Add feature. In the dialog that appears, scroll to the API Access section and click Add feature on the OAuth card.
You will be taken to the OAuth configuration page. Fill in the following settings:
Redirect URLs
Click Add Redirect URL and enter your Frontegg Redirect URL:
https://YOUR_MCP_GATEWAY_URL/integration-callback
See Get your Redirect URL for instructions on finding your MCP Gateway URL.
Feature access
Select both checkboxes:
- Access resources — allows the app to read and write workspace resources
- Auto-provisioning — enables provisioning actions
Namespace access
Select the following namespaces:
- Shared resources — grants access to shared inboxes, conversations, and channels
- Private resources — grants access to private conversations and resources
Scopes are portal-only
Scopes are portal-only
Front configures OAuth scopes exclusively in the developer portal. Do not add a scope parameter to the authorization URL — doing so causes an invalid_scope error.
Click Save. Front generates the Client ID and Client secret for your app.
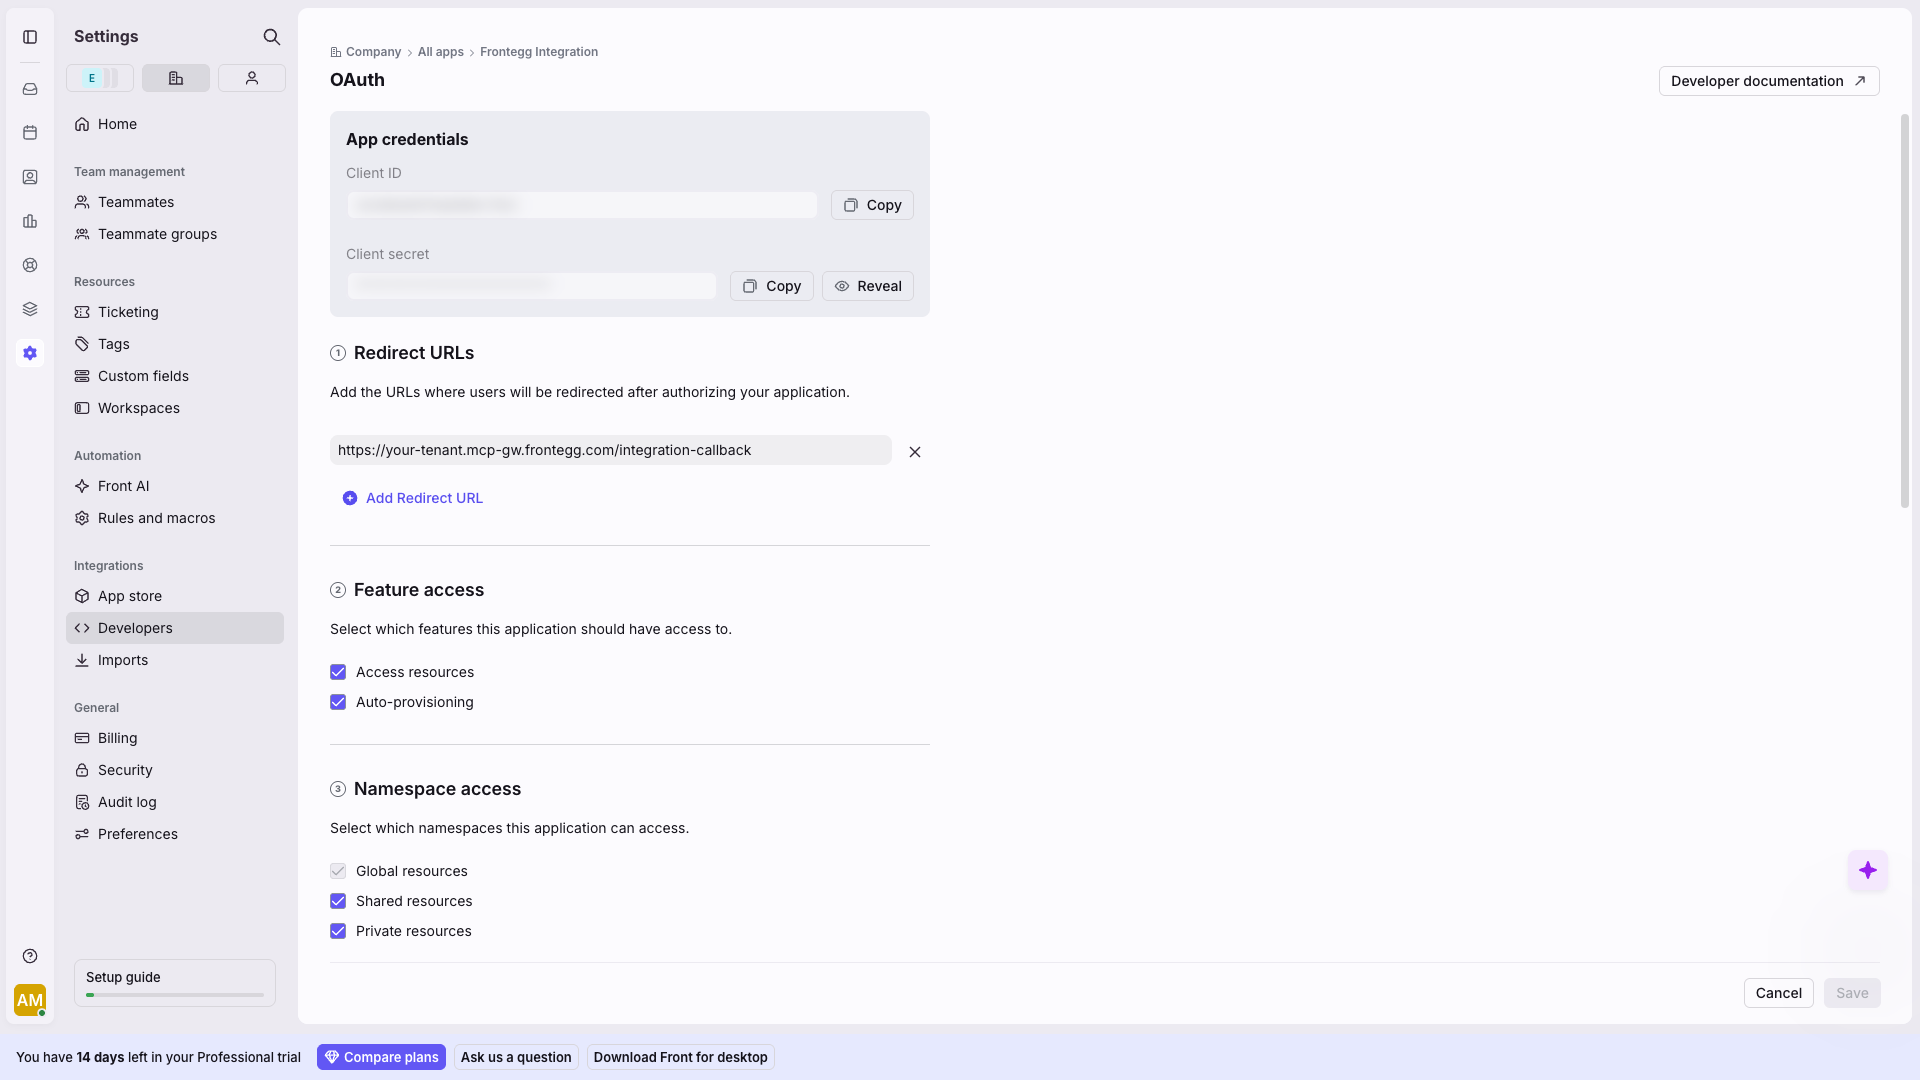
On the OAuth page, copy both values from the App credentials section:
- Client ID
- Client secret — click Reveal to display it, then copy it
Once you have obtained your Client ID and Client secret from the steps above, enter them in the integration configuration page of the Frontegg portal:
- Open the Frontegg portal and navigate to your environment → Integrations → Front.
- Enter the Client ID and Client secret in the corresponding fields.
- Click Save.
Keep your credentials secure
Keep your credentials secure
Never share or commit your Client secret to version control.