Zendesk is a customer service and support platform that provides ticketing, help desk, and customer engagement tools. Integrating Zendesk with Frontegg allows your application to manage tickets, users, organizations, groups, and tags on behalf of your users through OAuth 2.0 authentication.
Prerequisites
Prerequisites
- A Zendesk account with admin access
- Access to the Zendesk Admin Center
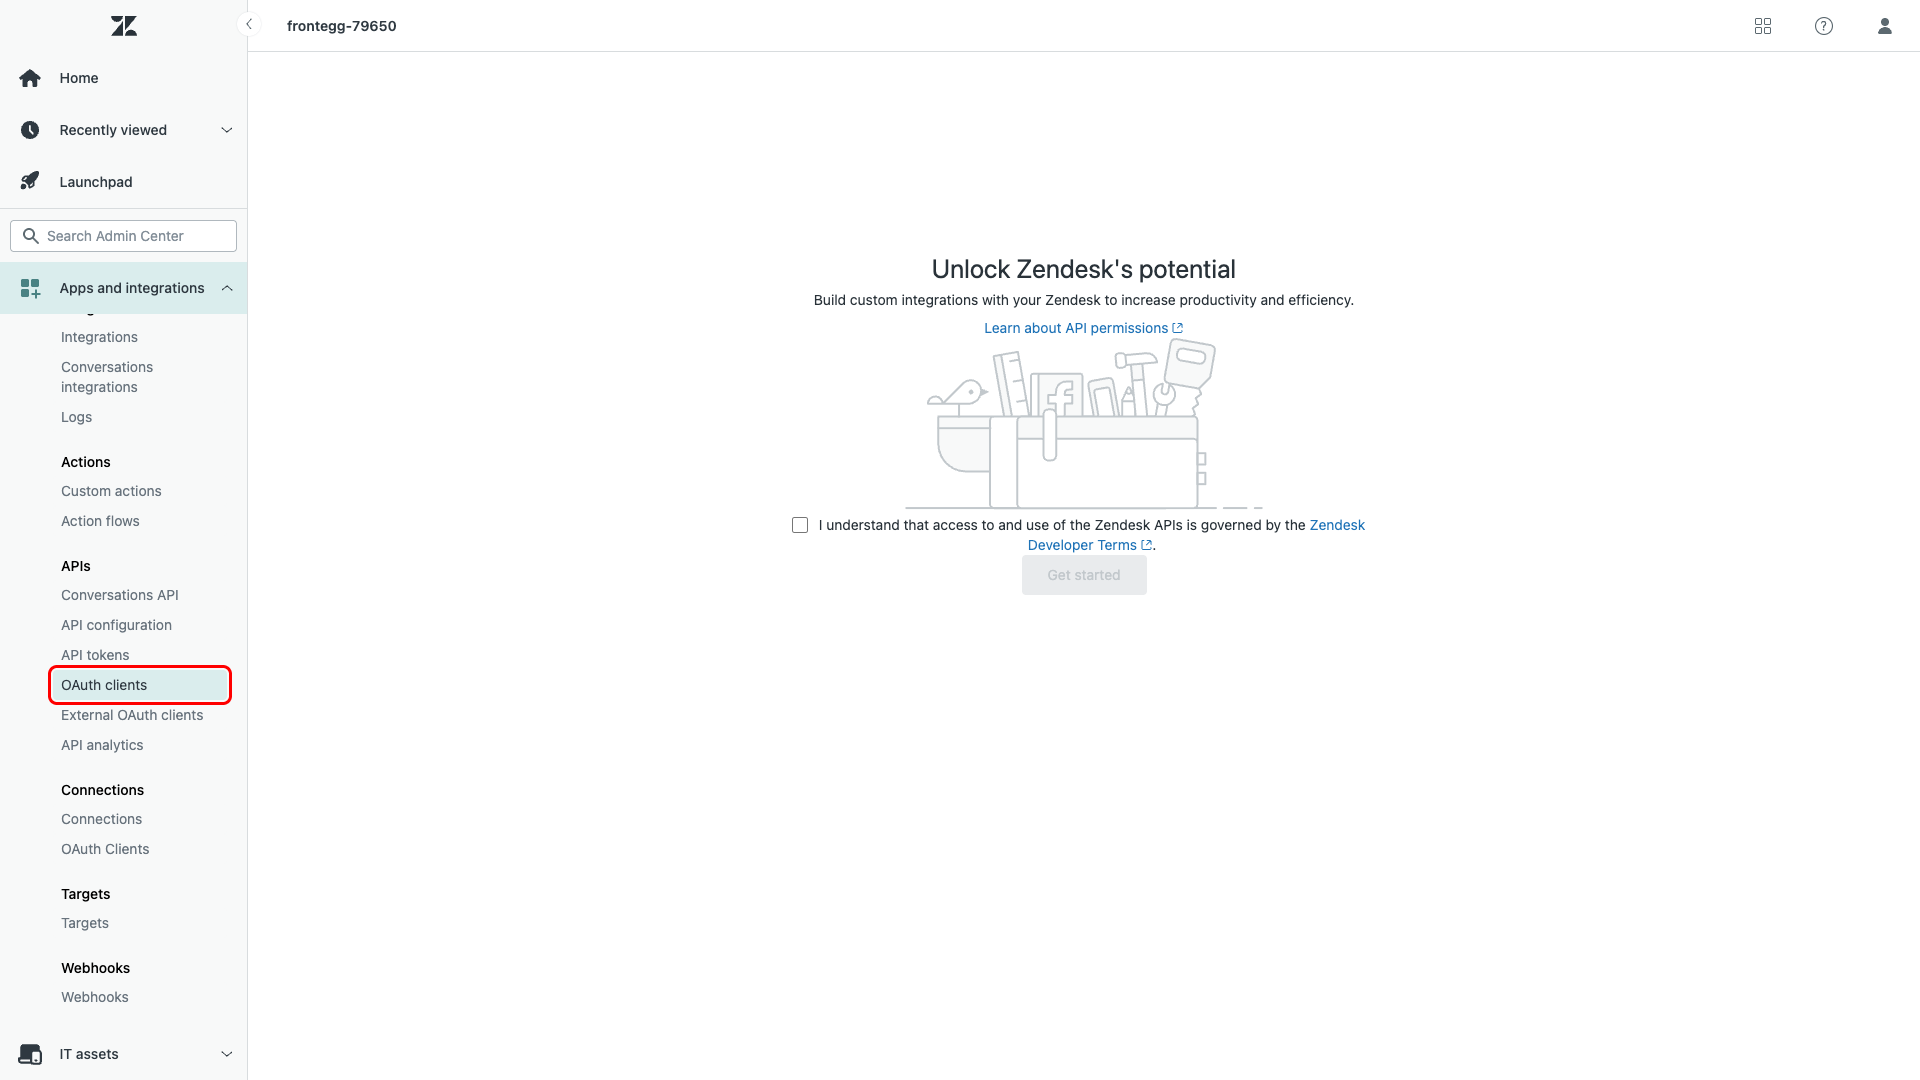
Sign in to your Zendesk account at https://your-subdomain.zendesk.com/admin/. In the left sidebar, expand Apps and integrations, then scroll to the APIs section and click OAuth clients.
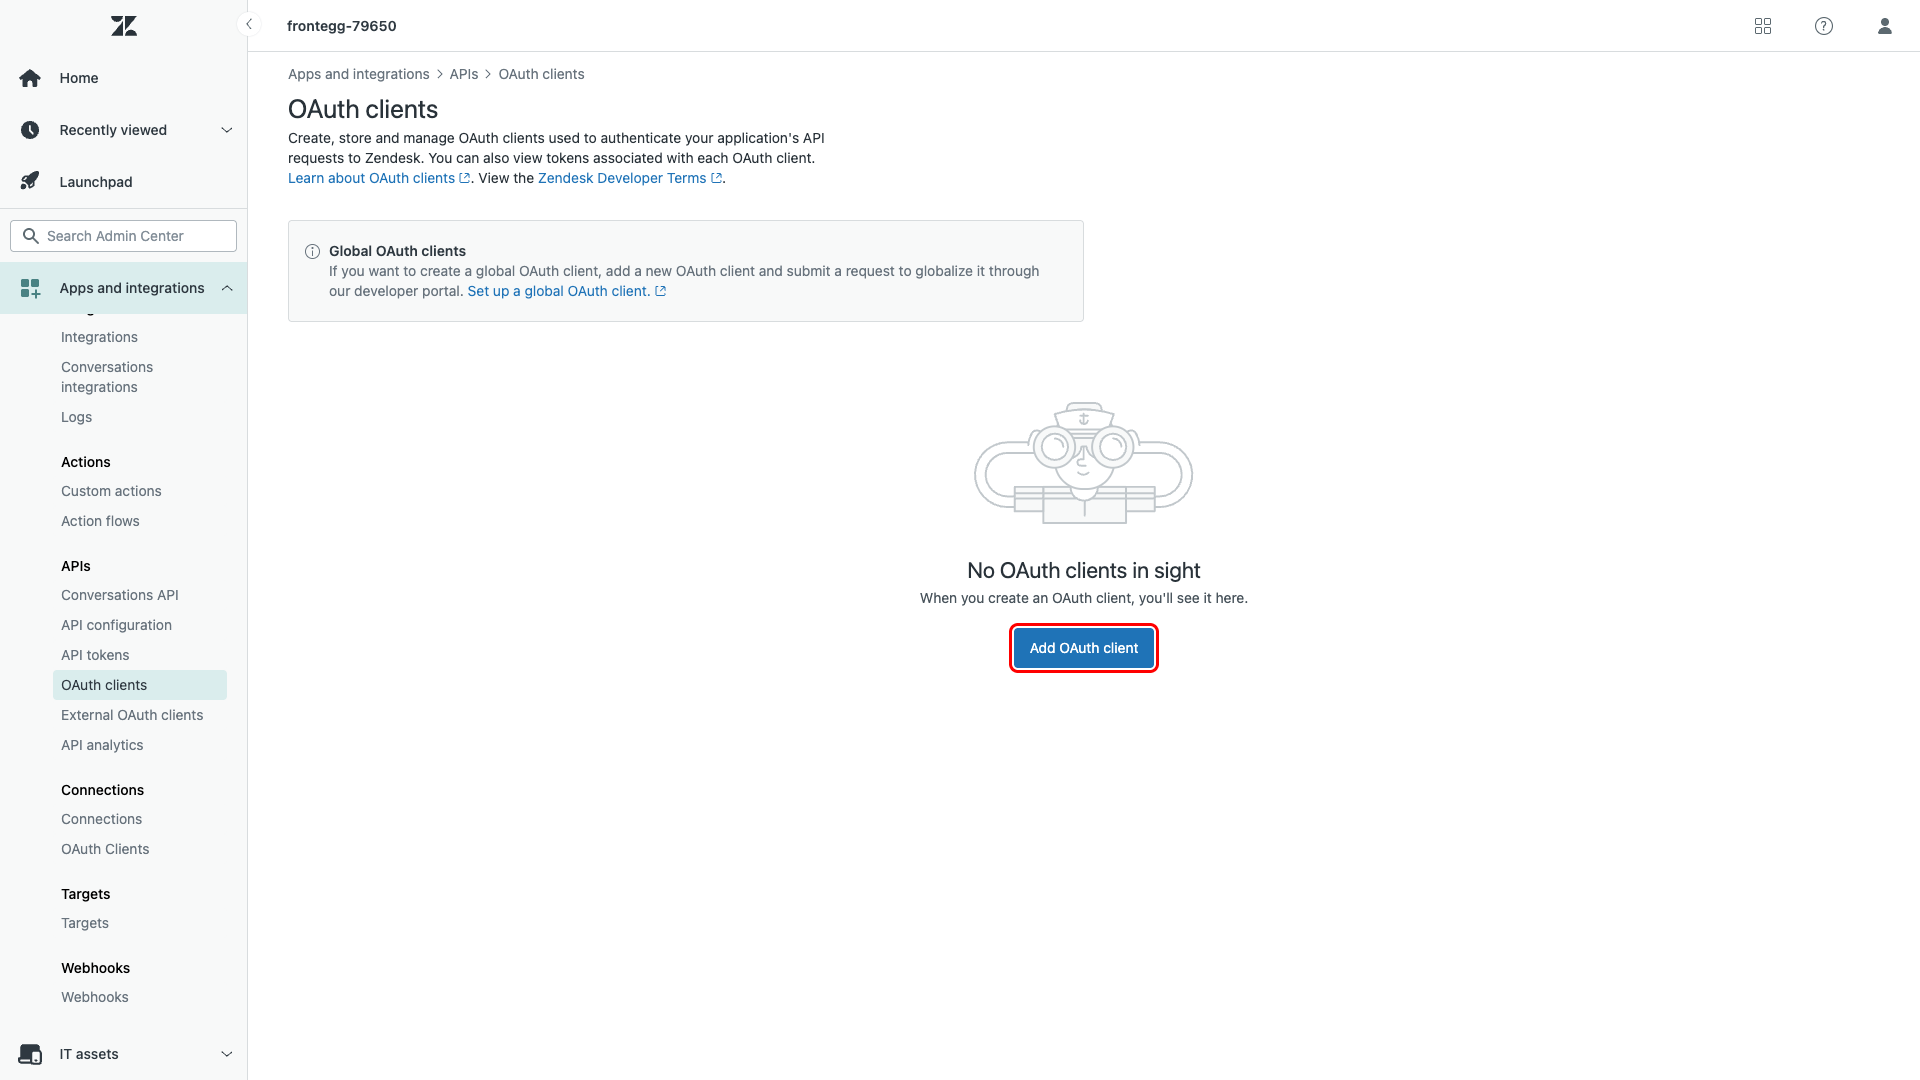
On the OAuth clients page, click the Add OAuth client button.
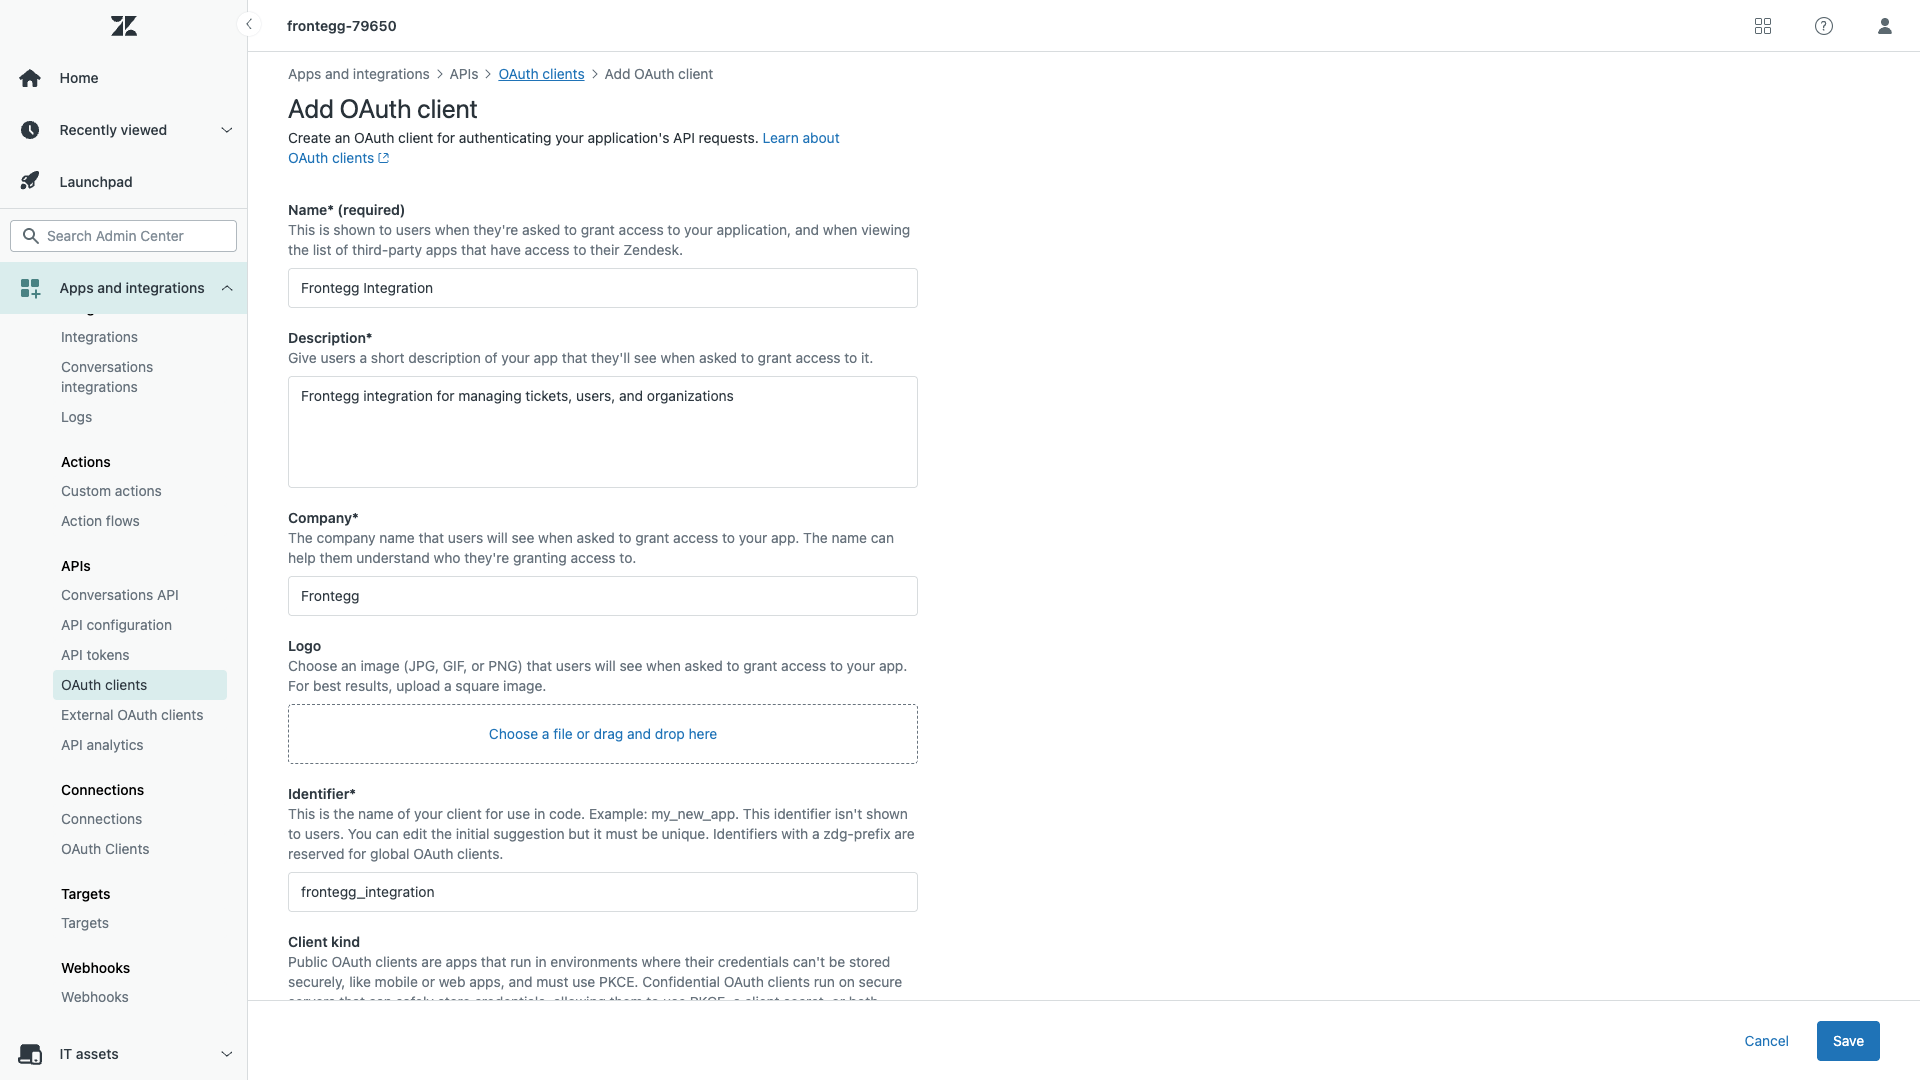
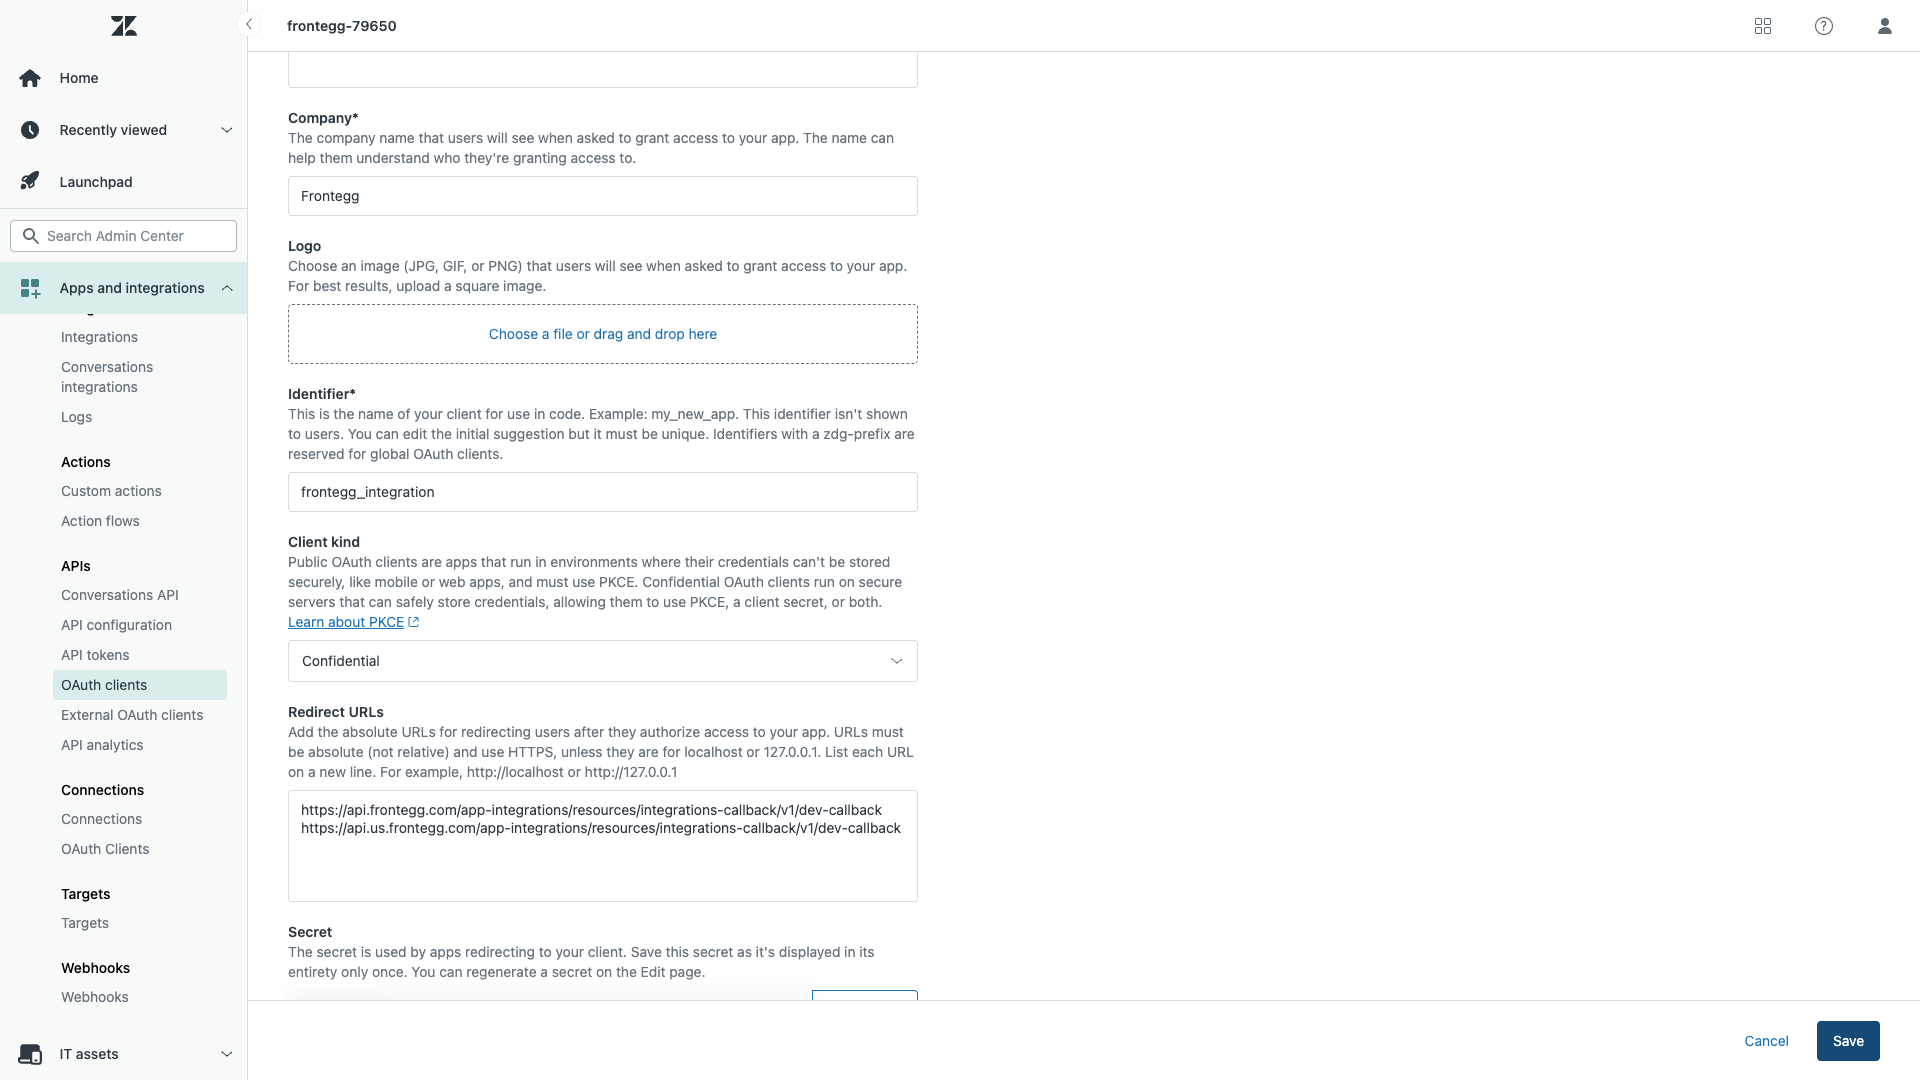
Fill in the following fields:
| Field | Value |
|---|---|
| Name | A descriptive name for your application (e.g., Frontegg Integration) |
| Description | A short description of your application |
| Company | Your company name |
| Client kind | Select Confidential |
The Identifier field auto-populates based on the name. This value serves as your Client ID when configuring the integration in the Frontegg portal.
Click Save. After saving, Zendesk displays the Secret value. Copy it immediately and store it securely.
Keep your credentials secure
Keep your credentials secure
The Client Secret is displayed in its entirety only once. If you lose it, you will need to regenerate a new one from the Edit page.
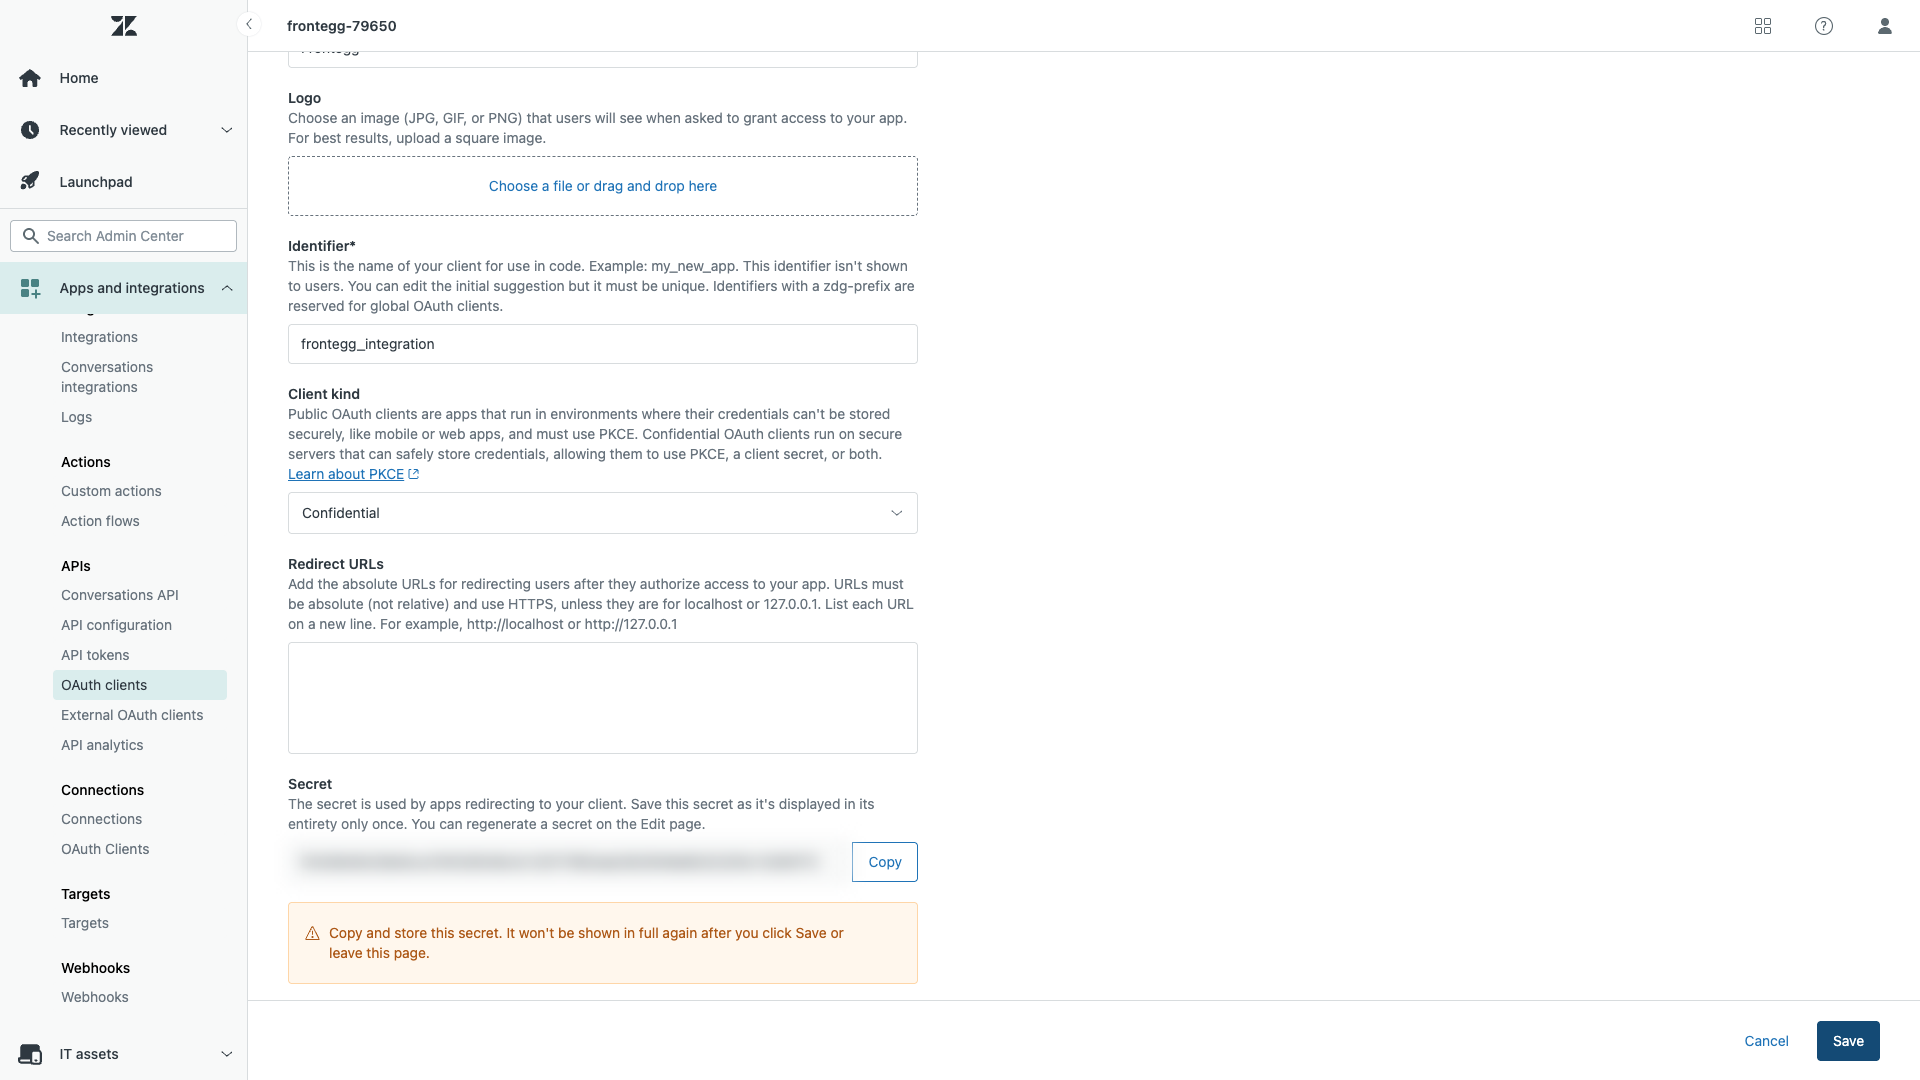
Scroll down to the Redirect URLs field and enter the following callback URIs, each on a new line:
https://YOUR_MCP_GATEWAY_URL/integration-callback
If your Zendesk account only allows one redirect URI, use the first one.
Click Save to apply the changes.
Zendesk OAuth scopes are specified during the authorization request rather than configured in the Admin Center. The following scopes are available:
| Scope | Description |
|---|---|
tickets:read | Read ticket data |
tickets:write | Create and update tickets |
users:read | Read user data |
users:write | Create and update users |
organizations:read | Read organization data |
organizations:write | Create and update organizations |
groups:read | Read group data |
groups:write | Create and update groups |
tags:read | Read tags |
tags:write | Create and manage tags |
Minimum required scopes
Minimum required scopes
For basic ticket and user management, select at minimum: tickets:read, tickets:write, users:read, and users:write.
Once you have your Client ID (the Identifier field) and Client Secret from the steps above, enter them in the integration configuration page of the Frontegg portal:
- Open the Frontegg portal and navigate to [ENVIRONMENT] → Integrations → Zendesk.
- Enter your Zendesk subdomain (e.g.,
your-companyfromyour-company.zendesk.com). - Enter the Client ID and Client Secret in the corresponding fields.
- Select the required scopes.
- Click Save.