Bitbucket is a Git-based code hosting and collaboration platform built for teams. Integrating Bitbucket with Frontegg allows your application to access repositories, pull requests, and issues on behalf of your users through OAuth 2.0 authentication.
Prerequisites
Prerequisites
- A Bitbucket account with access to a workspace
- Admin access to the Bitbucket workspace settings
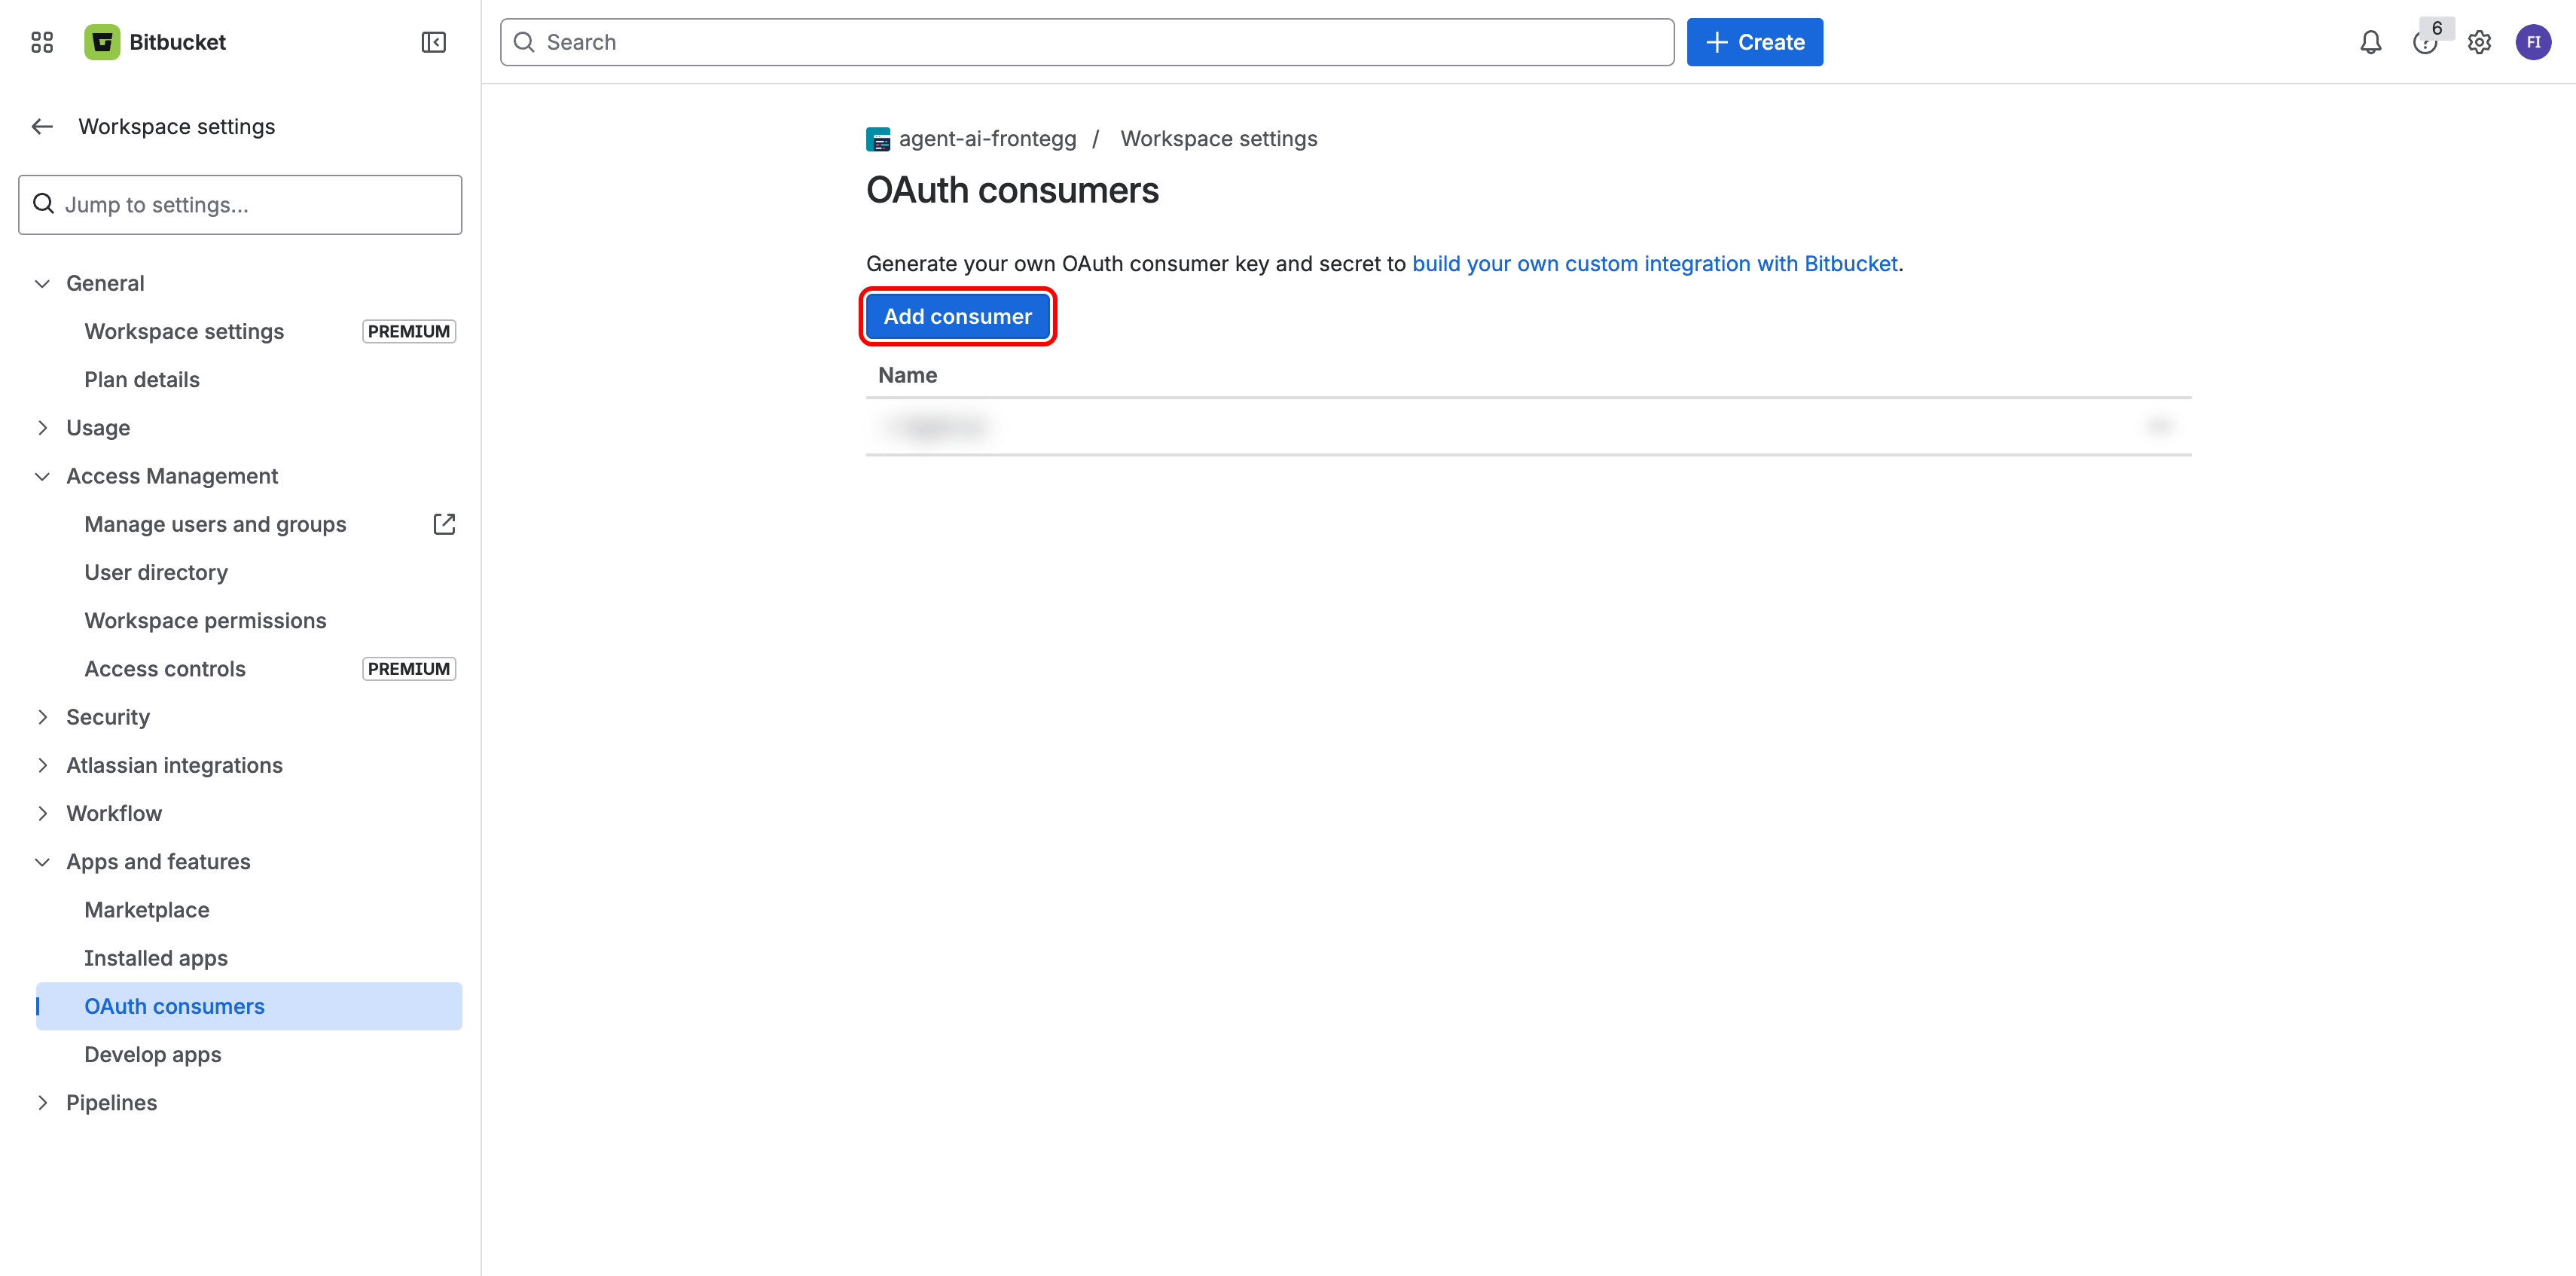
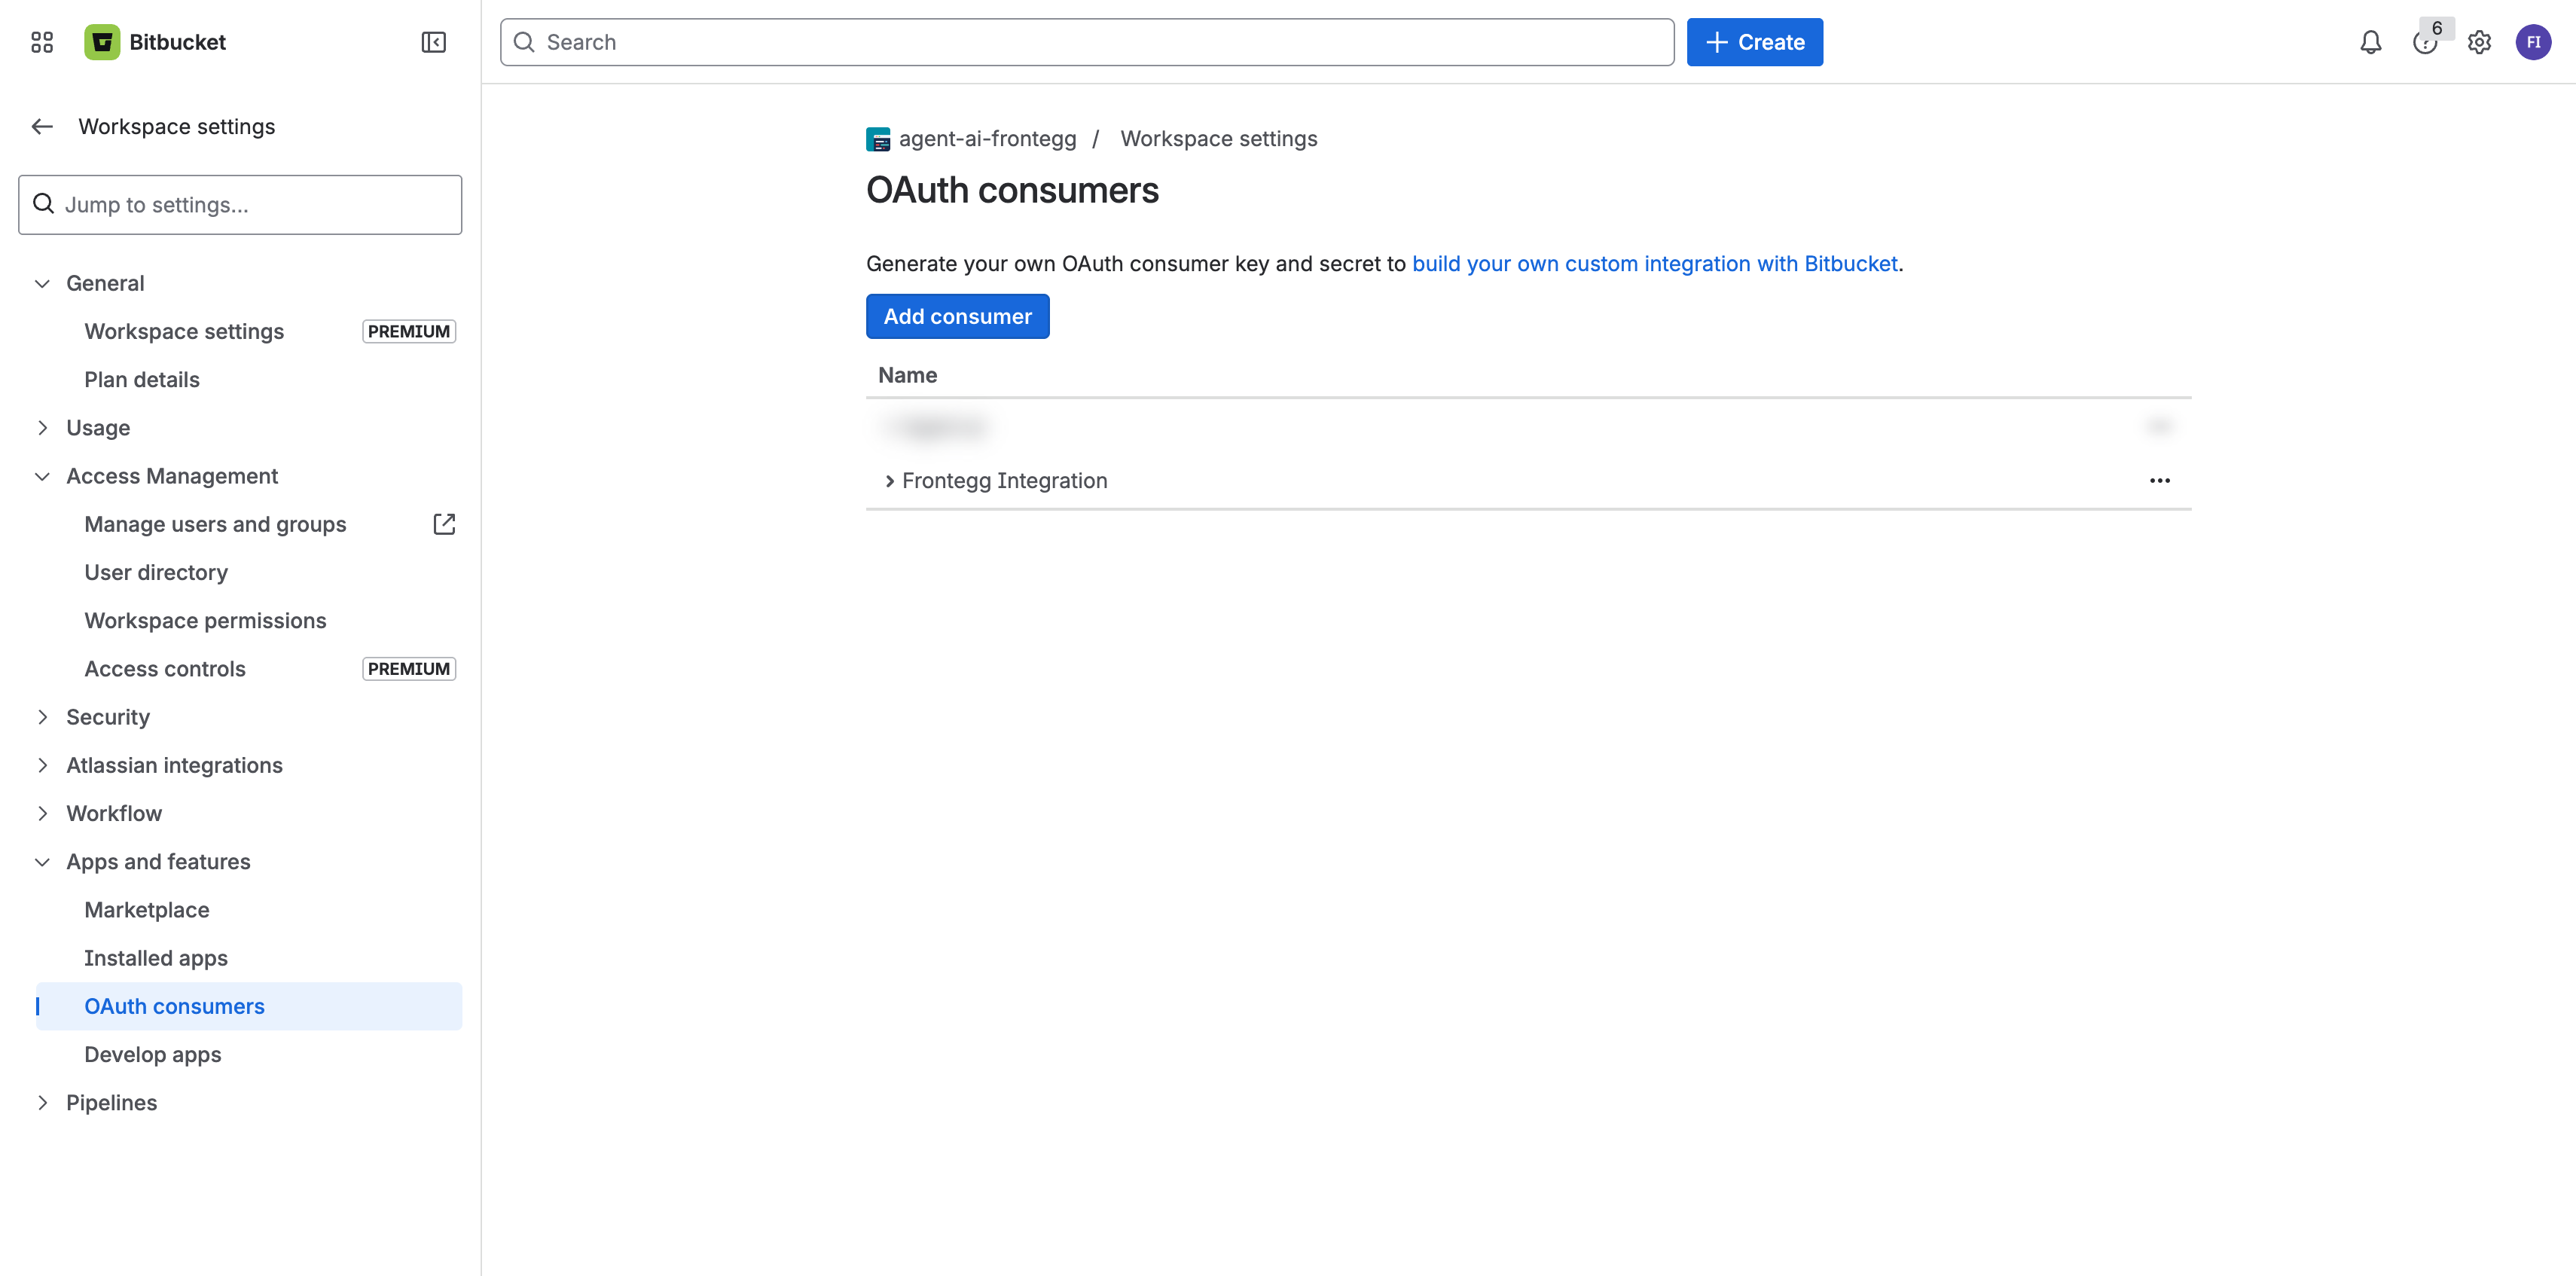
Log in to Bitbucket and navigate to your workspace. Click Settings in the left sidebar, then expand Apps and features and click OAuth consumers. Click Add consumer to create a new OAuth application.
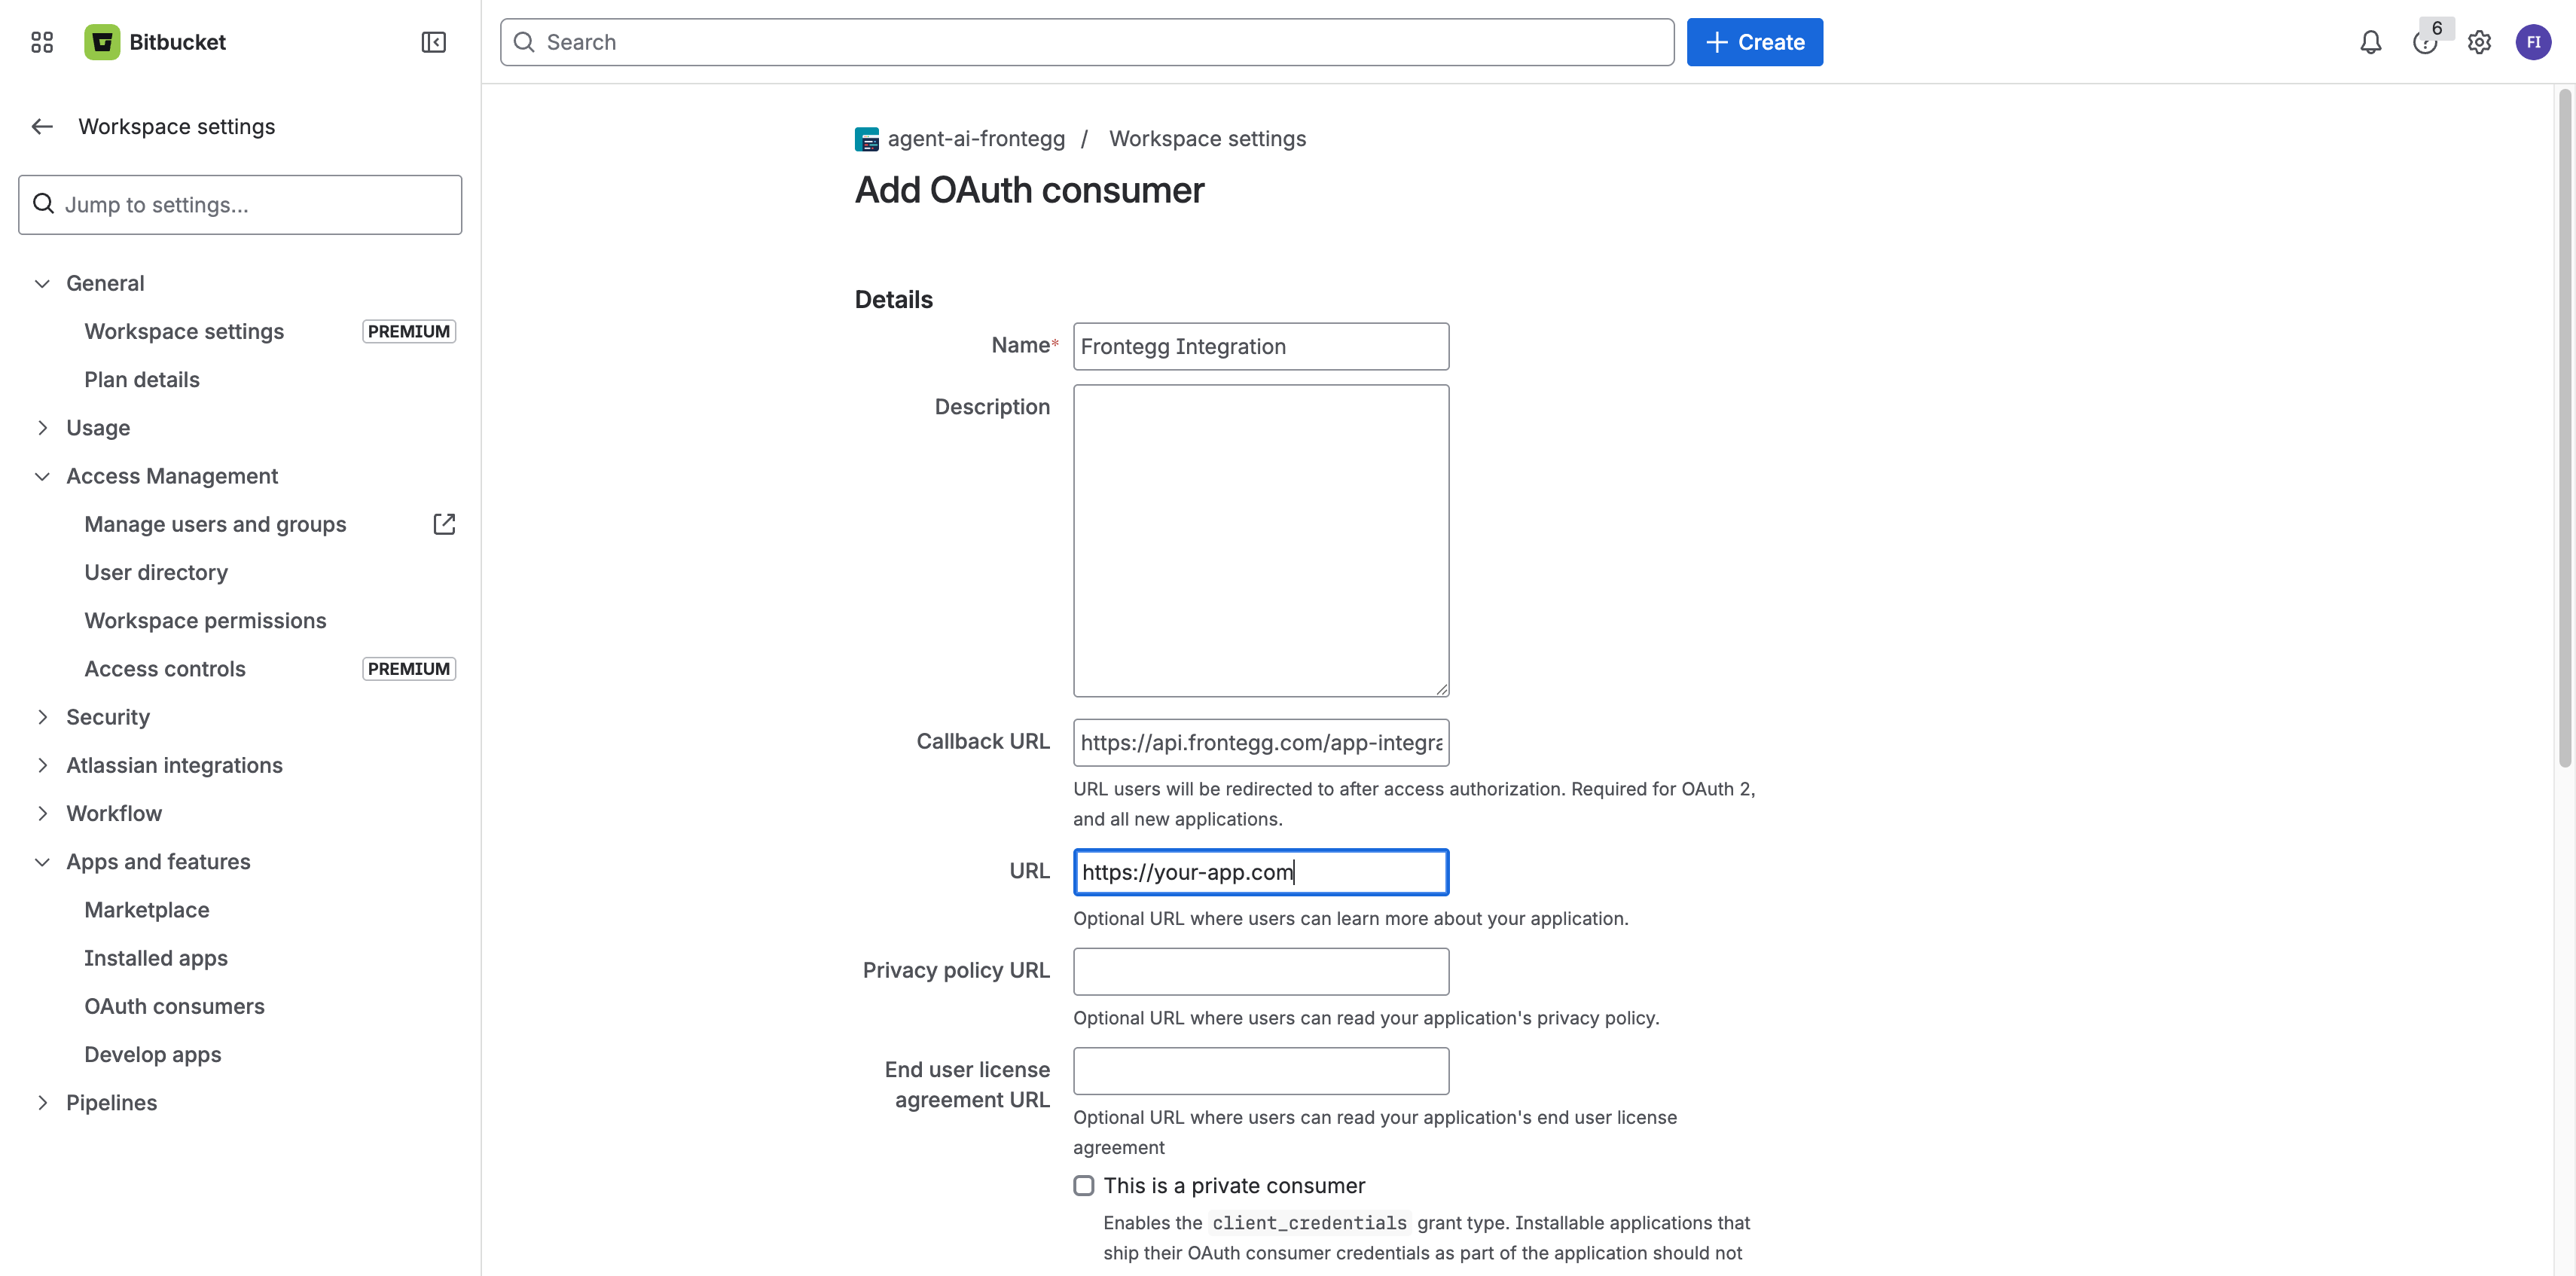
In the Add OAuth consumer form, fill in the following fields:
- Name — Enter a descriptive name (e.g., "Frontegg Integration")
- Callback URL — Enter the Frontegg redirect URI:
https://YOUR_MCP_GATEWAY_URL/integration-callback - URL — Enter your application homepage URL
Scroll down to the Permissions section and select the scopes your application requires:
| Scope | Description |
|---|---|
account | Read account information |
repository | Read repositories |
repository:write | Write to repositories |
pullrequest | Read and write pull requests |
issue | Read and write issues |
Minimum required scopes
Minimum required scopes
For basic functionality, select account and repository. Add pullrequest and issue if your application needs to work with pull requests or issues.
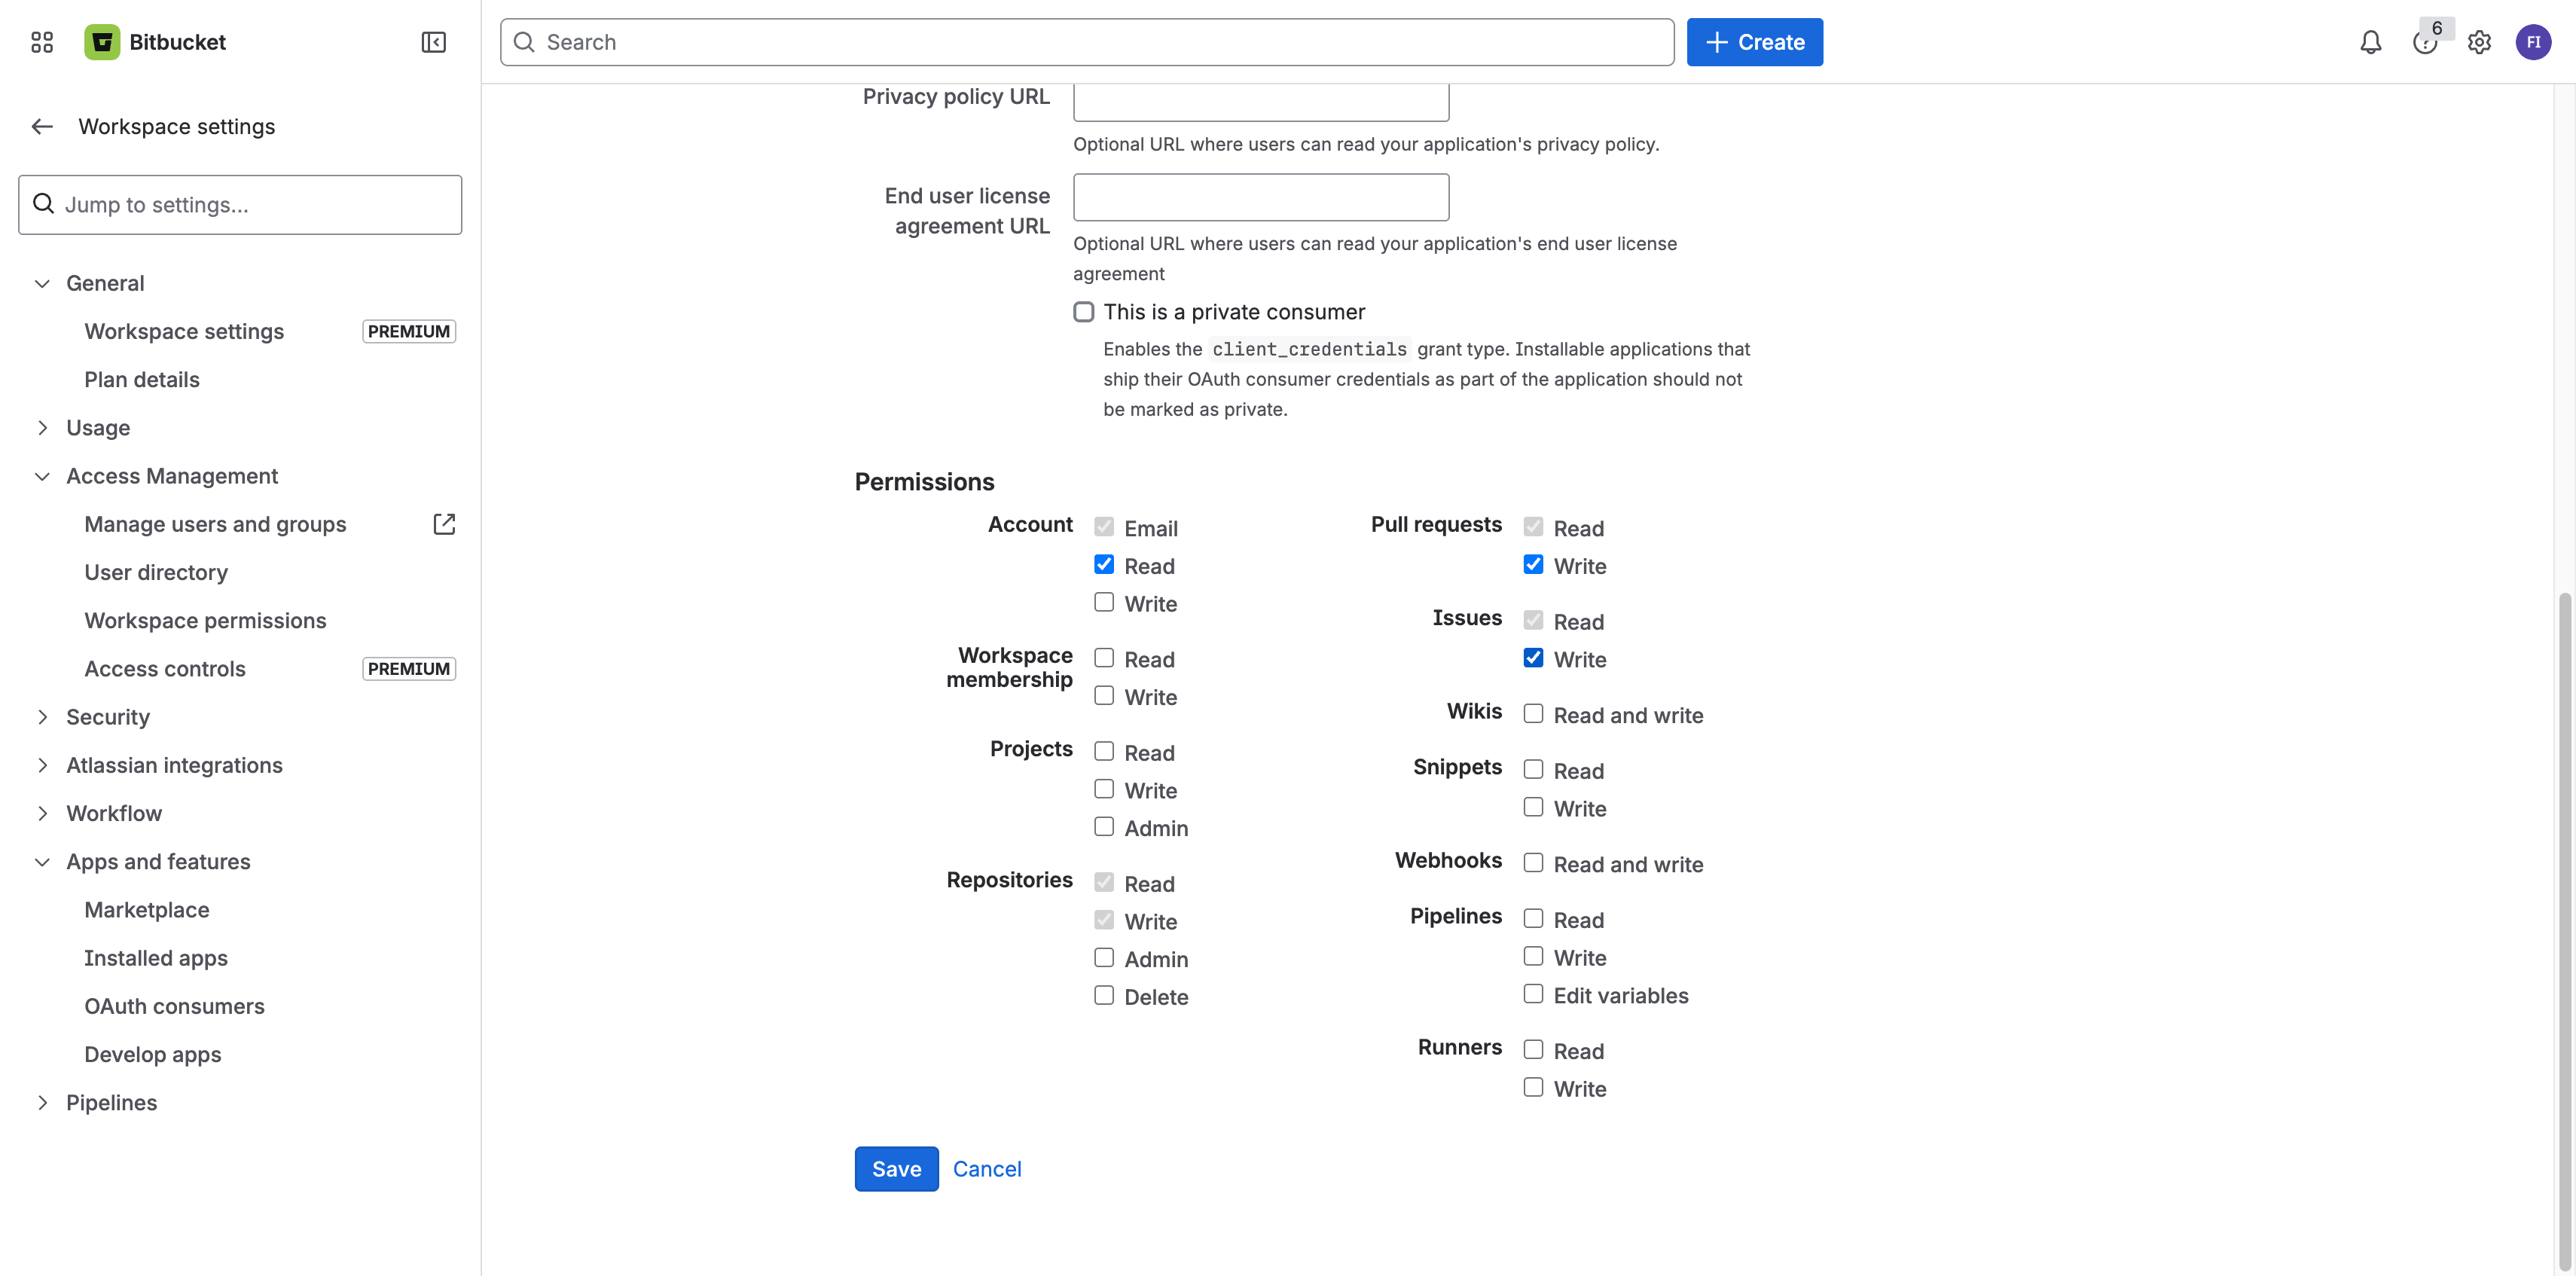
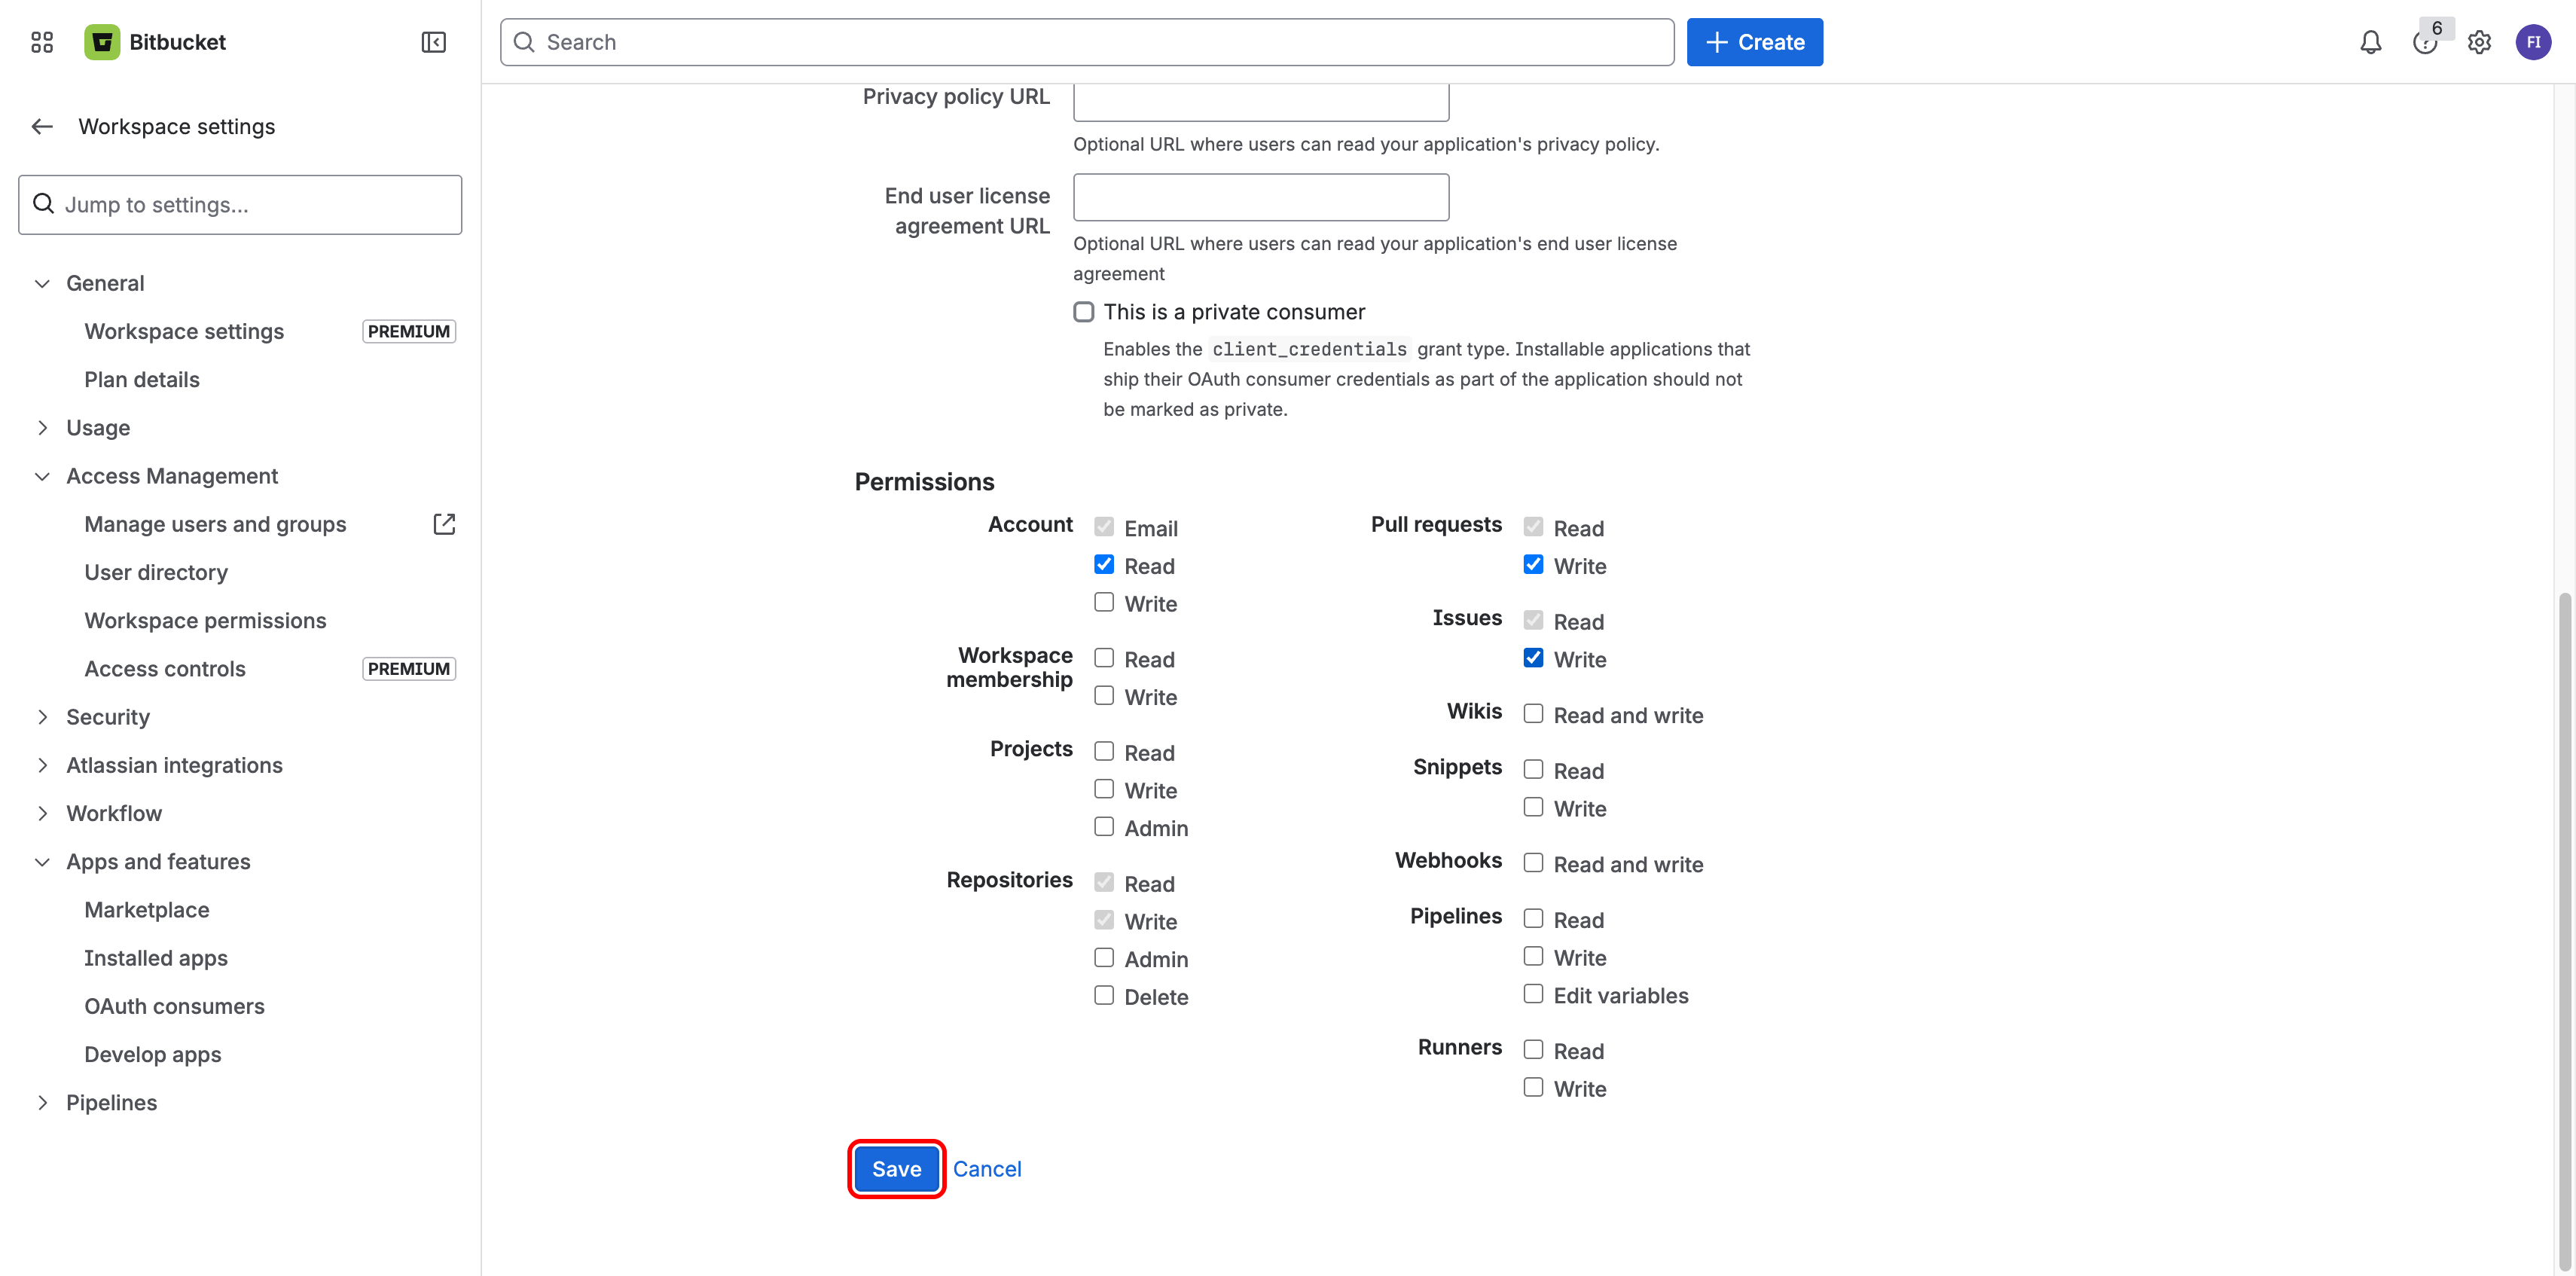
Click Save at the bottom of the form to create your OAuth consumer.
After saving, you are redirected back to the OAuth consumers list. A confirmation message appears and your new consumer is listed in the table.
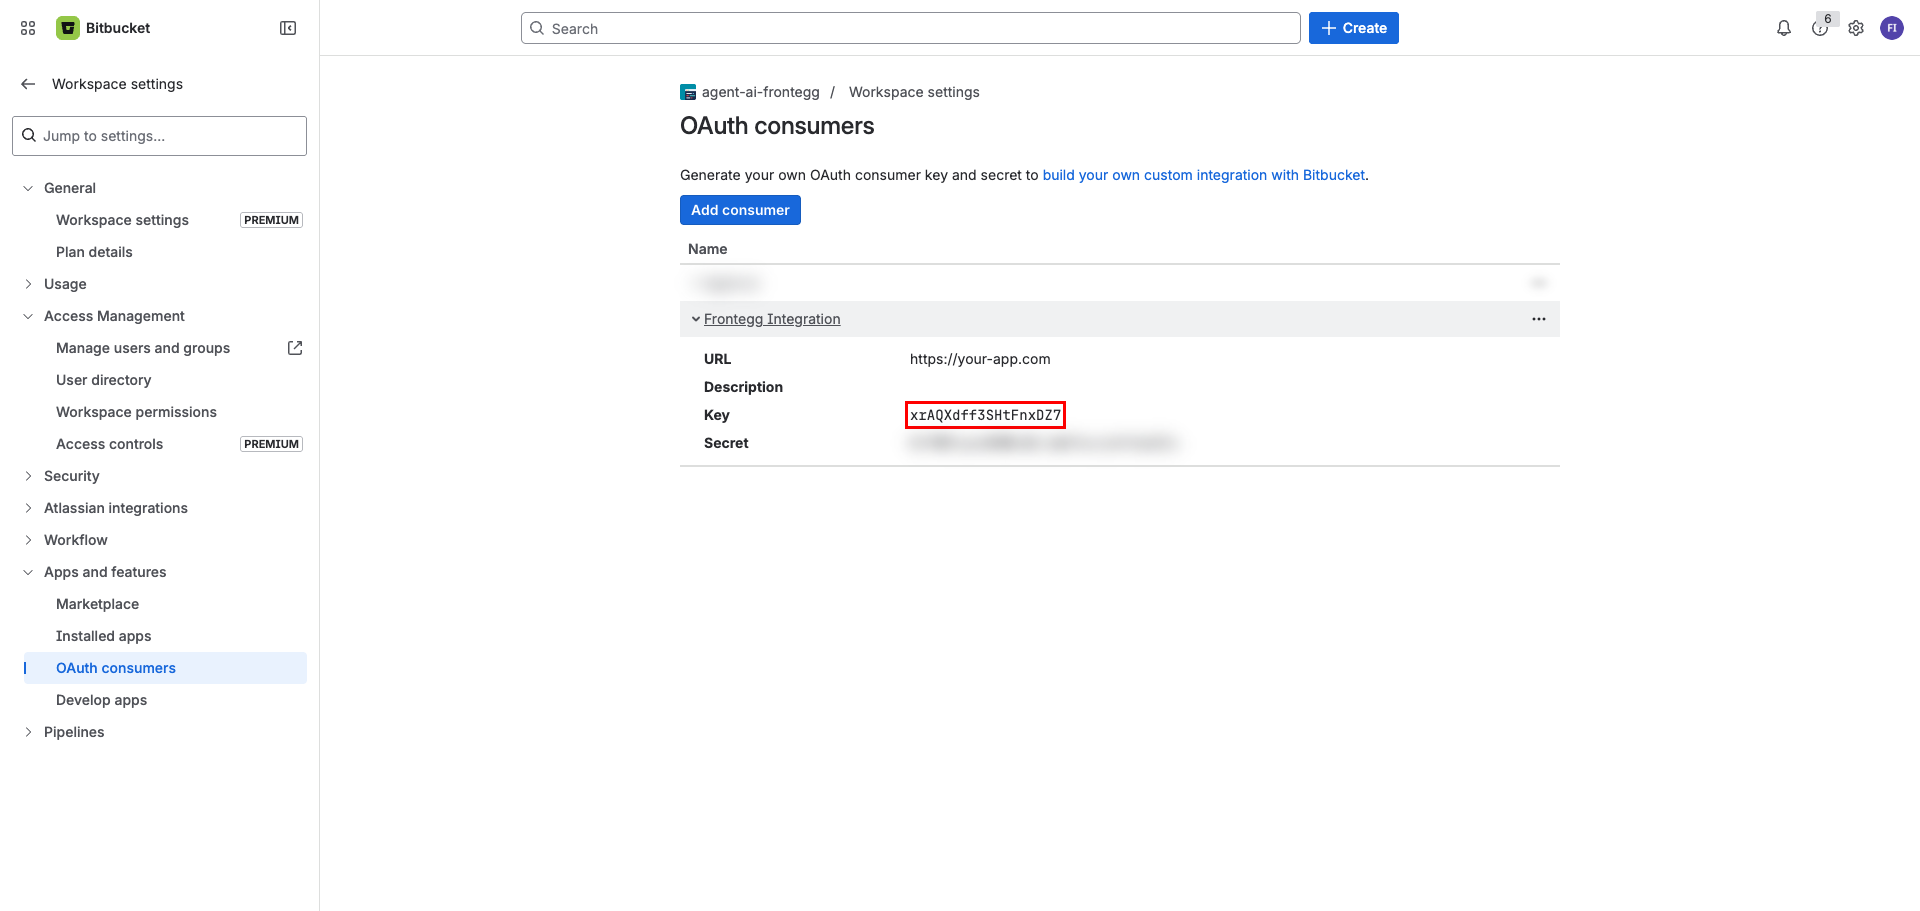
Click on the name of your consumer in the list to expand its details. Copy the Key (Client ID) and Secret (Client Secret) values — you will need them to configure the integration in the Frontegg portal.
Keep your credentials secure
Keep your credentials secure
Never share or commit your Client Secret to version control.
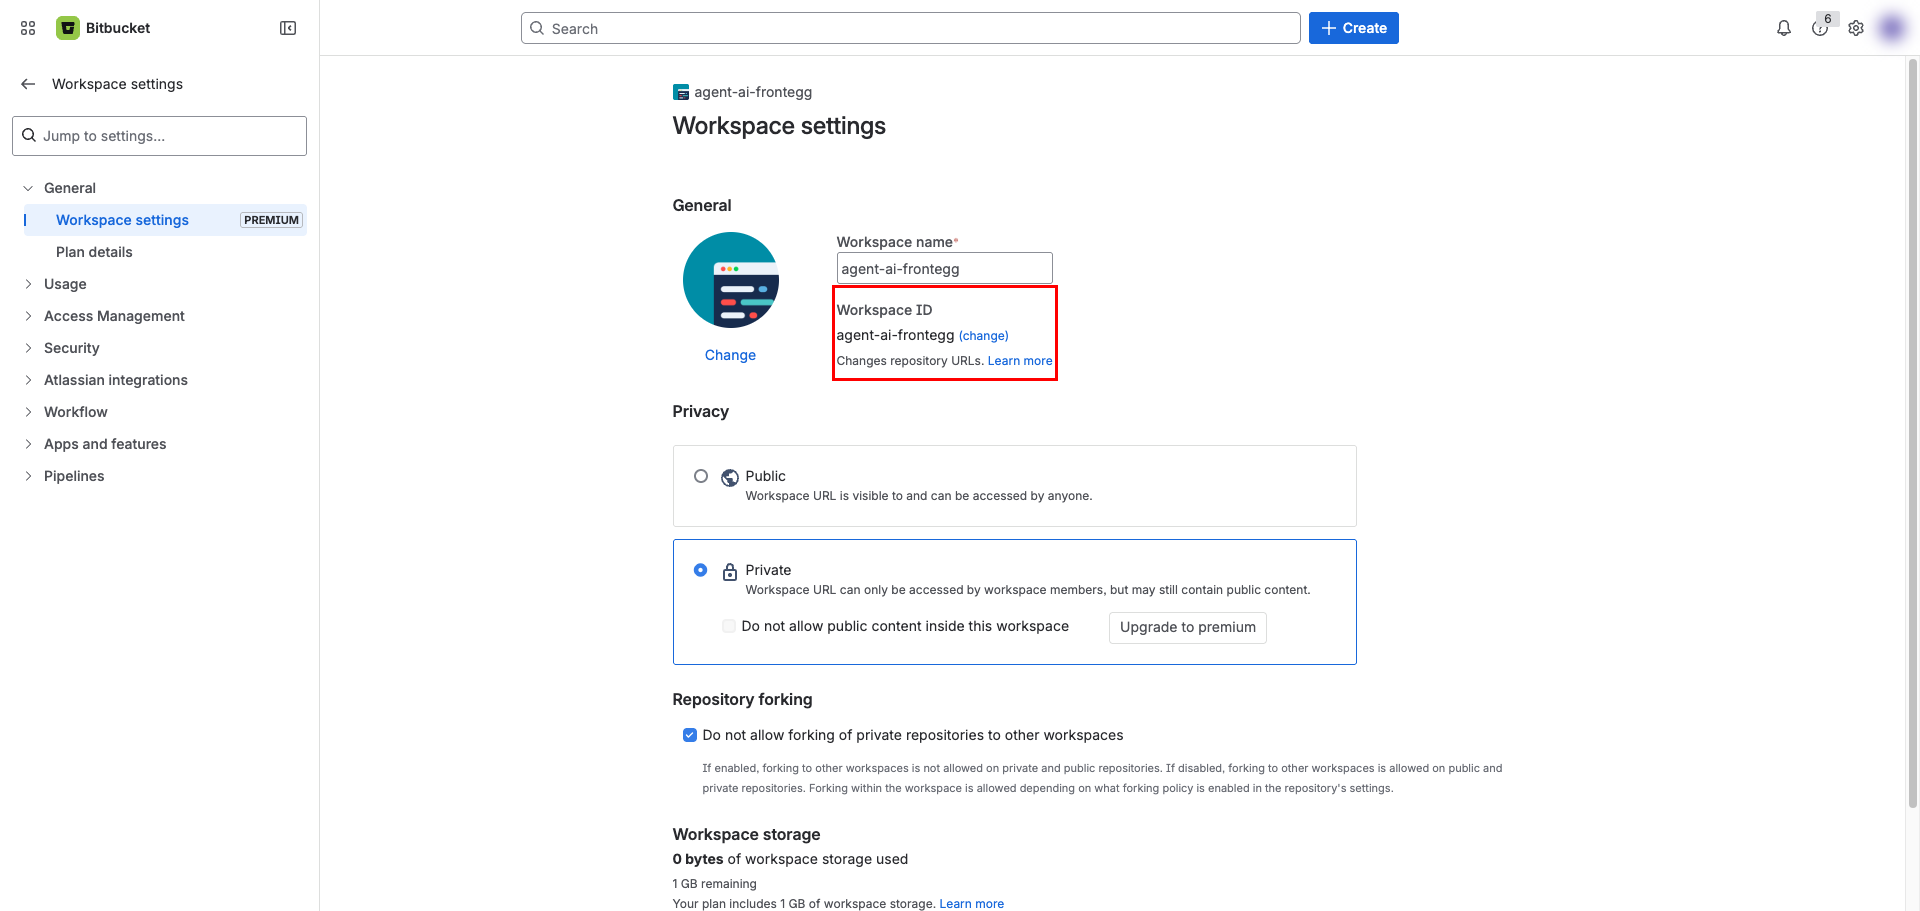
In addition to the OAuth credentials, you need your Bitbucket workspace slug. Click Settings in the left sidebar of your workspace, then open Workspace settings. The Workspace ID field displays your workspace slug — copy this value.
You can also find the slug directly in any of your workspace URLs. For example, in https://bitbucket.org/my-team/, the workspace slug is my-team.
Once you have obtained your Key (Client ID), Secret (Client Secret), and workspace slug from the steps above, enter them in the integration configuration page of the Frontegg portal:
- Open the Frontegg portal and navigate to [ENVIRONMENT] → Integrations → Bitbucket.
- Enter the Key as the Client ID and Secret as the Client Secret in the corresponding fields.
- Enter your Bitbucket workspace slug in the Bitbucket workspace slug field (for example,
my-team). - Select the required scopes.
- Click Save.