GitLab is a DevOps platform that provides source code management, CI/CD pipelines, issue tracking, and project management. Integrating GitLab with Frontegg allows your application to manage projects, issues, and merge requests on behalf of your users through OAuth 2.0 authentication.
Prerequisites
Prerequisites
- A GitLab account with access to User Settings
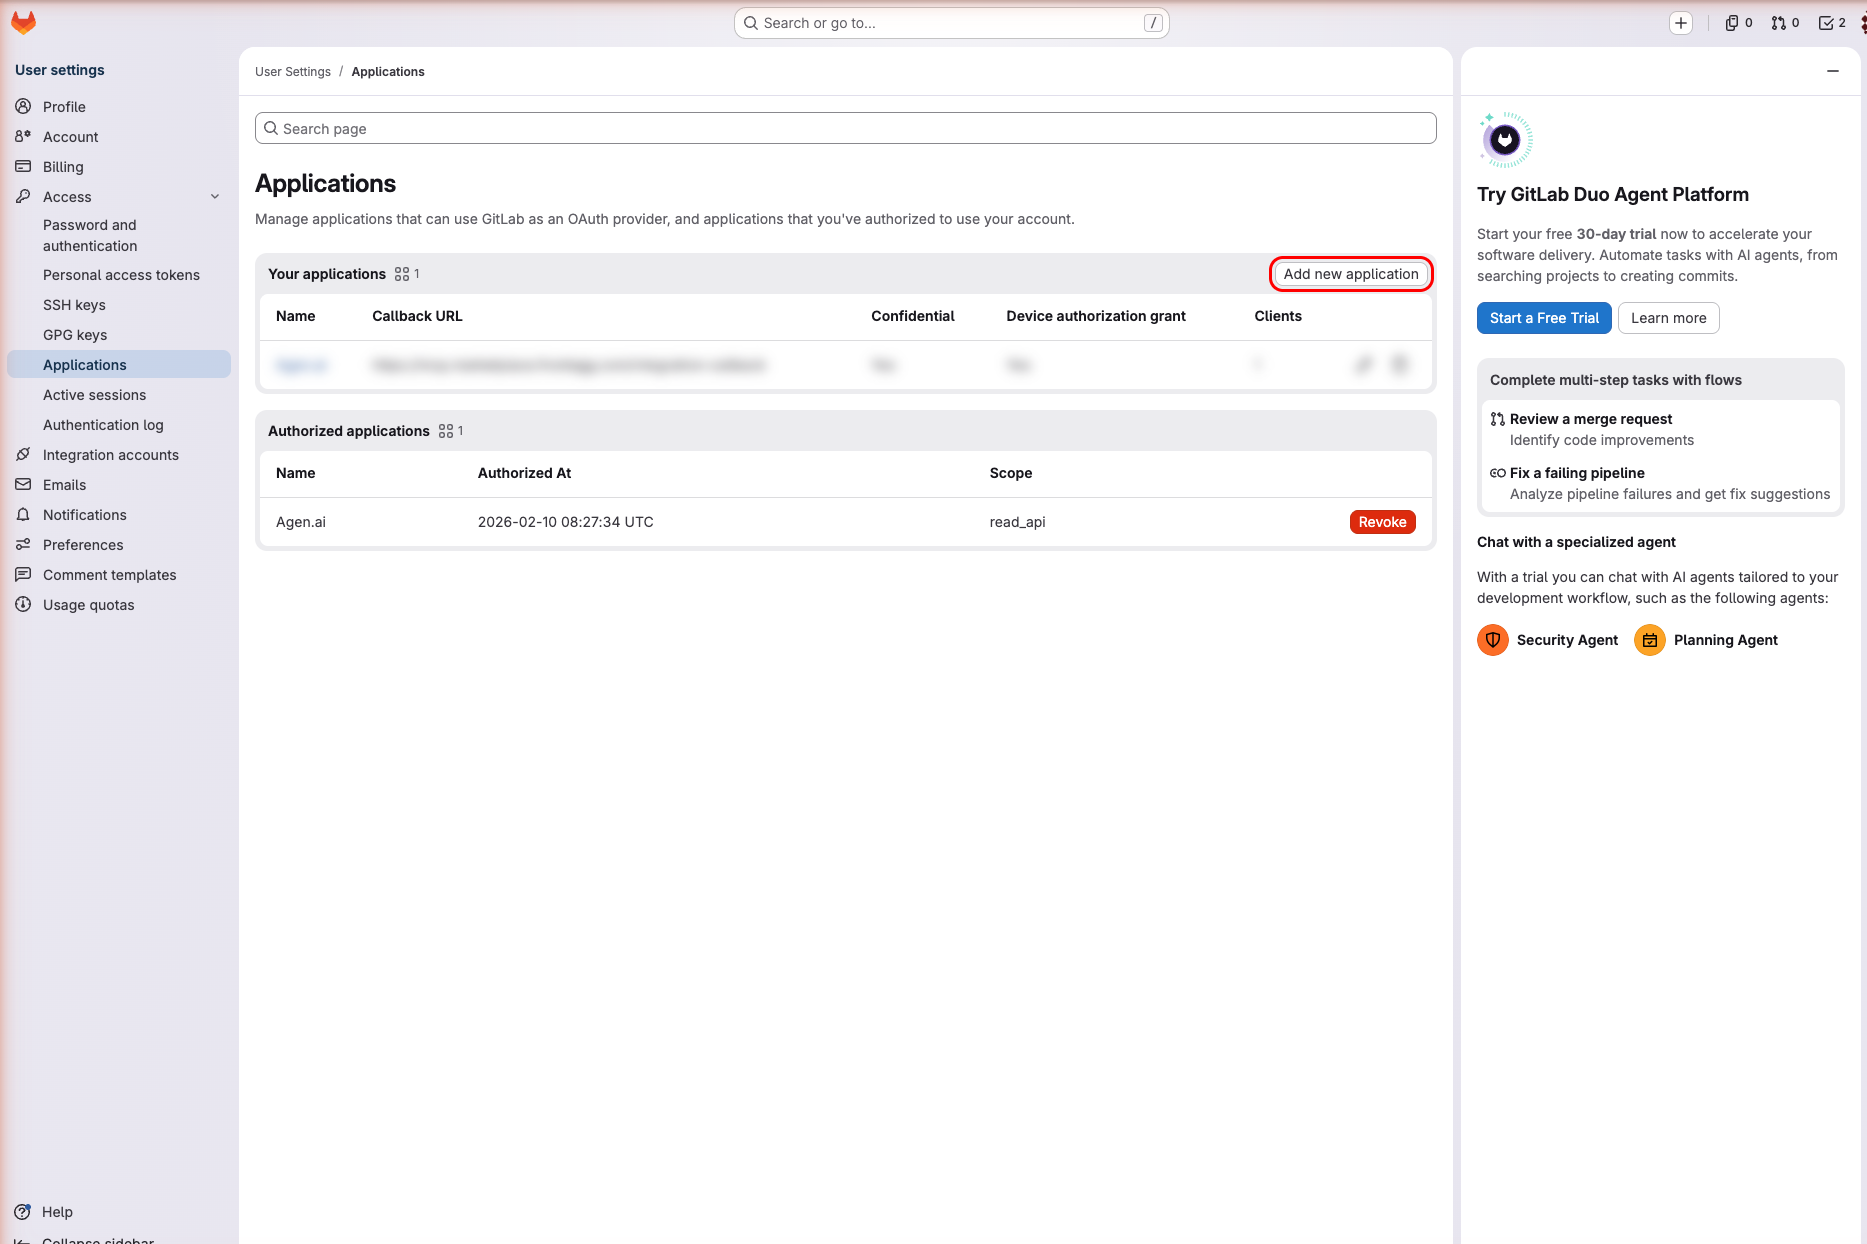
Sign in to GitLab and navigate to User Settings → Applications at https://gitlab.com/-/user_settings/applications. This page lists all OAuth applications registered under your account.
Click Add new application.
On the Add new application form, enter the following:
| Field | Value |
|---|---|
| Name | A descriptive name, e.g., Frontegg Integration |
| Redirect URI | The Frontegg callback URIs (see below) |
| Confidential | Check this box for server-side applications |
In the Redirect URI field, enter the callback URI:
https://YOUR_MCP_GATEWAY_URL/integration-callback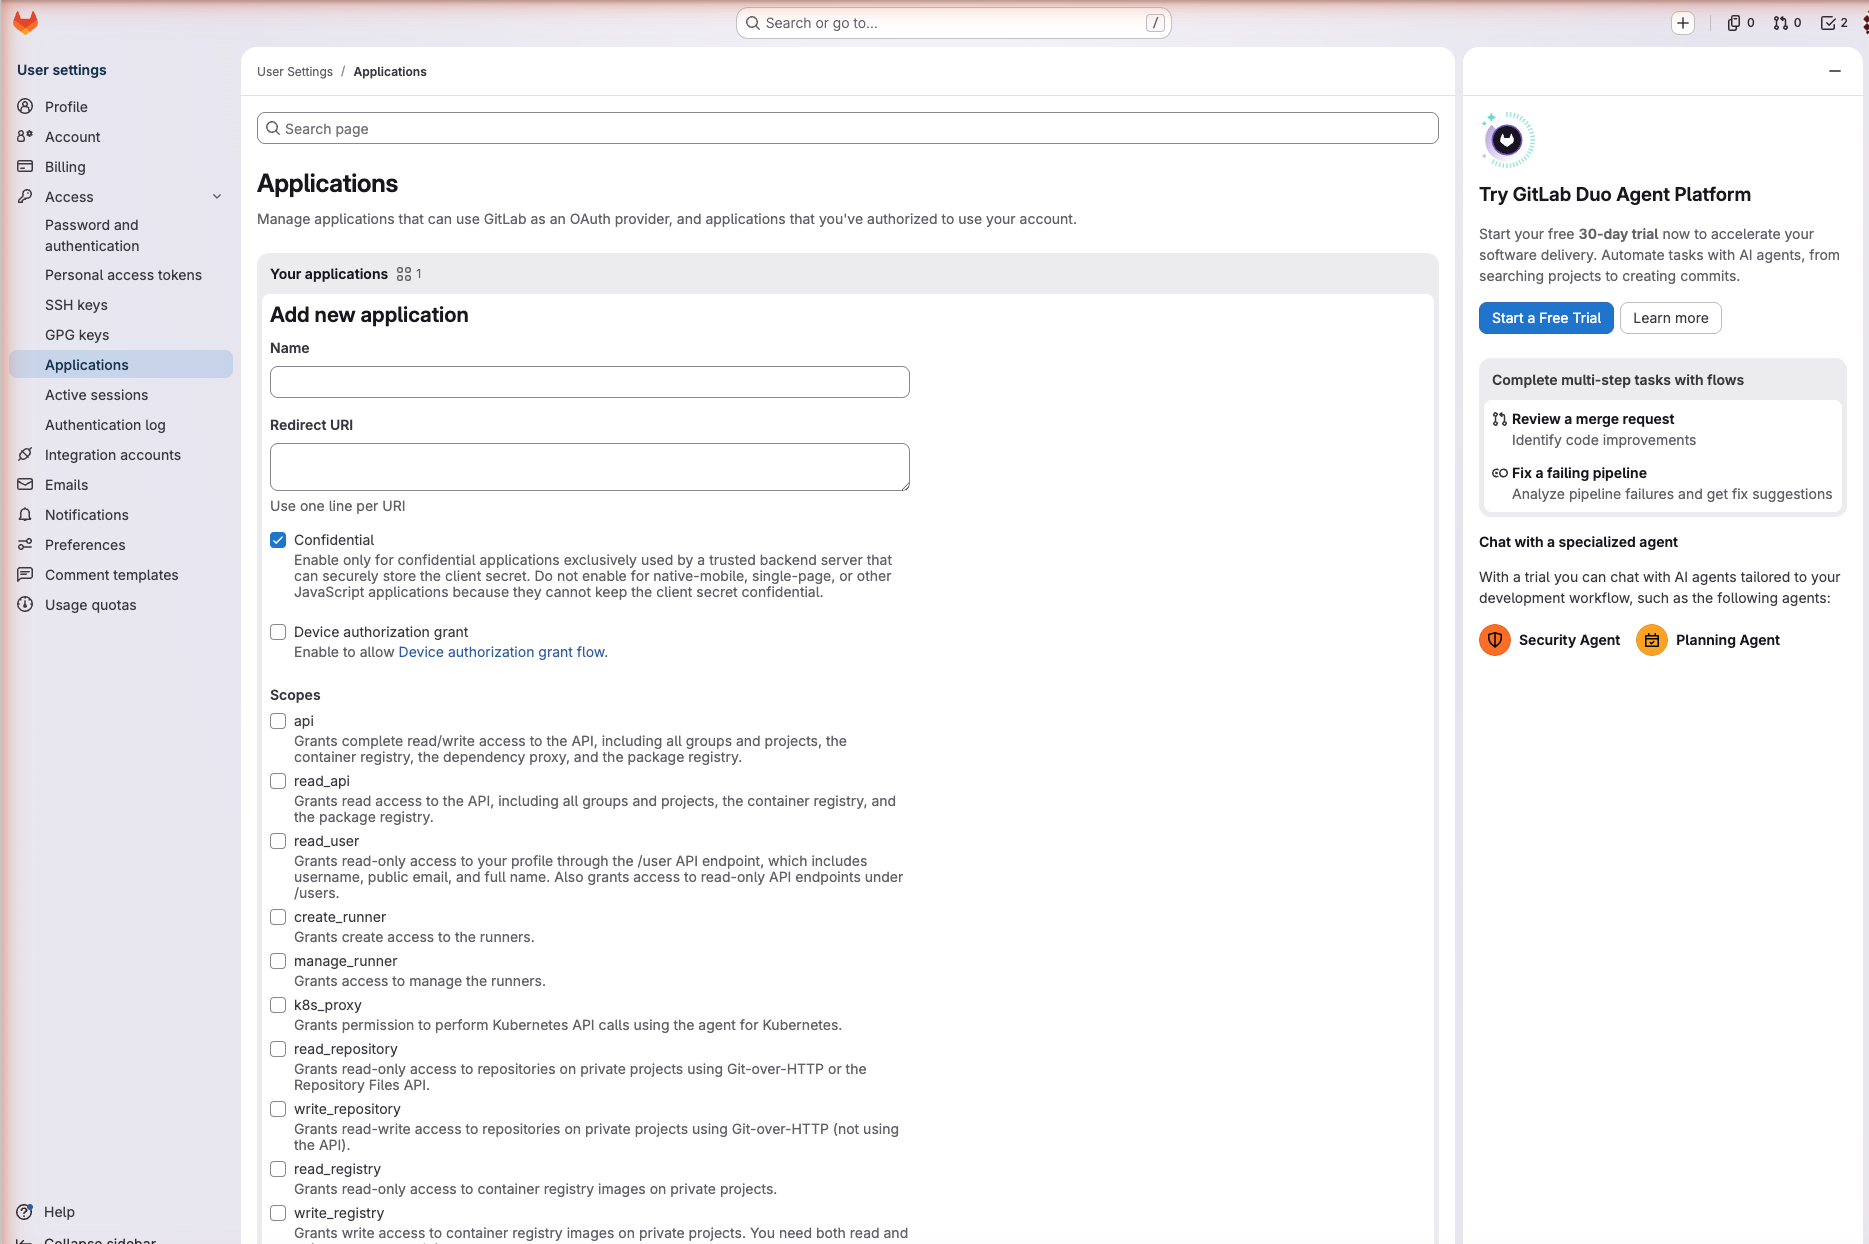
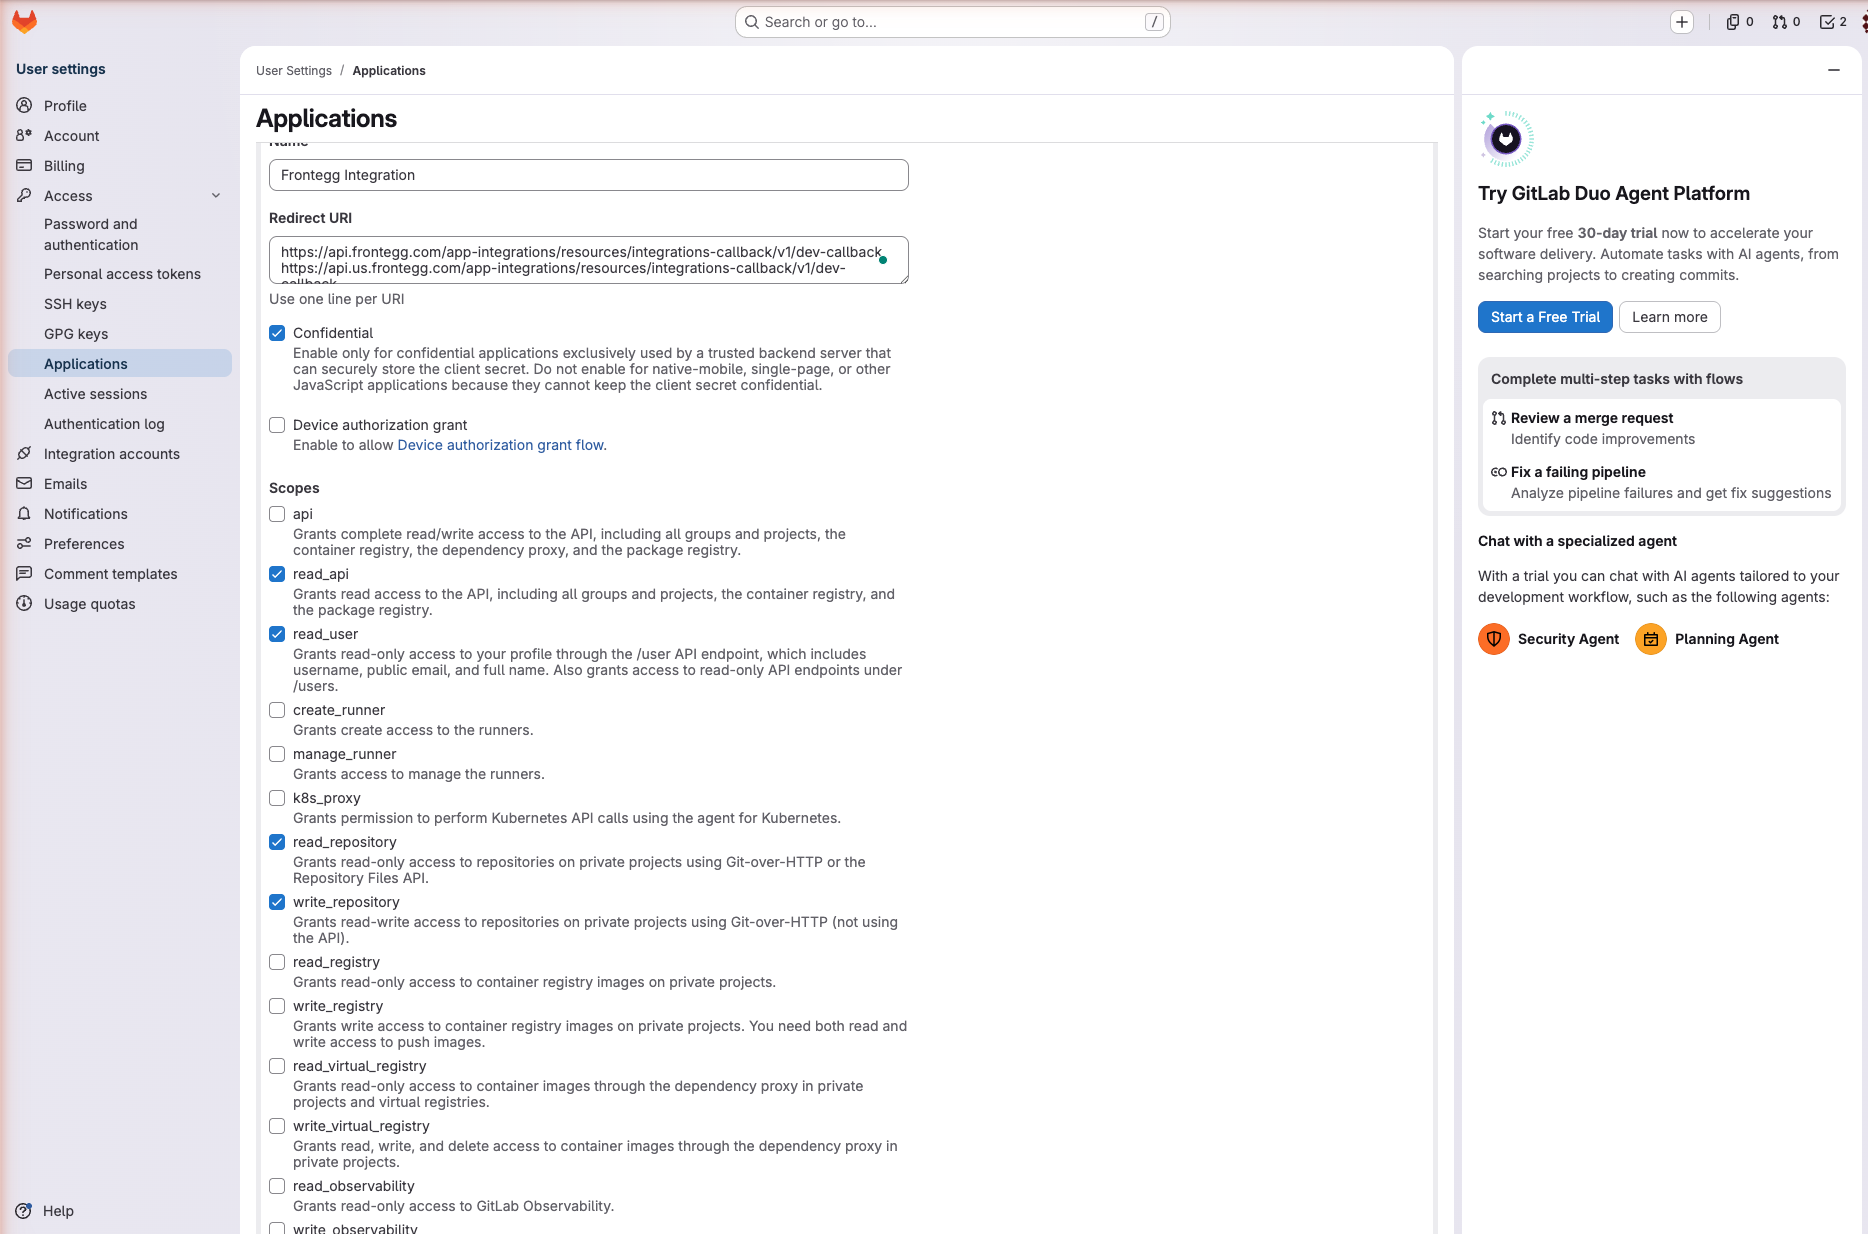
In the Scopes section, select the scopes required for your integration:
| Scope | Description |
|---|---|
read_api | Read-only API access to all groups, projects, and packages |
read_user | Read user profile information |
read_repository | Read-only access to repositories |
write_repository | Read-write access to repositories |
Minimum required scopes
Minimum required scopes
For basic functionality, select at minimum: read_api and read_user.
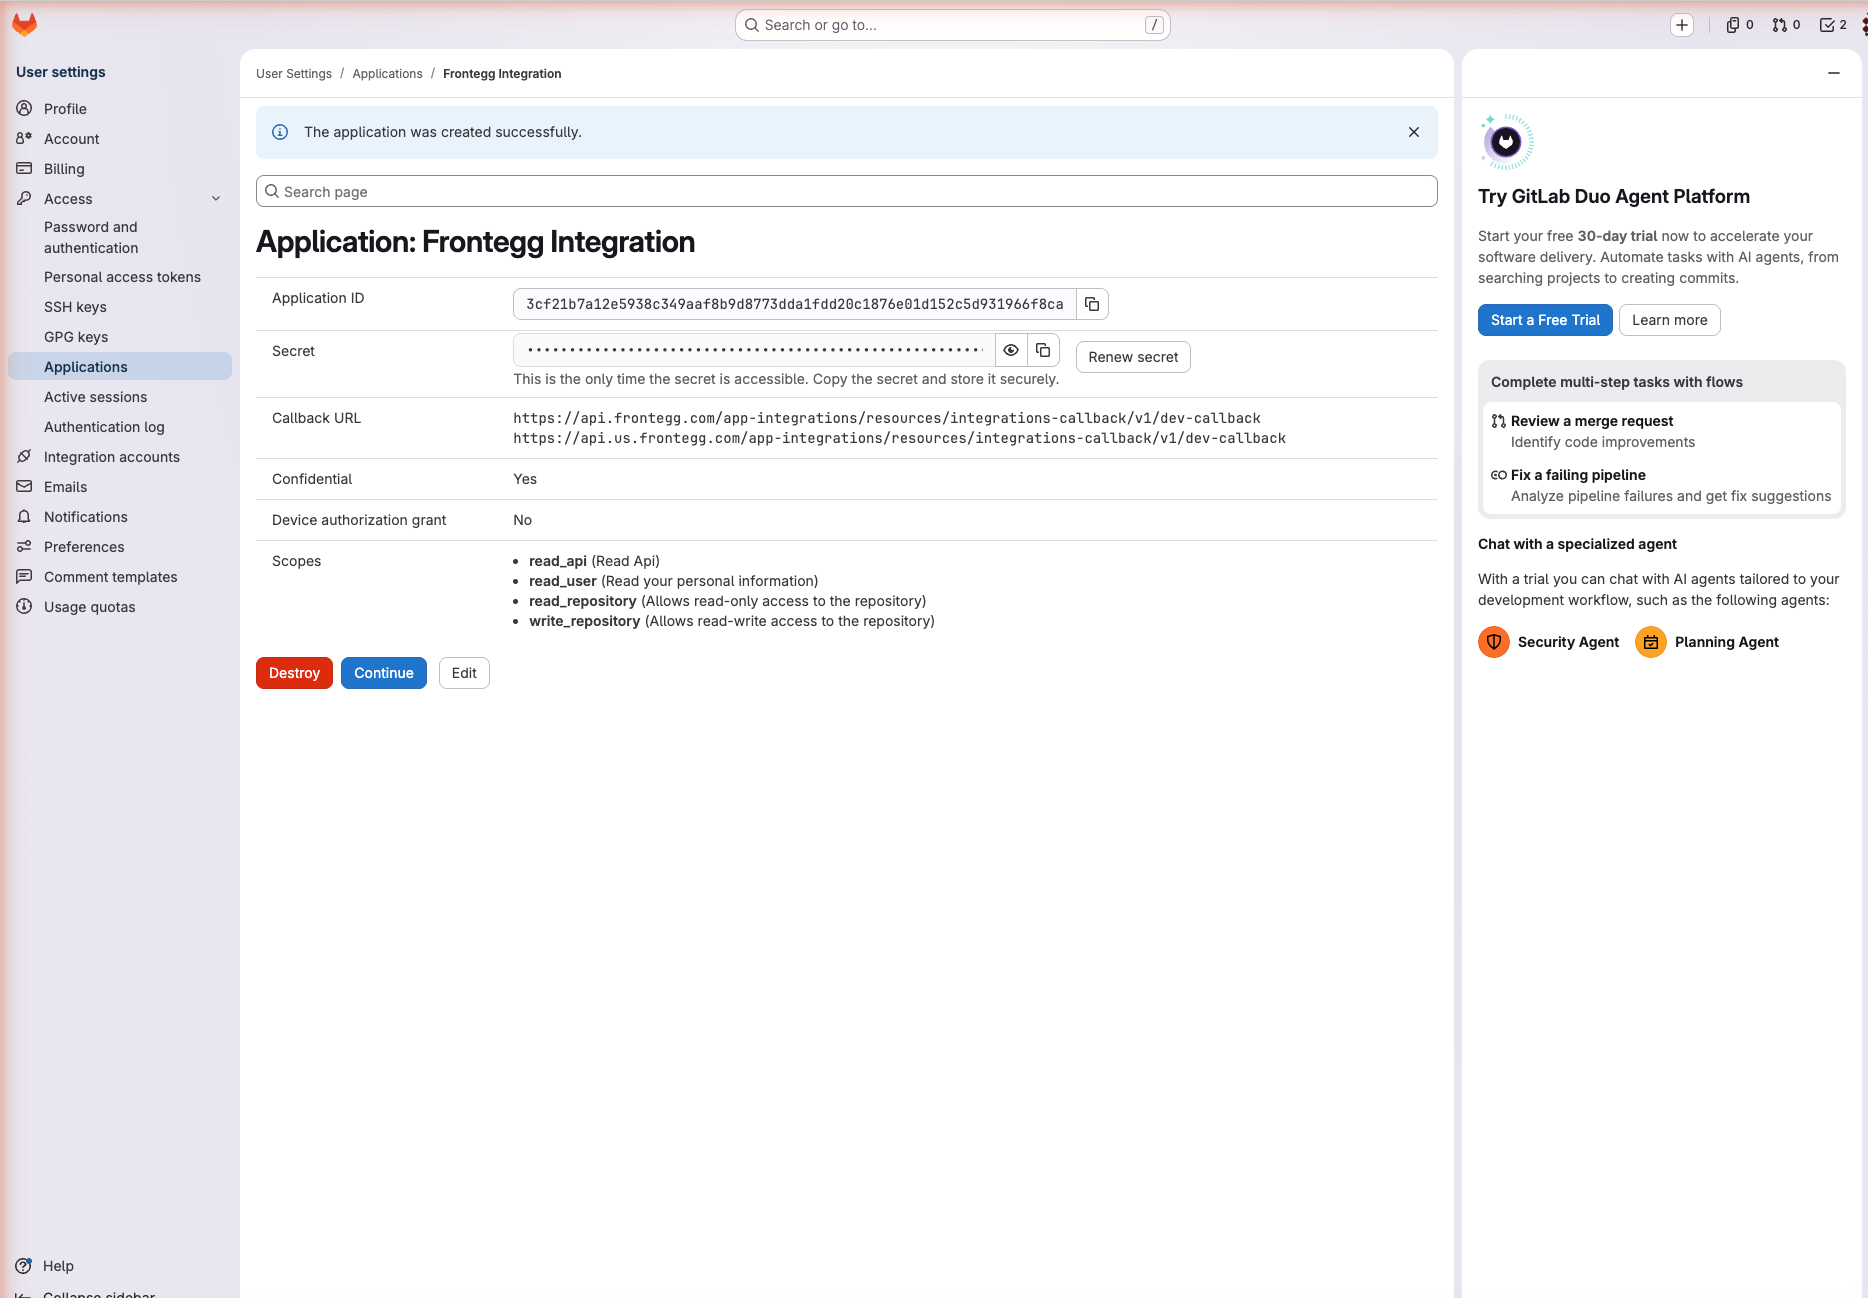
Click Save application.
After saving, GitLab displays the Application ID (Client ID) and a Secret (Client Secret). Copy both values immediately and store them securely.
Keep your credentials secure
Keep your credentials secure
The Client Secret is shown only once. If you lose it, click Renew secret to generate a new one — this will invalidate the previous secret.
Once you have the Application ID (Client ID) and Secret (Client Secret) from the steps above, enter them in the integration configuration page of the Frontegg portal:
- Open the Frontegg portal and navigate to [ENVIRONMENT] → Integrations → GitLab.
- Enter the Client ID and Client Secret in the corresponding fields.
- Select the required scopes.
- Click Save.