Confluence is a team workspace and wiki platform by Atlassian for creating, organizing, and collaborating on documentation and knowledge bases. The Confluence integration with Frontegg allows your application to access and manage Confluence spaces, pages, and user data on behalf of your users.
Prerequisites
Prerequisites
- An Atlassian account with access to the Atlassian Developer Console
- Permission to create OAuth 2.0 apps in the Atlassian Developer Console
Go to developer.atlassian.com/console/myapps and sign in with your Atlassian account.
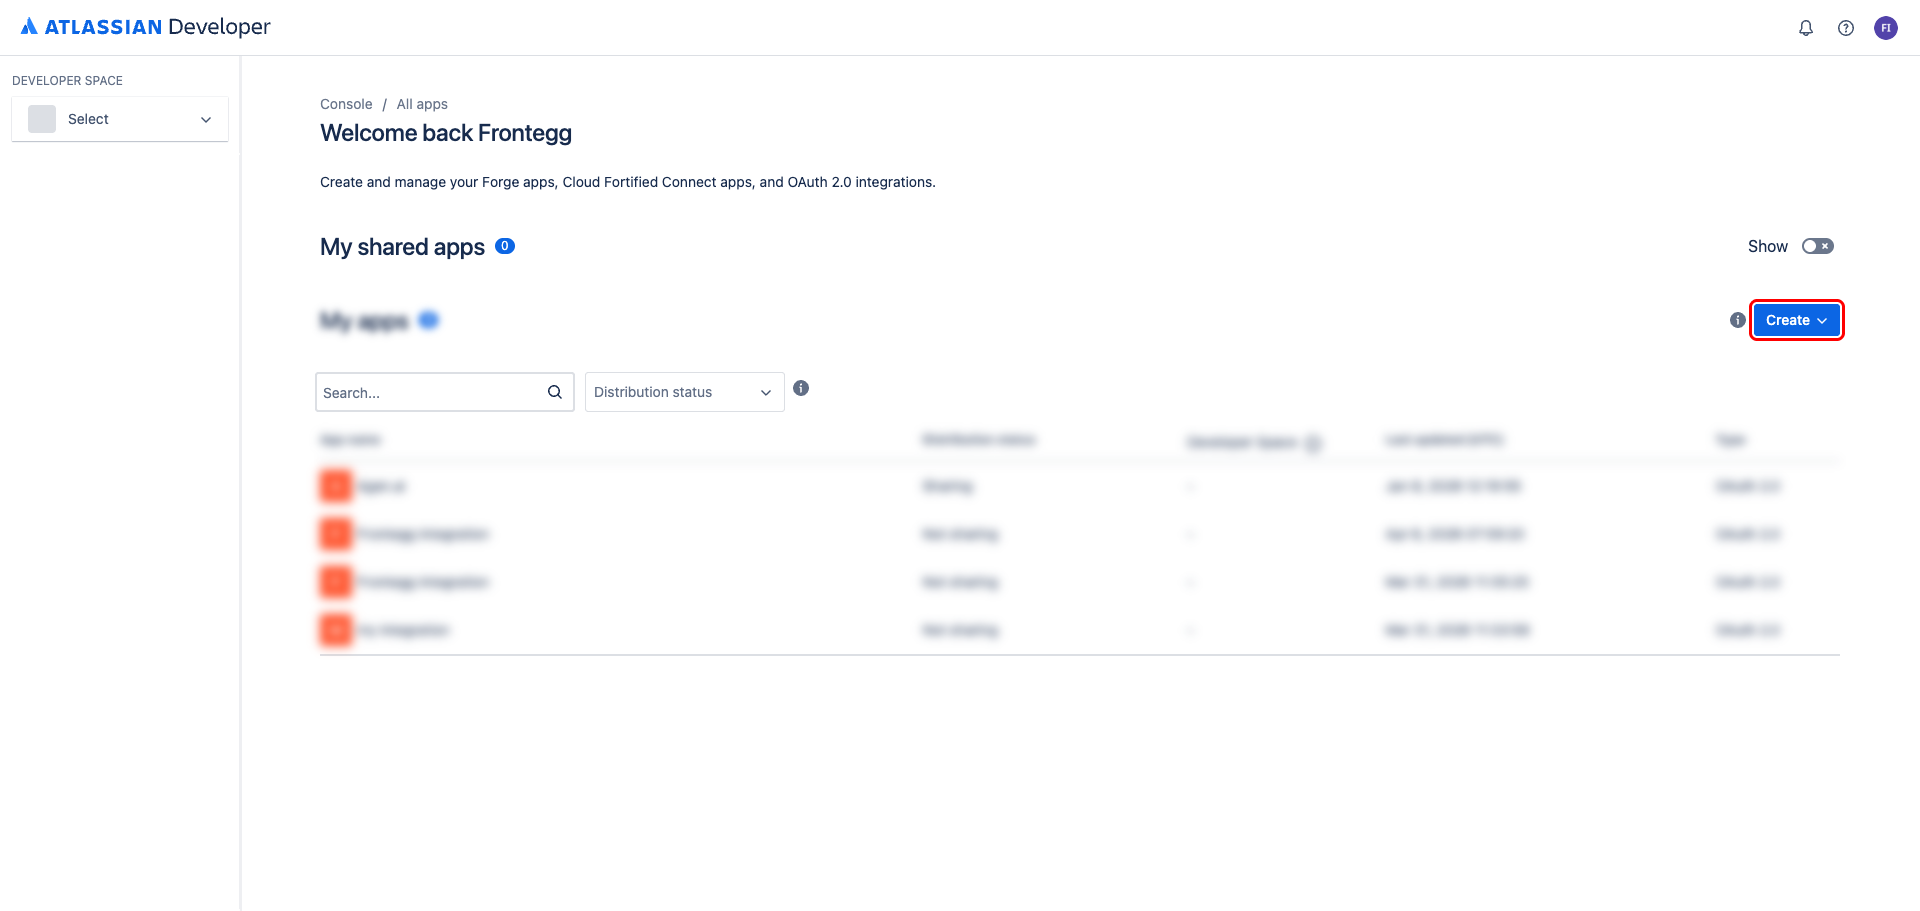
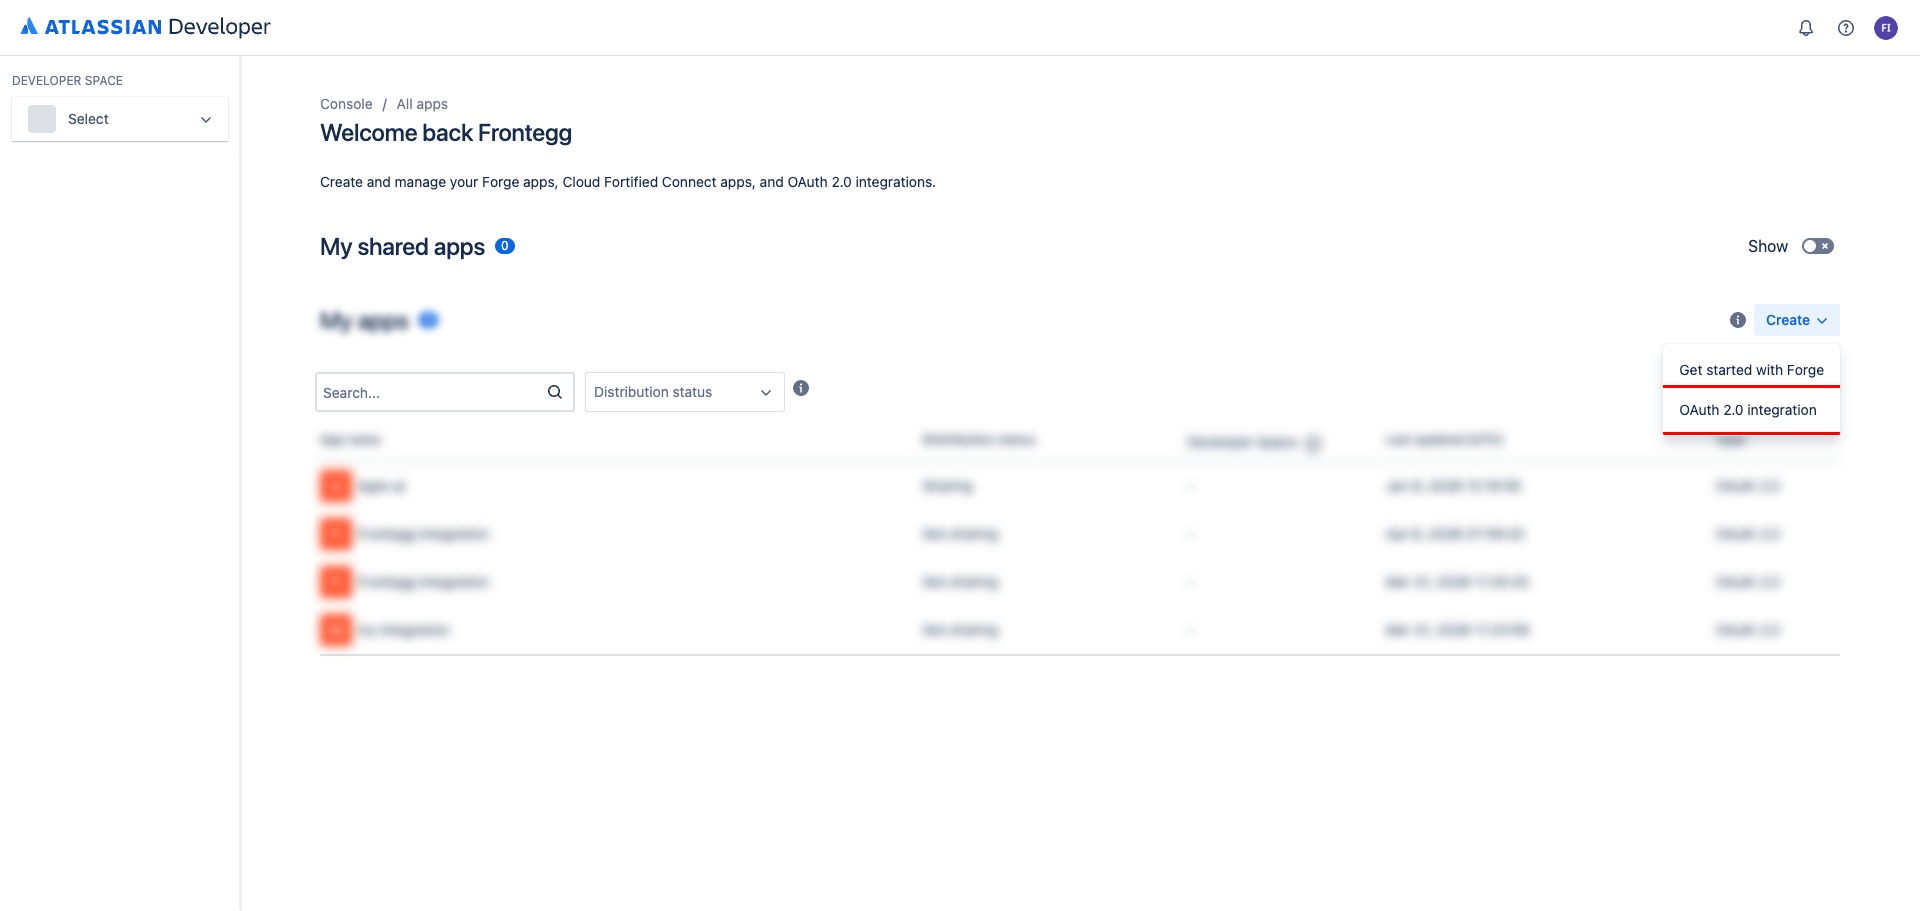
Click Create and select OAuth 2.0 integration from the dropdown.
In the form that appears, enter the app name:
- Name:
Frontegg Integration
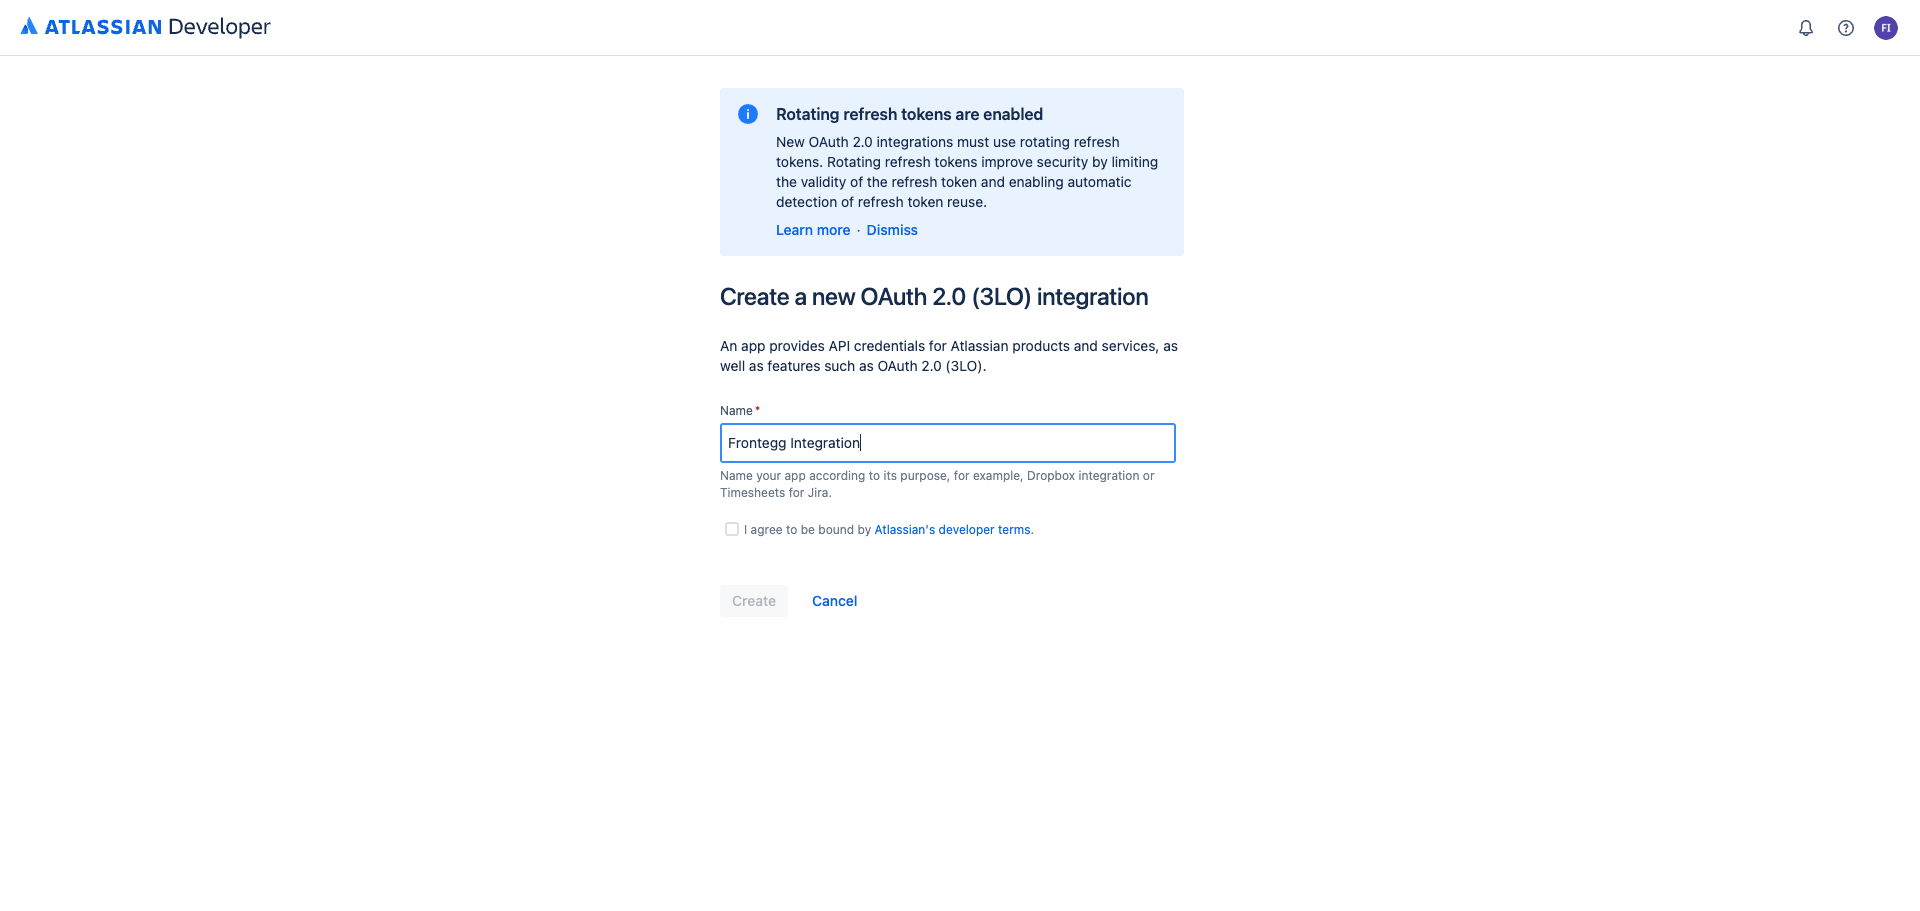
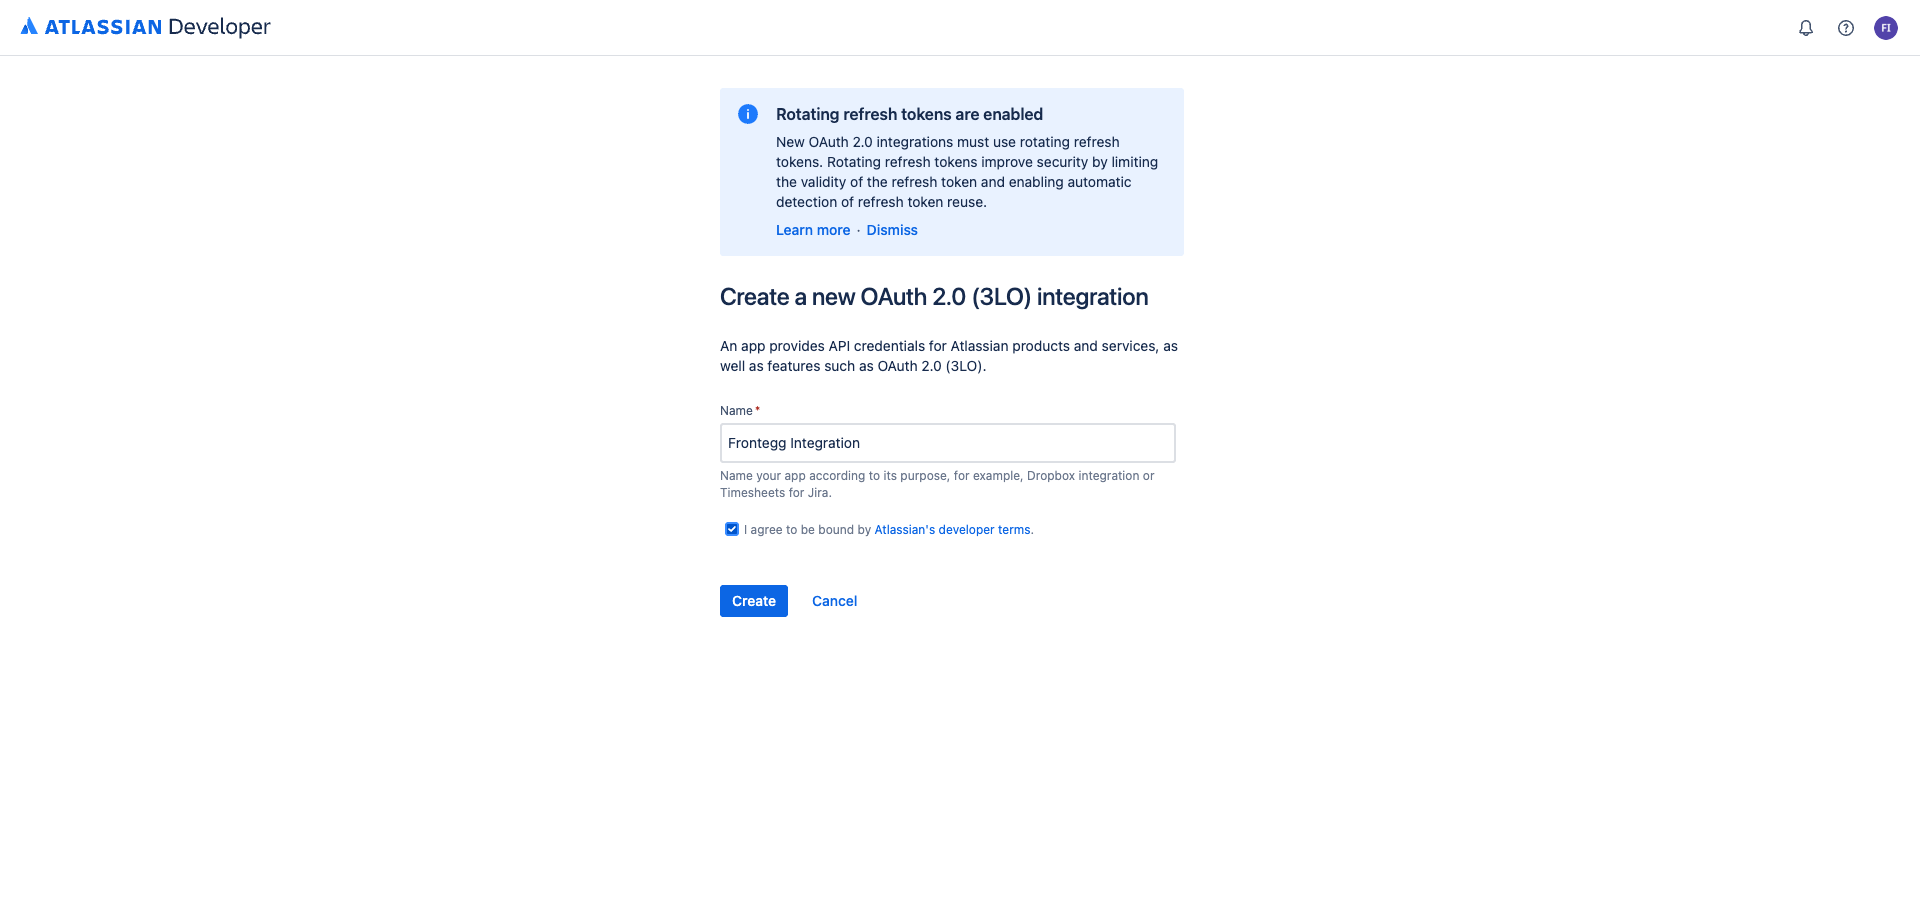
Check I agree to be bound by Atlassian's developer terms and click Create.
After creation, you are taken to the app overview page. This shows your app's details and navigation tabs.
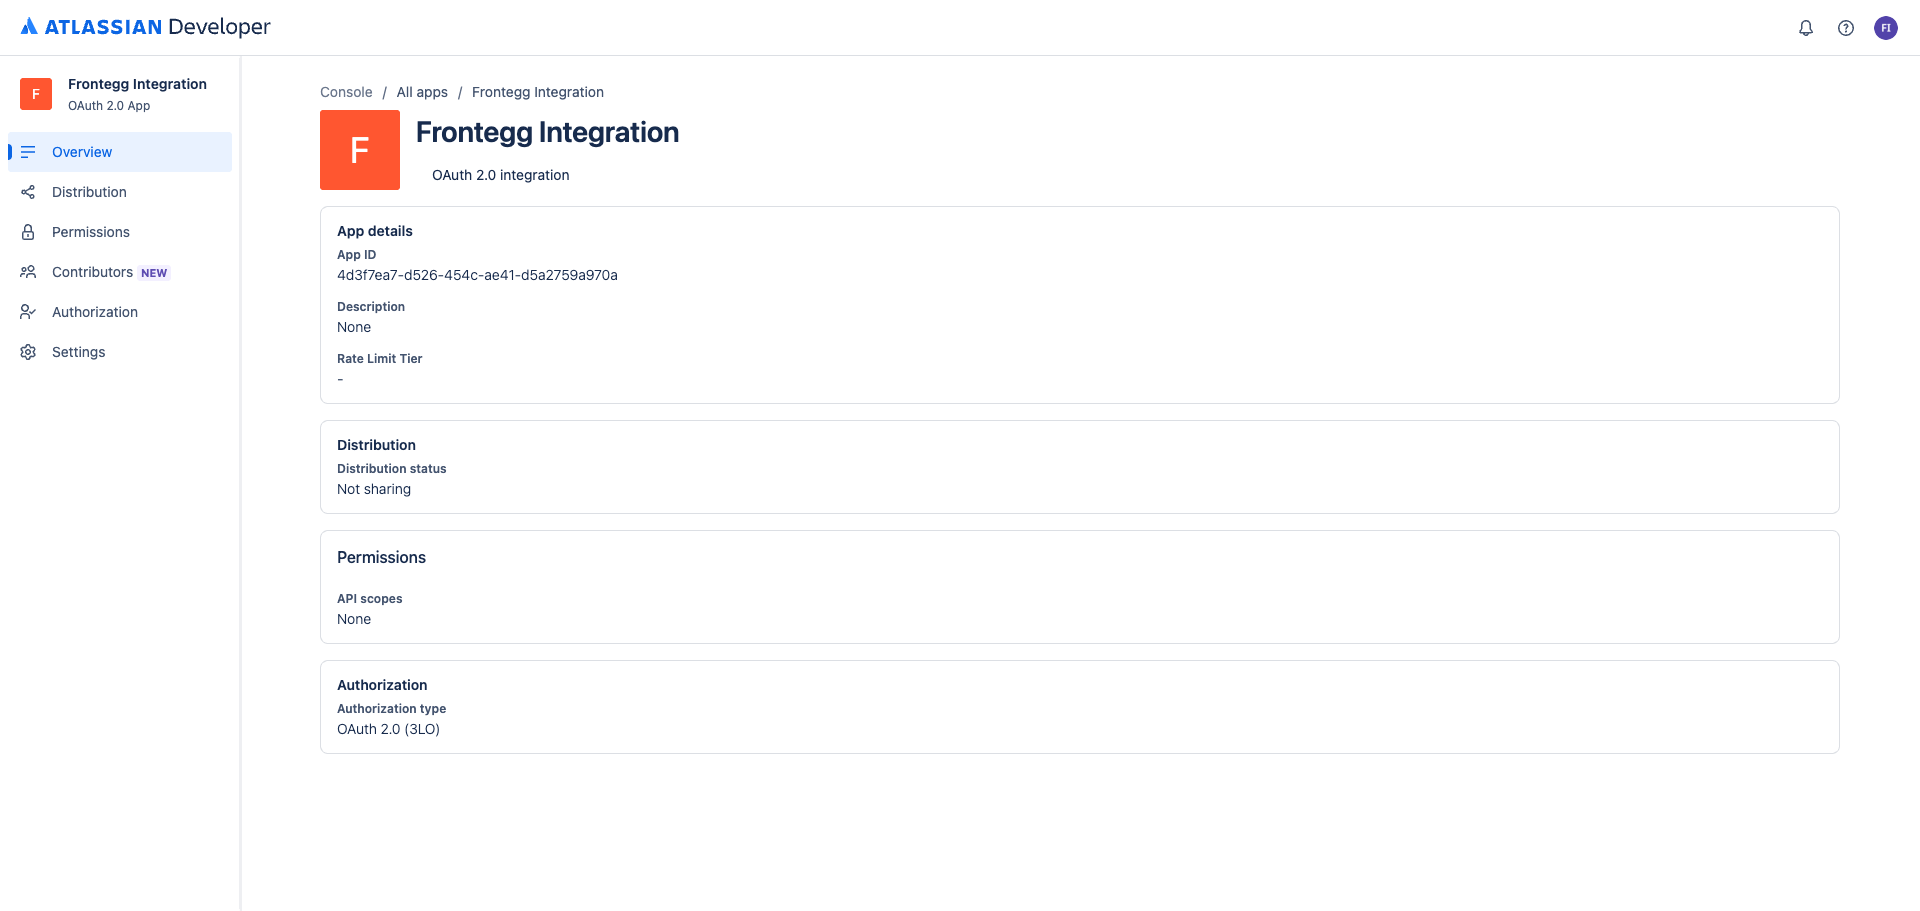
Navigate to Settings to find your Client ID and Secret.
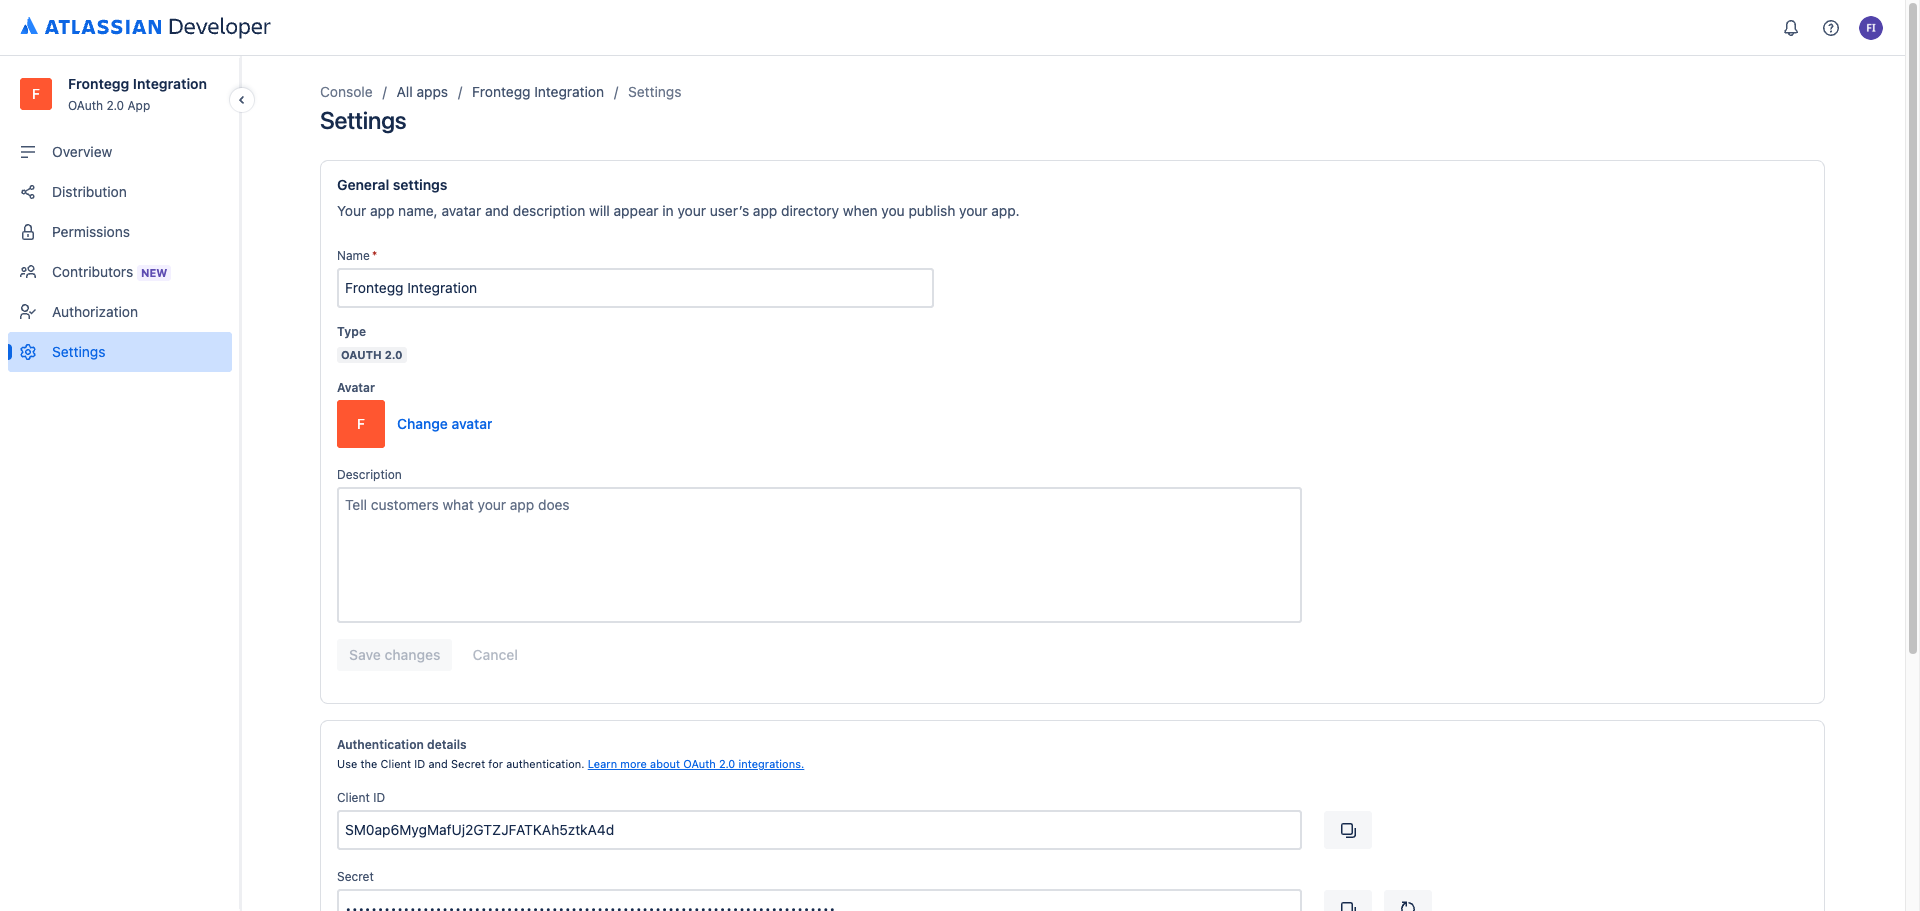
Save your Secret now
Save your Secret now
Copy the Secret immediately and store it securely. You will need it when configuring the Frontegg portal.
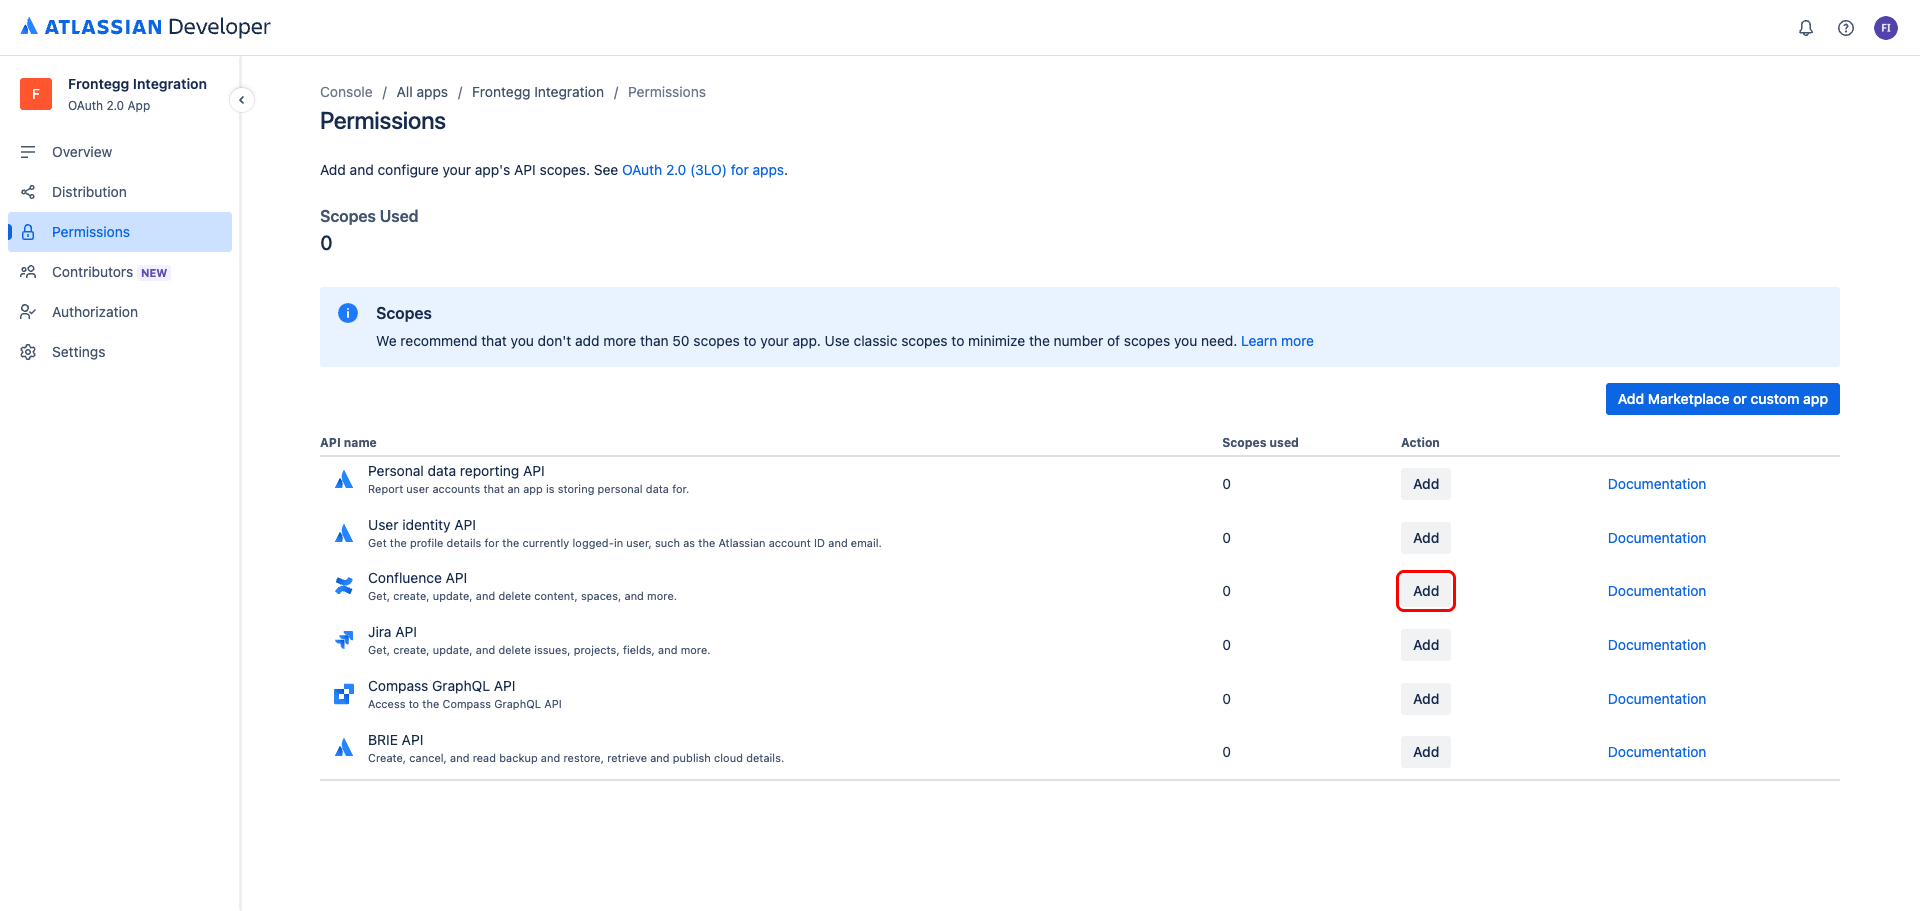
Navigate to the Permissions tab. In the API list, find Confluence API and click Add.
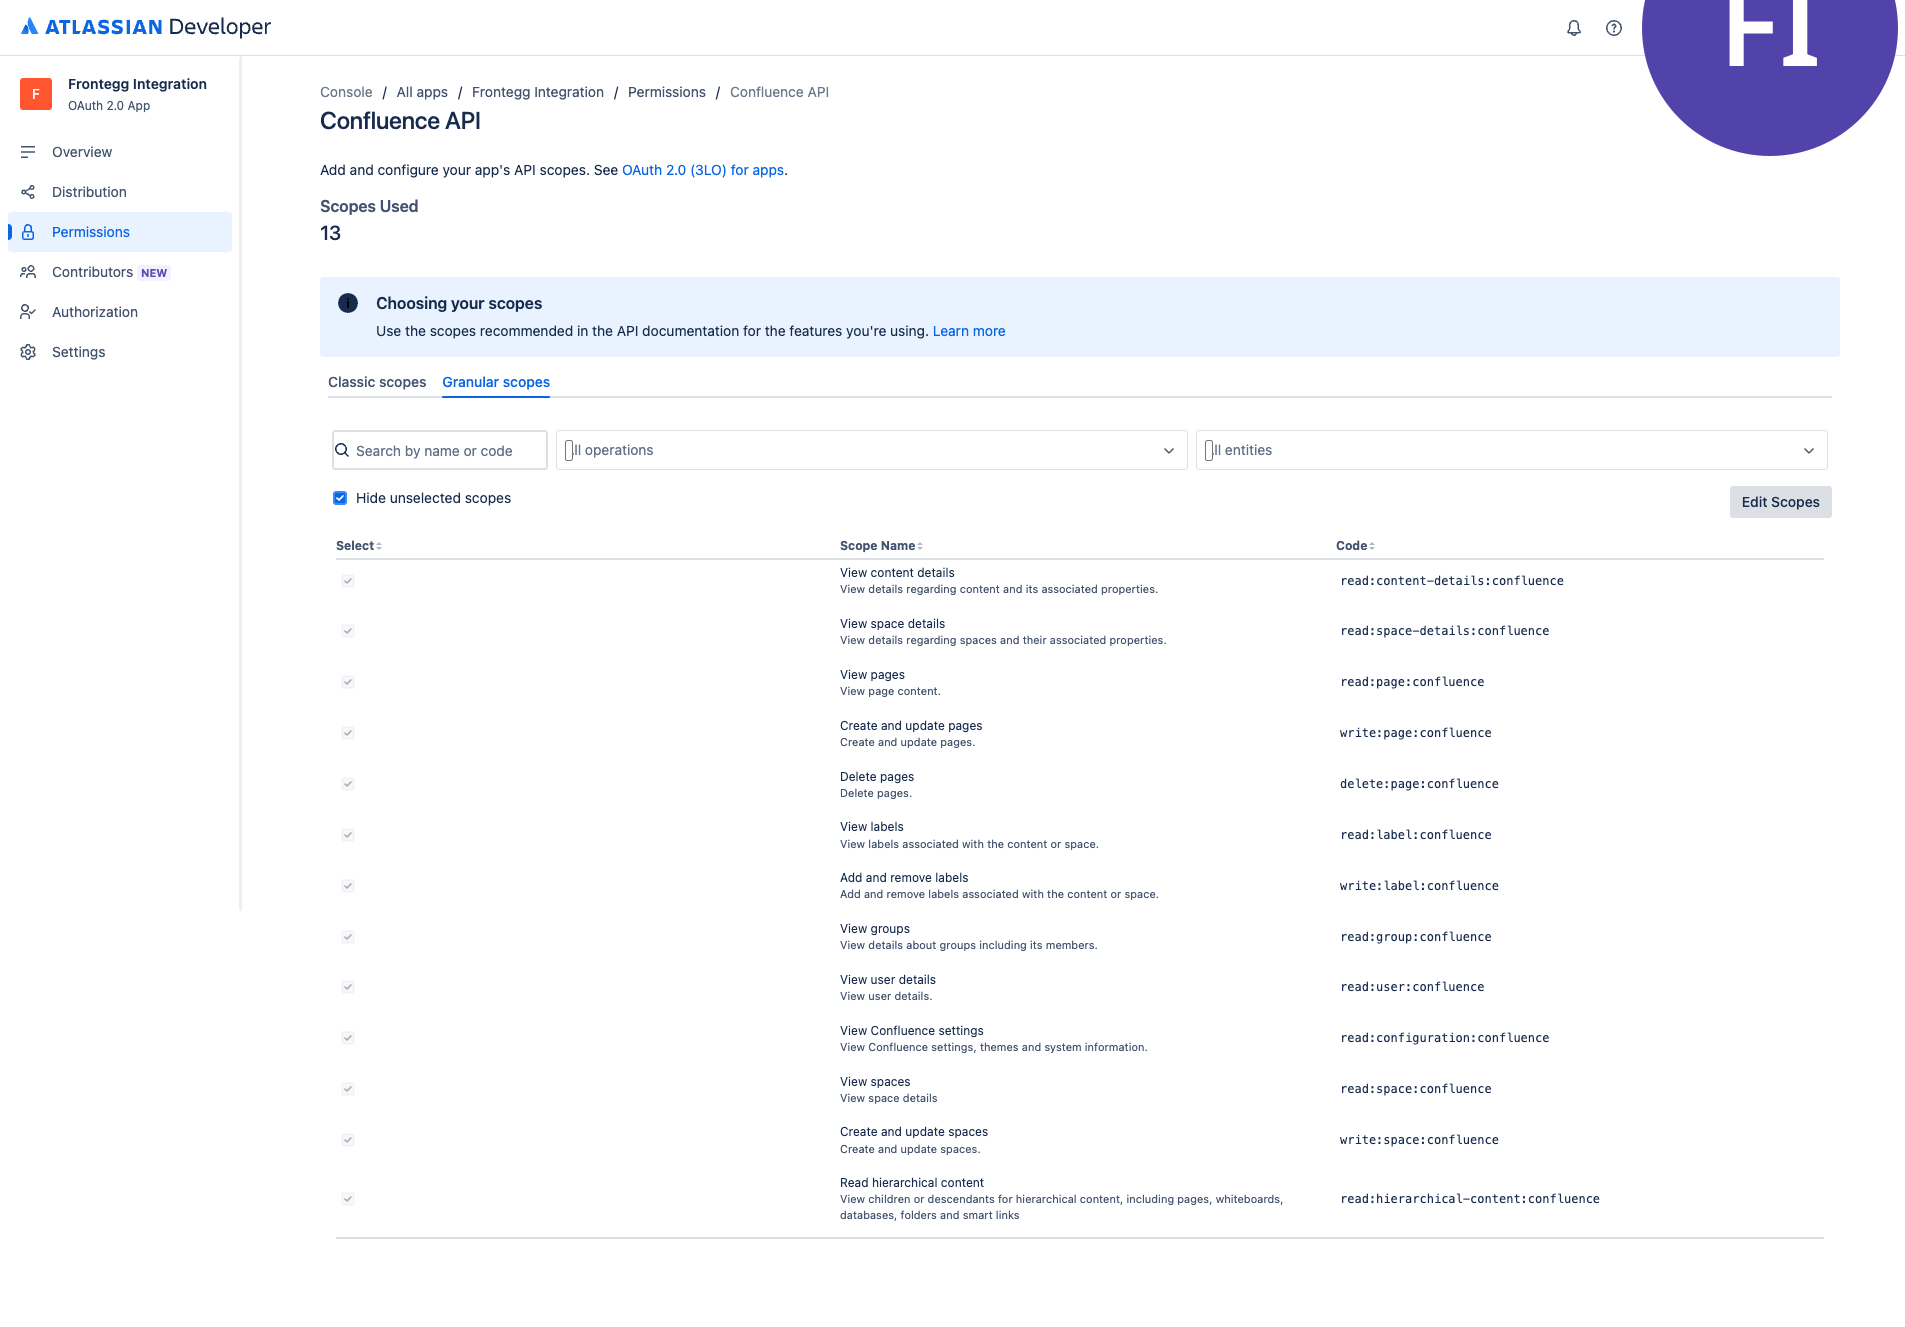
After adding the Confluence API, click Configure next to it. On the scopes page, switch to the Granular scopes tab and click Edit Scopes.
Use Granular scopes, not Classic scopes
Use Granular scopes, not Classic scopes
Frontegg's Confluence integration uses the Confluence v2 REST API, which only accepts granular scopes. Classic scopes (such as read:confluence-content.all) will not work with the v2 API. Make sure you are on the Granular scopes tab before selecting permissions.
In the dialog, select the following scopes:
| Scope | Description |
|---|---|
read:page:confluence | View pages |
write:page:confluence | Create and update pages |
delete:page:confluence | Delete pages |
read:hierarchical-content:confluence | View page descendants and other hierarchical content |
read:space:confluence | View spaces |
read:space-details:confluence | View space details |
write:space:confluence | Create and update spaces |
read:user:confluence | View user details |
read:group:confluence | View groups and their members |
read:label:confluence | View labels associated with content or spaces |
write:label:confluence | Add and remove labels |
read:configuration:confluence | View Confluence settings |
read:content-details:confluence | View content details (required for v1 user endpoints) |
Click Save.
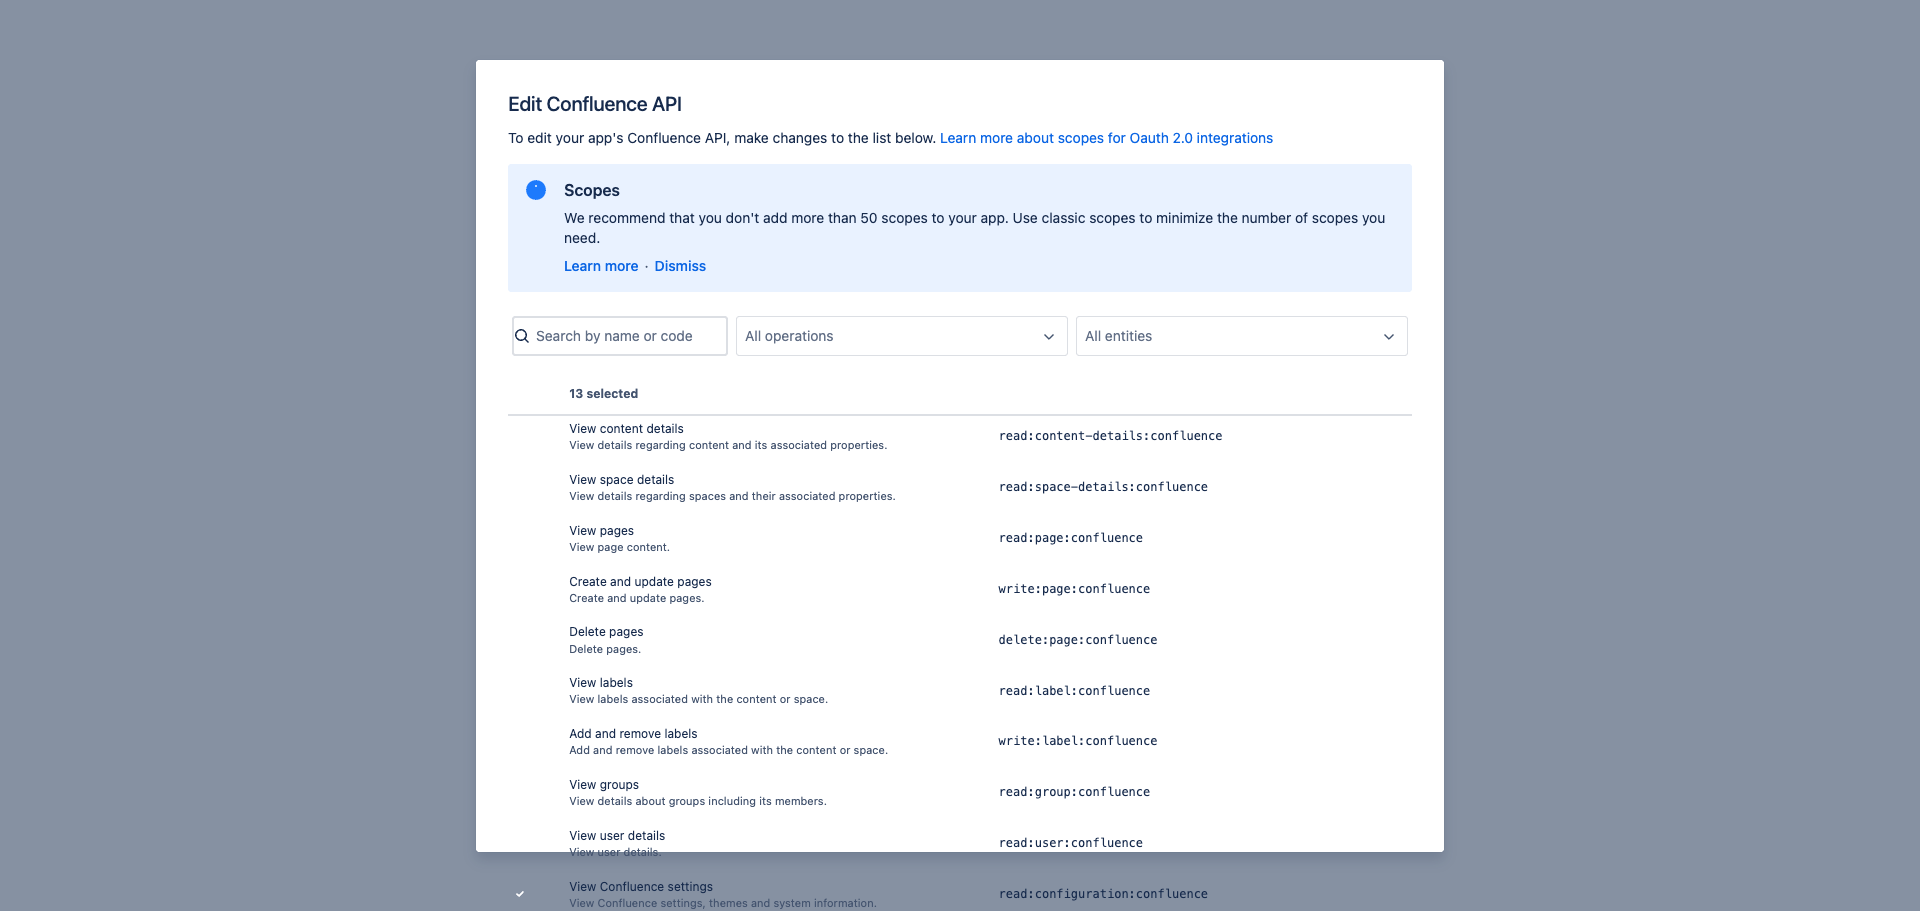
After saving, the scopes overview shows Scopes Used: 13 with all 13 granular scopes listed.
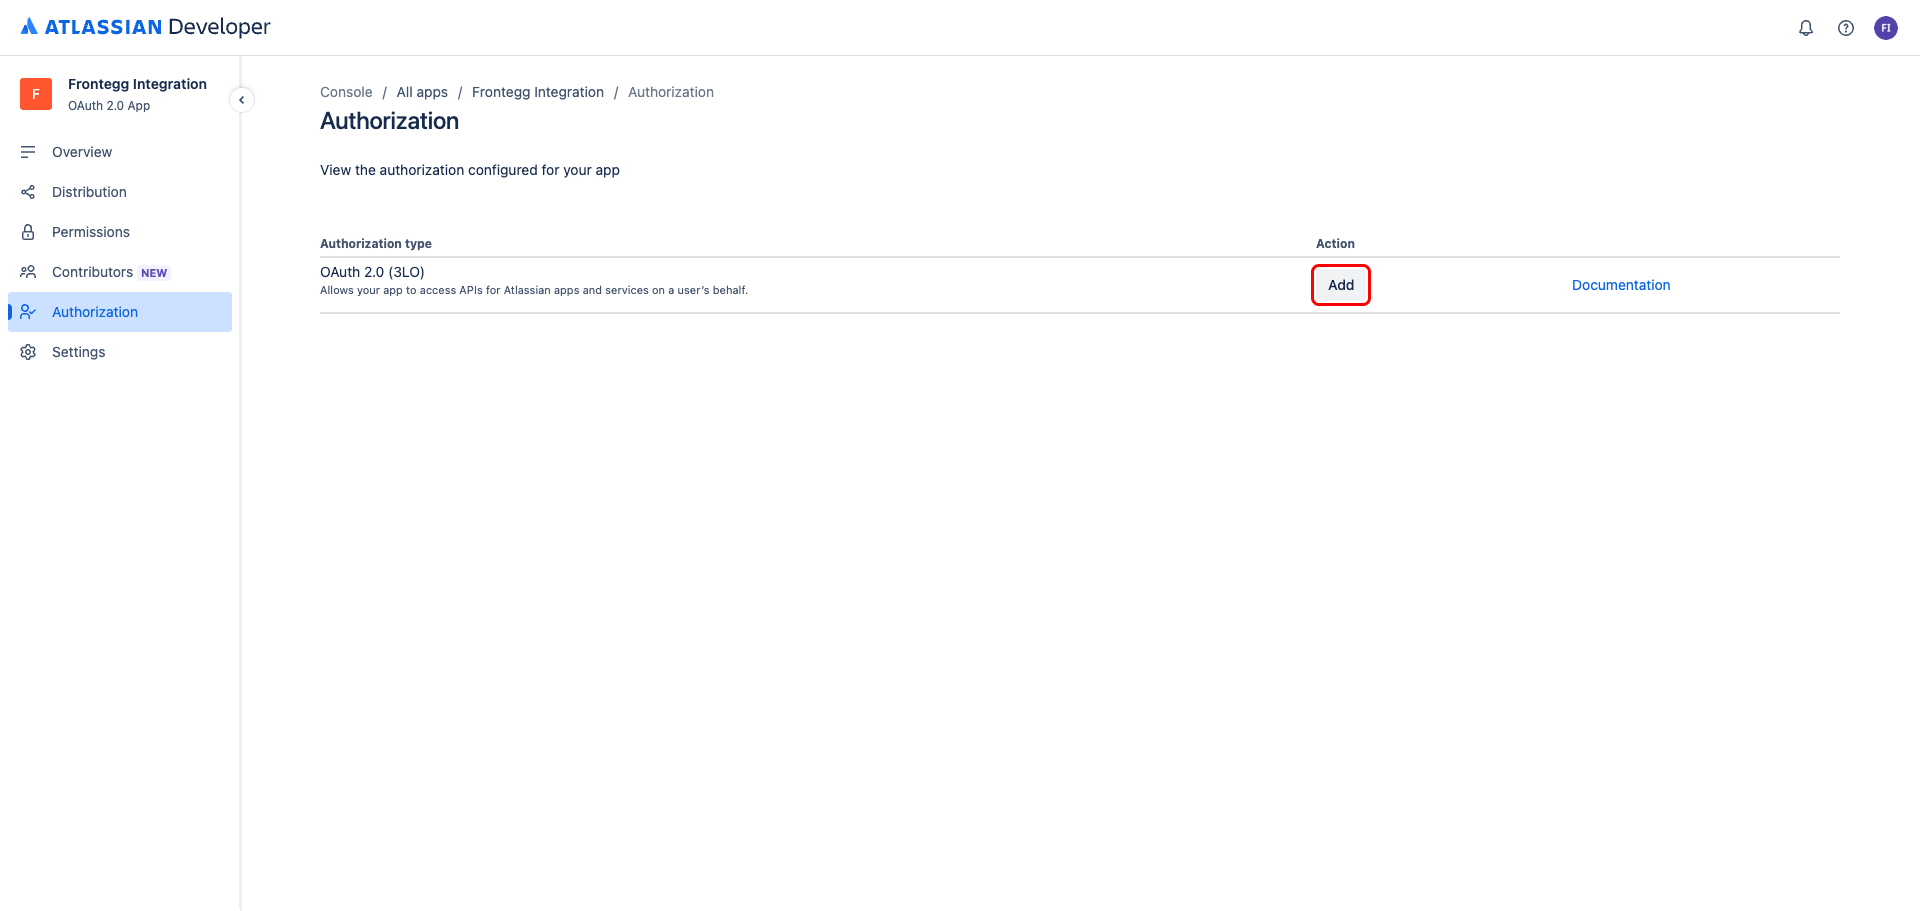
Navigate to the Authorization tab and click Add next to OAuth 2.0 (3LO).
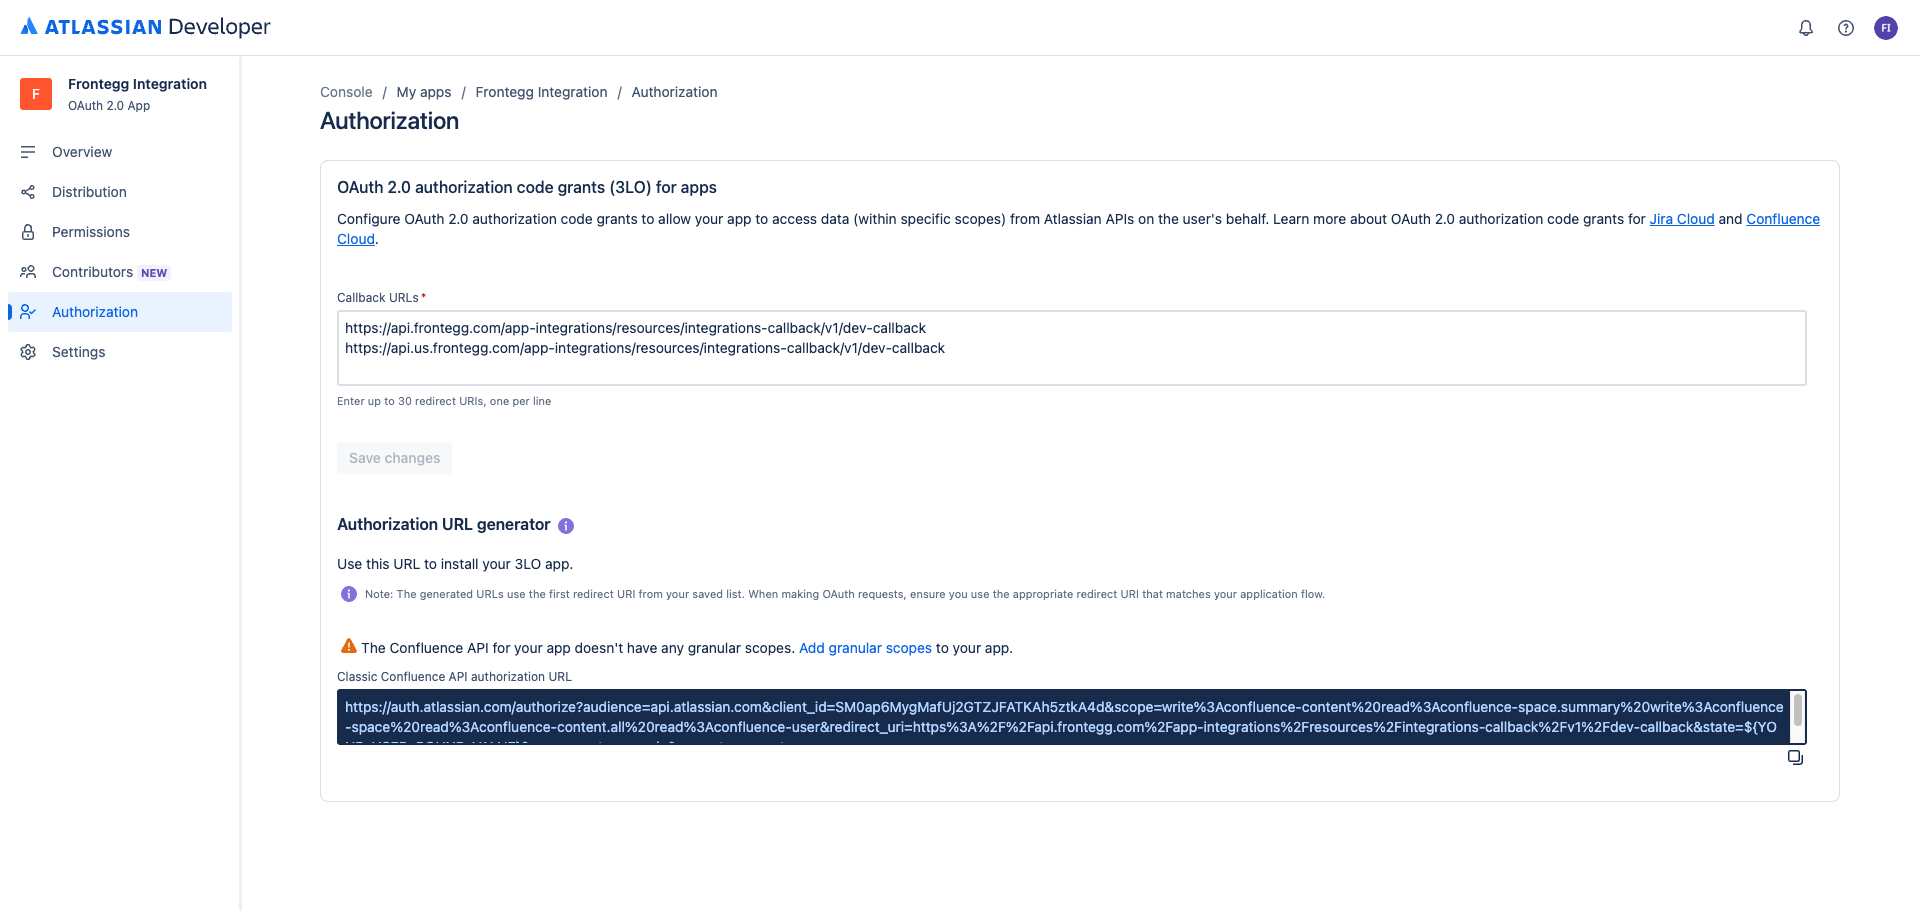
In the Callback URLs field, enter the following URL:
https://YOUR_MCP_GATEWAY_URL/integration-callback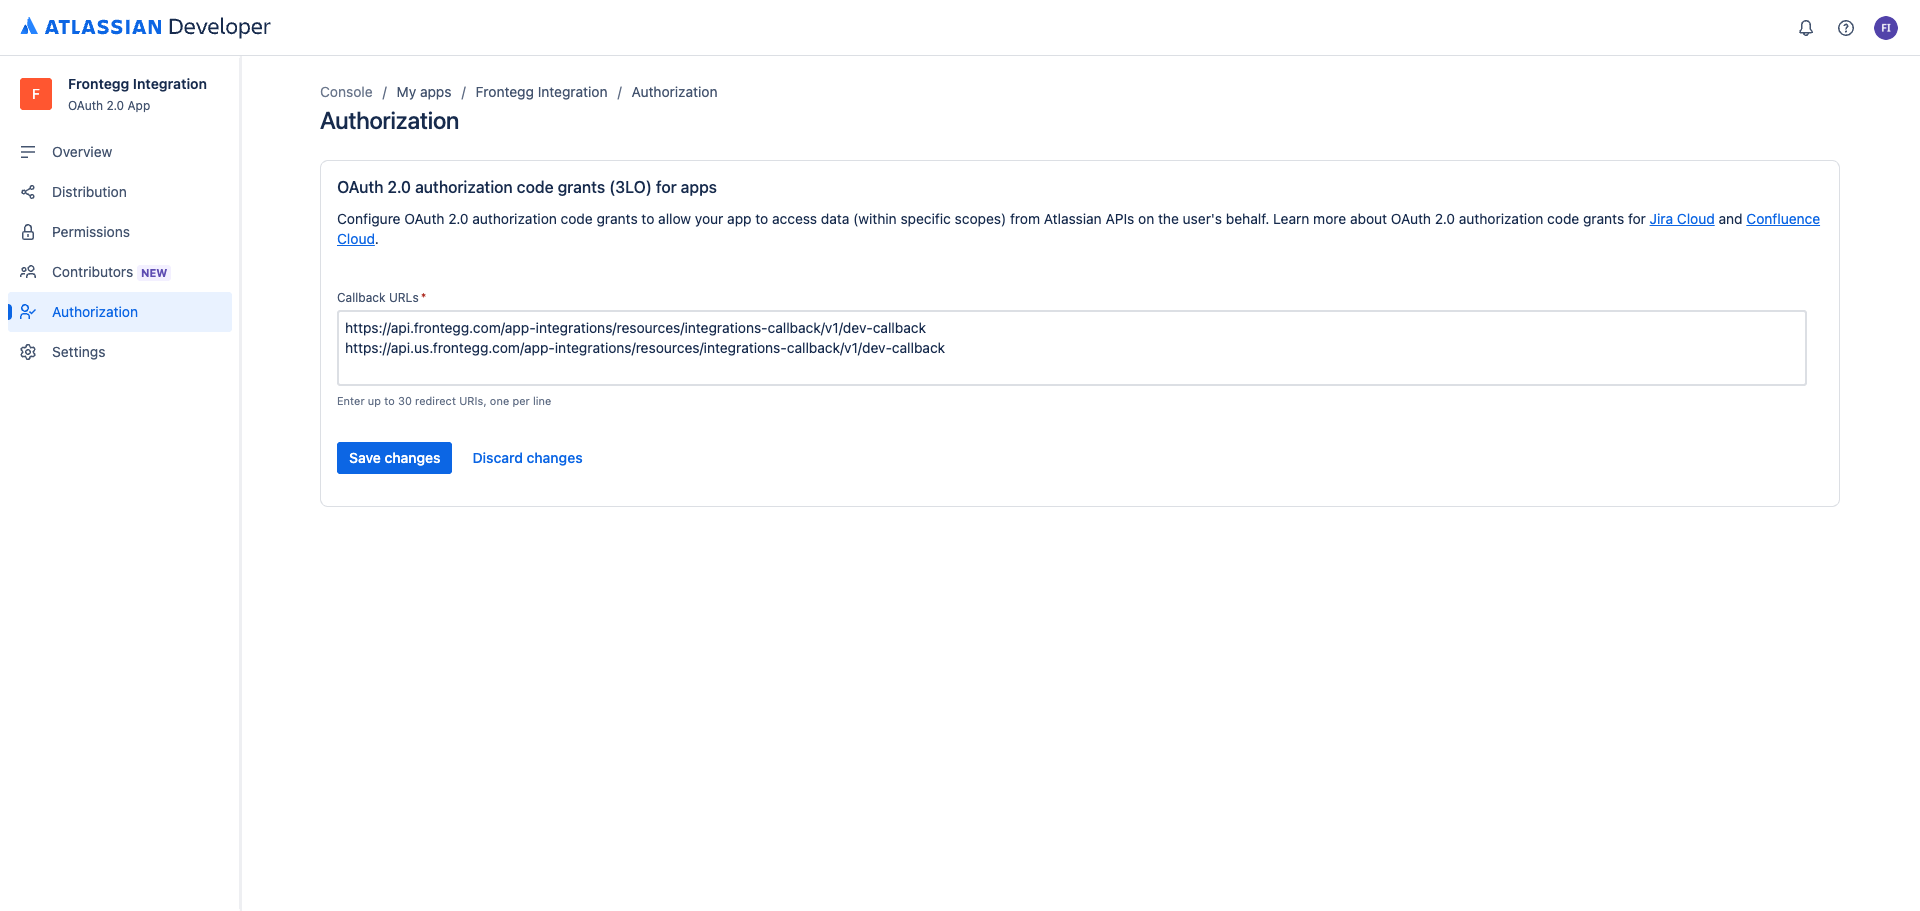
Click Save changes.
Once you have your Client ID and Secret from the Settings page, enter them in the Frontegg portal:
- Open the Frontegg portal and navigate to [ENVIRONMENT] → Integrations → Confluence.
- Enter the Client ID and Secret in the corresponding fields.
- Click Save.
Keep your credentials secure
Keep your credentials secure
Never share or commit your Secret to version control.