DigitalOcean is a cloud infrastructure platform for deploying and scaling applications using virtual machines, managed databases, Kubernetes clusters, and object storage. Integrating DigitalOcean with Frontegg allows your application to manage droplets, volumes, databases, domains, and other cloud resources on behalf of your users through OAuth 2.0 authentication.
Prerequisites
Prerequisites
- A DigitalOcean account with access to Applications & API
Sign in to DigitalOcean and navigate to API in the left sidebar. On the Applications & API page, select the OAuth Applications tab.
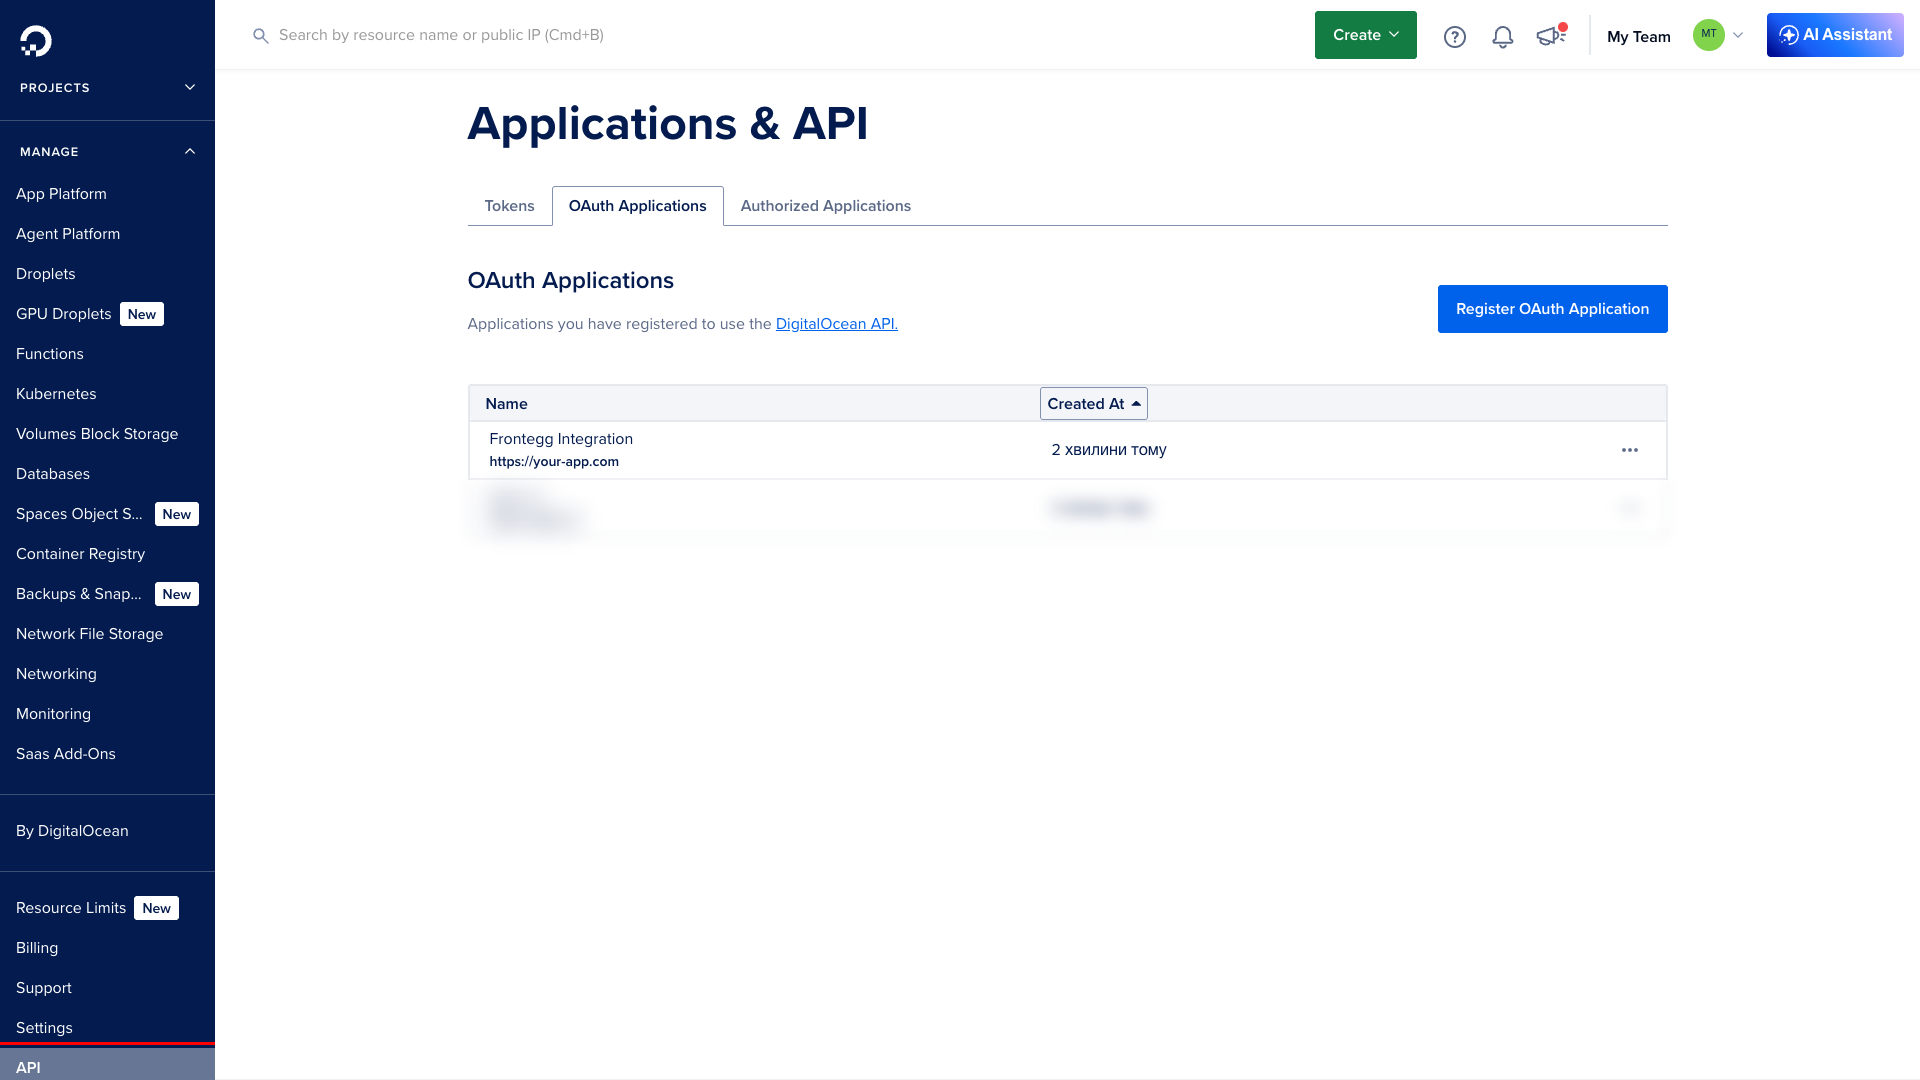
Click Register OAuth Application in the top-right corner.

In the Register a new OAuth application dialog, fill in the following fields:
| Field | Value |
|---|---|
| Name | A descriptive name, e.g., Frontegg Integration |
| Homepage URL | The URL of your application homepage |
| Description | A brief description of your application |
| Callback URL | The Frontegg callback URI (see below) |
In the Callback URL field, enter:
https://YOUR_MCP_GATEWAY_URL/integration-callback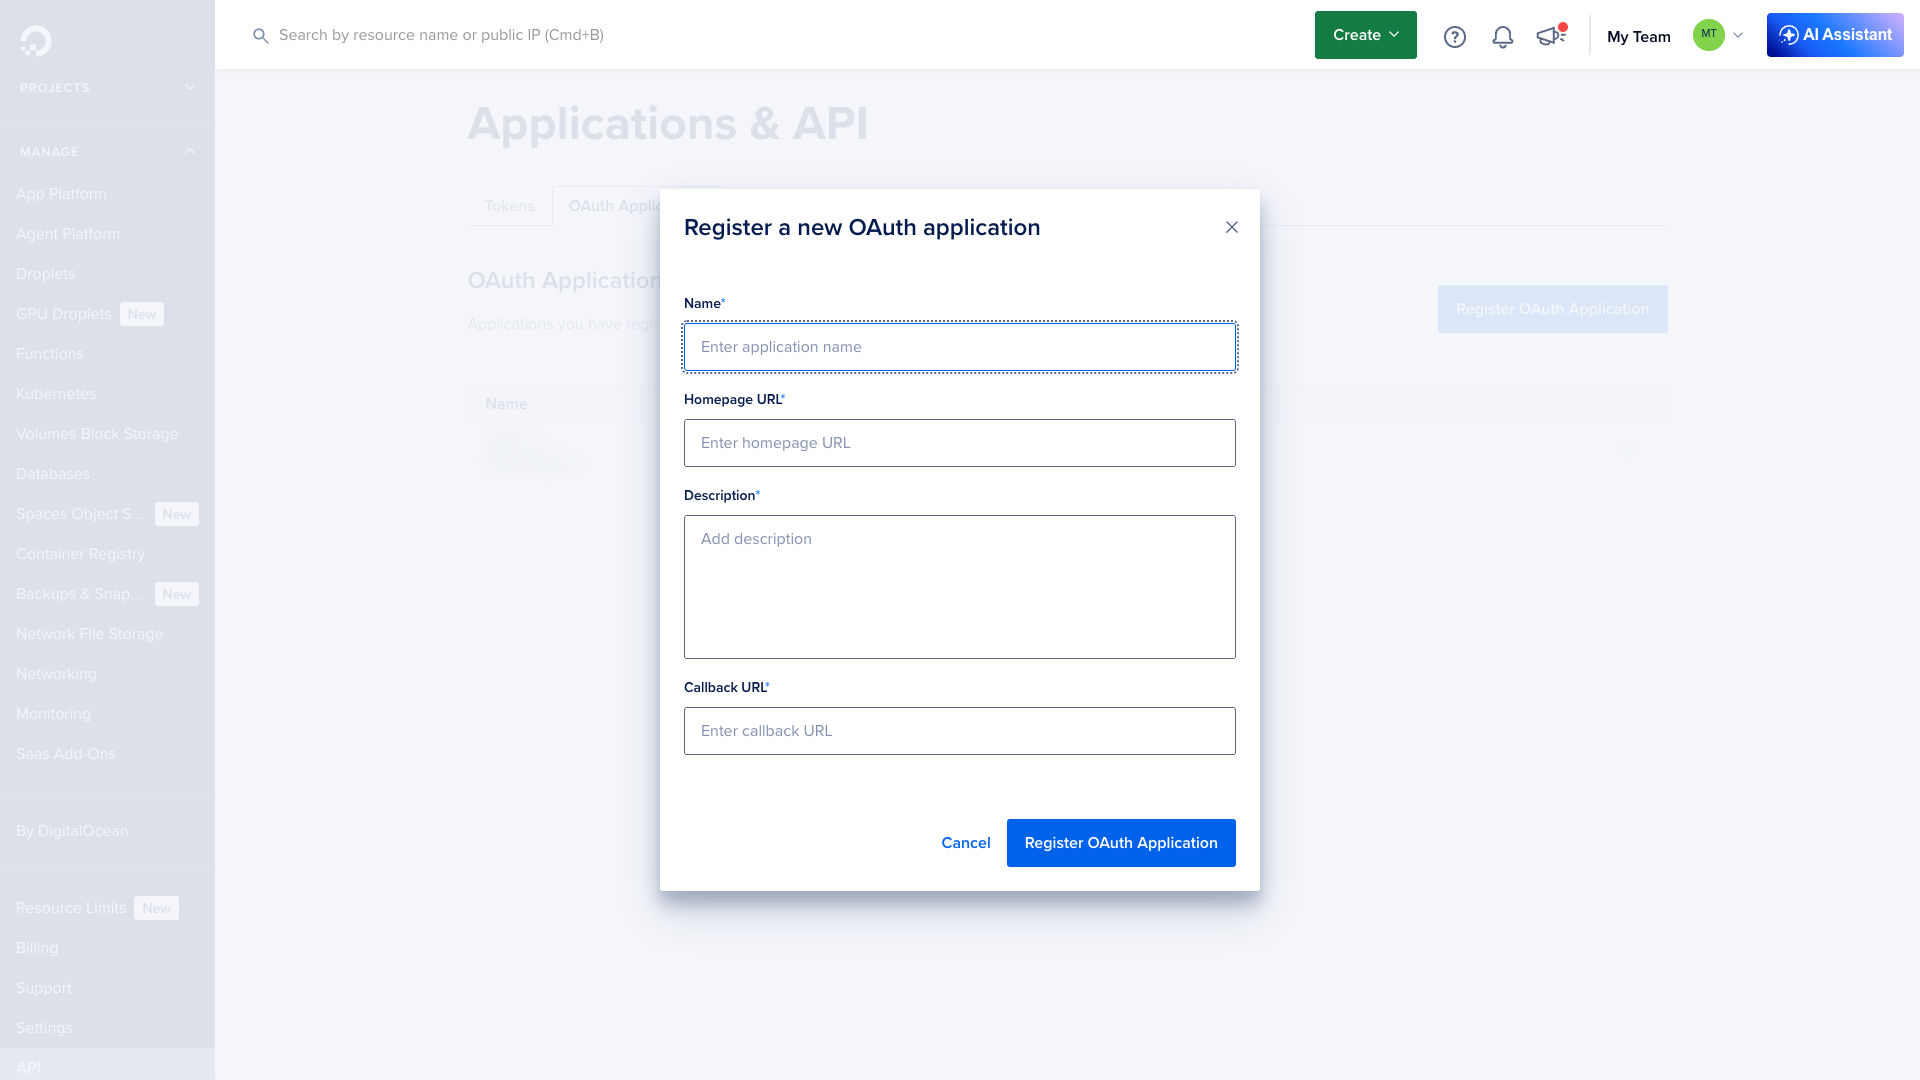
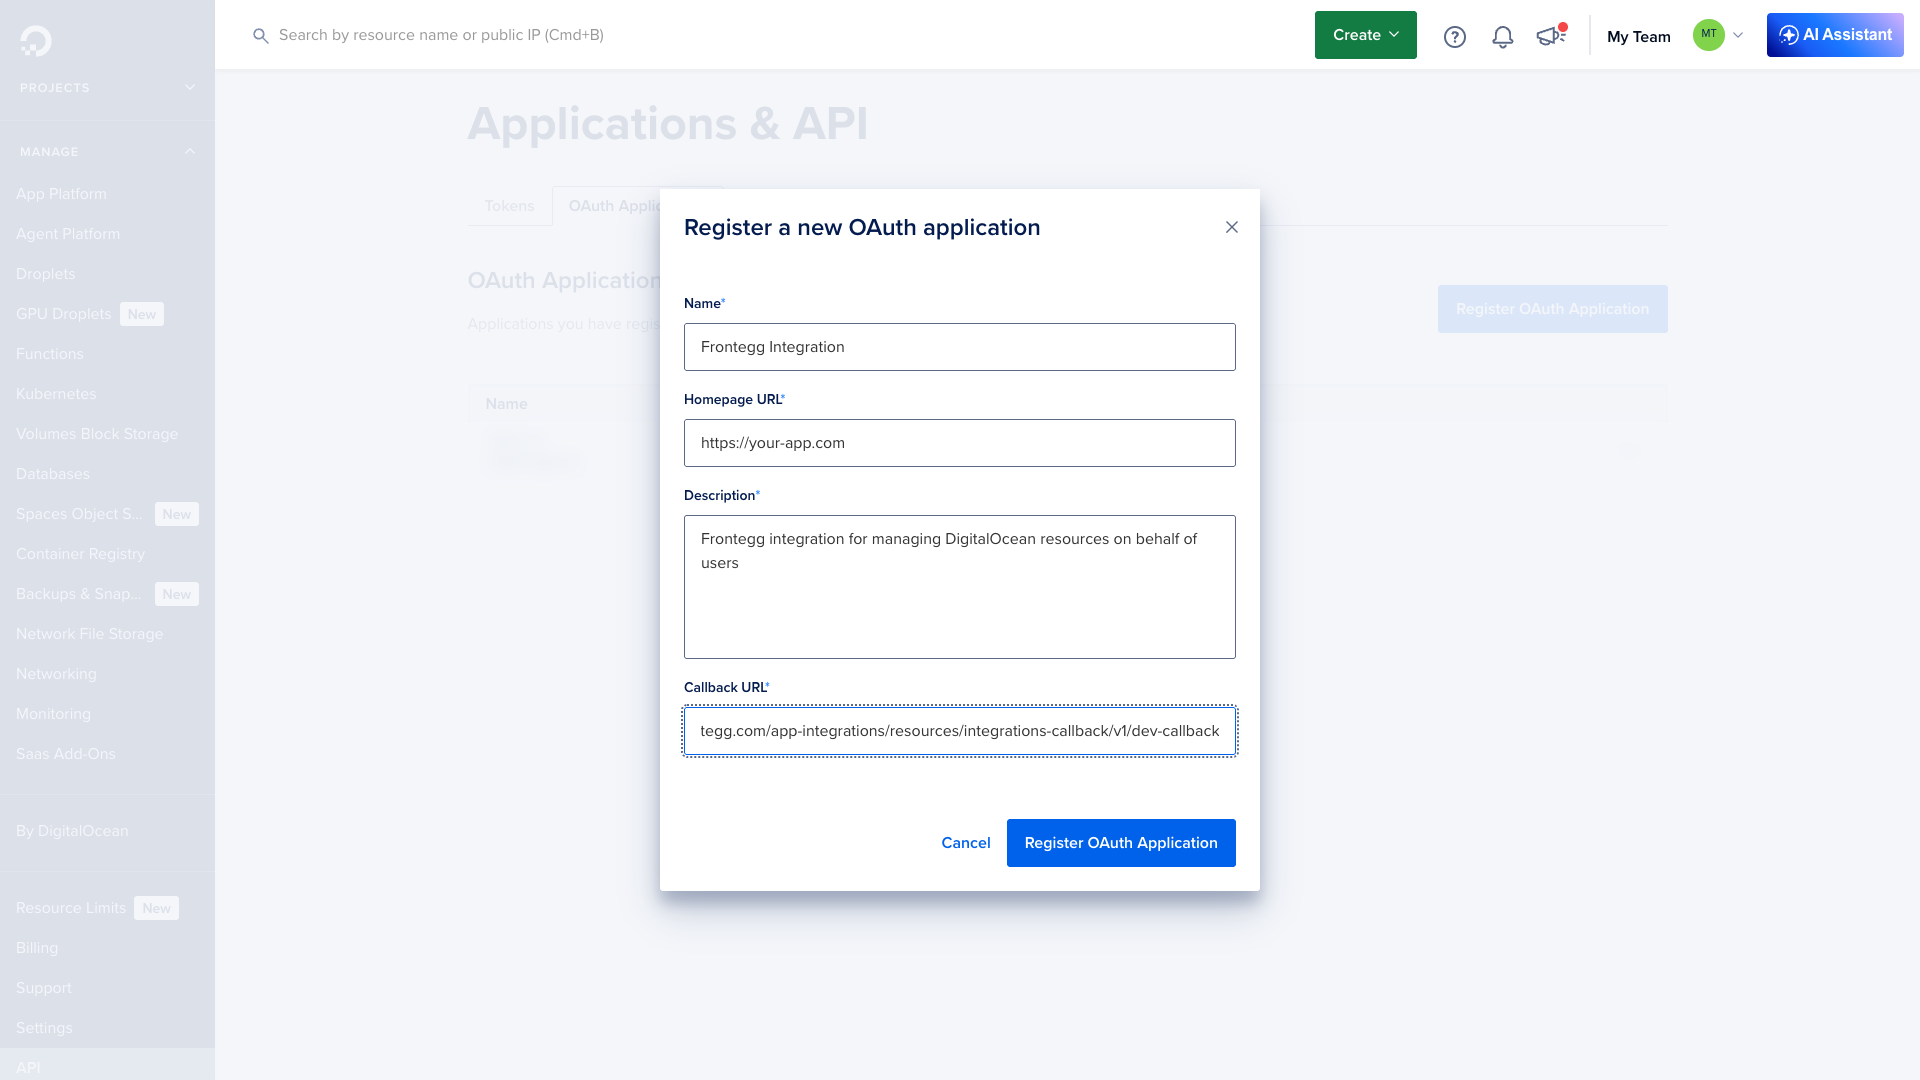
Click Register OAuth Application to save.
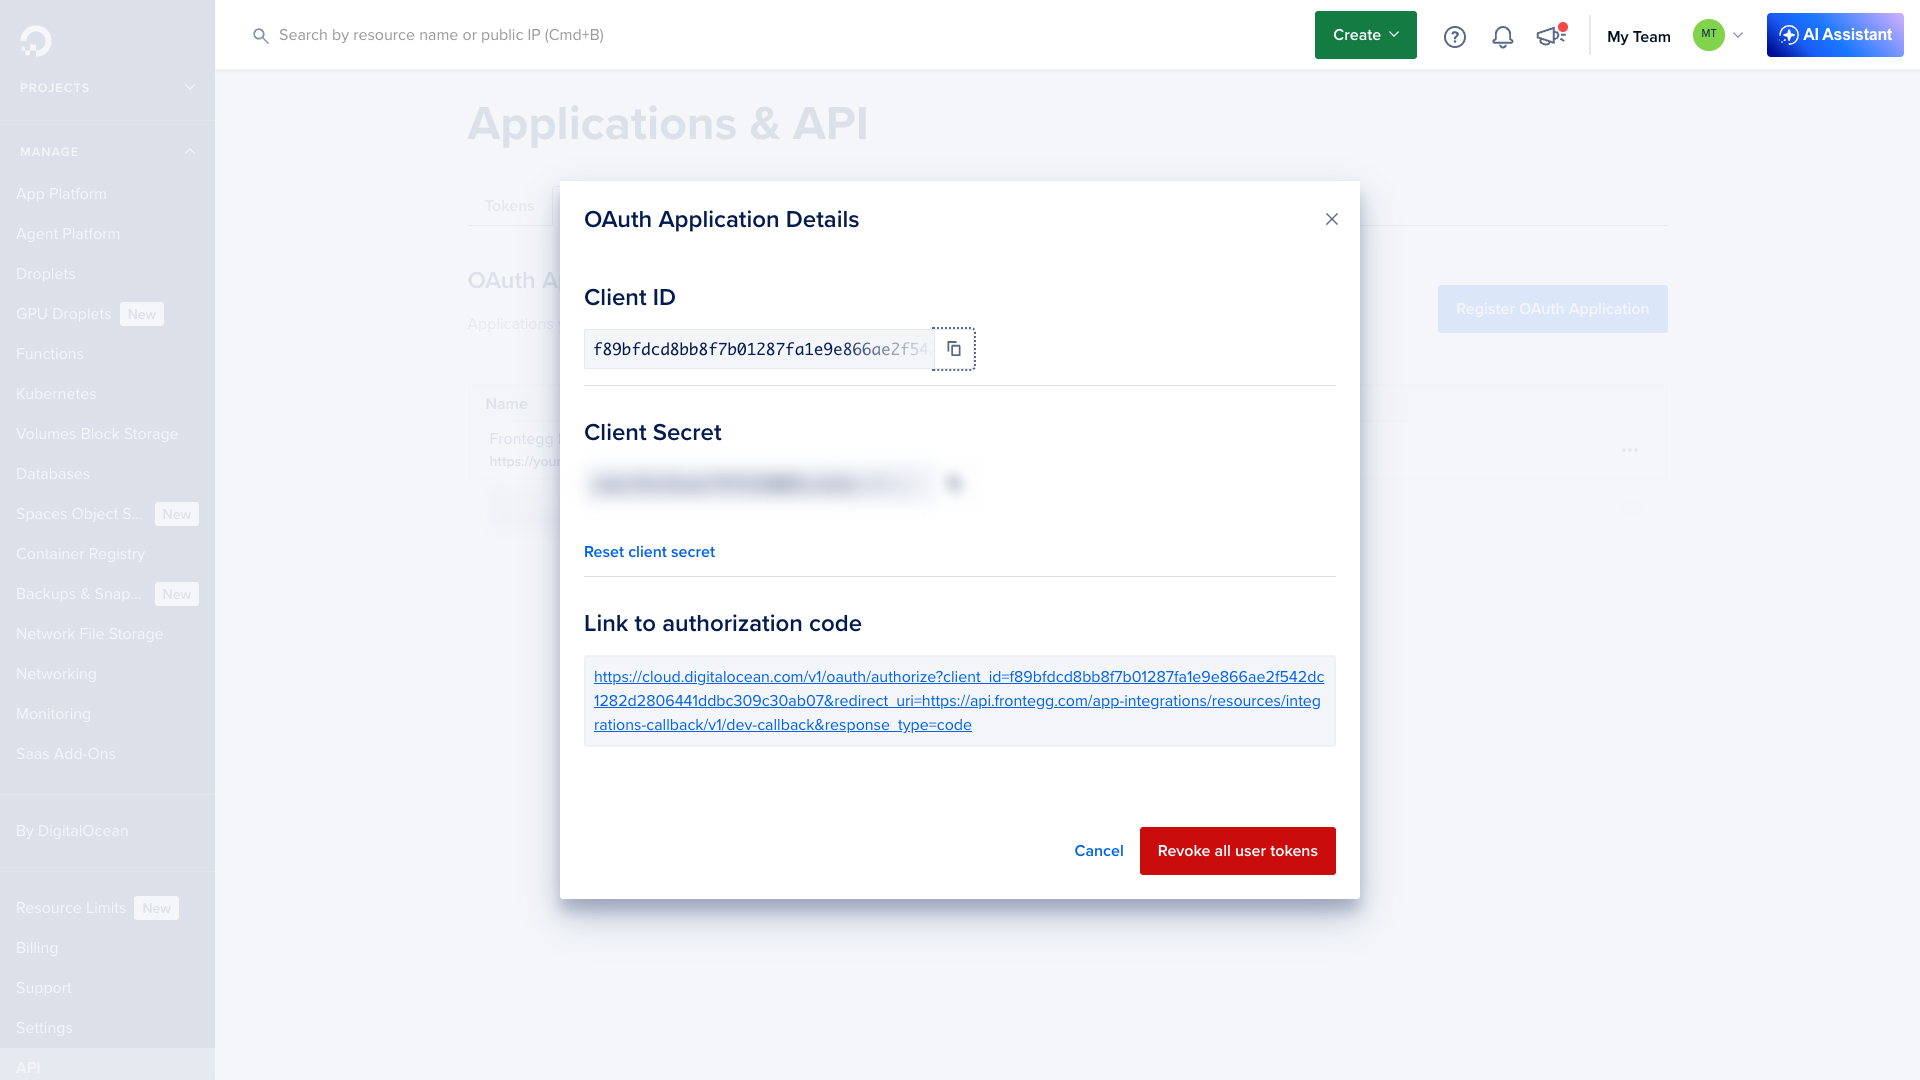
After the application is created, click the ··· menu next to your application and select View.
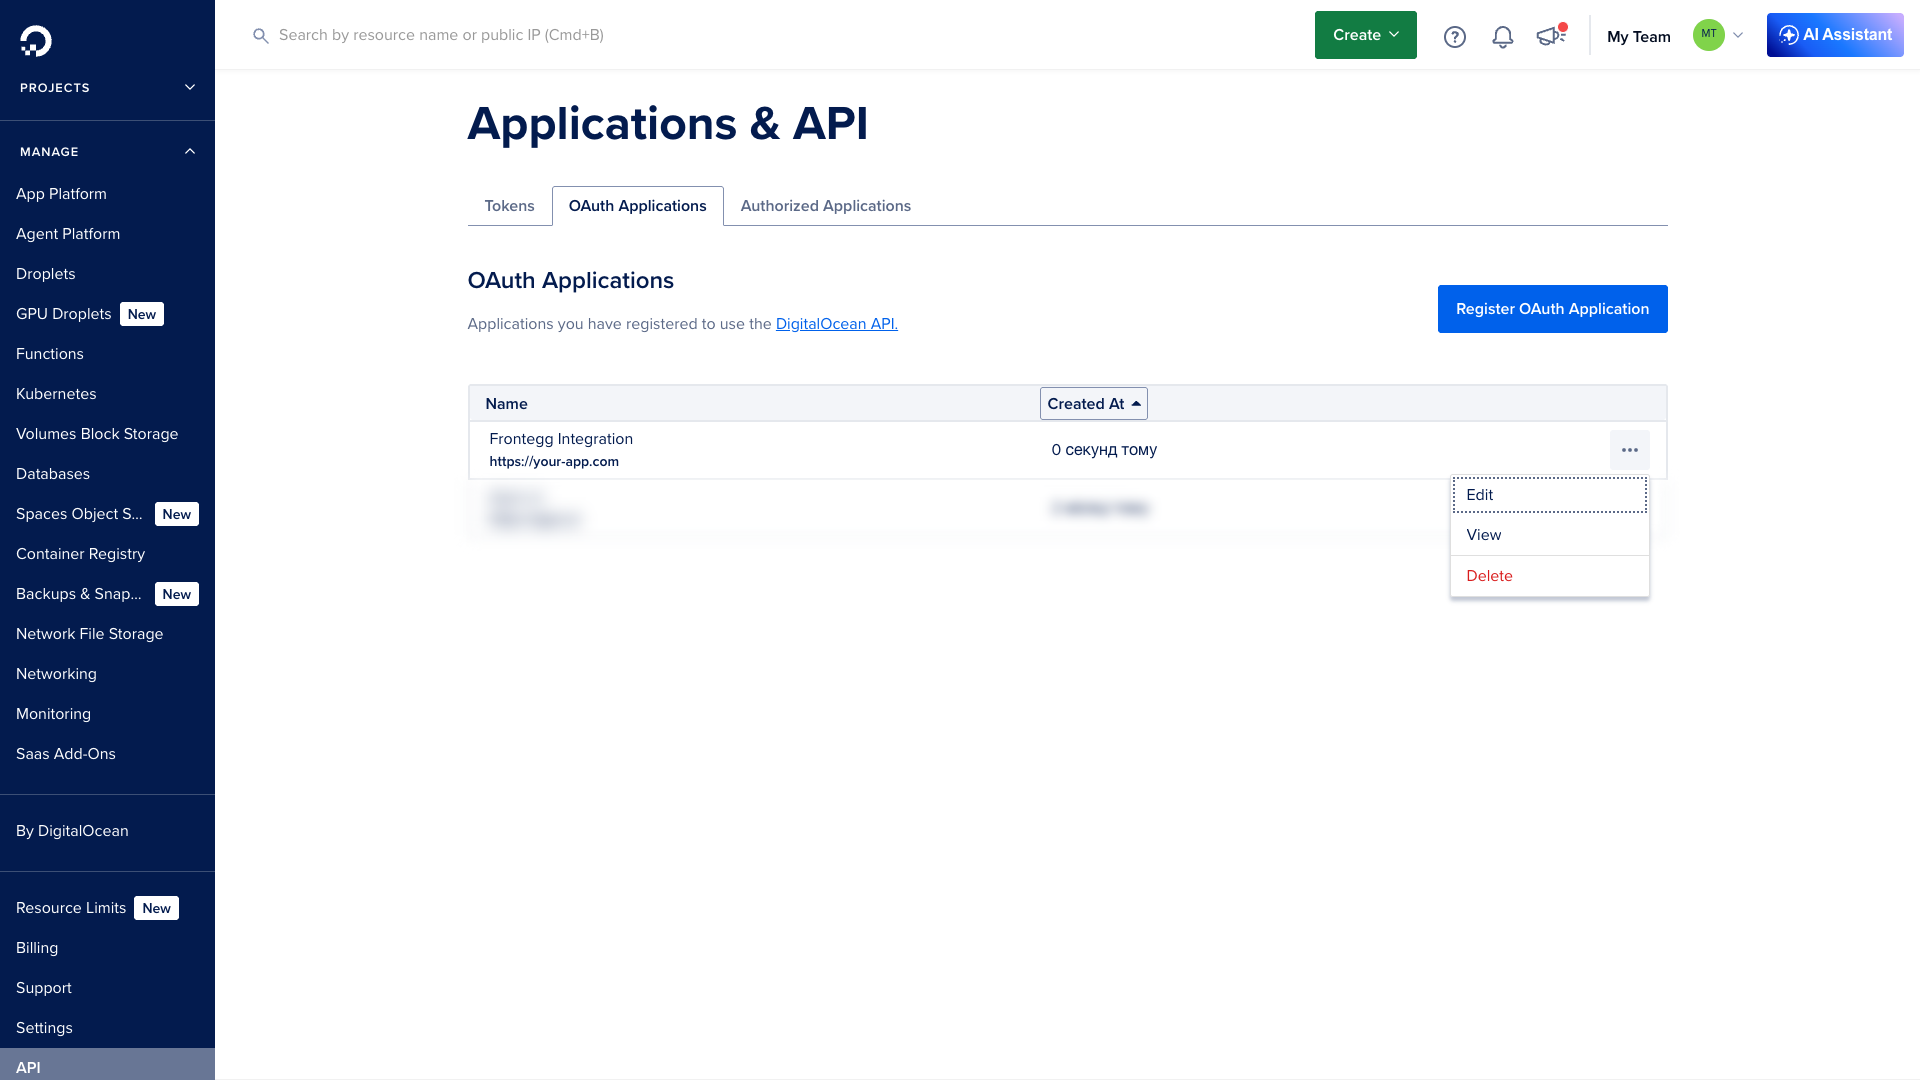
The OAuth Application Details dialog shows your Client ID and Client Secret. Copy both values and store them securely.
Keep your credentials secure
Keep your credentials secure
The Client Secret is accessible from the application details at any time, but treat it as a password — never share or commit it to version control. If the secret is compromised, click Reset client secret to generate a new one.
Once you have the Client ID and Client Secret from the steps above, enter them in the integration configuration page of the Frontegg portal:
- Open the Frontegg portal and navigate to [ENVIRONMENT] → Integrations → DigitalOcean.
- Enter the Client ID and Client Secret in the corresponding fields.
- Select the required scopes:
| Scope | Description |
|---|---|
account:read | Read access to account information |
droplet:read | Read access to droplets |
droplet:create | Create new droplets |
droplet:update | Update existing droplets |
droplet:delete | Delete droplets |
droplet:admin | Admin access to droplets |
block_storage:read | Read access to block storage volumes |
block_storage:create | Create block storage volumes |
block_storage:delete | Delete block storage volumes |
snapshot:read | Read access to snapshots |
snapshot:delete | Delete snapshots |
database:read | Read access to managed databases |
database:create | Create managed databases |
database:update | Update managed databases |
database:delete | Delete managed databases |
domain:read | Read access to domains and DNS records |
domain:create | Create domains and DNS records |
domain:update | Update domains and DNS records |
domain:delete | Delete domains and DNS records |
load_balancer:read | Read access to load balancers |
load_balancer:create | Create load balancers |
load_balancer:update | Update load balancers |
load_balancer:delete | Delete load balancers |
firewall:read | Read access to firewalls |
firewall:create | Create firewalls |
firewall:update | Update firewalls |
firewall:delete | Delete firewalls |
kubernetes:read | Read access to Kubernetes clusters |
kubernetes:create | Create Kubernetes clusters |
kubernetes:update | Update Kubernetes clusters |
kubernetes:delete | Delete Kubernetes clusters |
spaces:read | Read access to Spaces object storage |
spaces:update | Update Spaces object storage |
ssh_key:read | Read access to SSH keys |
ssh_key:create | Create SSH keys |
ssh_key:update | Update SSH keys |
ssh_key:delete | Delete SSH keys |
- Click Save.
Keep your credentials secure
Keep your credentials secure
Never share or commit your Client Secret to version control.