Netlify is a cloud platform for building, deploying, and managing web projects. Integrating Netlify with Frontegg allows your application to manage sites, deploys, builds, forms, and DNS records on behalf of your users through OAuth 2.0 authentication.
Prerequisites
Prerequisites
- A Netlify account with access to User Settings → Applications
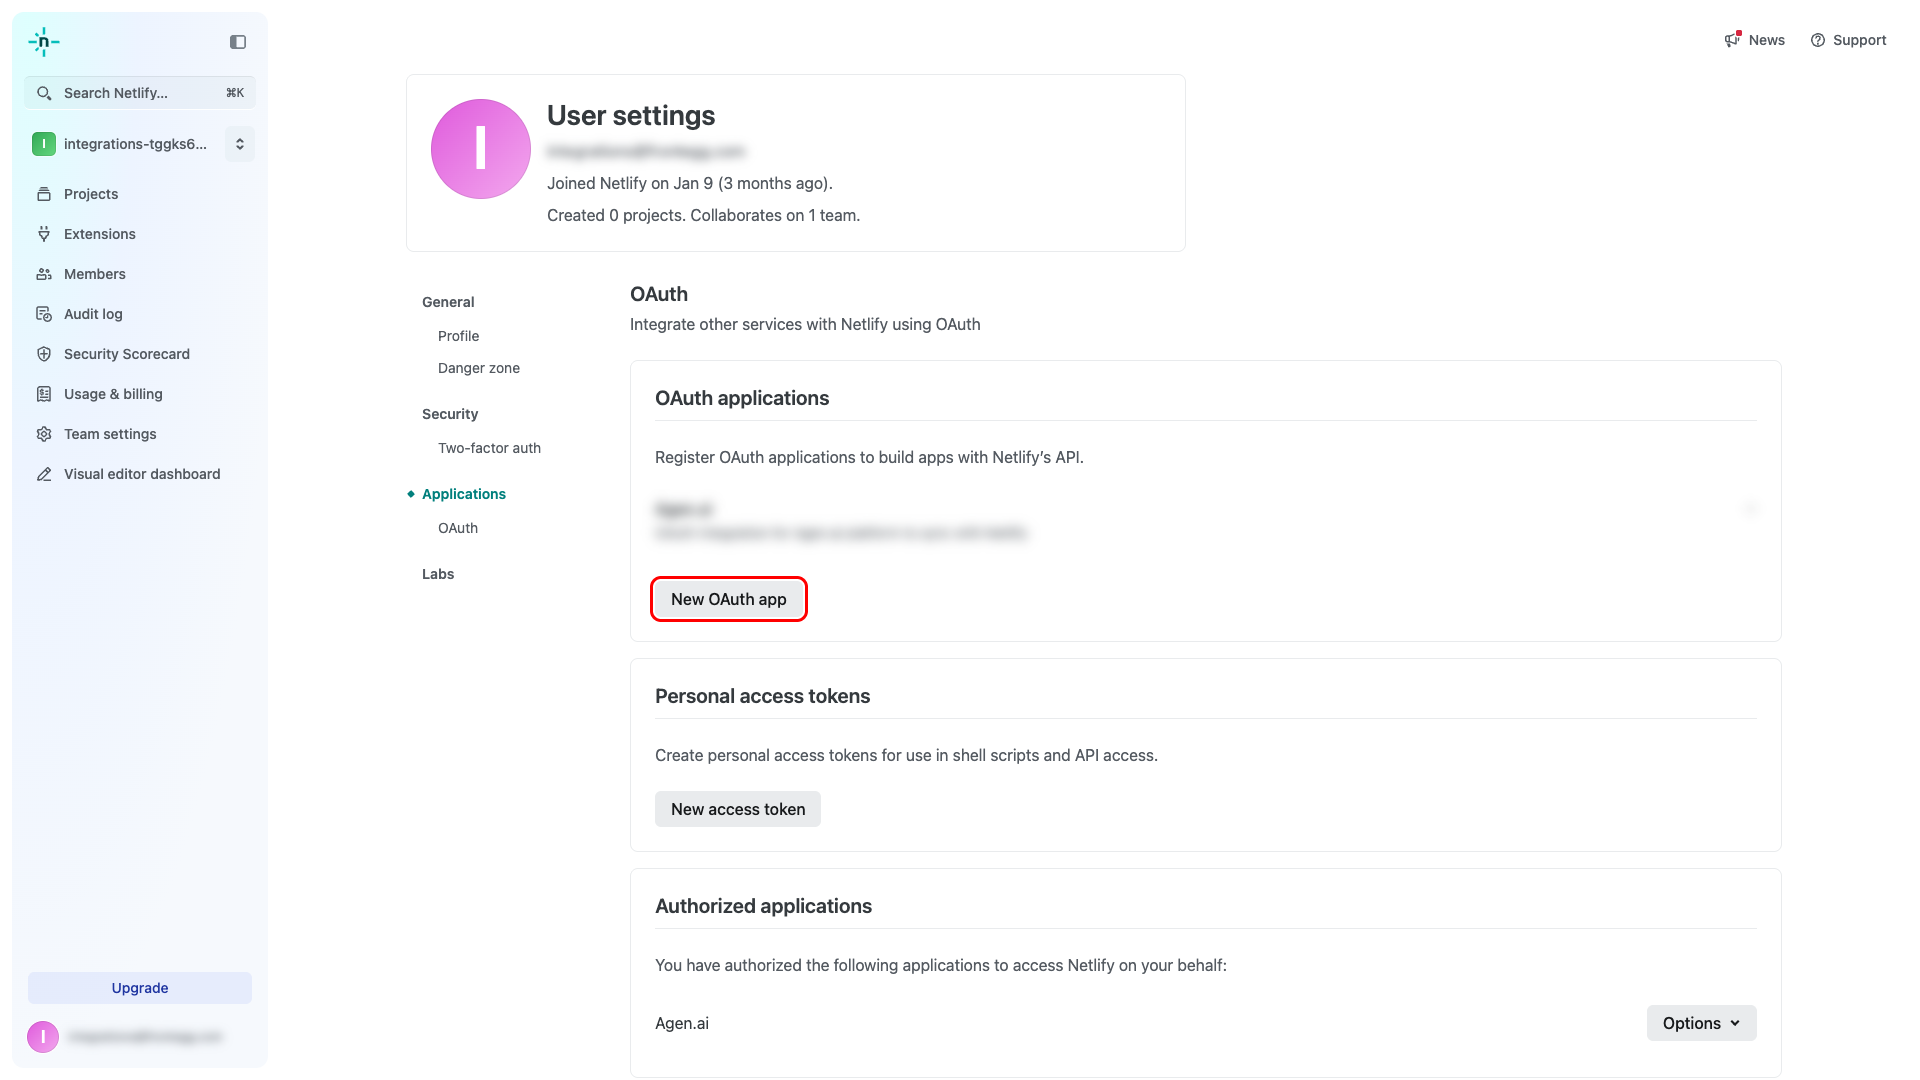
Sign in to Netlify and navigate to User Settings → Applications at https://app.netlify.com/user/applications. This page lists all OAuth applications registered under your account.
Click New OAuth app.
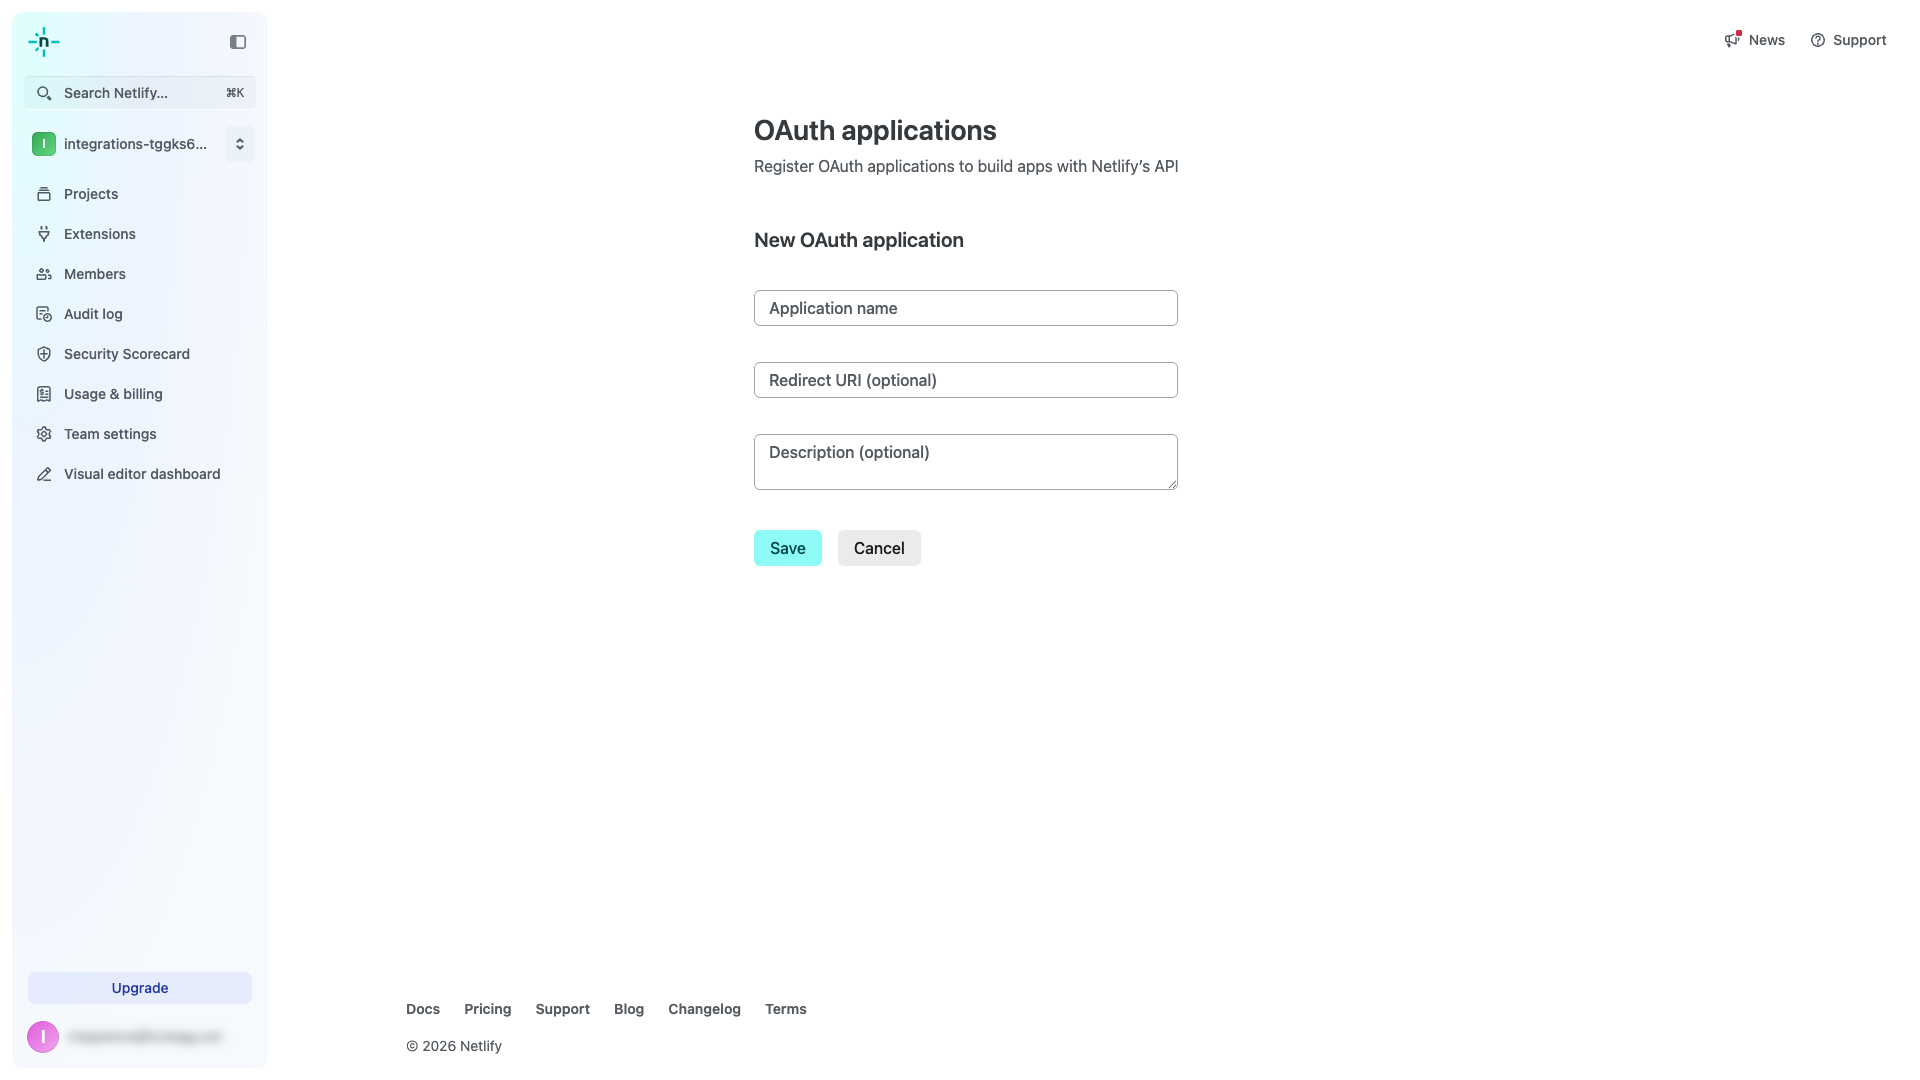
On the New OAuth application form, you will see the following fields:
| Field | Value |
|---|---|
| Application name | A descriptive name, e.g., Frontegg Integration |
| Redirect URI | The Frontegg callback URI (see step 3) |
| Description | Optional description of your application |
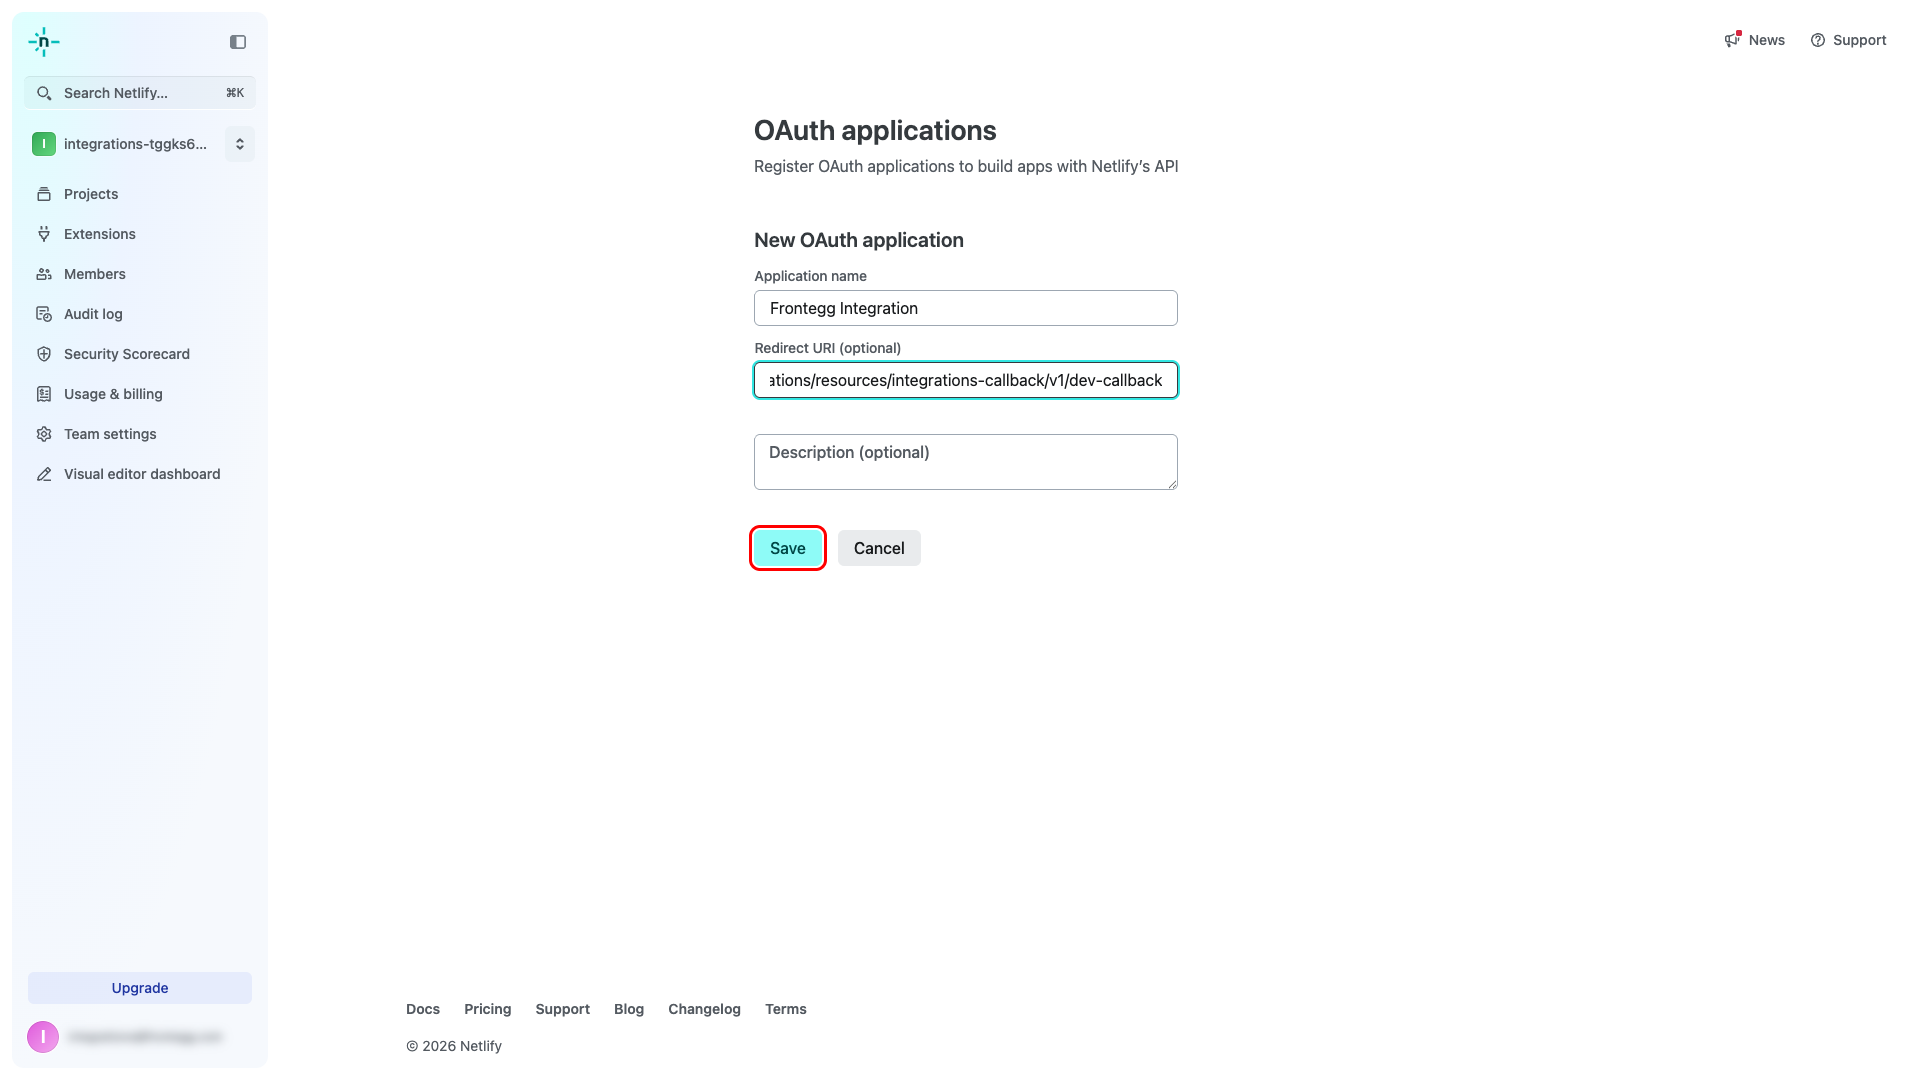
Enter the following values:
- Application name:
Frontegg Integration - Redirect URI:
https://YOUR_MCP_GATEWAY_URL/integration-callback
Click Save.
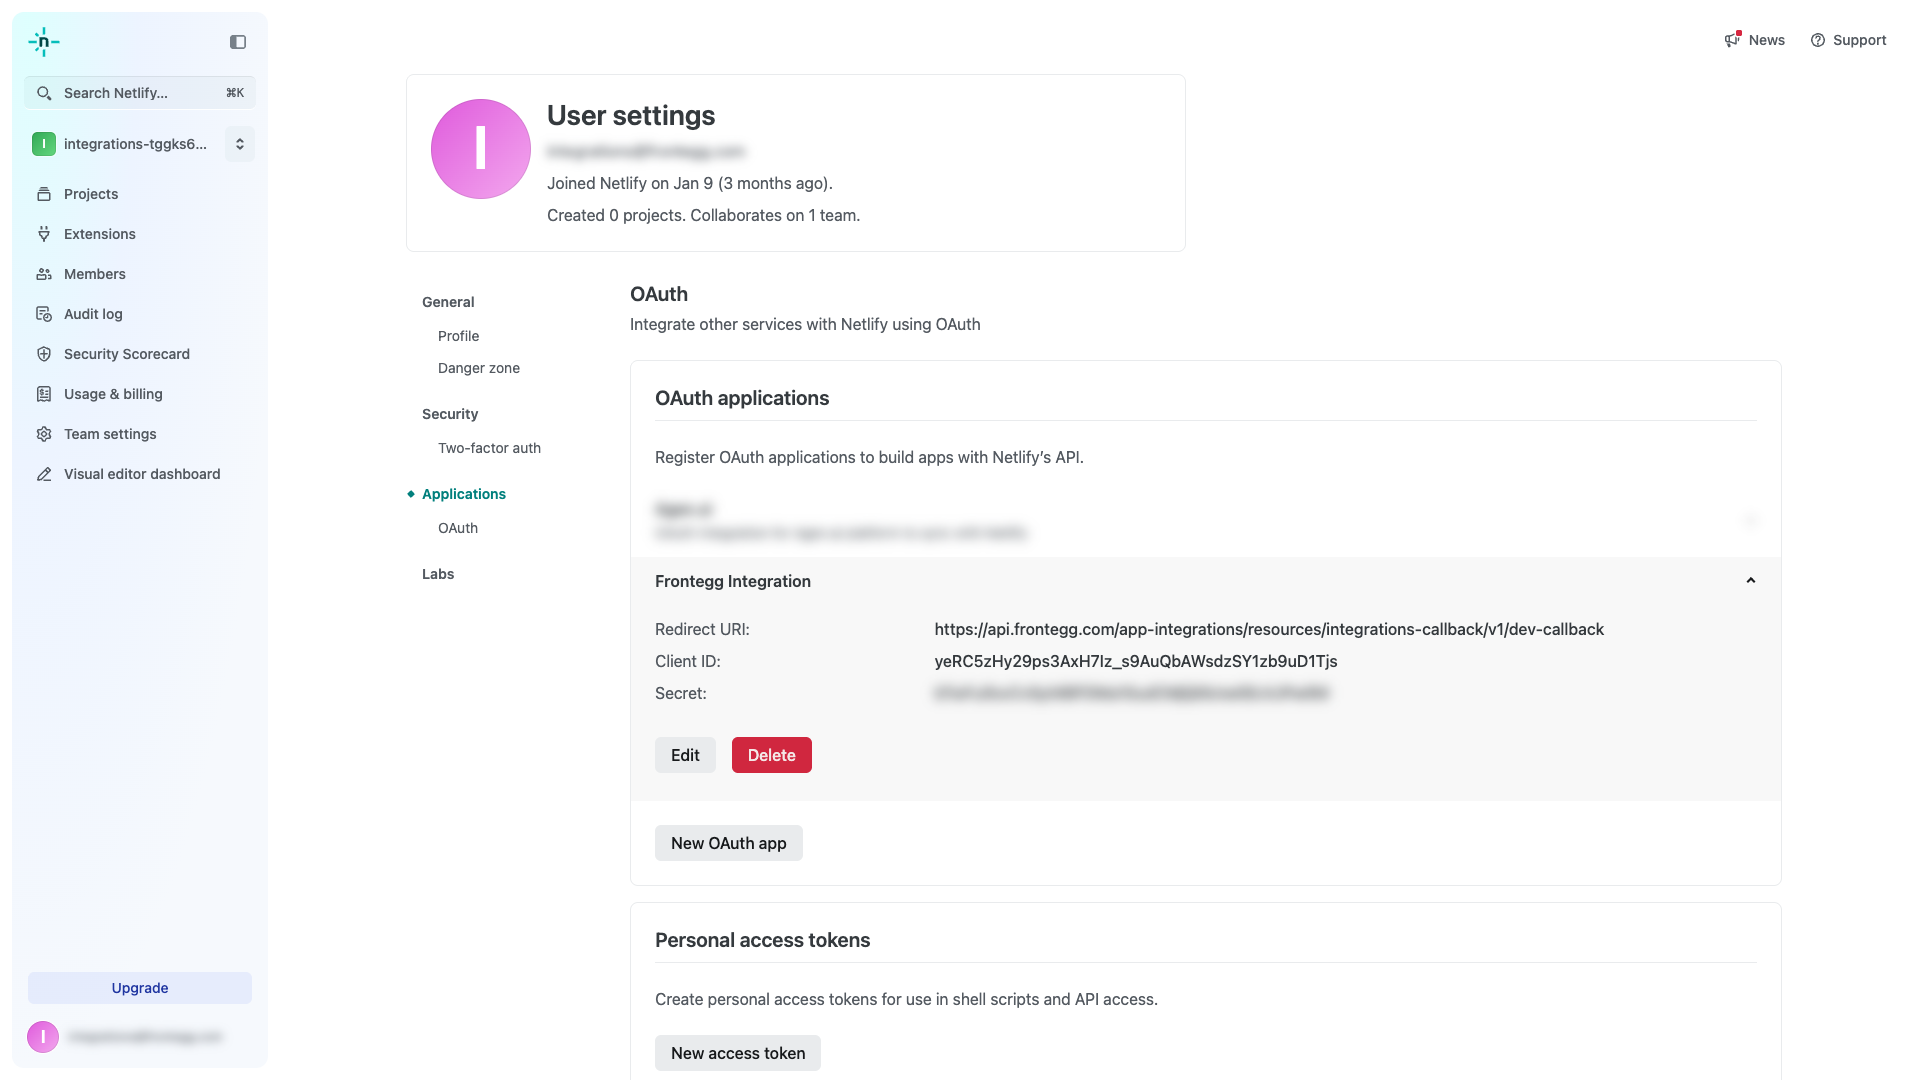
After saving, Netlify displays the Client ID and Secret for your application. Copy both values and store them securely.
Keep your credentials secure
Keep your credentials secure
The Client Secret is displayed in plain text on this page. Store it securely — never commit it to version control or share it publicly.
Once you have the Client ID and Secret from the steps above, enter them in the integration configuration page of the Frontegg portal:
- Open the Frontegg portal and navigate to [ENVIRONMENT] → Integrations → Netlify.
- Enter the Client ID and Client Secret in the corresponding fields.
- Click Save.