Salesforce is a customer relationship management (CRM) platform that lets sales, service, and marketing teams manage accounts, contacts, leads, opportunities, cases, tasks, and events in a single system of record. Integrating Salesforce with Frontegg lets your application read and write CRM records (Accounts, Contacts, Leads, Opportunities, Cases, Tasks, Events), run SOQL queries and SOSL searches, upsert records by external ID, and execute composite multi-step requests against the Salesforce REST API on behalf of an authenticated user.
The integration uses the OAuth 2.0 Web Server flow against login.salesforce.com, with offline access for refresh tokens. You provide a Client ID, Client Secret, and your Salesforce MyDomain in the Frontegg portal — the MyDomain is used to address the org-specific REST API host (https://{your-mydomain}.my.salesforce.com).
Prerequisites
Prerequisites
- A Salesforce org with admin permissions to create External Client Apps (Developer Edition, Enterprise, Unlimited, or Performance Edition).
- The user creating the app must have the Customize Application and Manage Connected Apps permissions.
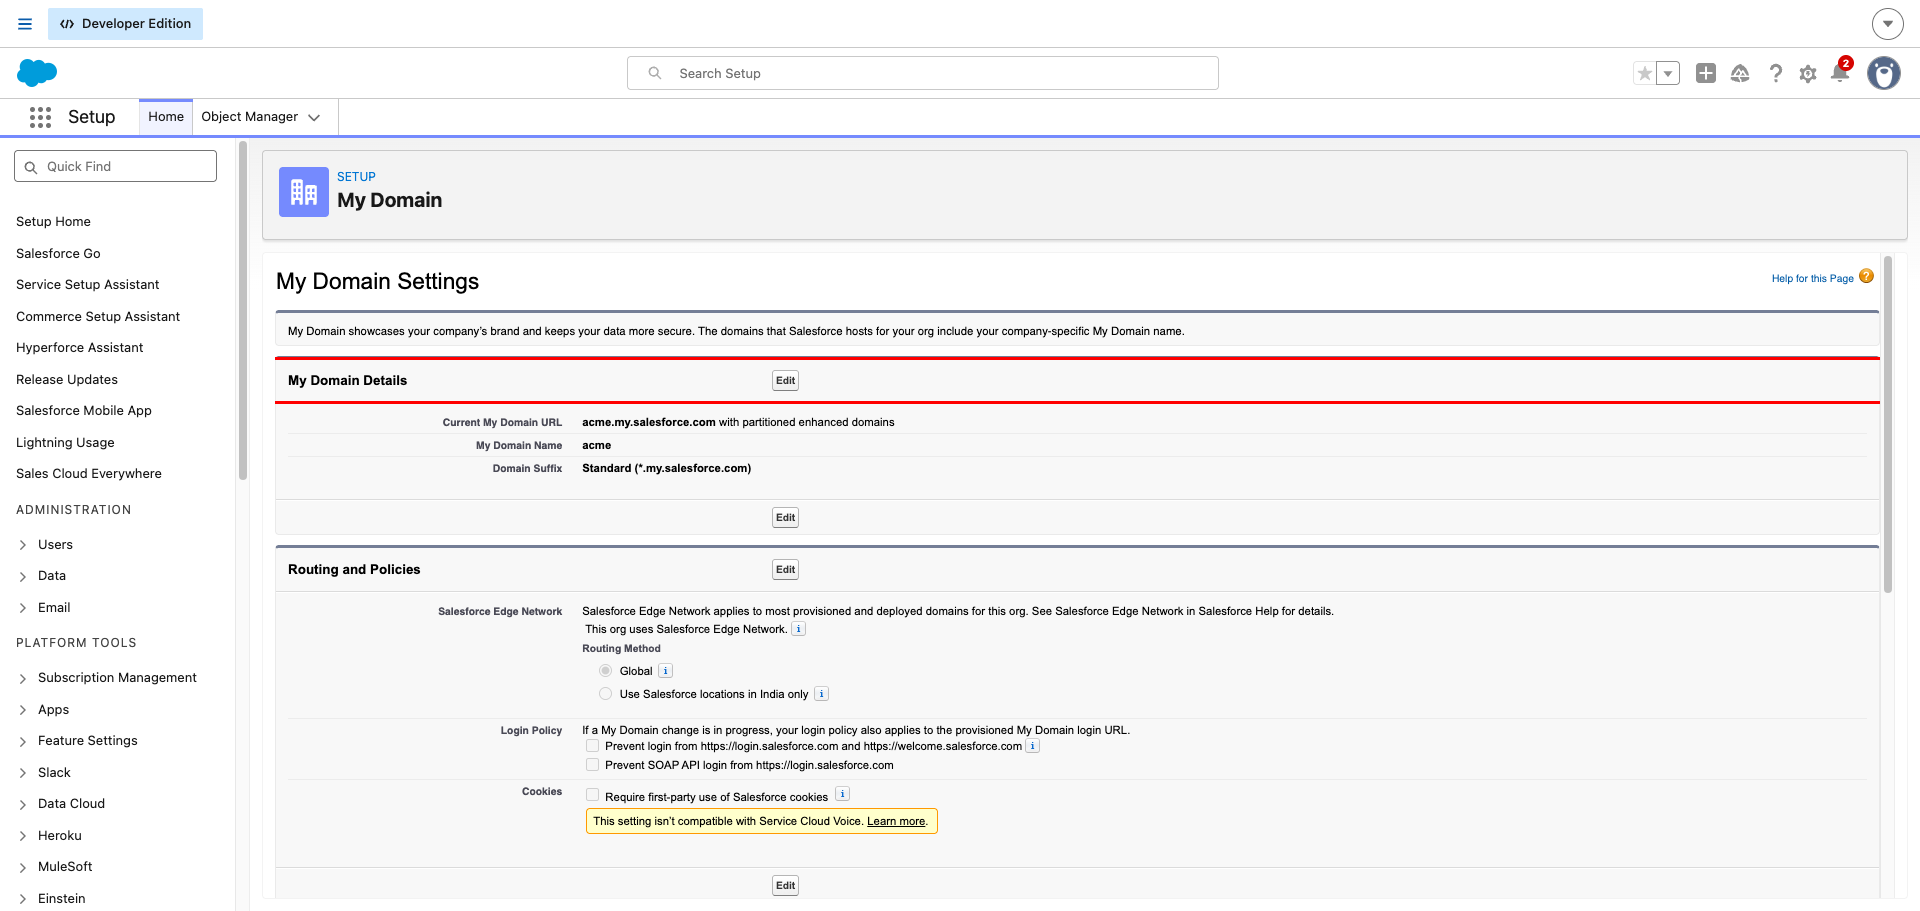
Sign in to Salesforce, open Setup, and in the left sidebar navigate to Company Settings → My Domain. Copy the value shown under My Domain Name — this is the subdomain prefix of your org URL (for example, acme from https://acme.my.salesforce.com).
You will paste this value into the Salesforce MyDomain field in the Frontegg portal.
Developer Edition orgs
Developer Edition orgs
If you are using a free Developer Edition org, your MyDomain typically includes .develop — for example, acme.develop from https://acme.develop.my.salesforce.com. Use the full subdomain prefix shown under My Domain Name, including .develop if present.
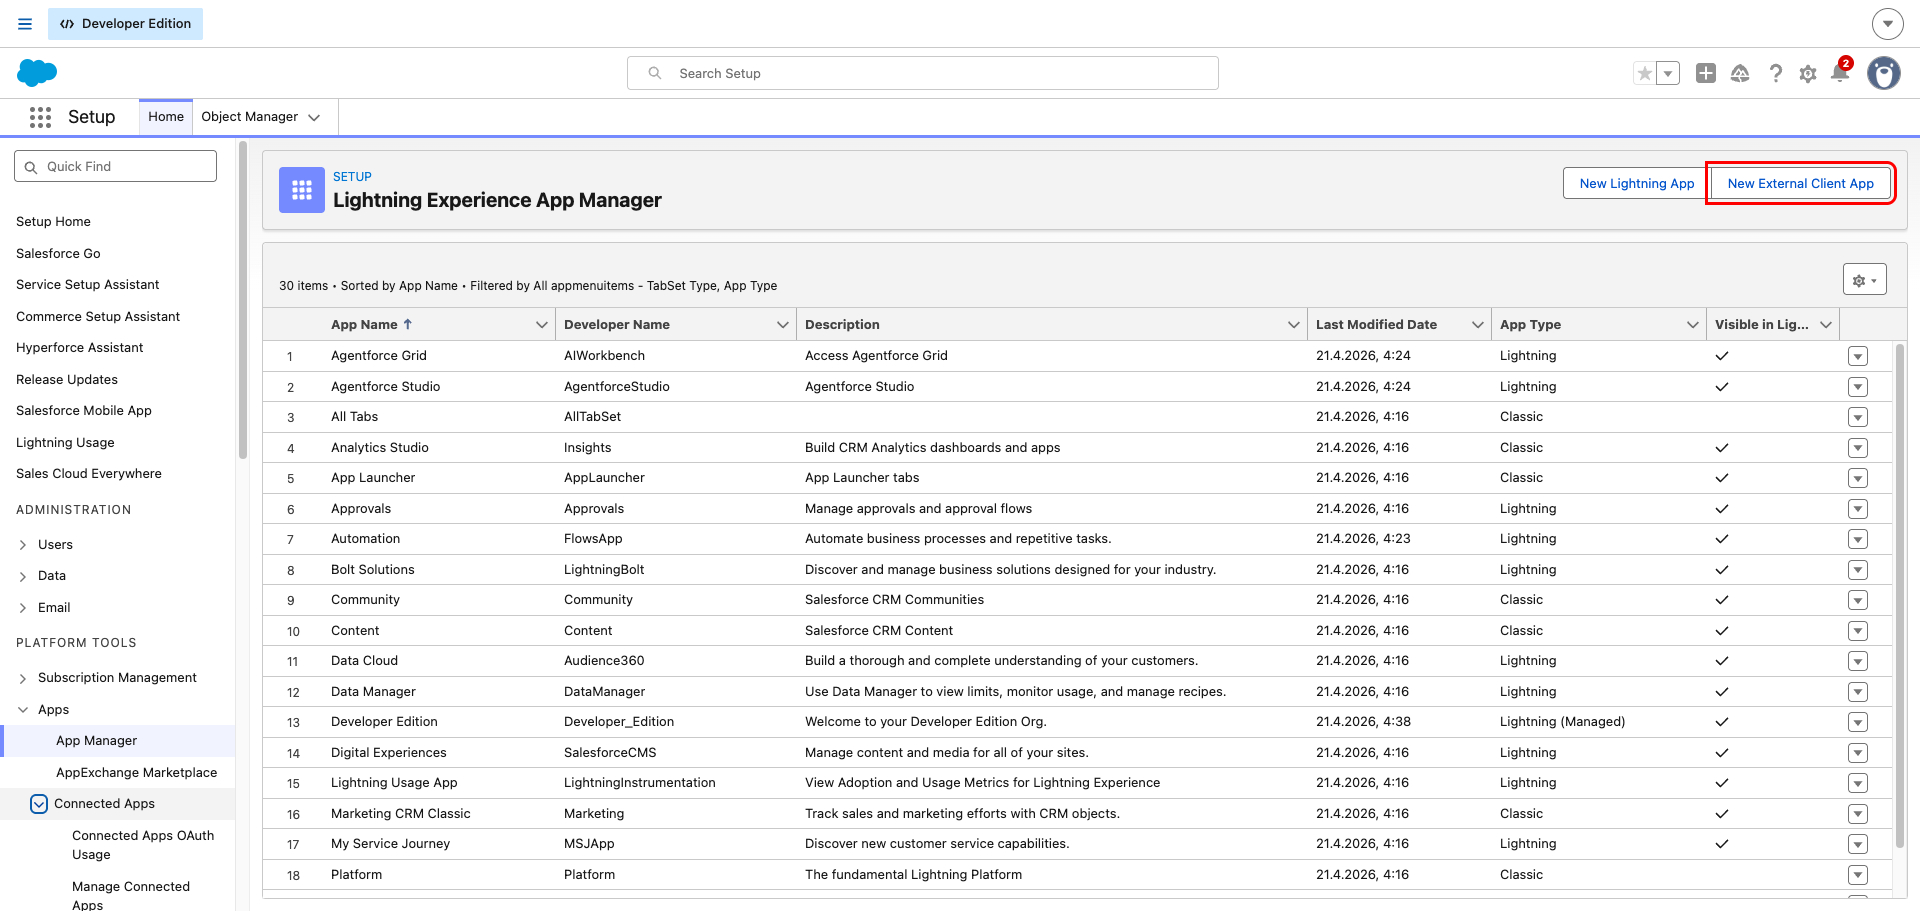
In Setup, open Apps → App Manager. In the top-right corner, click New External Client App.
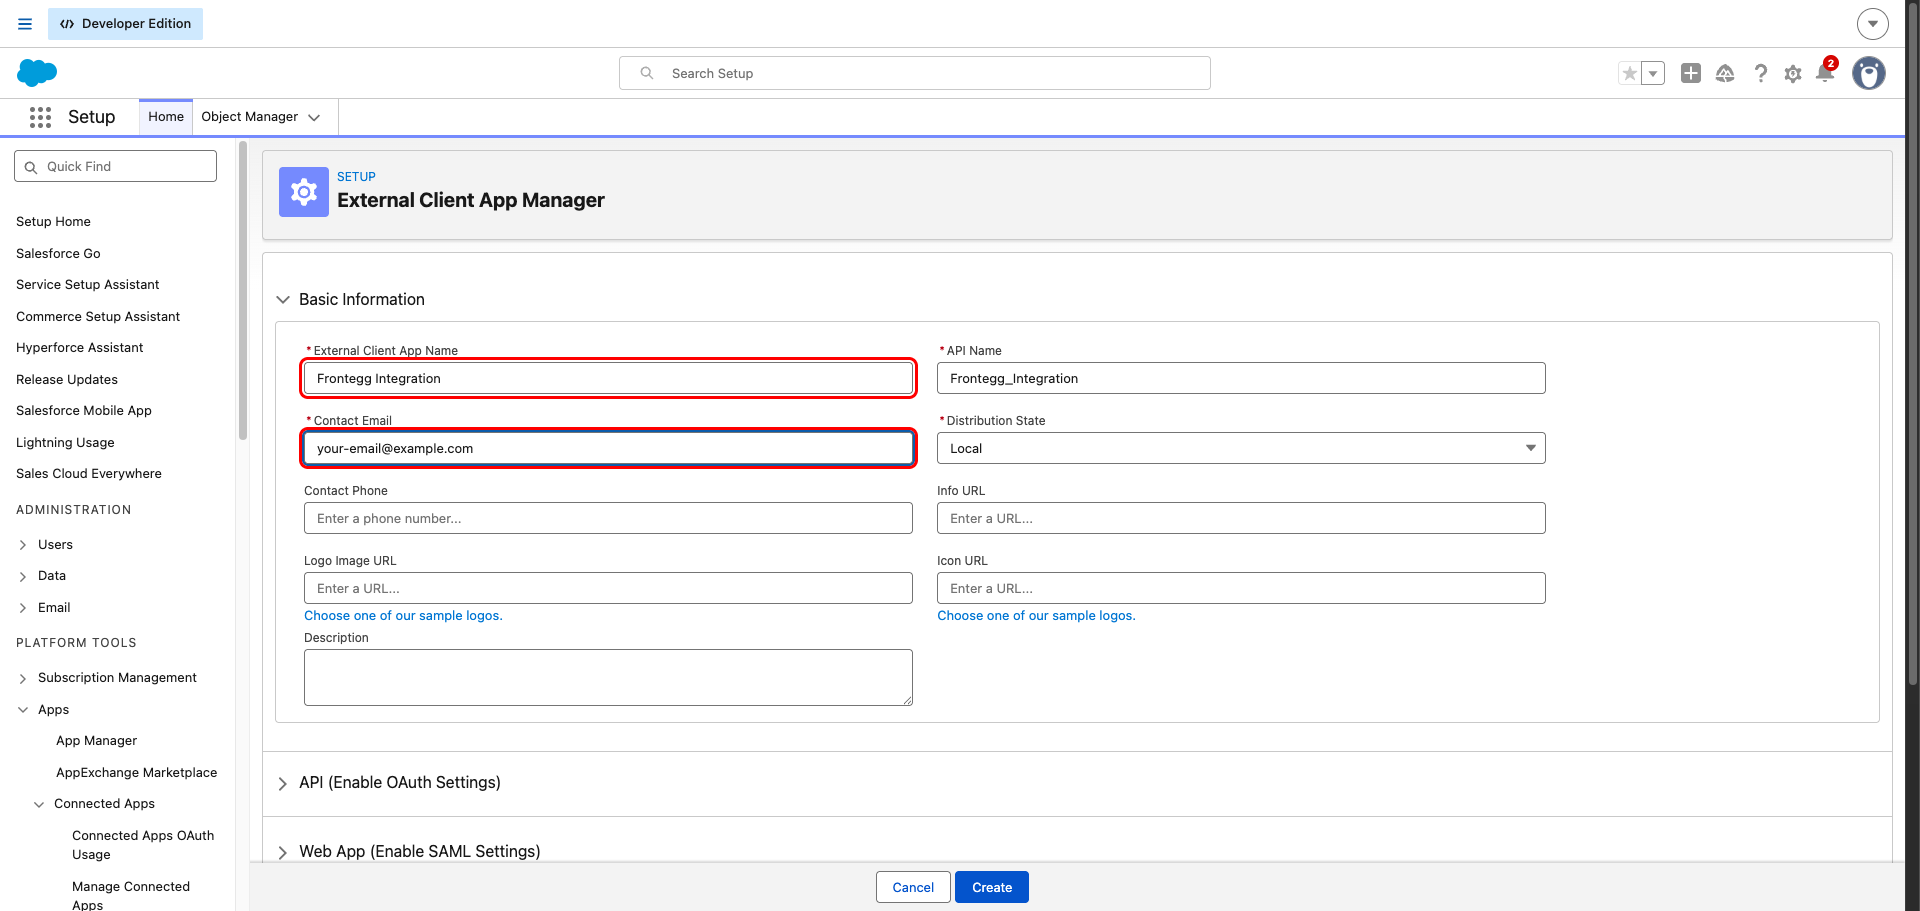
In the Basic Information section, enter:
- External Client App Name — a descriptive name, for example
Frontegg Integration. The API Name is generated automatically. - Contact Email — an email address that Salesforce will associate with this app.
- Leave Distribution State as
Local.
Expand the API (Enable OAuth Settings) section and check Enable OAuth. Then enter your Frontegg Redirect URL in the Callback URL field:
https://YOUR_MCP_GATEWAY_URL/integration-callback
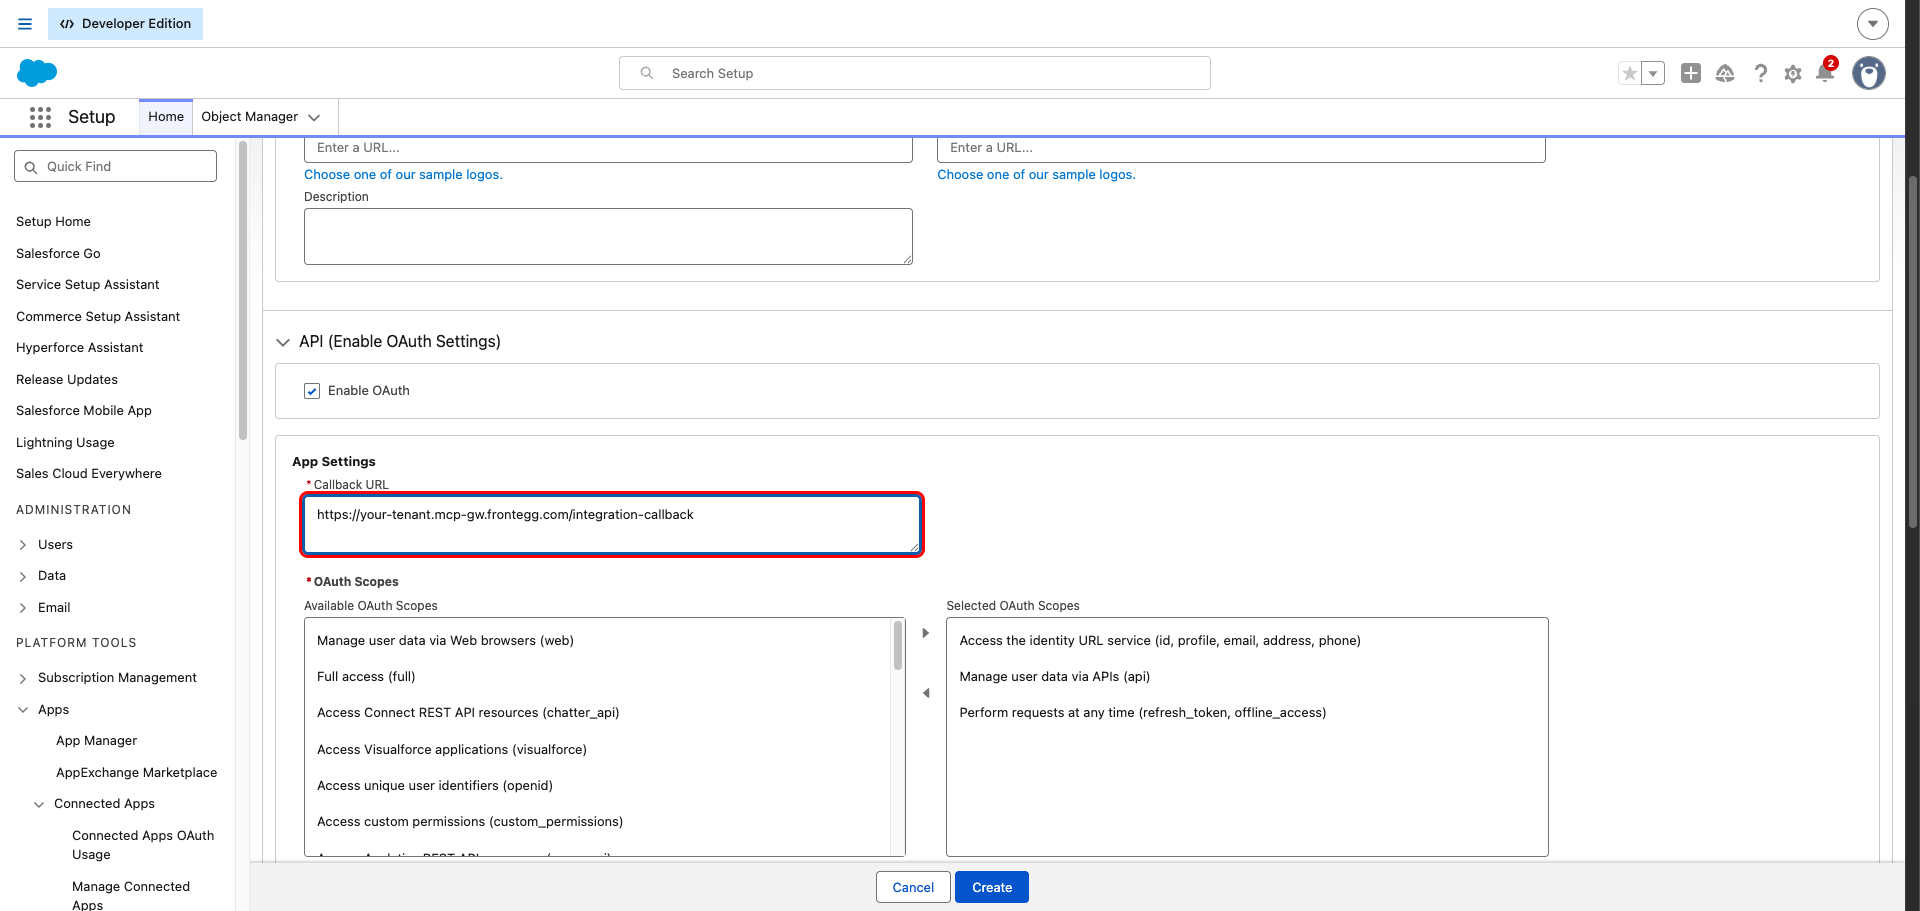
In the OAuth Scopes dual list, move the following three scopes from Available OAuth Scopes to Selected OAuth Scopes (select each scope and click the right-arrow button):
| Scope | Description |
|---|---|
Access the identity URL service (id, profile, email, address, phone) | Identifies the authenticated user and exposes the id claim used by Frontegg. |
Manage user data via APIs (api) | Grants read/write access to the Salesforce REST API for all integration tools (Accounts, Contacts, Leads, Opportunities, Cases, Tasks, Events, queries, composite). |
Perform requests at any time (refresh_token, offline_access) | Issues a refresh token so Frontegg can keep the integration connected without re-prompting the user. |

Web Server flow with PKCE
Web Server flow with PKCE
Salesforce enables Require secret for Web Server Flow, Require secret for Refresh Token Flow, and Require Proof Key for Code Exchange (PKCE) by default. Leave these settings as-is — the Frontegg integration uses the standard OAuth 2.0 Web Server flow with PKCE.
Click Create at the bottom of the form. Salesforce takes you to the app detail page.
Open the Settings tab, expand OAuth Settings, and click Consumer Key and Secret. Salesforce may ask you to verify your identity by entering a code emailed to your account address.
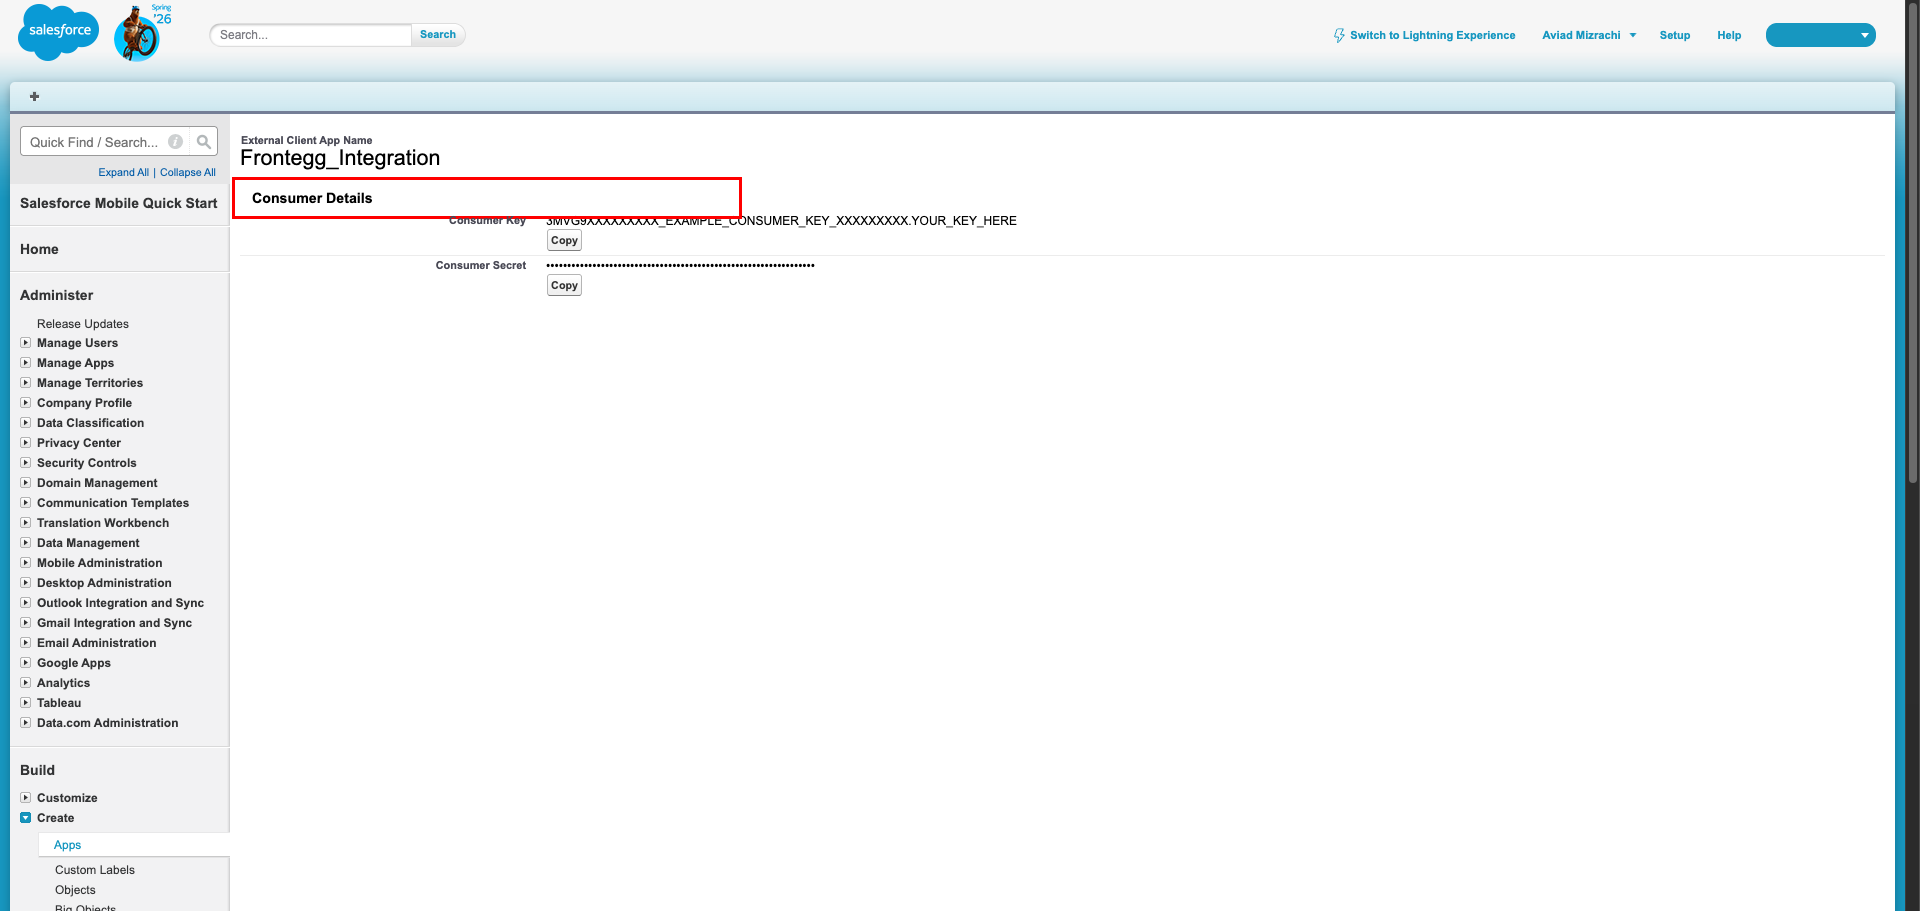
After verification, the Consumer Details page displays:
- Consumer Key — paste this into the Client ID field in the Frontegg portal.
- Consumer Secret — paste this into the Client Secret field in the Frontegg portal.
Keep your credentials secure
Keep your credentials secure
Treat the Consumer Secret as a password. Never share it or commit it to version control.
Open the Frontegg portal and navigate to [ENVIRONMENT] → Integrations → Salesforce, then enter:
- Client ID — the Consumer Key value from the previous step.
- Client Secret — the Consumer Secret value from the previous step.
- Salesforce MyDomain — the subdomain you copied earlier (for example,
acme). - Select the required scopes.
- Click Save.