Integrating Notion with Frontegg allows your application to authenticate users via OAuth 2.0 and interact with their Notion workspaces — reading pages, creating content, querying databases, and posting comments on their behalf.
Prerequisites
Prerequisites
- A Notion account
- Access to the Notion integrations portal
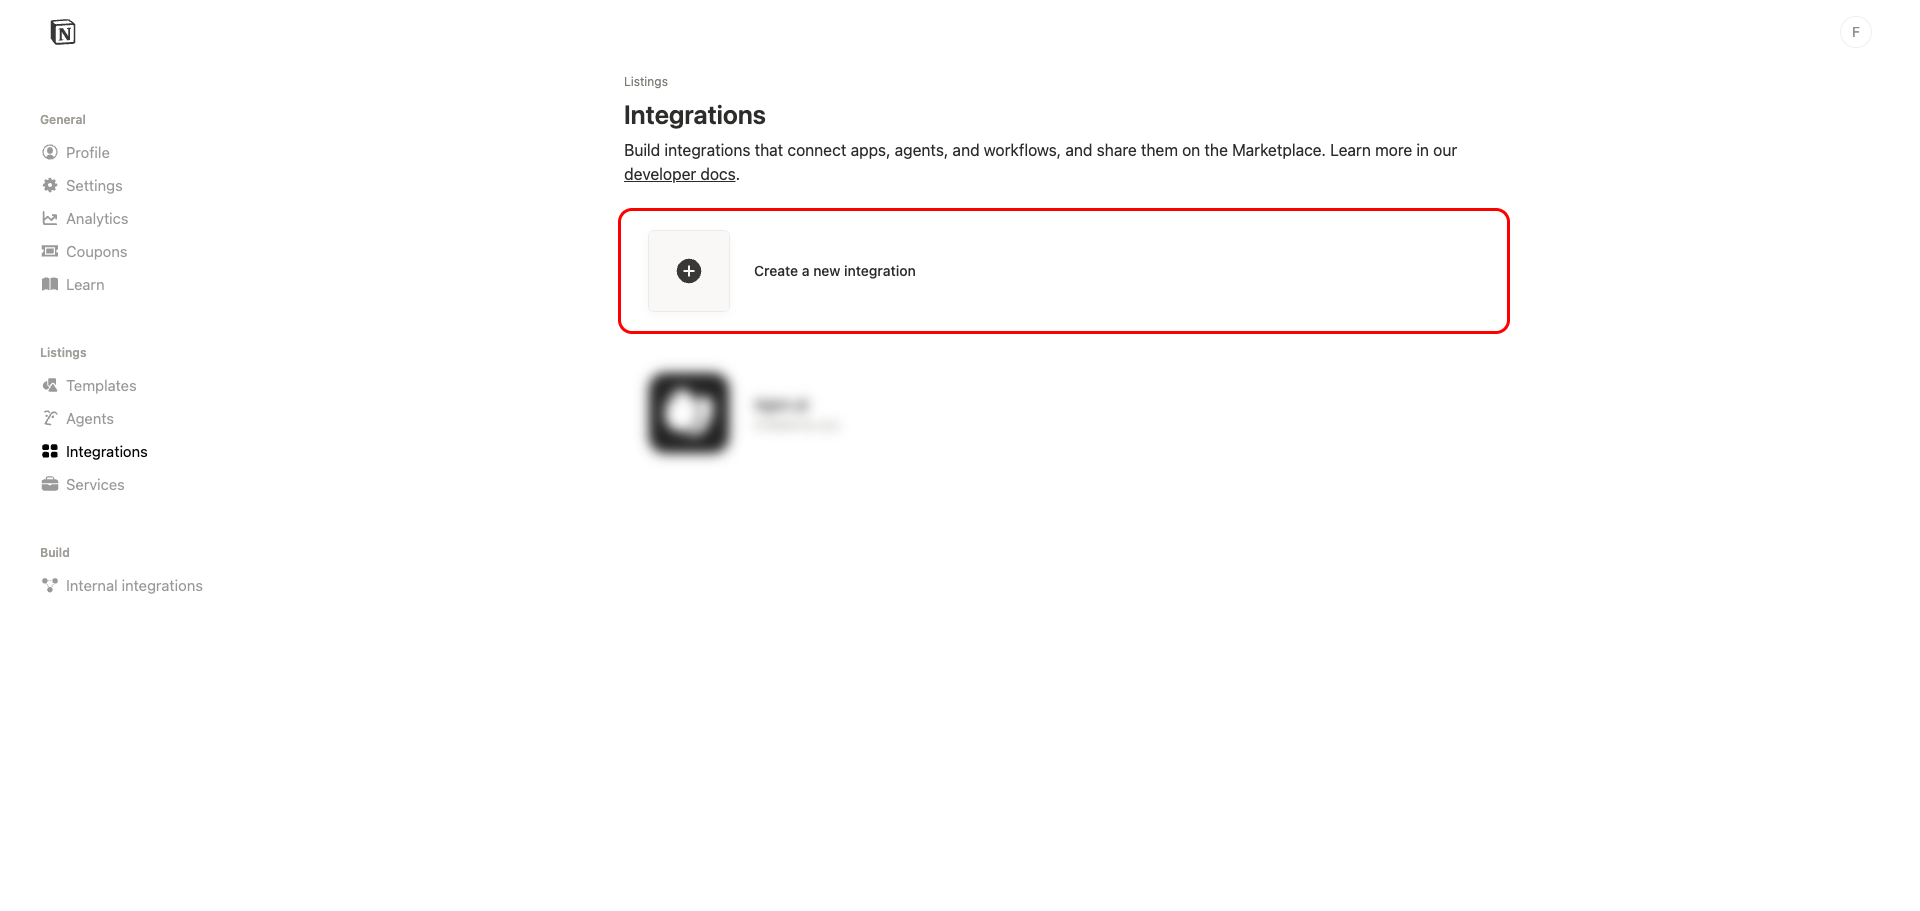
Navigate to notion.so/my-integrations. Sign in with your Notion account if prompted, then click Create a new integration.
Fill in the following fields:
- Integration name: Enter a name for your integration (for example,
Frontegg Integration). - Icon: Upload a square PNG or JPG image (512×512 px recommended).
- Associated workspace: Select the workspace where you will test and develop this integration.

In the Authorization (OAuth) section, enter the following redirect URIs one at a time and press Enter after each:
https://YOUR_MCP_GATEWAY_URL/integration-callback
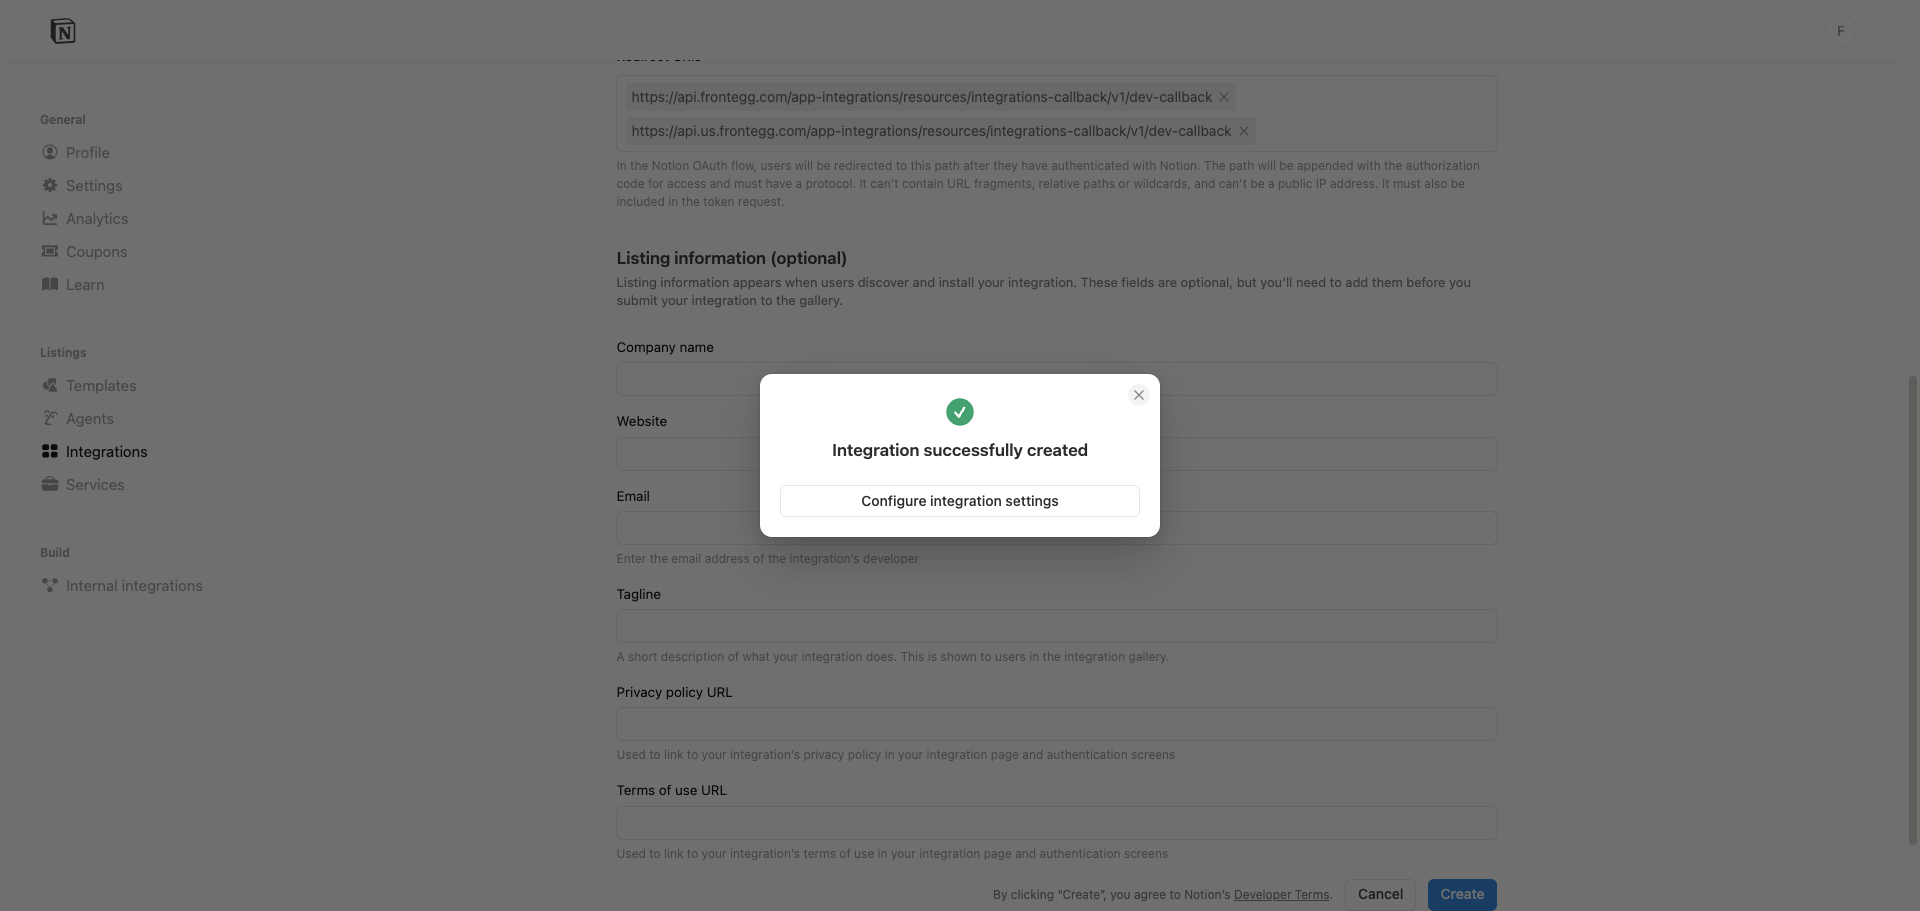
Click Create to submit the form.

A confirmation dialog appears. Click Configure integration settings to proceed to the integration's settings page.
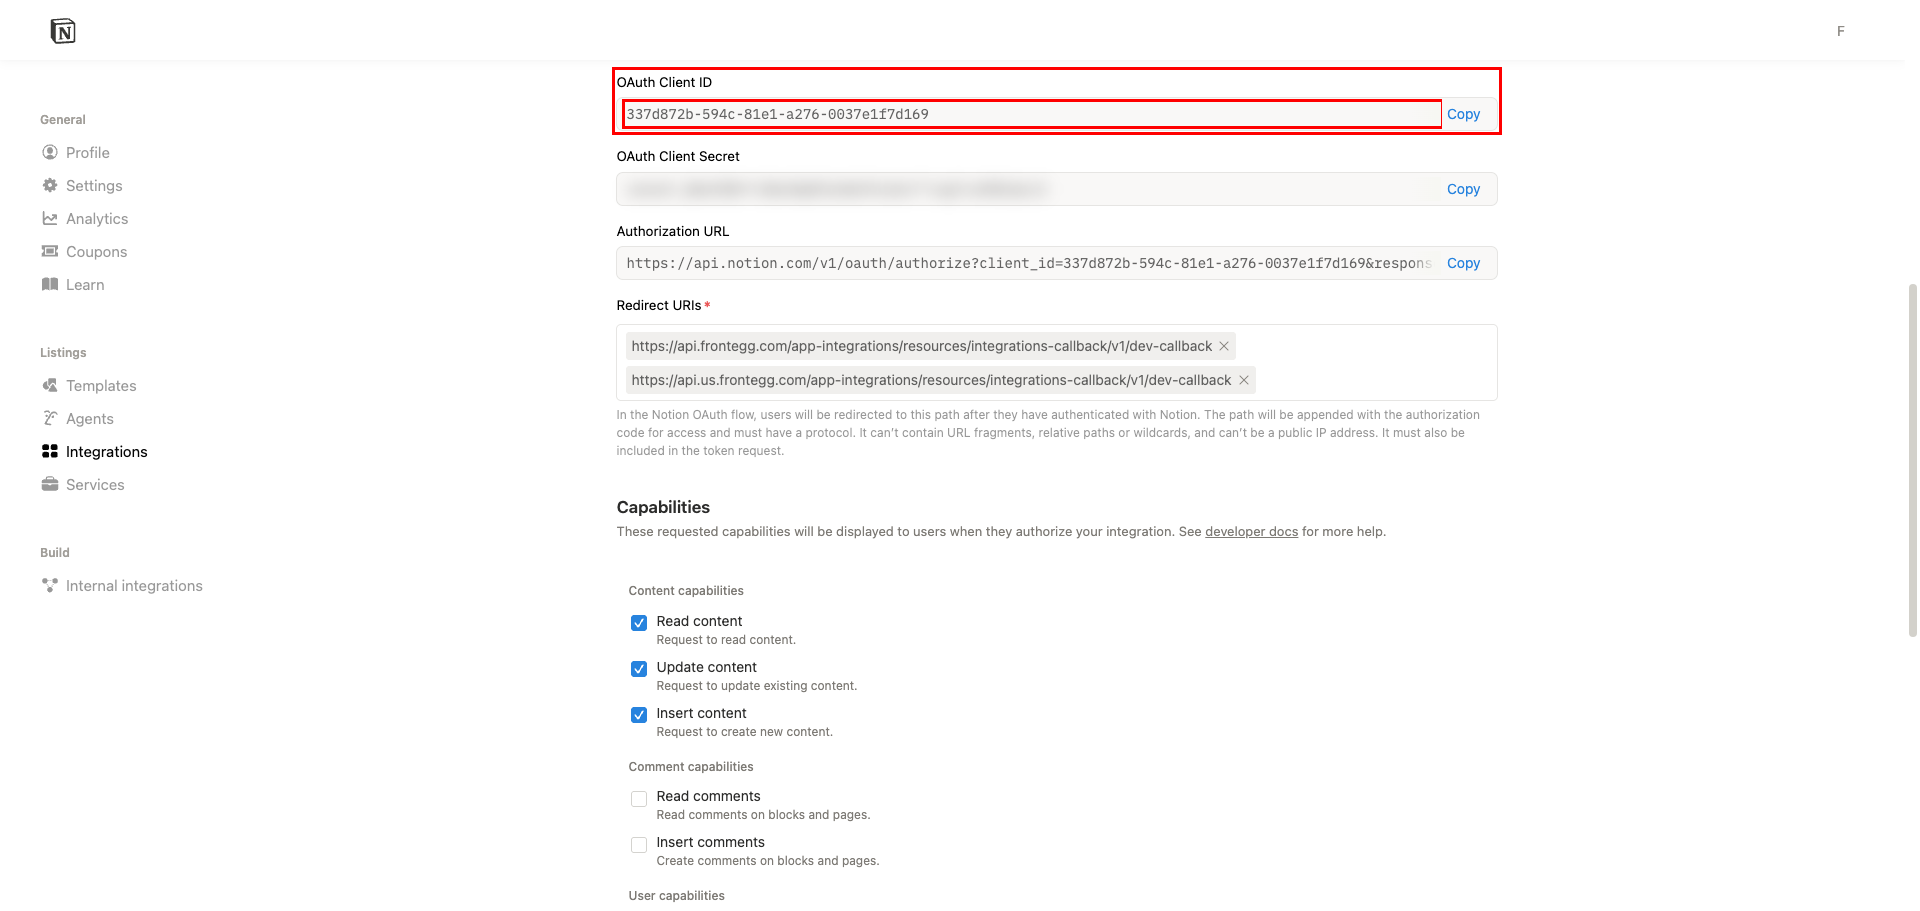
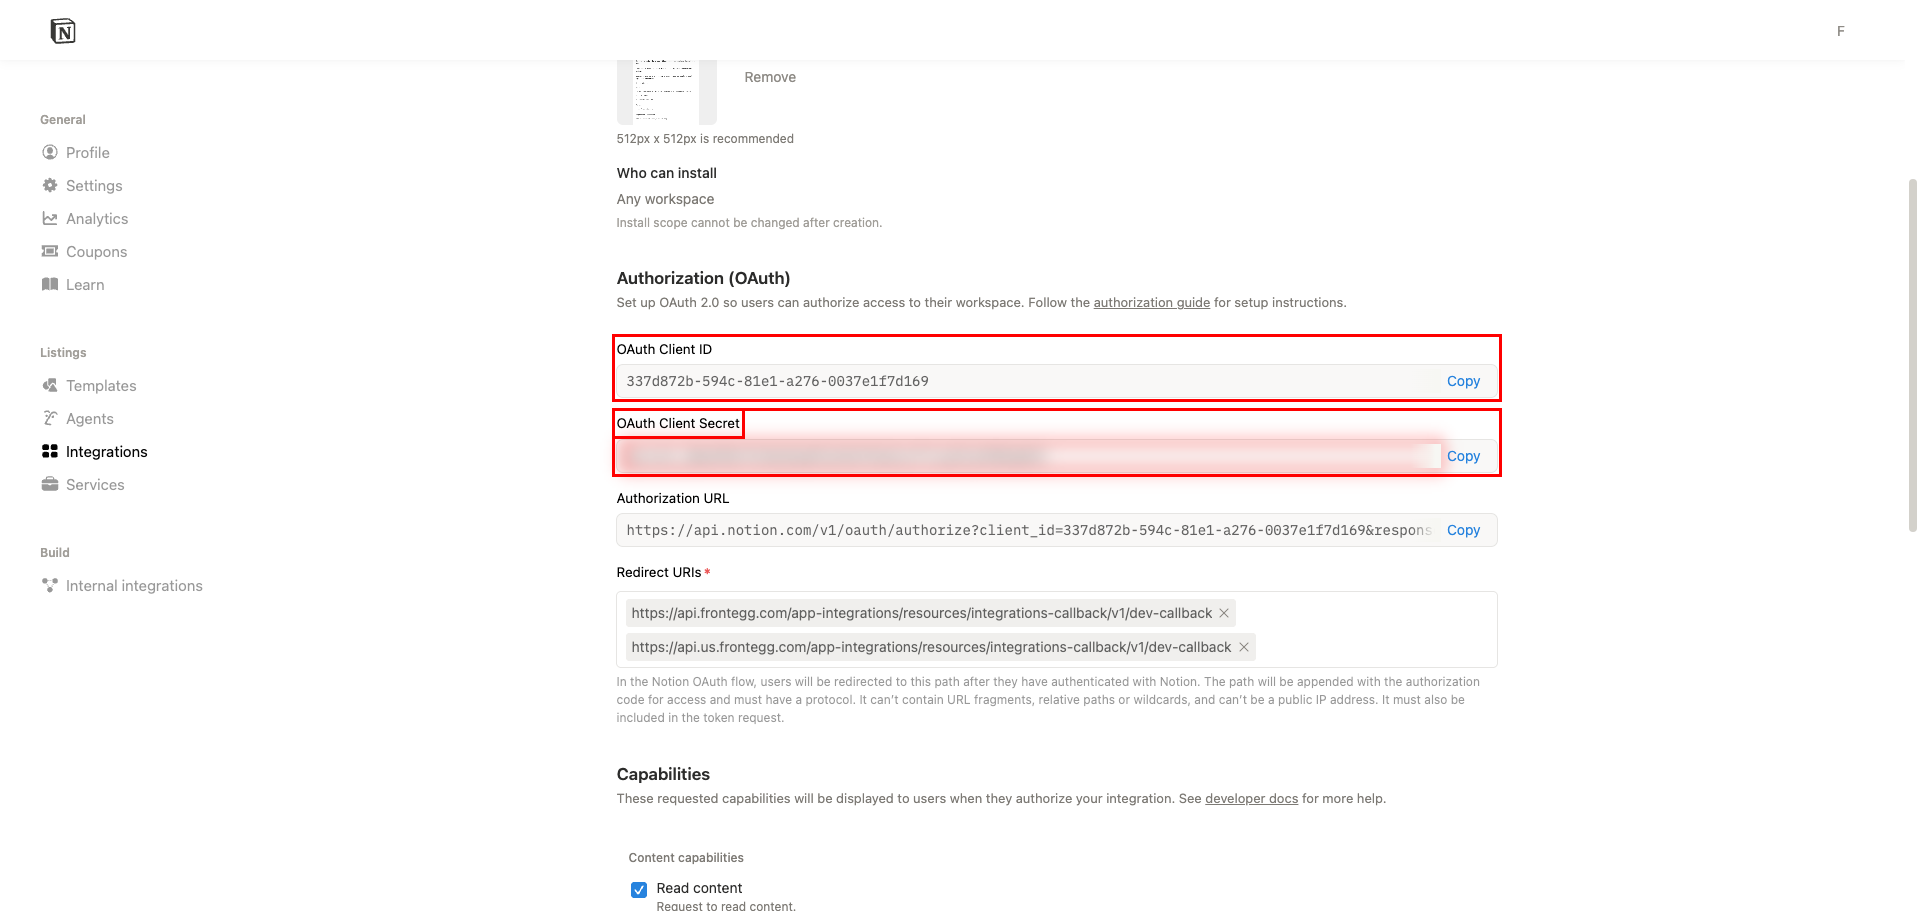
On the settings page, find the Authorization (OAuth) section. Your OAuth Client ID is displayed there. Click Copy to copy it for use in the Frontegg portal.
Click Show next to OAuth Client Secret, confirm the prompt, then click Copy to save the secret.
Keep your credentials secure
Keep your credentials secure
The Client Secret is shown only once. Store it immediately in a secure location. Never share or commit it to version control.
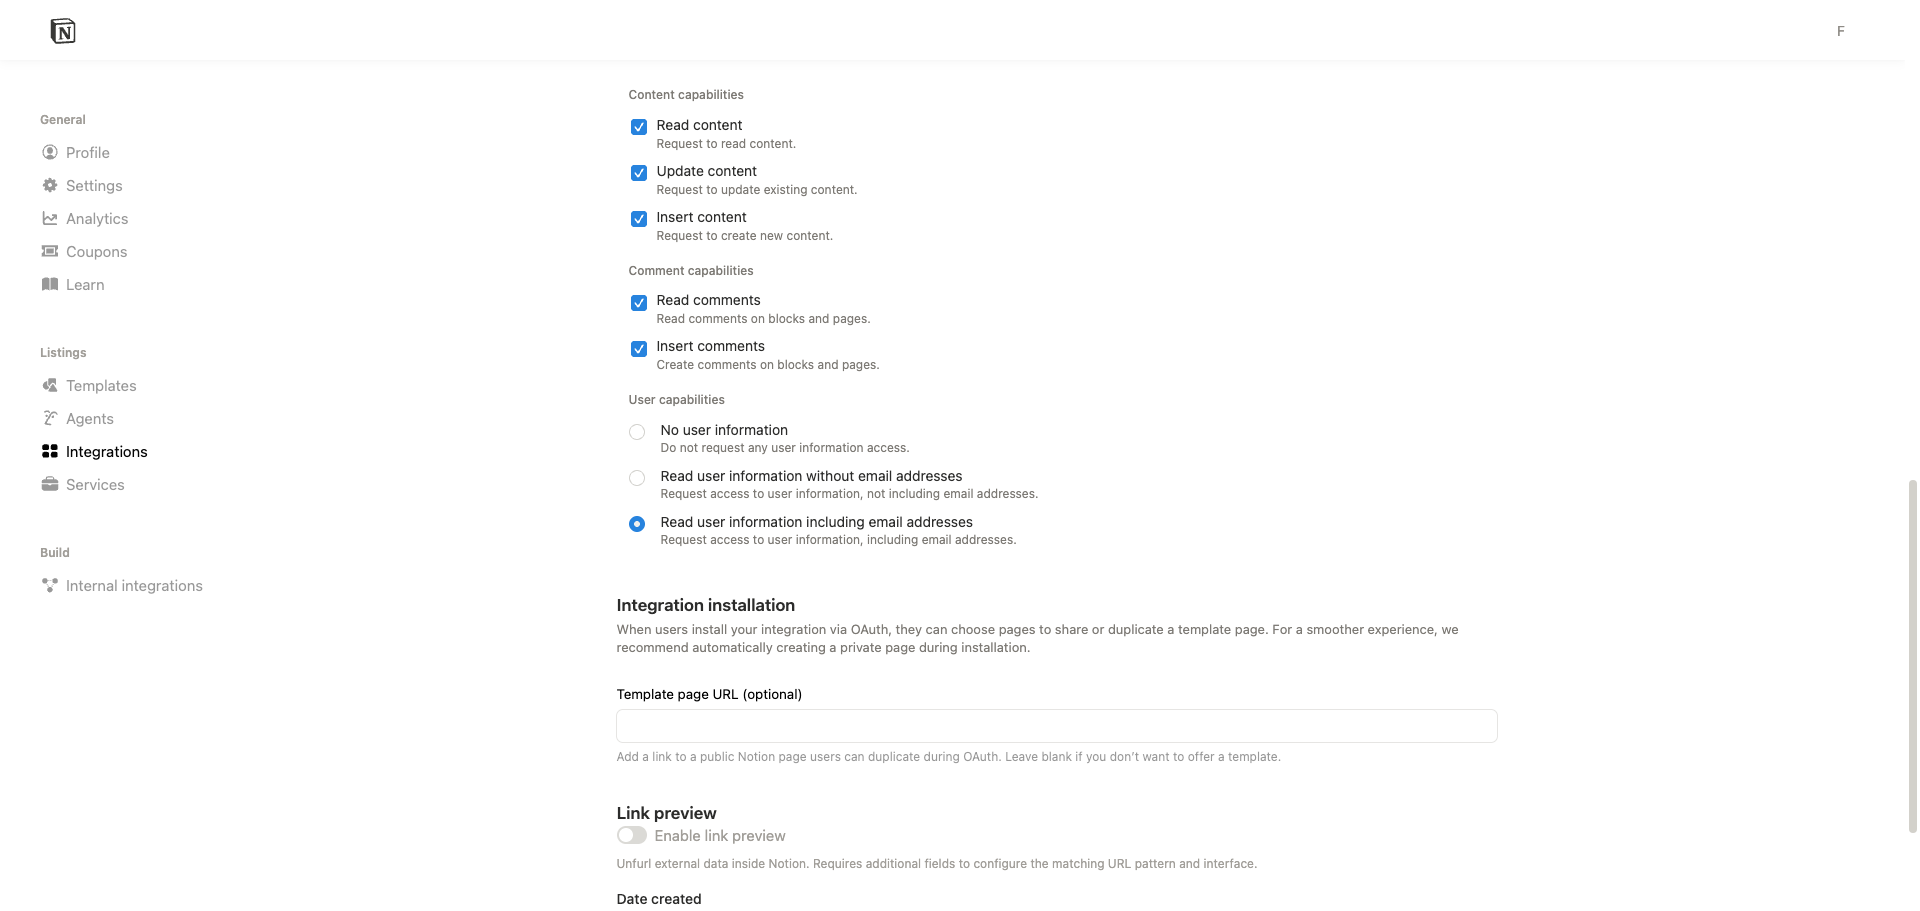
Scroll down to the Capabilities section and select the capabilities your integration requires. Notion uses capability-based permissions instead of traditional OAuth scopes — the selected capabilities are shown to users when they authorize your integration.
| Capability | Description |
|---|---|
| Read content | Read pages, databases, and blocks |
| Update content | Update existing pages and blocks |
| Insert content | Create new pages, databases, and blocks |
| Read comments | Read comments on blocks and pages |
| Insert comments | Create comments on blocks and pages |
| Read user information including email addresses | Access user profile information and email addresses |
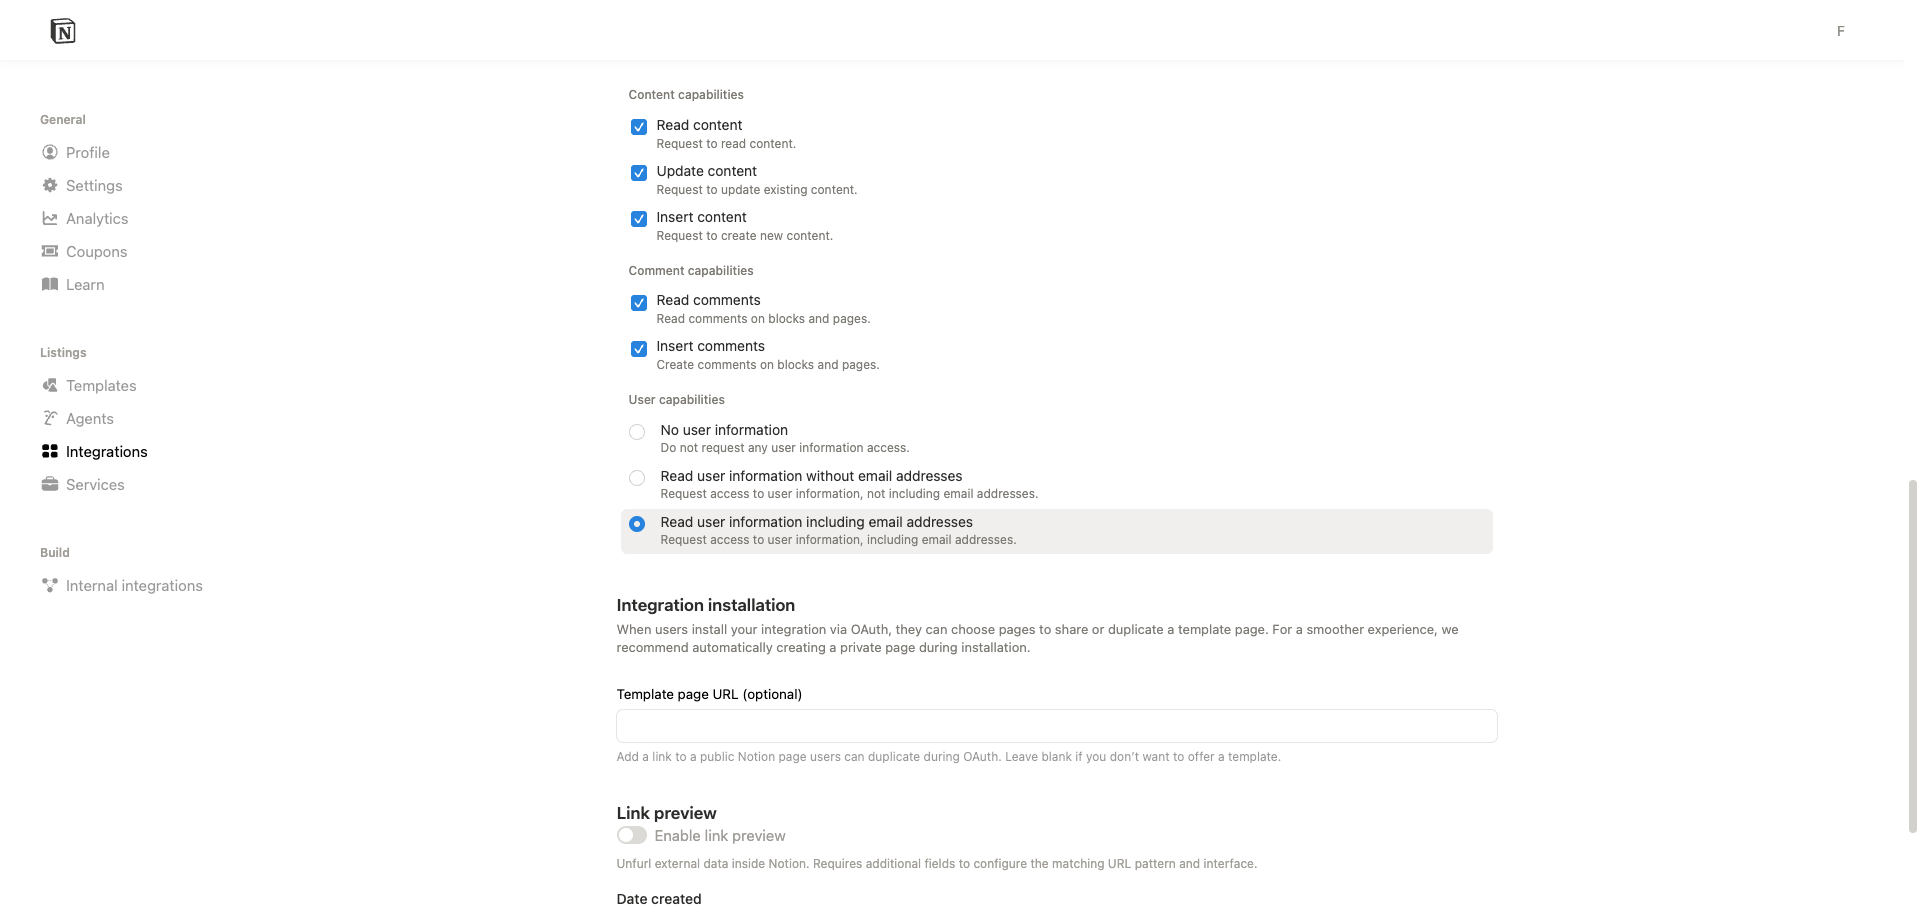
Click Save to apply the capability settings. A confirmation message appears when the changes are saved.
Once you have your OAuth Client ID and OAuth Client Secret, configure the integration in the Frontegg portal:
- Open the Frontegg portal and navigate to [ENVIRONMENT] → Integrations → Notion.
- Enter the OAuth Client ID in the Client ID field and the OAuth Client Secret in the Client Secret field.
- Select the required capabilities.
- Click Save.