Stripe is a payment processing platform that provides APIs for accepting payments, managing subscriptions, and handling invoices. Integrating Stripe with Frontegg allows your application to manage customers, charges, payment intents, invoices, products, prices, subscriptions, and refunds on behalf of your users through API key authentication.
Prerequisites
Prerequisites
- A Stripe account (free or paid plan)
- Access to the Stripe Dashboard
Log in to your Stripe Dashboard. In the bottom toolbar, click Developers, then select the API keys tab. This page displays your existing keys and allows you to create new restricted keys.
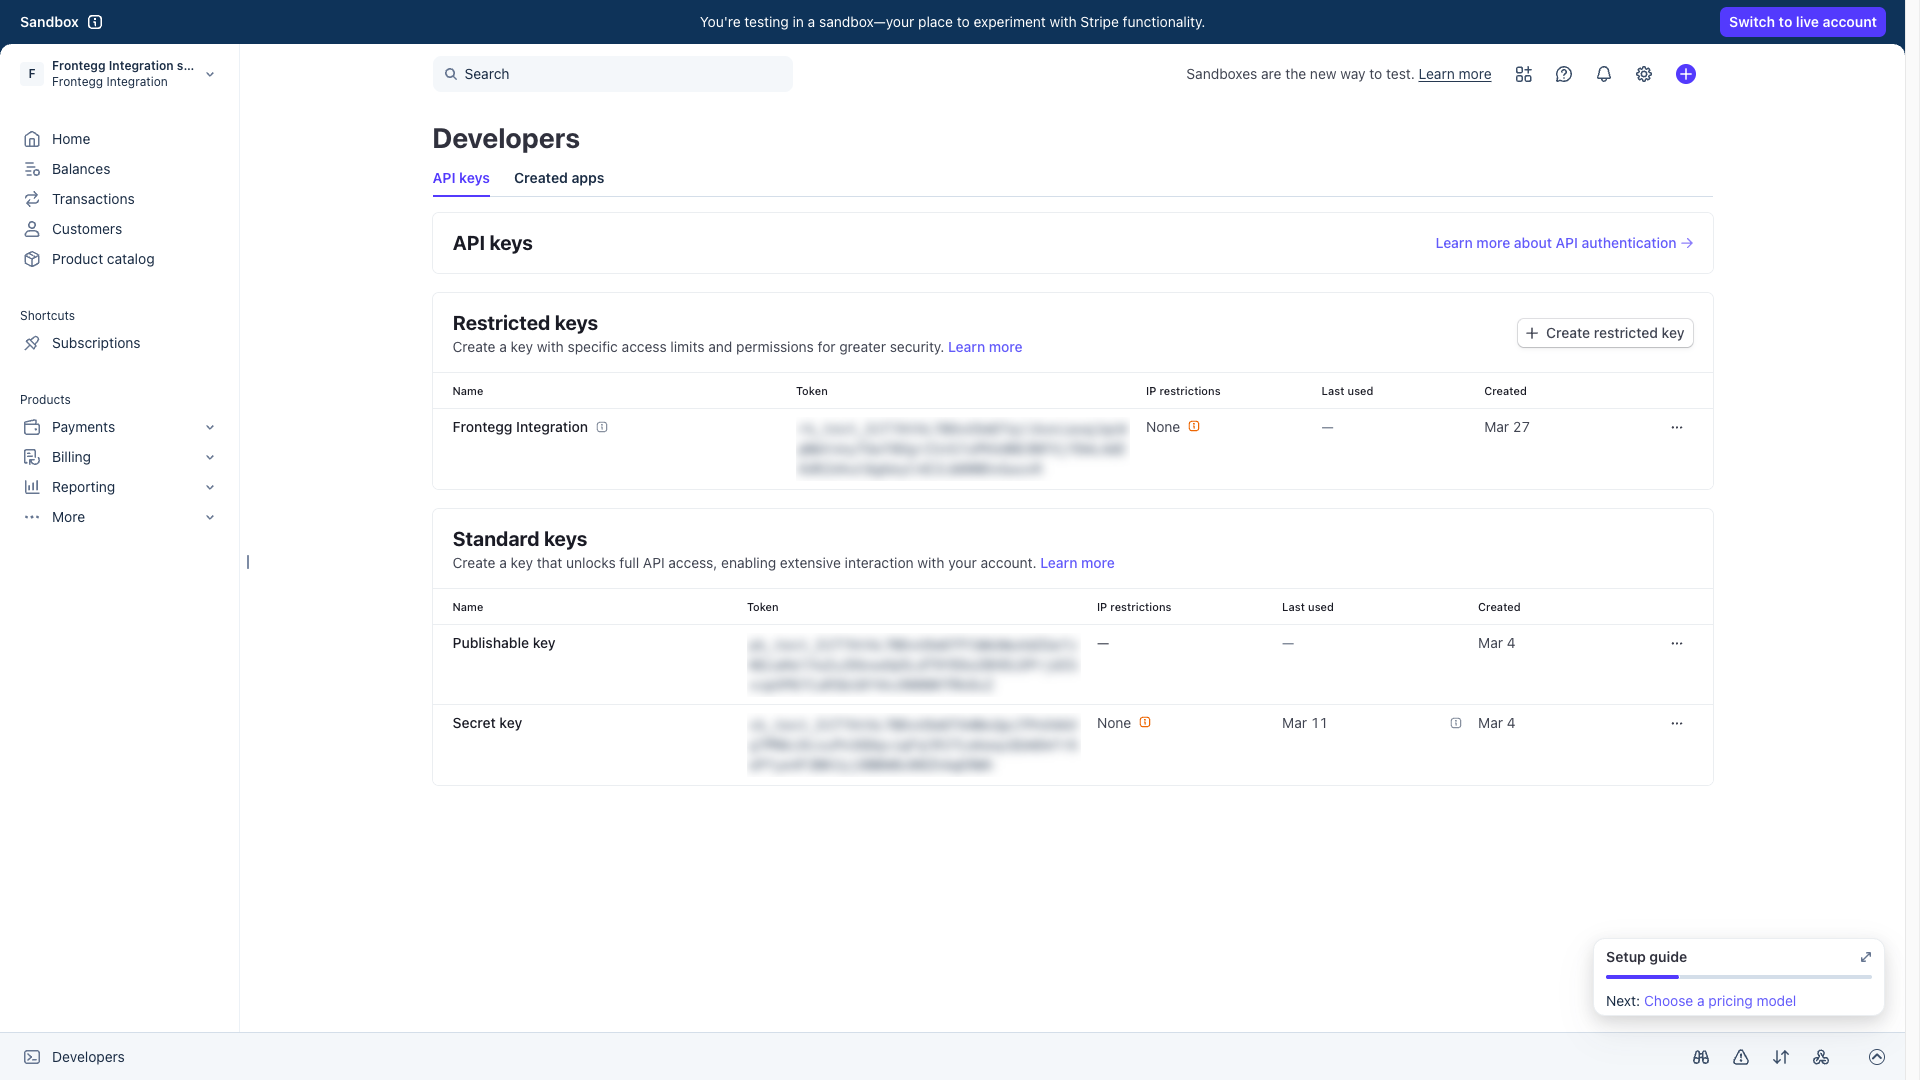
In the Restricted keys section, click the Create restricted key button. A dialog appears asking how you will use this API key. Select Building your own integration and click Continue.

On the Create restricted API key page, enter Frontegg Integration (or any descriptive name) in the Key name field.
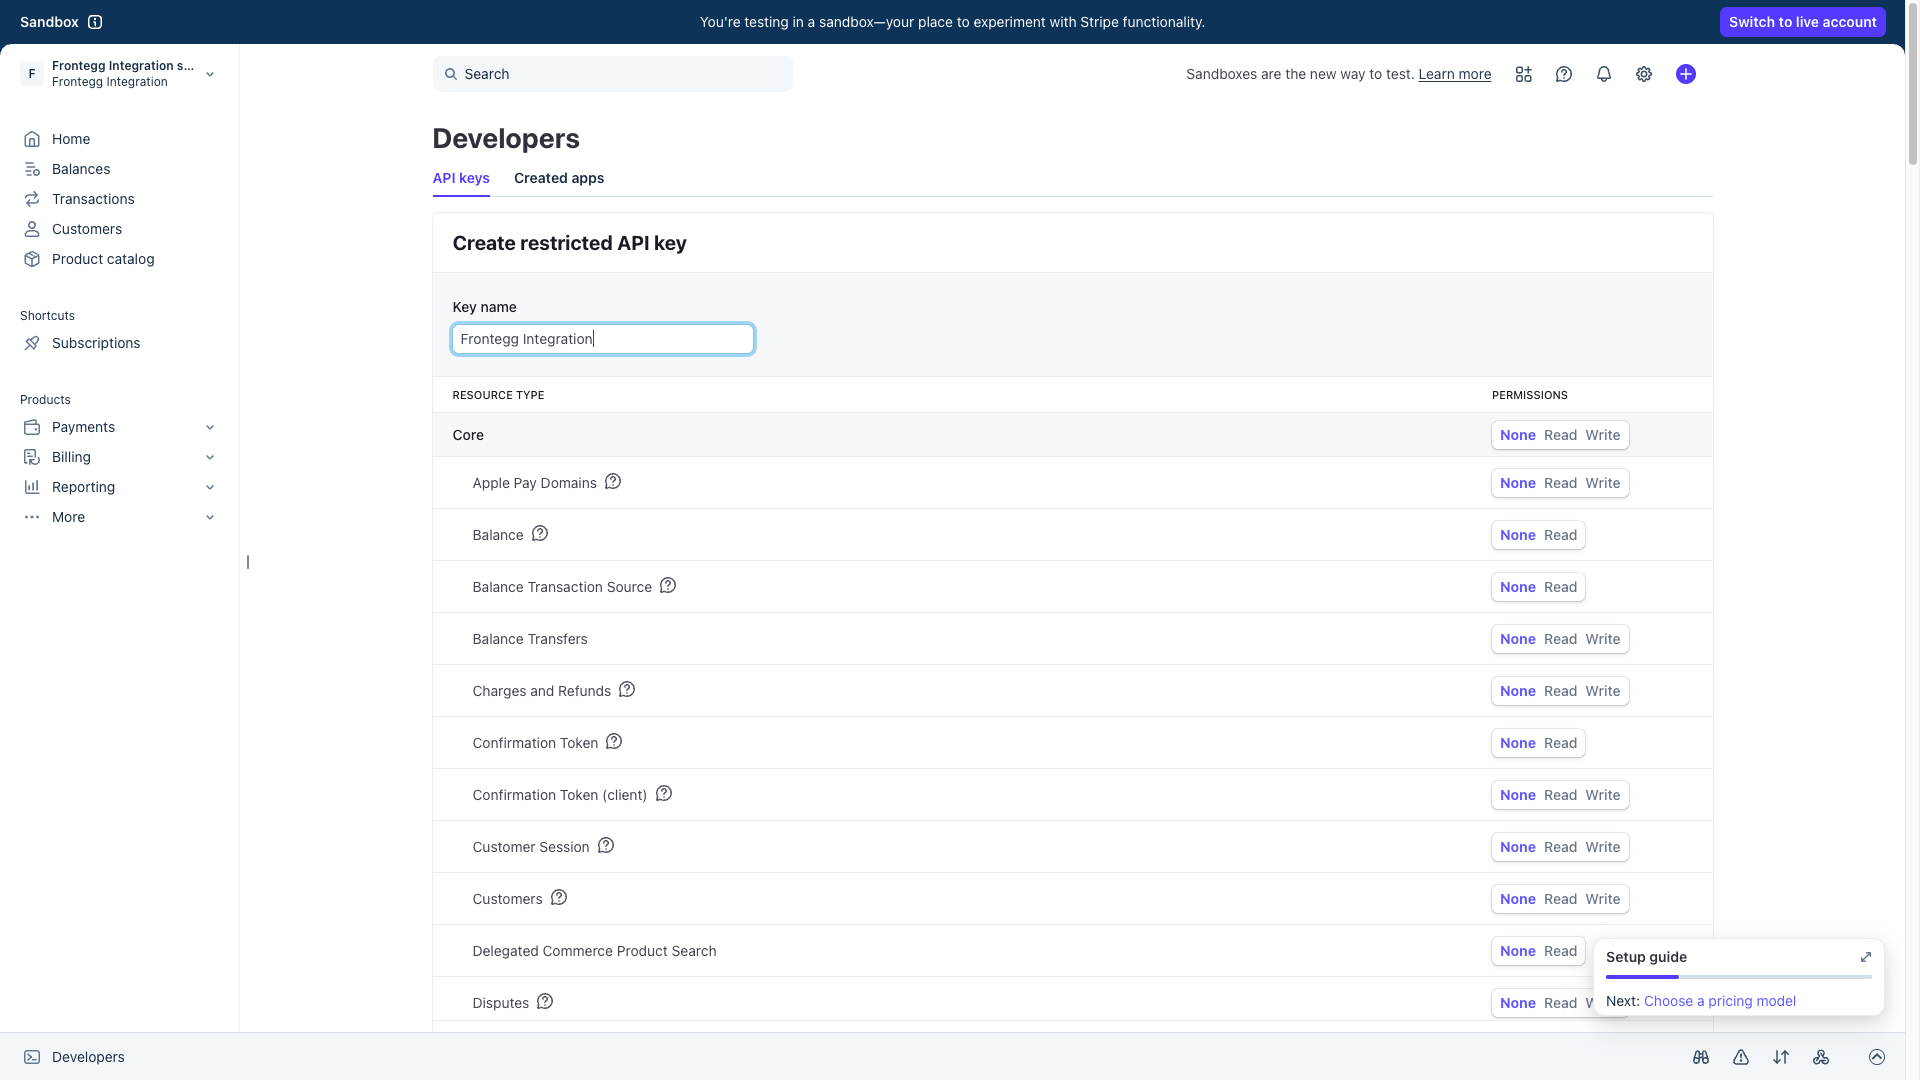
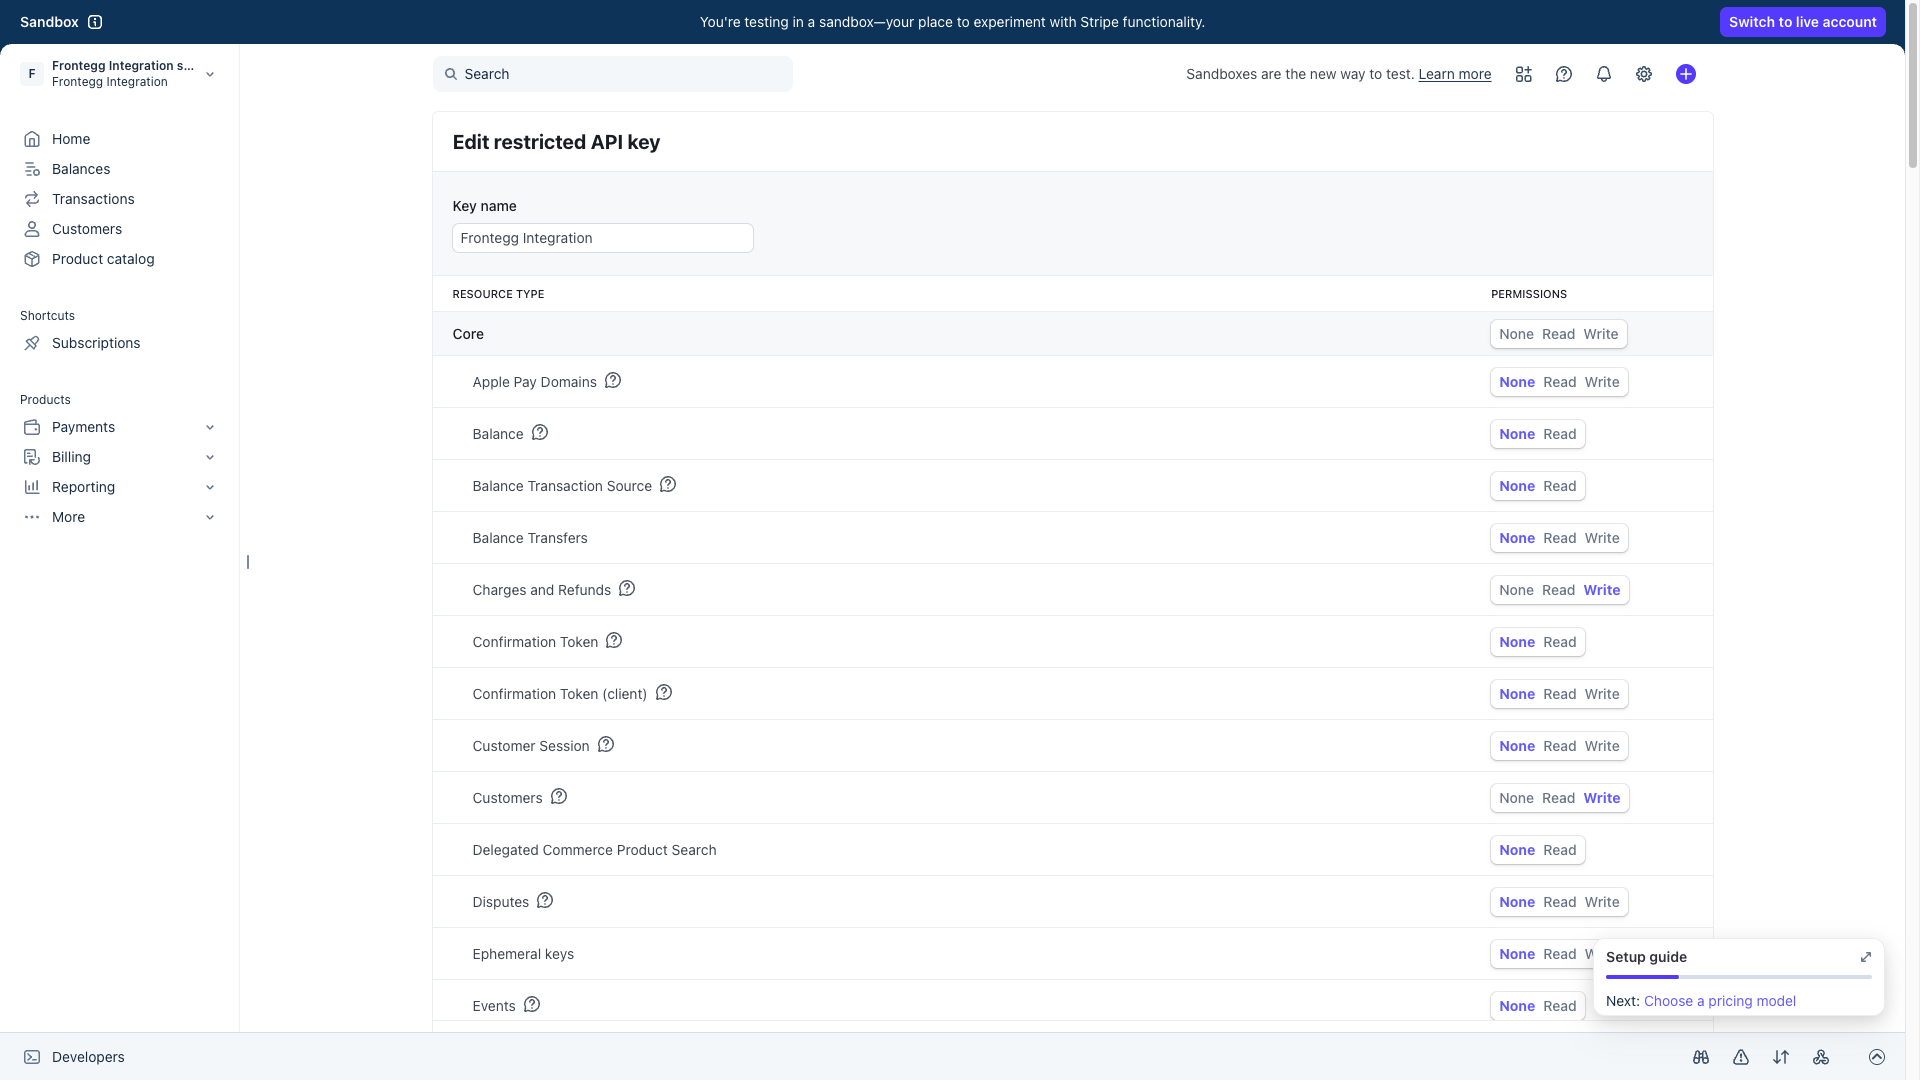
In the Core section of the permissions table, set the following resource types to Write (which also grants Read access):
| Resource type | Permission |
|---|---|
| Customers | Write |
| Charges and Refunds | Write |
| Payment Intents | Write |
| Products | Write |
Leave all other Core resource types set to None.
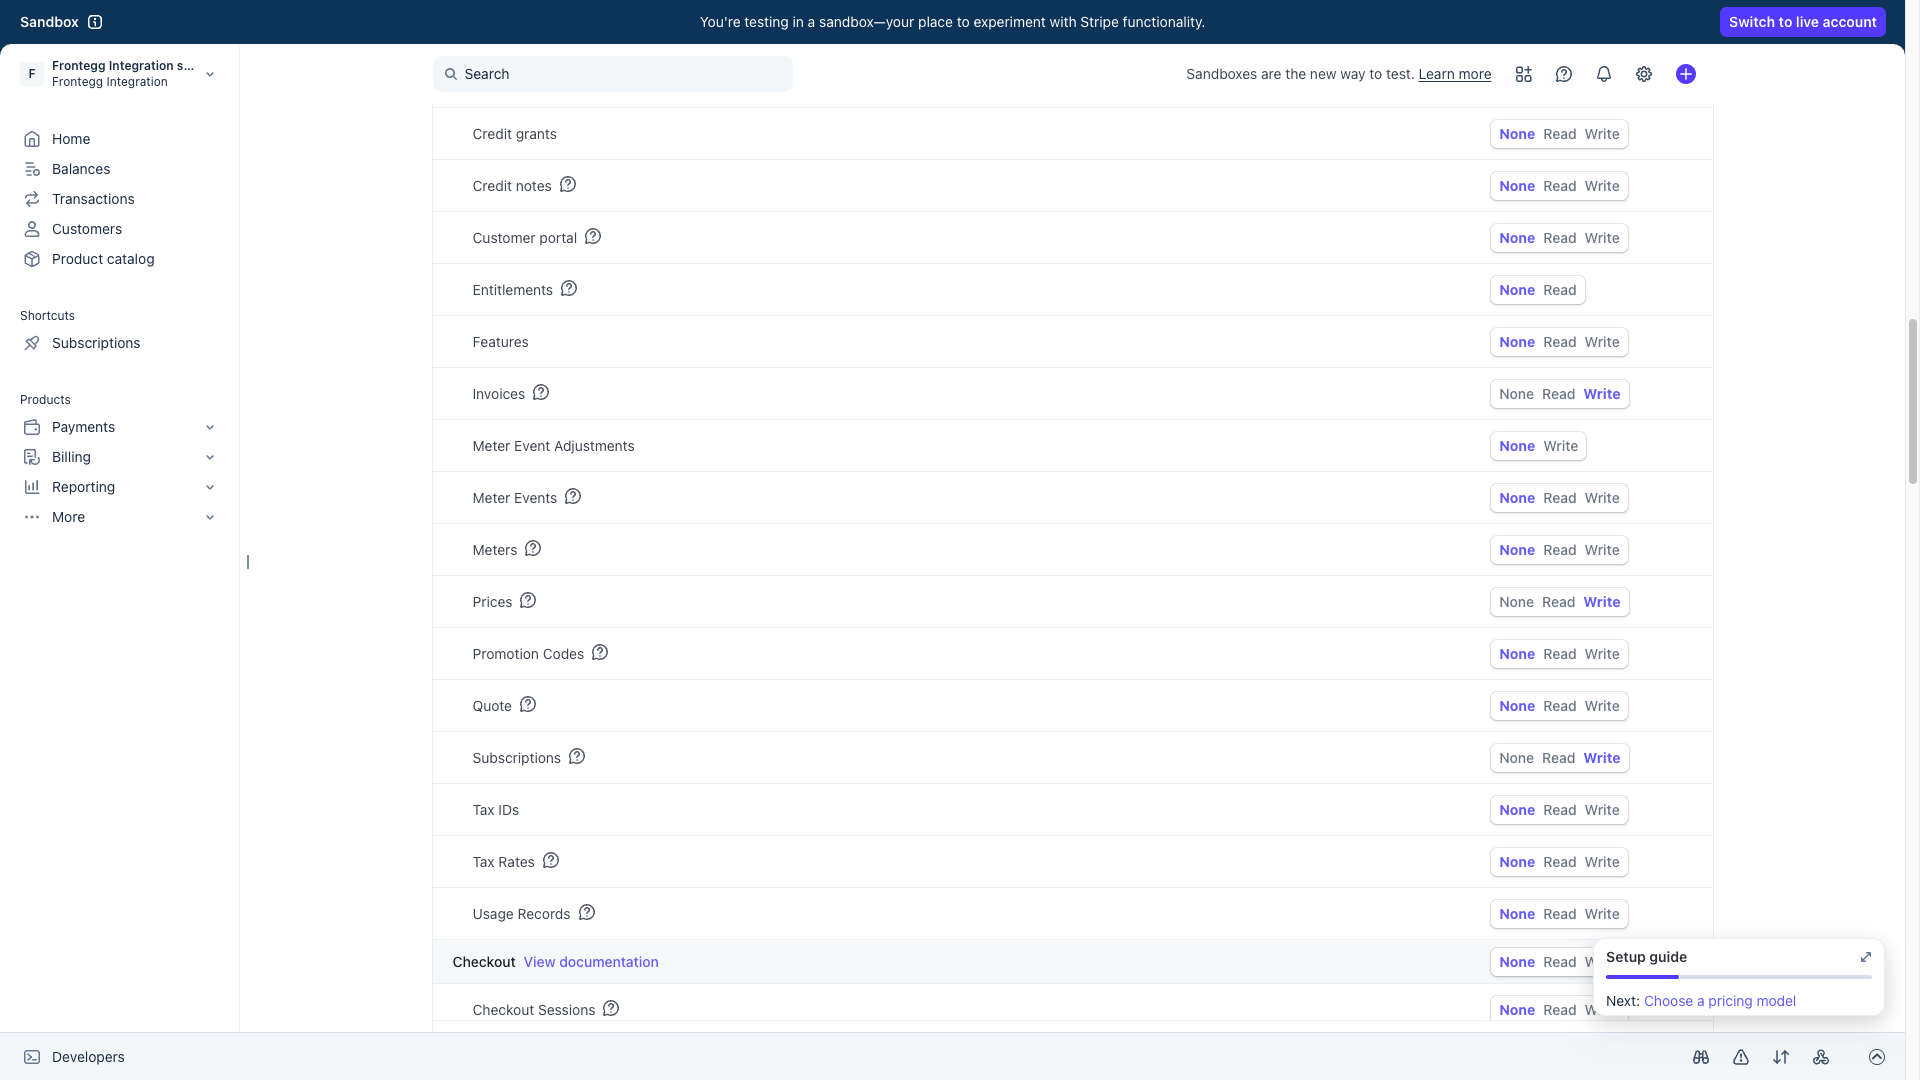
Scroll down to the Billing section and set the following resource types to Write:
| Resource type | Permission |
|---|---|
| Invoices | Write |
| Prices | Write |
| Subscriptions | Write |
Minimum required permissions
Minimum required permissions
For read-only access, set the resource types above to Read instead of Write. Write permission is required for creating or modifying records.
Scroll to the bottom of the page and click Create key. The restricted key is now created and appears in the Restricted keys section of the API keys page.
Keep your credentials secure
Keep your credentials secure
You can only reveal a restricted API key once. Copy it immediately after creation and store it in a safe location. Never share or commit your API key to version control.

Click the copy icon next to the restricted key token to copy it to your clipboard. You will need this key to configure the integration in the Frontegg portal.
Once you have your restricted API key from the steps above, enter it in the integration configuration page of the Frontegg portal:
- Open the Frontegg portal and navigate to [ENVIRONMENT] → Integrations → Stripe.
- Enter the API key in the corresponding field.
- Select the required scopes.
- Click Save.