Xero is a cloud-based accounting platform for small and medium businesses that enables invoicing, expense tracking, payroll, and financial reporting. Integrating Xero with Frontegg allows your application to manage invoices, contacts, accounts, bank transactions, and reports on behalf of your users using OAuth 2.0.
Prerequisites
Prerequisites
- A Xero account
- Access to the Xero Developer Portal
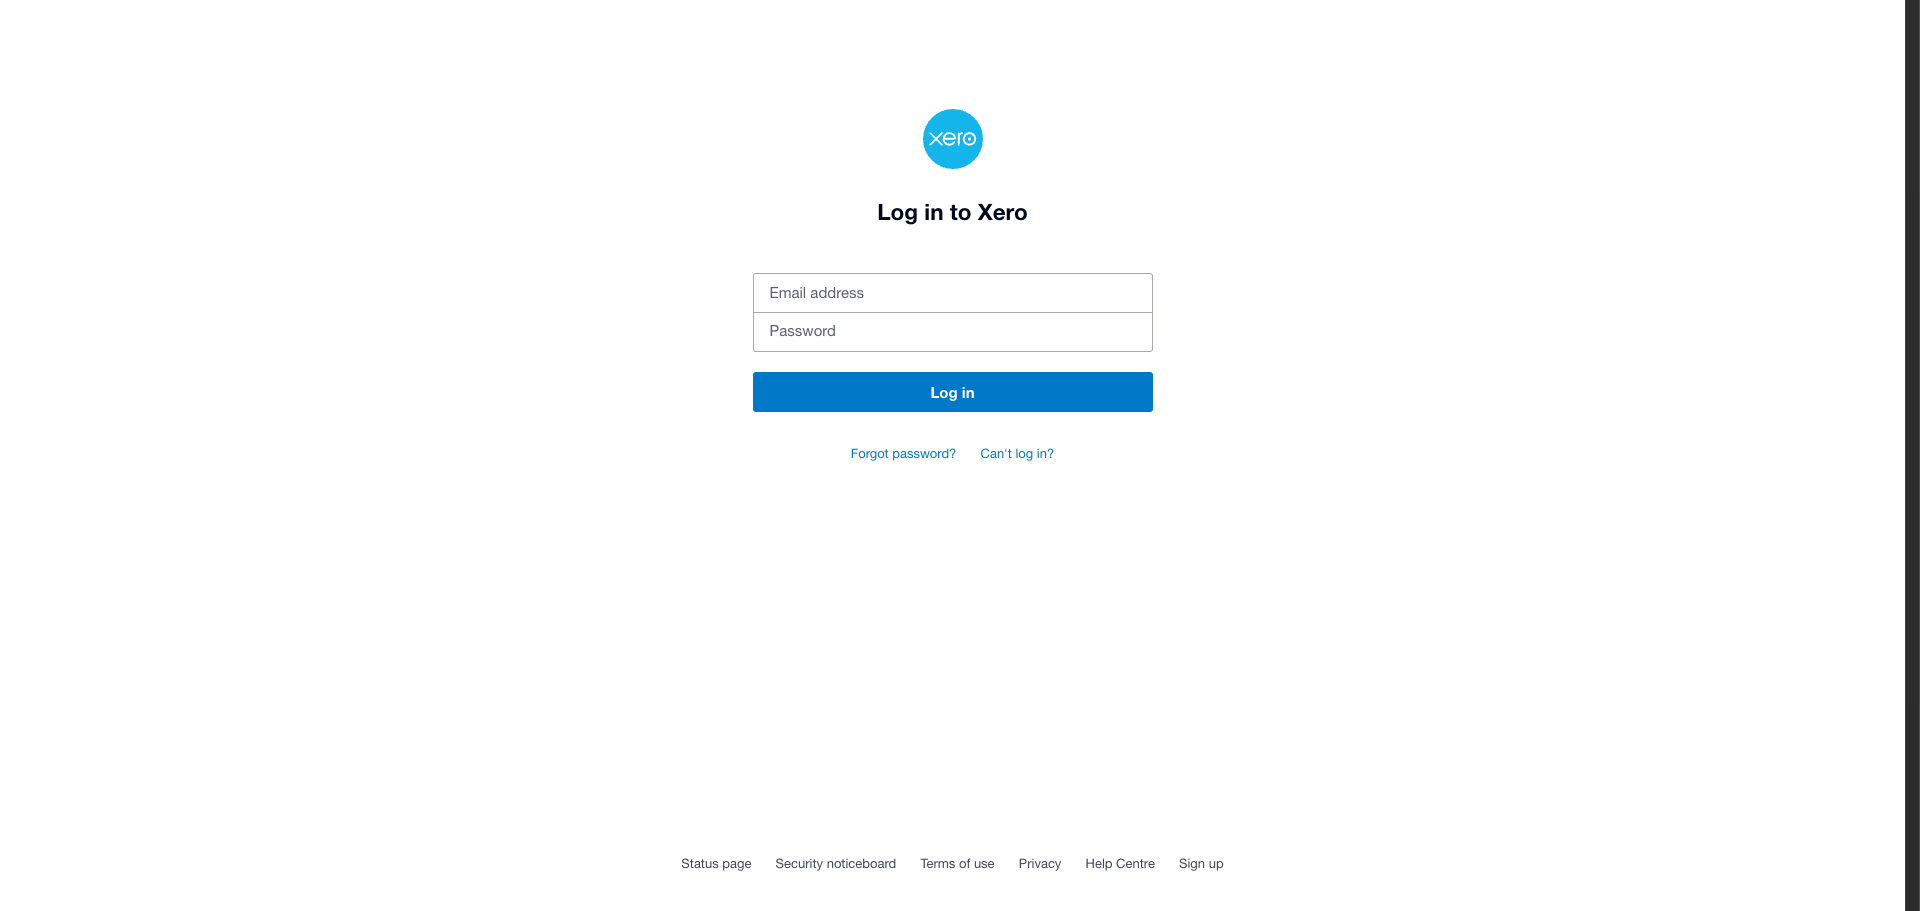
Navigate to developer.xero.com and click Log in. Enter your Xero email address and password, then click Log in.
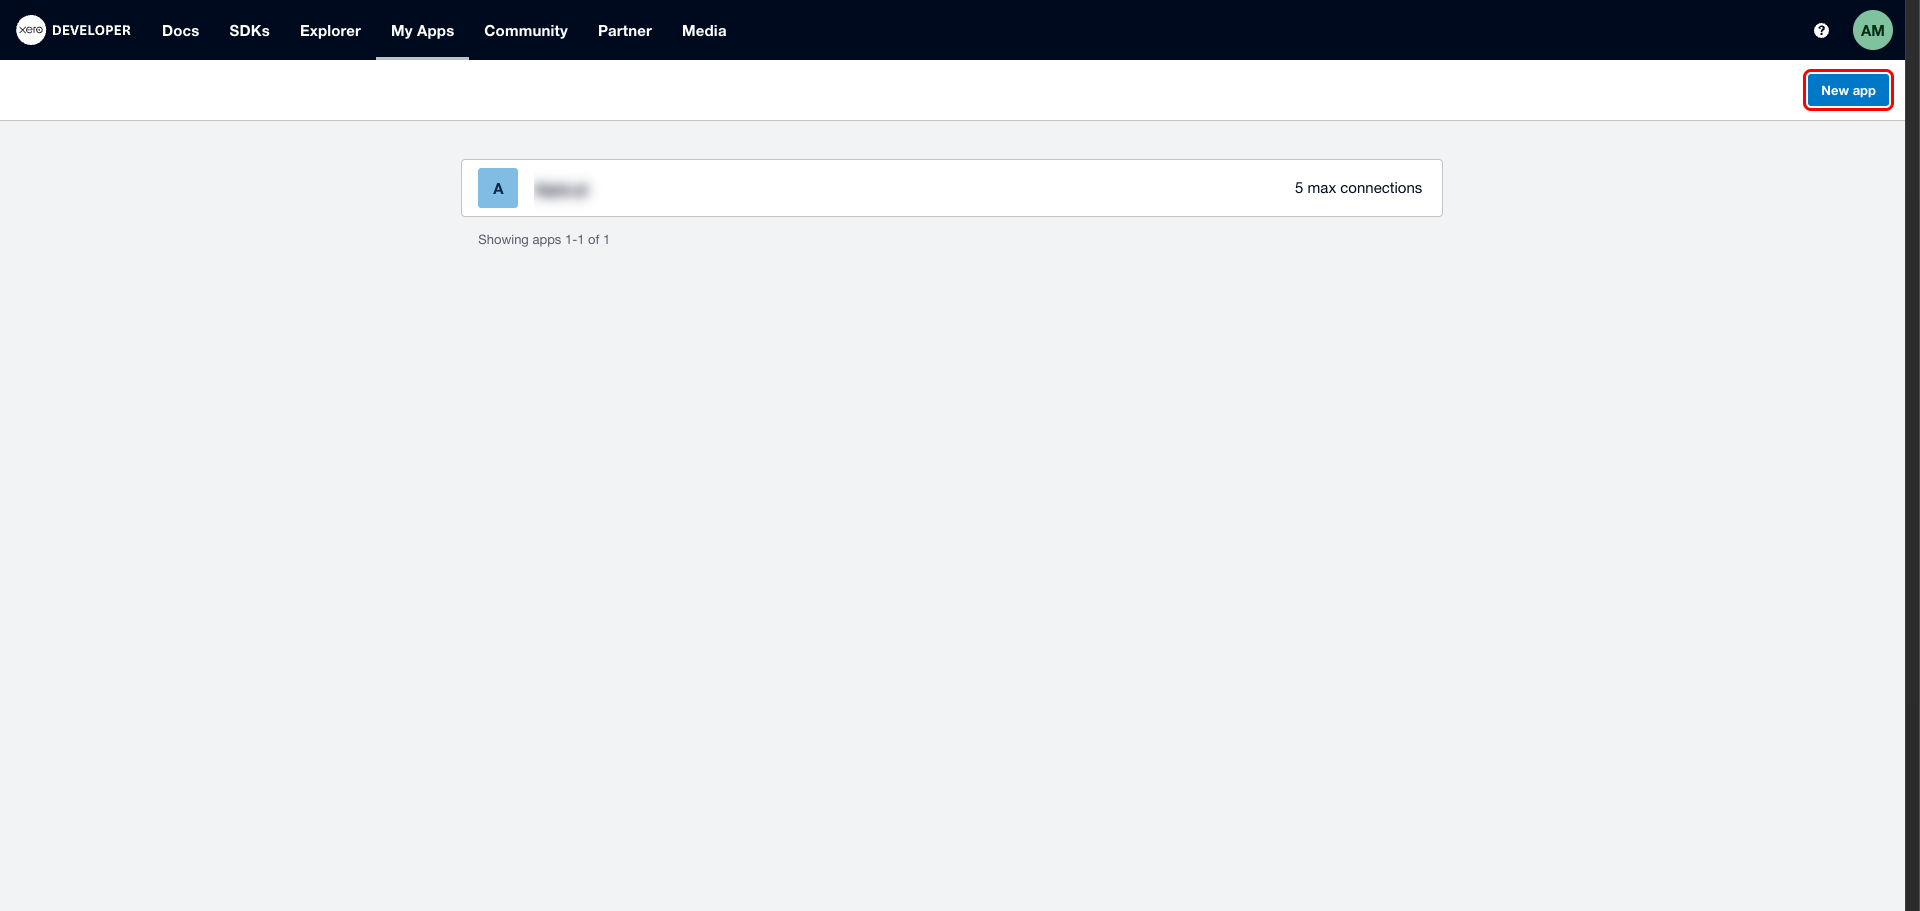
After signing in, click My Apps in the top navigation bar. The My Apps page lists all your existing Xero applications.
Click New app to create a new OAuth application.
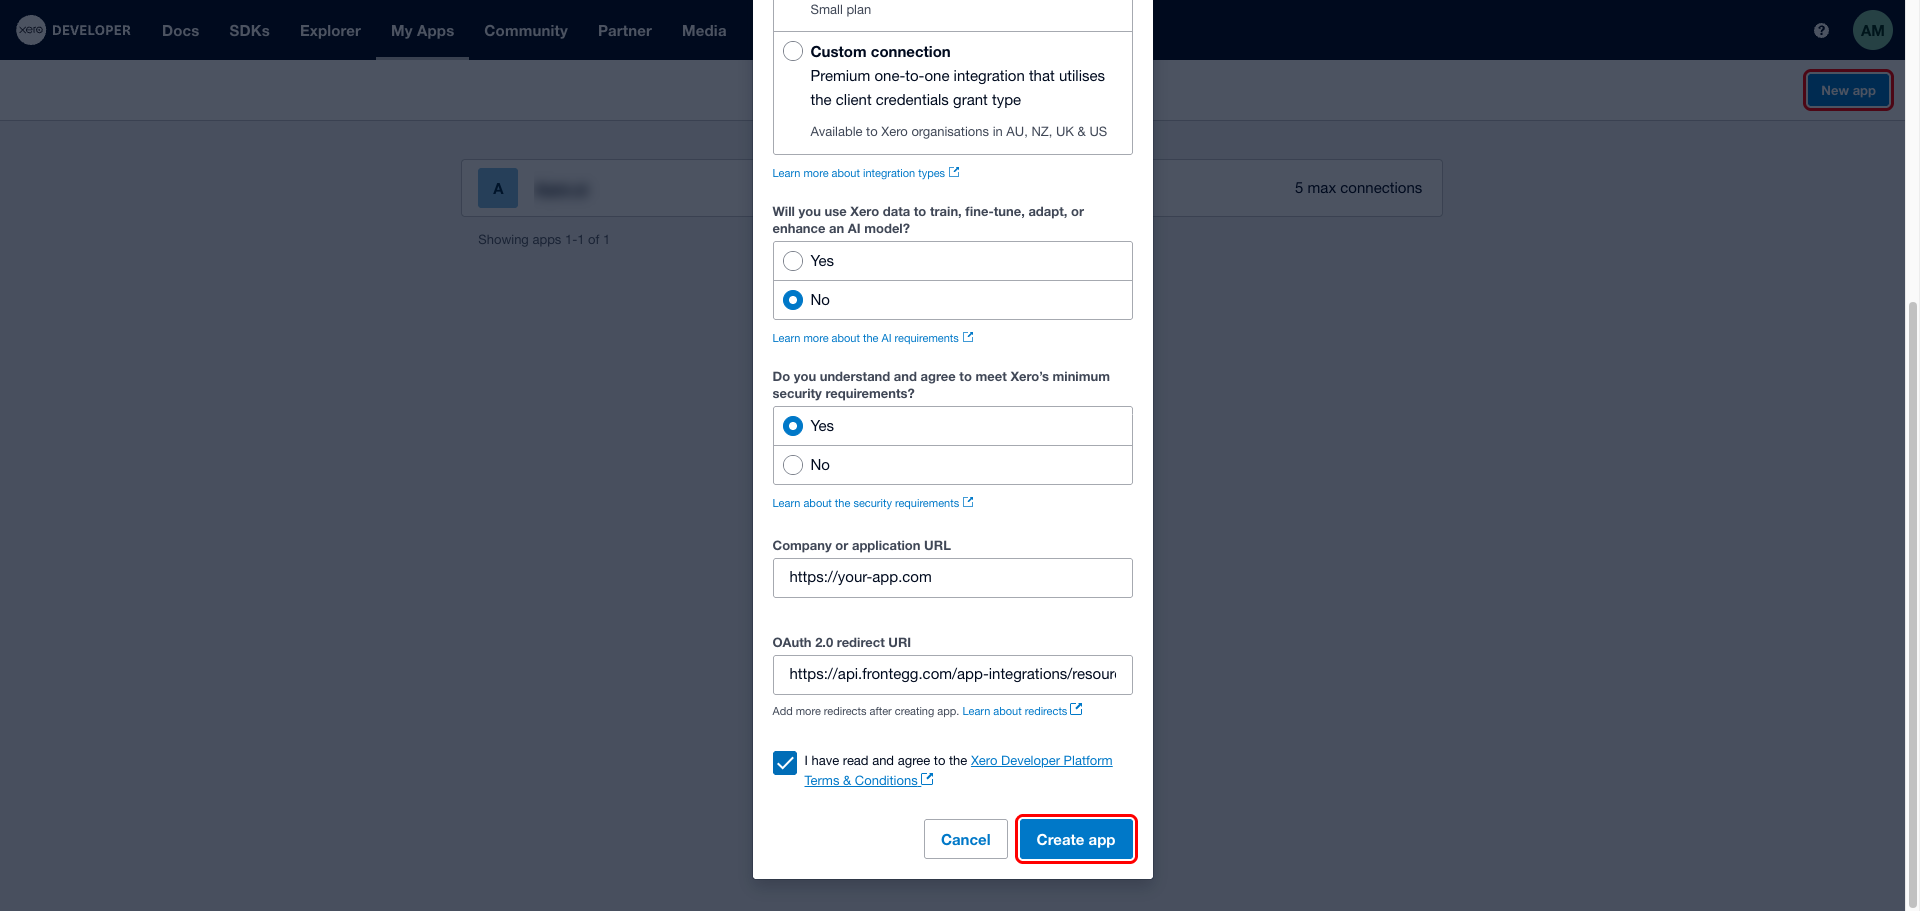
In the Add a new Xero app dialog, fill in the following fields:
- App name — Enter a descriptive name, for example
Frontegg Integration. - Integration type — Select Web app (standard authorization code flow).
- Will you use Xero data to train an AI model? — Select No.
- Do you understand and agree to meet Xero's minimum security requirements? — Select Yes.
- Company or application URL — Enter your application's website URL.
- OAuth 2.0 redirect URI — Enter the following URI:
https://YOUR_MCP_GATEWAY_URL/integration-callback
Check I have read and agree to the Xero Developer Platform Terms & Conditions, then click Create app.
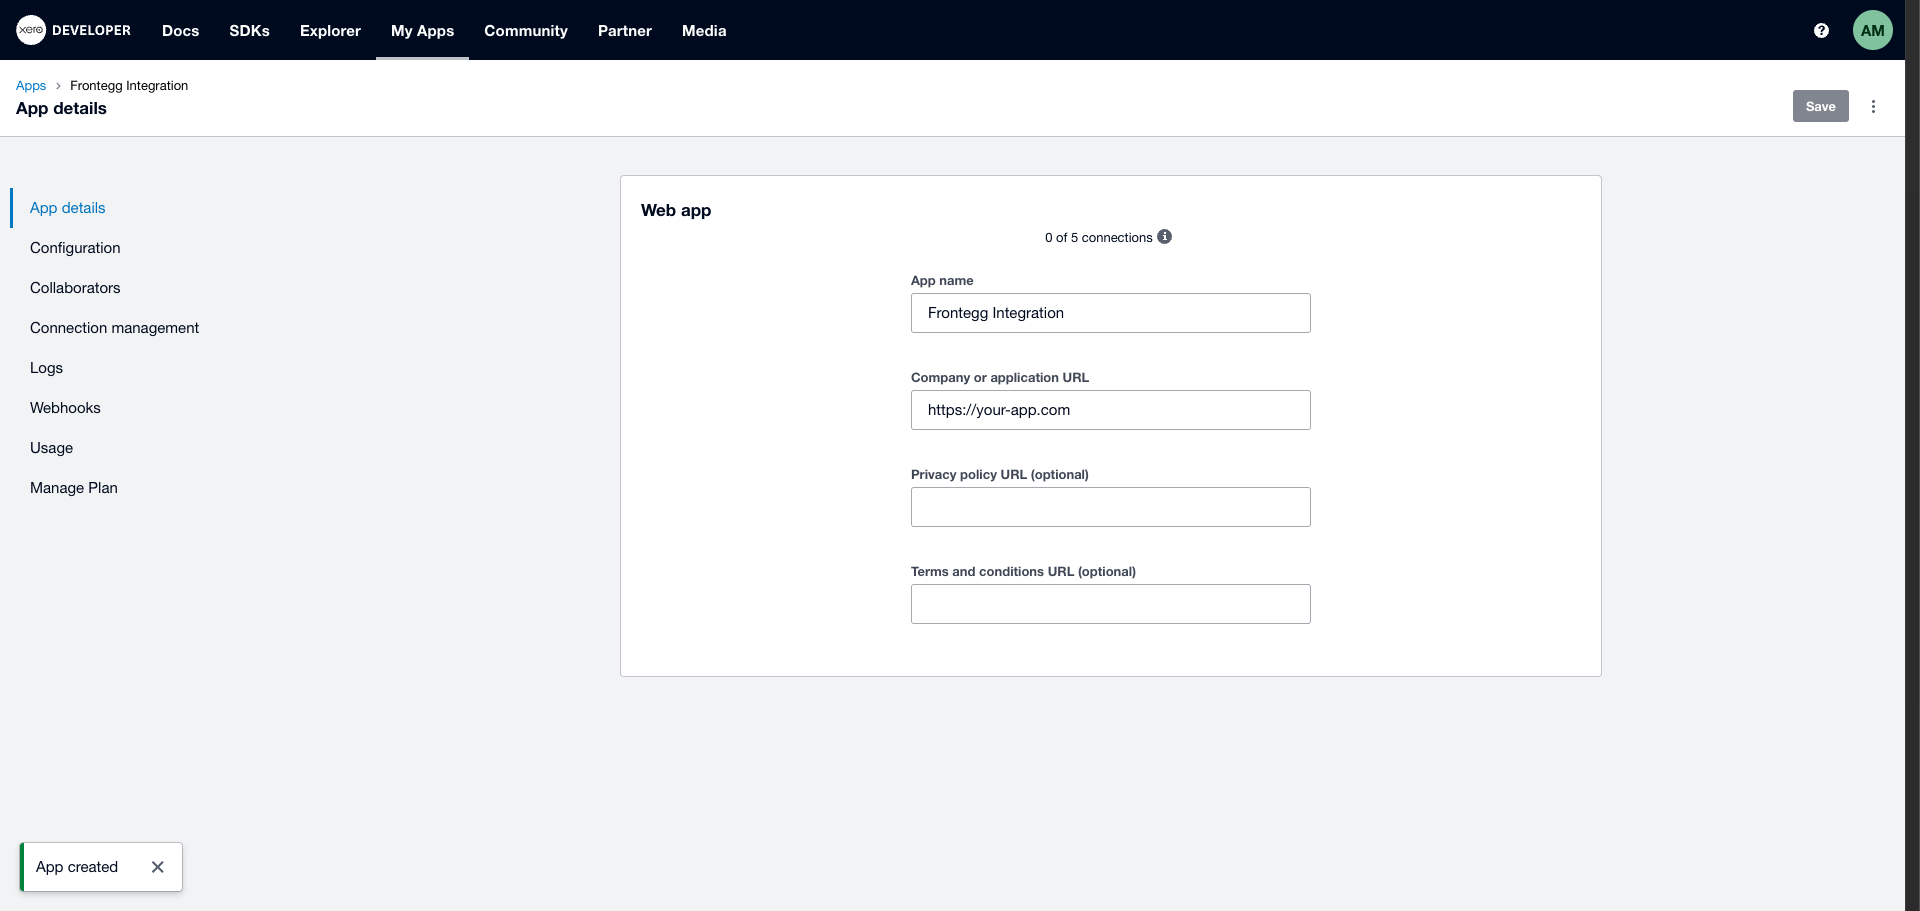
After clicking Create app, you are taken to the App details page for your new application. This confirms the app was created successfully.
Click Configuration in the left menu to proceed.
On the Configuration page:
In the Redirect URIs section, confirm that the redirect URI you entered in Step 3 is present:
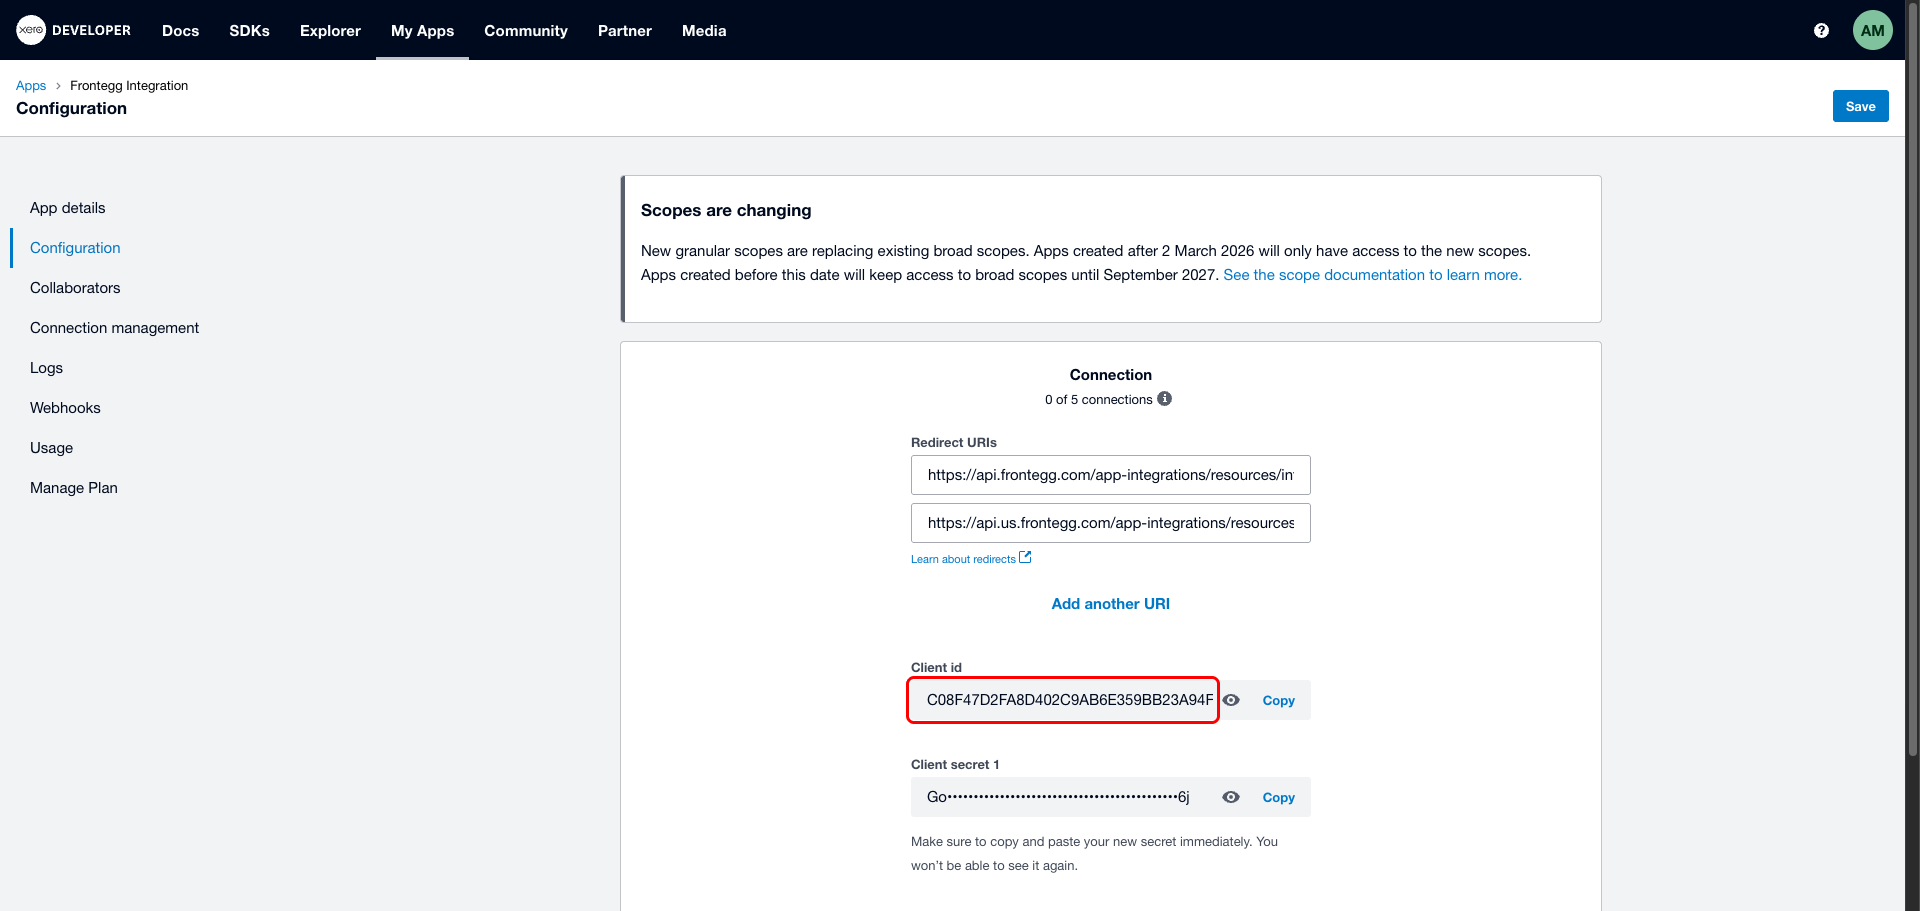
https://YOUR_MCP_GATEWAY_URL/integration-callback.Copy your Client ID — you will need it when configuring the Frontegg portal.

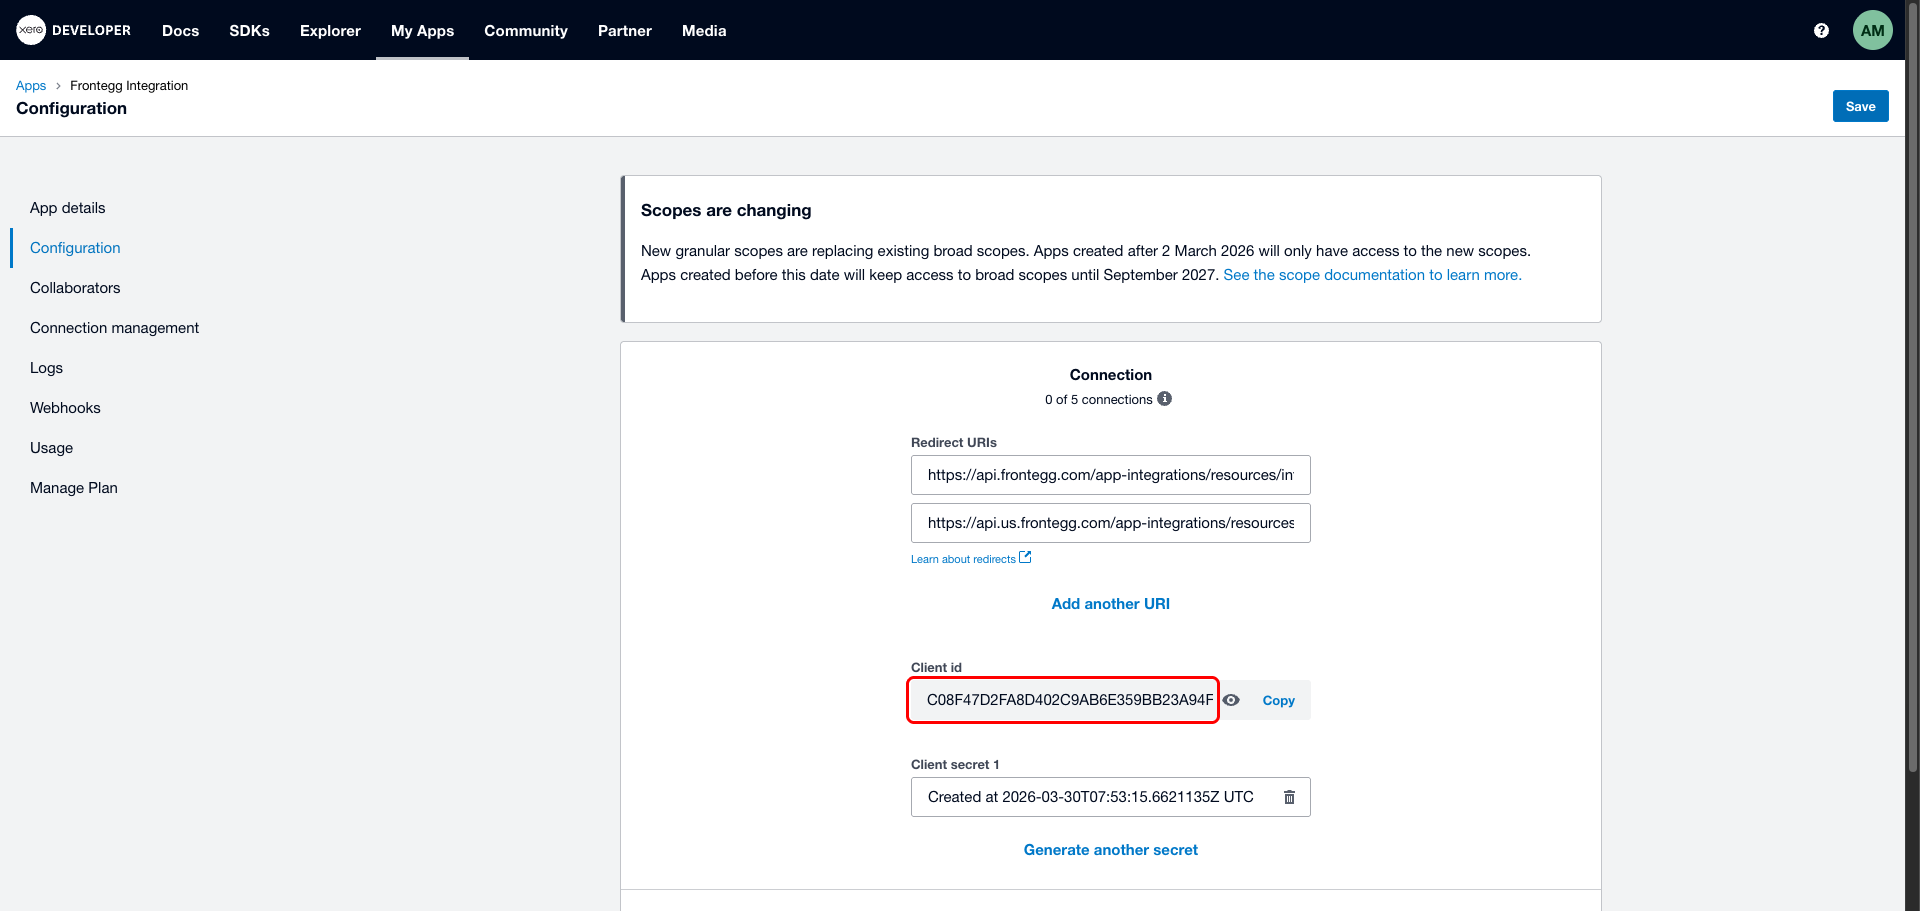
Click Generate a secret. Xero generates a Client Secret and displays it once.
Copy your Client Secret now
Copy your Client Secret now
The Client Secret is shown only once. Copy it immediately and store it in a secure location. If you lose it, you must delete the secret and generate a new one.
Click Save at the top of the Configuration page to apply your changes.
Once you have obtained your Client ID and Client Secret from the steps above, enter them in the integration configuration page of the Frontegg portal:
- Open the Frontegg portal and navigate to [ENVIRONMENT] → Integrations → Xero.
- Enter the Client ID and Client Secret in the corresponding fields.
- Select the required scopes:
| Scope | Description |
|---|---|
openid | Required for OpenID Connect authentication |
profile | Access user profile information |
email | Access user email address |
offline_access | Obtain refresh tokens for long-lived access |
accounting.transactions | Read and write invoices, bank transactions, and payments |
accounting.transactions.read | Read-only access to invoices, bank transactions, and payments |
accounting.contacts | Read and write contacts |
accounting.contacts.read | Read-only access to contacts |
accounting.settings | Read and write accounts and inventory items |
accounting.settings.read | Read-only access to accounts, inventory items, and organisation details |
accounting.reports.read | Read-only access to financial reports |
- Click Save.
Keep your credentials secure
Keep your credentials secure
Never share or commit your Client Secret to version control.