FreshBooks is cloud-based accounting software designed for small businesses and freelancers. The integration connects your FreshBooks account to Frontegg Agen for Work, enabling AI agents to manage clients, invoices, expenses, payments, projects, and time entries on your behalf.
Prerequisites
Prerequisites
- A FreshBooks account with access to the Developer portal at my.freshbooks.com/#/developer
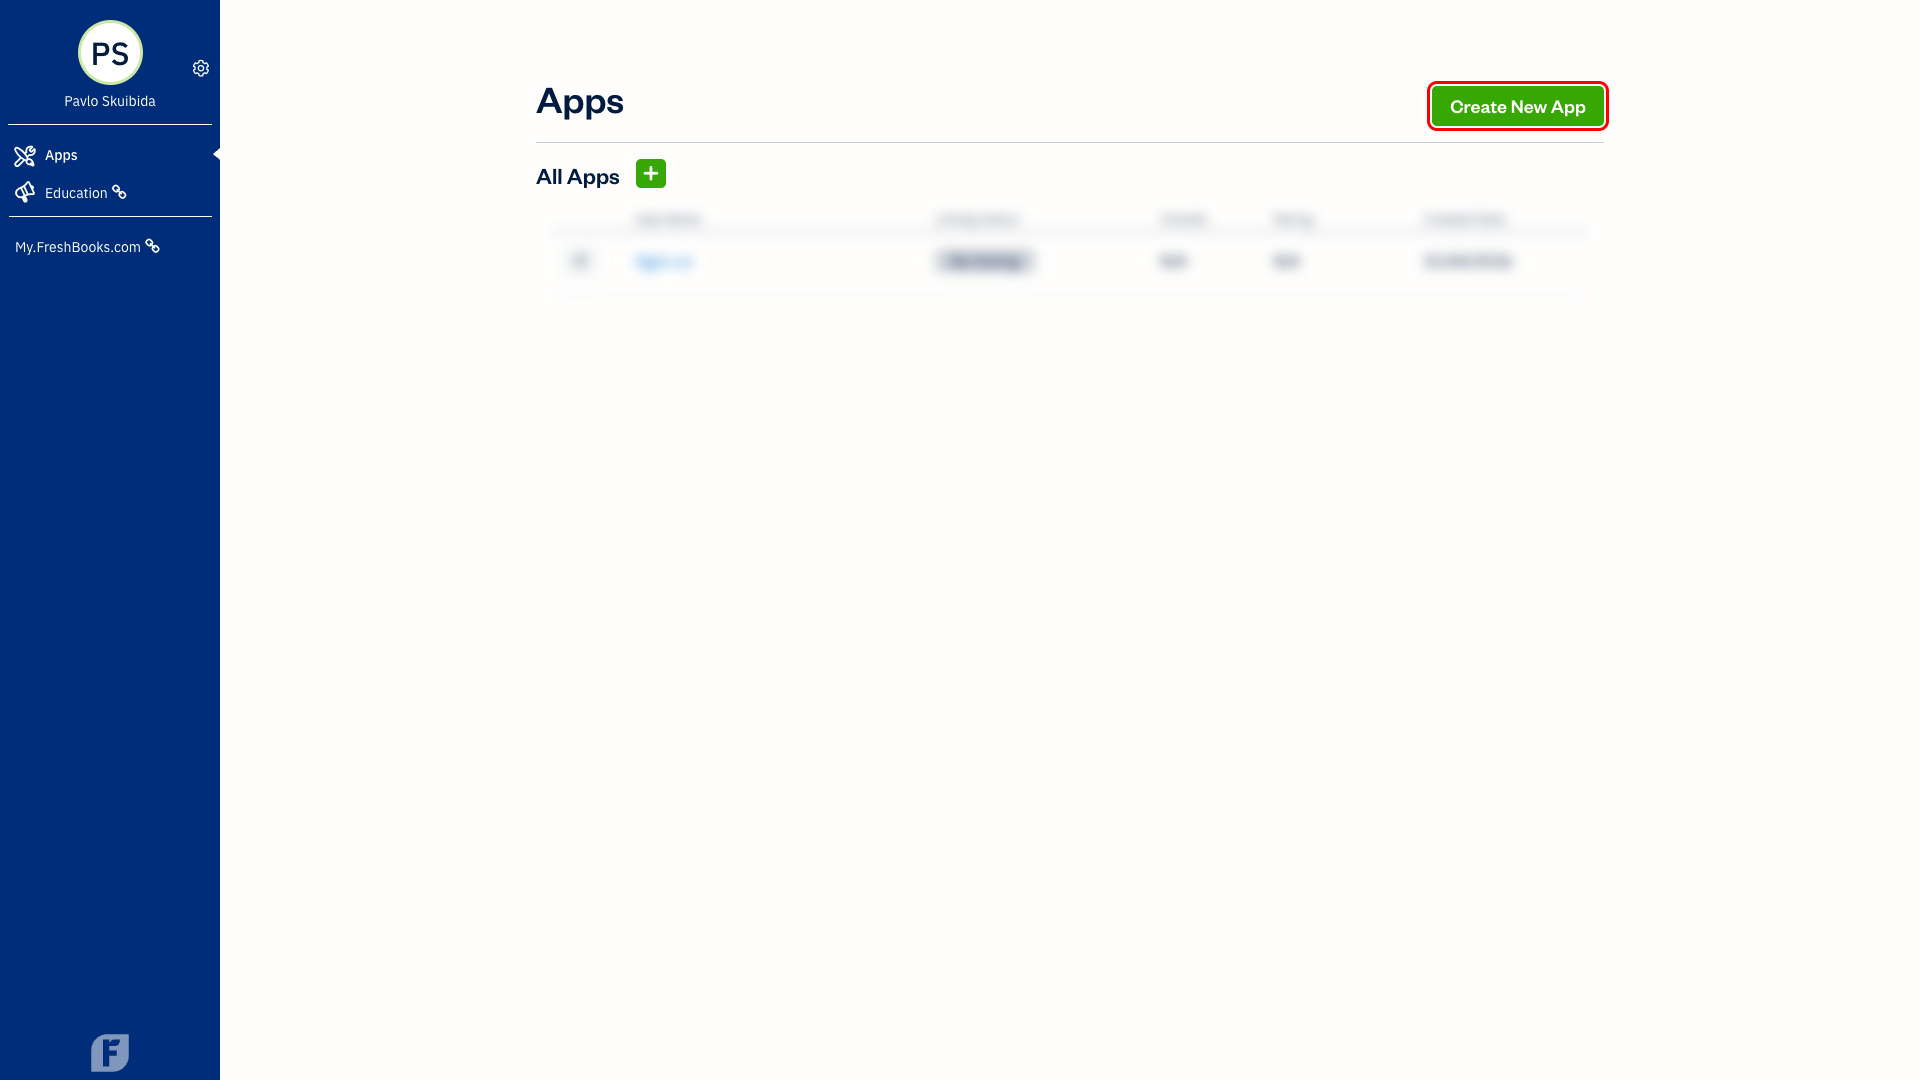
Go to my.freshbooks.com/#/developer and sign in. You will land on the Apps page. Click Create New App.
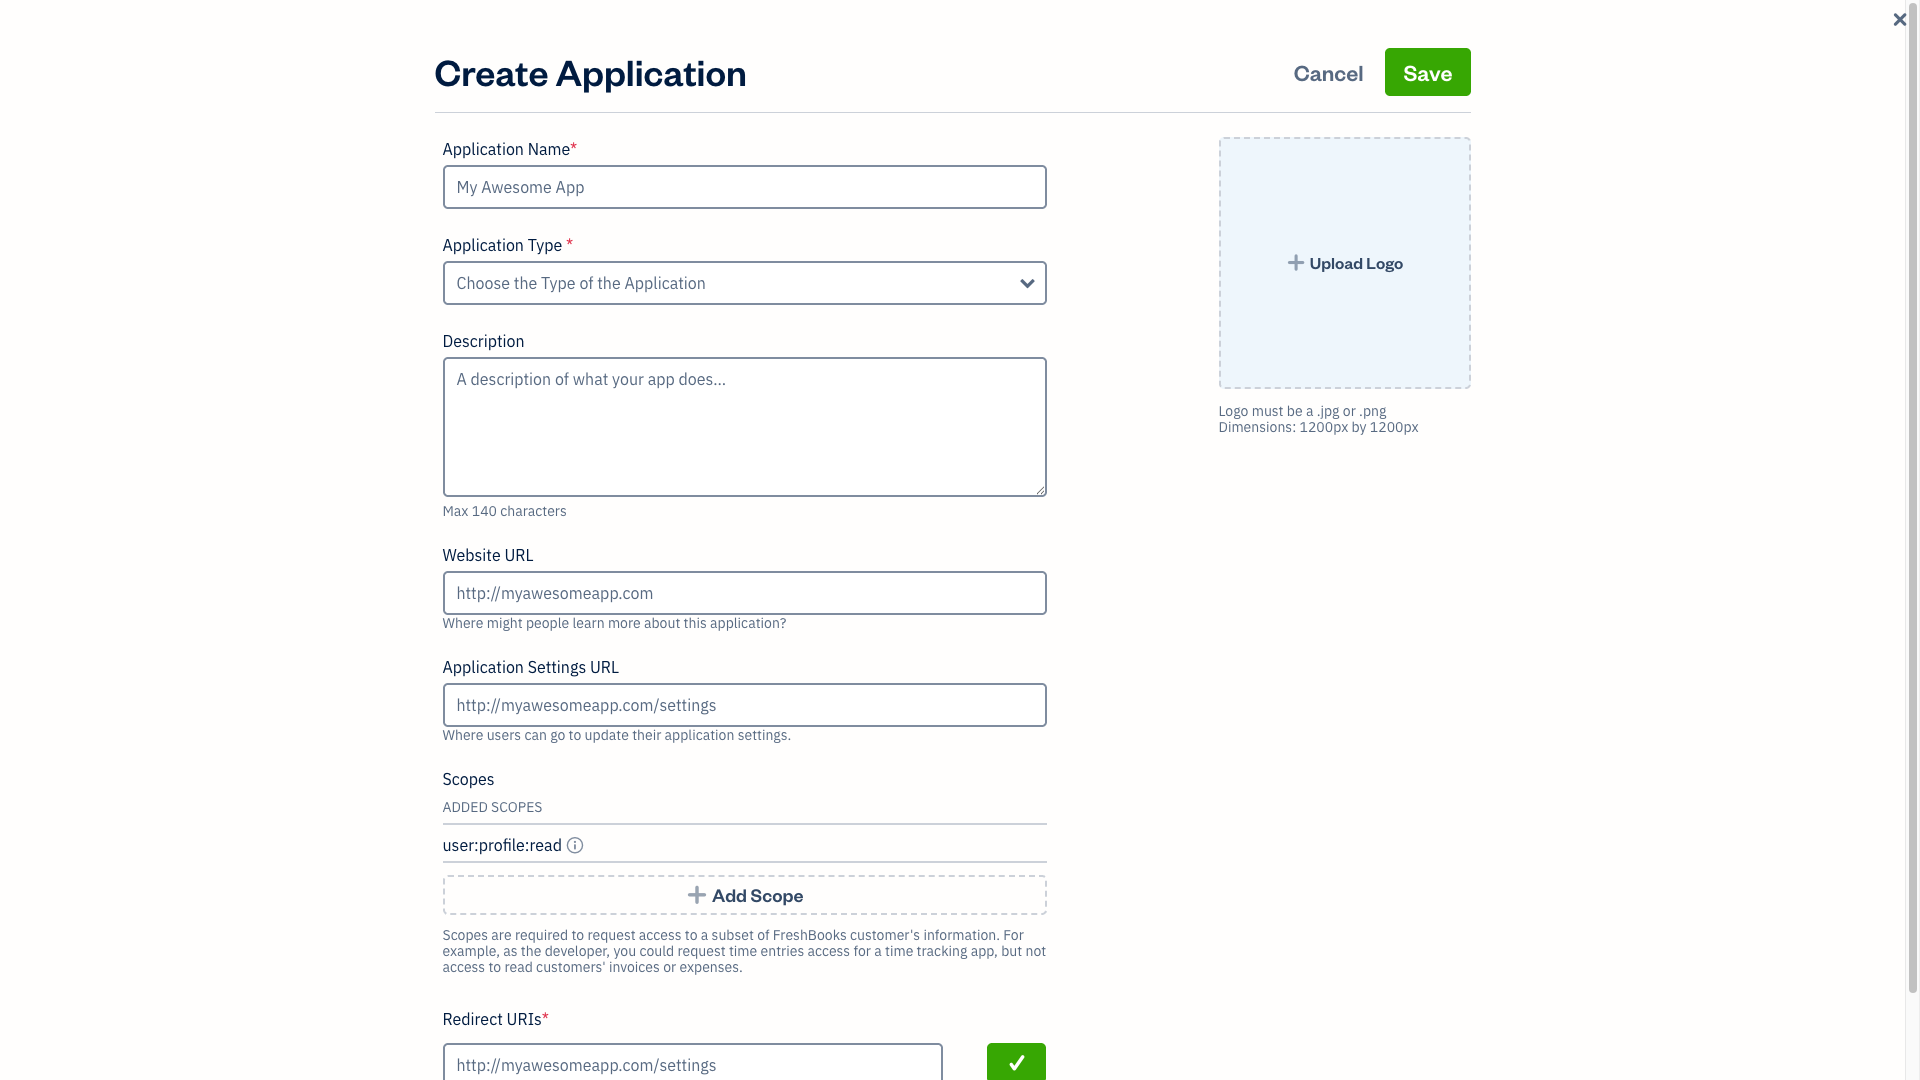
In the Create Application dialog that appears, enter the following:
- Application Name —
Frontegg Integration - Application Type —
Private App - Website URL — your application URL (e.g.,
https://your-app.com)
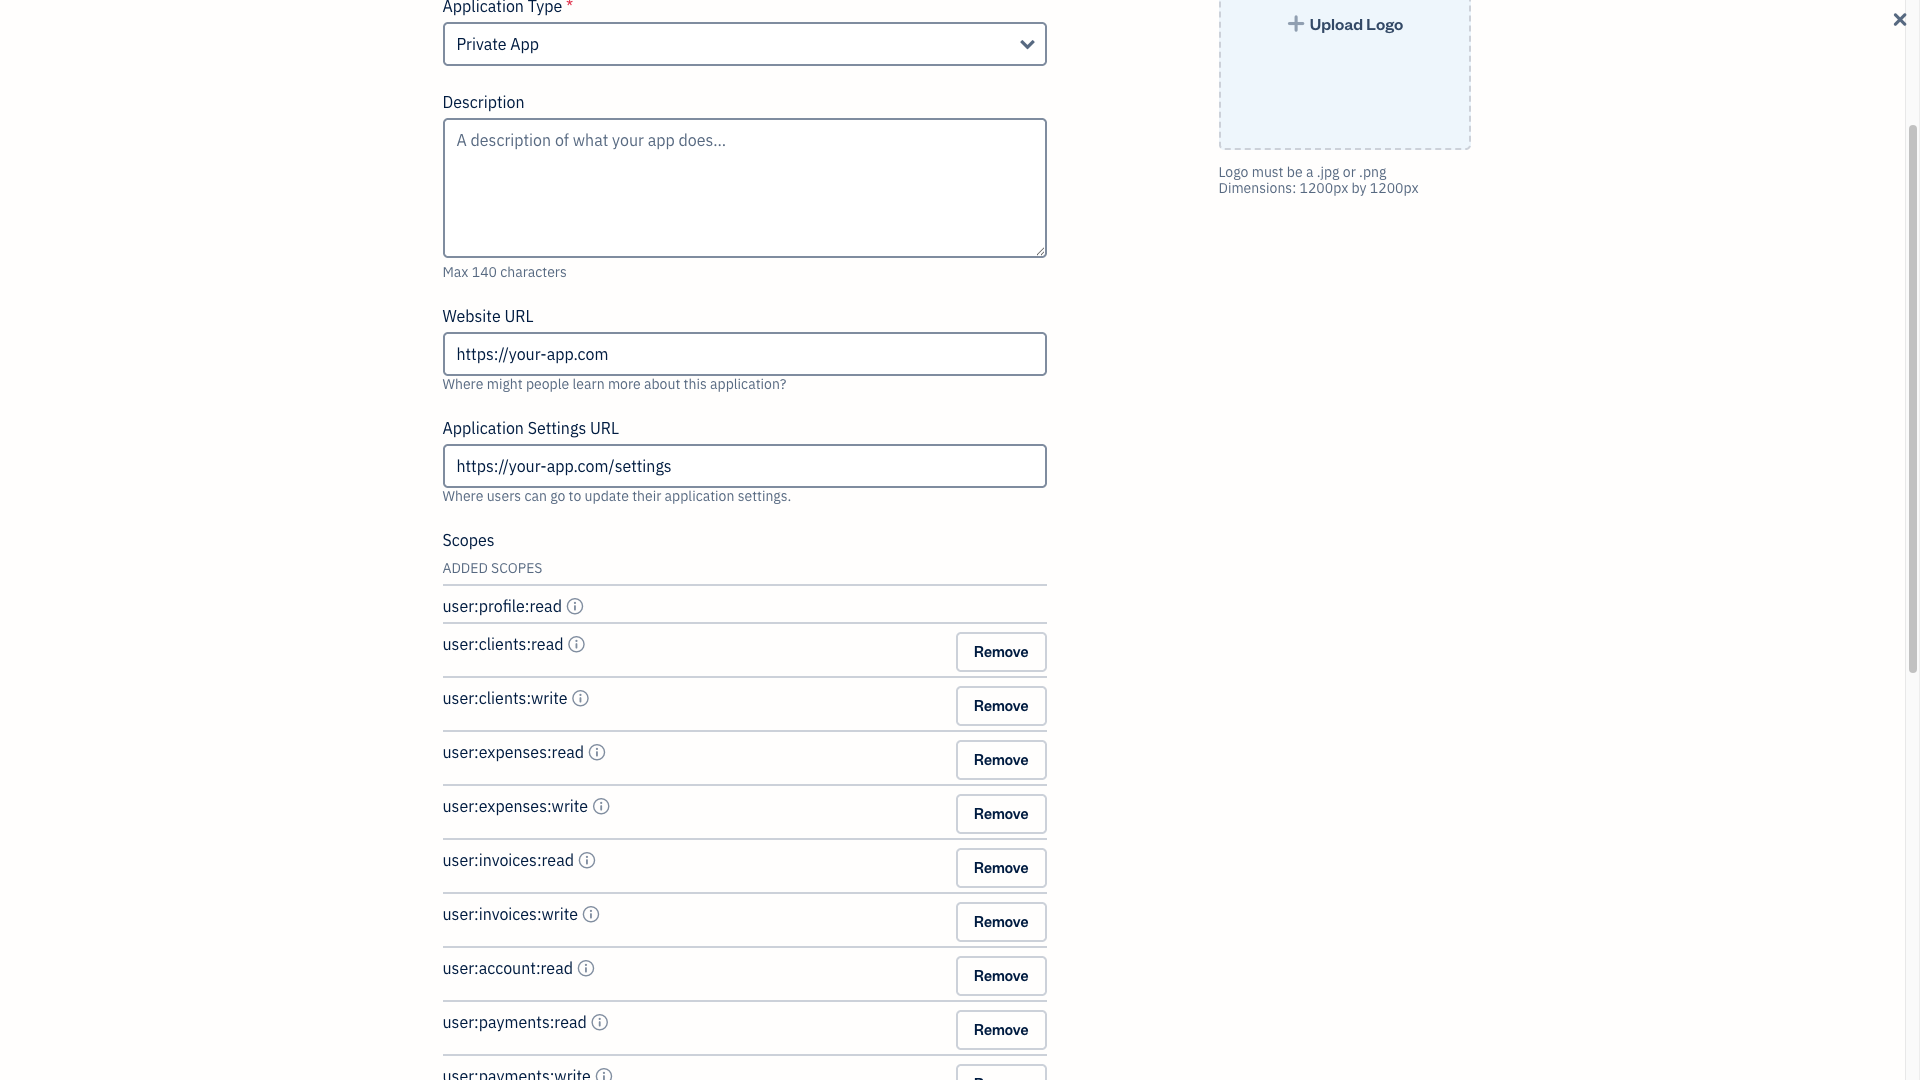
Scroll to the Scopes section and click Add Scope. Add each of the following scopes:
| Scope | Description |
|---|---|
user:profile:read | Read user profile information |
user:clients:read | Read clients |
user:clients:write | Create and update clients |
user:invoices:read | Read invoices |
user:invoices:write | Create and update invoices |
user:expenses:read | Read expenses |
user:expenses:write | Create expenses |
user:payments:read | Read payments |
user:payments:write | Record payments |
user:projects:read | Read projects |
user:projects:write | Create and update projects |
user:time_entries:read | Read time entries |
user:time_entries:write | Create time entries |
user:account:read | Read account information |
user:teams:read | Read team members |
user:teams:write | Manage team members |
user:reports:read | Read financial reports |
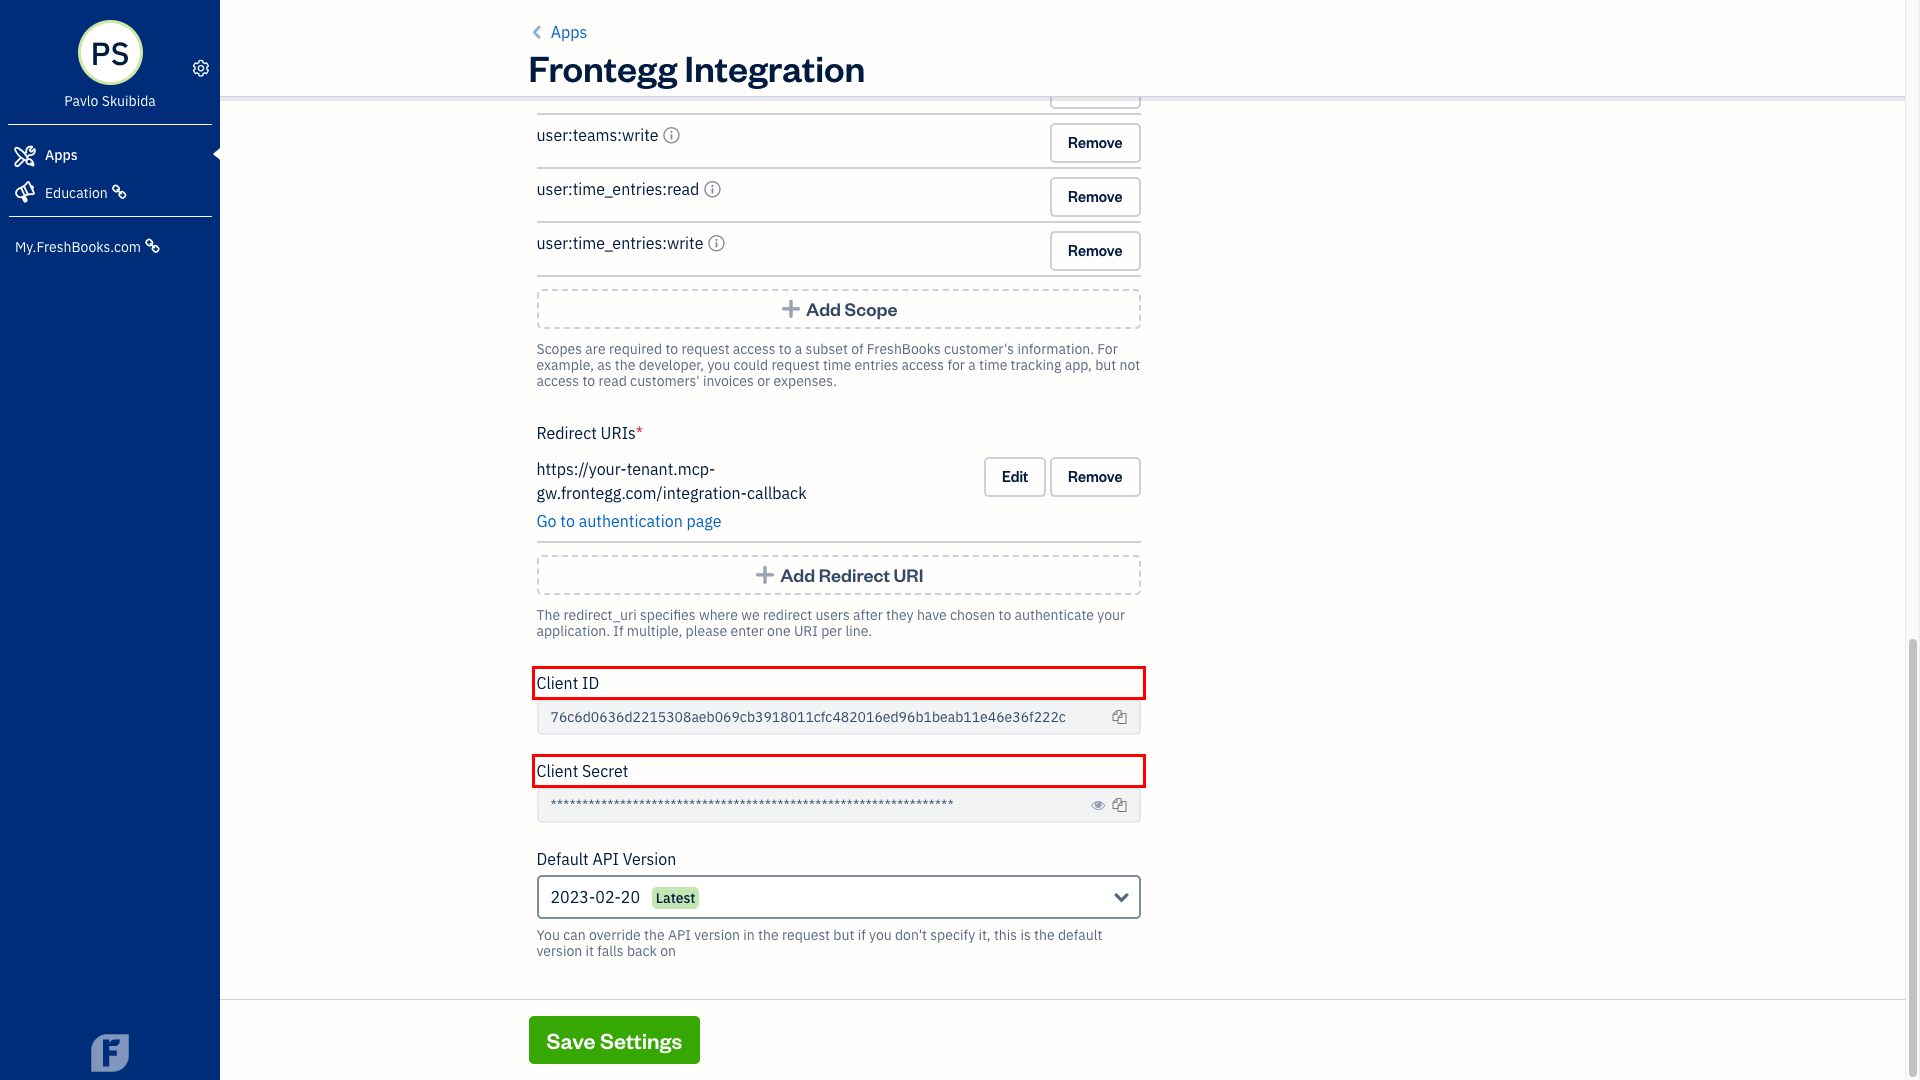
In the Redirect URIs section, enter your Frontegg Redirect URL and click the confirm button:
https://YOUR_MCP_GATEWAY_URL/integration-callback

Click Save to create the application. Then click on your app in the list to open its settings page. Scroll down to find the Client ID and Client Secret fields.
Copy both values — you will need them in the next step.
Once you have obtained your Client ID and Client Secret from the steps above, enter them in the integration configuration page of the Frontegg portal:
- Open the Frontegg portal and navigate to your environment → Integrations → FreshBooks.
- Enter the Client ID and Client Secret in the corresponding fields.
- Select the required scopes.
- Click Save.
Keep your credentials secure
Keep your credentials secure
Never share or commit your Client Secret to version control.