Mailchimp is an email marketing and automation platform that helps businesses manage mailing lists, create email campaigns, and track audience engagement. Integrating Mailchimp with Frontegg allows your application to manage contacts, audiences, campaigns, templates, and automations on behalf of your users through OAuth 2.0 authentication.
Prerequisites
Prerequisites
- A Mailchimp account (free or paid plan)
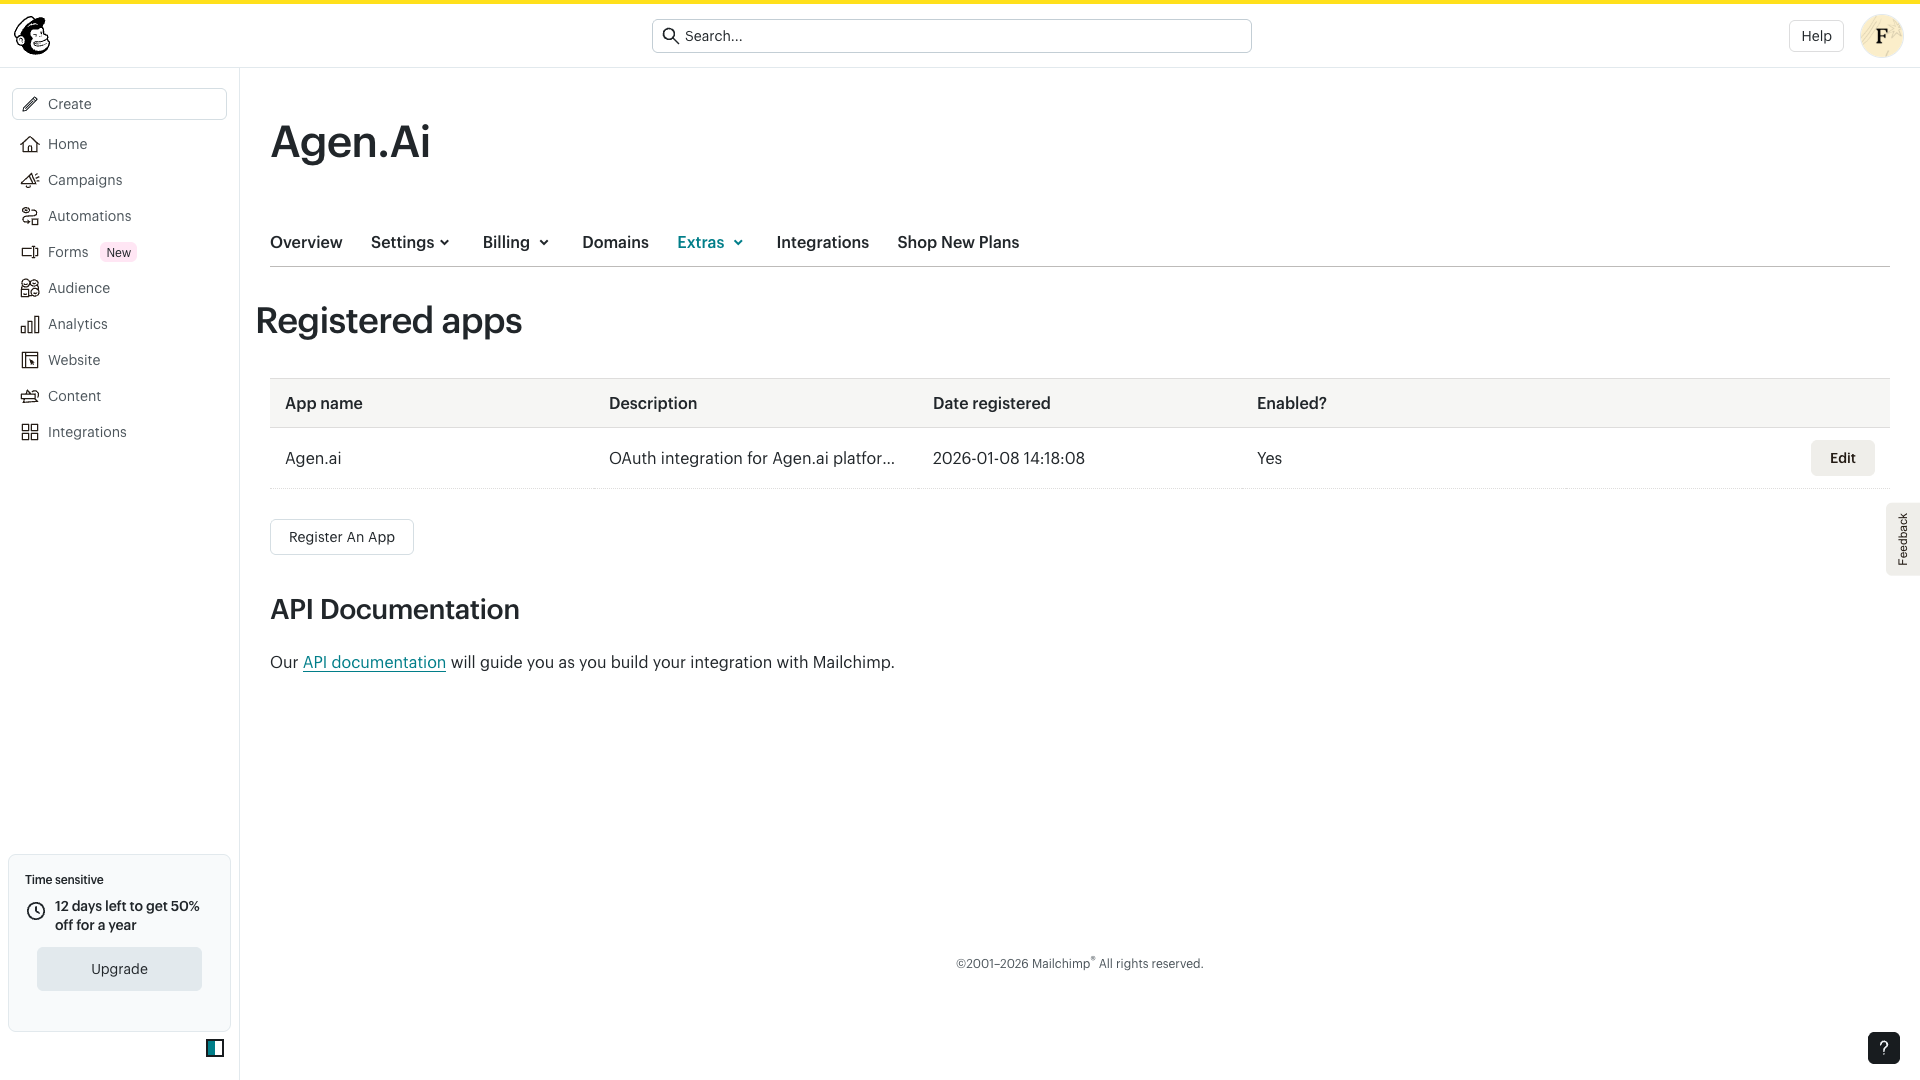
Log in to your Mailchimp account and navigate to Account → Extras → Registered apps. This page lists all OAuth applications registered under your account.
Click Register An App to create a new application.
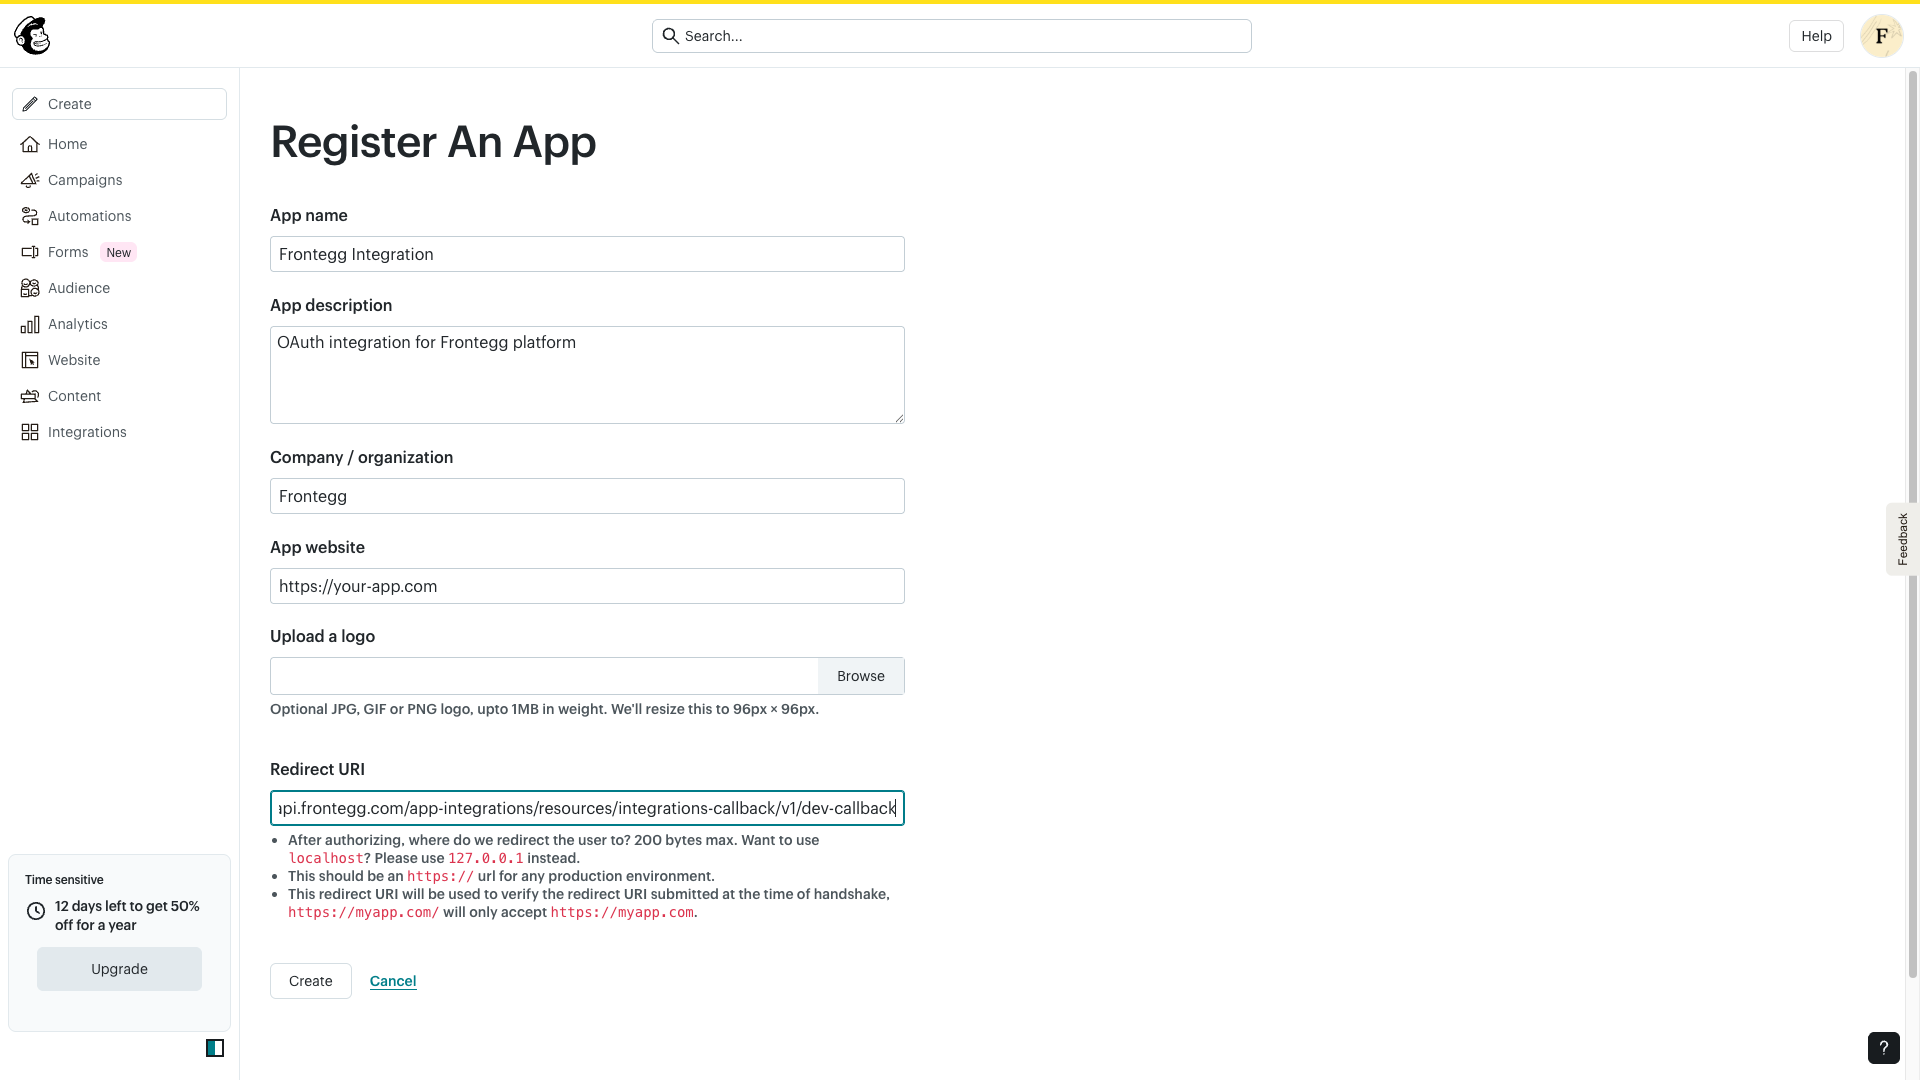
On the registration form, enter the following information:
- App name — A descriptive name for your application (e.g.,
Frontegg Integration). - App description — A brief description of what your application does.
- Company / organization — Your company name.
- App website — Your application's public URL.
- Redirect URI — Enter the Frontegg callback URL:
https://YOUR_MCP_GATEWAY_URL/integration-callbackClick Create to register the application.
After the application is created, Mailchimp displays your Client ID and Client Secret. Copy both values and store them securely — the Client Secret is shown only once.
Save your Client Secret
Save your Client Secret
You will not be able to view the Client Secret again after leaving this page. If you lose it, you will need to rotate to a new one using the Rotate button on the app edit page.
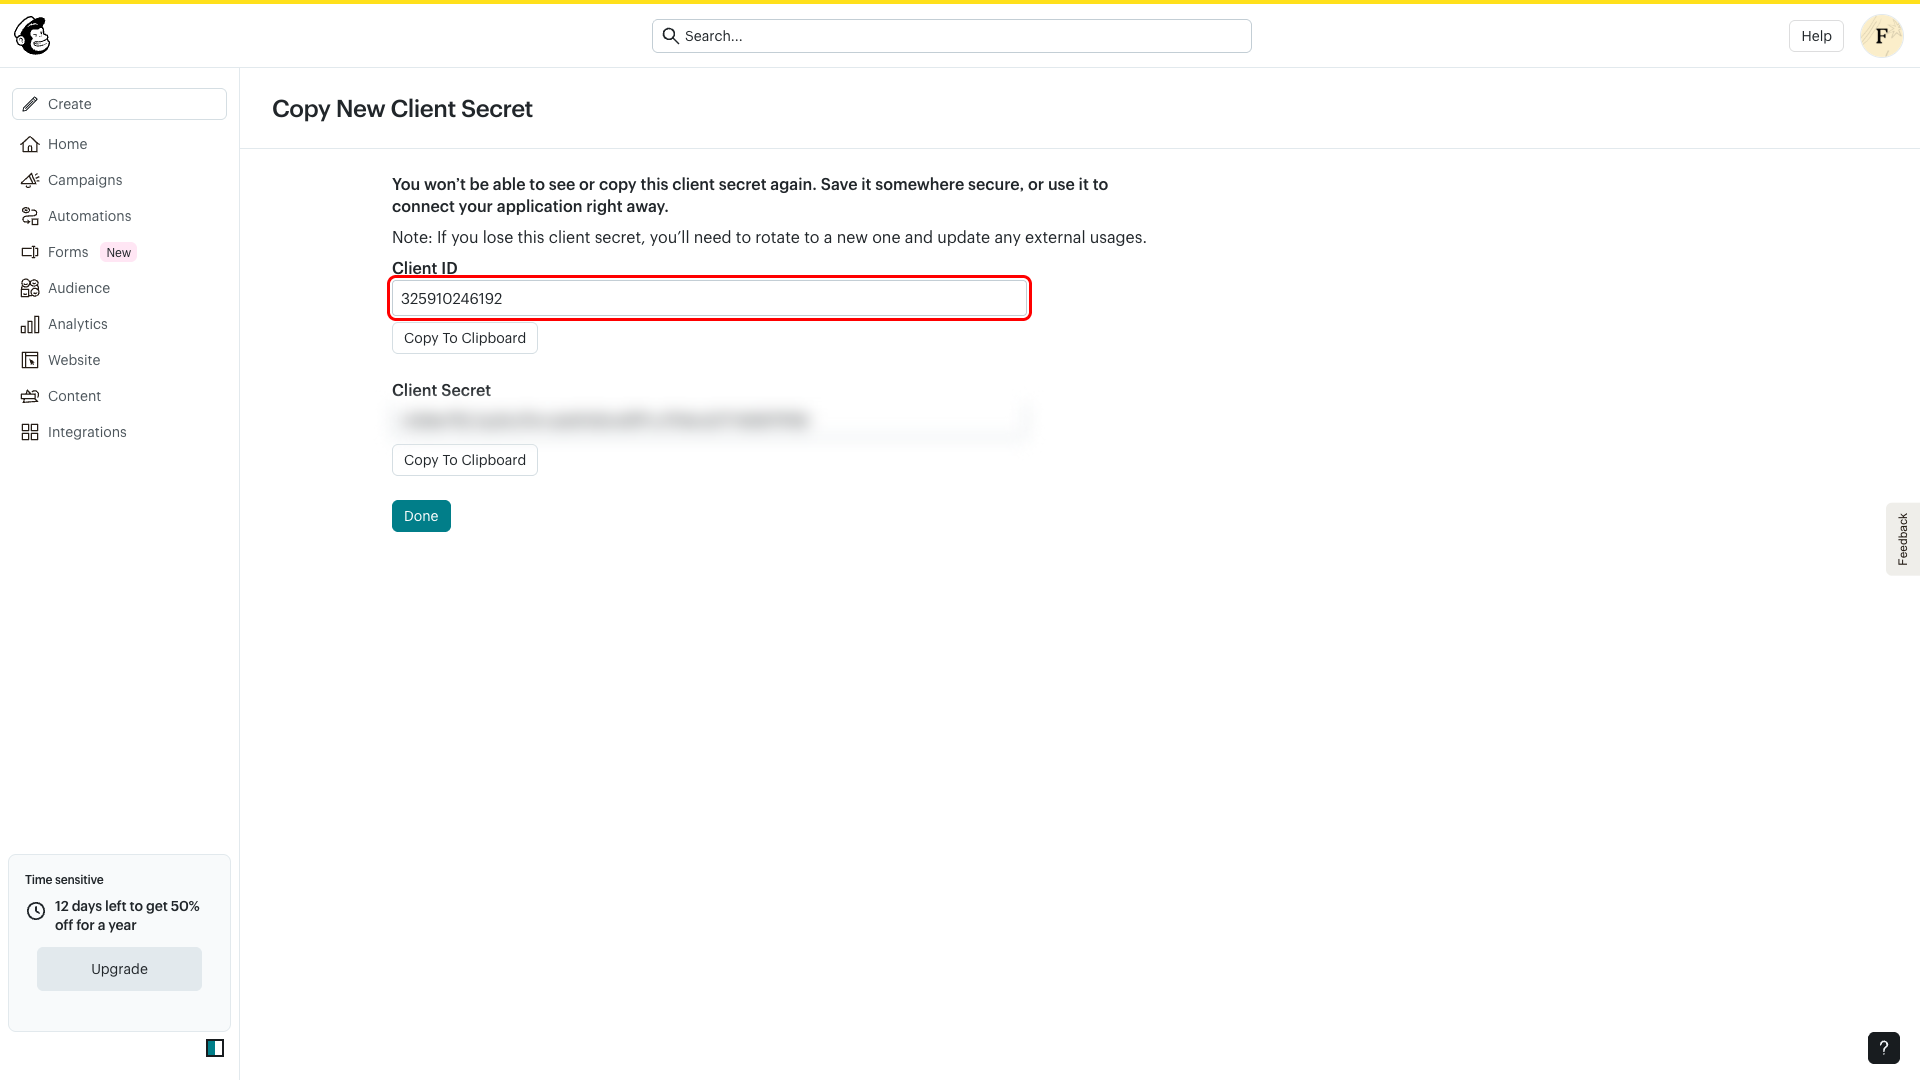
Click Done to go to the application edit page. Here you can verify all settings, including the Redirect URI, Client ID, and the masked Client Secret.
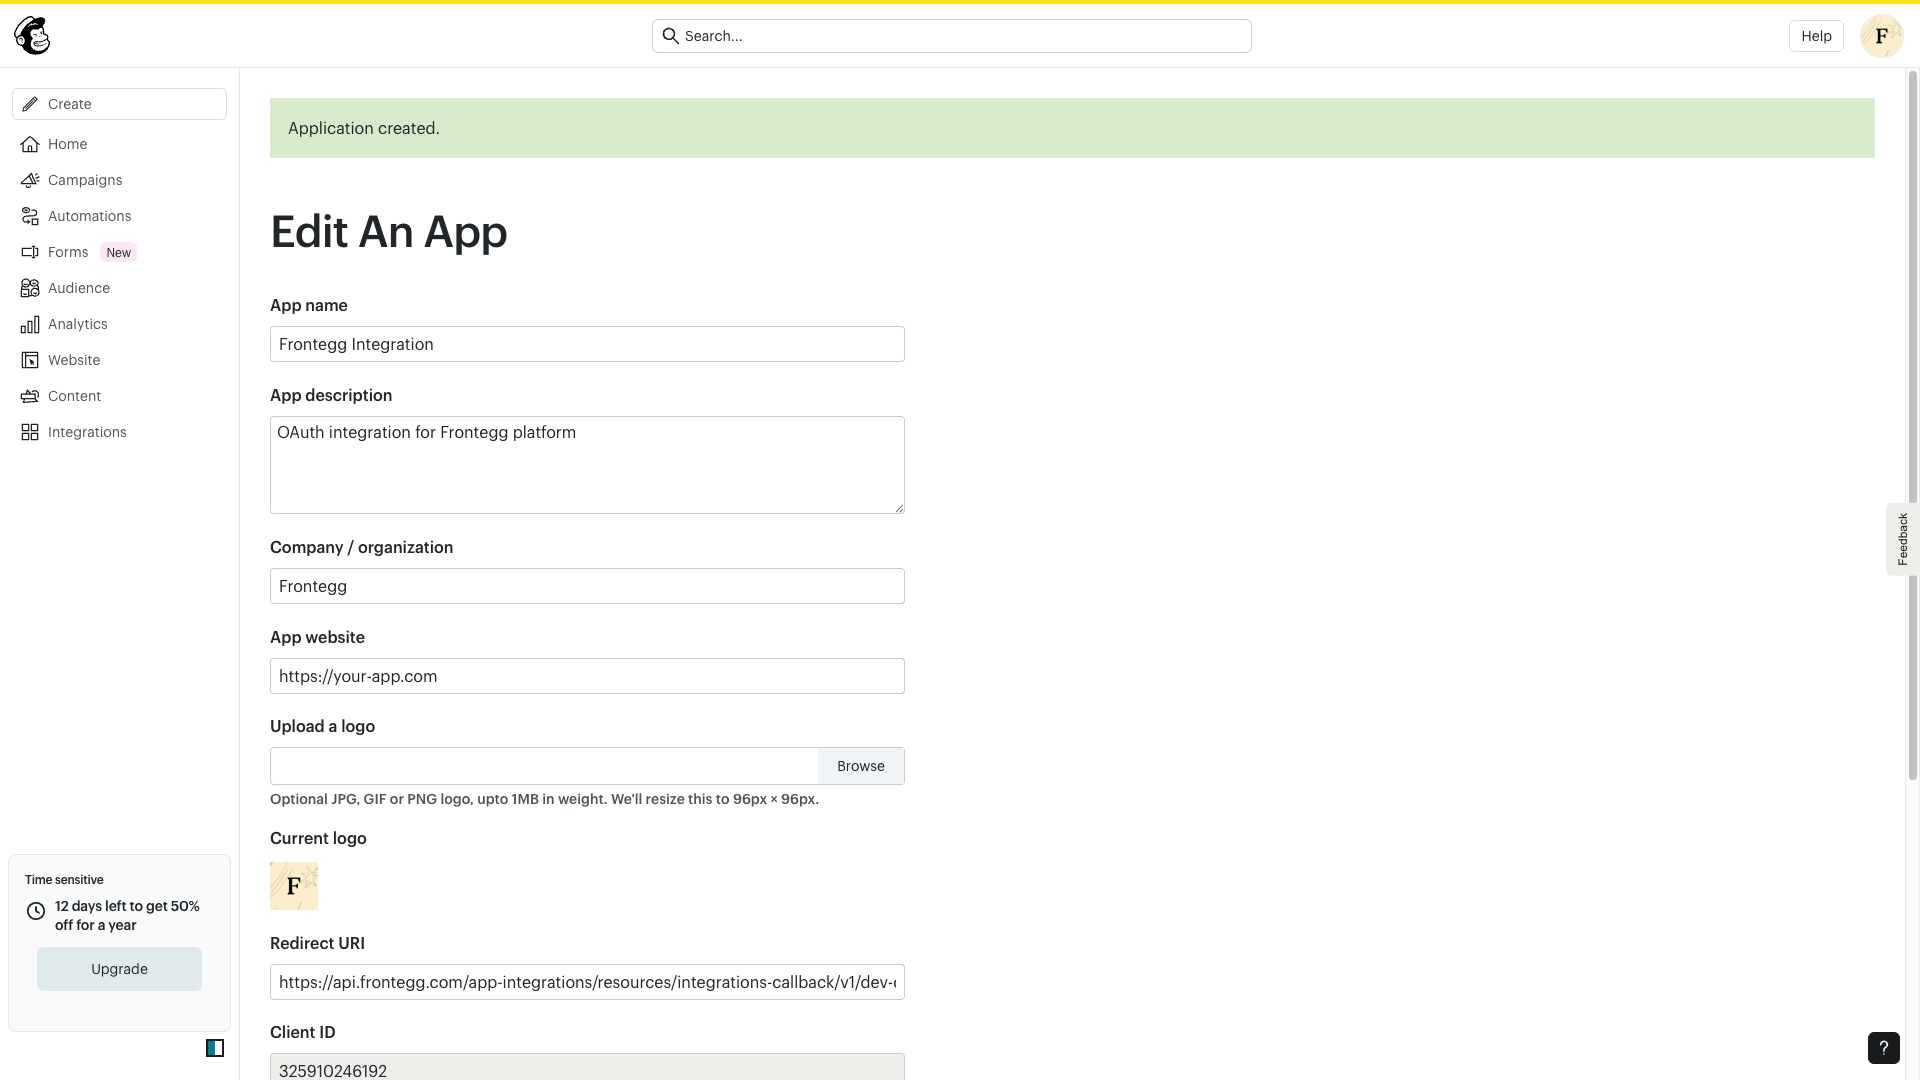
Scroll down to see the Client ID and Redirect URI fields.

Once you have your Client ID and Client Secret, configure the integration in Frontegg:
- Open the Frontegg portal and navigate to your environment → Integrations → Mailchimp.
- Enter the Client ID and Client Secret in the corresponding fields.
- Select the required scopes for your integration:
| Scope | Description |
|---|---|
lists | Read and write access to lists |
contacts | Read and write access to contacts and subscribers |
campaigns | Full access to campaigns management |
audiences | Read and write access to audience data |
automations | Read and write access to automations |
templates | Read and write access to email templates |
reports | Read access to campaign reports and analytics |
segments | Read and write access to segments |
tags | Read and write access to tags |
Minimum required scopes
Minimum required scopes
For basic functionality, you need: lists, contacts, and campaigns.
- Click Save.
Keep your credentials secure
Keep your credentials secure
Never share or commit your Client Secret to version control.