HubSpot Marketing Hub is the marketing automation product within the HubSpot platform — it powers forms, marketing emails, landing pages, marketing events, contact lists, and workflows. Integrating HubSpot Marketing with Frontegg allows your application to read and write Marketing Hub data — including forms, emails, landing pages, marketing events, contact lists, and workflow enrollments — on behalf of your users through OAuth 2.0 authentication.
Prerequisites
Prerequisites
- A HubSpot developer account to create the app — free to sign up at developers.hubspot.com
- A HubSpot Marketing Hub subscription with access to the features you plan to use (forms, email, landing pages, marketing events, etc.)
- For campaigns and marketing analytics, a Marketing Hub Professional subscription or higher — the campaign and email-statistics scopes are not granted on the Free tier
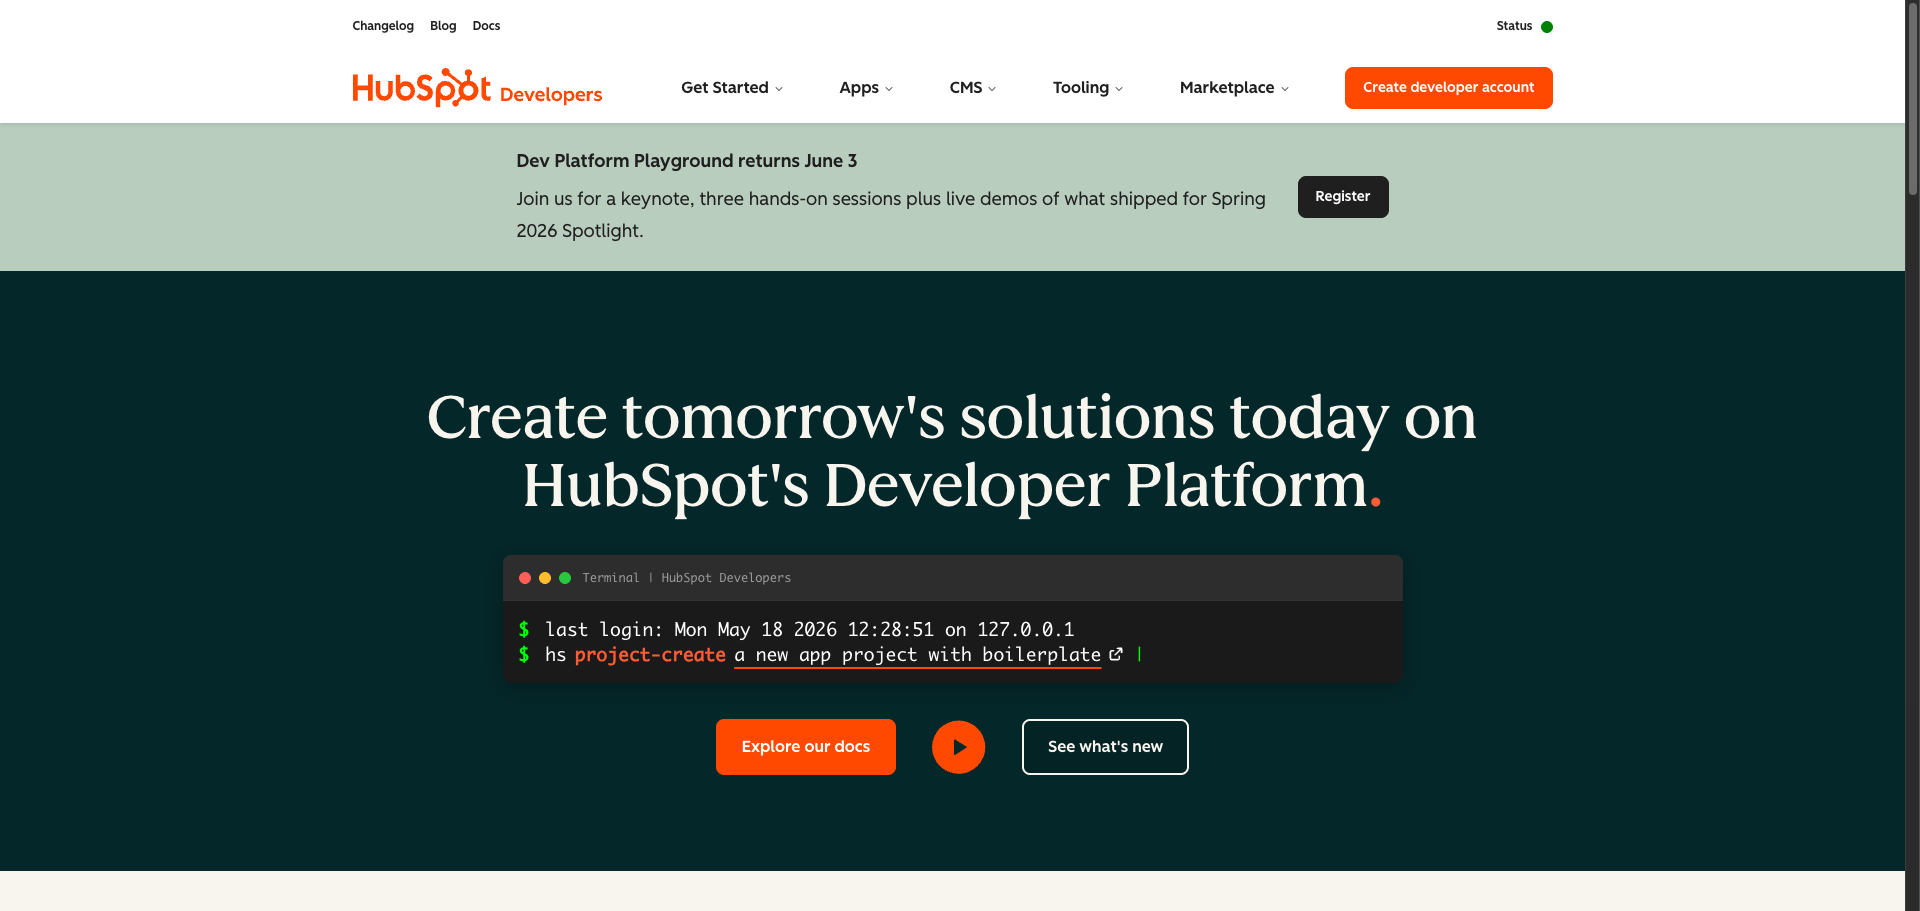
Go to developers.hubspot.com and sign in with your HubSpot account.
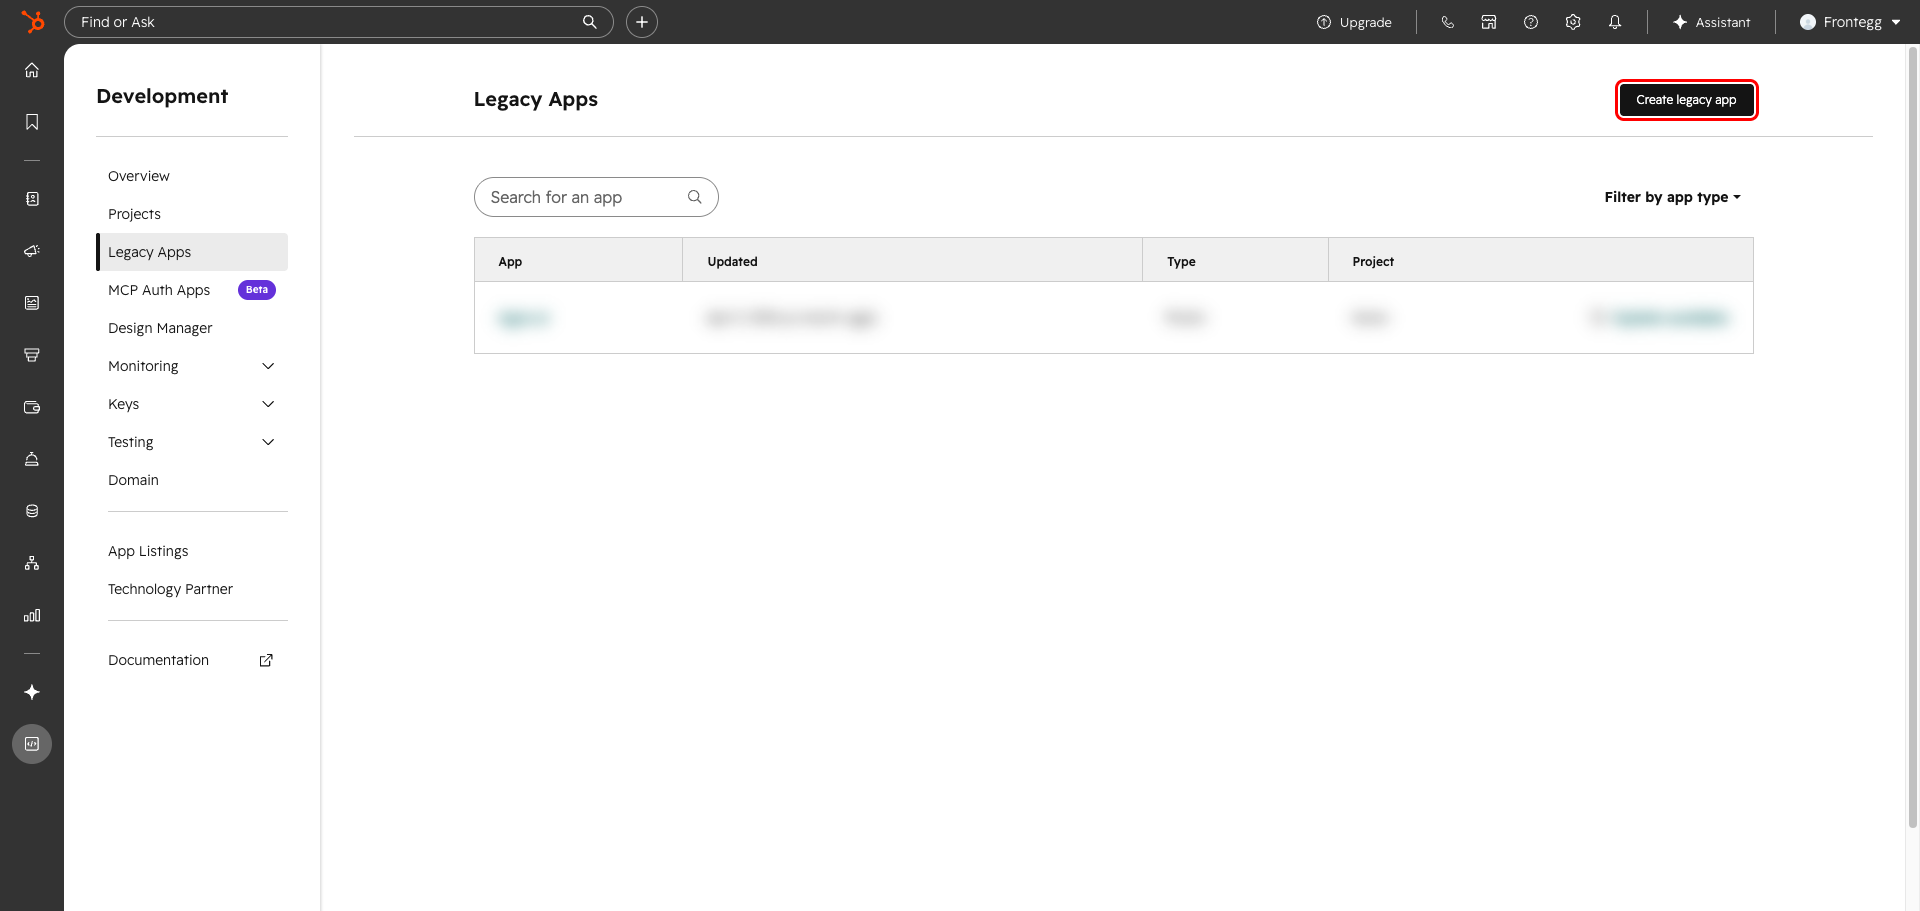
Once signed in, you will be in your HubSpot developer account. In the left sidebar, navigate to Development → Legacy Apps. This page lists all existing applications in your account.
Click Create legacy app in the top right corner.
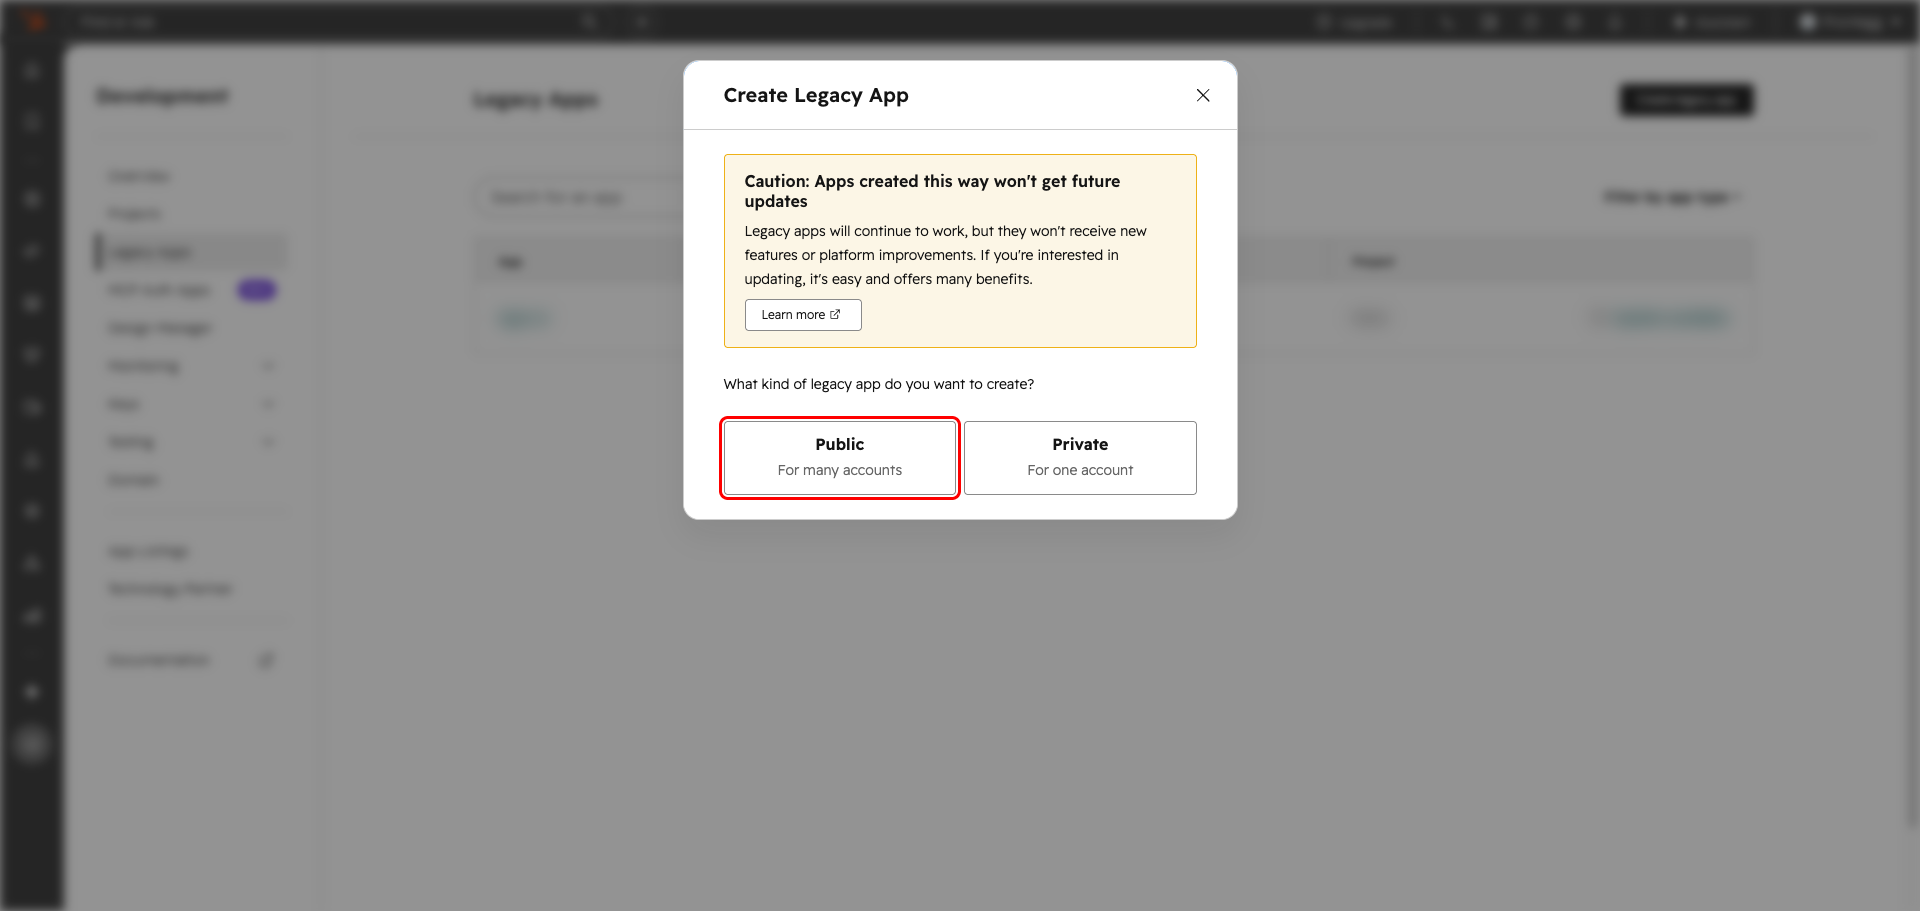
In the Create Legacy App dialog that appears, select Public (for apps that can be installed by any HubSpot account).
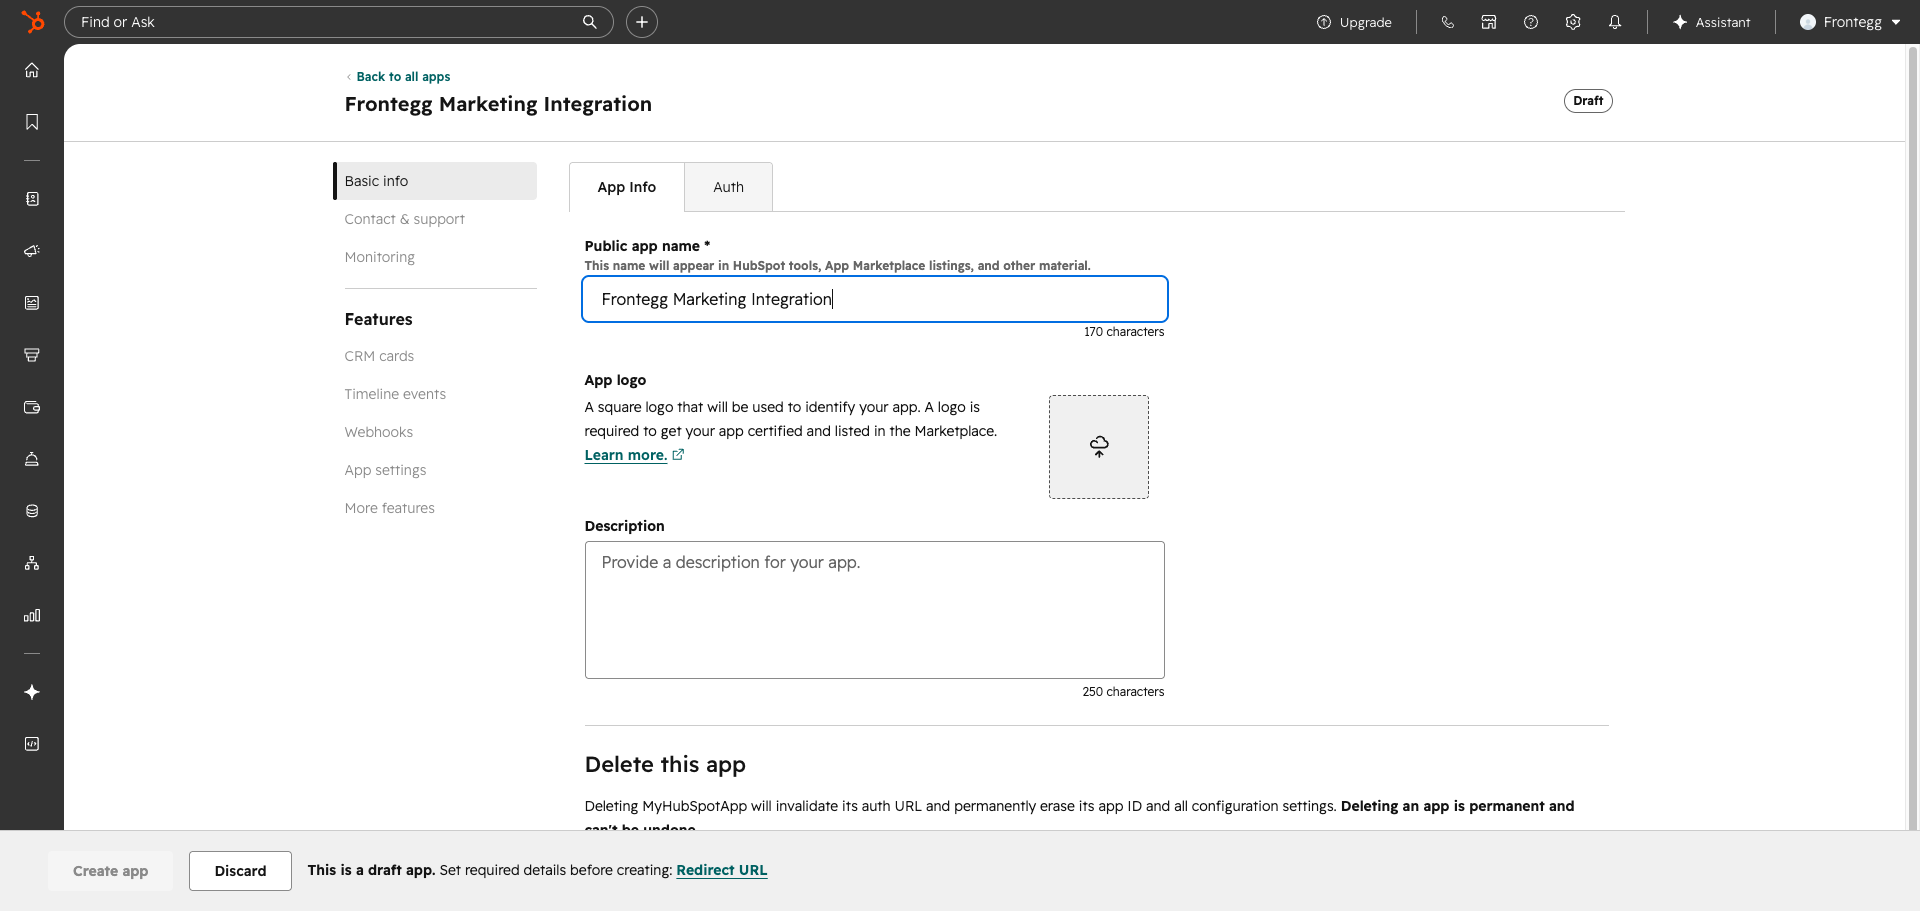
On the App Info tab, enter a name for your application in the Public app name field (for example, "Frontegg Marketing Integration"). This name appears in HubSpot tools when users install your app.
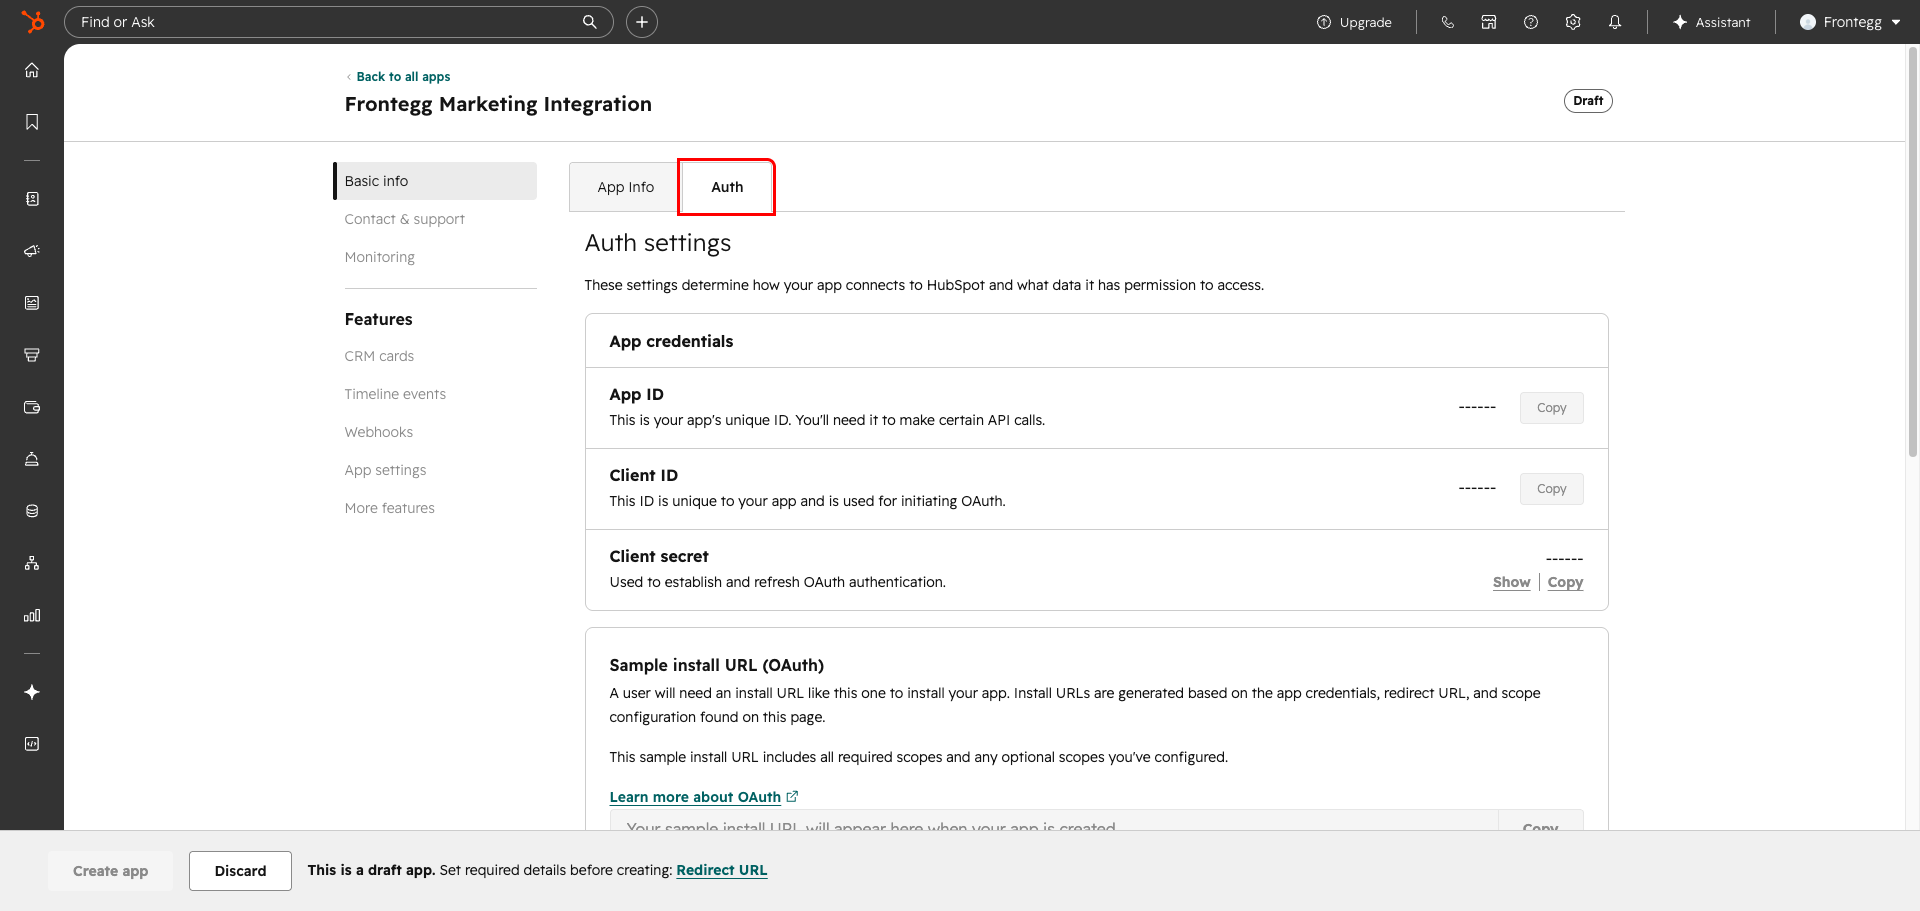
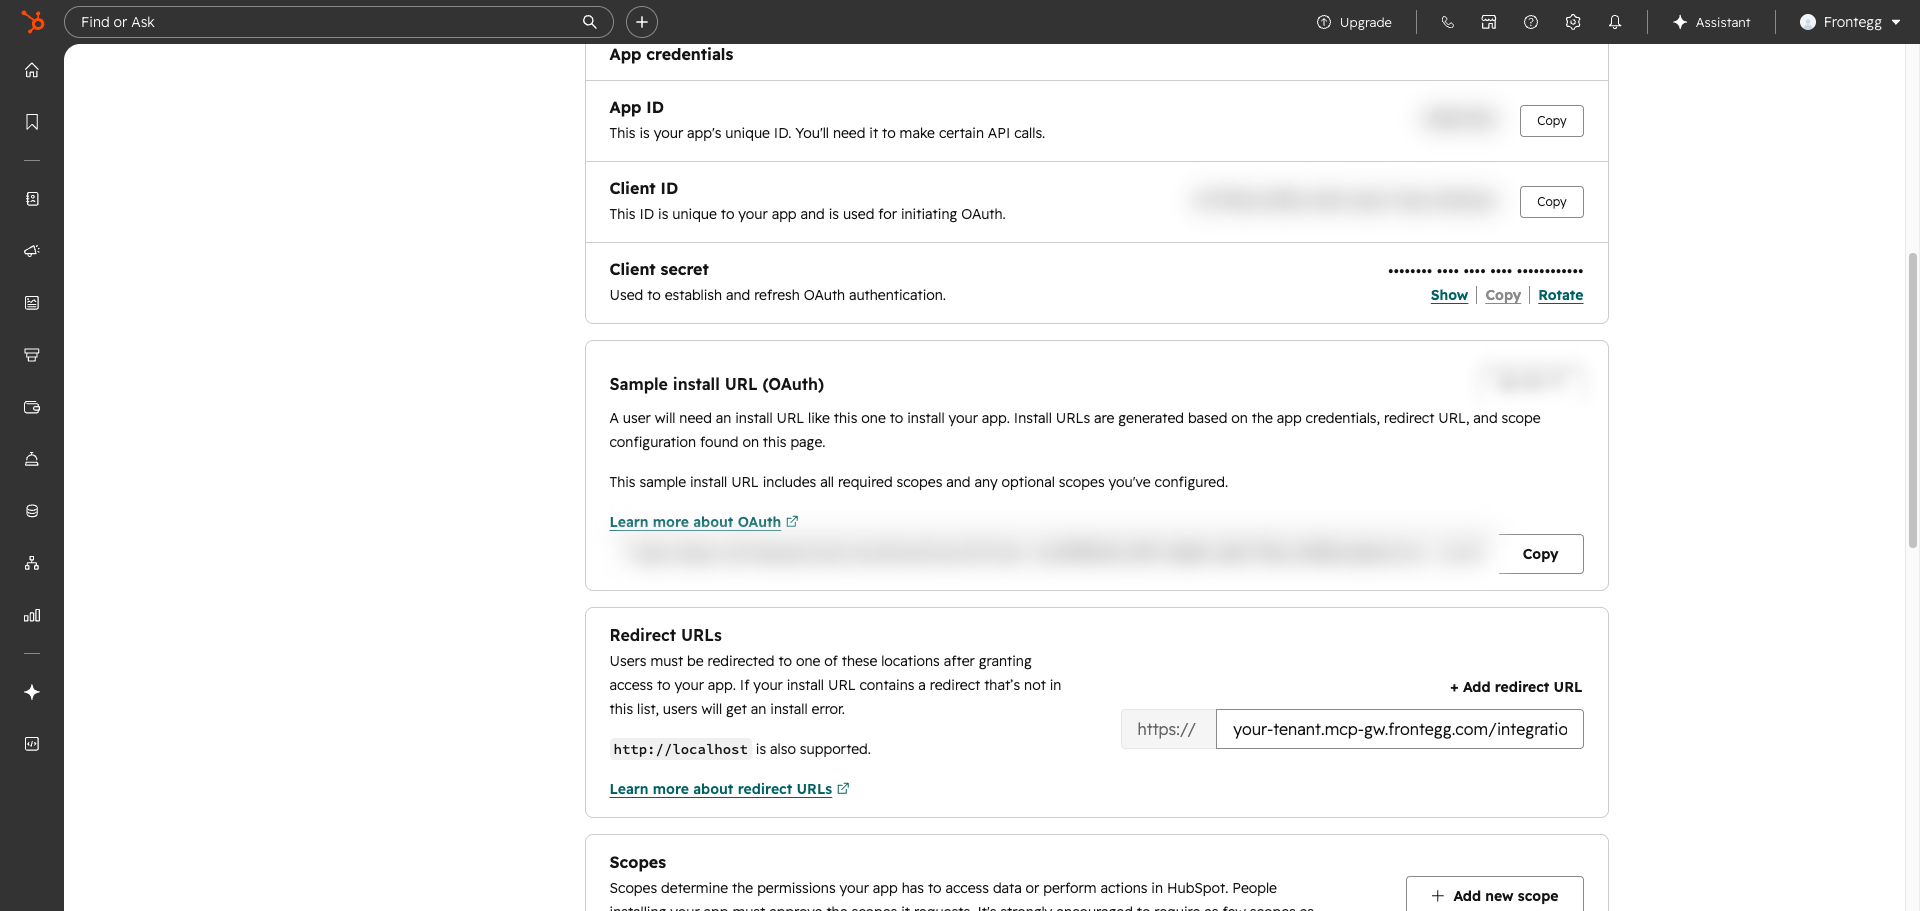
Click the Auth tab to open the authentication configuration page. The App credentials, Redirect URLs, and Scopes sections all live here.
Scroll down to the Redirect URLs section. Enter your Frontegg redirect URL:
https://YOUR_MCP_GATEWAY_URL/integration-callback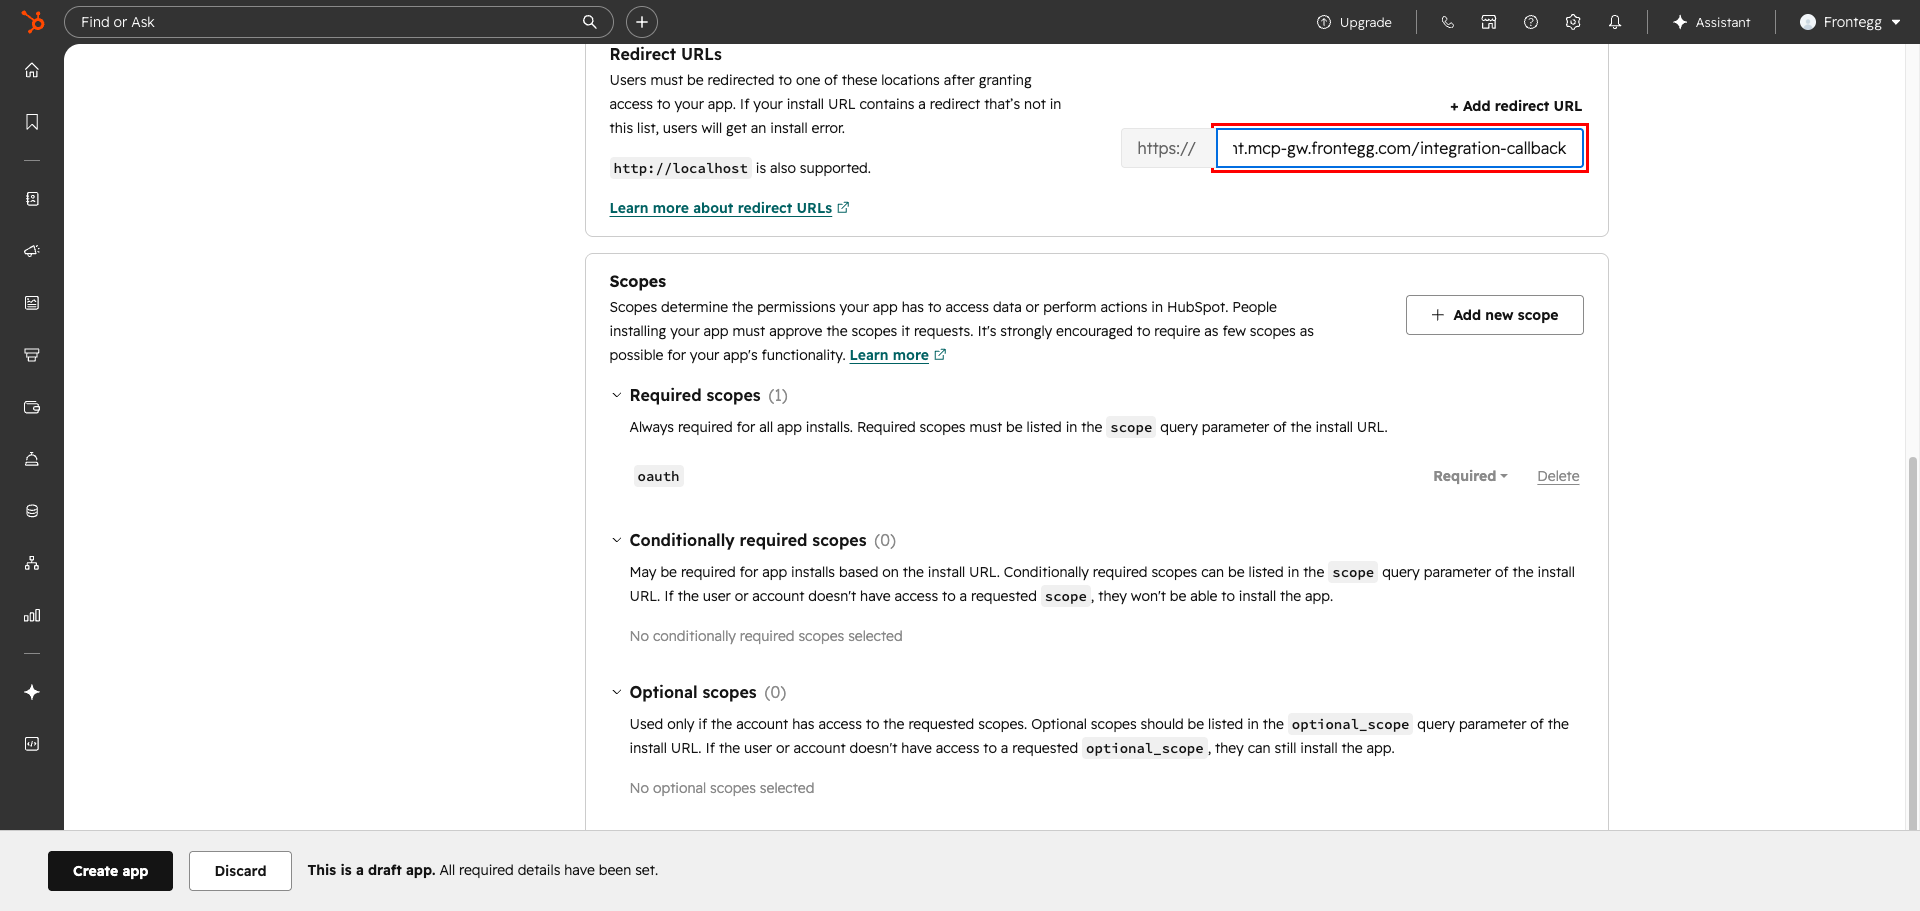
Scroll down to the Scopes section and click Add new scope. The scope picker dialog opens, grouped by category (CRM, CMS, Automation, etc.). Use the search field to find specific scopes quickly.
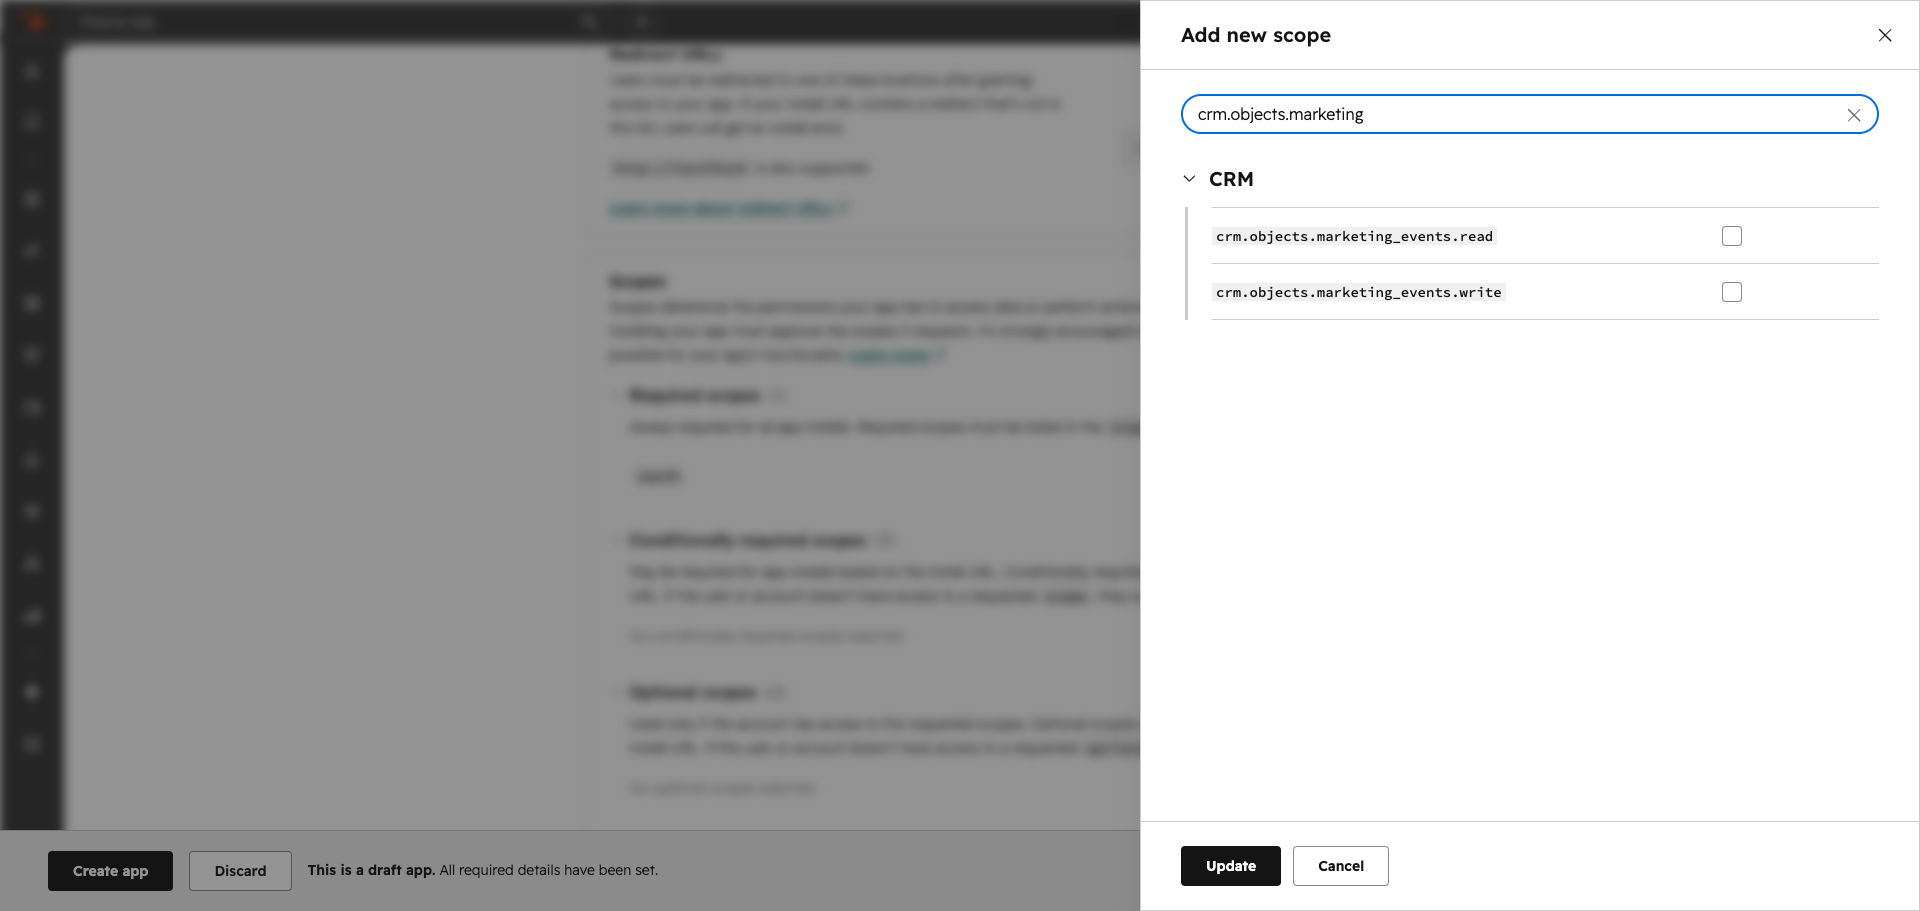
HubSpot Marketing scopes fall into two groups. The core scopes are granted on every Marketing Hub tier, including Free. The Professional+ scopes are tier-gated — HubSpot only grants them on Marketing Hub Professional or higher.
Core scopes (all tiers)
| Scope | Description |
|---|---|
forms | Read and write HubSpot forms |
content | Read and write marketing content — marketing emails and landing pages |
crm.lists.read | Read contact lists and their members |
crm.objects.marketing_events.read | Read marketing events (webinars, conferences, etc.) and their participation analytics |
crm.objects.marketing_events.write | Create and update marketing events |
automation | List and read workflows, and enroll or unenroll contacts in workflows |
Marketing Hub Professional+ scopes (optional, tier-gated)
Add these scopes only if you plan to use the Campaigns, email statistics, and campaign analytics (metrics and revenue) tools. HubSpot grants them only on Marketing Hub Professional or higher — on the Free tier, OAuth consent fails with a "lacks access to required scopes" error if any of them are requested.
| Scope | Description |
|---|---|
marketing.campaigns.read | List and read campaigns, and read campaign metrics |
marketing.campaigns.write | Create campaigns |
marketing.campaigns.revenue.read | Read campaign revenue |
marketing-email | Read marketing email send statistics (list, histogram, and per-email) |
Minimum required scopes
Minimum required scopes
For basic Marketing Hub functionality on any tier, the core scopes are enough: forms and content cover forms, emails, and landing pages; add crm.lists.read for contact lists, crm.objects.marketing_events.* for marketing events, and automation for workflow enrollments. The Professional+ scopes are needed only for the Campaigns, email-statistics, and campaign-analytics tools.
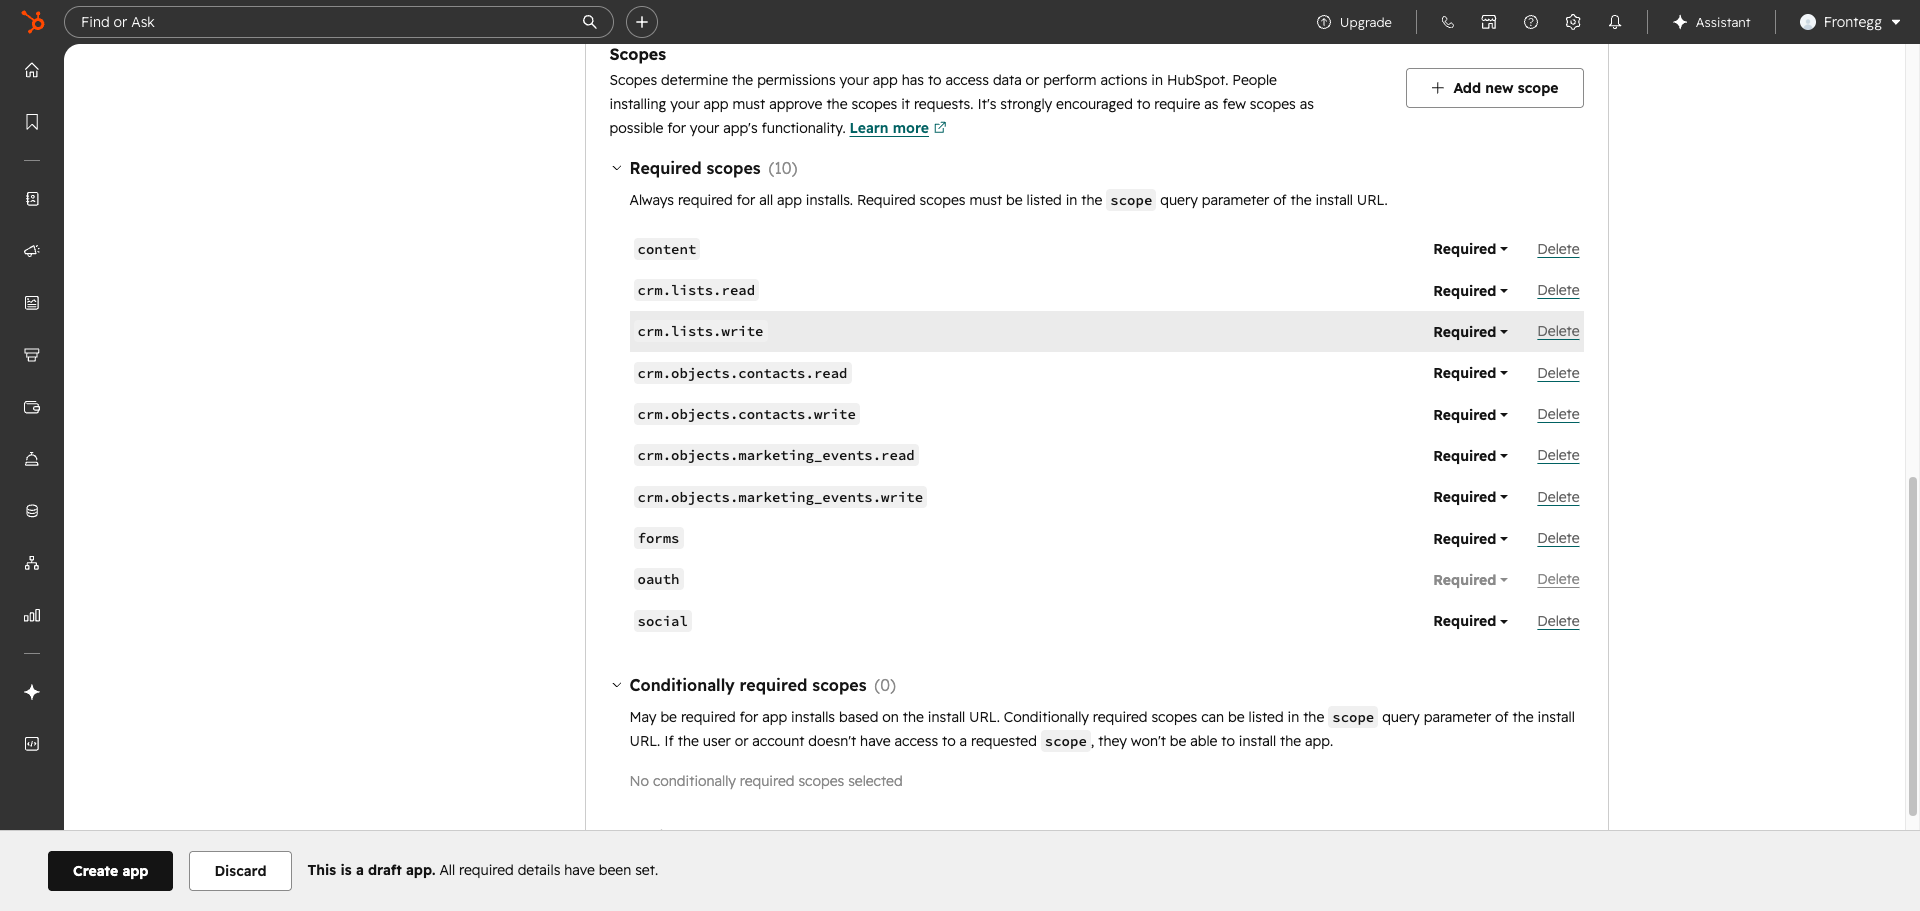
For each scope, the picker lets you choose Required, Conditionally required, or Optional — this controls whether HubSpot requests the scope on every install or only when an enabled tool needs it.
Tier-gated scopes must be Conditionally required
Tier-gated scopes must be Conditionally required
Set the four tier-gated scopes — marketing.campaigns.read, marketing.campaigns.write, marketing.campaigns.revenue.read, marketing-email — to Conditionally required, never Required. A Required scope is requested on every install regardless of which tools the customer enabled, so a Required tier-gated scope makes OAuth consent fail for every Free-tier customer — even when the Campaigns and analytics tools are turned off. Conditionally required scopes are only requested when an enabled tool needs them. Only oauth should be Required — HubSpot adds it automatically.
After selecting your scopes, click Update.
Tier compatibility
Tier compatibility
On a Free Marketing Hub account, all core tools work — including the event-participation analytics tools, which run on the core crm.objects.marketing_events.read scope. Only the Campaigns, email statistics, and campaign analytics (metrics and revenue) tools require Marketing Hub Professional or higher. If a customer on the Free tier installs the integration with the Professional+ scopes requested, HubSpot rejects the OAuth consent.
Click Create app at the bottom of the page. Once the app is created, the App credentials section at the top of the Auth page displays your credentials:
- Client ID — Your app's unique identifier used to initiate OAuth.
- Client secret — Click Show to reveal the secret. Used to exchange authorization codes for access tokens.
Copy both values and store them securely.
Keep your credentials secure
Keep your credentials secure
Never share or commit your Client secret to version control.
Once you have obtained your Client ID and Client secret from the steps above, enter them in the integration configuration page of the Frontegg portal:
- Open the Frontegg portal and navigate to [ENVIRONMENT] → Connectors → HubSpot Marketing.
- Enter the Client ID and Client secret in the corresponding fields.
- Select the required scopes.
- Click Save.
Managing tools by tier
Managing tools by tier
The tier-gated tools — Campaigns (list, get, create), Email Statistics (×3), Campaign Metrics, and Campaign Revenue — should be kept disabled in the connector's tool list for tenants on a Free Marketing Hub. With those tools off, their scopes are excluded from the OAuth consent and the installation completes cleanly. On Marketing Hub Professional or higher, you can enable them.