AWeber is an email marketing and automation platform for building subscriber lists, sending broadcasts, and managing campaigns. Integrating AWeber with Frontegg lets your application read account data, manage lists and subscribers, and work with campaigns, broadcasts, segments, and custom fields on behalf of your users — all through Frontegg's integration layer using AWeber's OAuth 2.0 authorization.
Prerequisites
Prerequisites
- An AWeber account
- An AWeber Developer account to create an OAuth app (this is separate from your regular AWeber account)
You create an OAuth 2.0 app in the AWeber Developer portal. The app provides the Client ID and Client Secret and defines the redirect URL that AWeber returns users to after they authorize access.
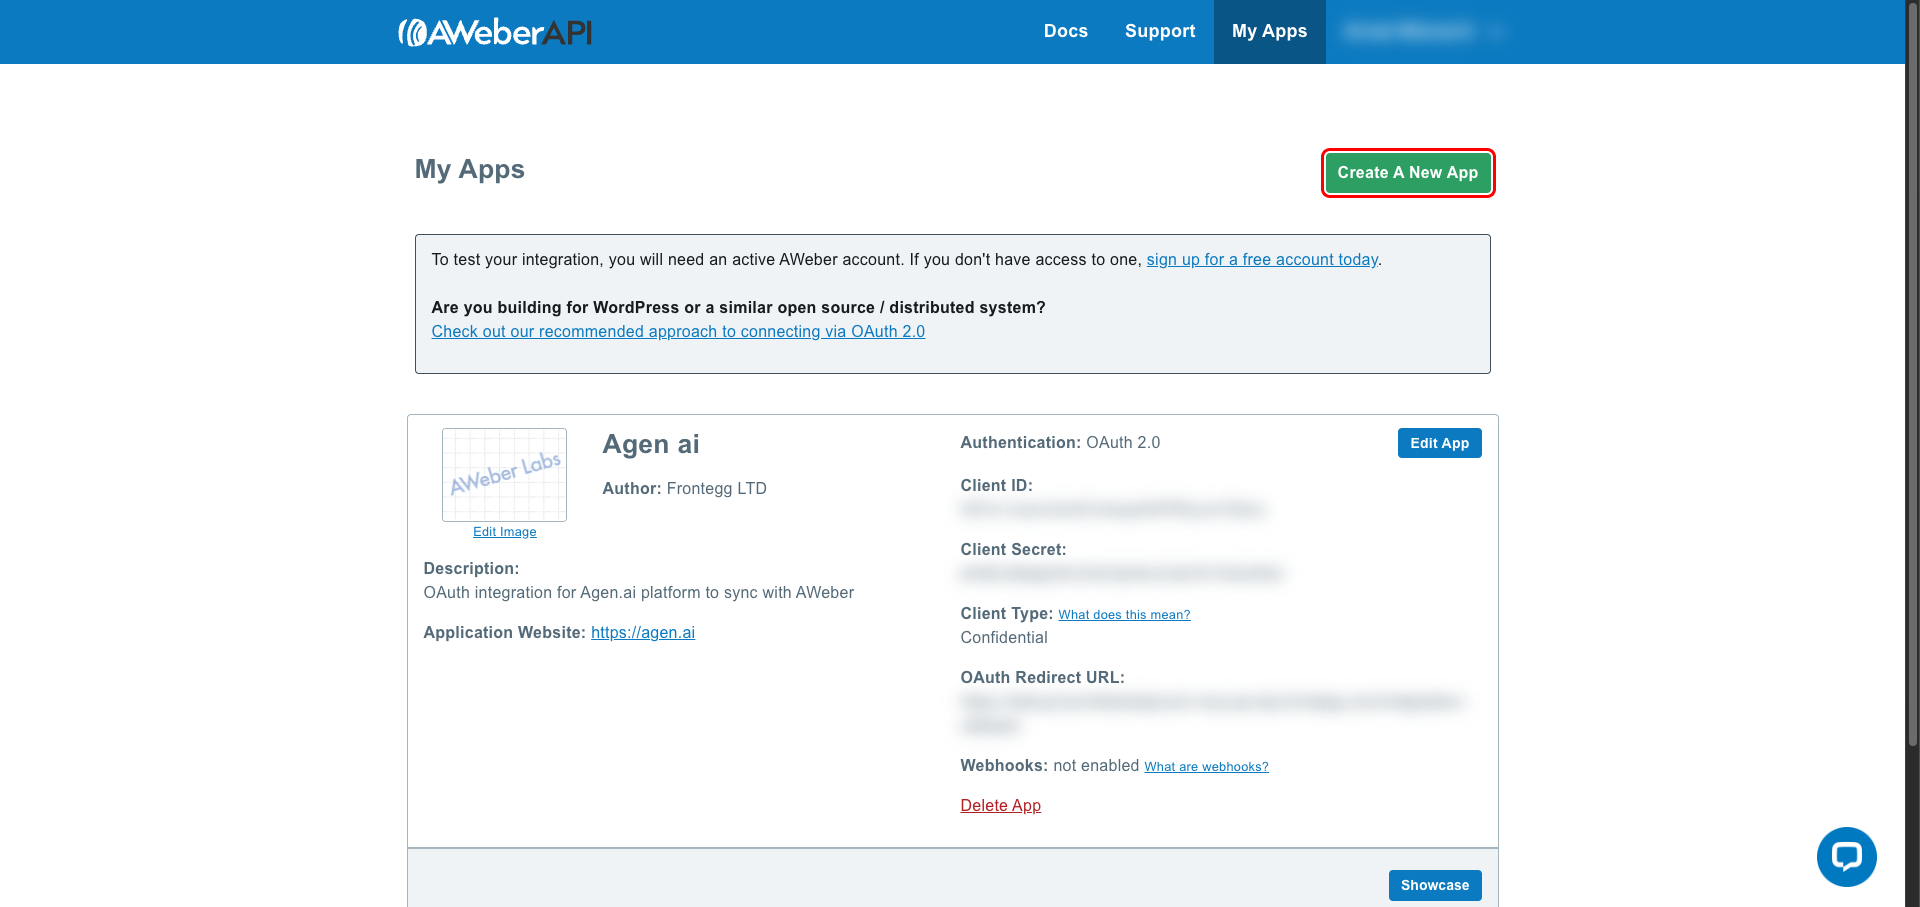
Sign in to the AWeber Developer portal and open the My Apps page. Click Create A New App.
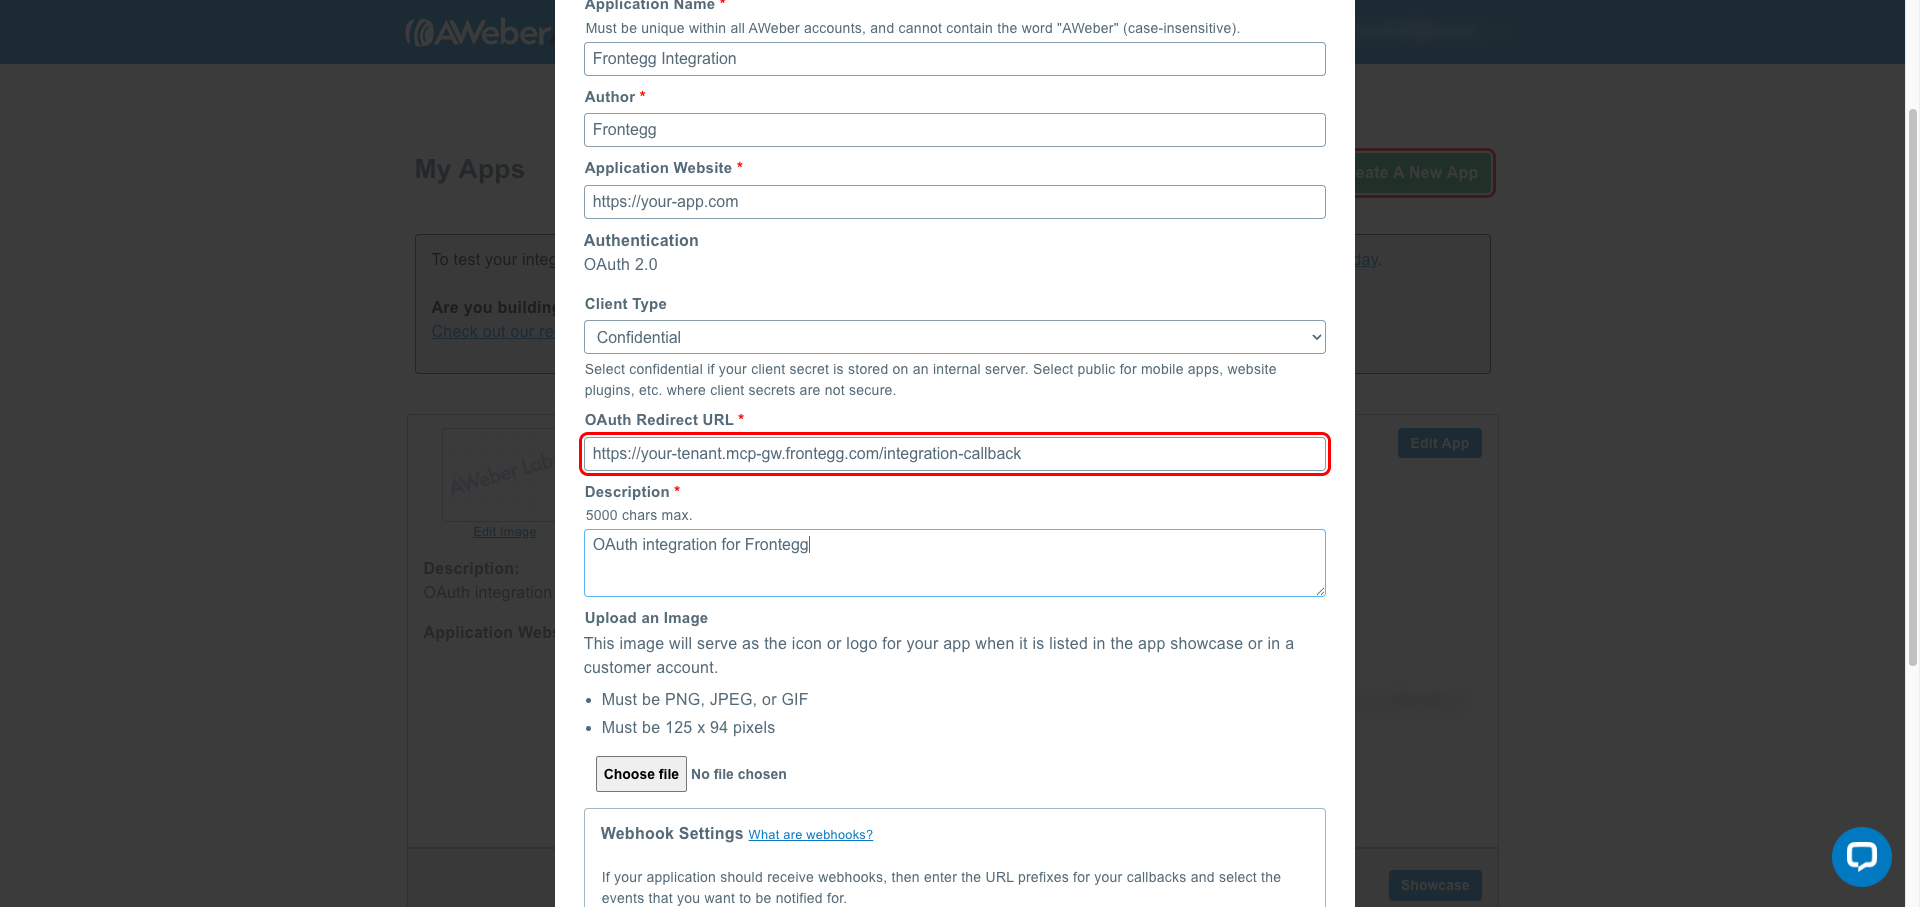
In the Create A New App dialog, complete the fields:
- Application Name — Enter a unique name, for example
Frontegg Integration. It must be unique across all AWeber accounts and cannot contain the word "AWeber". - Author — Enter your name or organization.
- Application Website — Enter your app's website.
- Client Type — Leave Confidential selected (the client secret is stored securely on Frontegg's server).
- OAuth Redirect URL — Enter your Frontegg Redirect URL:
https://YOUR_MCP_GATEWAY_URL/integration-callback
- Description — Briefly describe your app.
Click Create New App.
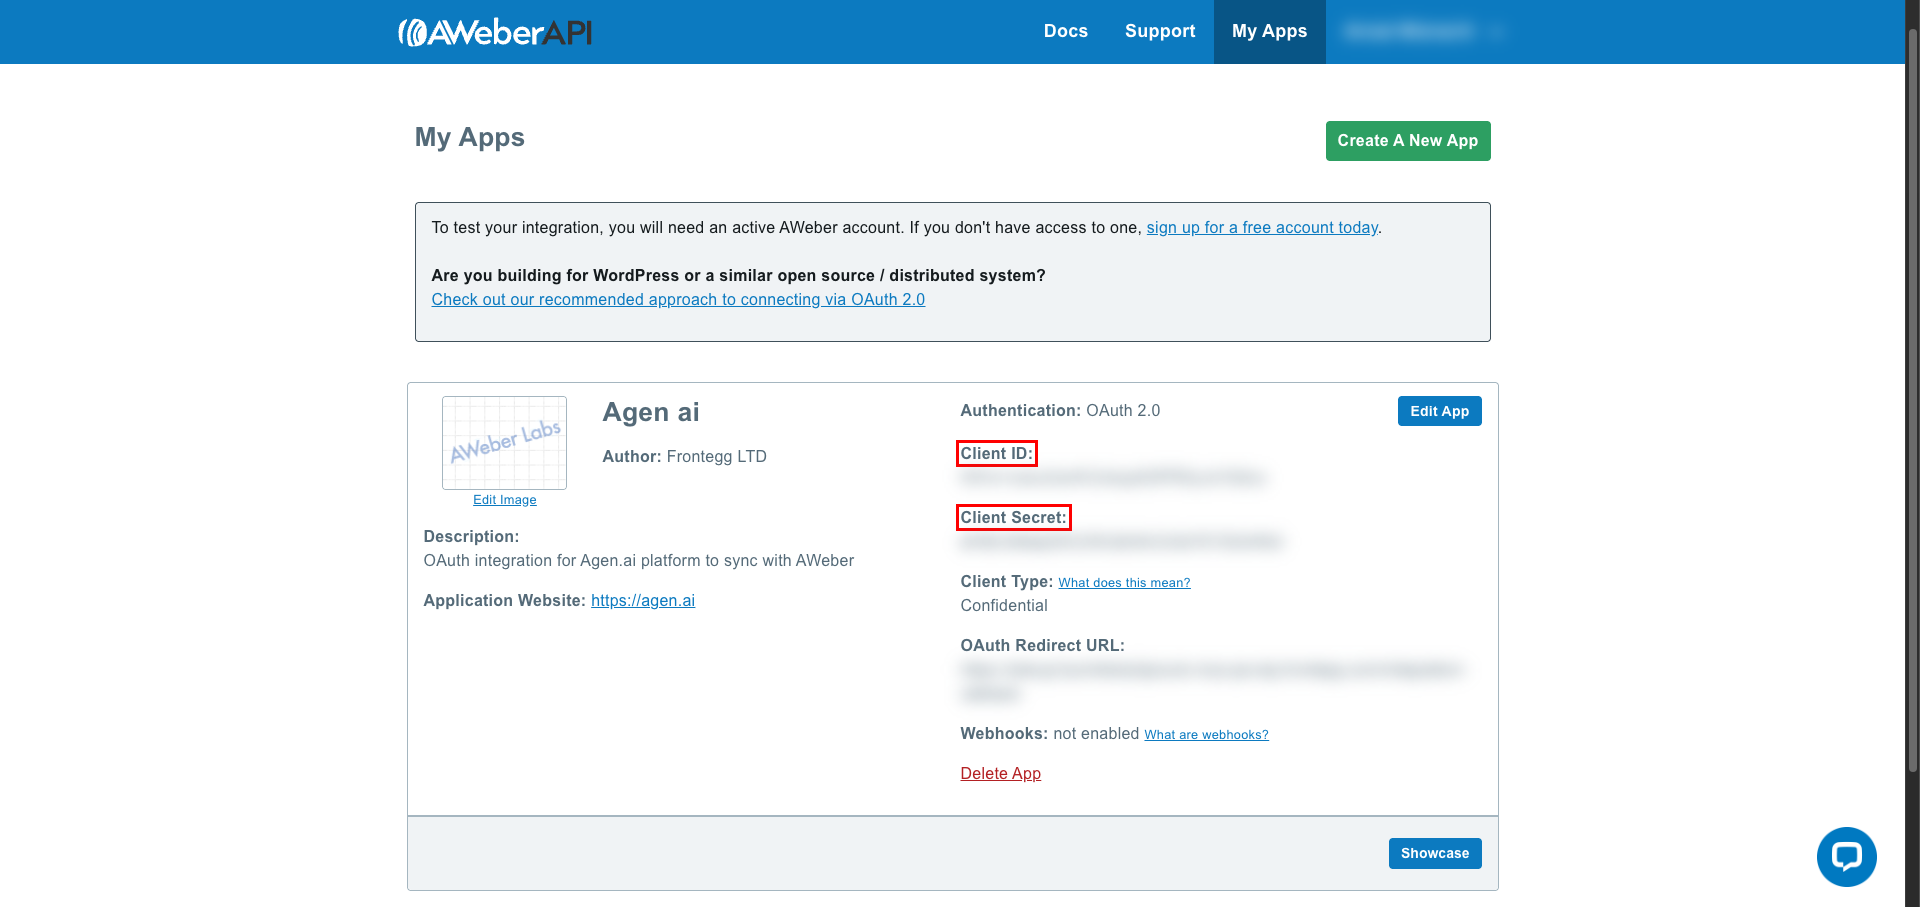
Your new app now appears on the My Apps page. Copy its Client ID and Client Secret.
Keep your Client Secret safe
Keep your Client Secret safe
The Client Secret grants access to your account through the API. Treat it like a password and never expose it in client-side code.
Once you have your Client ID and Client Secret, configure the integration in the Frontegg portal:
- Open the Frontegg portal and navigate to [ENVIRONMENT] → Integrations → AWeber.
- Enter the Client ID and Client Secret.
- Select the required scopes:
| Scope | Description |
|---|---|
account.read | Read account information |
list.read | Read list information |
list.write | Create and update lists |
subscriber.read | Read subscriber information |
subscriber.write | Create, update, and delete subscribers |
email.read | Read broadcasts, campaigns, and messages |
email.write | Create, update, schedule, and delete broadcasts |
- Click Save.
When a user connects their AWeber account, AWeber shows a consent screen listing these permissions before granting access.
Keep your credentials secure
Keep your credentials secure
Never share or commit your Client Secret to version control.