Make (formerly Integromat) is a visual automation platform that allows teams to connect apps and automate workflows. Integrating Make with Frontegg allows your application to access automation data — including scenarios, connections, webhooks, and data stores — on behalf of your users through API token authentication.
Prerequisites
Prerequisites
- A Make account with admin access
- Access to make.com
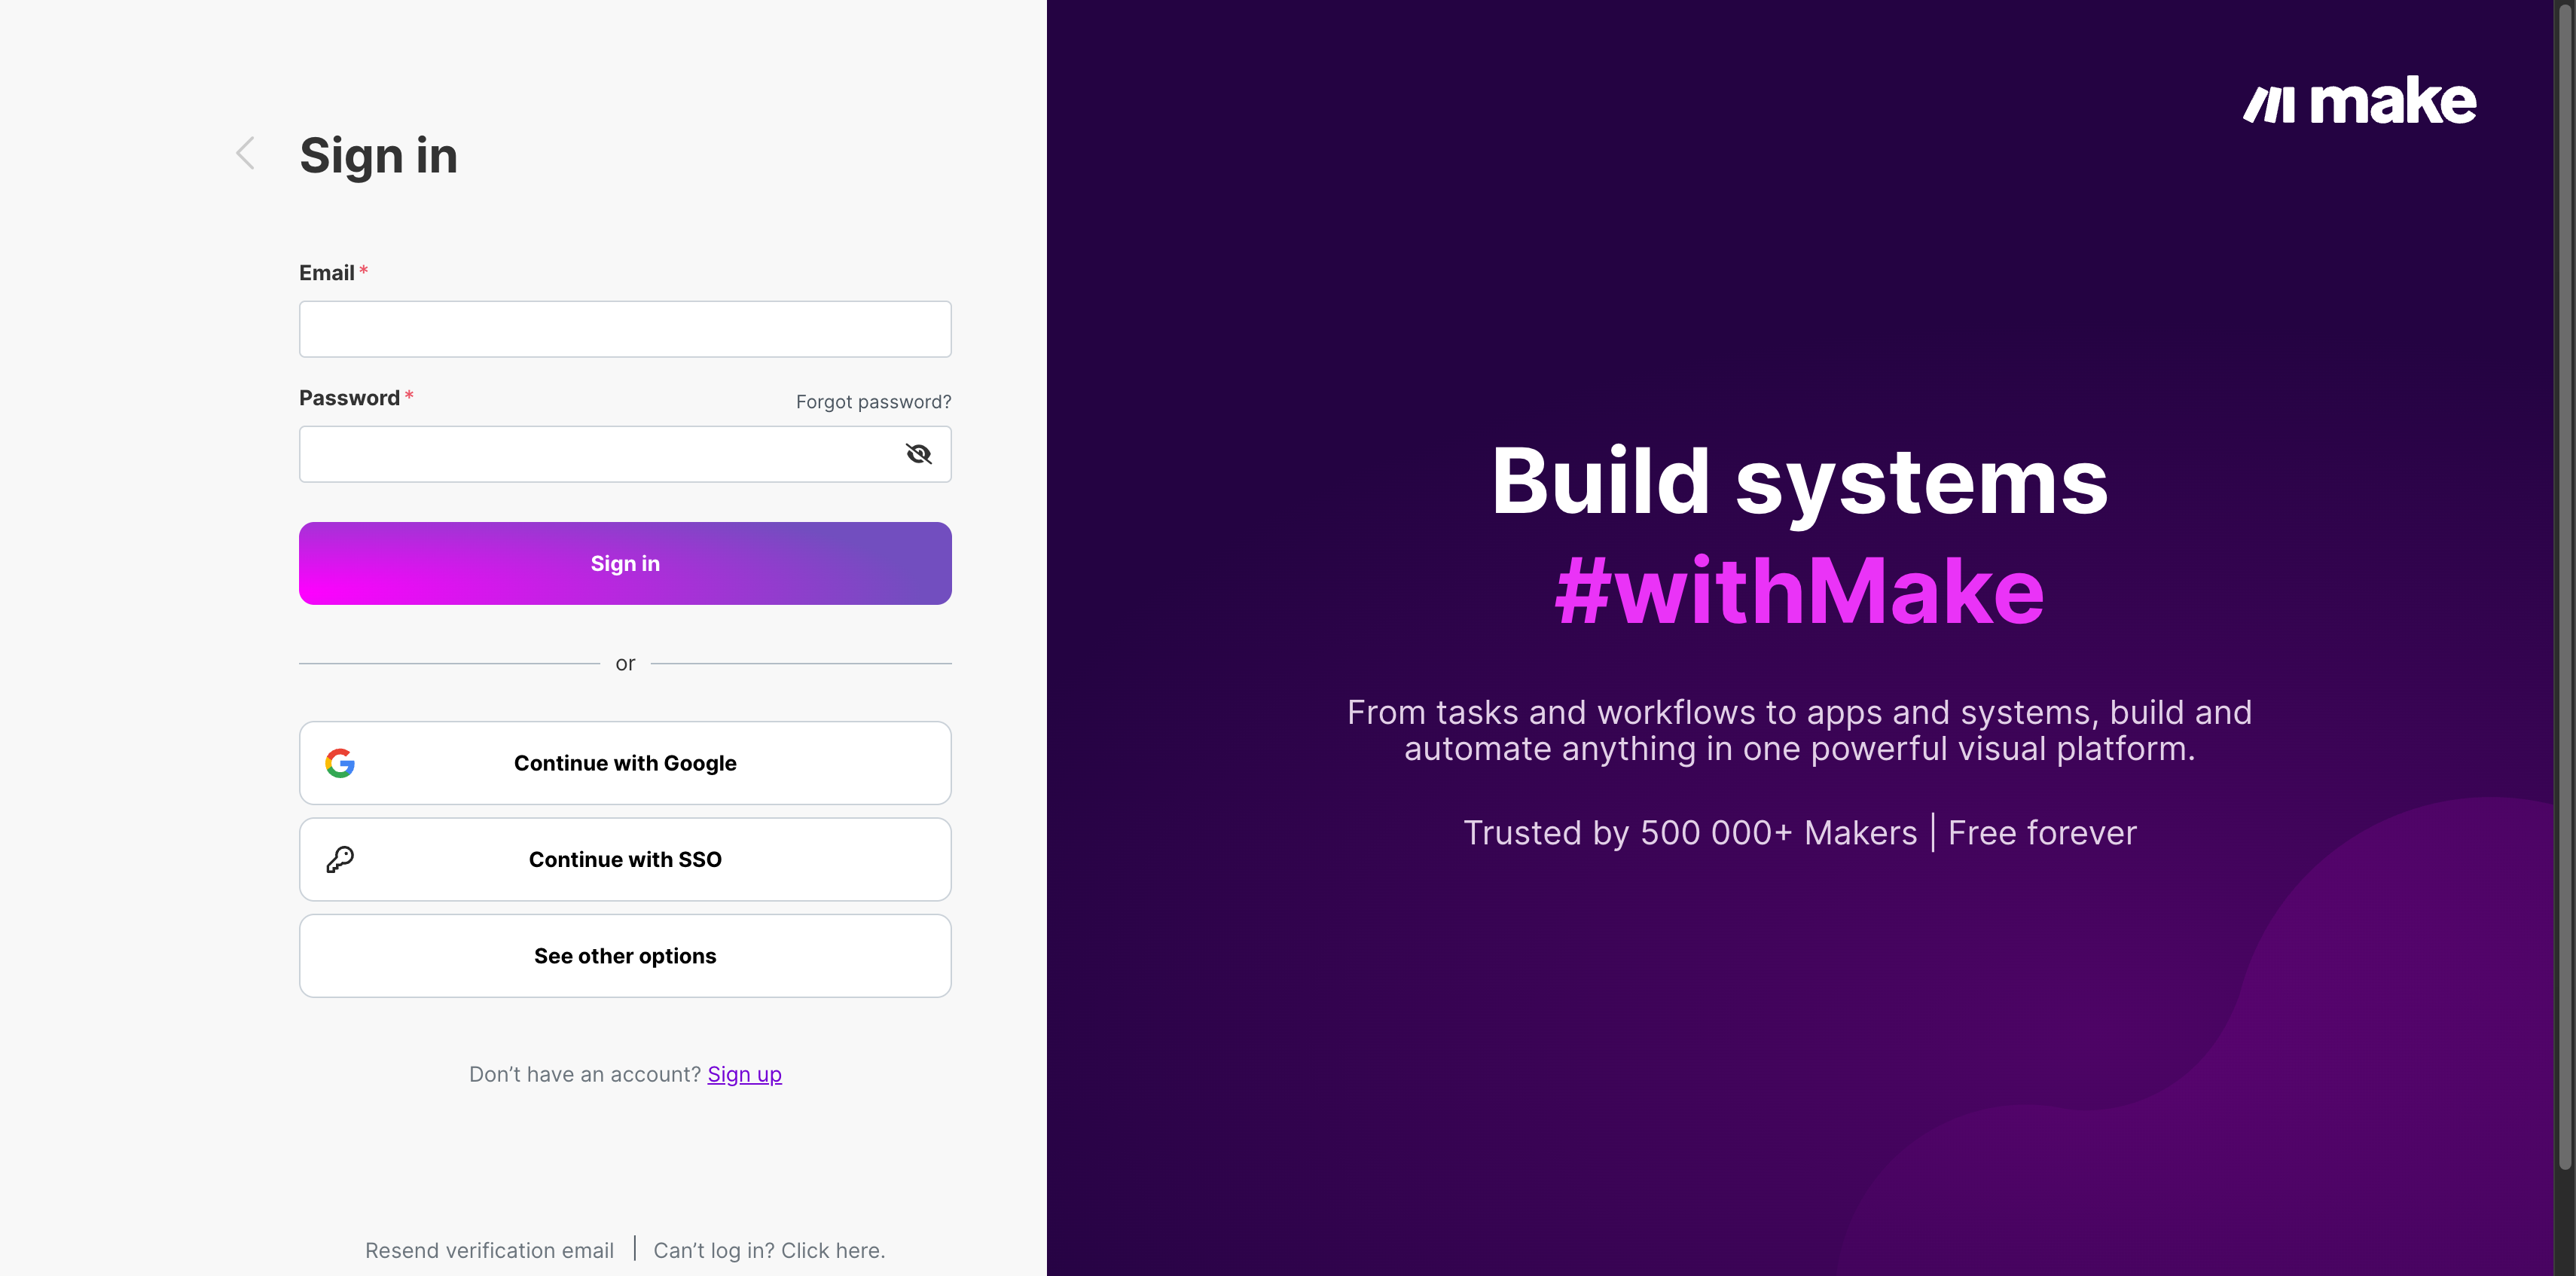
Navigate to make.com and sign in to your account. You can use Google or email and password authentication.
After signing in, you land on the Make dashboard. Click the profile icon in the top-right corner of the page to open the account menu.
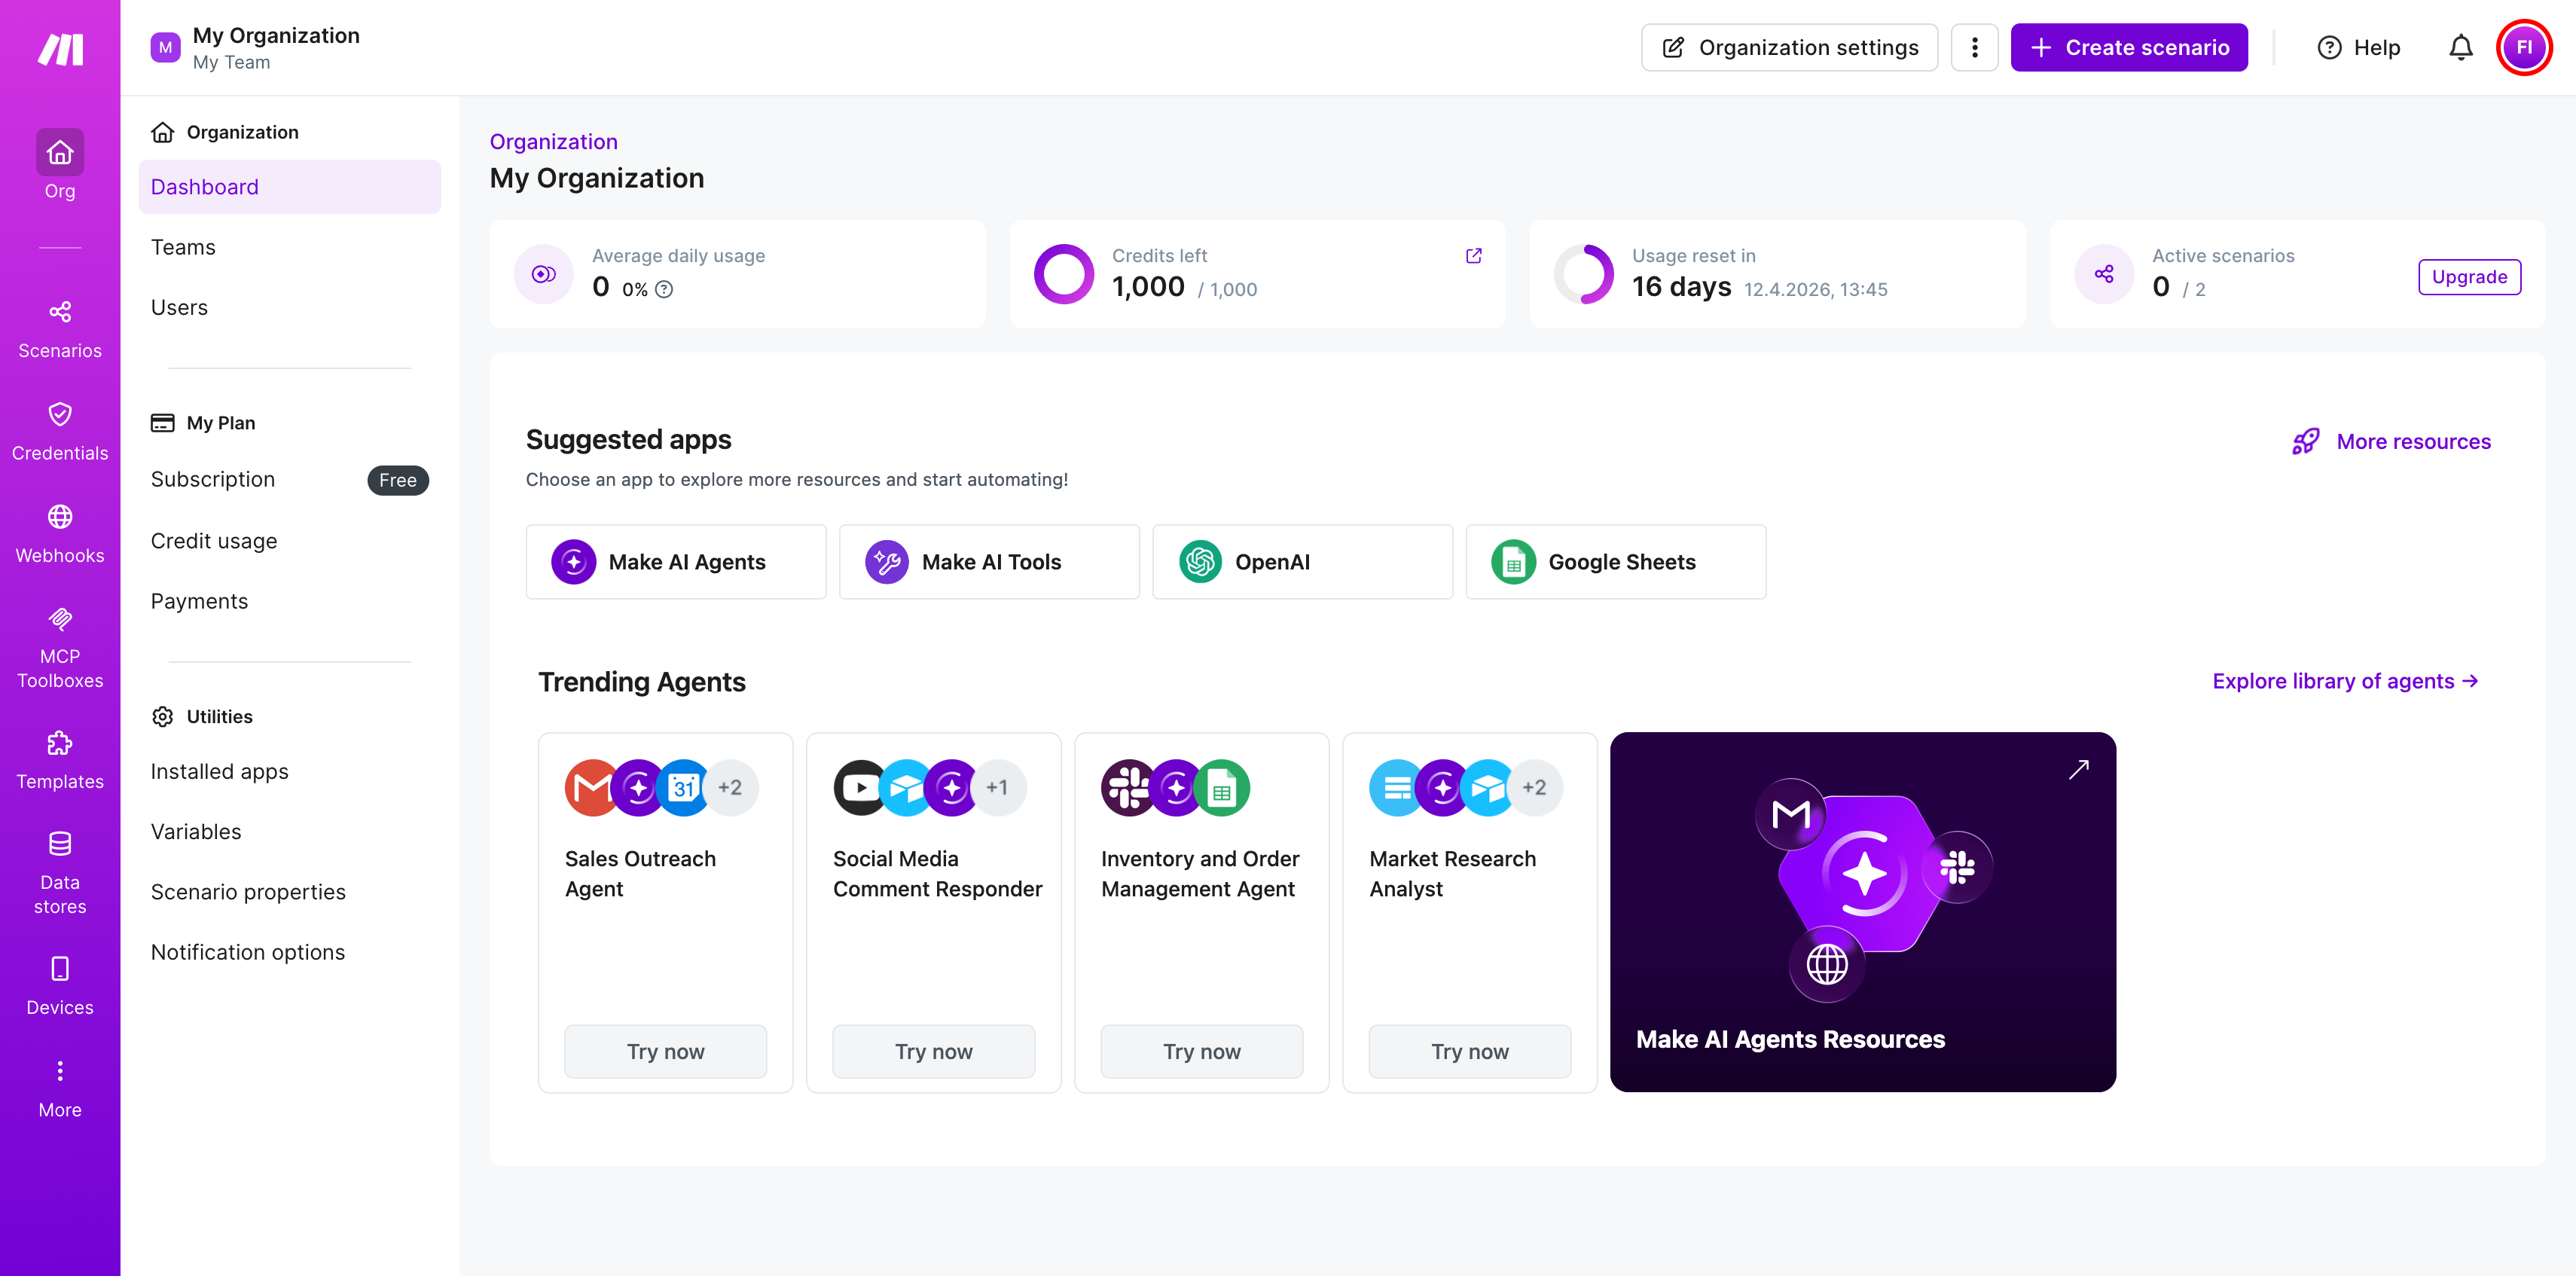
In the dropdown menu, click Profile to open your profile settings.

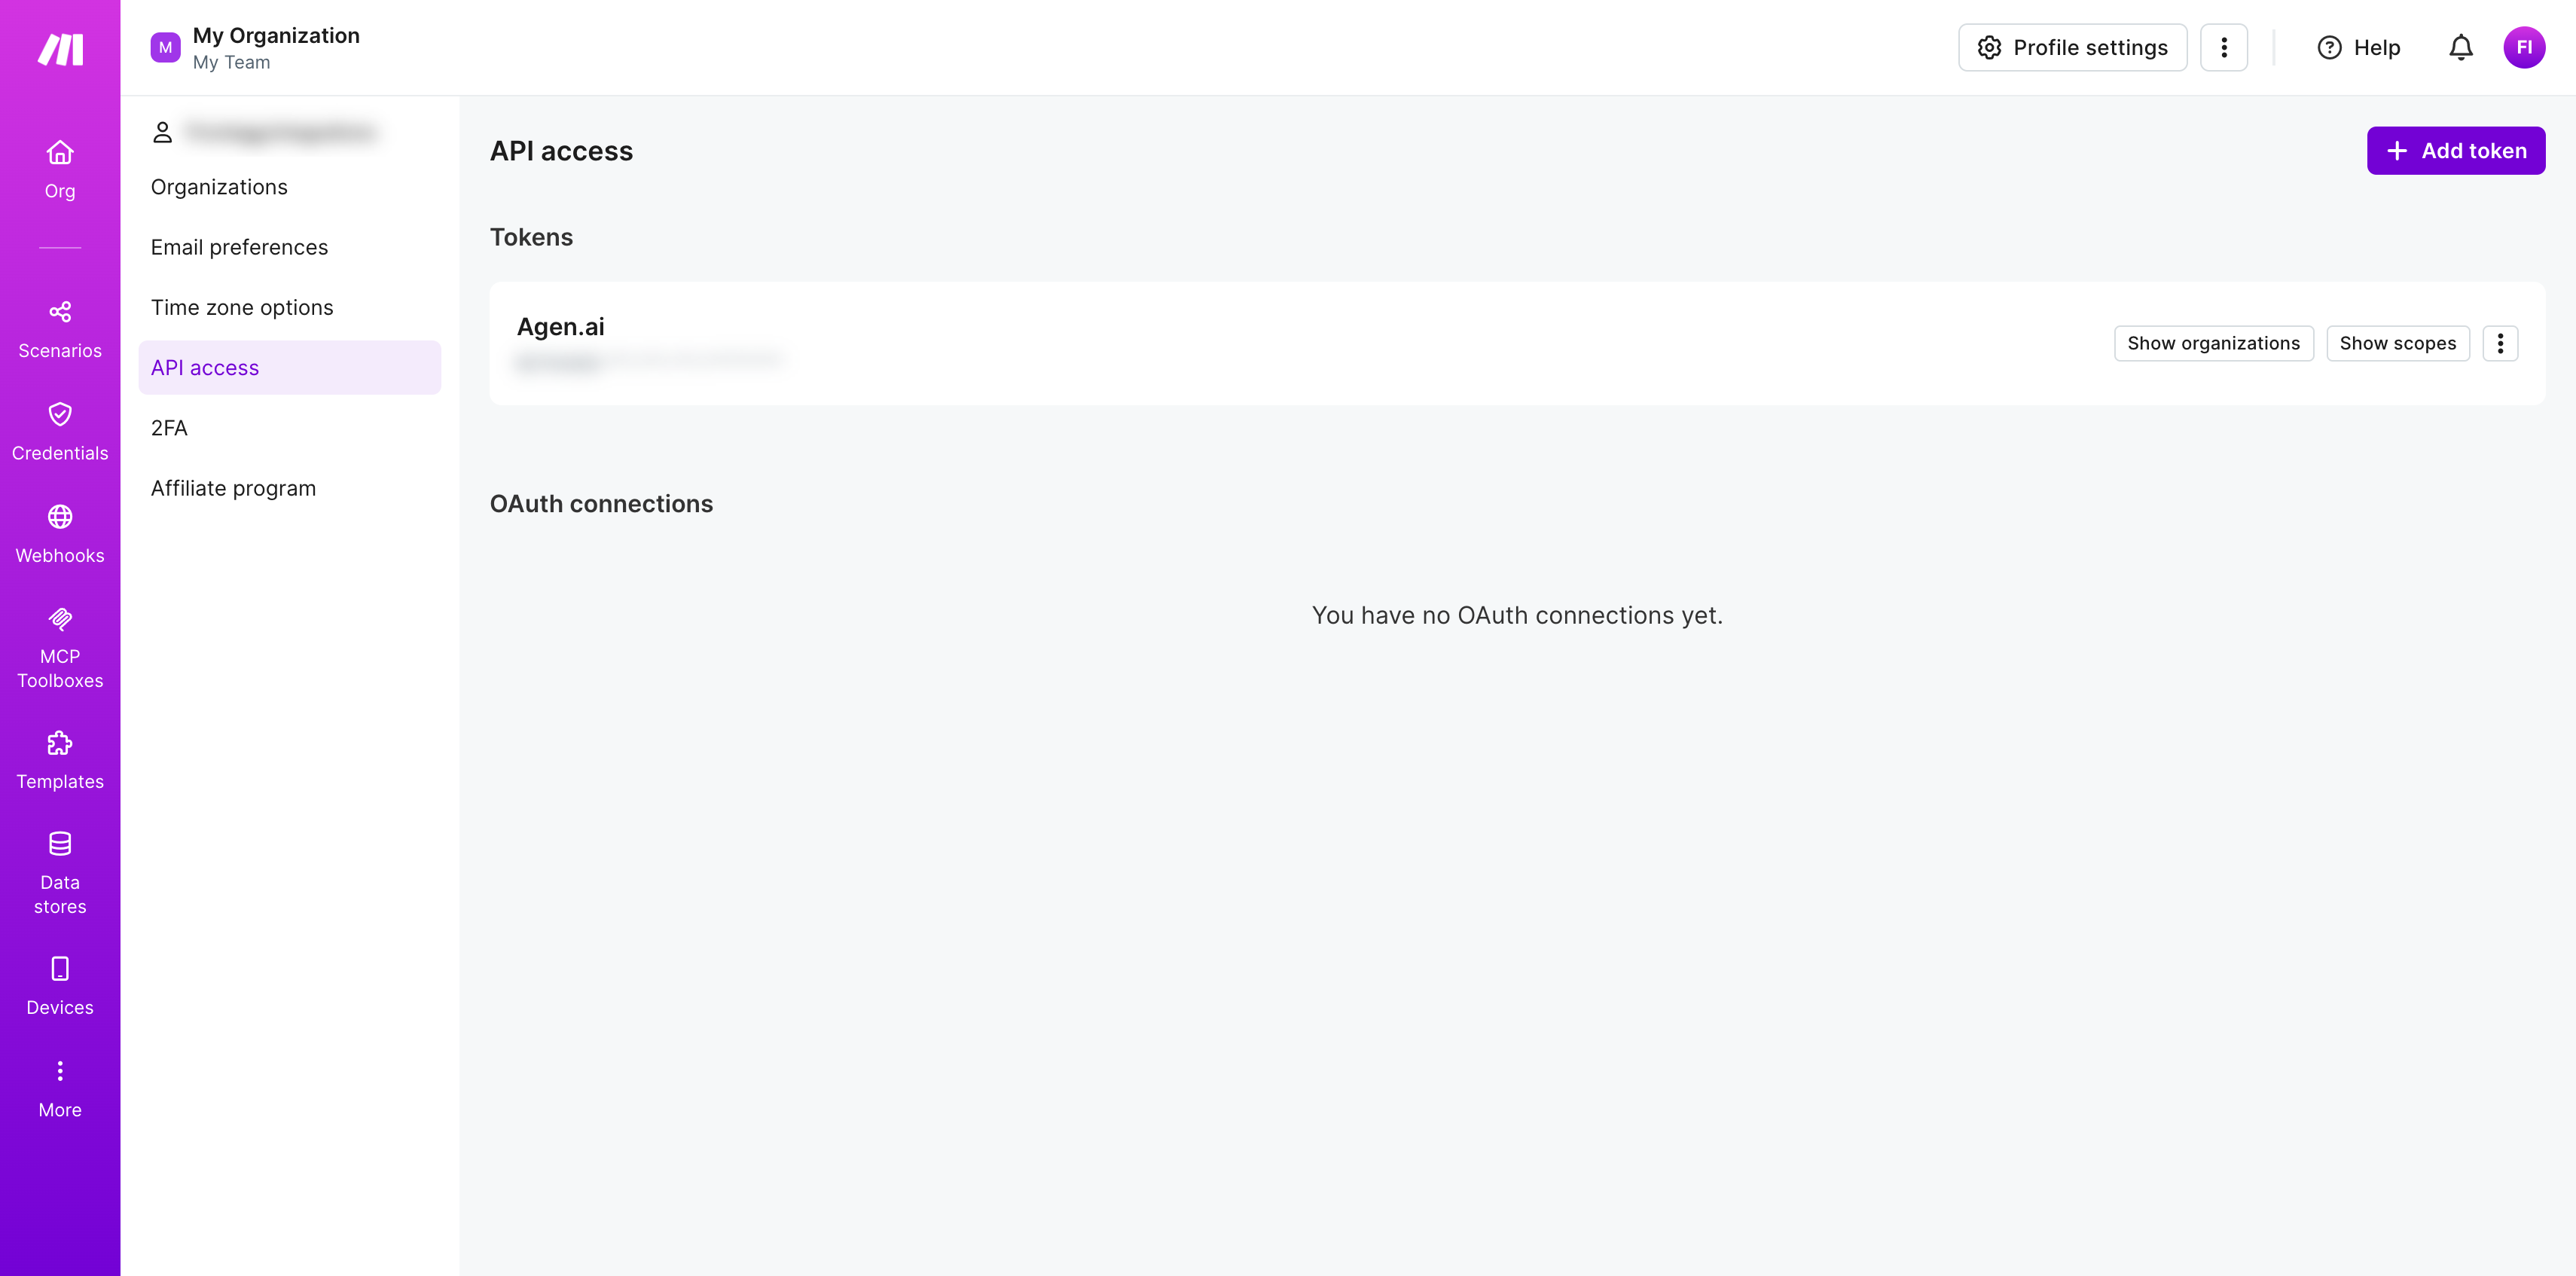
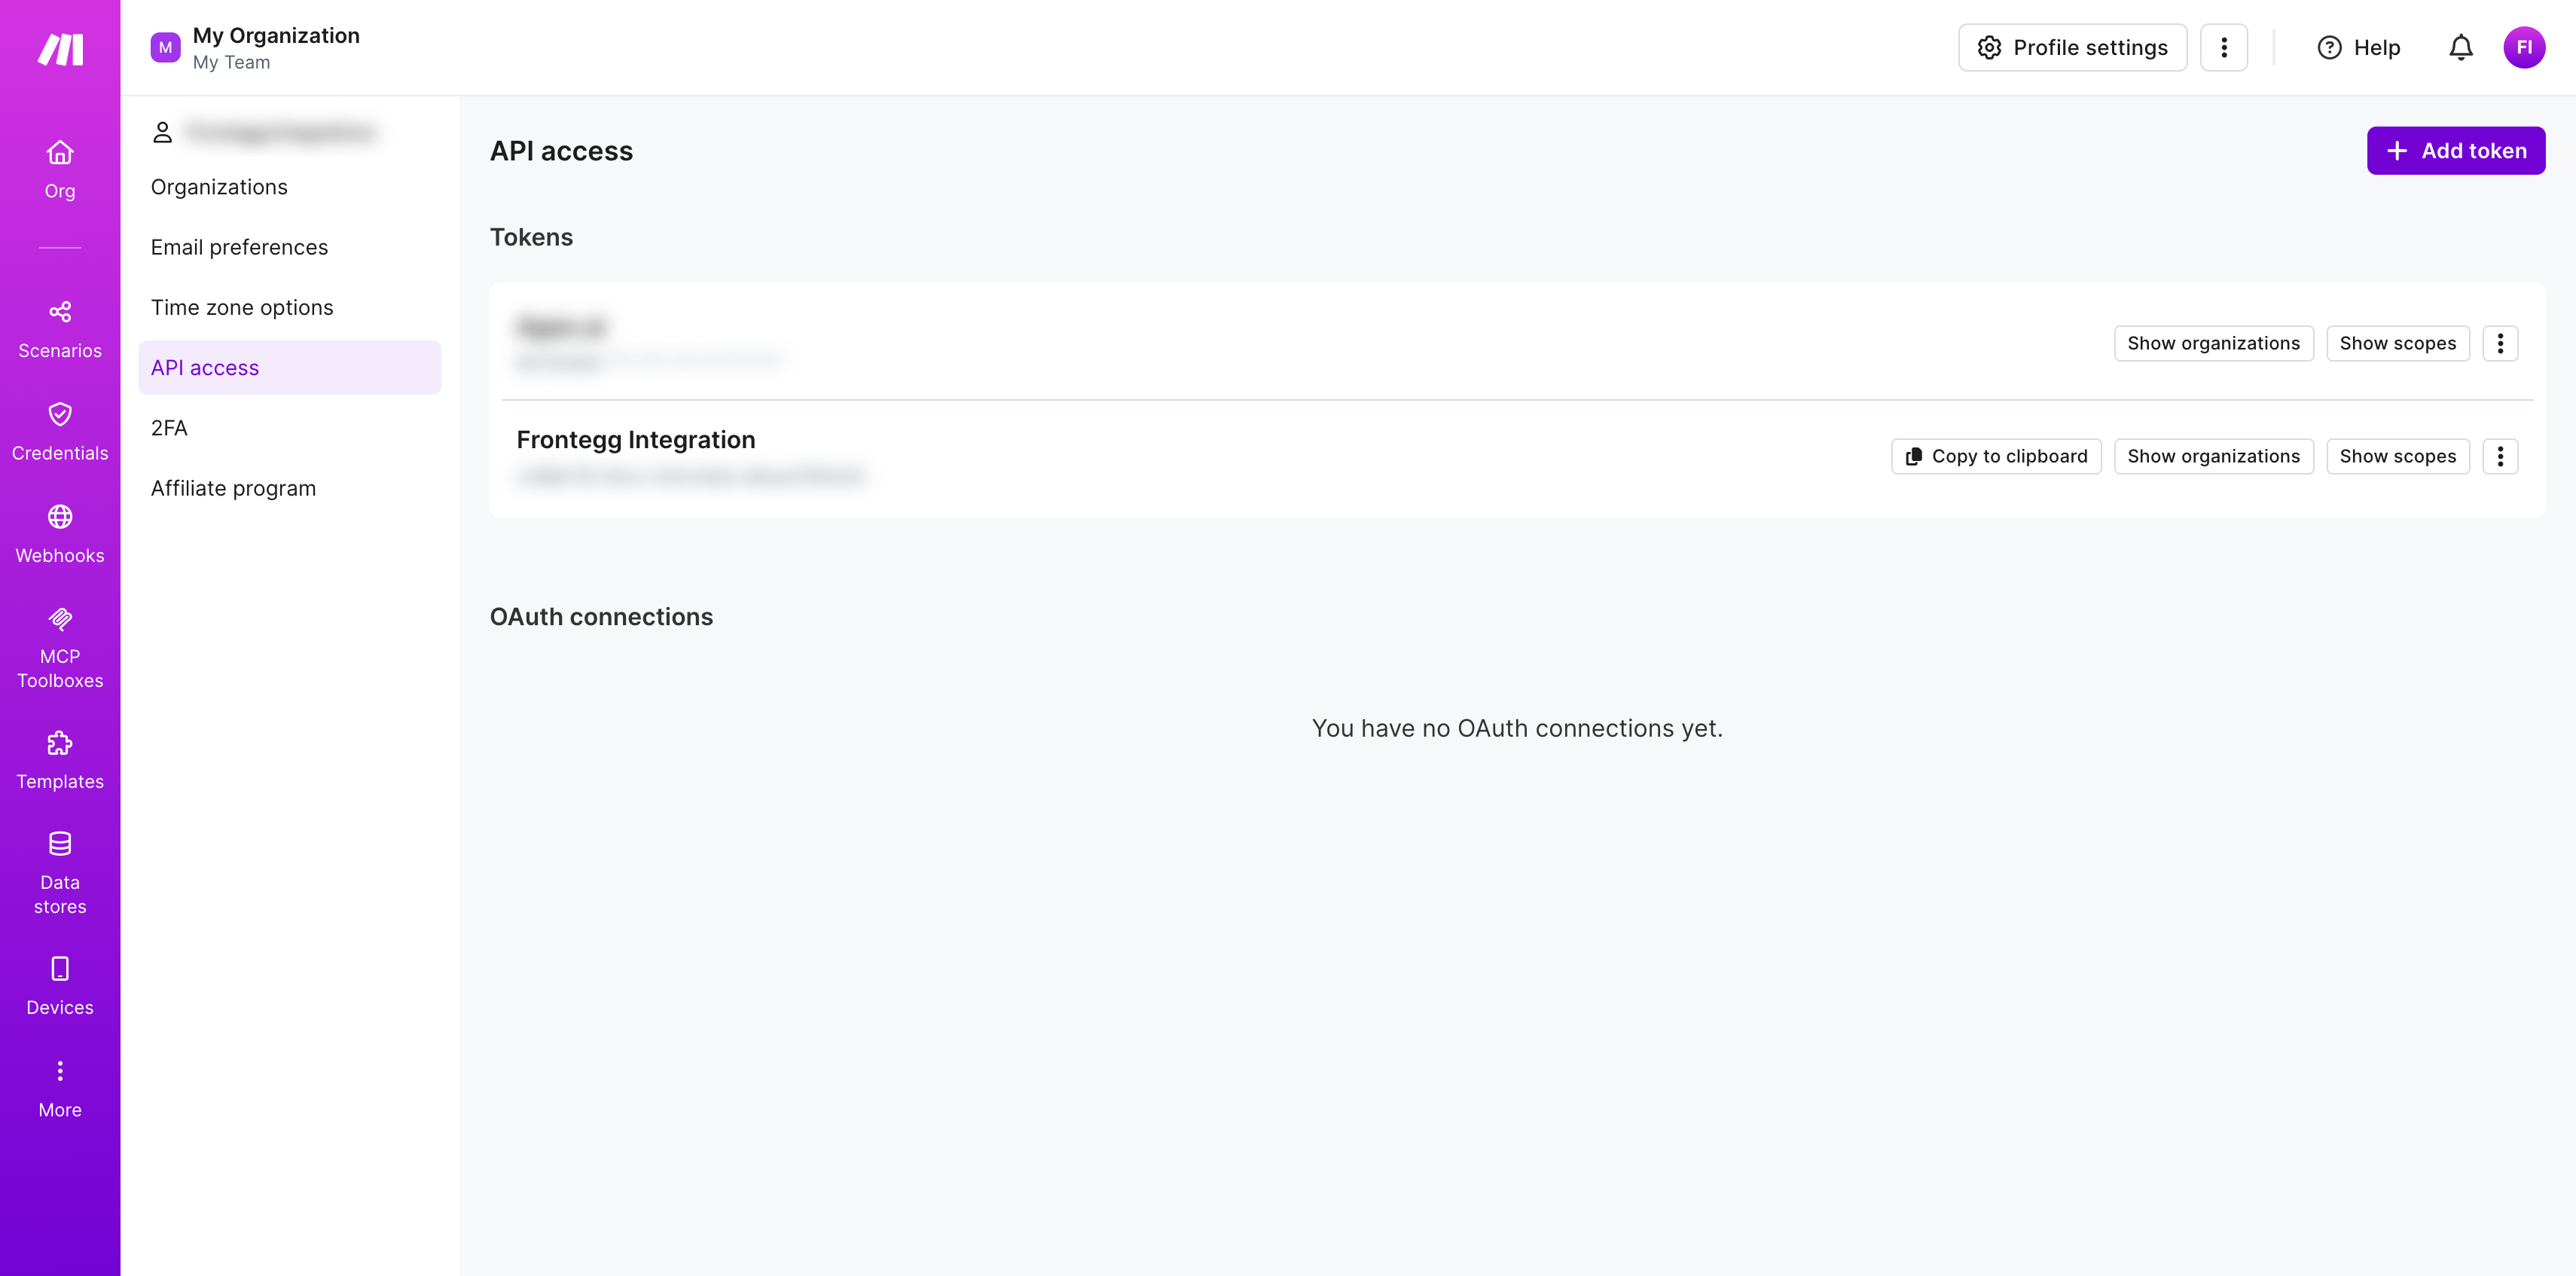
In the left sidebar of your profile settings, click API access. This page lists all your existing API tokens and lets you create new ones.
Click + Add token to create a new token.
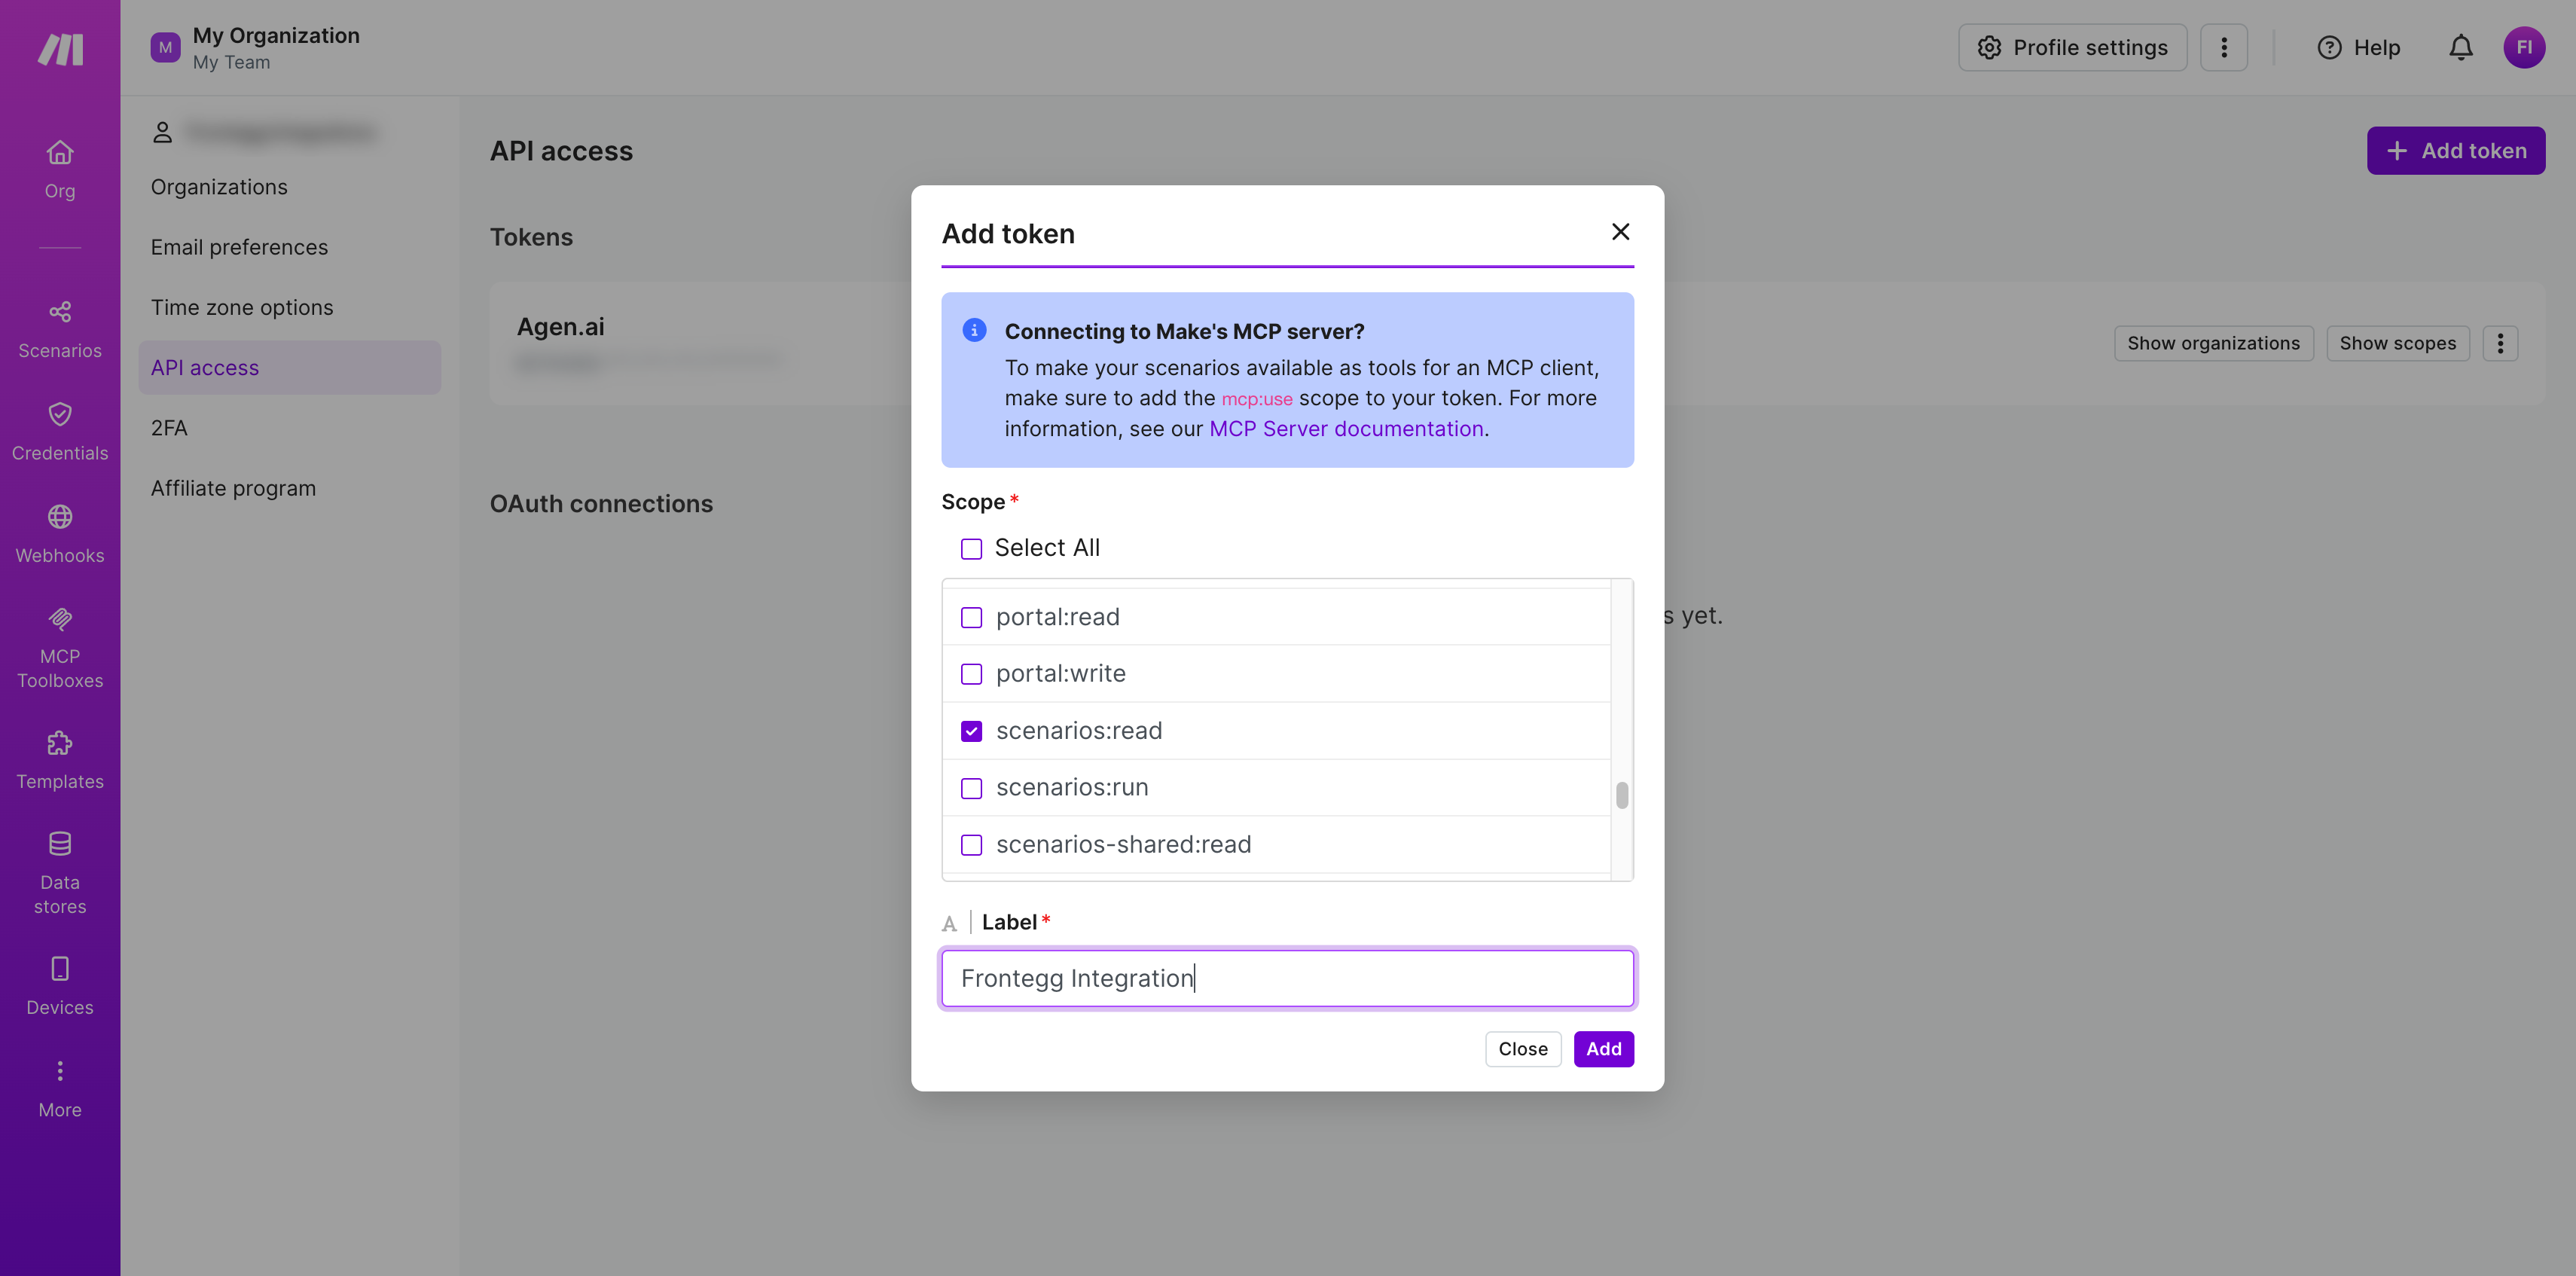
In the Add token dialog, configure the following:
Scope — Select the scopes your integration requires:
| Scope | Description |
|---|---|
scenarios:read | Read access to automation scenarios |
scenarios:write | Write access to automation scenarios |
connections:read | Read access to connections |
Minimum required scopes
Minimum required scopes
For basic automation functionality, you need: scenarios:read and connections:read.
Label — Enter a name for your token, for example Frontegg Integration.
Click Add to create the token.
After clicking Add, Make generates your API token and displays it on the API access page. Copy the token value using the Copy to clipboard button and store it securely.
Save your token now
Save your token now
The full token value is only shown immediately after creation. Once you leave this page, only the masked version is displayed. Store the token value in a secure location before continuing.
Make is hosted across multiple zones, and each account belongs to exactly one. Frontegg needs the full zone URL to route API requests correctly.
After signing in to Make, look at your browser address bar — the host is your zone URL. It is one of:
https://eu1.make.comhttps://eu2.make.comhttps://us1.make.comhttps://us2.make.com
Copy the one that matches your account. You will enter it in the Frontegg portal in the next section.
Once you have obtained your API token and identified your Make zone URL from the steps above, enter them in the integration configuration page of the Frontegg portal:
- Open the Frontegg portal and navigate to [ENVIRONMENT] → Integrations → Make.
- Enter the API Key (the token you copied in Step 6) in the corresponding field.
- Enter your Make zone URL (e.g.
https://eu2.make.com) in the corresponding field. - Click Save.
Keep your token secure
Keep your token secure
Never share or commit your API token to version control.