Webflow is a visual web design and CMS platform that lets teams build and manage professional websites without writing code. Integrating Webflow with Frontegg allows your application to access and manage sites, CMS collections, pages, and webhooks on behalf of your users through OAuth 2.0 authentication.
Prerequisites
Prerequisites
- A Webflow account with workspace admin access
- Access to the Webflow workspace dashboard
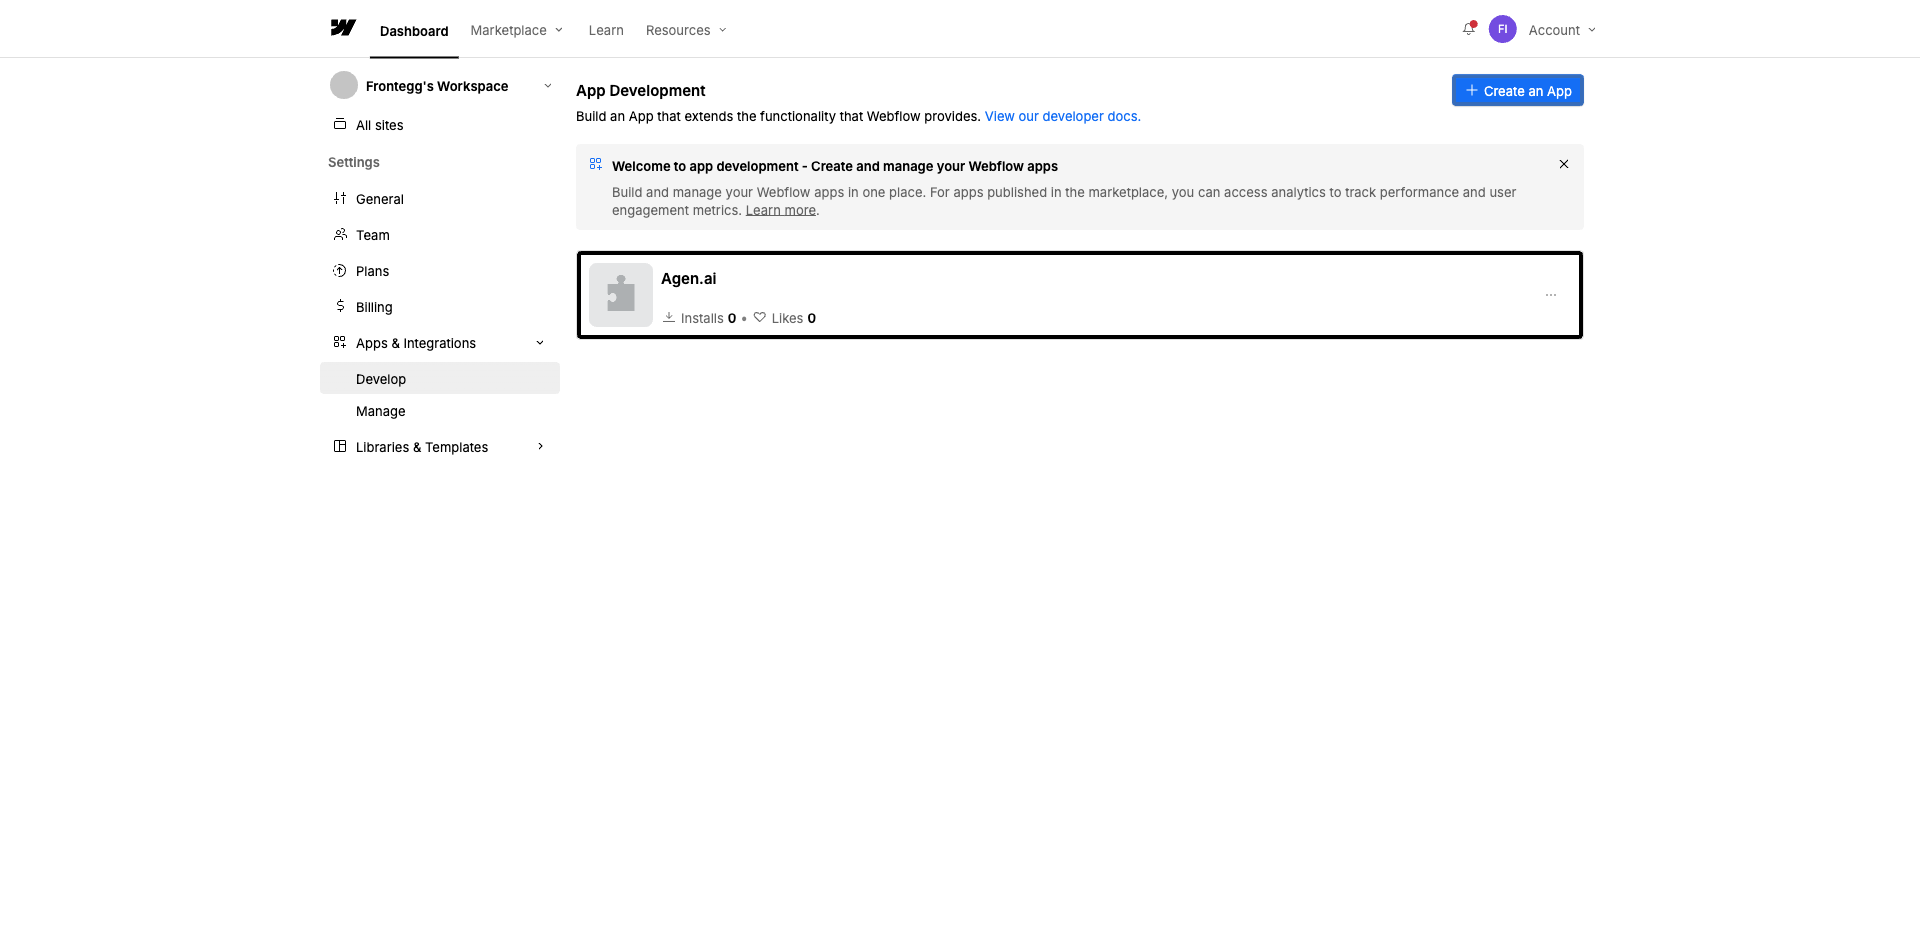
Log in to your Webflow account. In the left sidebar of your workspace dashboard, expand Apps & Integrations and click Develop.
On the App Development page, click the + Create an App button in the top-right corner.
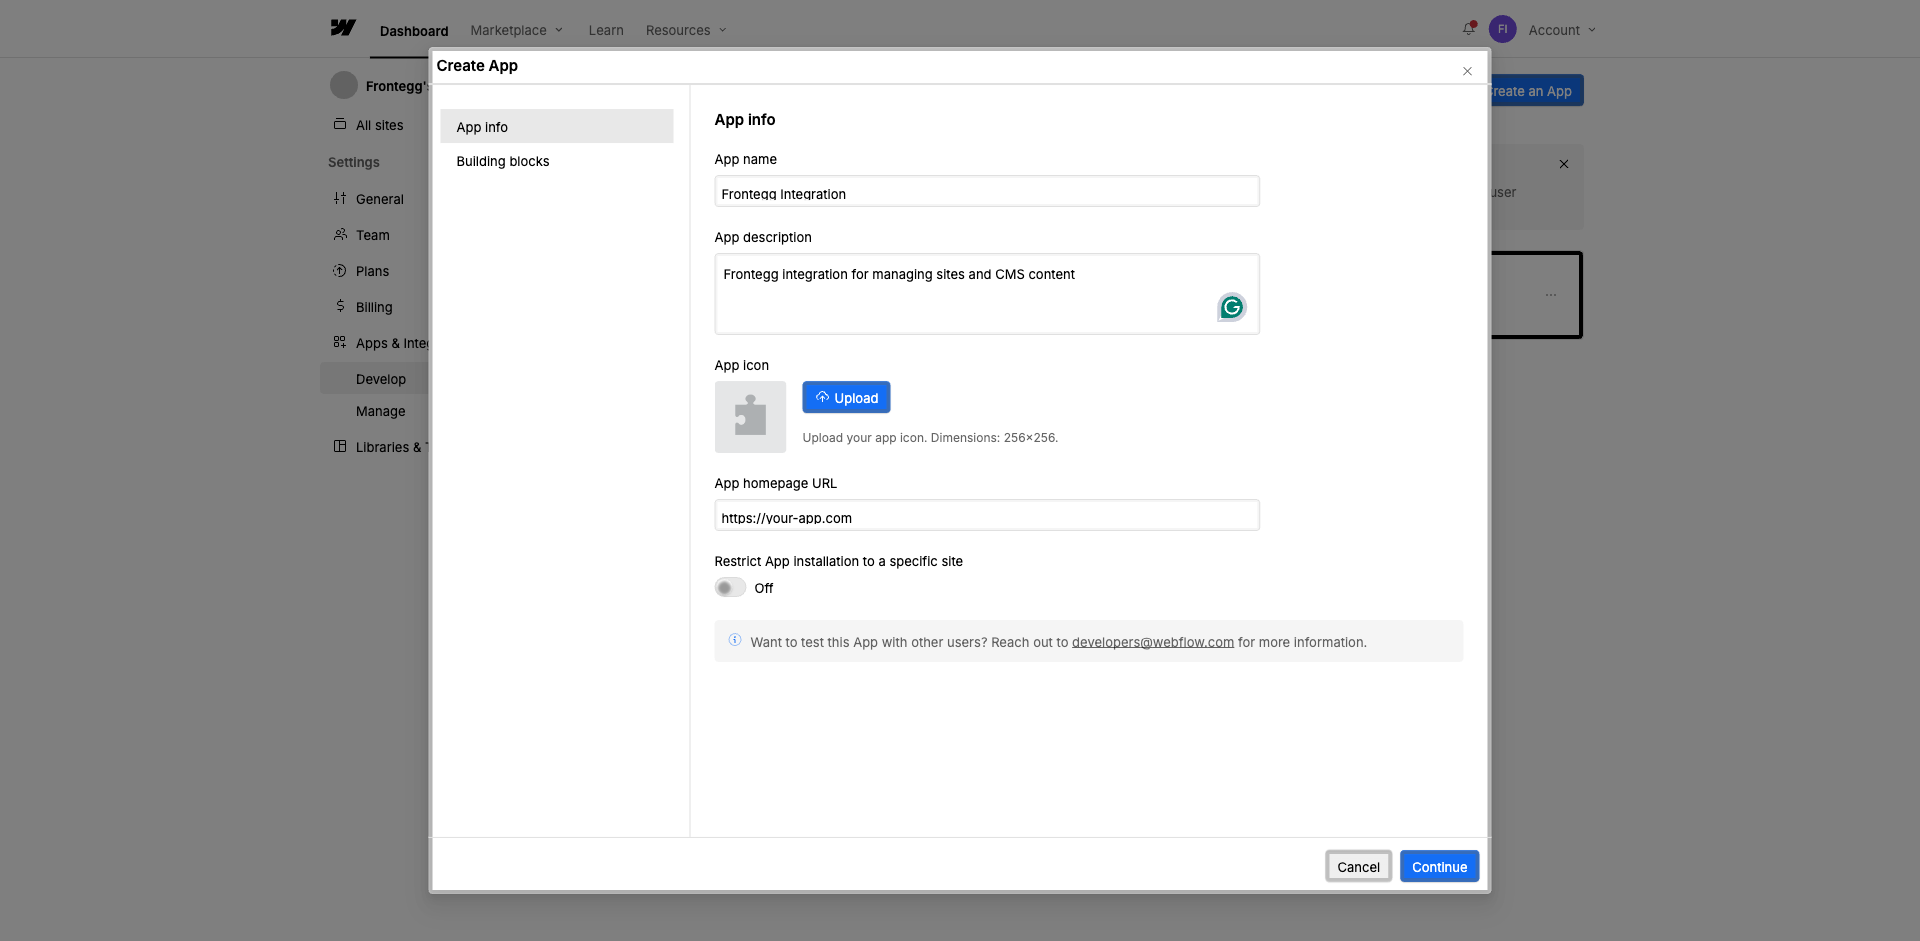
In the Create App dialog, fill in the following fields on the App info tab:
- App name -- Enter a descriptive name (e.g., "Frontegg Integration")
- App description -- Enter a brief description of the integration
- App homepage URL -- Enter your application URL
Click Continue to proceed to the next step.
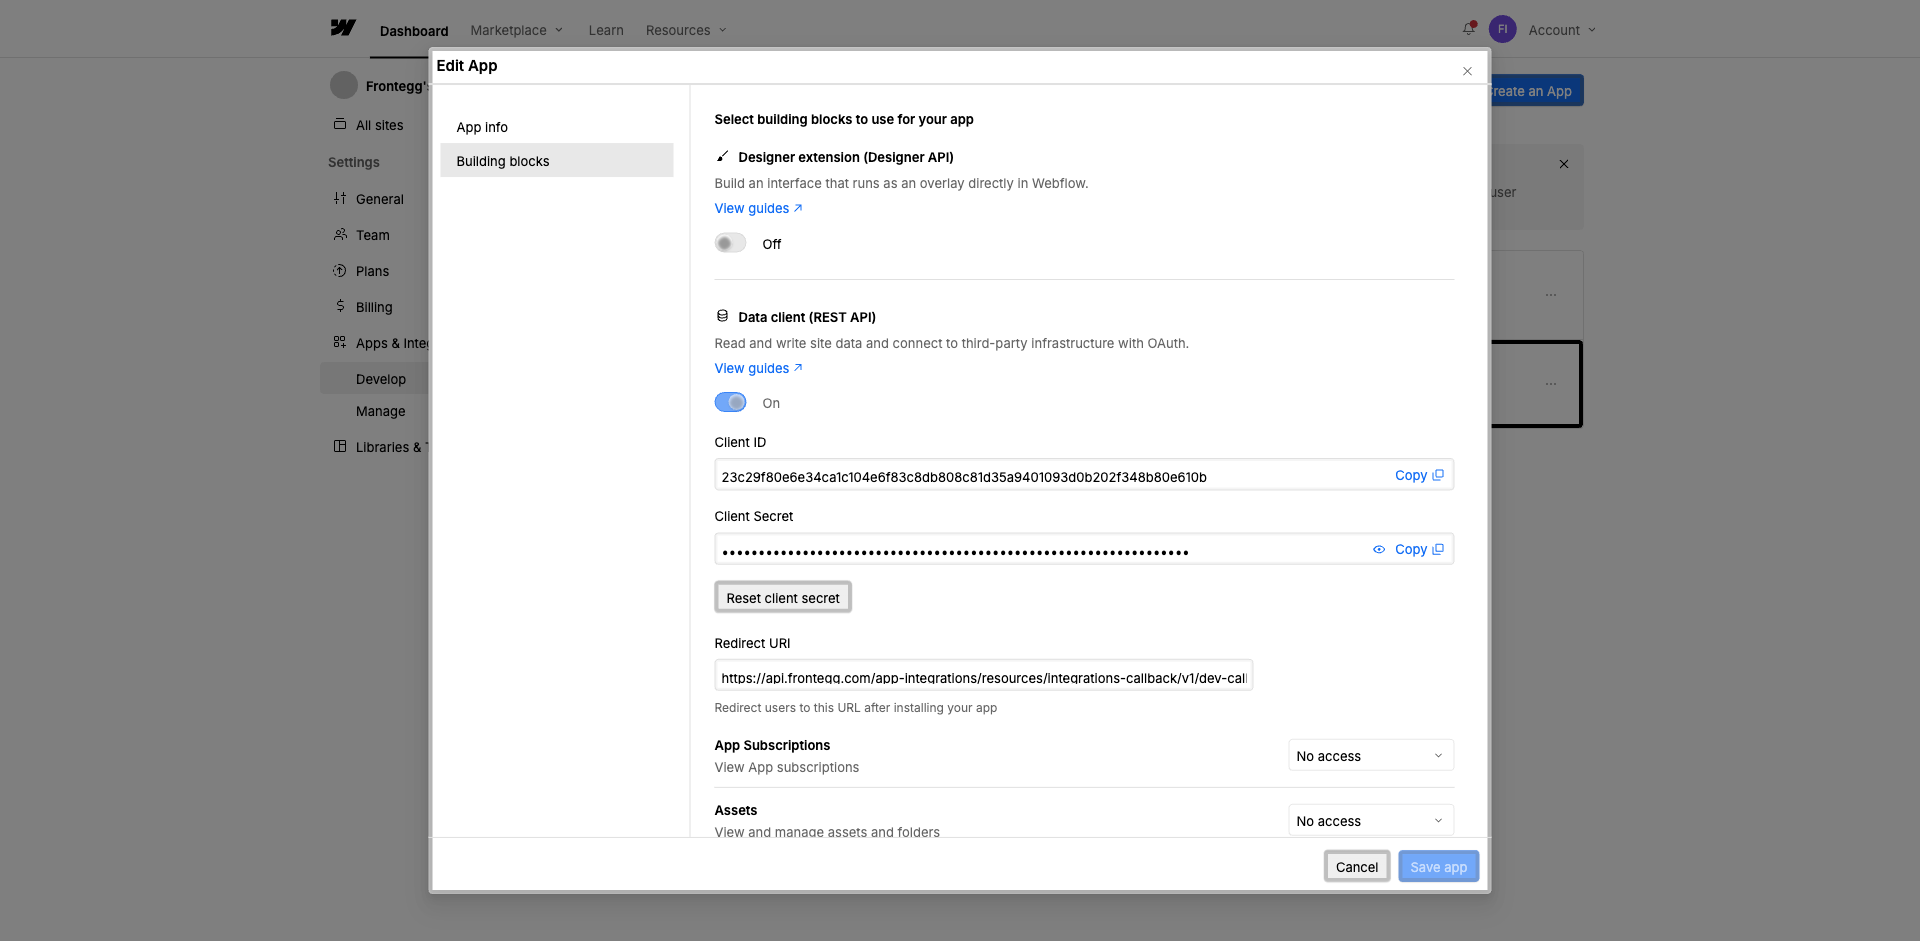
On the Building blocks tab, enable the Data client (REST API) toggle. This enables OAuth-based API access to read and write site data.
After enabling the Data Client, a configuration section appears with the Redirect URI field and scope dropdowns.
Enter the following redirect URI:
https://YOUR_MCP_GATEWAY_URL/integration-callback
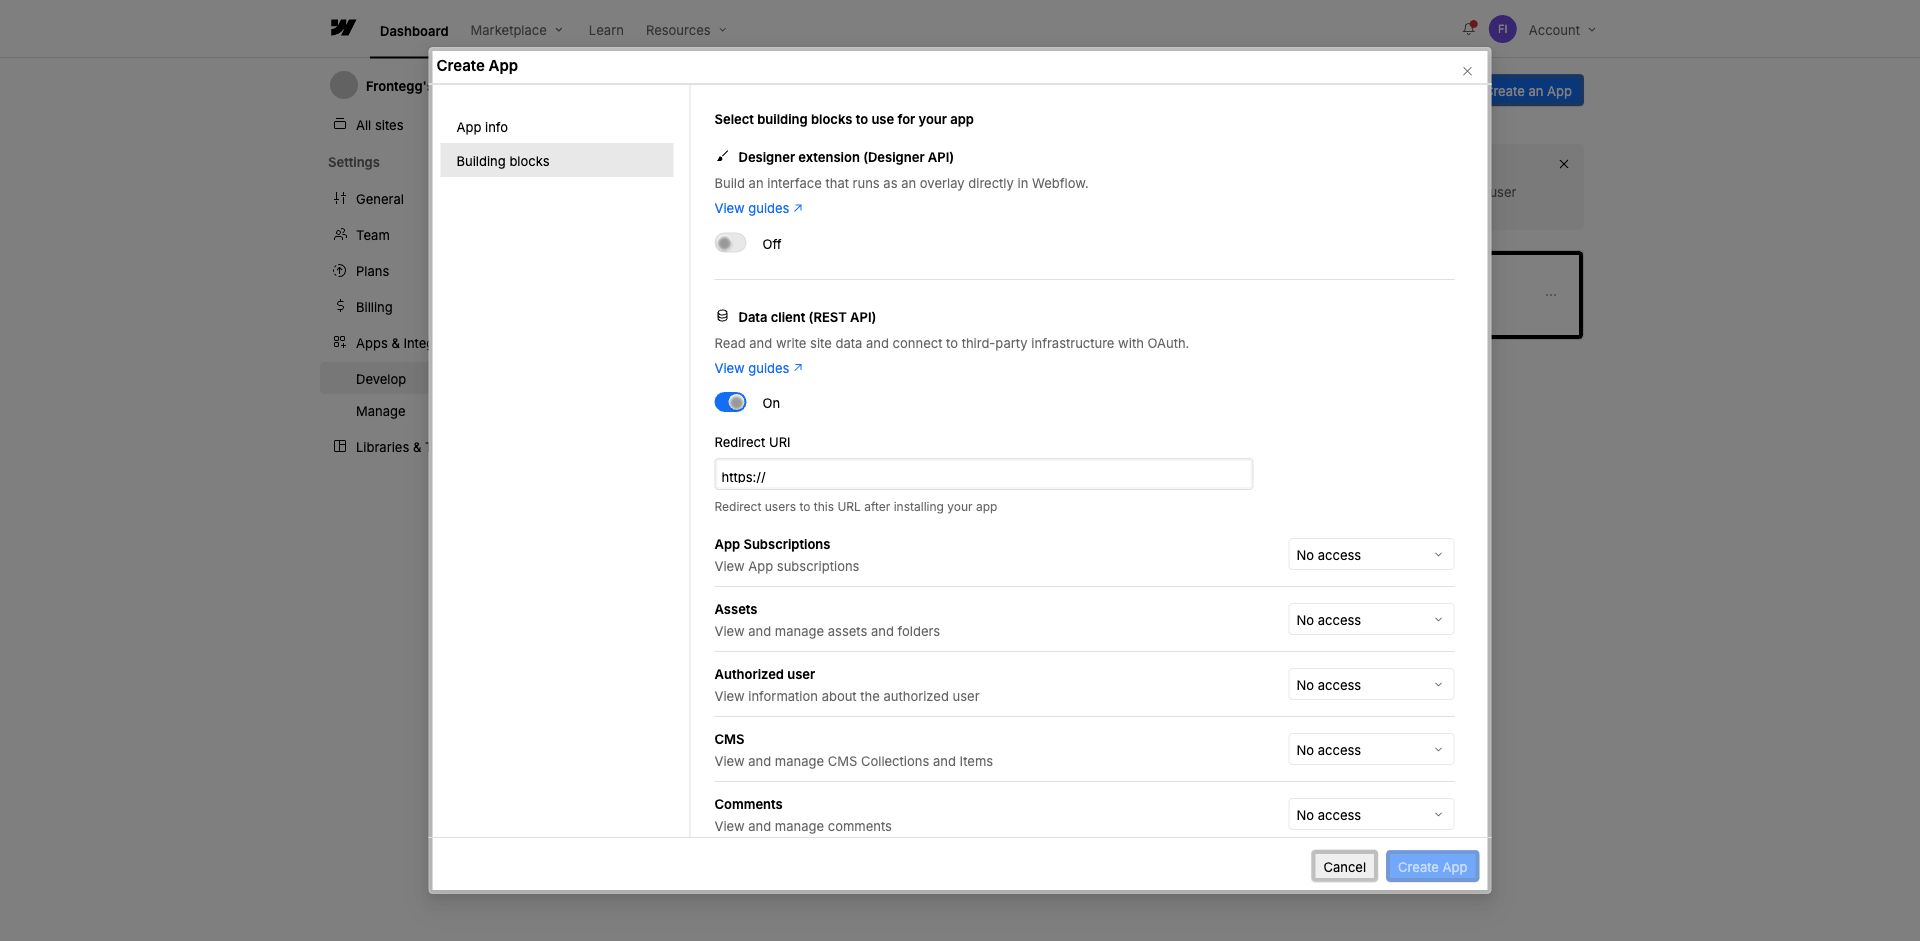
In the scopes section below the Redirect URI, configure the following permissions using the dropdown menus:
| Scope | Access level |
|---|---|
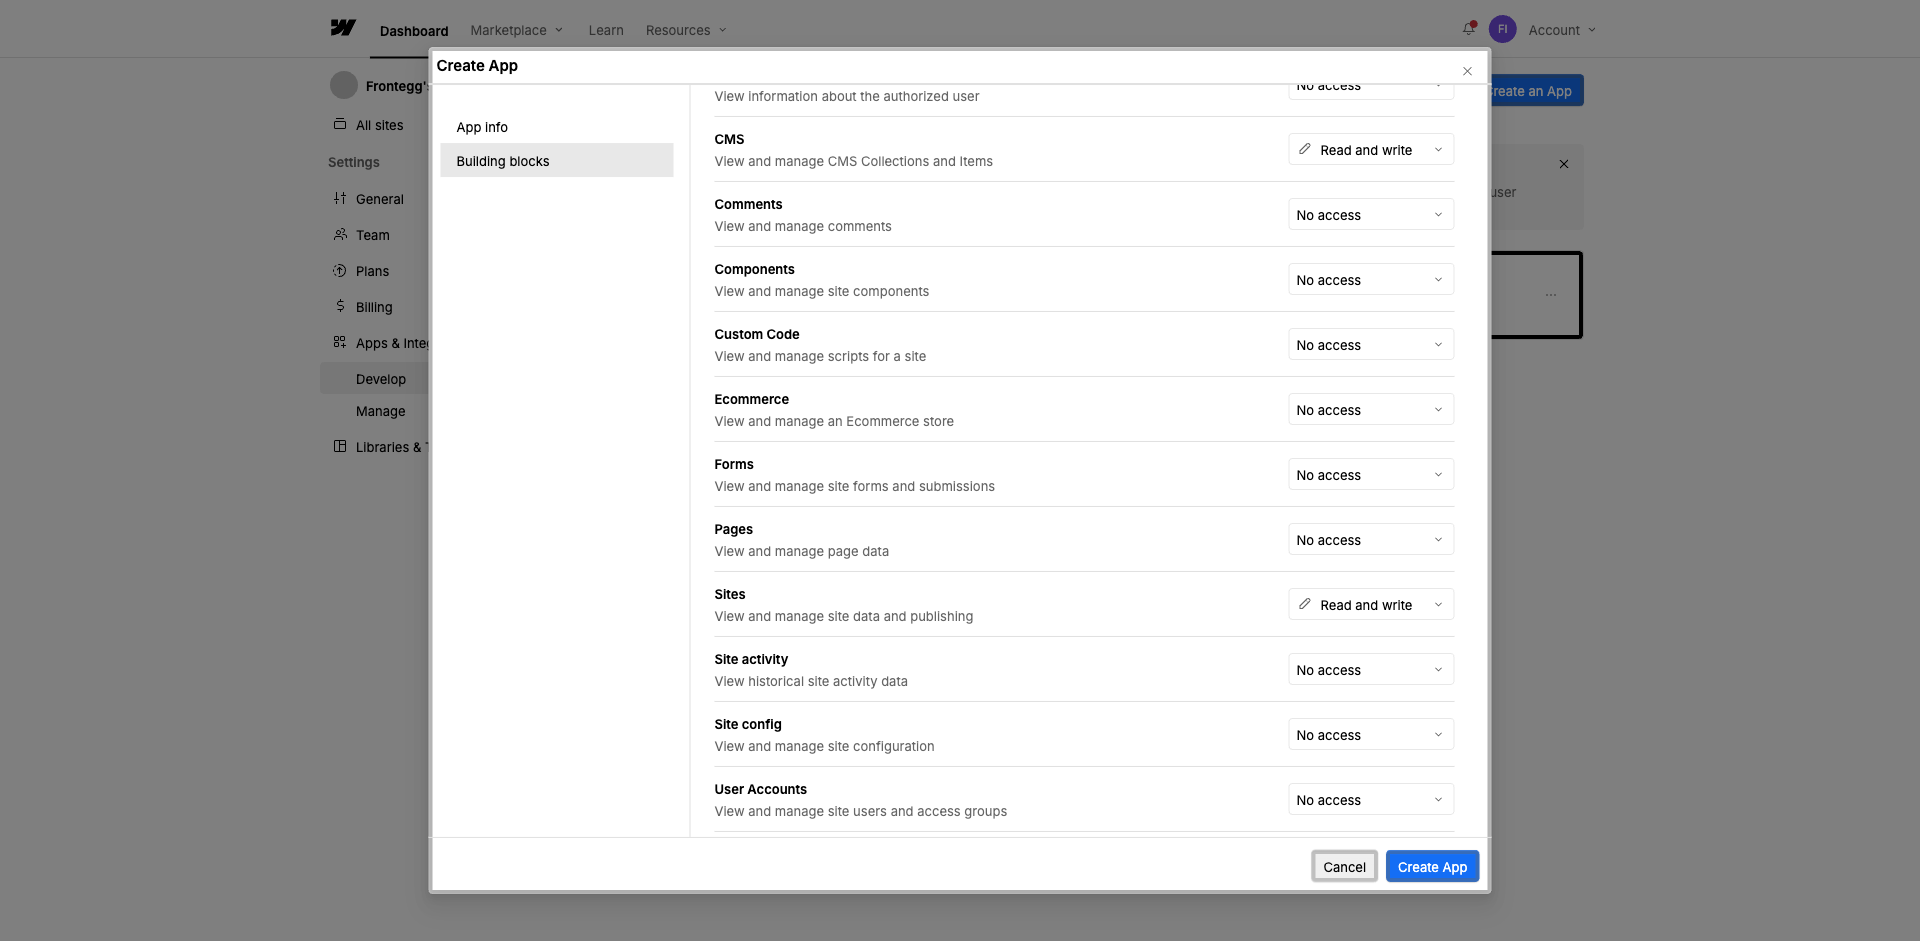
| Sites -- View and manage site data and publishing | Read and write |
| CMS -- View and manage CMS Collections and Items | Read and write |
Set both Sites and CMS to Read and write.
Minimum required scopes
Minimum required scopes
For basic functionality, you need Sites set to at least Read-only and CMS set to at least Read-only. Set both to Read and write for full integration capabilities.
Click Create App to finalize the application.
After creating the application, open the app settings by clicking the three-dot menu (...) next to your app and selecting Edit App. Navigate to the Building blocks tab.
In the Data client (REST API) section, you can find:
- Client ID -- Copy this value
- Client Secret -- Click the eye icon to reveal the secret, then copy it
Keep your credentials secure
Keep your credentials secure
Never share or commit your Client Secret to version control. If the secret is compromised, click Reset client secret to generate a new one.
Once you have obtained your Client ID and Client Secret from the steps above, enter them in the integration configuration page of the Frontegg portal:
- Open the Frontegg portal and navigate to [ENVIRONMENT] → Integrations → Webflow.
- Enter the Client ID and Client Secret in the corresponding fields.
- Select the required scopes.
- Click Save.