SCIM in self-service
If Frontegg's self-service portal is integrated into your application, your users will have access to detailed walkthrough guides for Microsoft Entra (Azure) and Okta.
Prerequisites
Prerequisites
For Frontegg SCIM walkthrough guides ensure your SDK version is updated: @frontegg/react@6.0.36
@frontegg/angular@6.25
@frontegg/vue@3.0.27
@frontegg/nextjs@8.0.18
@frontegg/js@6.189.0
Earlier versions will only display the connection details.
Creating a custom SCIM connection
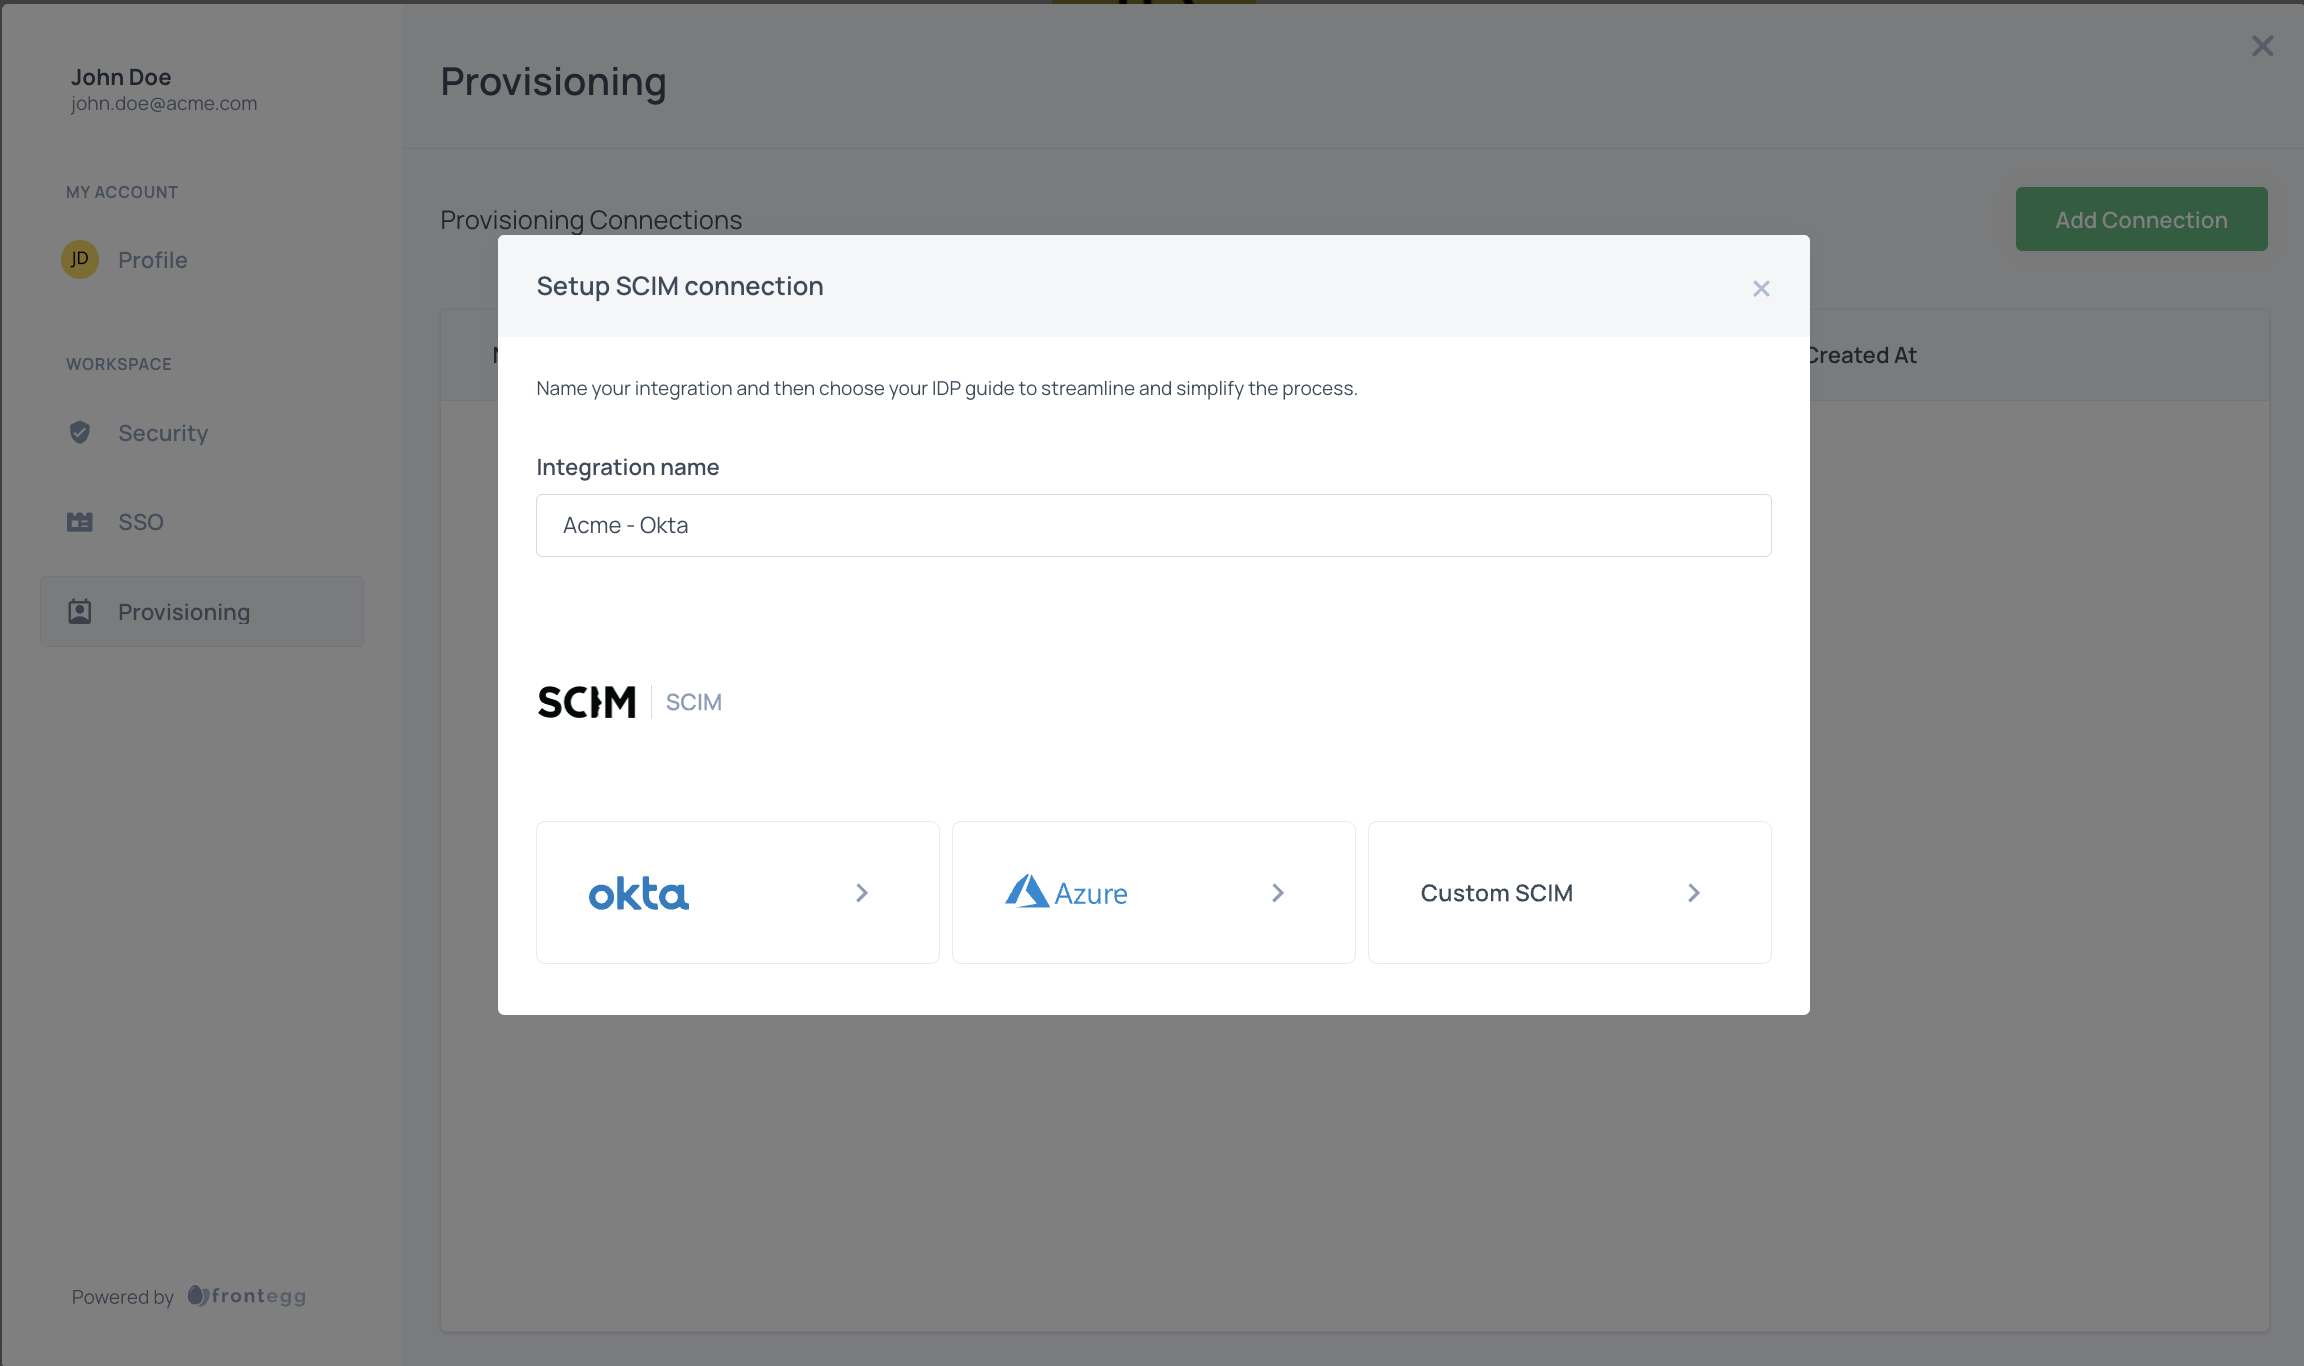
- Open the self-service portal and click "Provisioning"
- Click "Add Connection"
- Enter a connection name, and choose Custom SCIM from the list
- Copy the Authorization token and the Provisioning URL into their Identity provider, SAML application, provisioning section:
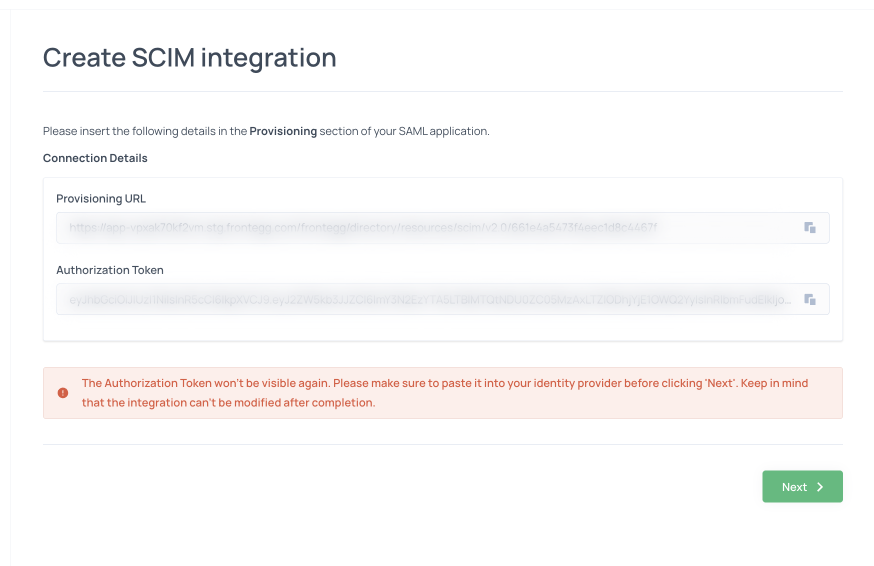
After the connection is saved, your customer will now see that they have a linked SCIM connection and that their account has started importing users from their identity provider.
For details related to provisioned users and groups along with troubleshooting logs, we recommend checking the relevant logs in the monitoring section.
Deleting a SCIM connection
When deleting a SCIM connection from the self-service portal, the option to remove all associated users and groups is selected by default. If this option is unchecked, previously synced users and groups cannot be deleted through self-service. Managing externally provisioned users is a privileged action and can only be performed via the Frontegg management dashboard.

Prerequisites
Prerequisites
Option to delete all associated users and groups is available from following versions: @frontegg/react@7.7.2
@frontegg/angular@7.14.1
@frontegg/vue@4.7.1
@frontegg/nextjs9.2.3
@frontegg/js@7.69.0