What are prehooks?
Frontegg gives you fine-grained control over key user actions—like signups and invites—through prehooks, which let you define dynamic logic before these events complete.
There are two types of prehooks:
API prehooks: Send a REST call to your service and act based on the response.
Custom code prehooks: Run custom logic directly on Frontegg’s side via serverless lambdas.
Use prehooks to decide whether to allow or block specific flows in real time, giving you full control over your user journey.
Prehooks use cases
Prehooks are a powerful tool for various situations where you need to manage your user's journey. Here are some potential scenarios where prehooks can be beneficial:
- User signup control: you can limit user sign-up to users belonging to a specific account (domain). This ensures that only authorized users can create an account:
- Membership invitation limitations: Prehooks can be set to limit the number of new member invitations based on a predetermined number. This can be used if you want to enforce a trial period, for instance. Or when accounts may have run out of user seats as part of their subscription plan:
- Custom claims to JWTs: With prehooks, you can add custom claims to JWTs. This allows you to customize the authentication process to suit your specific needs.
IP-based signup restrictions: If you want to prevent signups from specific IP addresses, prehooks can be used to enforce this restriction. This can be useful for security or regional compliance reasons.
Overriding default flows & organization-based signups: By returning a
tenantIdin authentication prehooks, you can override Frontegg's default flows, giving you more control over the user authentication process. This method is particularly useful for allowing users from the same organization to sign up to existing accounts— this can be done by passing thetenantIdof where you’d like to add the user.
Determining a user flow
Whenever a user opts to perform a specific action, you can set a triggered event prehook, upon which the user will be enrolled in a specific flow, according to the prehook's set logic. In the following schema, you can see that a prehook can determine the user's journey after it is triggered (Continue, Block, Challenge, Lock). More on prehook verdicts in the following section.

Prehook verdicts
When a user is enrolled in a prehook, you can choose which of the four possible verdicts will be enabled for that prehook— challenge, allow, block, lock:
Continue:The user is allowed to proceed with the flow.Block:The user is not compliant with the flow requirements and is not allowed to continue with the flow.Challenge:The user falls within the rules that require a challenge (usually for enhanced security measures).Lock:The user is locked when trying to perform a specific flow/action. This verdict can be used in cases such as locking users after periods of inactivity or if a user enters the wrong password multiple times in a row.
The example below shows a JWT generation prehook:
  {
    "continue": "boolean", // deprecated (use verdict instead)
    "verdict": "allow | block",
    "error": {
      "status": "number",
      "message": "string[]"
    },
    "response": {
      "claims": {
        "tenantId": "string",
        "customClaims": "Record<string, unknown> | null"
      }
    }
  }
Using lambdas in prehooks
Using lambdas in prehooks
We strongly advise to refrain from using Lambdas in Prehooks (unless your Lambdas are "pre-warmed"), Since "cold" Lambdas usually have latency that surpasses the 5 seconds prehook timeout. If your business case requires the use of Lambdas, please contact us to find the best solution.
Fail methodology
In case the call for the hook's endpoint fails (response 500+ or request timeout, set to 5 seconds), you can choose which would be your 'fail' methodology:
- Fail open: if the call failed or timed out, the operation will continue.
- Fail close: if the call failed or timed out, the operation will stop.
You can also customize the timeout setting of your prehook if it needs to allow longer operations.
Prehook event list
The following list shows all available events that can be associated with prehooks:
| Event | Event key | When do we send it? |
|---|---|---|
| User signup | USER_SIGNUP | upon local / social / SSO sign ups |
| User invite | USER_INVITE | upon every user invite |
| User update | USER_UPDATE | upon every user update |
| User delete | DELETE_TENANT | when an account (tenant) is being deleted |
| Delete Account (tenant) | USER_DELETE | when user is removed from tenant/completely deleted |
| JWT Generation | JWT_GENERATION | upon every JWT generation |
| Social login exchange | SOCIAL_LOGIN_AUTH | upon each social login token exchange |
| OpenID connect authentication | OIDC_AUTH | upon each OIDC authentication exchange |
| SAML authentication | SAML_AUTH | upon each SAML authentication exchange |
| Send SMS | SEND_SMS | upon each attempt to send an SMS through login / MFA / reset password flow |
Each SMS template has a numeric type (detailed below), which is sent in the payload of prehook.
- 0 - MFA template - Your login code is:
{{code}}. Do not share it with anyone. - 1 - Sign-in with SMS template - Your login code is:
{{code}}. Do not share it with anyone. - 2 - Phone verification template - Your verification code is:
{{code}}. Do not share it with anyone. - 3 - Reset password with SMS template - Your password reset code is: {{code}}. Do not share it with anyone.
Logs and monitoring
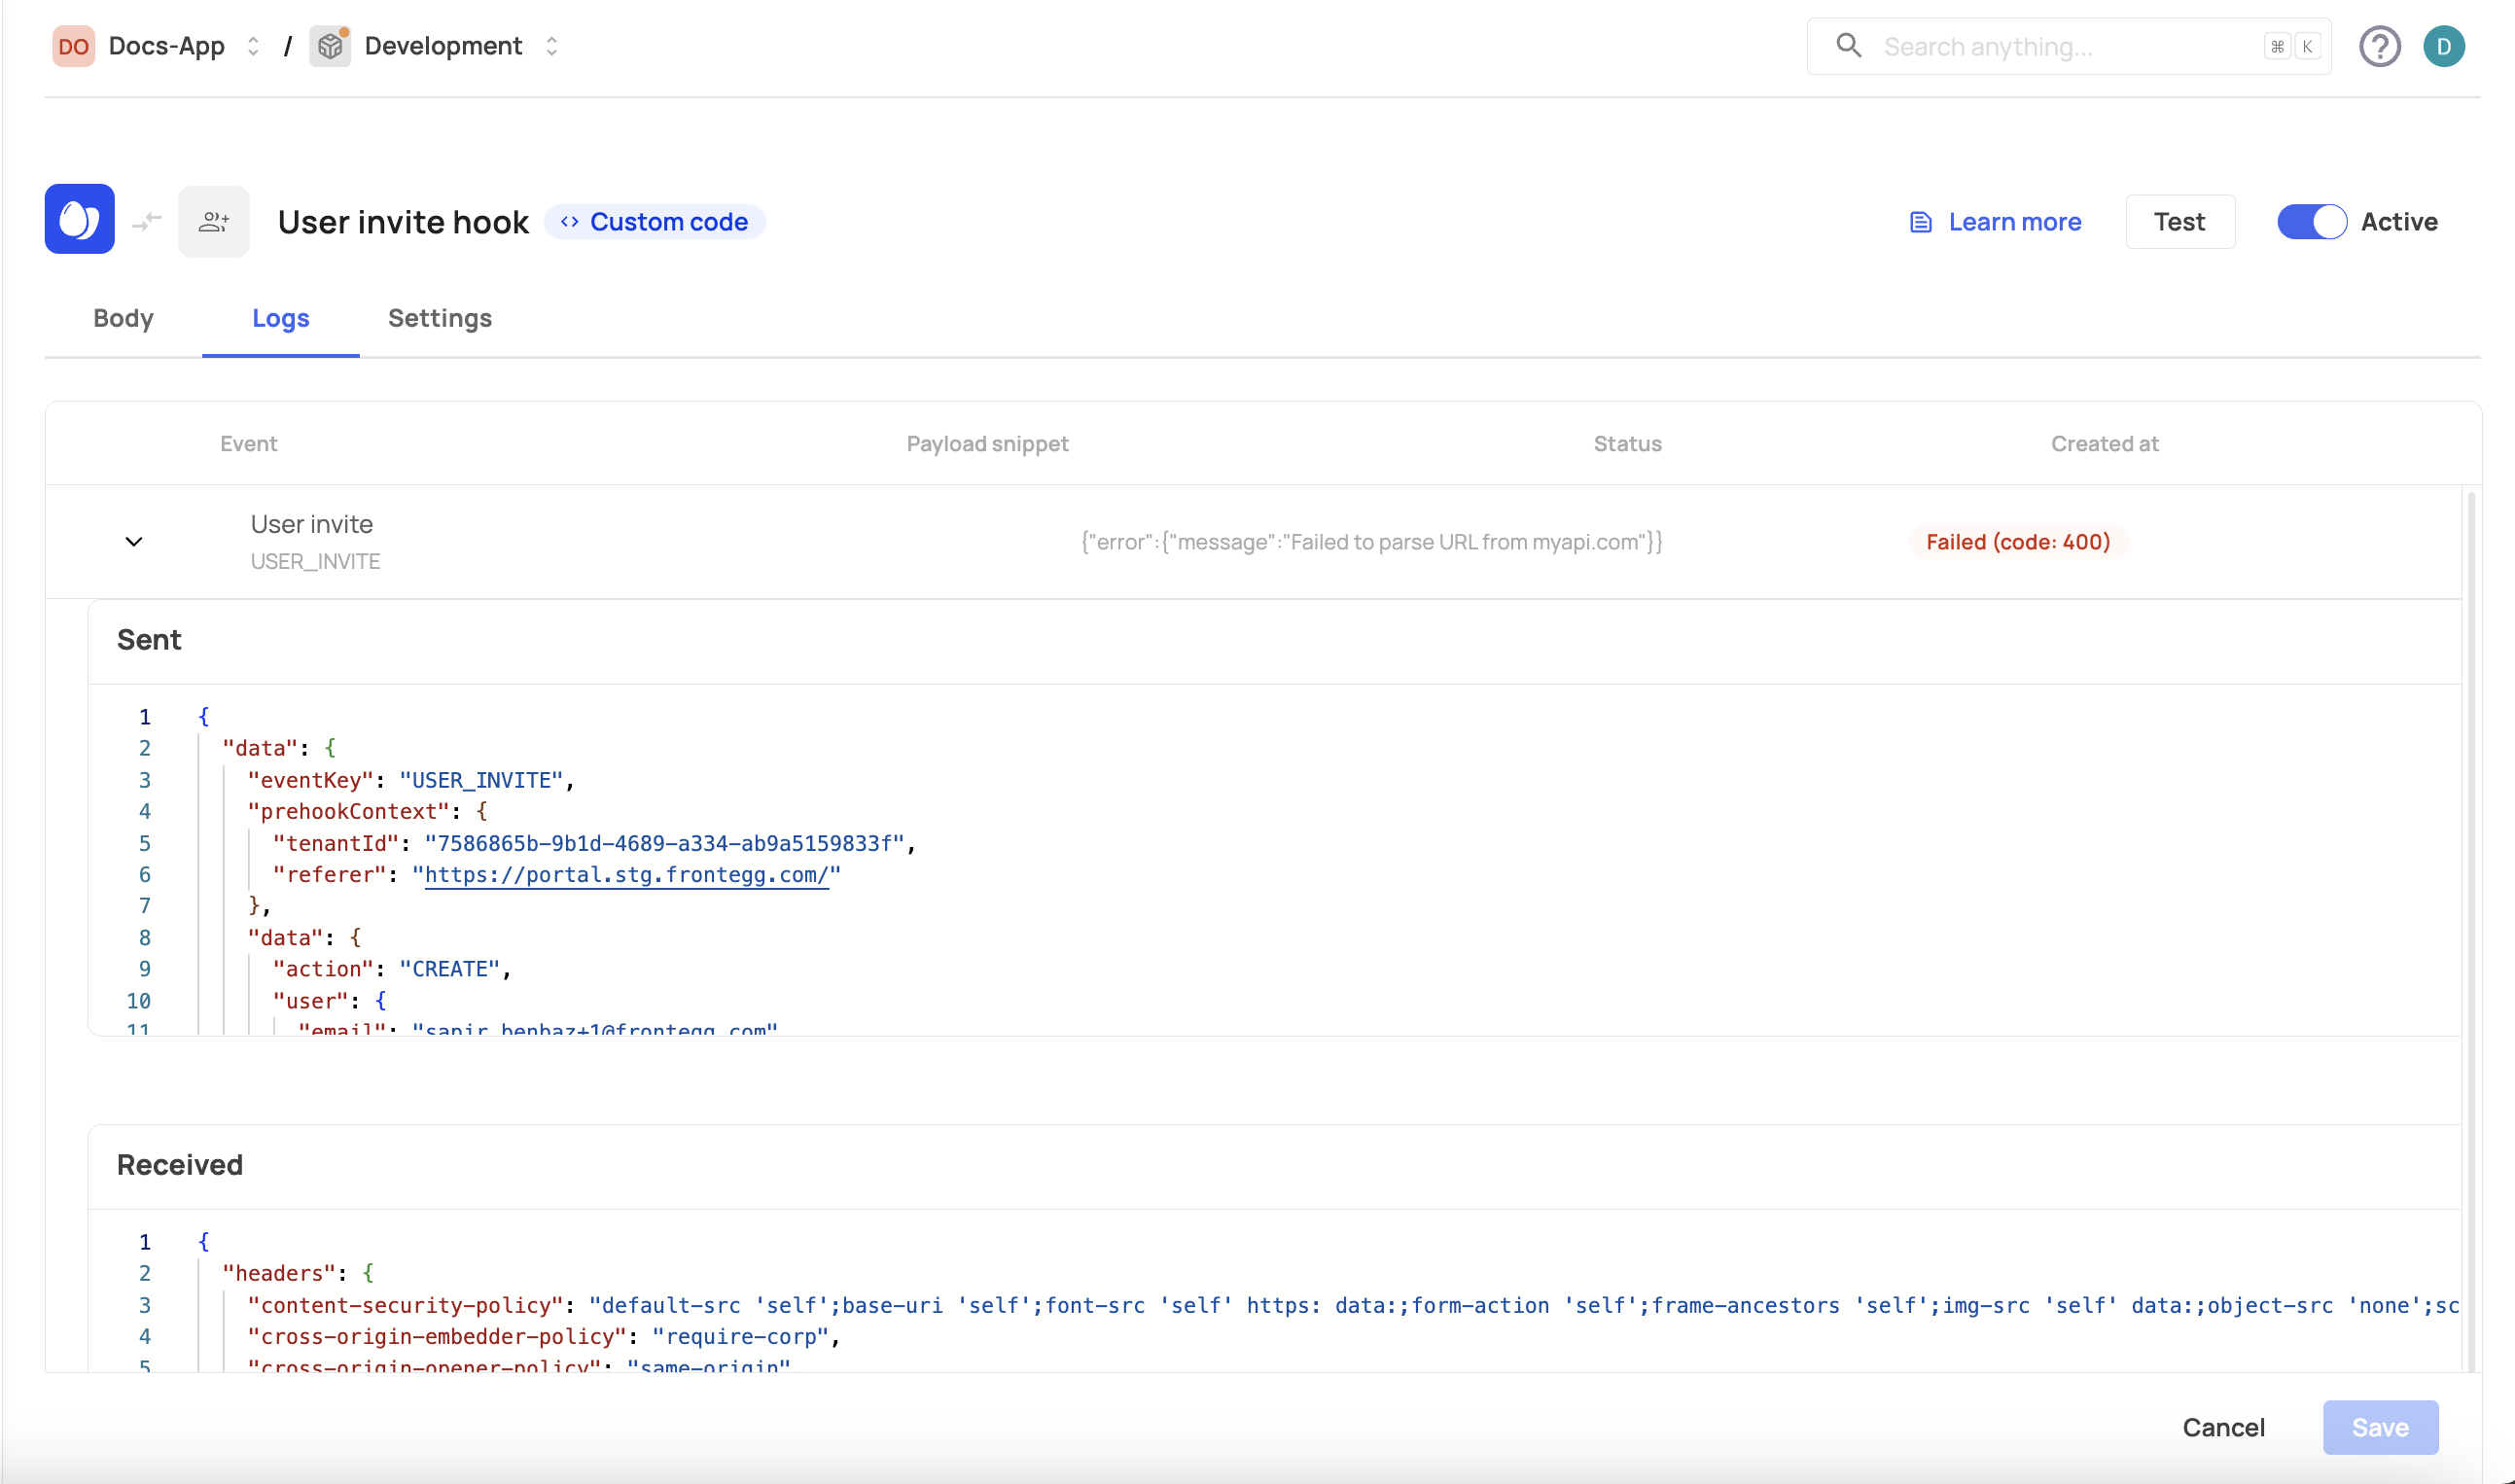
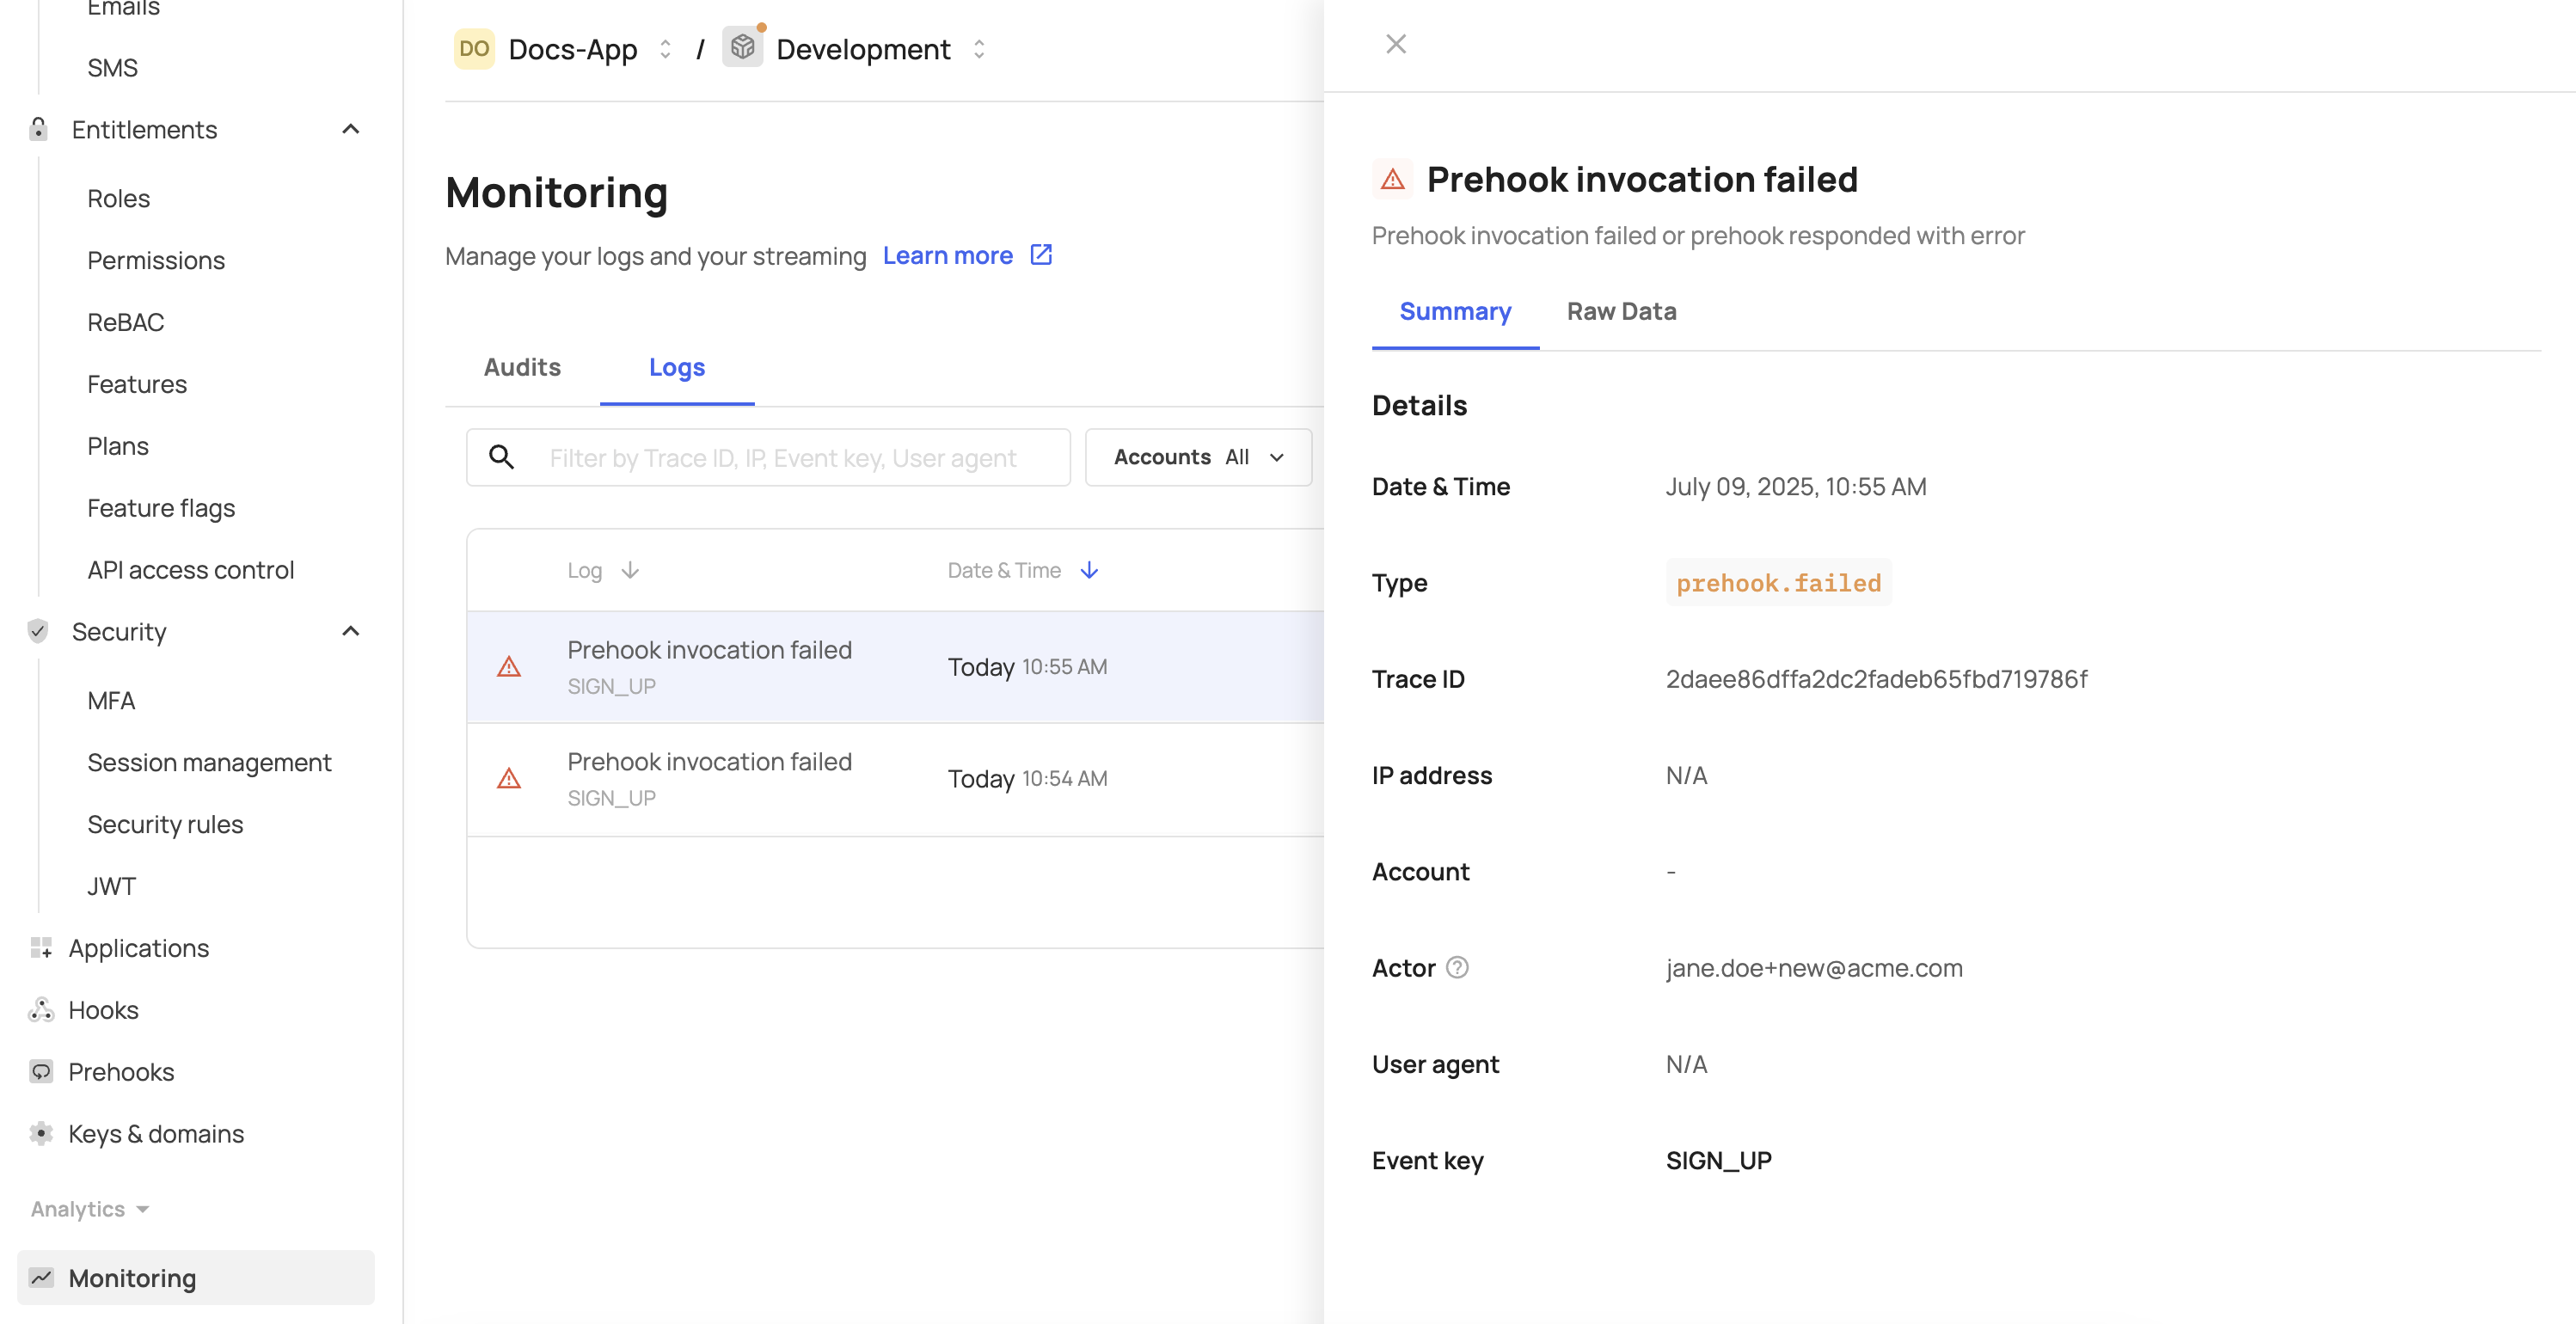
Prehooks can be monitored via the [ENVIRONMENT] → Monitoring → Logs tab or via the Logs tab inside each prehook page. You can see the verdict that was determined per flow and whether the prehook was successful or not.

