Custom domain setup
By default, every Frontegg environment is created with a Frontegg domain ending in .frontegg.com. While this domain is functional, it may lead to unwanted cookie issues caused by third-party cookie blocking and result in a domain that doesn’t align with your brand identity.
Limitations
Limitations
Note that you can configure one custom domain per environment, and up to two domains in total. If you need to configure additional custom domains, contact us. Note that custom domains for each environment are configured separately.
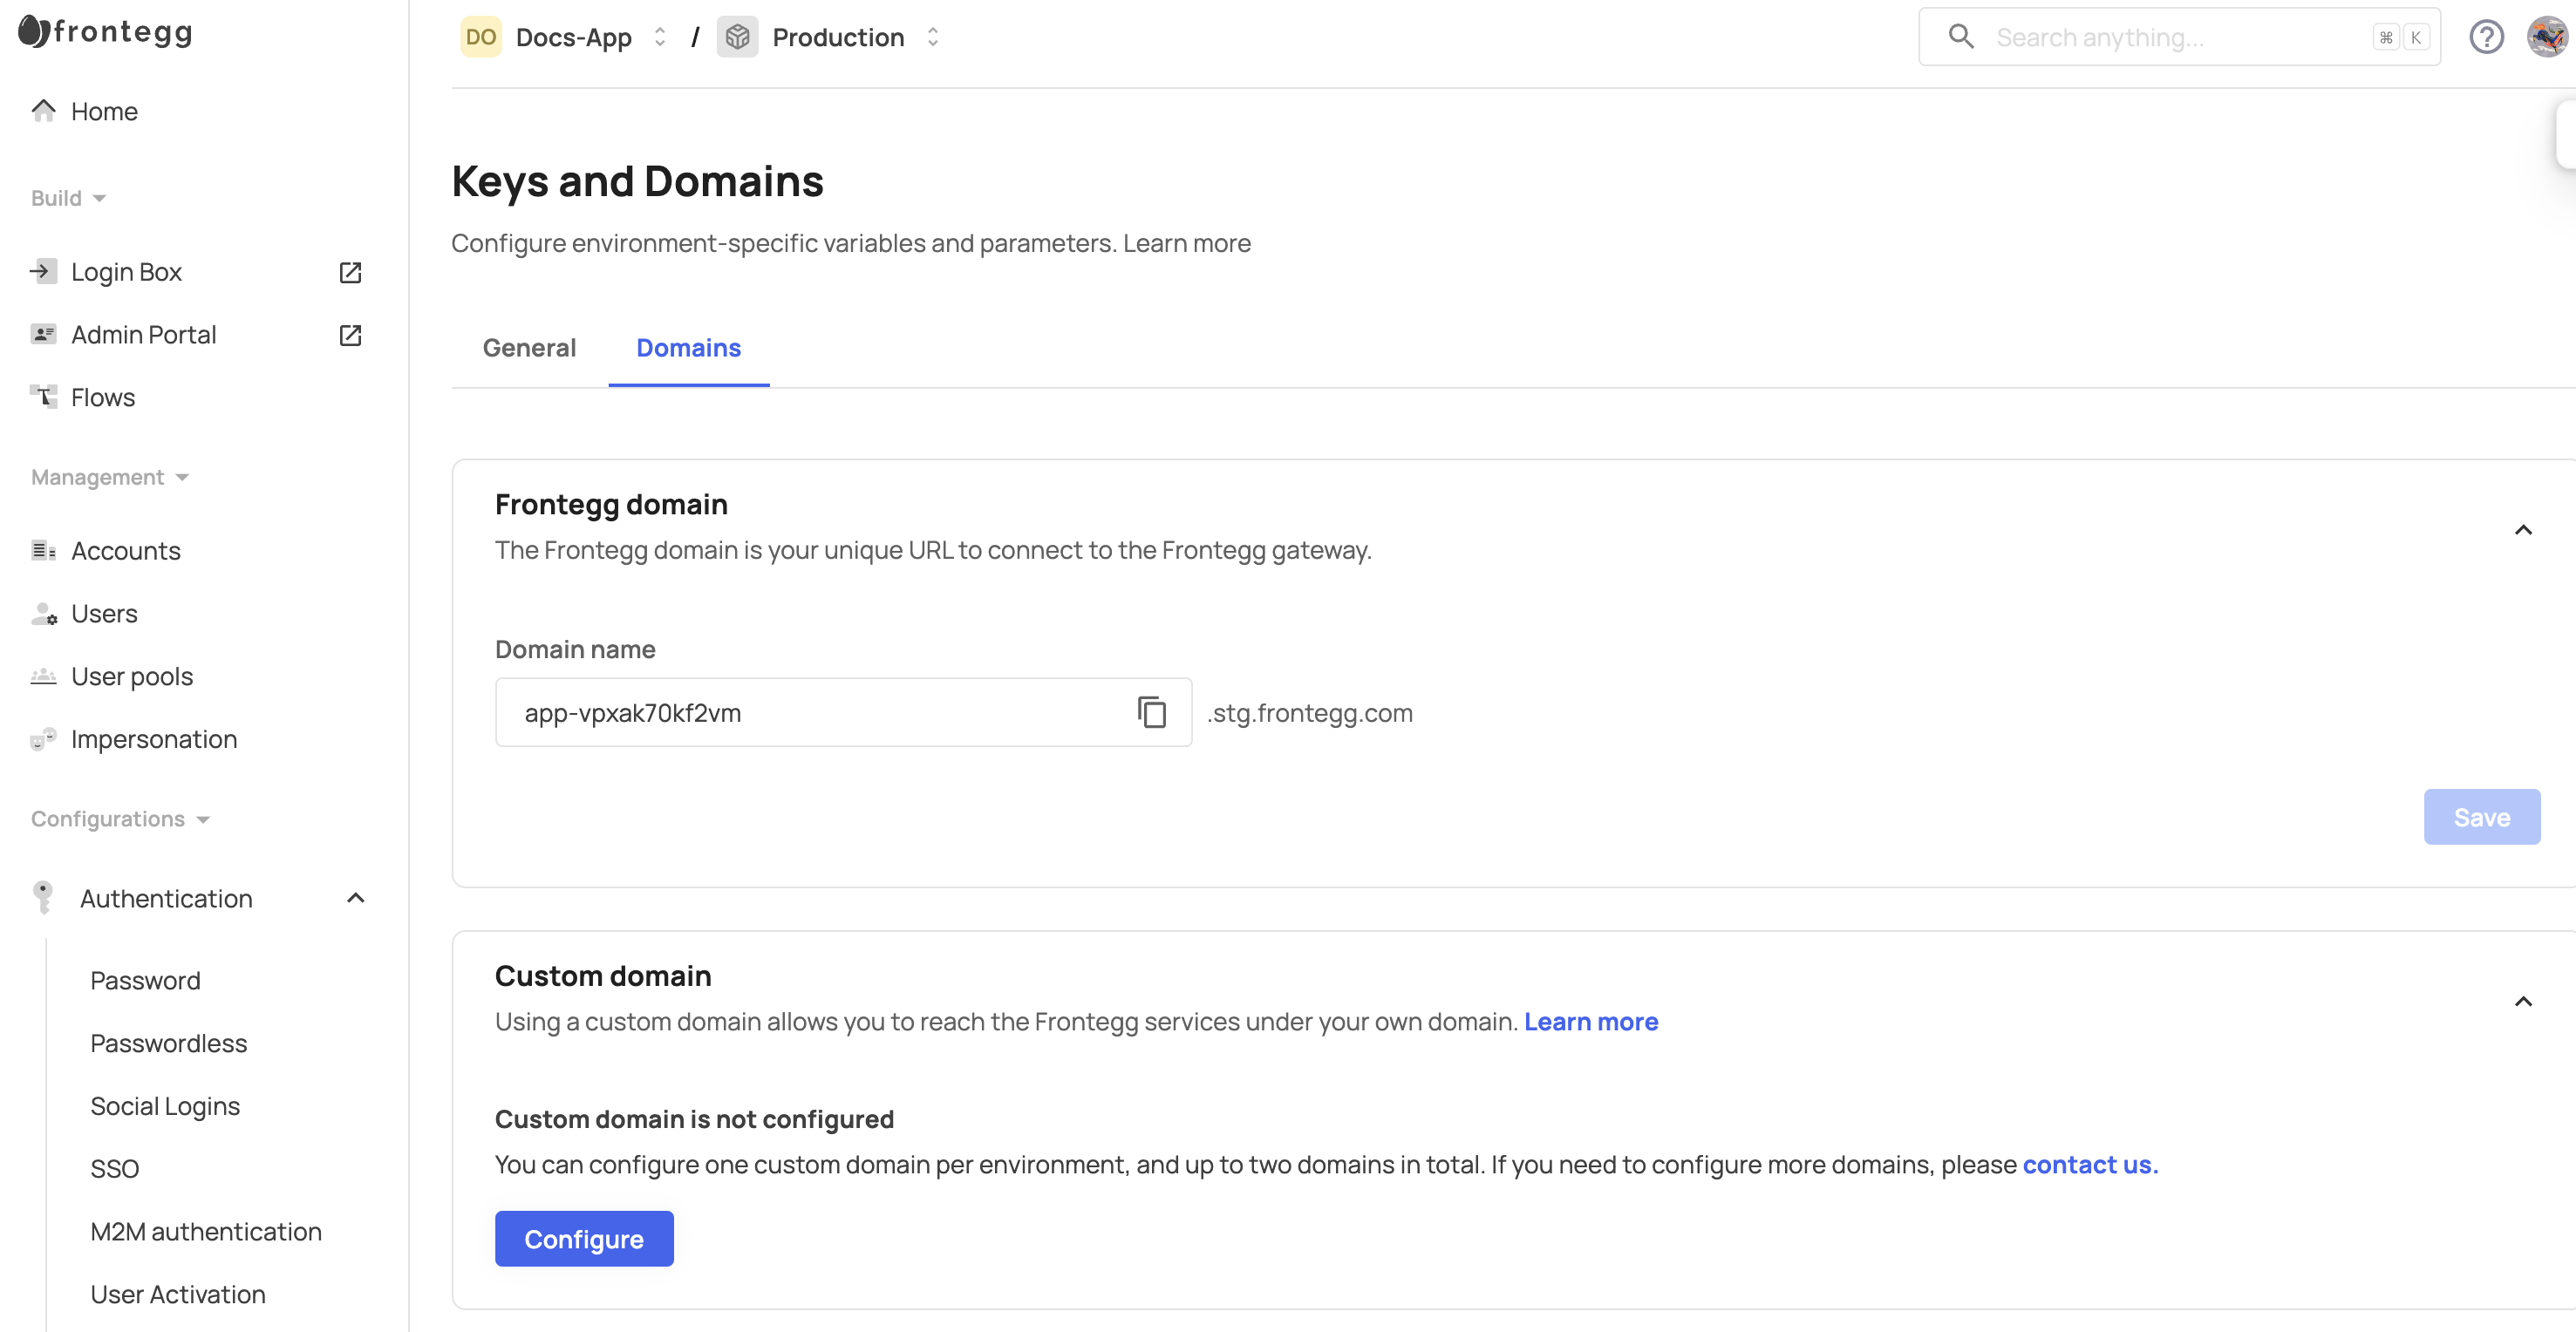
Configuring a custom domain
To configure custom domains, open the Frontegg portal and navigate to [ENVIRONMENT] → Configurations → Keys & domains → Domains.
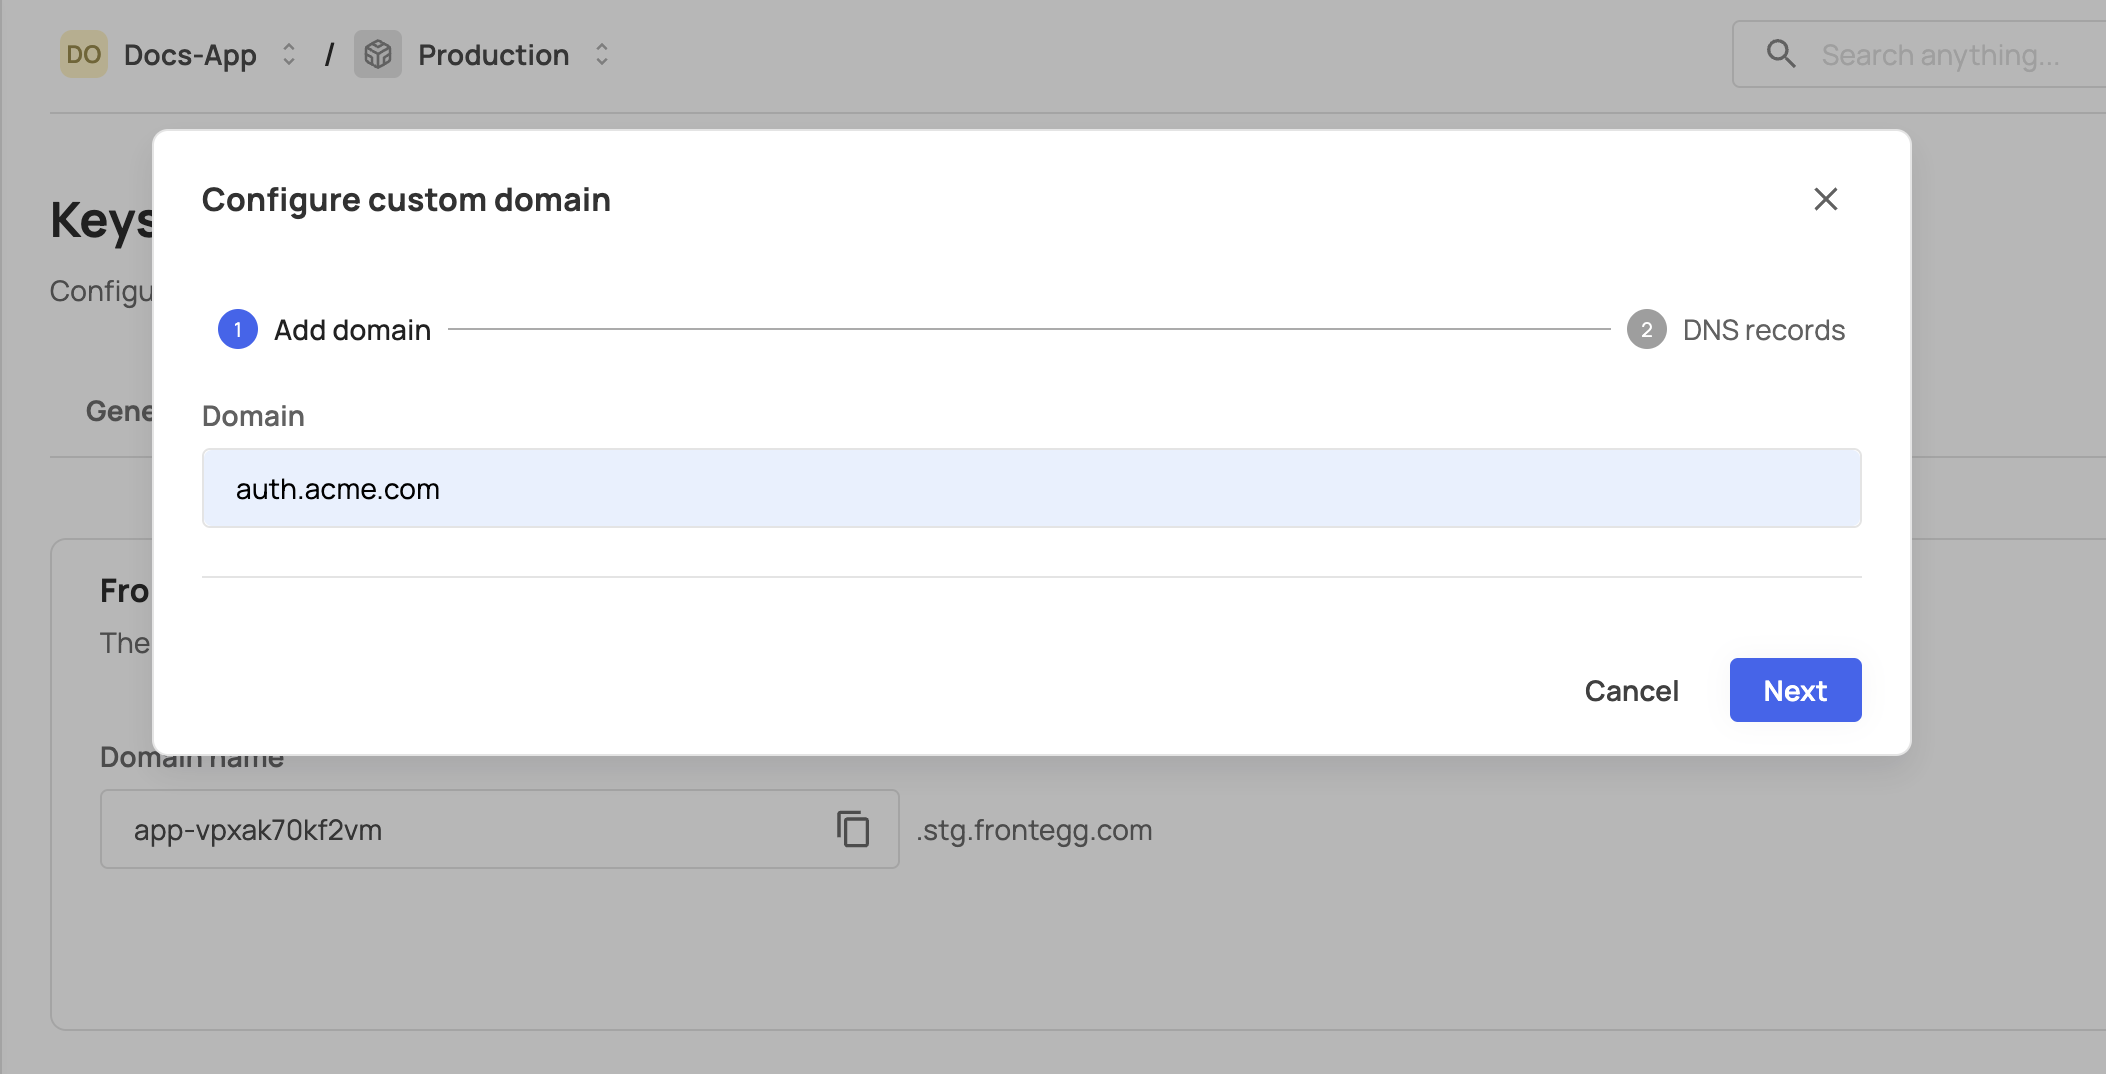
To configure a new custom domain, click on Configure, and in the popup dialog box, insert your desired domain name to generate the CNAME record you need for your DNS configuration.
Best practice
Best practice
A common practice is to use a subdomain as the custom domain because if your app is hosted on app.sample.com and you have an existing A record for that domain, you cannot use app.sample.com as a custom domain on Frontegg. Instead, use a subdomain as the custom domain, like auth.sample.com.
After adding the CNAME to your DNS configuration, click the Verify button. If Frontegg is able to verify the CNAME record, you will see a success message. After a successful setup, you should also see your custom domain listed on the Administration Page's Domain tab with a verified tag. Domain verification typically takes anywhere from a few minutes to a few hours.
If you see a notification that Frontegg is unable to verify your custom domain, please double-check that you entered your CNAME correctly in your DNS provider and try again.

A CNAME does not exist error may appear if your domain failed validation, possibly due to a Certificate Authority Authorization (CAA) issue. This can usually be resolved by adding the appropriate CAA record to your DNS settings.
Managing URLs after configuring the custom domain
Once the custom domain is set up, make sure to update the following URLs to ensure everything functions correctly across your platform.
Login URL
Ensure that the login URL in your applications is updated to reflect the new custom domain.
- Open the Frontegg portal.
- Go to the Configuration section.
- Click Applications.
- Select your application.
- On the Settings tab, scroll down to the Login URL field.
- Update the URL.
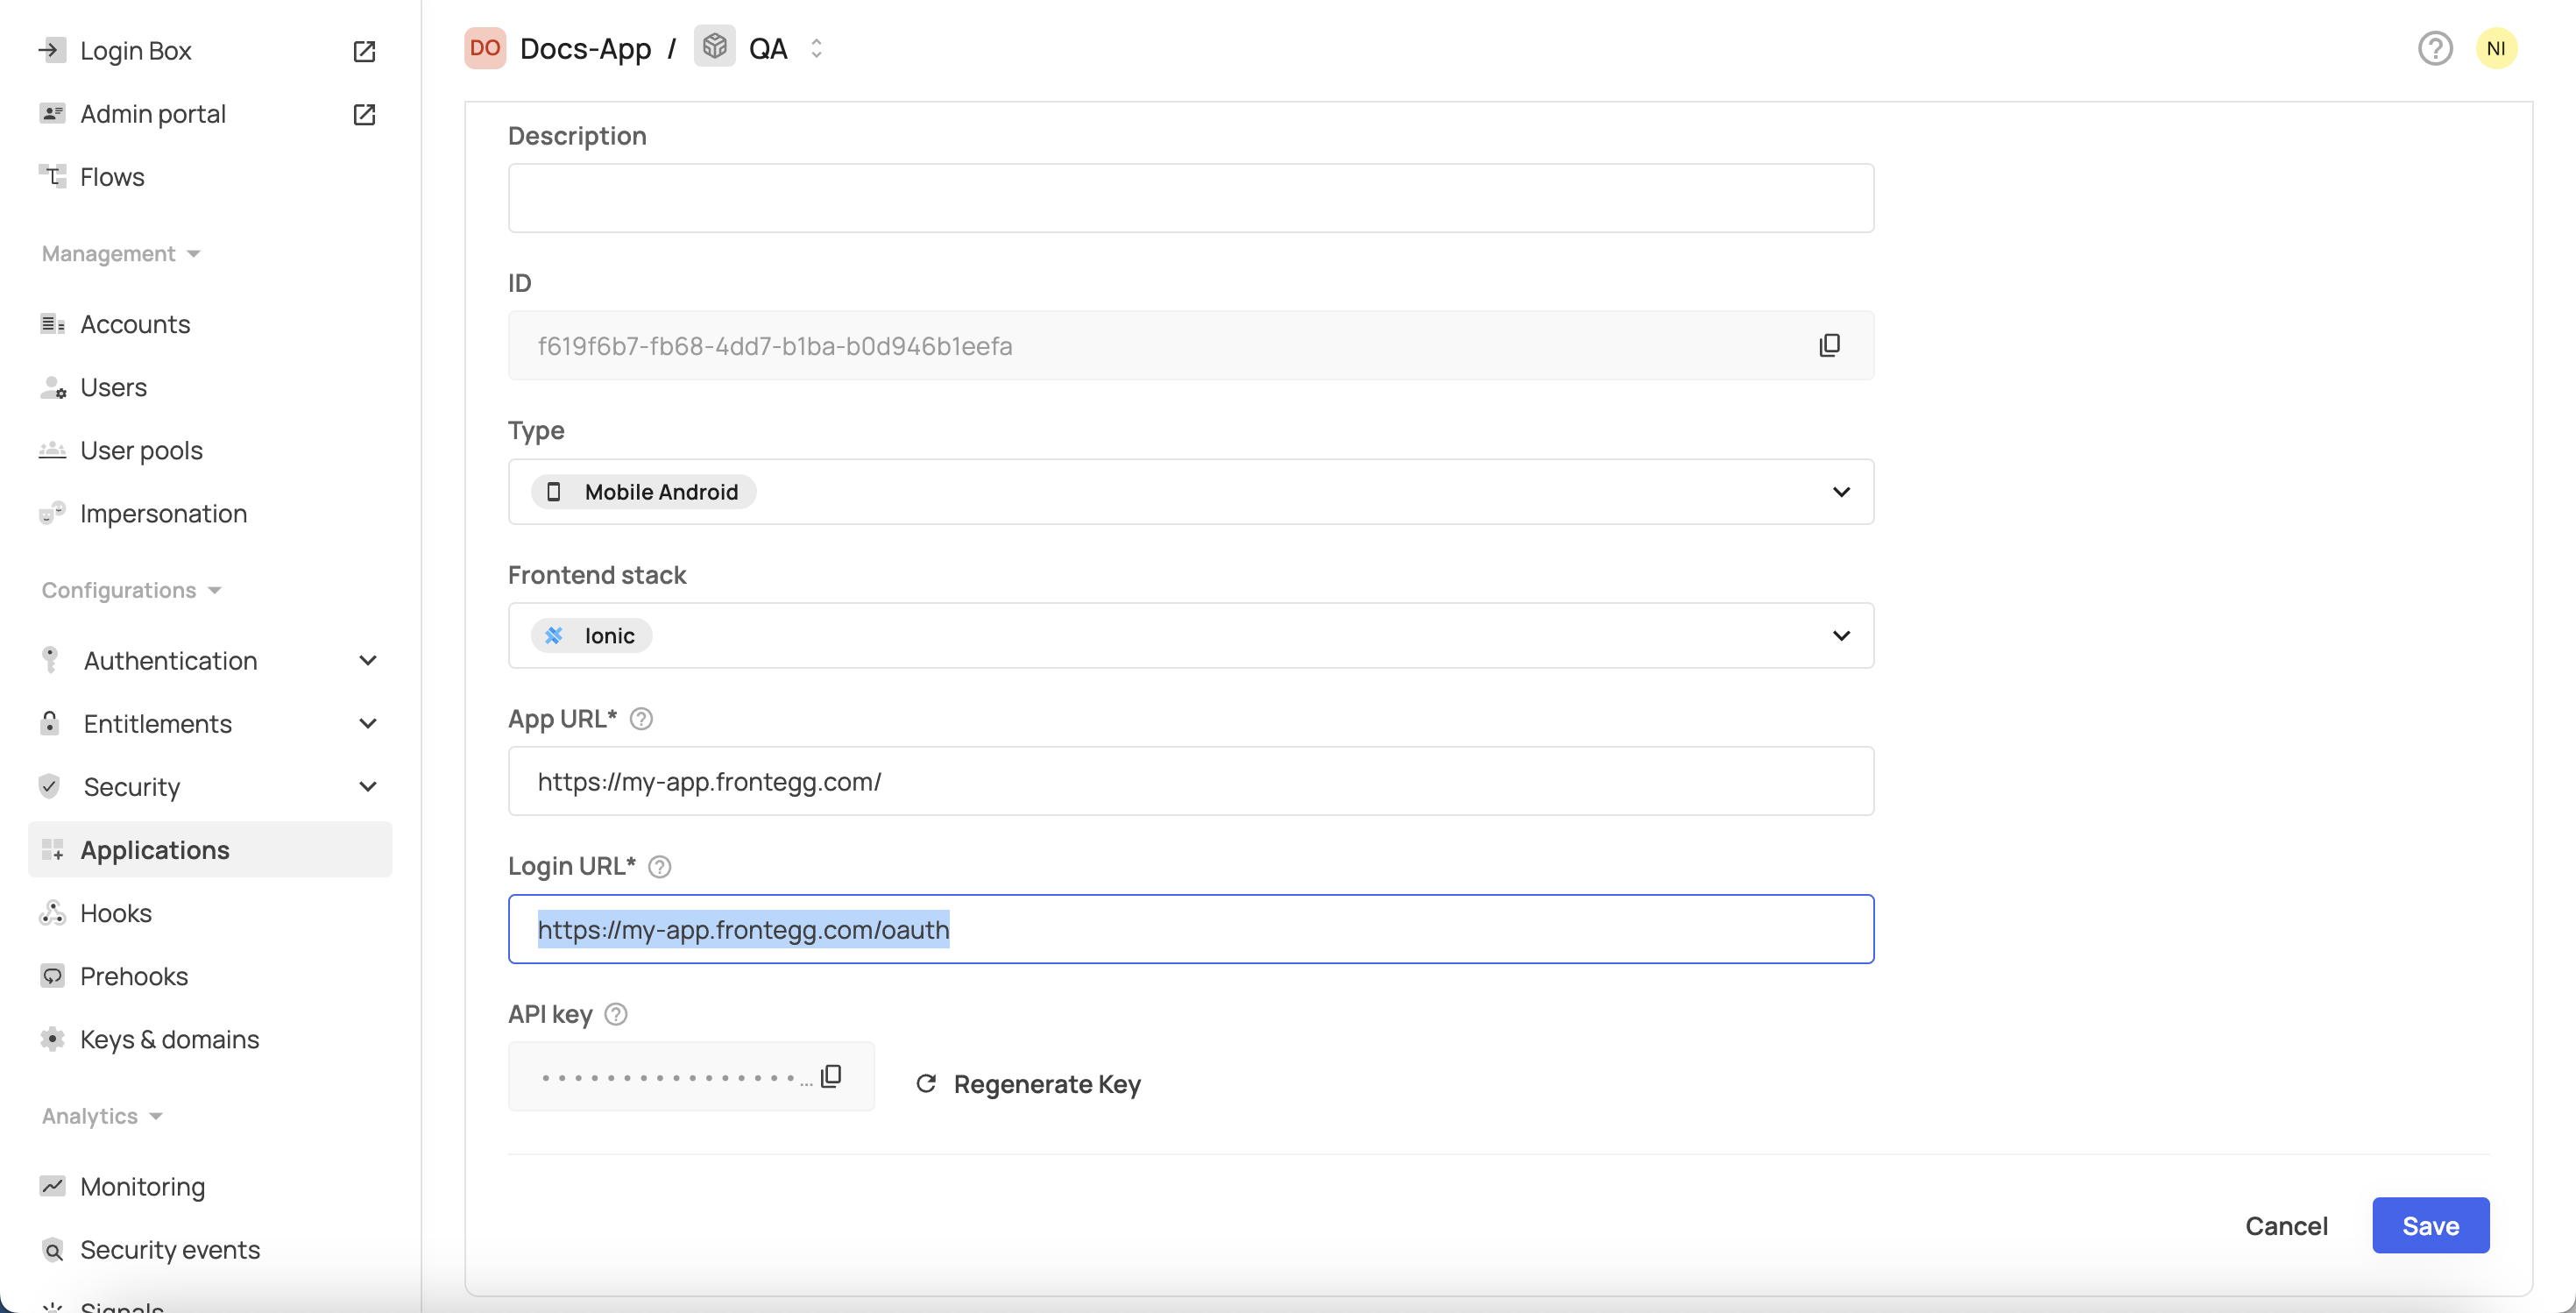
- Click Save.
Client-side SDKs
If you're using a Frontegg client-side SDK, update the baseUrl in contextOptions to reflect your new custom domain in your application code.
For example:
const contextOptions = {
  baseUrl: '[YOUR-CUSTOM-DOMAIN]',
  clientId: '[YOUR_CLIENT_ID]',
  appId: '[YOUR_APP_ID]'
};- Replace
[YOUR-CUSTOM-DOMAIN]with your actual custom domain URL. - Replace
[YOUR_CLIENT_ID]with your actual client ID. - Replace
[YOUR_APP_ID]with your actual app ID.
Single Sign-On
If you're using Single Sign-On (SSO) and are in a production environment, make sure to update the ACS (Assertion Consumer Service) URL to match the new custom domain.
This is crucial for SSO configuration to work properly.
- Open the Frontegg portal.
- Go to the Configuration section.
- Click SSO.
- Select Service Provider → Manage.
- Select SAML → Manage.
- Enter the application URL into the ASC URL field.
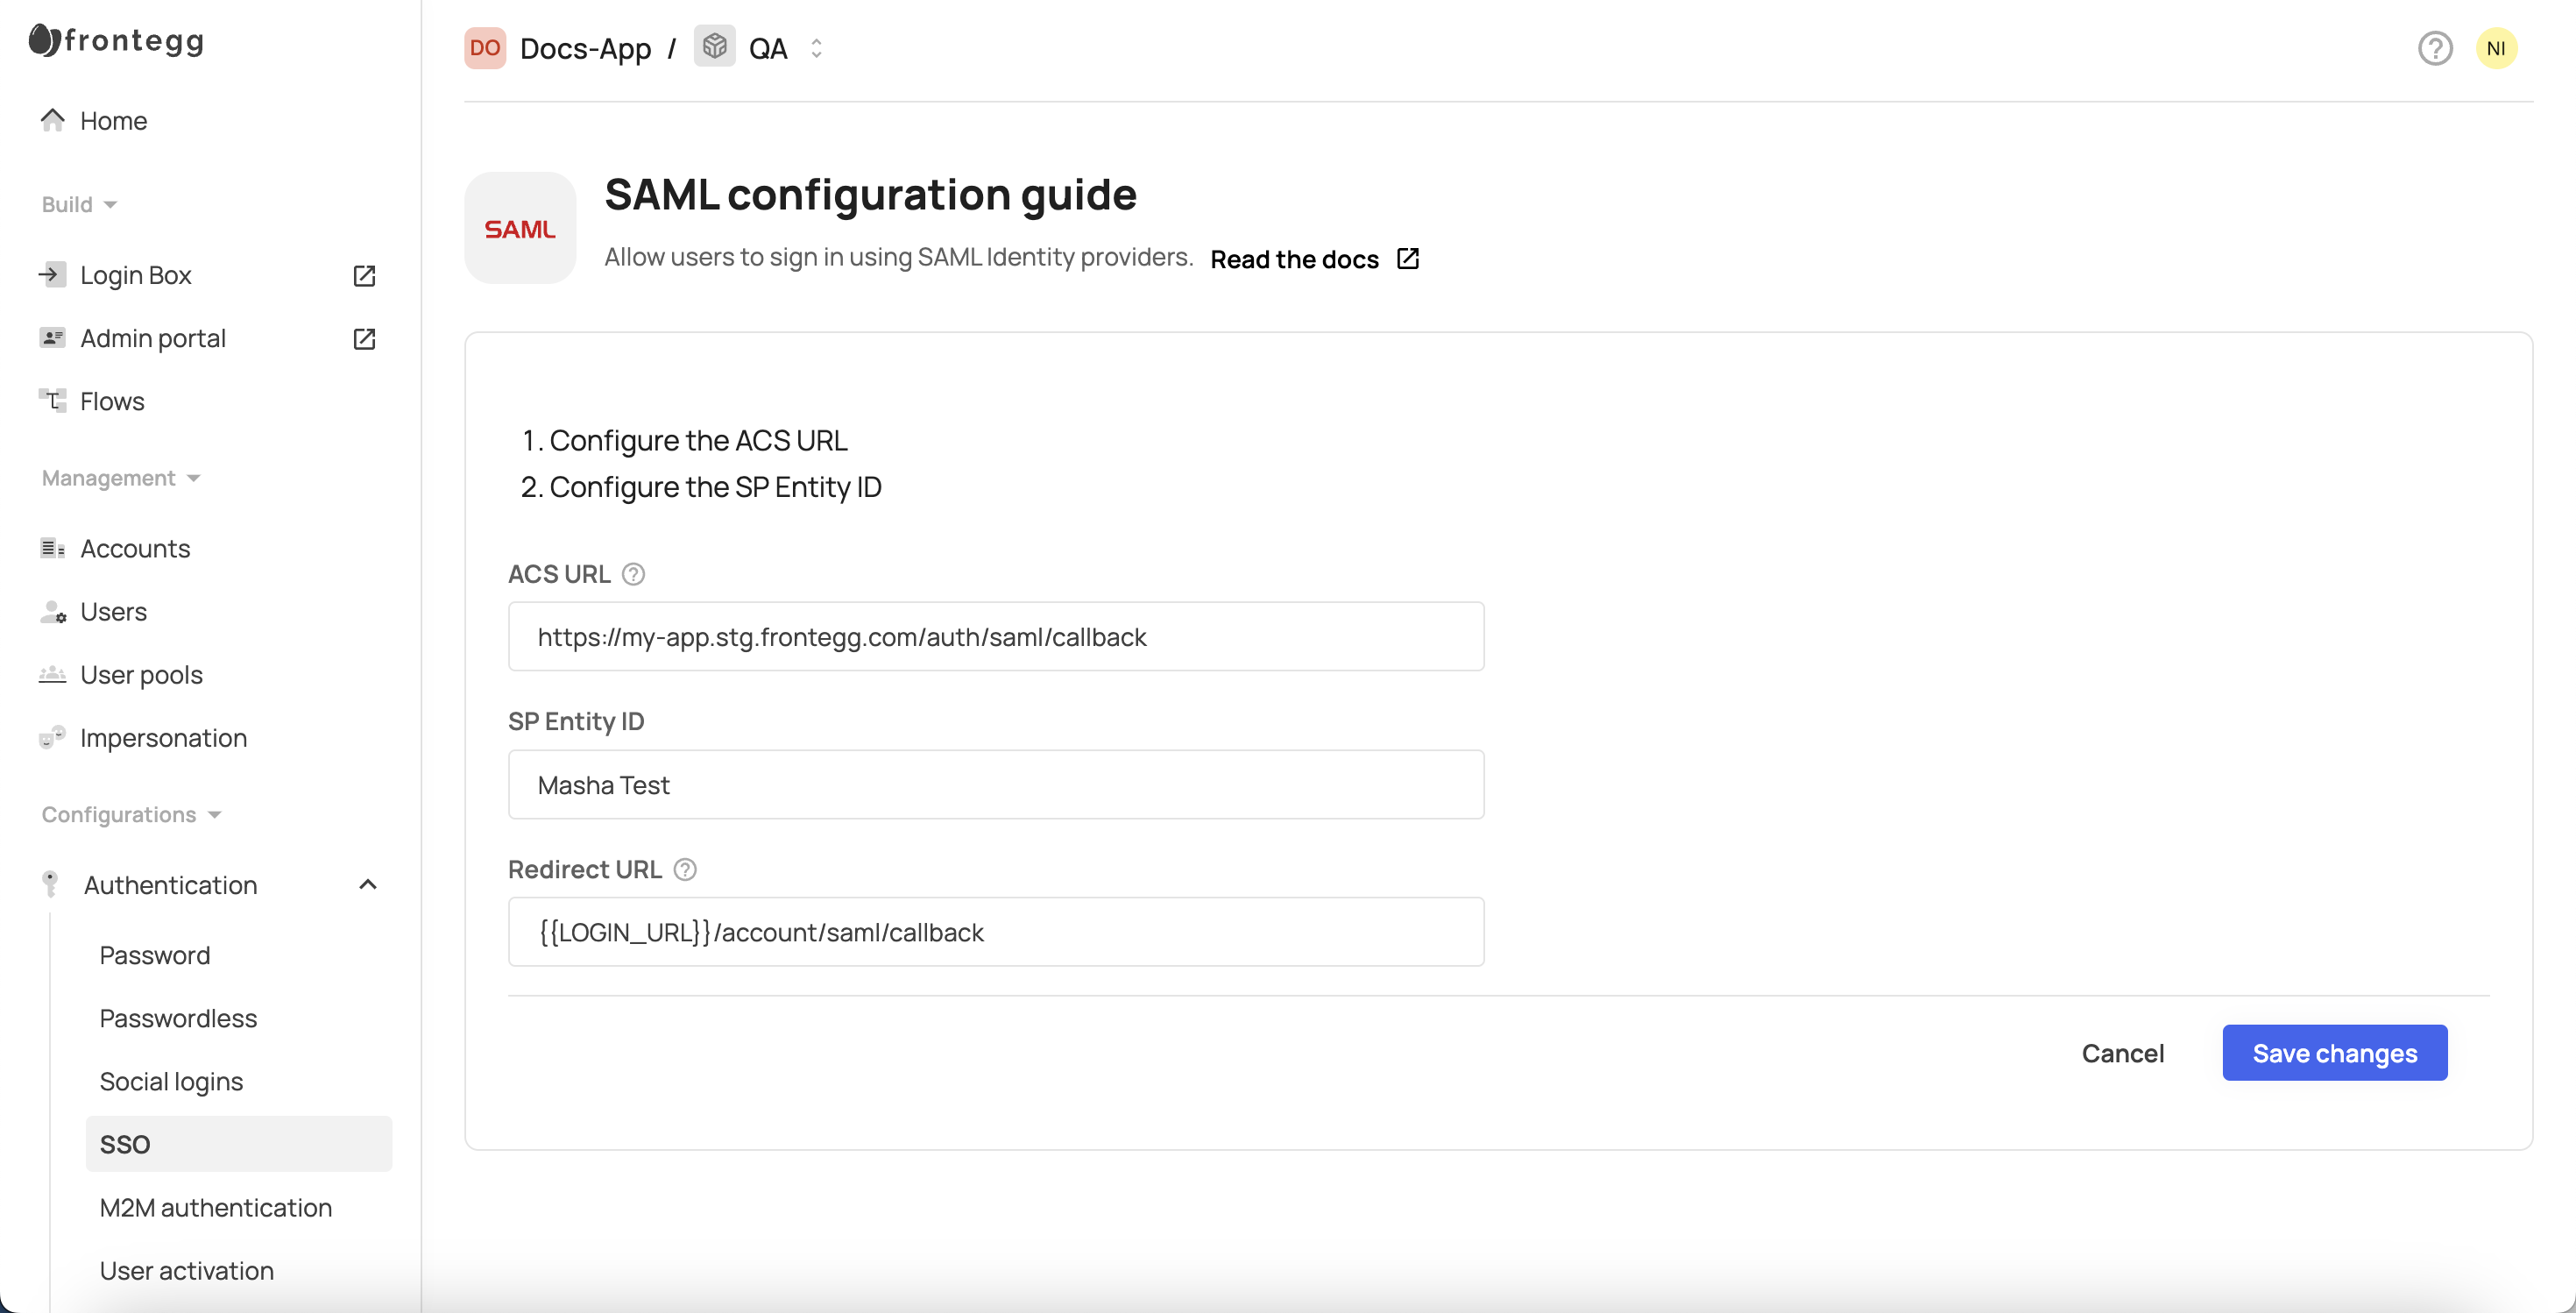
- Click Save changes.
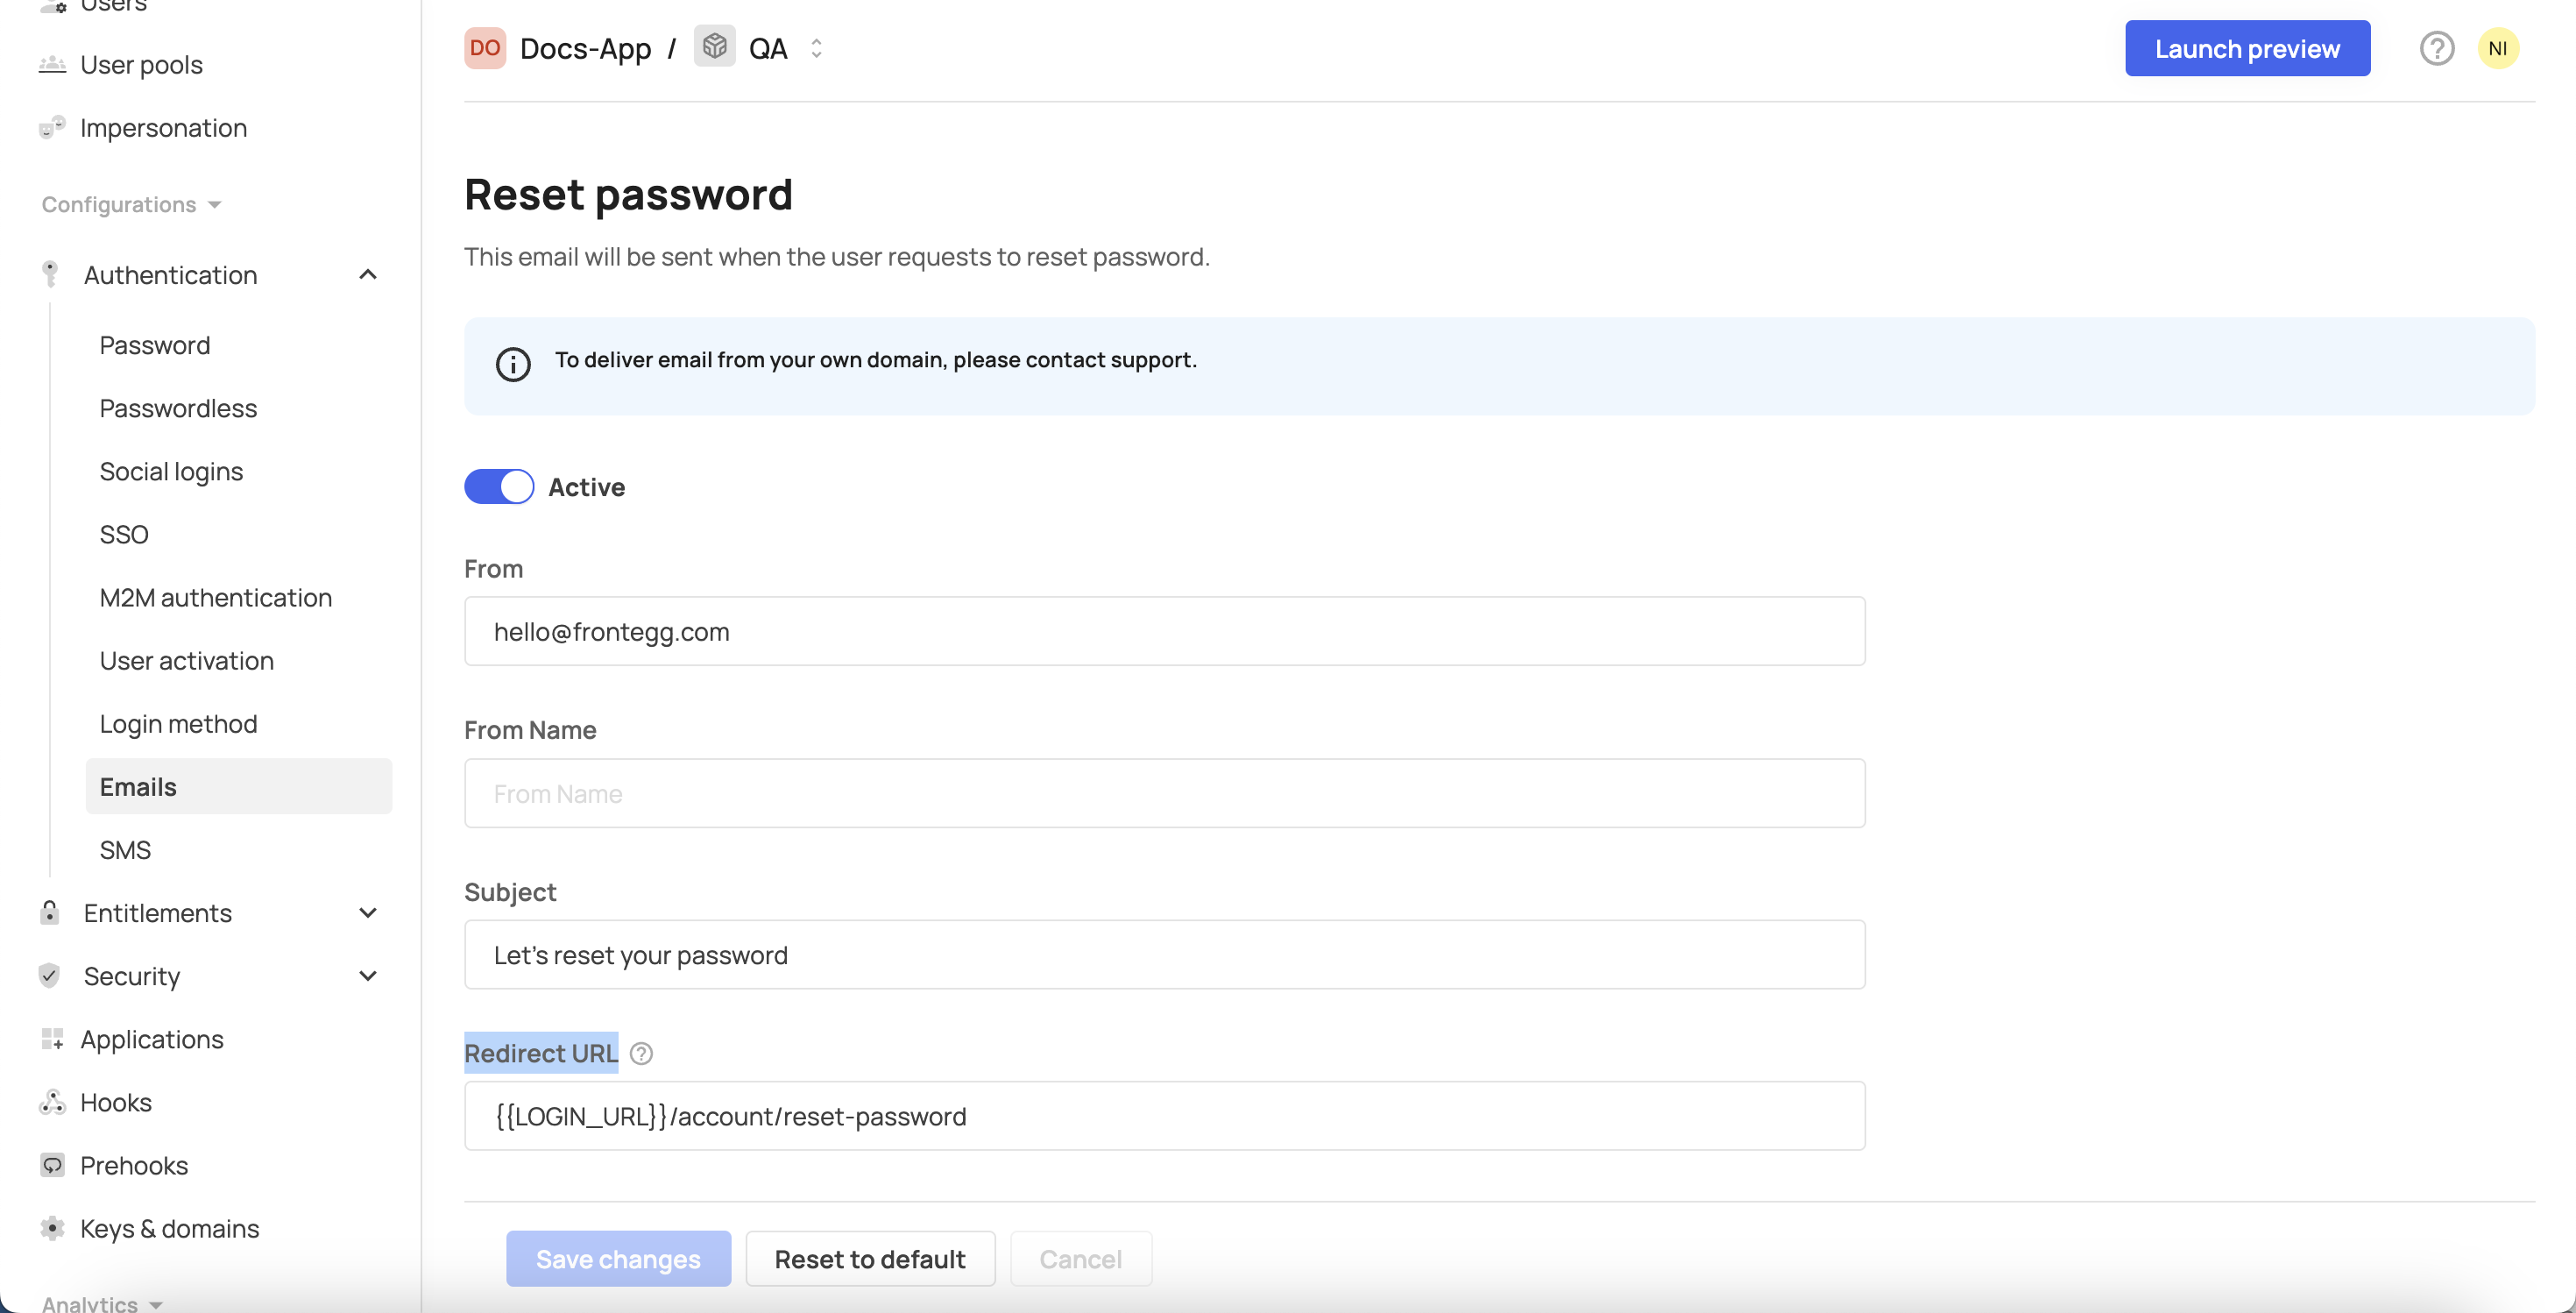
Emails
When sending emails, make sure to use dynamic parameters for login URLs - {{LOGIN_URL}}. If dynamic parameters aren't used, manually update the login URL in the email templates as well.
- Open the Frontegg portal.
- Go to the Authentication section.
- Click Emails.
- On the Templates tab, select the required email template.
- If you're using
{{LOGIN_URL}}, no changes are needed. If using hardcoded values, update theRedirect URLfield to match the new custom domain
- Click Save changes.