Custom code prehook setup
Creating a custom prehook can be done in several easy steps:
- Head over to your prehooks tab [ENVIRONMENT] → Prehooks, and press the Create Prehook button to create a new prehook.

- Define your required settings, e.g., trigger event, prehook type (in our case, it would be a Custom code prehook), the prehook's timeout, etc.

- Test your prehook before activation.
Custom prehook use case
Custom prehooks extend your existing Frontegg flows to allow you to customize your user journey further. The following example demonstrates how to customize a prehook for a user authentication flow with the ability to control the verdict (see possible verdicts in the prehooks topic) of the user after opting to log in. Note that this option has a predefined template that you can use.
The following code sample checks if an email address provided during a sign-up event is valid and belongs to an allowed domain. If the email is invalid or not from an allowed domain, it blocks the sign-up process; otherwise, it allows the user to proceed with the flow.
const ALLOWED_DOMAINS = ['gmail.com'];

/**
 * Handle the event
 * @param {SignUpEventData} eventData - the event details
 * @returns {Promise<SignUpHandlerResponse>} event handler response
 */
async function onEvent(eventData) {
   // ensure user email is present
   if (!eventData.data.user.email) {
      // note that userMessage (the second parameter) is displayed in red on the failed sign-up prompt
      return {
         continue: false,
         verdict: "block",
         error: {
            status: 400,
            message: ["Email is invalid"]
         }
      }
   }

   // ensure a reasonable format for the email
   const splitEMail = eventData.data.user.email.split('@');
   if (splitEMail.length !== 2) {
      // note that userMessage (the second parameter) is displayed in red on the failed sign-up prompt
      return {
         continue: false,
         verdict: "block",
         error: {
            status: 400,
            message: ["Email is invalid"]
         }
      }
   }

   // if the email domain is not explicitly in our allow list, deny access
   const domain = splitEMail[1].toLowerCase();
   if (ALLOWED_DOMAINS.indexOf(domain) < 0) {
      // note that userMessage (the second parameter) is displayed in red on the failed sign-up prompt
      return {
         continue: false,
         verdict: "block",
         error: {
            status: 400,
            message: ["Email is not allowed"]
         }
      }
   }

   return {
      continue: true,
      verdict: "allow",
      response: {}
   }
}

exports.onEvent = onEvent;
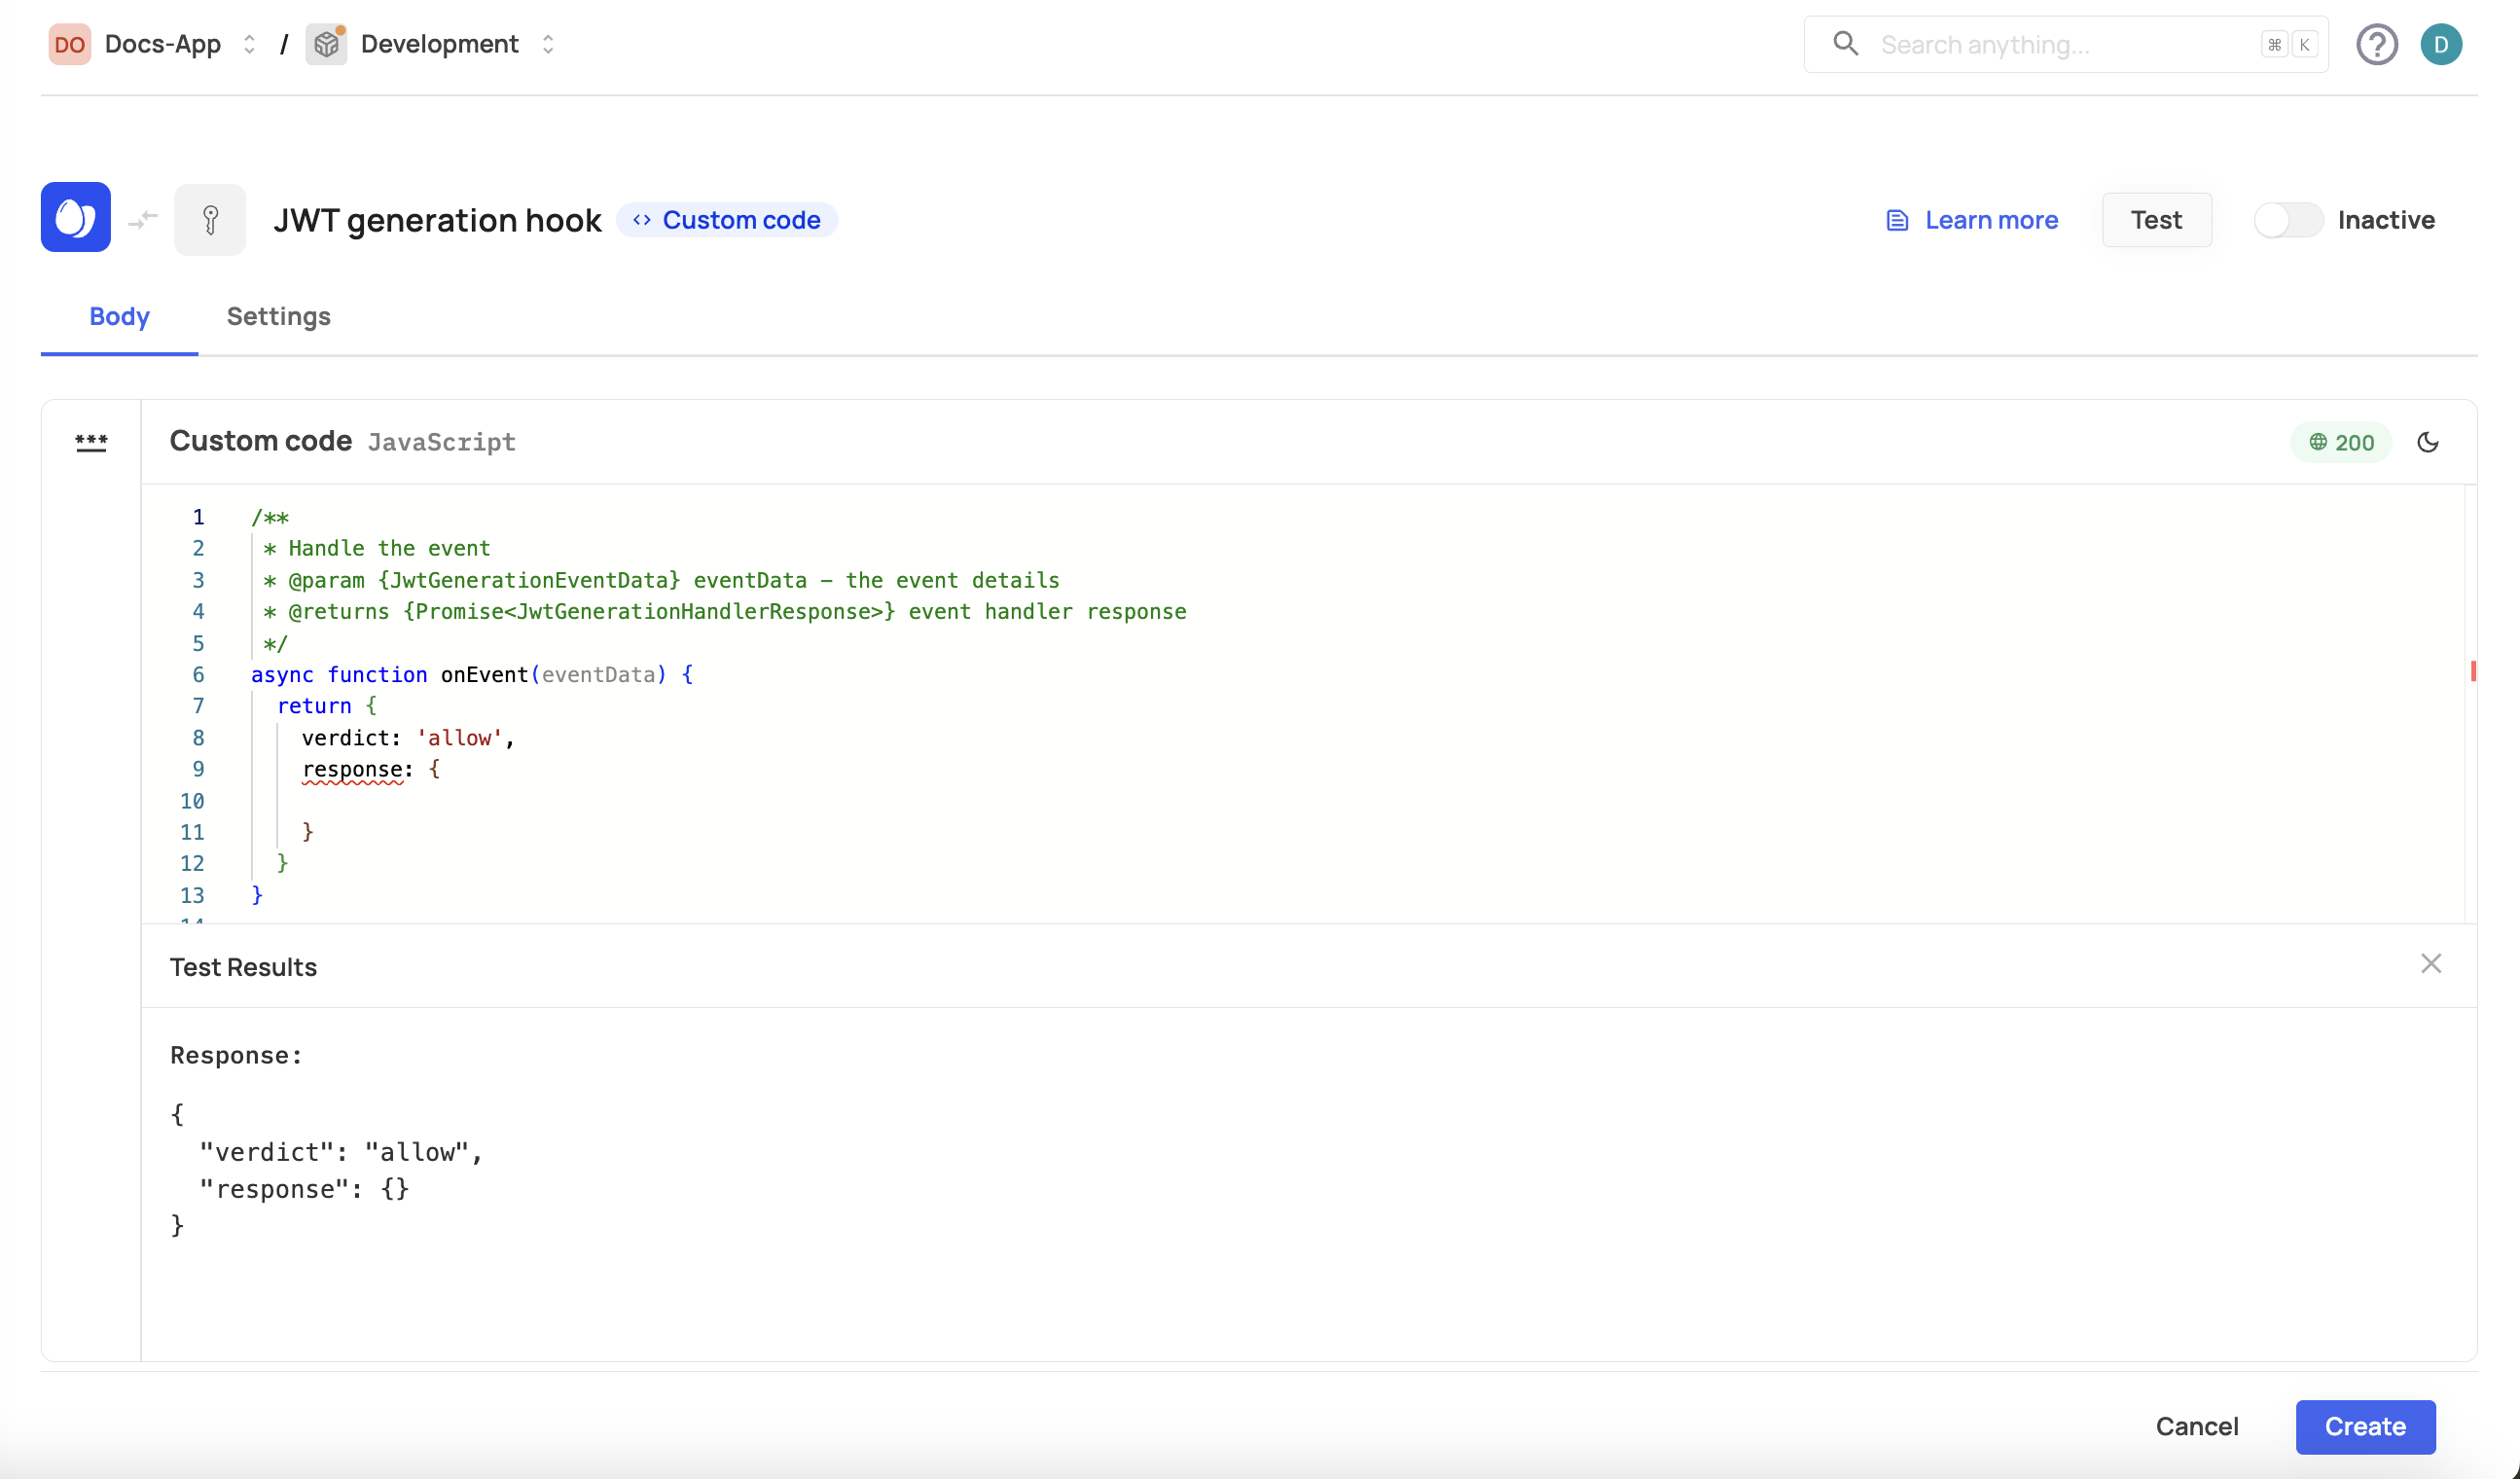
Single prehook view
After testing and creating your prehook, you can view/change its settings and monitor its performance.
Trigger event change
Trigger event change
Note that you can't change your hook's trigger event after initiating its connection.
