Integrating Citrix ShareFile with Frontegg allows your application to authenticate users via OAuth 2.0 and interact with their ShareFile accounts — browsing folders, uploading and downloading files, managing shares, and accessing account information on their behalf.
ShareFile issues OAuth credentials per account through its API Key generator. In addition to the standard Client ID and Client Secret, ShareFile is scoped to a per-account control-plane host, so you also provide your account subdomain and API control plane when configuring the integration.
Prerequisites
Prerequisites
- A Citrix ShareFile account with API access (OAuth 2.0 enabled)
- Permission to generate API keys for your account at api.sharefile.com
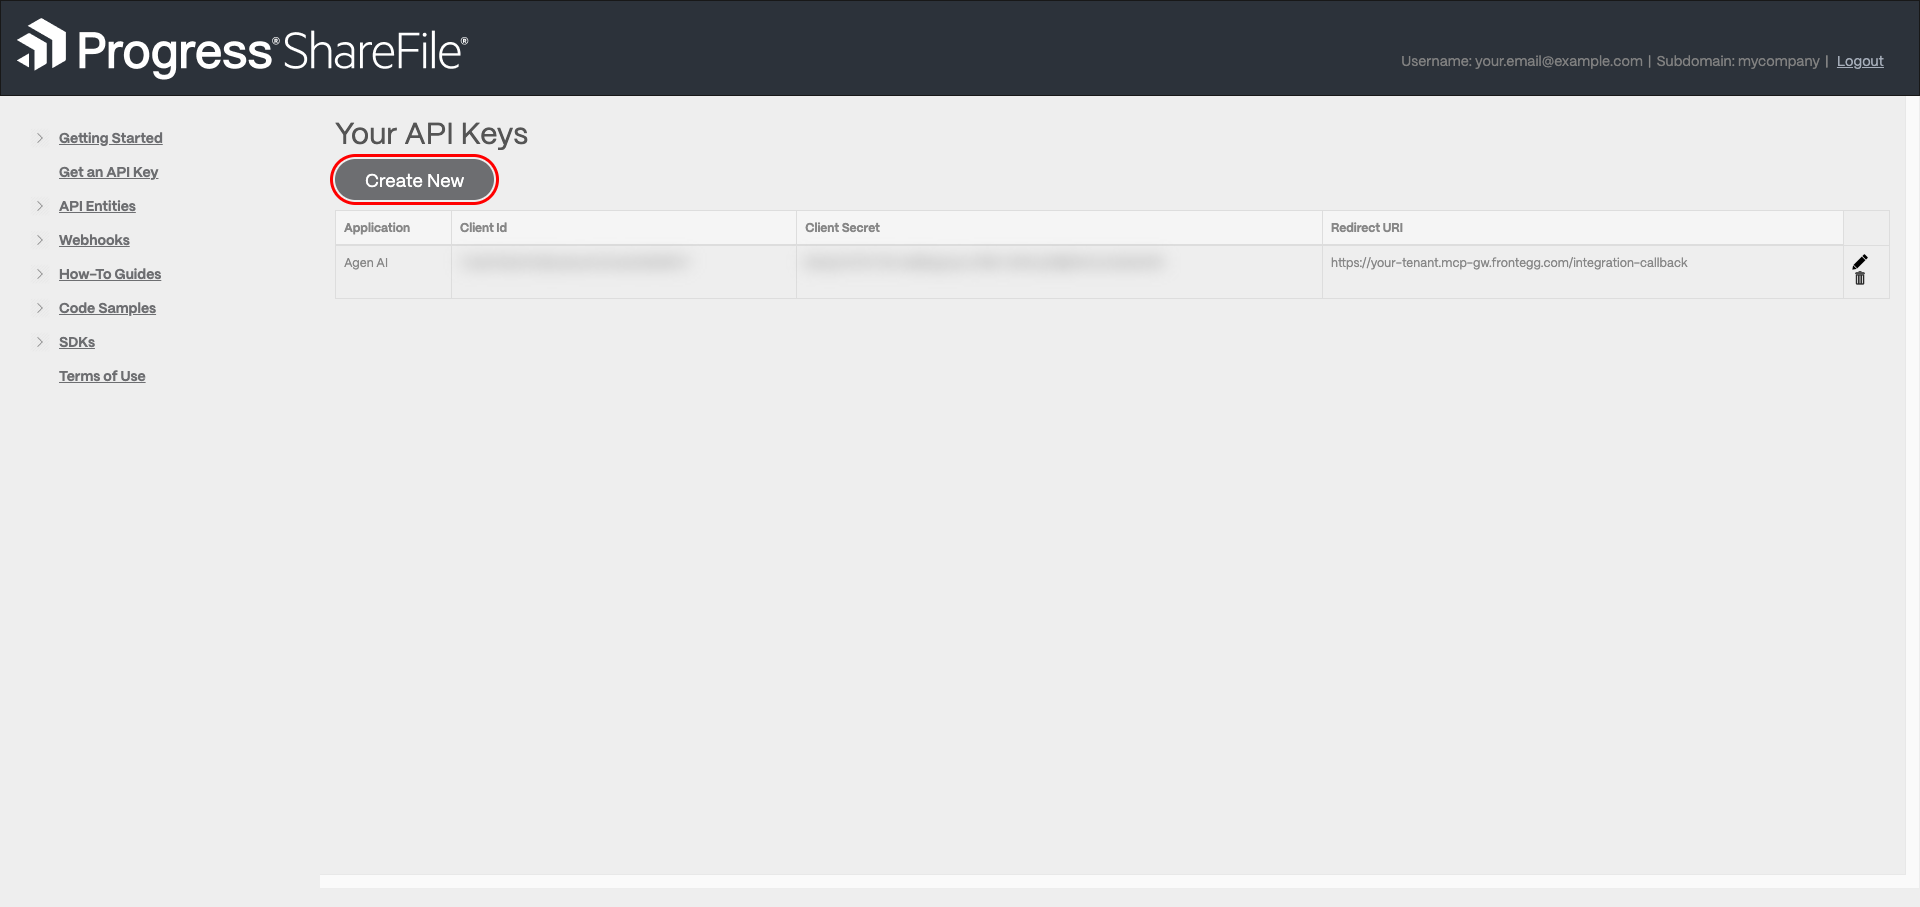
Go to api.sharefile.com and sign in with your ShareFile account. In the left menu, open Get an API Key. The Your API Keys page lists any existing keys. Click Create New.
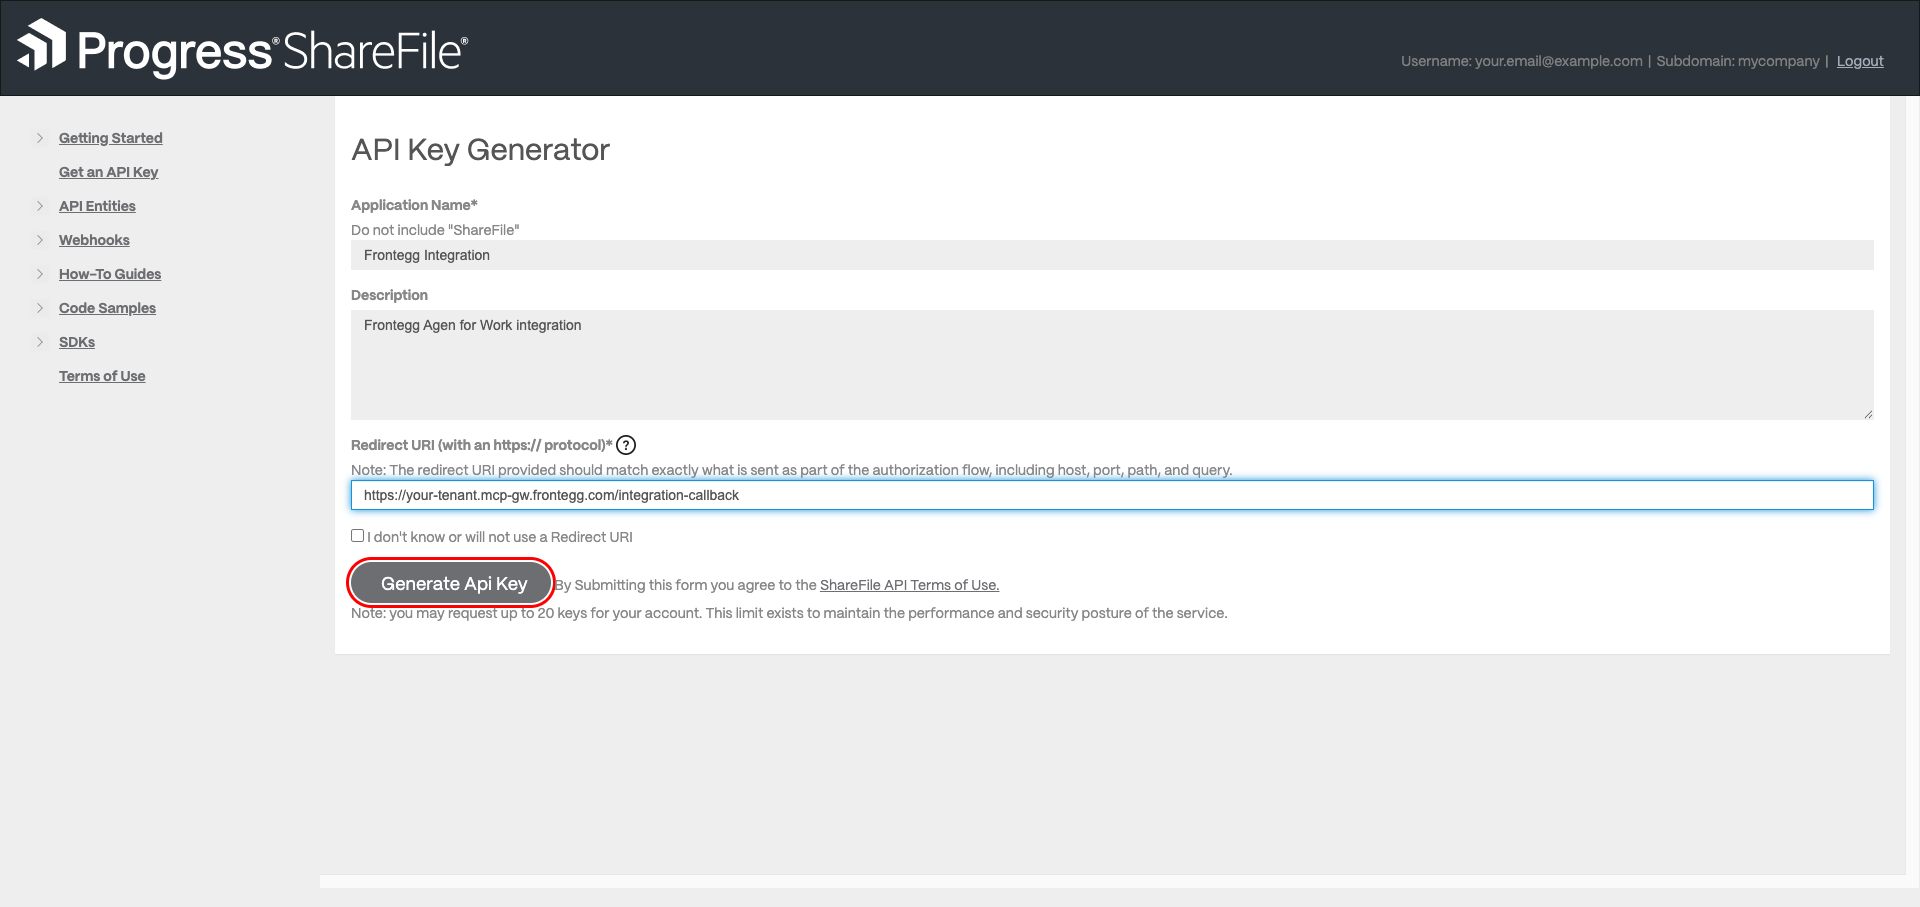
On the API Key Generator page, fill in the form:
Application Name — a name for your application, for example
Frontegg Integration(do not include the word "ShareFile").Description — an optional description of the application.
Redirect URI — your Frontegg Redirect URL, which must use HTTPS and match the authorization request exactly:
https://YOUR_MCP_GATEWAY_URL/integration-callback
Click Generate Api Key to create the application.
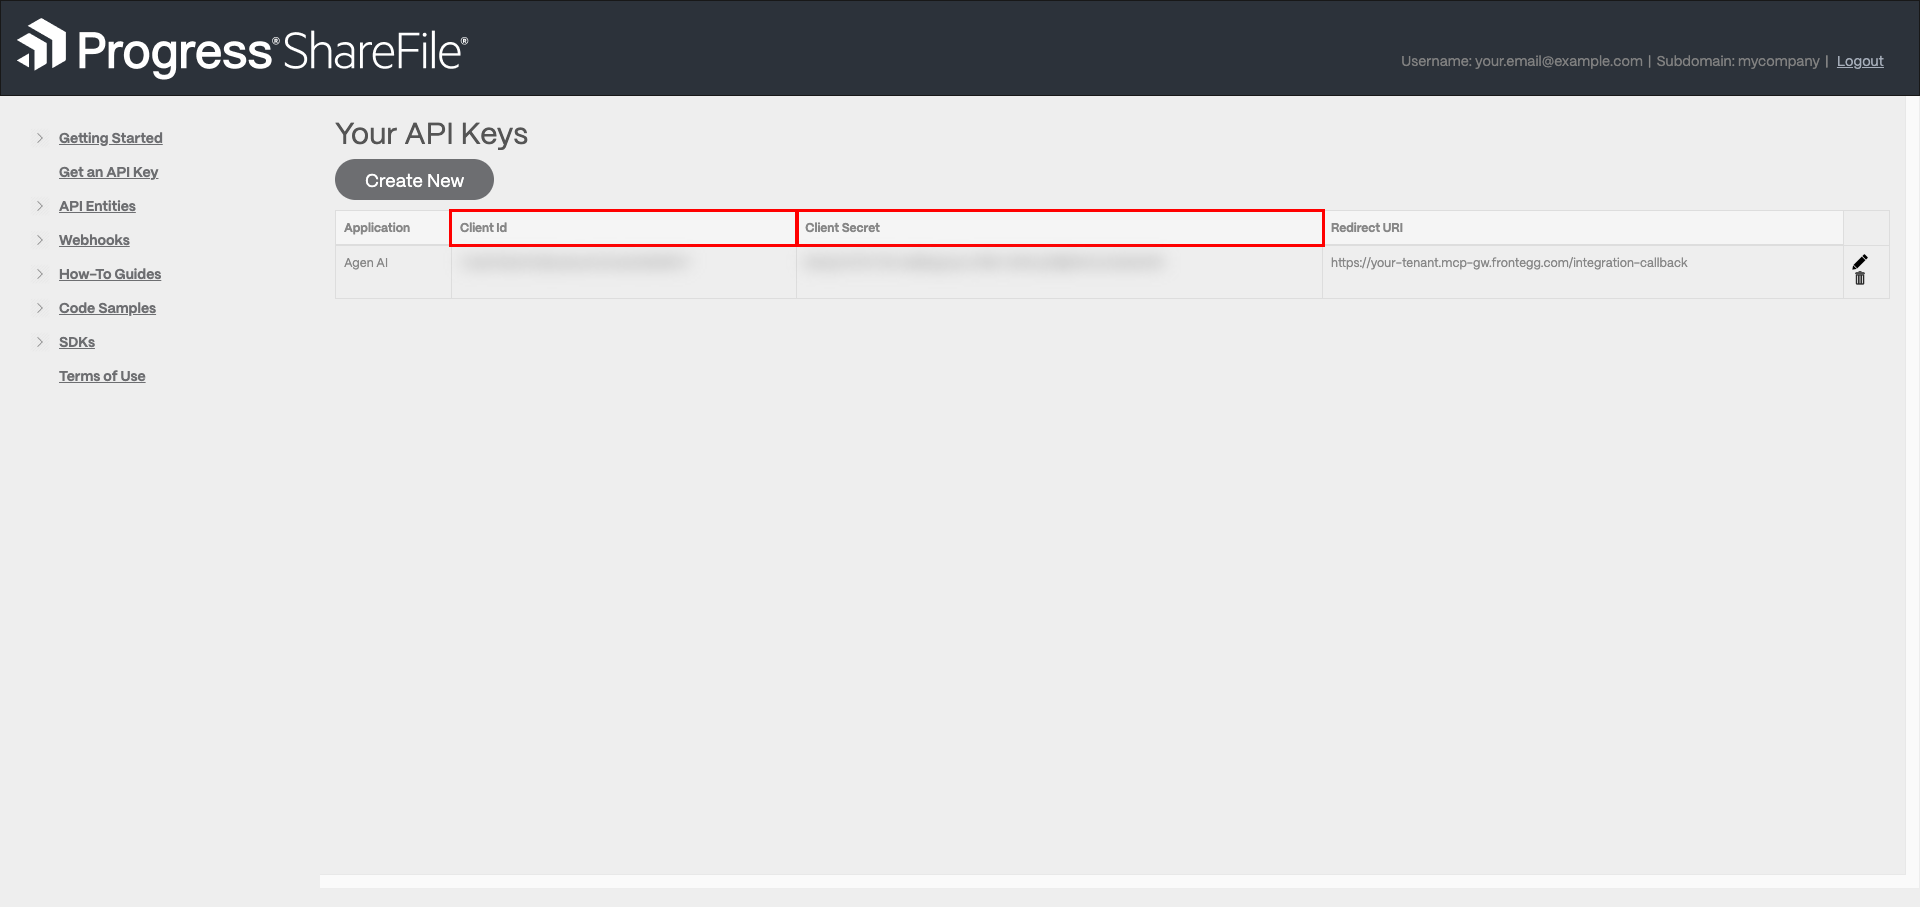
Back on the Your API Keys page, your application appears in the list with its Client Id and Client Secret. Copy both values for use in the Frontegg portal.
Keep your credentials secure
Keep your credentials secure
Never share or commit your Client Secret to version control.
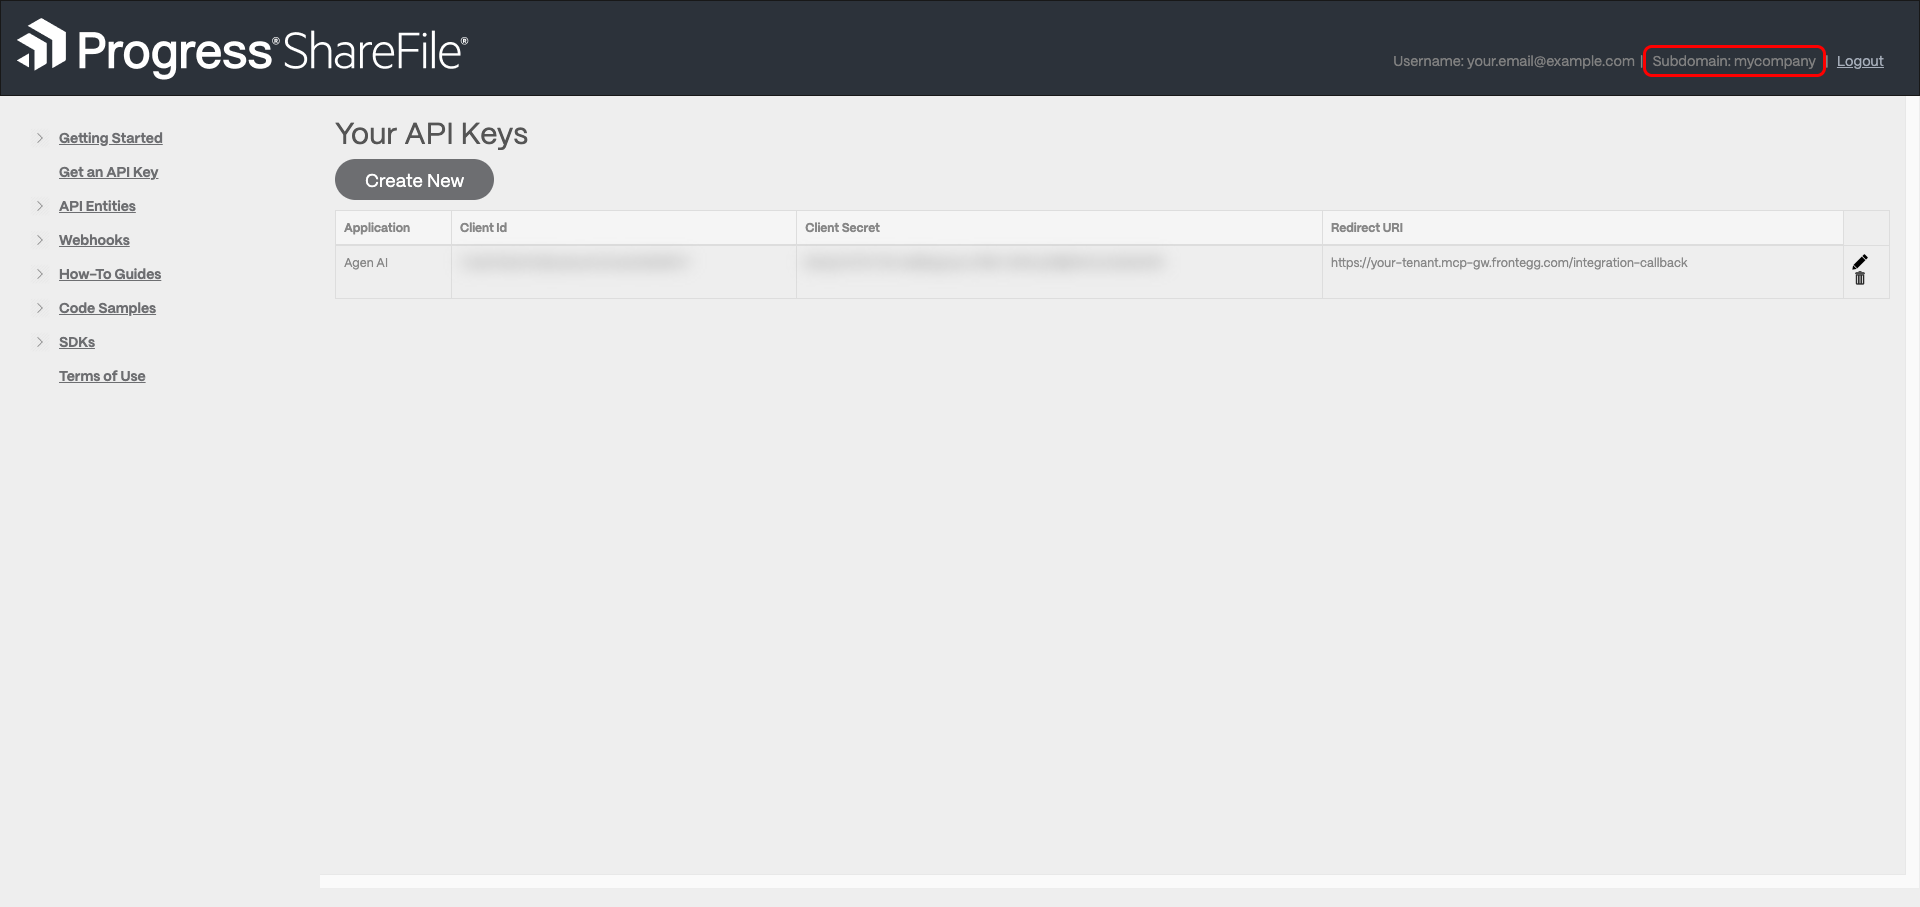
ShareFile scopes the API to your account's control-plane host, so the integration also needs two account-specific values:
- Subdomain — your ShareFile account subdomain. It appears in the top bar of the API portal and in your account URL — for example,
mycompanyfromhttps://mycompany.sharefile.com. - API control plane — your account's API host. US accounts use
sf-api.com; EU accounts usesf-api.eu.
Once you have your Client ID, Client Secret, subdomain, and API control plane, configure the integration in the Frontegg portal:
- Open the Frontegg portal and navigate to [ENVIRONMENT] → Integrations → Citrix ShareFile.
- Enter the Client Id in the Client ID field and the Client Secret in the Client Secret field.
- Enter your ShareFile subdomain (for example,
mycompany) and API control plane (for example,sf-api.com). - Click Save.
Scopes
Scopes
Frontegg requests the sharefile:restapi:v3 and openid scopes during authorization to access the ShareFile REST API. There is no separate scope-selection screen in the API Key generator.