Canva is an online design and visual communication platform for creating presentations, social media graphics, documents, and other visual content. The Canva integration with Frontegg connects to the Canva Connect API, letting your application manage designs, folders, and assets and read brand templates, comments, and user profiles on behalf of your users.
Prerequisites
Prerequisites
- A Canva account
- A Public integration is enough to build and test with your own team, with no paid plan required. A Private integration requires a Canva Enterprise plan.
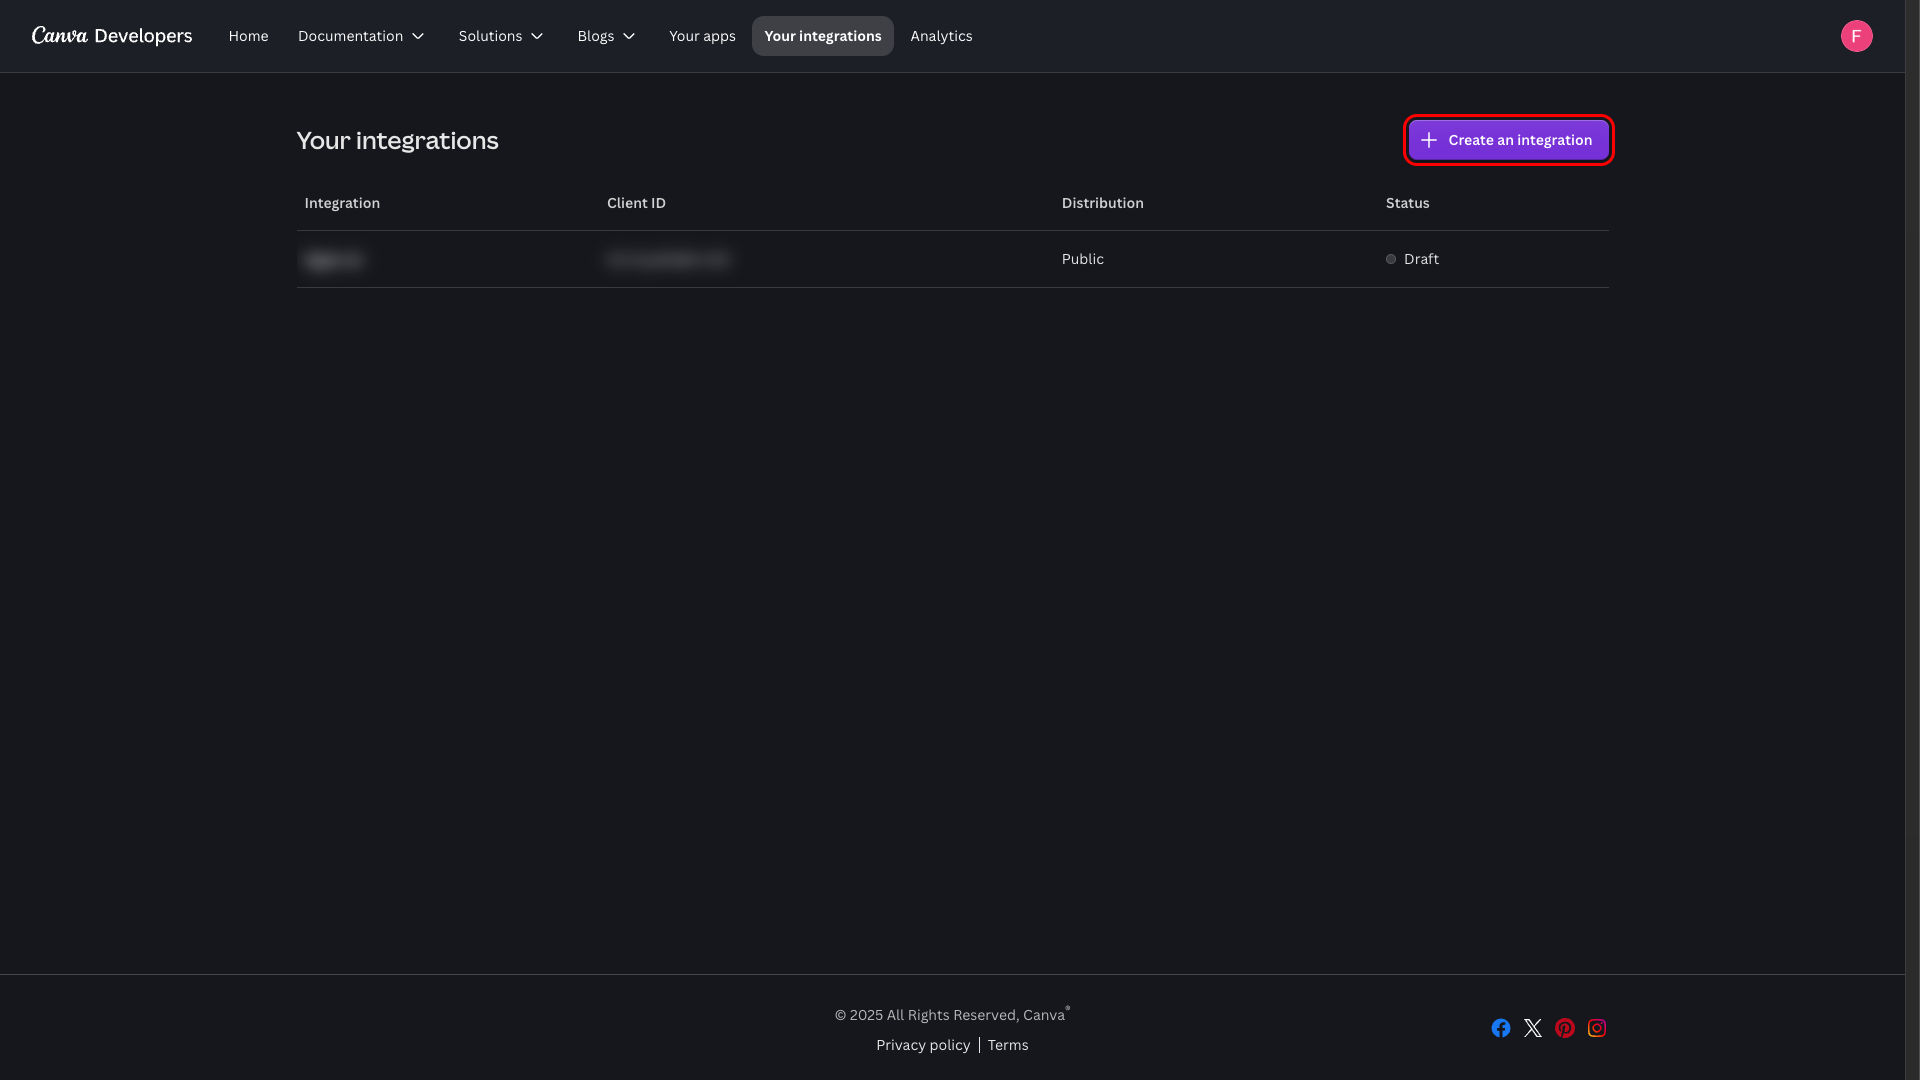
Sign in to Canva and go to the Canva Developer Portal. Open the Your integrations page and click Create an integration.
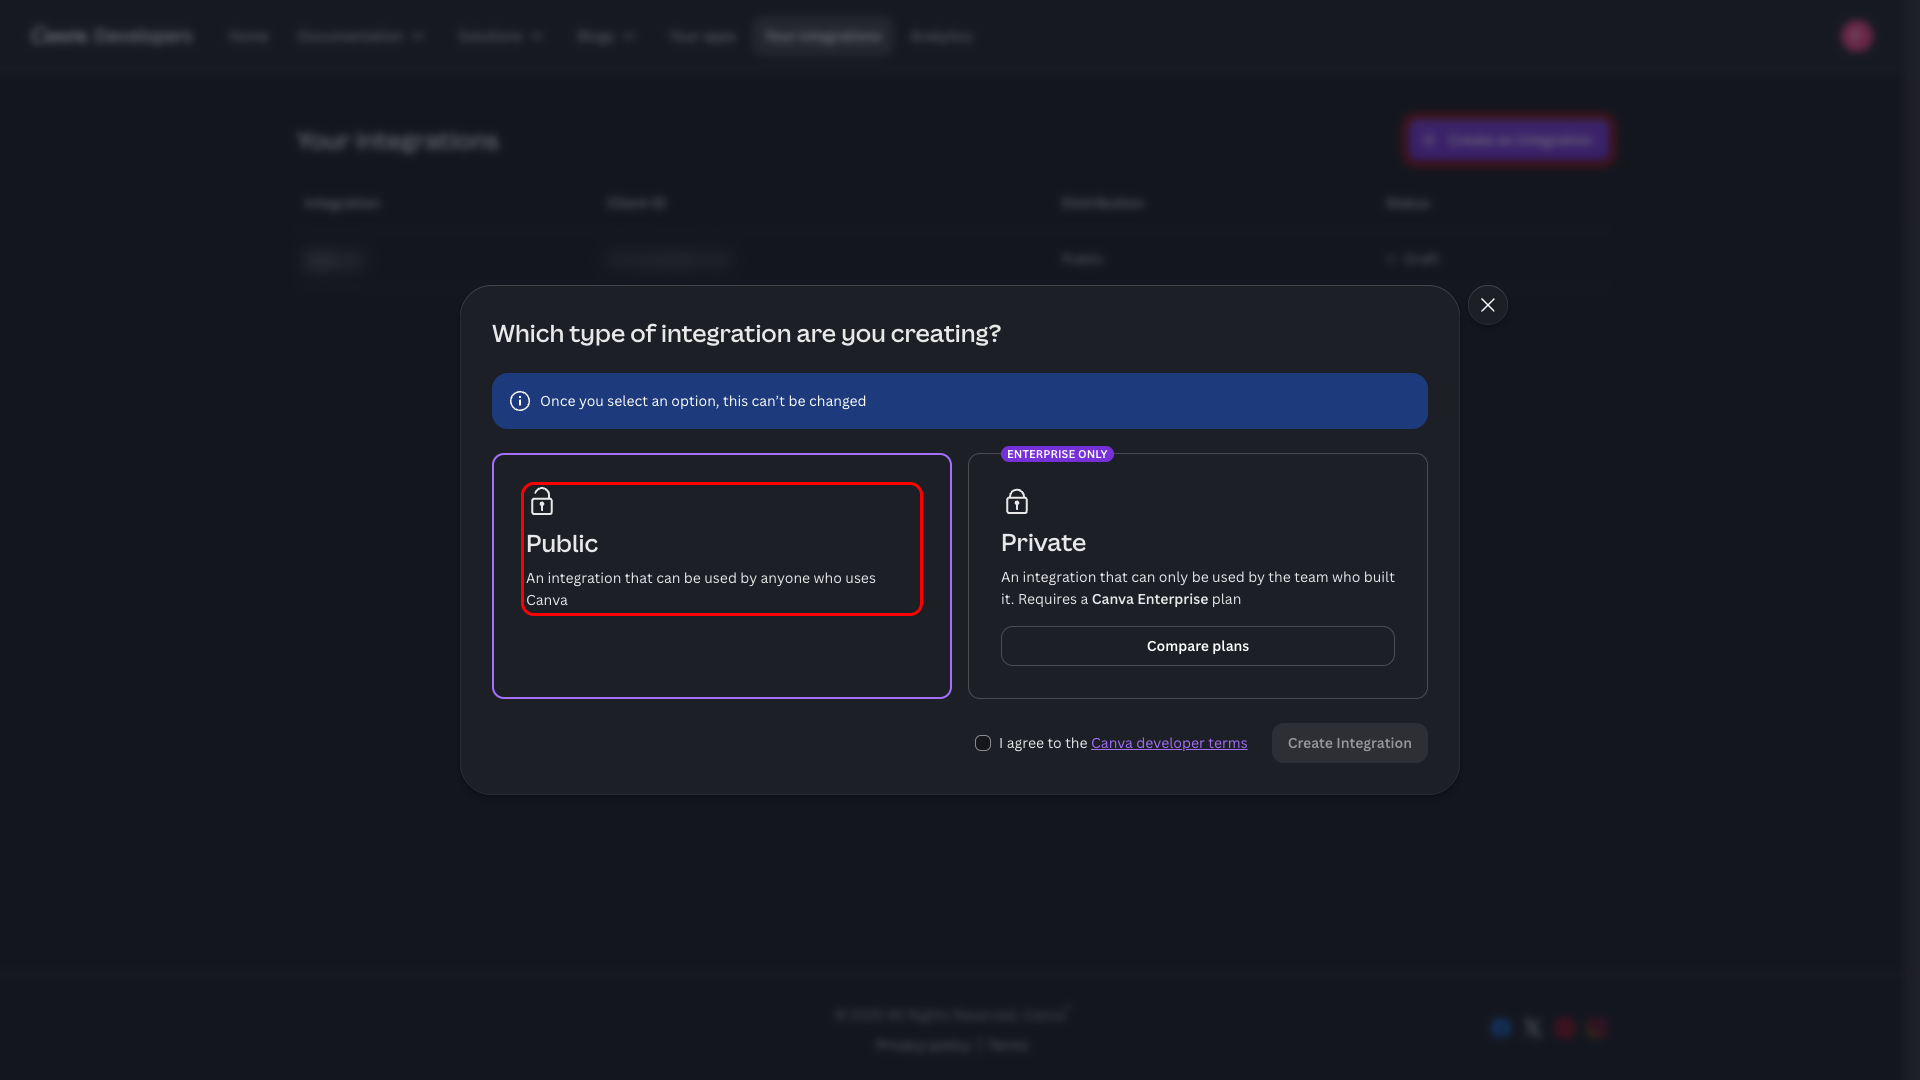
Select Public as the integration type, agree to the Canva developer terms, and click Create Integration.
Public vs Private
Public vs Private
A Public integration can be used by anyone on Canva once it is approved, and it works with your own team while still in draft. A Private integration is limited to the team that built it and requires a Canva Enterprise plan. The integration type can't be changed after creation.
On the Configure your integration page, enter a name in the Integration name field, for example Frontegg Connect. The name is limited to 18 characters. In the Credentials section, copy the Client ID — you will need it when configuring the integration in the Frontegg portal.
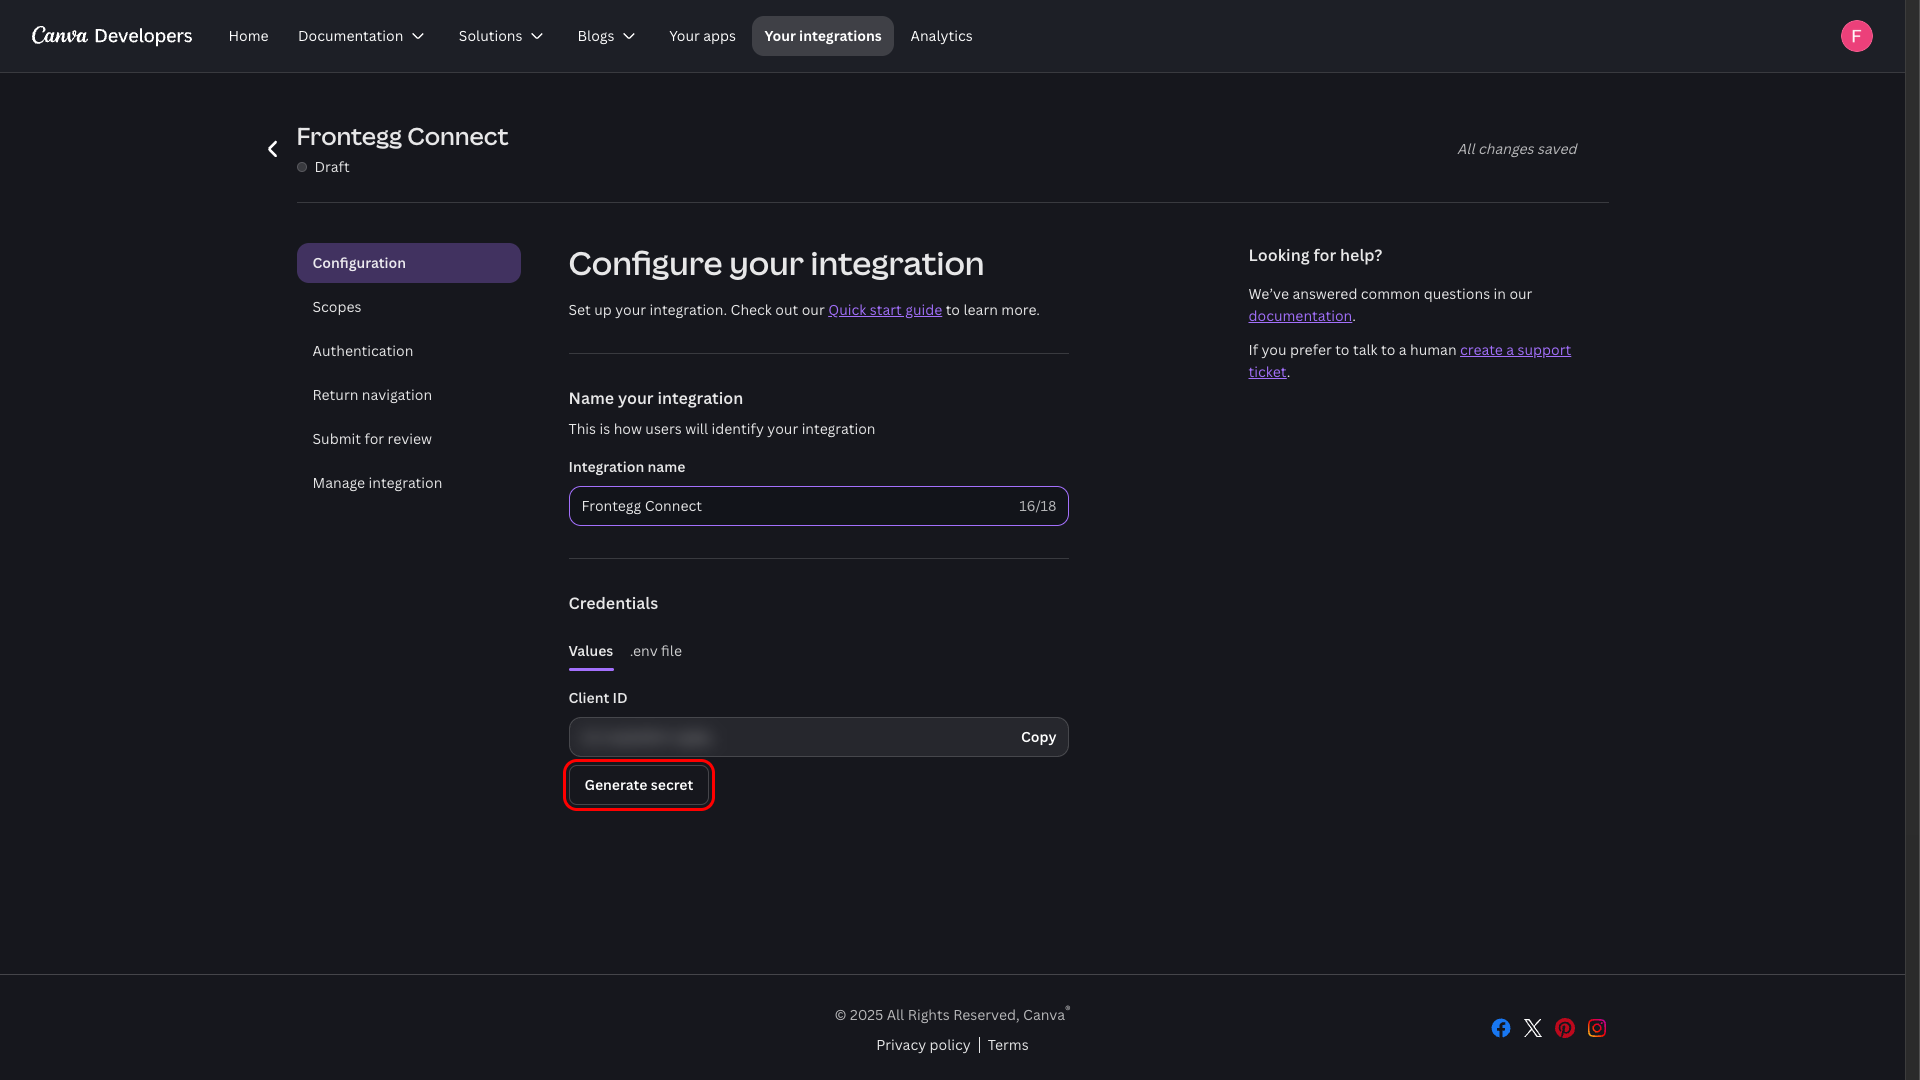
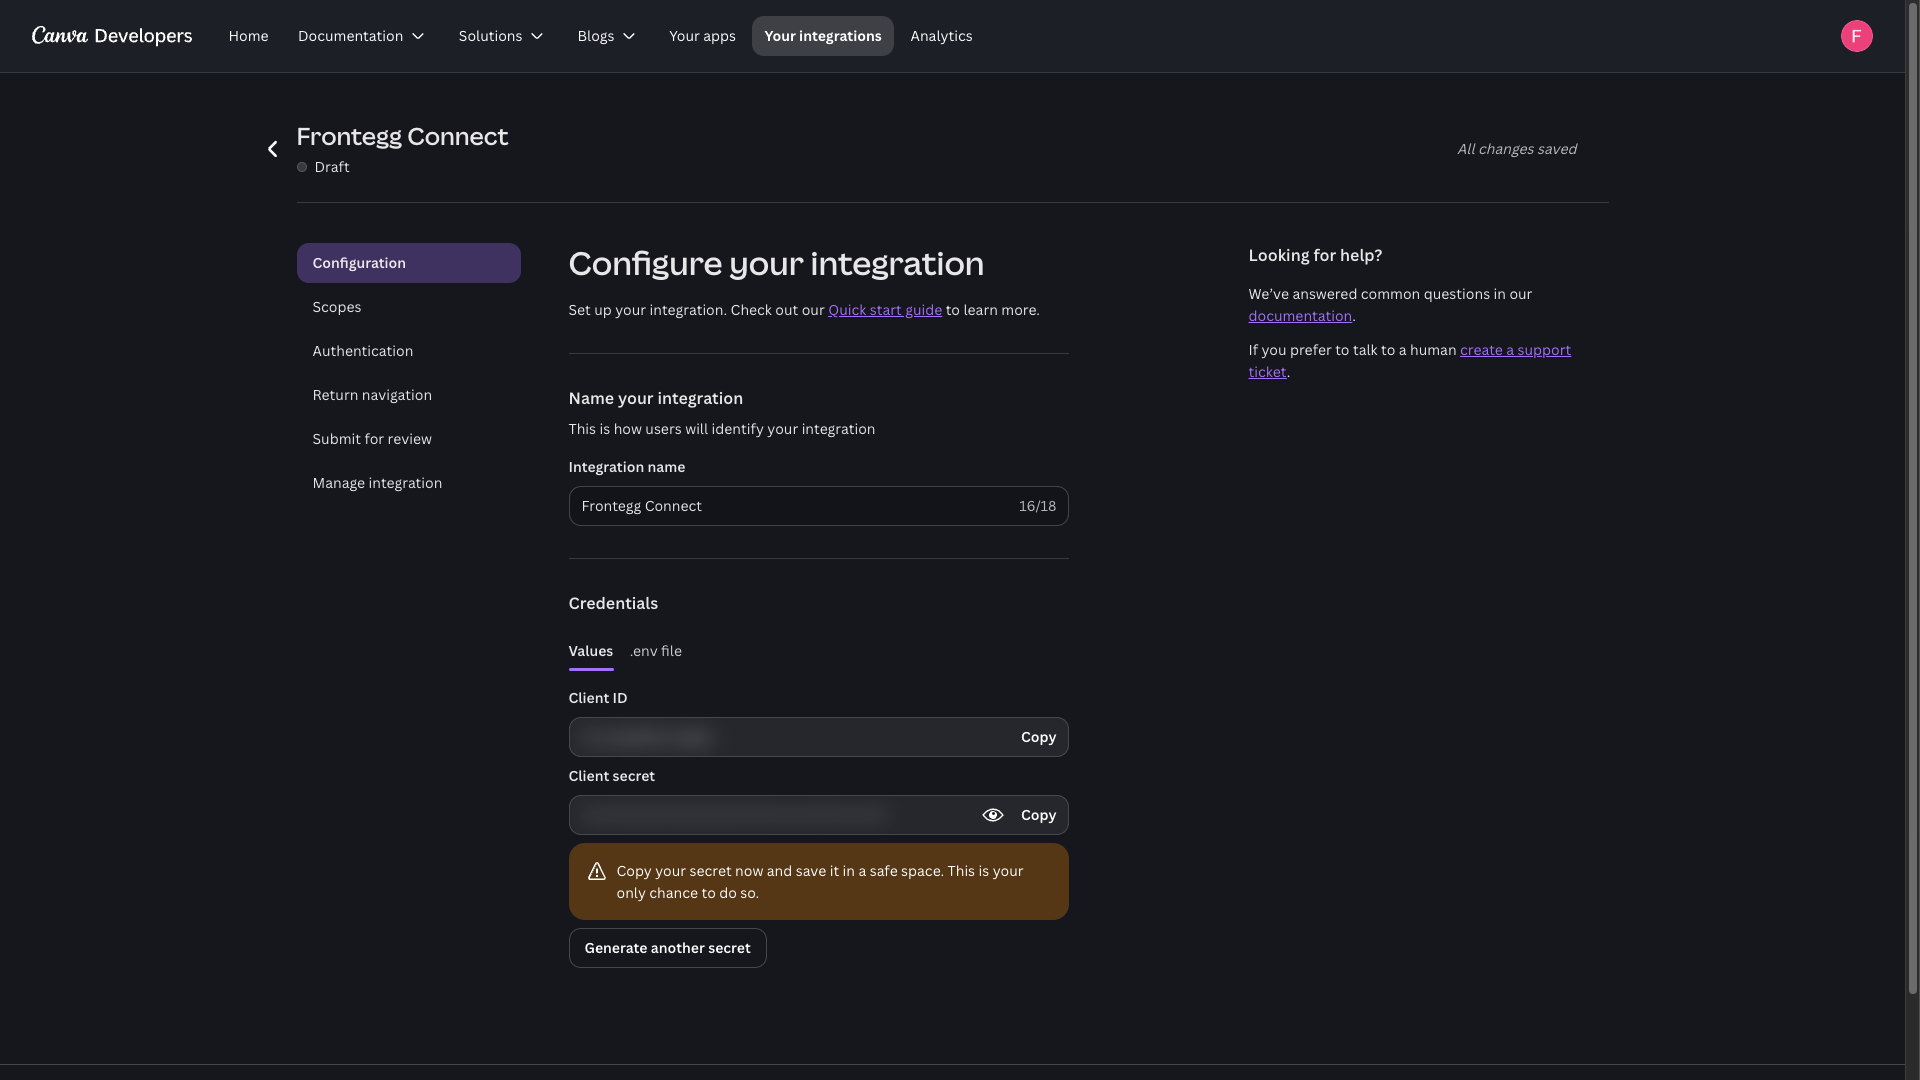
In the Credentials section, click Generate secret. Copy the Client secret immediately and store it somewhere safe.
Keep your credentials secure
Keep your credentials secure
Canva displays the Client secret only once. If you lose it, you will need to generate a new one. Never share your Client secret or commit it to version control.
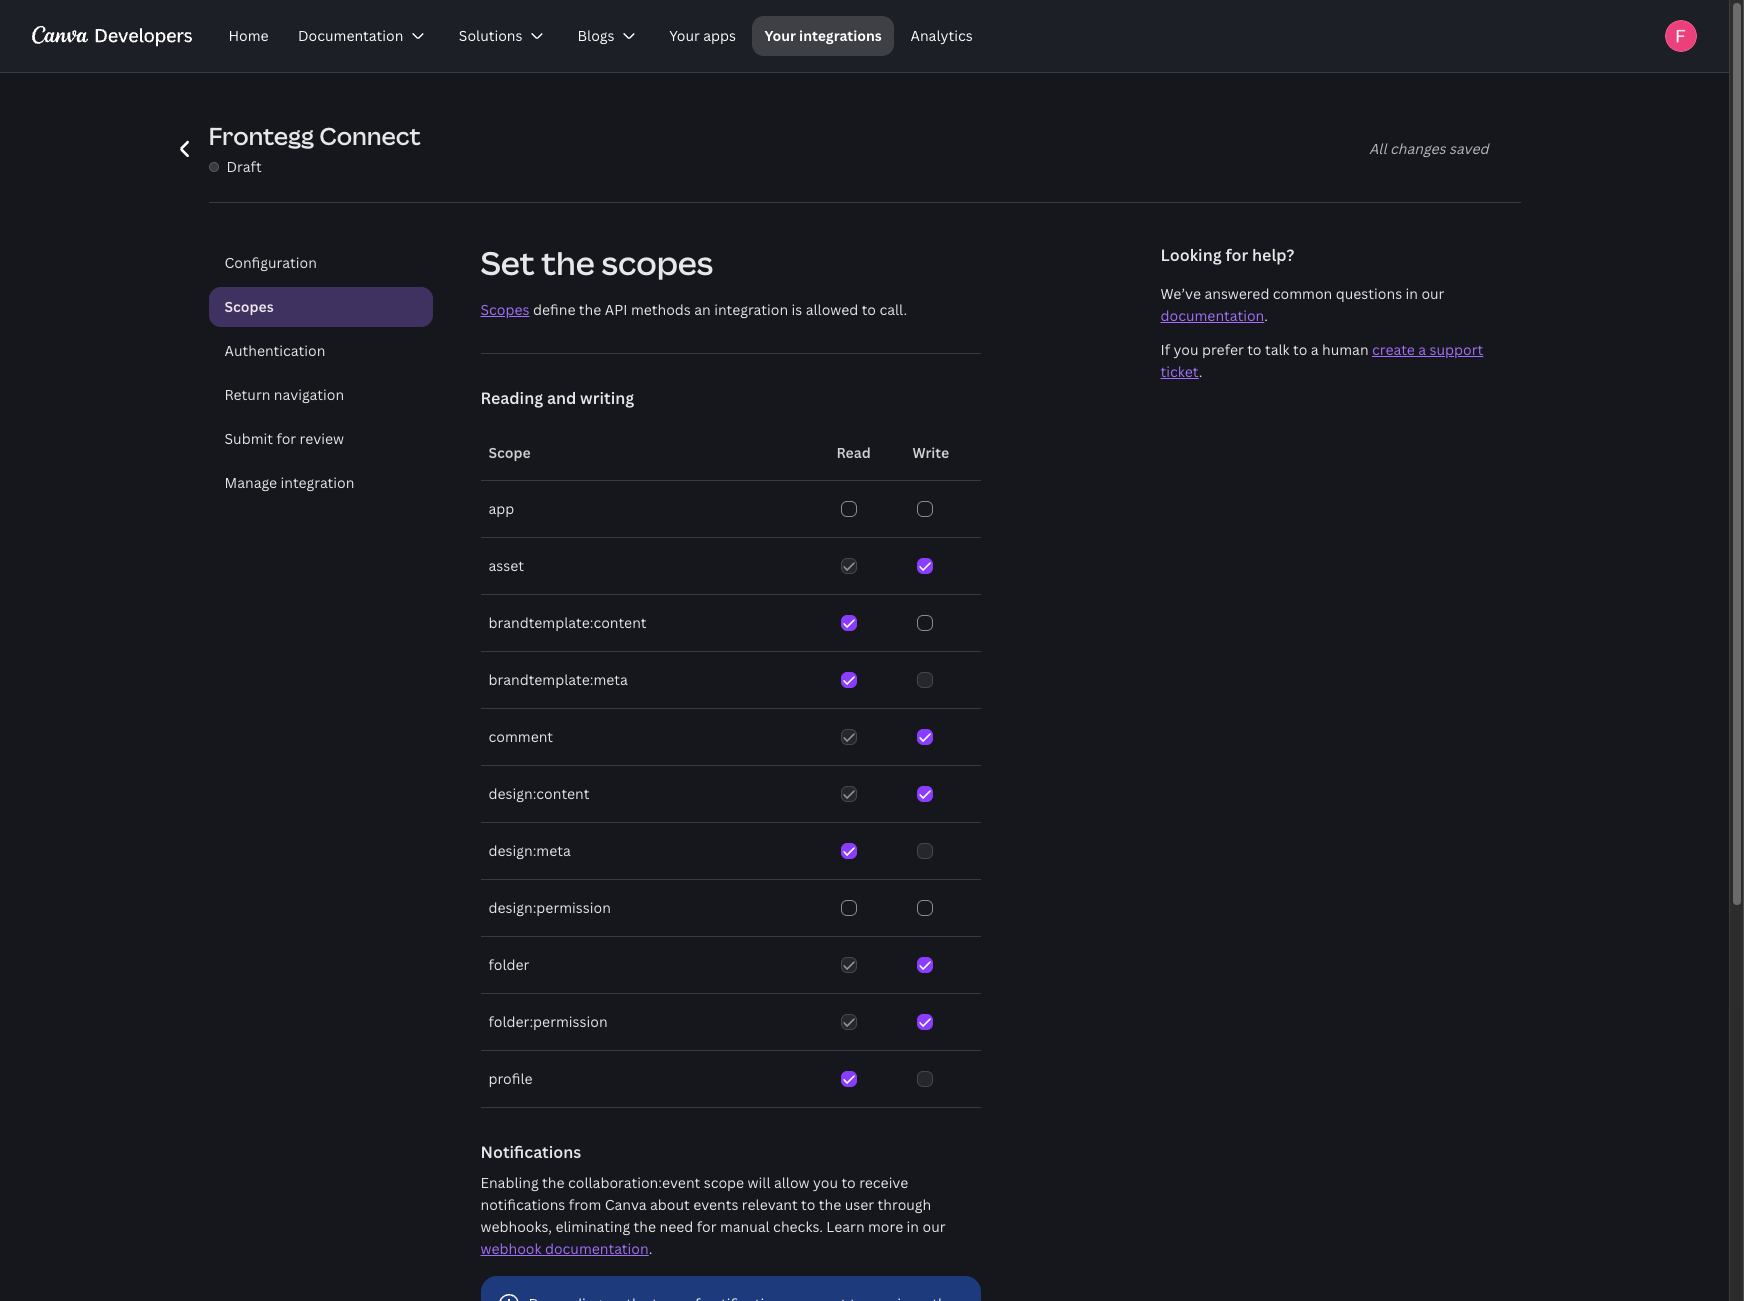
In the left menu, open Scopes. Under Reading and writing, enable the scopes your integration needs. Selecting a Write scope automatically enables its matching Read scope.
| Scope | Description |
|---|---|
design:meta:read | Read design metadata, such as listing and getting designs |
design:content:read | Read the content of designs |
design:content:write | Create and edit designs |
folder:read | List folders and their contents |
folder:write | Create and manage folders |
folder:permission:write | Manage folder permissions |
asset:read | Read asset metadata |
asset:write | Upload and import assets |
brandtemplate:meta:read | Read brand template metadata |
brandtemplate:content:read | Read brand template content |
comment:read | Read comments |
comment:write | Create and reply to comments |
profile:read | Read the user's profile information |
Minimum required scopes
Minimum required scopes
For core design, folder, and asset functionality you need design:meta:read, design:content:write, folder:read, asset:read, asset:write, and profile:read. Add the remaining scopes to enable brand templates and comments.
Scopes are saved automatically when you select them.
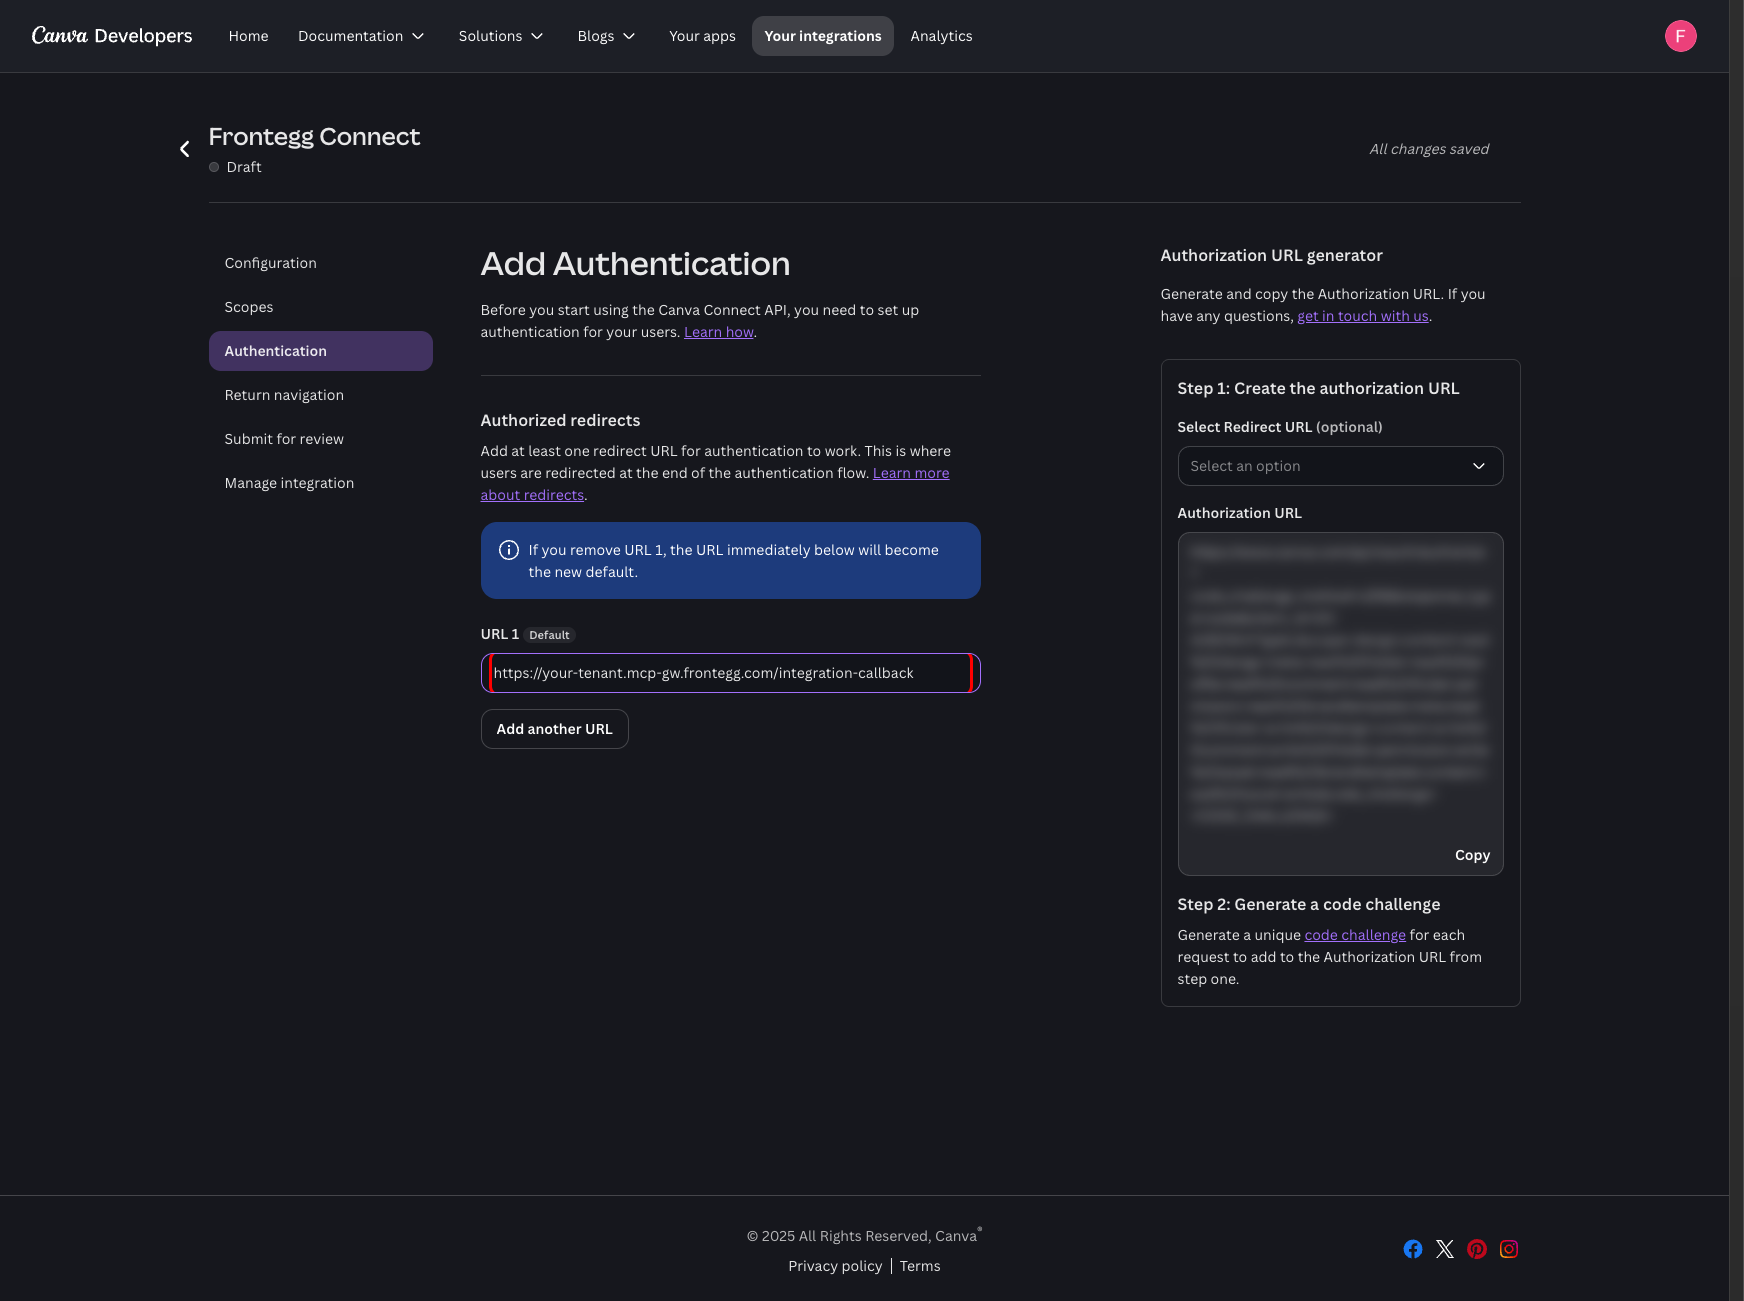
In the left menu, open Authentication. Under Authorized redirects, enter your Frontegg Redirect URL in the URL 1 field:
https://YOUR_MCP_GATEWAY_URL/integration-callback
The redirect URL is saved automatically.
Once you have your Client ID and Client secret from the steps above, enter them in the integration configuration page of the Frontegg portal:
- Open the Frontegg portal and navigate to [ENVIRONMENT] → Integrations → Canva.
- Enter the Client ID and Client secret in the corresponding fields.
- Select the required scopes.
- Click Save.