User impersonation
User impersonation refers to the ability of a system to temporarily grant access to another user's account, typically an administrator or support staff. This feature can be extremely useful for troubleshooting, testing, or resolving user issues without the need for the original user's login credentials. And with Frontegg, you can impersonate your users easily and securely.
In this guide, you will learn about how to set up and configure user impersonation in your app. User impersonation is a powerful but potentially dangerous tool as it allows all actions inside another user’s account (including switching accounts if possible). Only give impersonation permissions to those you trust.
Prerequisites
Prerequisites
@frontegg/react@5.0.24
@frontegg/angular@5.17.0
@frontegg/vue@2.0.21
@frontegg/nextjs@8.0.18
@frontegg/js@6.74.0
Enabling user impersonation
When setting up user impersonation, you can opt for one of the following options:
- Enabling / disabling user impersonation - if enabled, users with the relevant permissions will be able to perform user impersonation.
- Sending impersonated logs to account audit logs - audit logs about impersonated actions are always sent to the Frontegg portal (Audit Trail), but if enabled, this setting will prevent them from being sent to account audit logs. (However, keep in mind that user login sessions always show impersonation).
To configure these settings, go to [ENVIRONMENT] → Management → Impersonation.

Impersonating a user
To impersonate a user on the environment, go to your [ENVIRONMENT] → Management → Users tab and locate the user you want to impersonate. To impersonate users, you must have an Owner or an Impersonator role (in addition to an Admin or Backoffice Editor / Viewer). Click on impersonate user.

You’ll then be asked to specify why you are impersonating that user. This reason will appear in environment and account audit logs (if enabled).

User impersonation session timeframe
If impersonation is enabled on your app and your role permits impersonation, a session will open in a new tab, logged in as your target user with their role. The session will last a maximum of 60 minutes and can’t be extended.
Note that if keepSessionAlive equals false, the session will only last 5 minutes. To ensure 60-minute sessions, consider changing keepSessionAlive to true.
Prerequisites
Prerequisites
When starting an impersonation session, Frontegg will create a session with the URL specified in the application's Login URL variable. If you are using the hosted login method, the Login URL should be https://[your-frontegg-domain].frontegg.com/oauth If you are using the embedded login method, the Login URL should be the same as your App URL, for example: http://localhost:3000
Impersonation on a user level
If a user is the subject of an existing impersonation session, they should see an impersonation session in their login sessions. Like any of their sessions, they can revoke that session, ending the impersonation session.

Impersonator JWT
When a user is impersonated, the JWT generated for the impersonation session includes the userId of the Frontegg portal user initiating the impersonation. The ID of the Management user who started the impersonation session will appear under the act.sub attribute:
"act": {
    "sub": "impersonation-actor-userId"
    }
Impersonating a user via the User page
In addition to impersonating users from the main users table, you can now start an impersonation session directly from the User page. This provides a more contextual experience, especially when you're already viewing detailed information about the user.
To impersonate a user:
- Go to [ENVIRONMENT] → Management → Users.
- Click on a user to open their profile.
- In the Impersonate user section, click the Impersonate button.
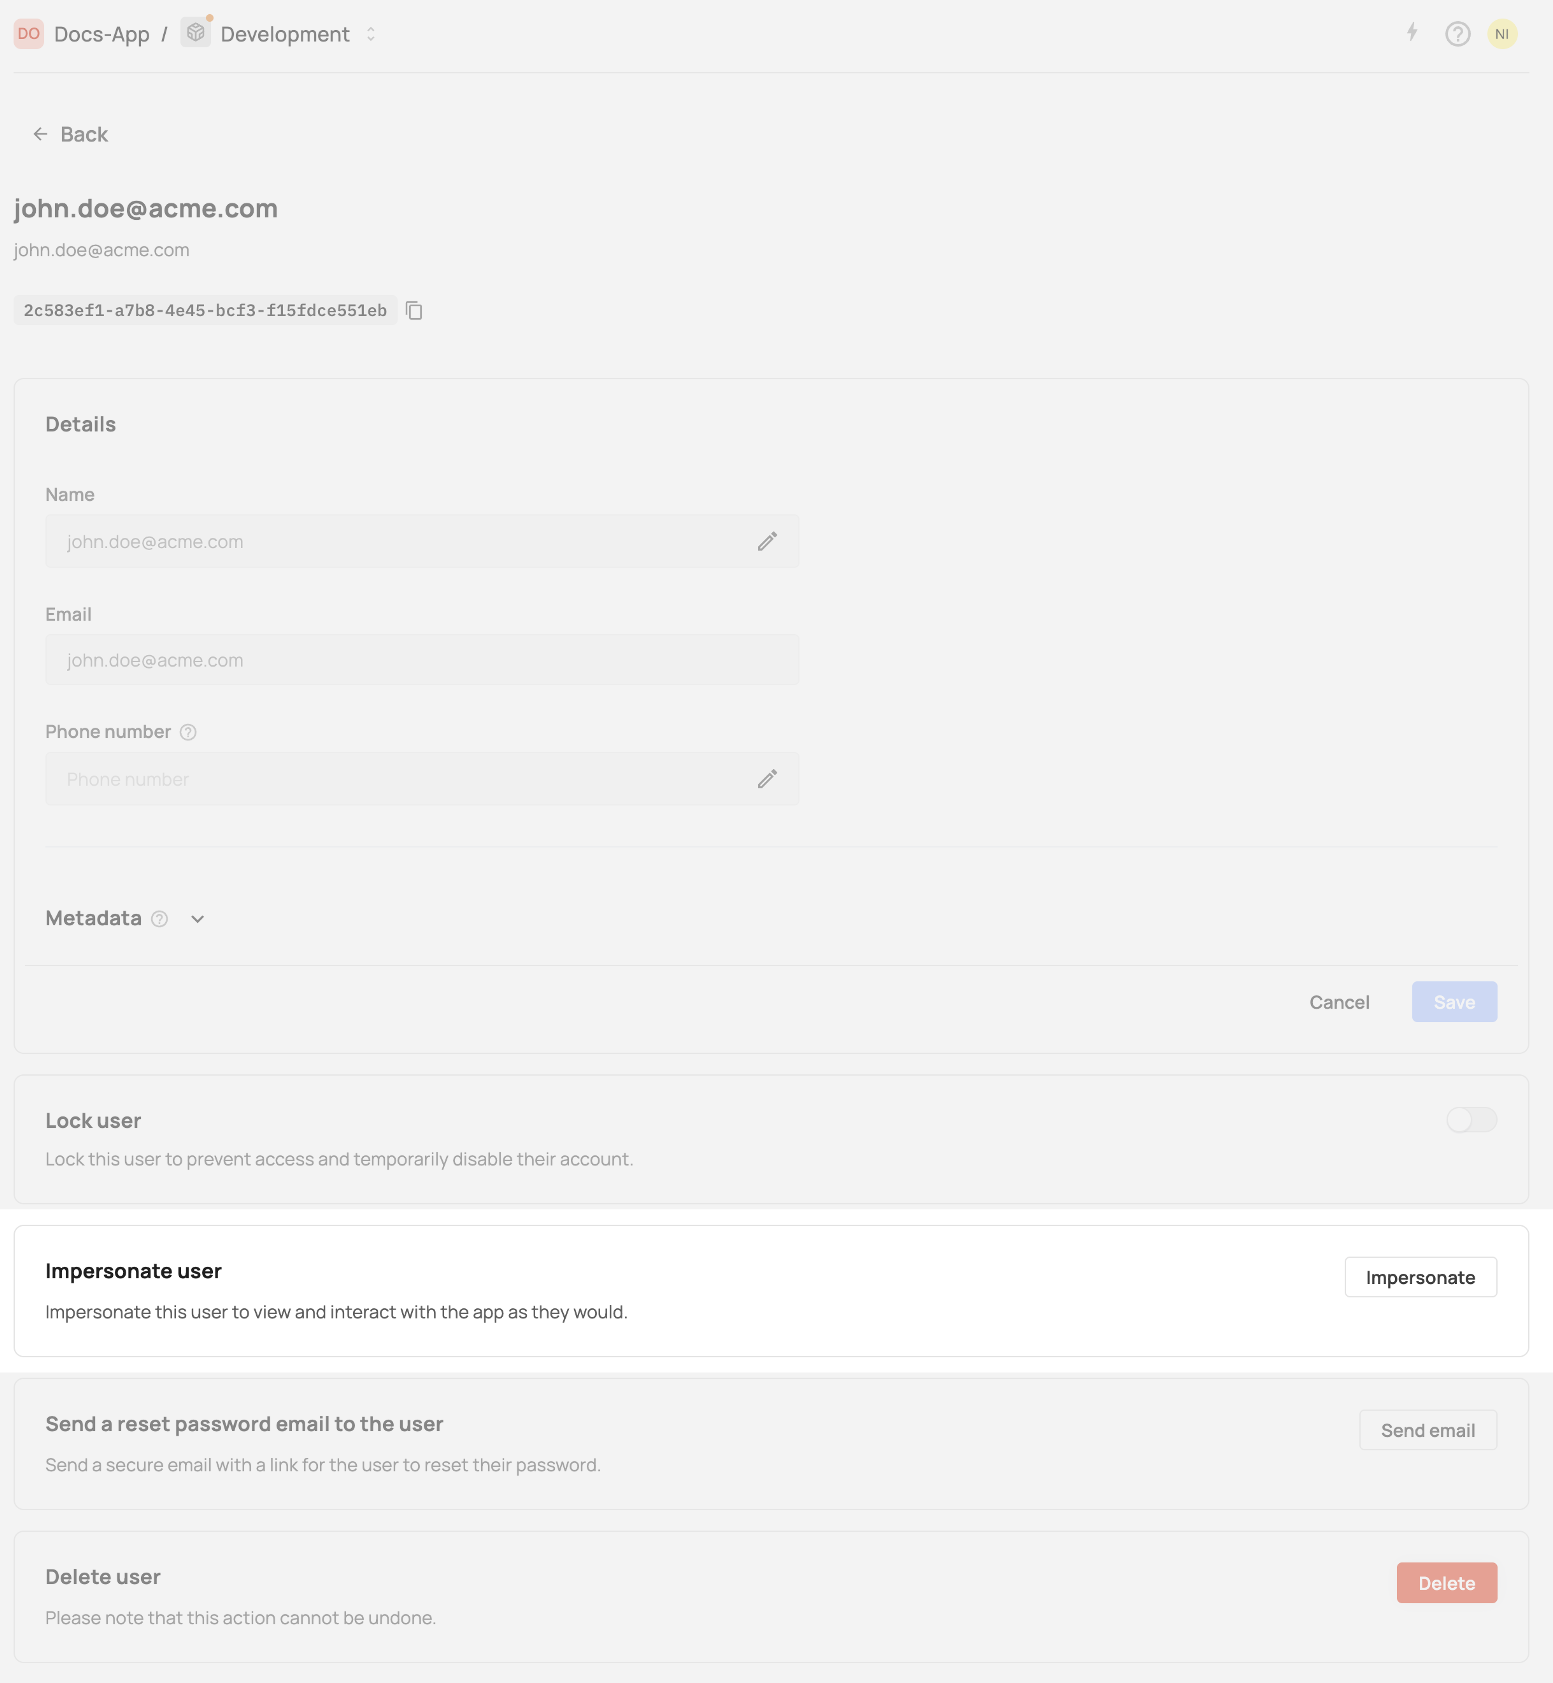
- A drawer will open where you need to:
- Select the account and application for the impersonation session.
- Provide a reason for impersonation.
- Click Start Session to initiate the impersonation.
Impersonation logic
Impersonation logic
- The user's active account and its default application are pre-selected when opening the impersonation drawer.
- The application dropdown only displays applications associated with the currently selected account.
- If the selected account is changed, the default application for that account will be automatically selected.
All impersonation sessions triggered this way follow the same rules and permissions as those started from the users table, including session duration and audit trail logging.