SendGrid
Frontegg allows you to configure SendGrid as your email provider either via the portal or API. The integration breakdown is outlined below.
Portal configuration
The SendGrid configuration relies on obtaining a SendGrid secret from your account and filling it in the relevant field in your Frontegg account.
Step 1: Access the Frontegg portal
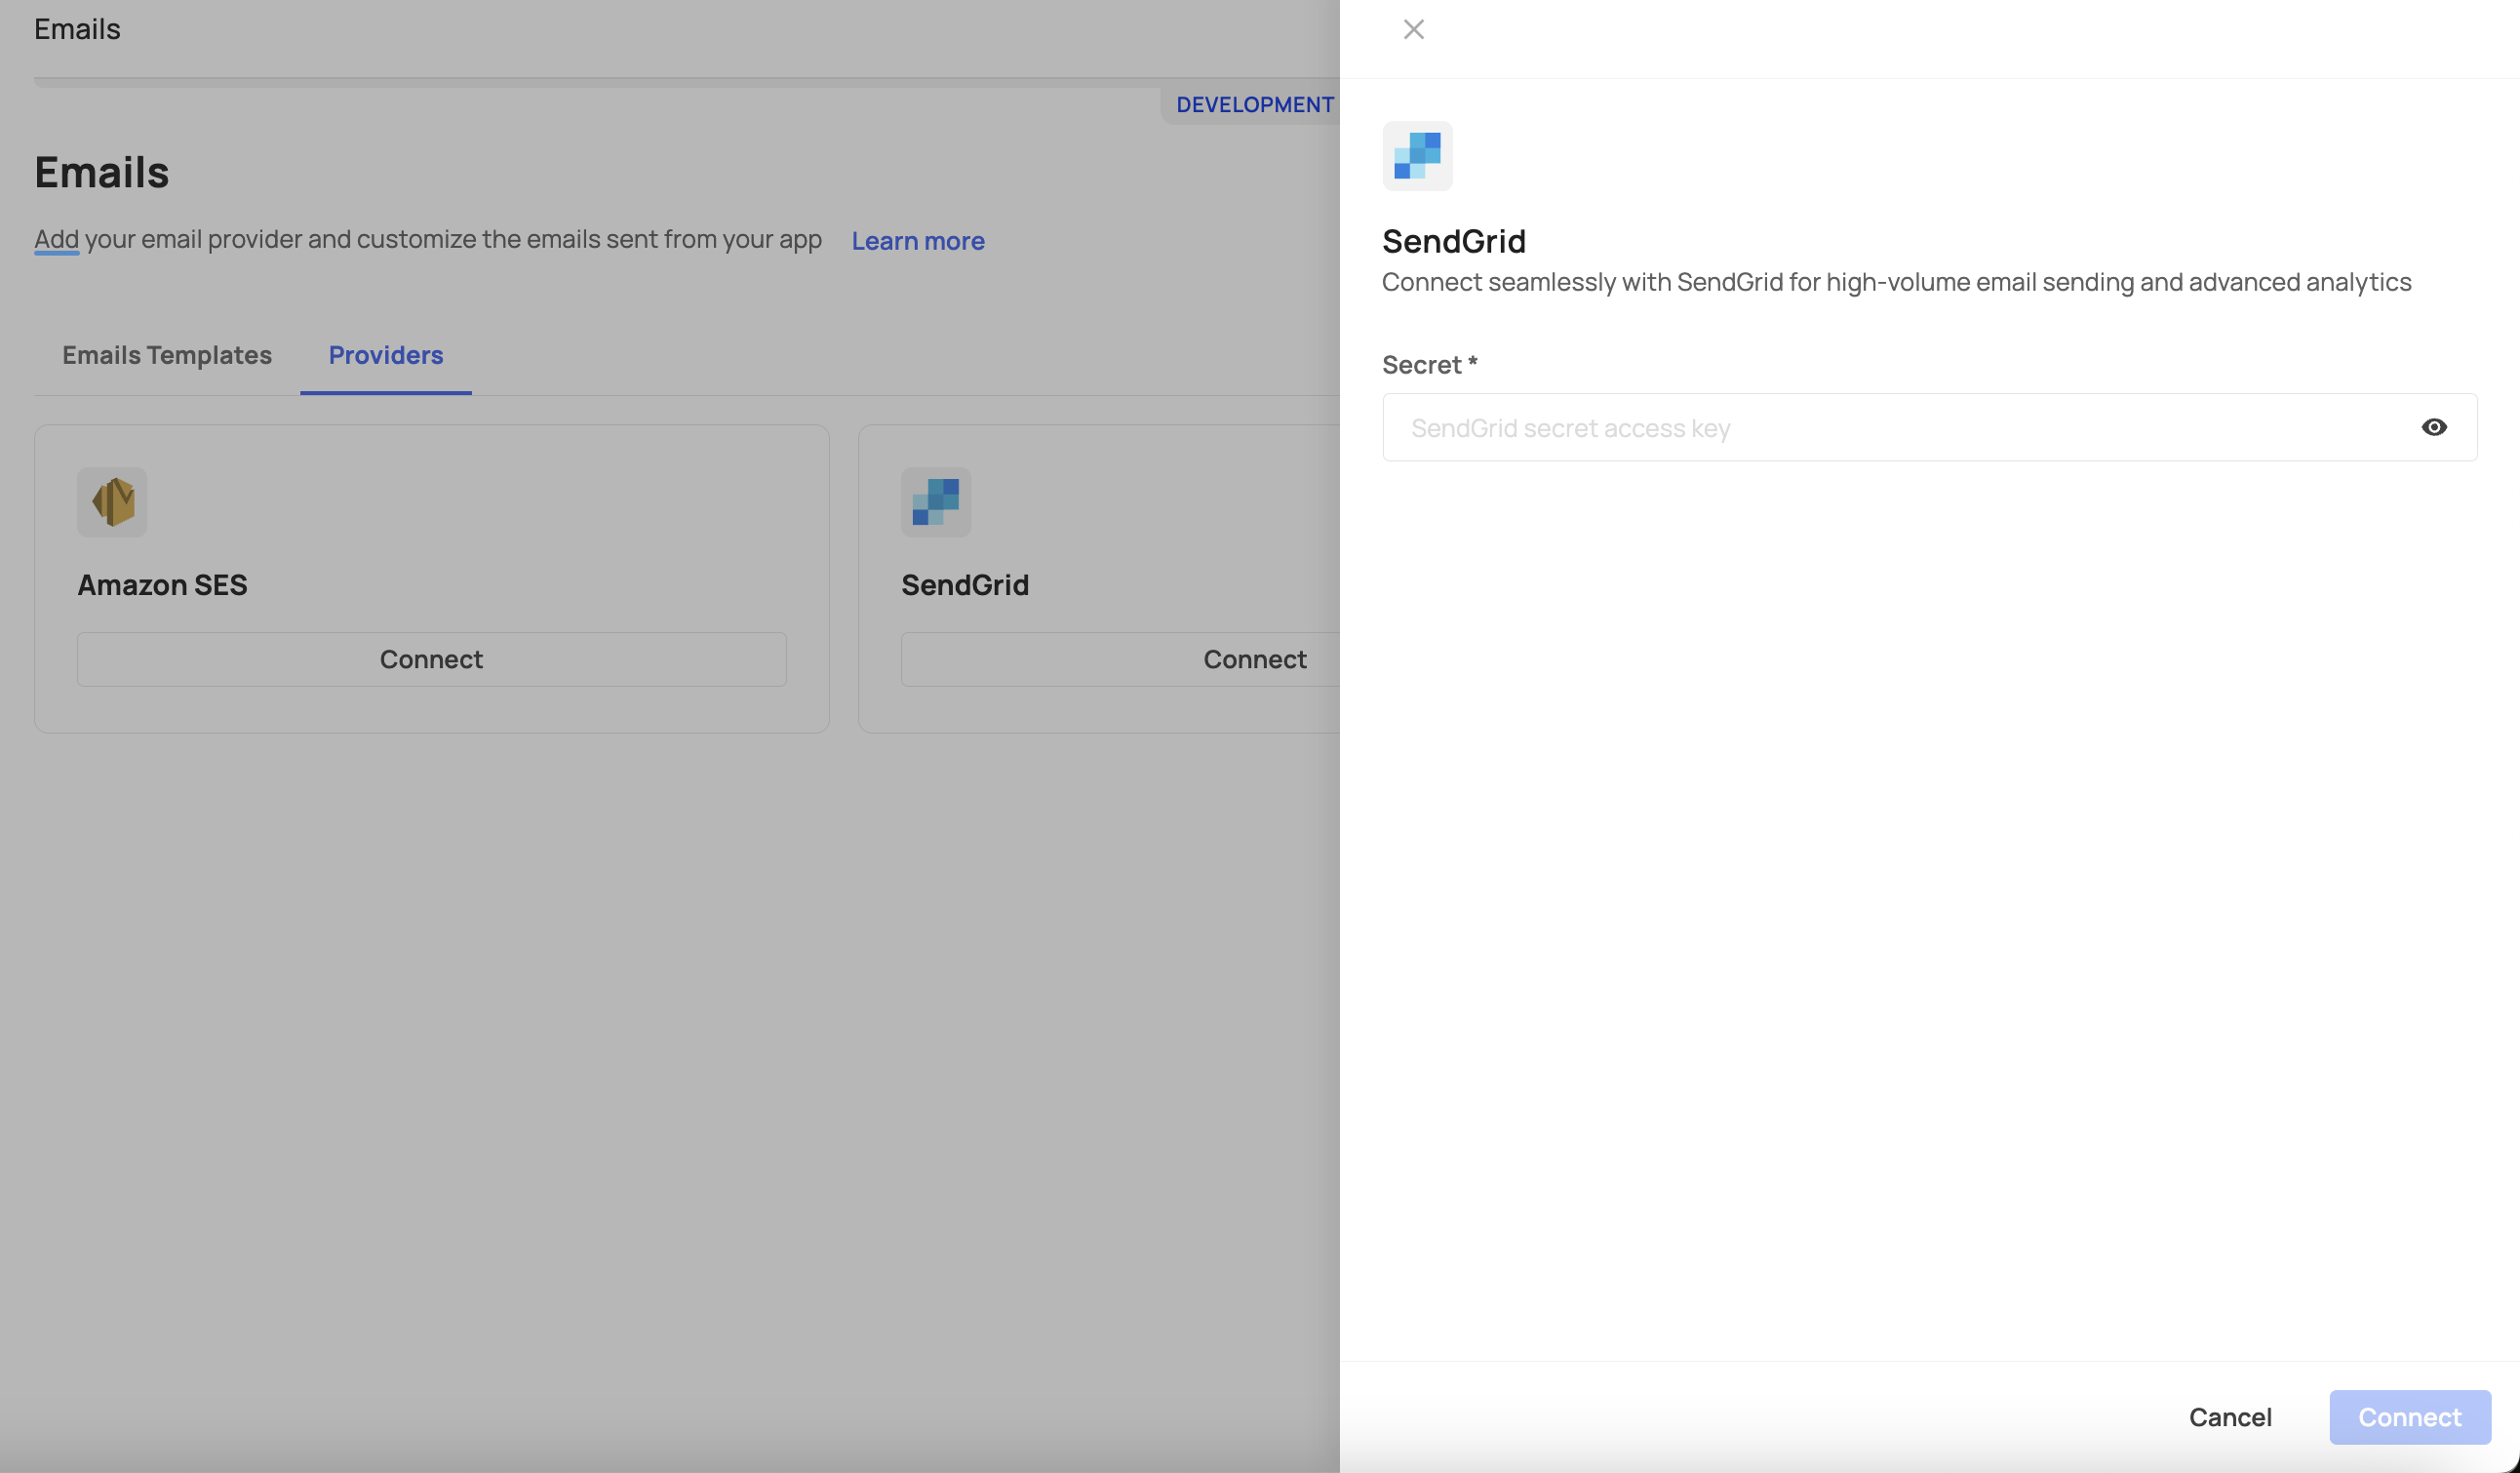
Navigate to your specific environment within the Frontegg portal, then go to the "Emails" section and select "Providers."
Step 2: Connect to SendGrid
Click the connect button to initiate the connection process with SendGrid.
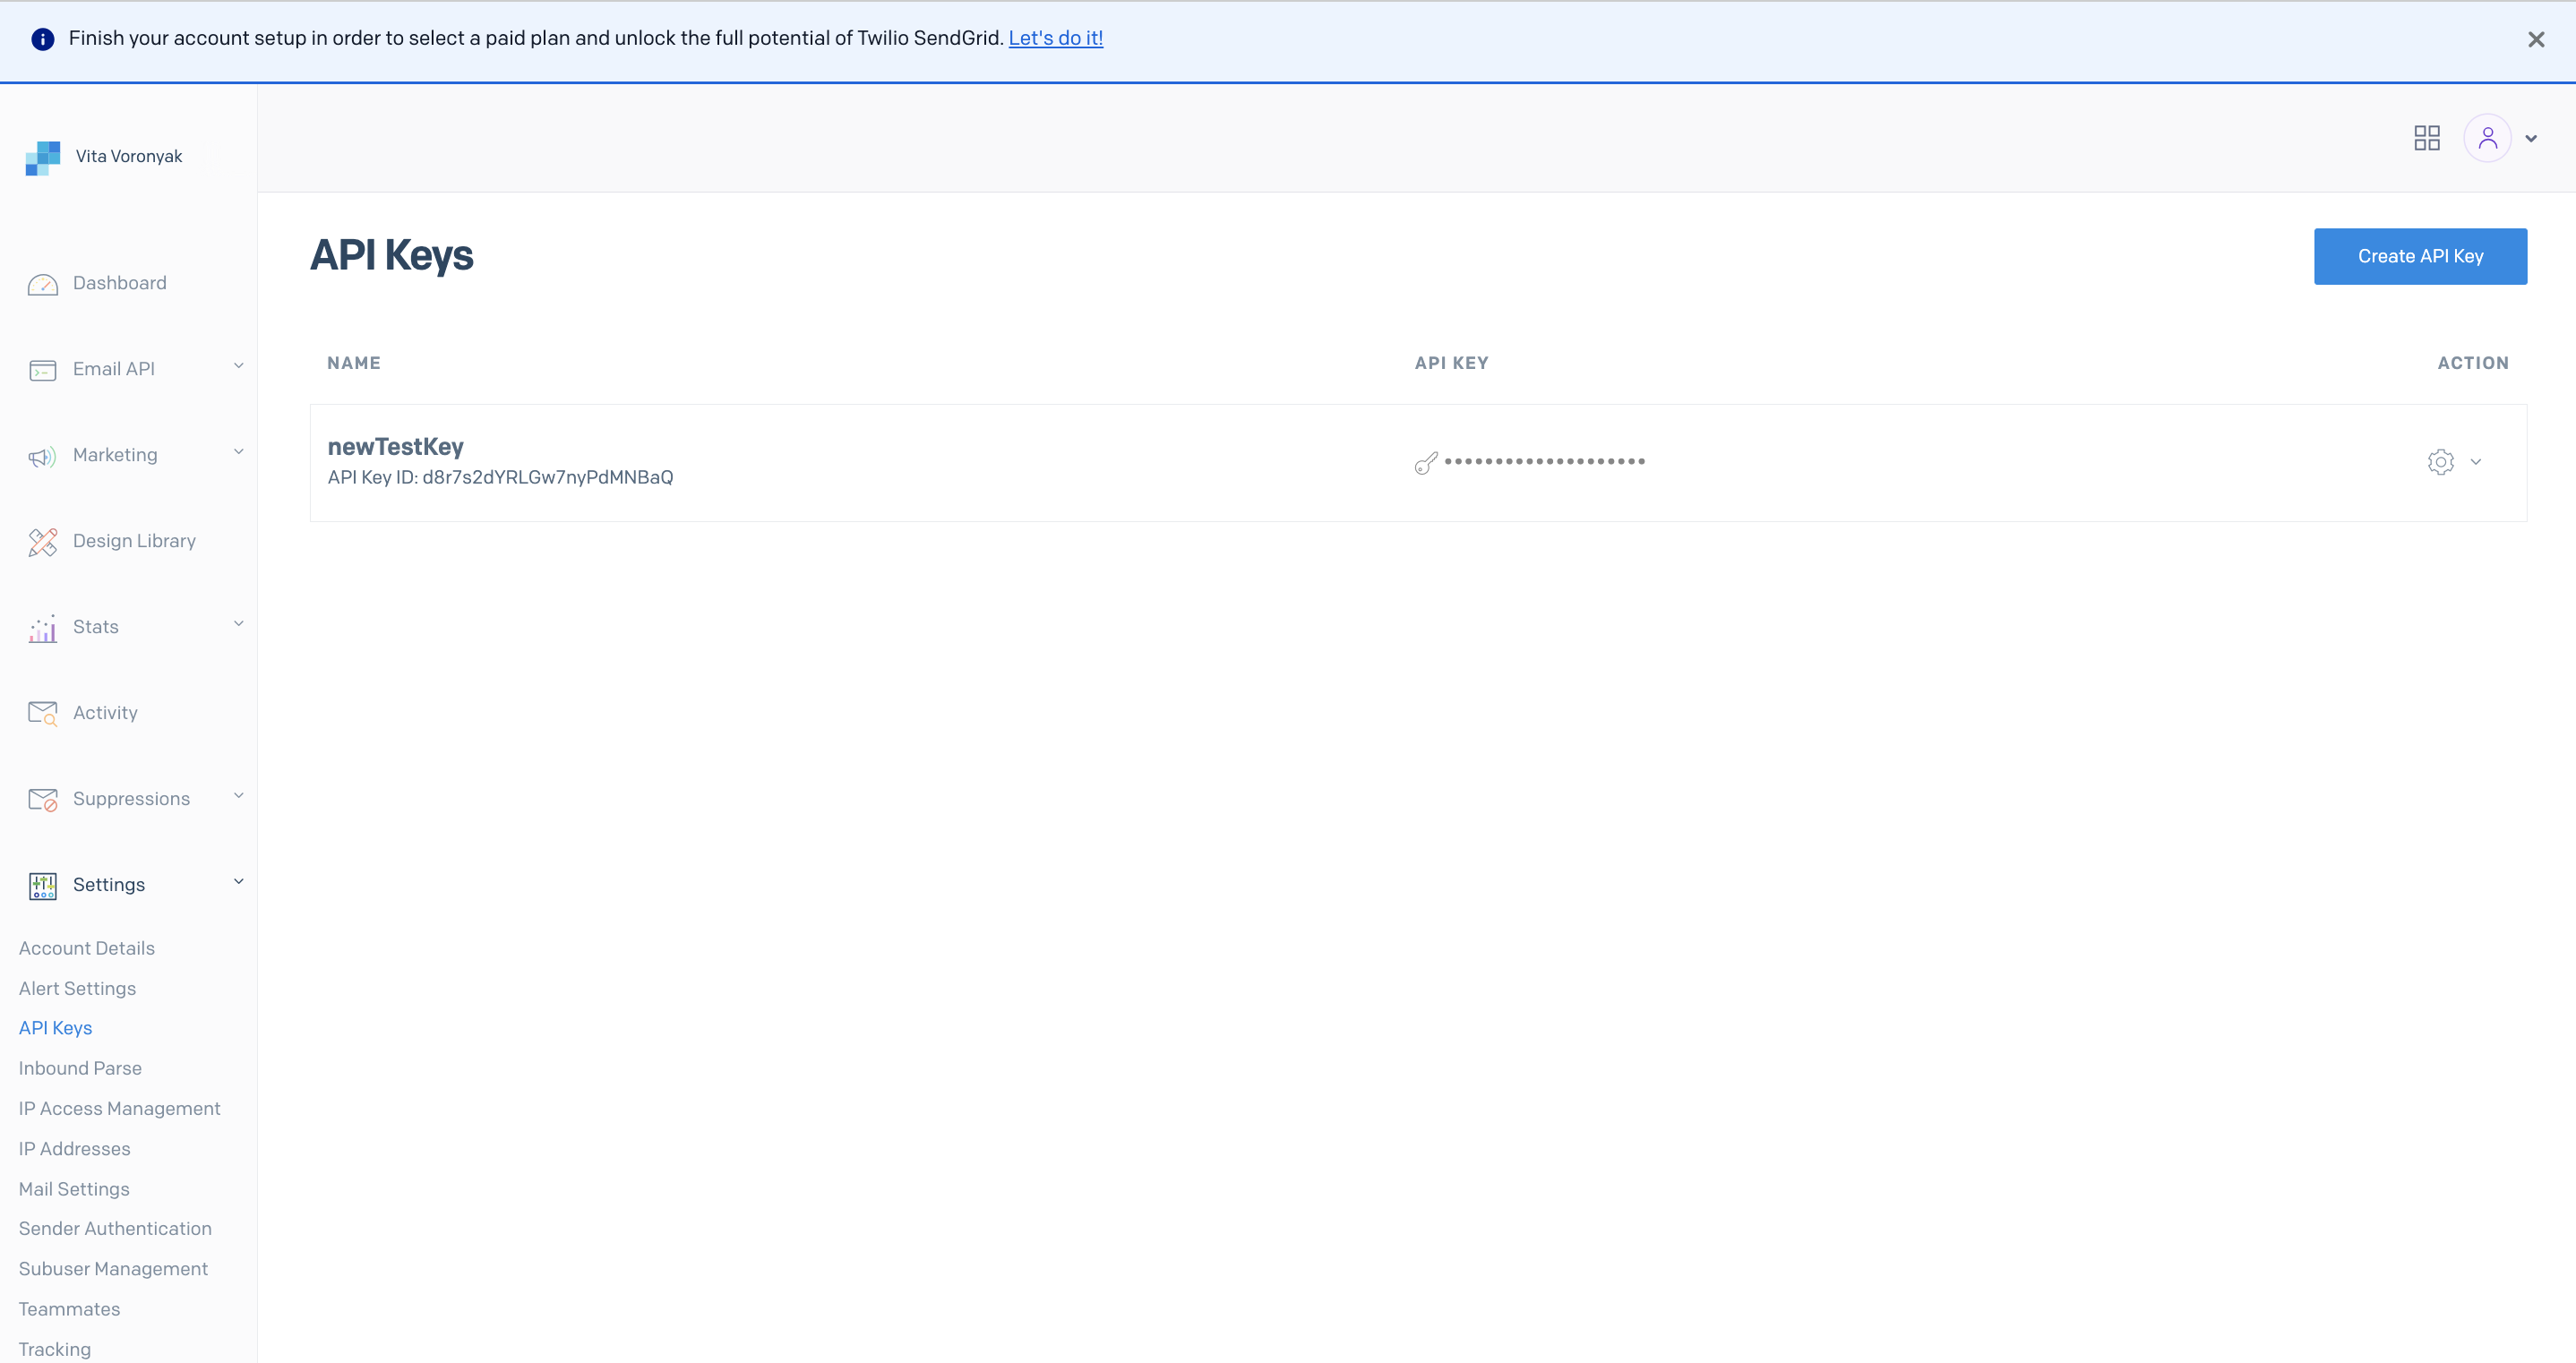
Step 3: Obtain the SendGrid secret
Log into your SendGrid account, navigate to Settings → API Keys, and either create a new API key or use an existing one. Ensure the API key has the 'Send email' permission.
Step 4: Enter the secret in Frontegg
Return to the Frontegg portal and fill in the secret field with the API key obtained from SendGrid. This secret is necessary for authenticating the connection.
API configuration
Prerequisites
Prerequisites
An environment token from the authentication route is required to use this API. Check out the Getting Started with Frontegg APIs topic to learn more.
When configuring SendGrid via API, you will need to include the provider (sendgrid) and secret fields in your POST request payload. To generate your secret, please follow the instructions provided in the link above.
Note that your sample request's structure should resemble the following:
cURL example
curl --request POST \
     --url https://api.frontegg.com/identity/resources/mail/v2/configurations \
     --header 'content-type: application/json' \
     --data '
{
  "payload": {
    "provider": "sendgrid",
    "secret": "string"
  }
}