Custom webhooks
Custom webhooks allow you to create a direct integration with Third-Party tools by adjusting the webhook messaging payload according to their requirements. Frontegg lets you customize your webhooks, providing a more flexible and powerful way to create integrations with third-party tools. With custom webhooks, you can send data in real time to external applications, allowing you to create customized workflows that cater to your specific needs and automate repetitive tasks.
Creating a new custom webhook connection
- Open the Frontegg portal.
- Navigate to [ENVIRONMENT] ➜ Configurations ➜ Hooks.
- Click the Connect button next to Webhook, and then click the Create connection button.

Fill in the webhook details, such as the display name and its trigger event from the dropdown menu.
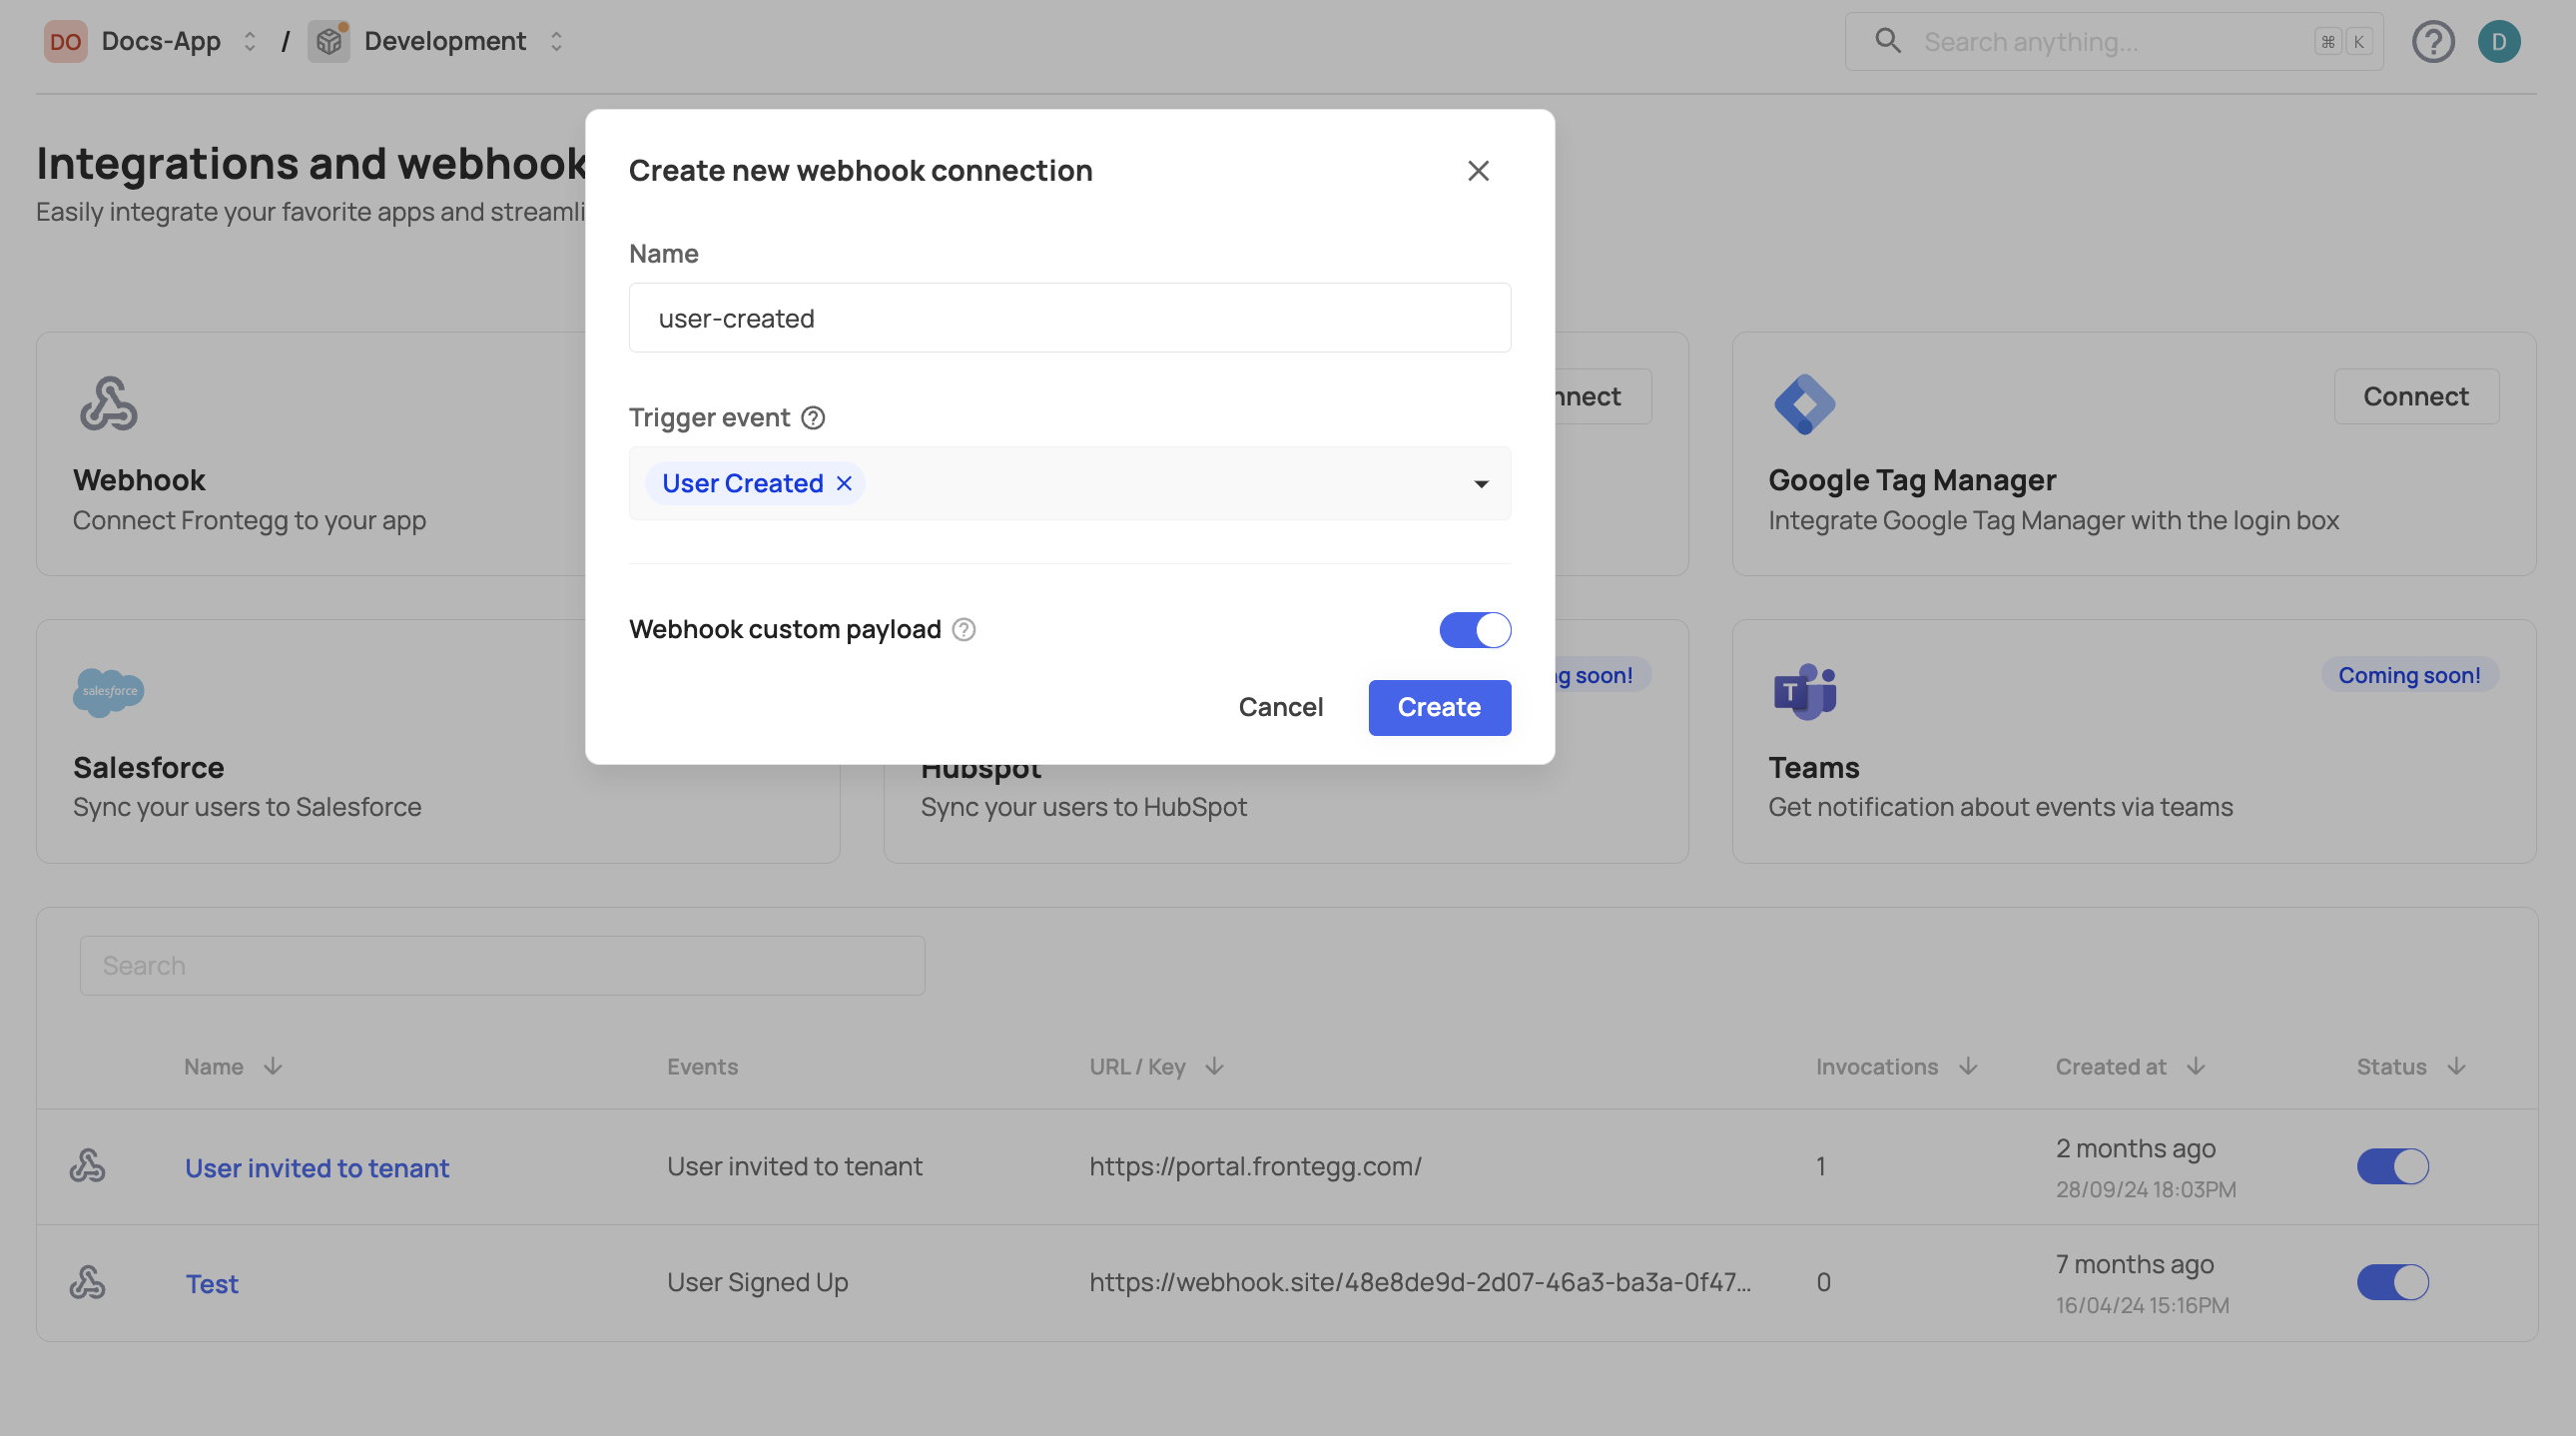
Customizing the payload data
If you choose to toggle on the Webhook custom payload, you will receive an empty payload that can be customized according to your needs. Note that for webhooks with a custom payload, the trigger event cannot be changed after creation.

Testing your webhooks
Testing your webhooks
When testing your application, Frontegg will send the request without headers to avoid abuse. To prevent errors, we recommend configuring the webhook and triggering it live to ensure it is working properly.
Settings tab
The settings tab is where you can give your webhook a secret key (learn more about Secret Management in Custom Code Hooks). You can also delete the connection if needed.

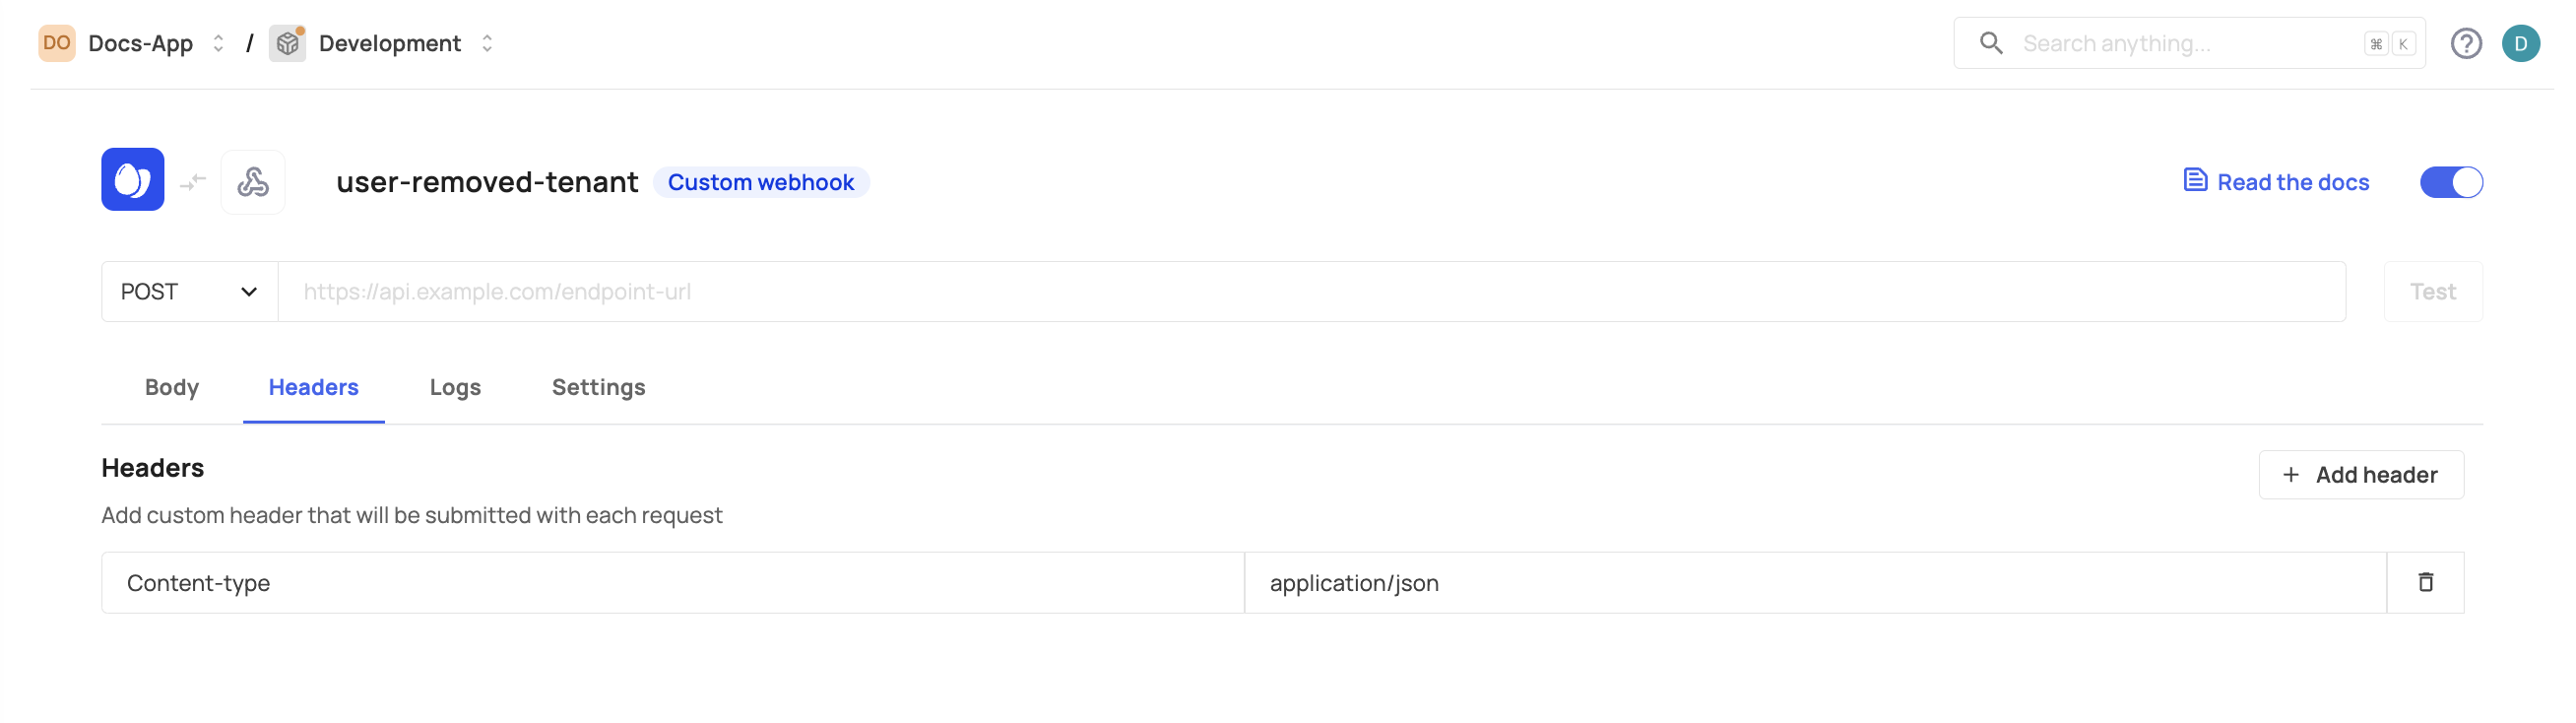
Headers tab
The Headers tab allows you to configure special headers for the API you are using.
Logs
Logs
Whenever a webhook is triggered, it generates a log that is recorded and can be viewed via the webhook's Logs tab.