Self-service OpenID configuration
OpenID Connect (OIDC) is an open identity authentication protocol built on the OAuth 2.0 framework, enabling users to use Single Sign-On (SSO) for seamless access to relying party sites.
Prerequisites
Prerequisites
The following topic covers the steps for adding an OpenID configuration via Frontegg's self-service within your application. Make sure that the SSO page is enabled and published to the environment.
Configure a new connection
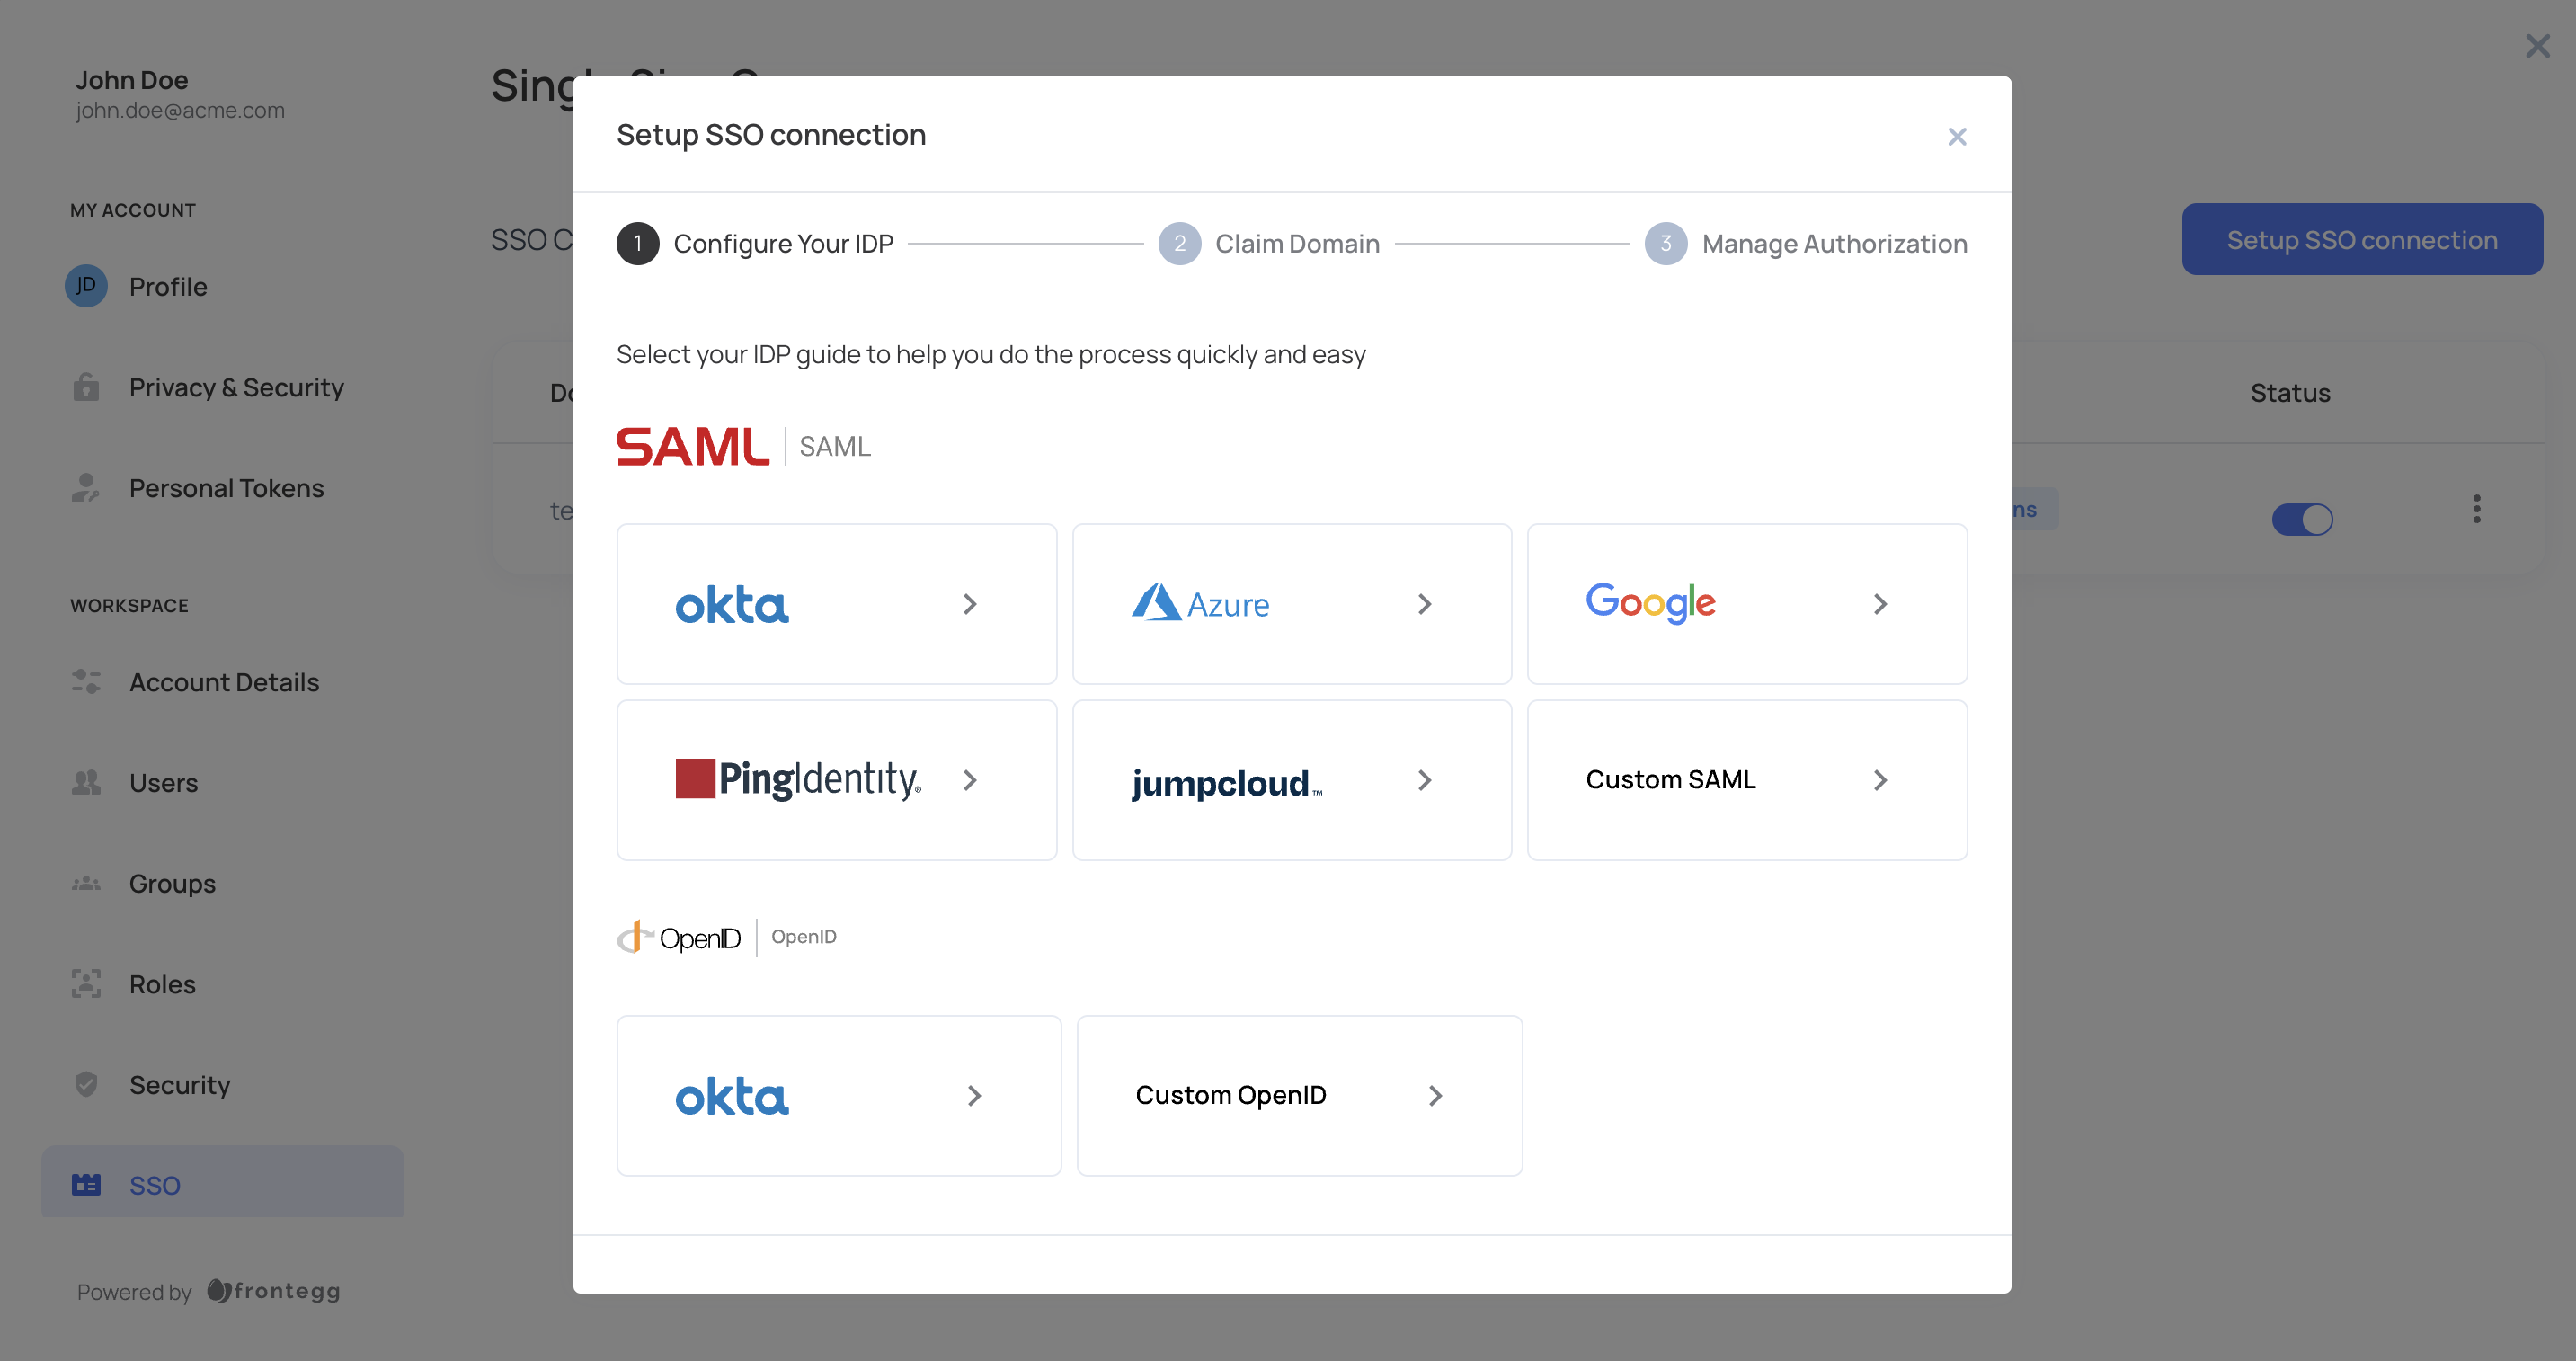
Frontegg provides detailed walkthrough guides for setting an OIDC connection with the following IdPs:
- Okta – Follow Okta’s OIDC setup guide to configure your connection.
- Any other IdP that follows OpenID Connect standards.

The last step in each of the embedded guides will direct users to provide their required IdPs details (client ID and secret).
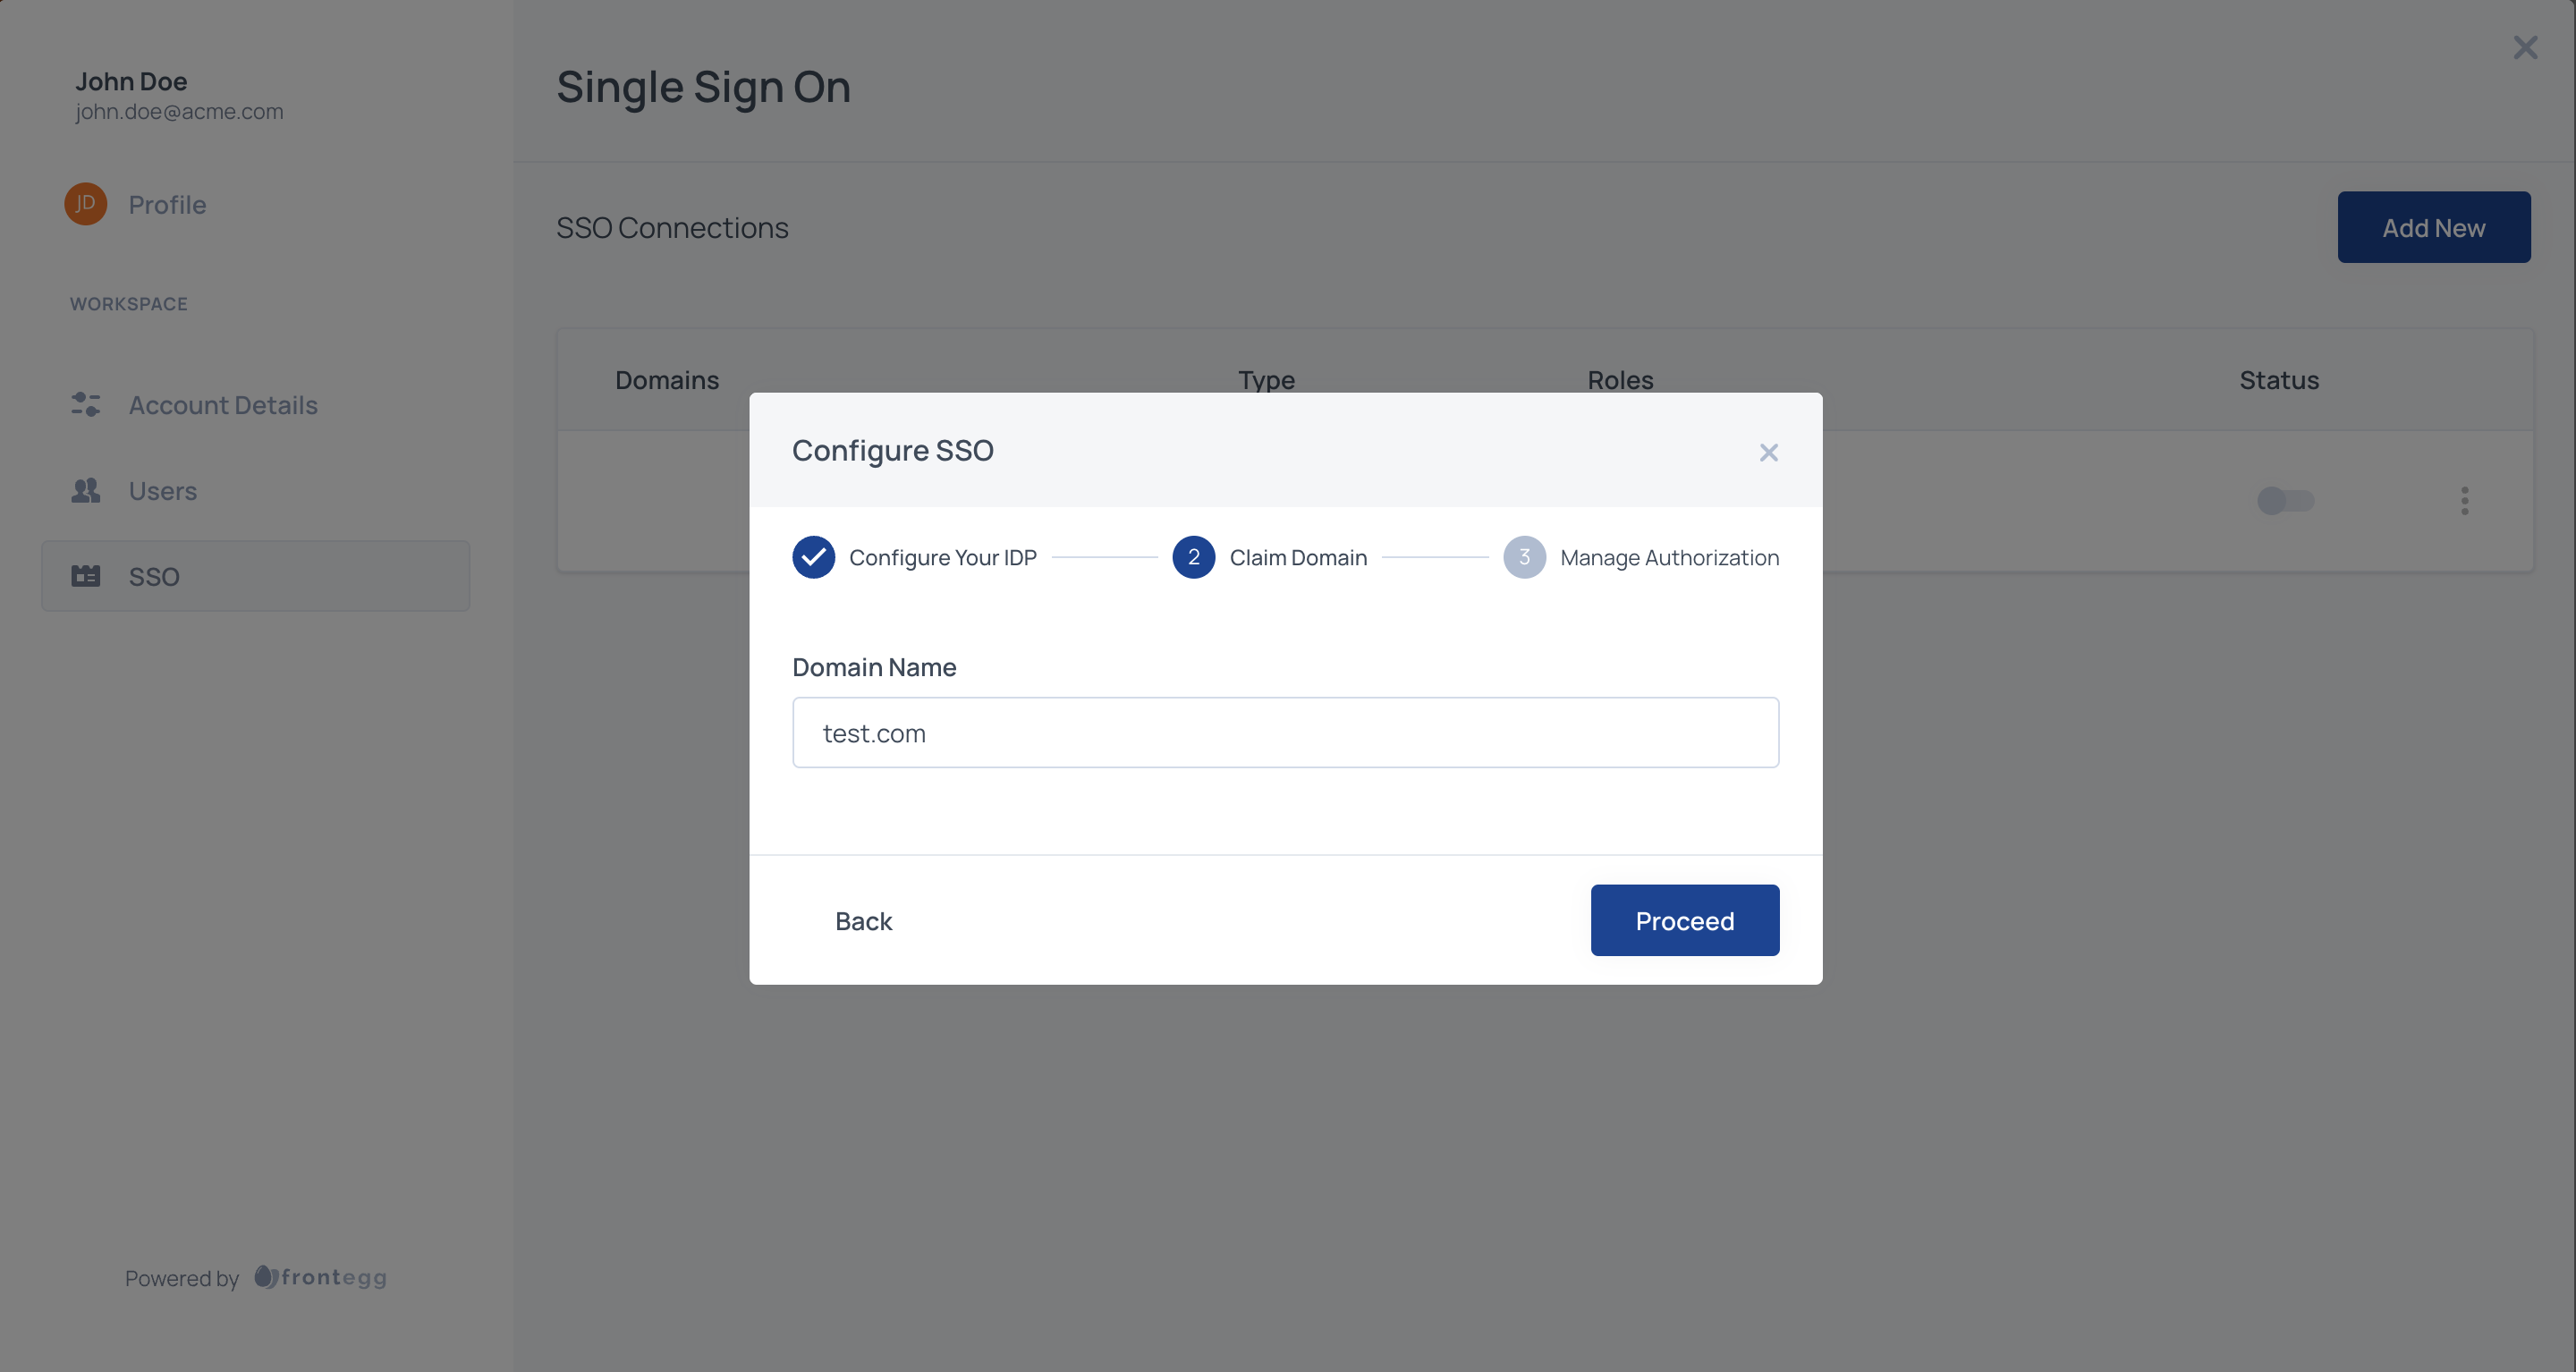
Claim domain
Frontegg enforces domain validation for SSO connections initiated via self-service to prevent domain abuse and ensure each domain is uniquely tied to an account and environment.
Users will be redirected to the SSO flow based on their email domain. For example, if a user from this organization logs in with john.doe@acme.com, configure the following step with acme.com. Claiming one or more domains for the account is necessary to prevent domain abuse.

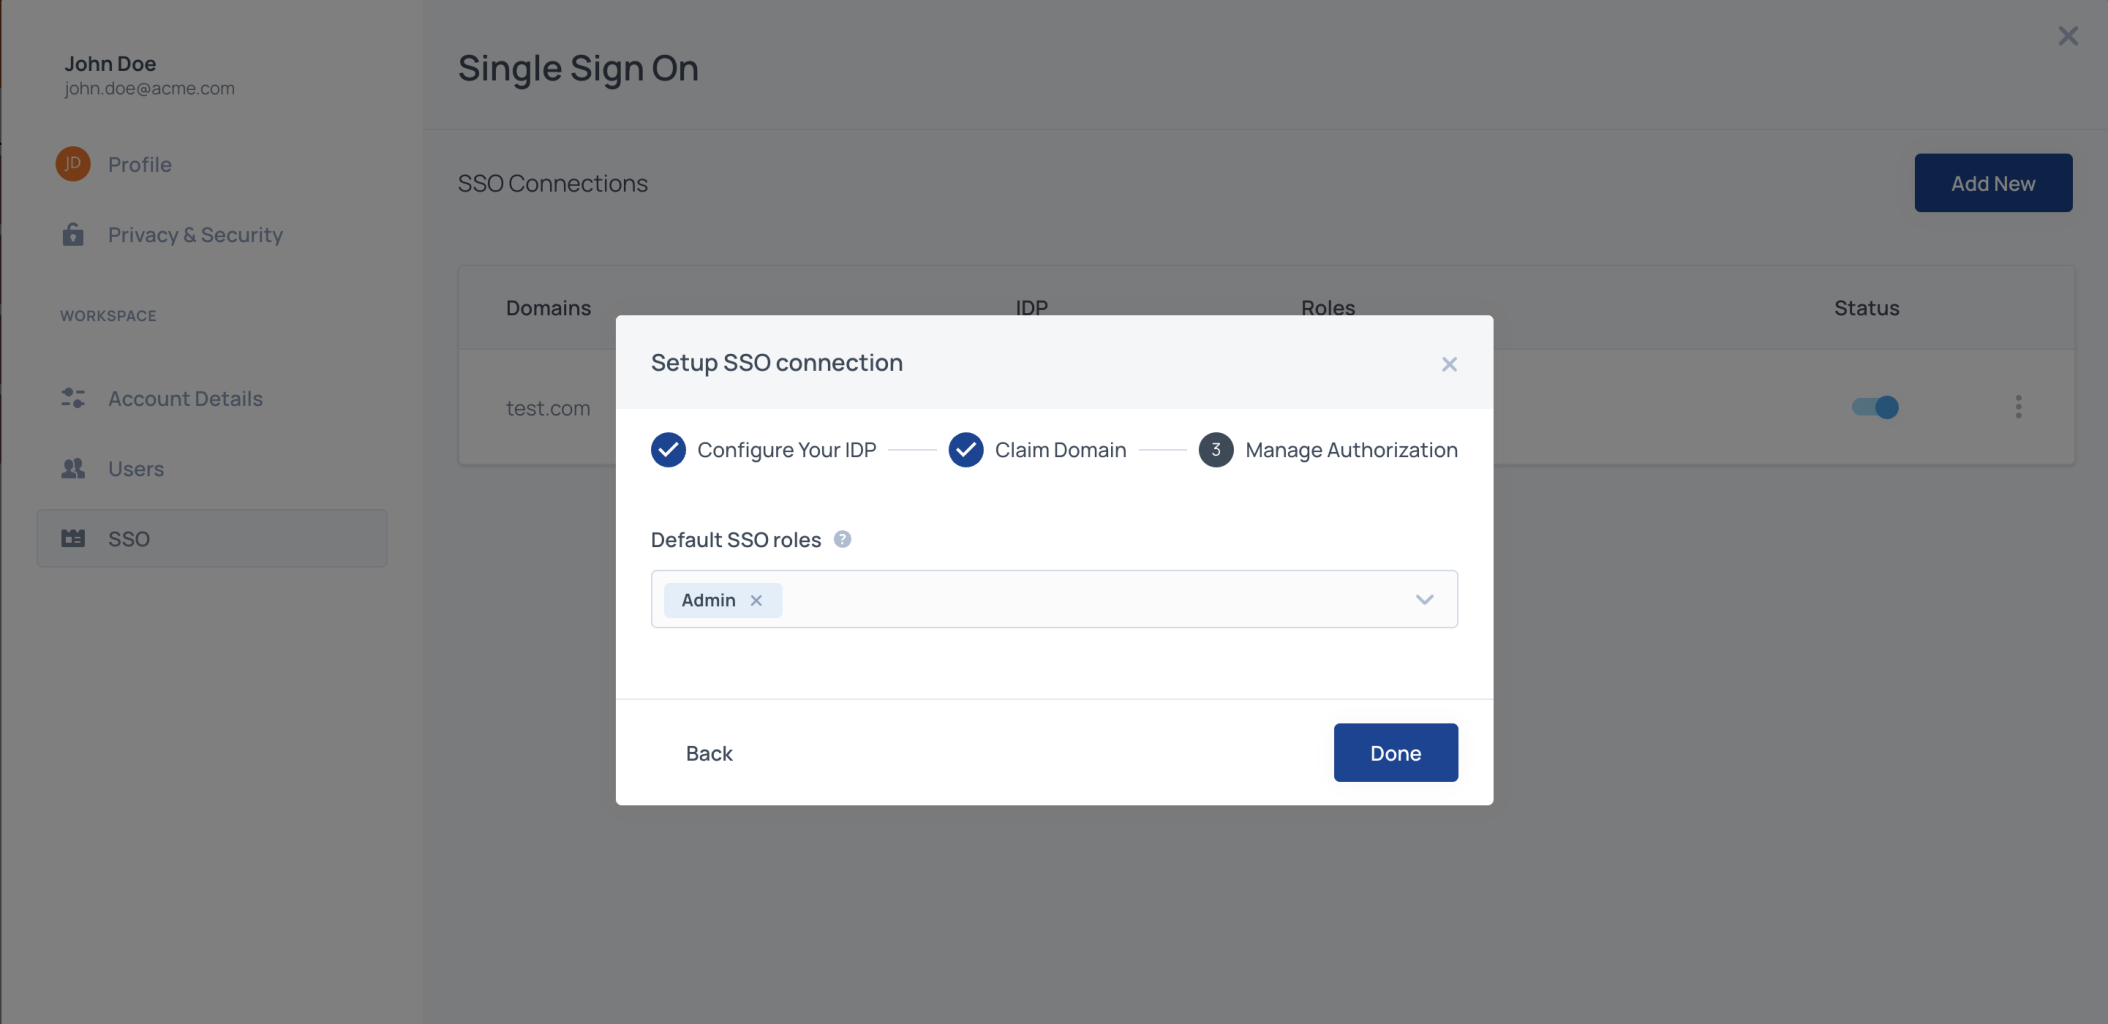
Manage authorization
Assign default roles to all SSO users by adding one or more Frontegg roles from your list of predefined roles. By default, SSO users' roles are assigned only during the first SSO login. To enable group checks and roles re-assignment on every user login, submit a request for your environment.
Default SSO roles
Assign default roles to all SSO users by adding one or more Frontegg roles from your list of predefined roles.

Mapping groups to roles (optional)
For OpenID, there is no option to map roles to groups from the self-service UI (admin portal). It can be applied only via APIs or the Management page in Frontegg portal.
Groups scope
Groups scope
Note that Frontegg uses openid, profile, and email in the requested scopes from external IdPs. Some IdPs may require additional scopes for passing user groups back to the service provider (Frontegg).
Enable the connection
Save the connection and make sure that it is enabled.
