Create OIDC application with Okta
This guide outlines the steps to create and configure a OIDC application in Okta, including setup, user assignments, and metadata submission.
Step 1: Create OIDC Integration
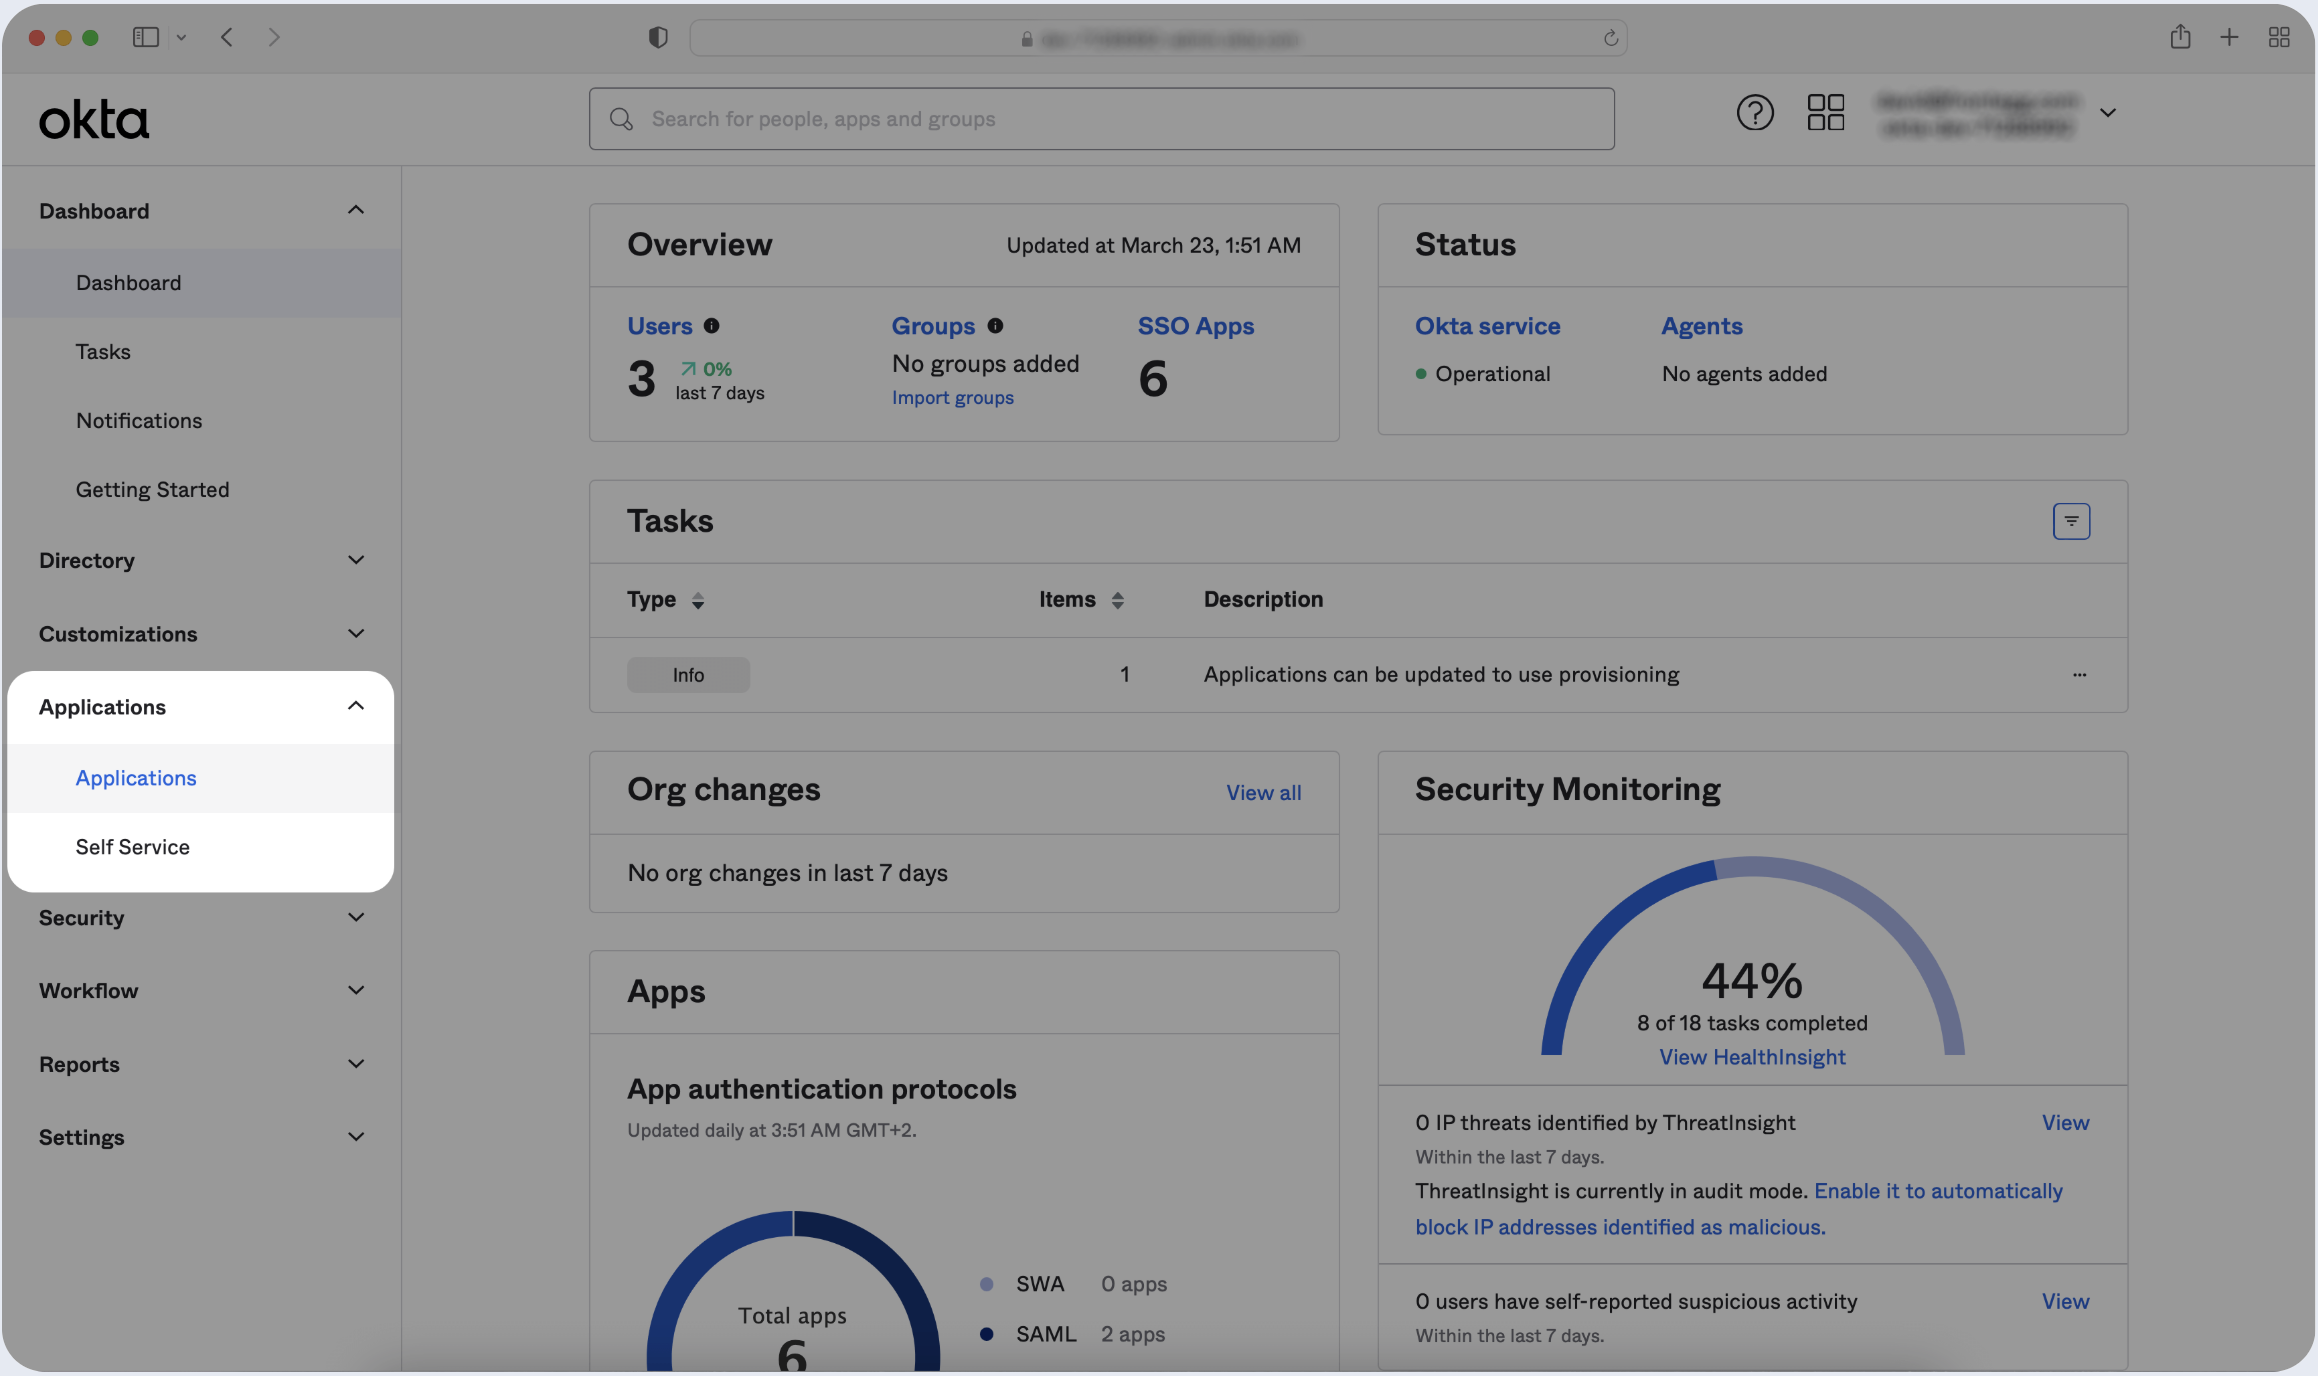
- Log in to your Okta Application Dashboard and click Applications in the sidebar.
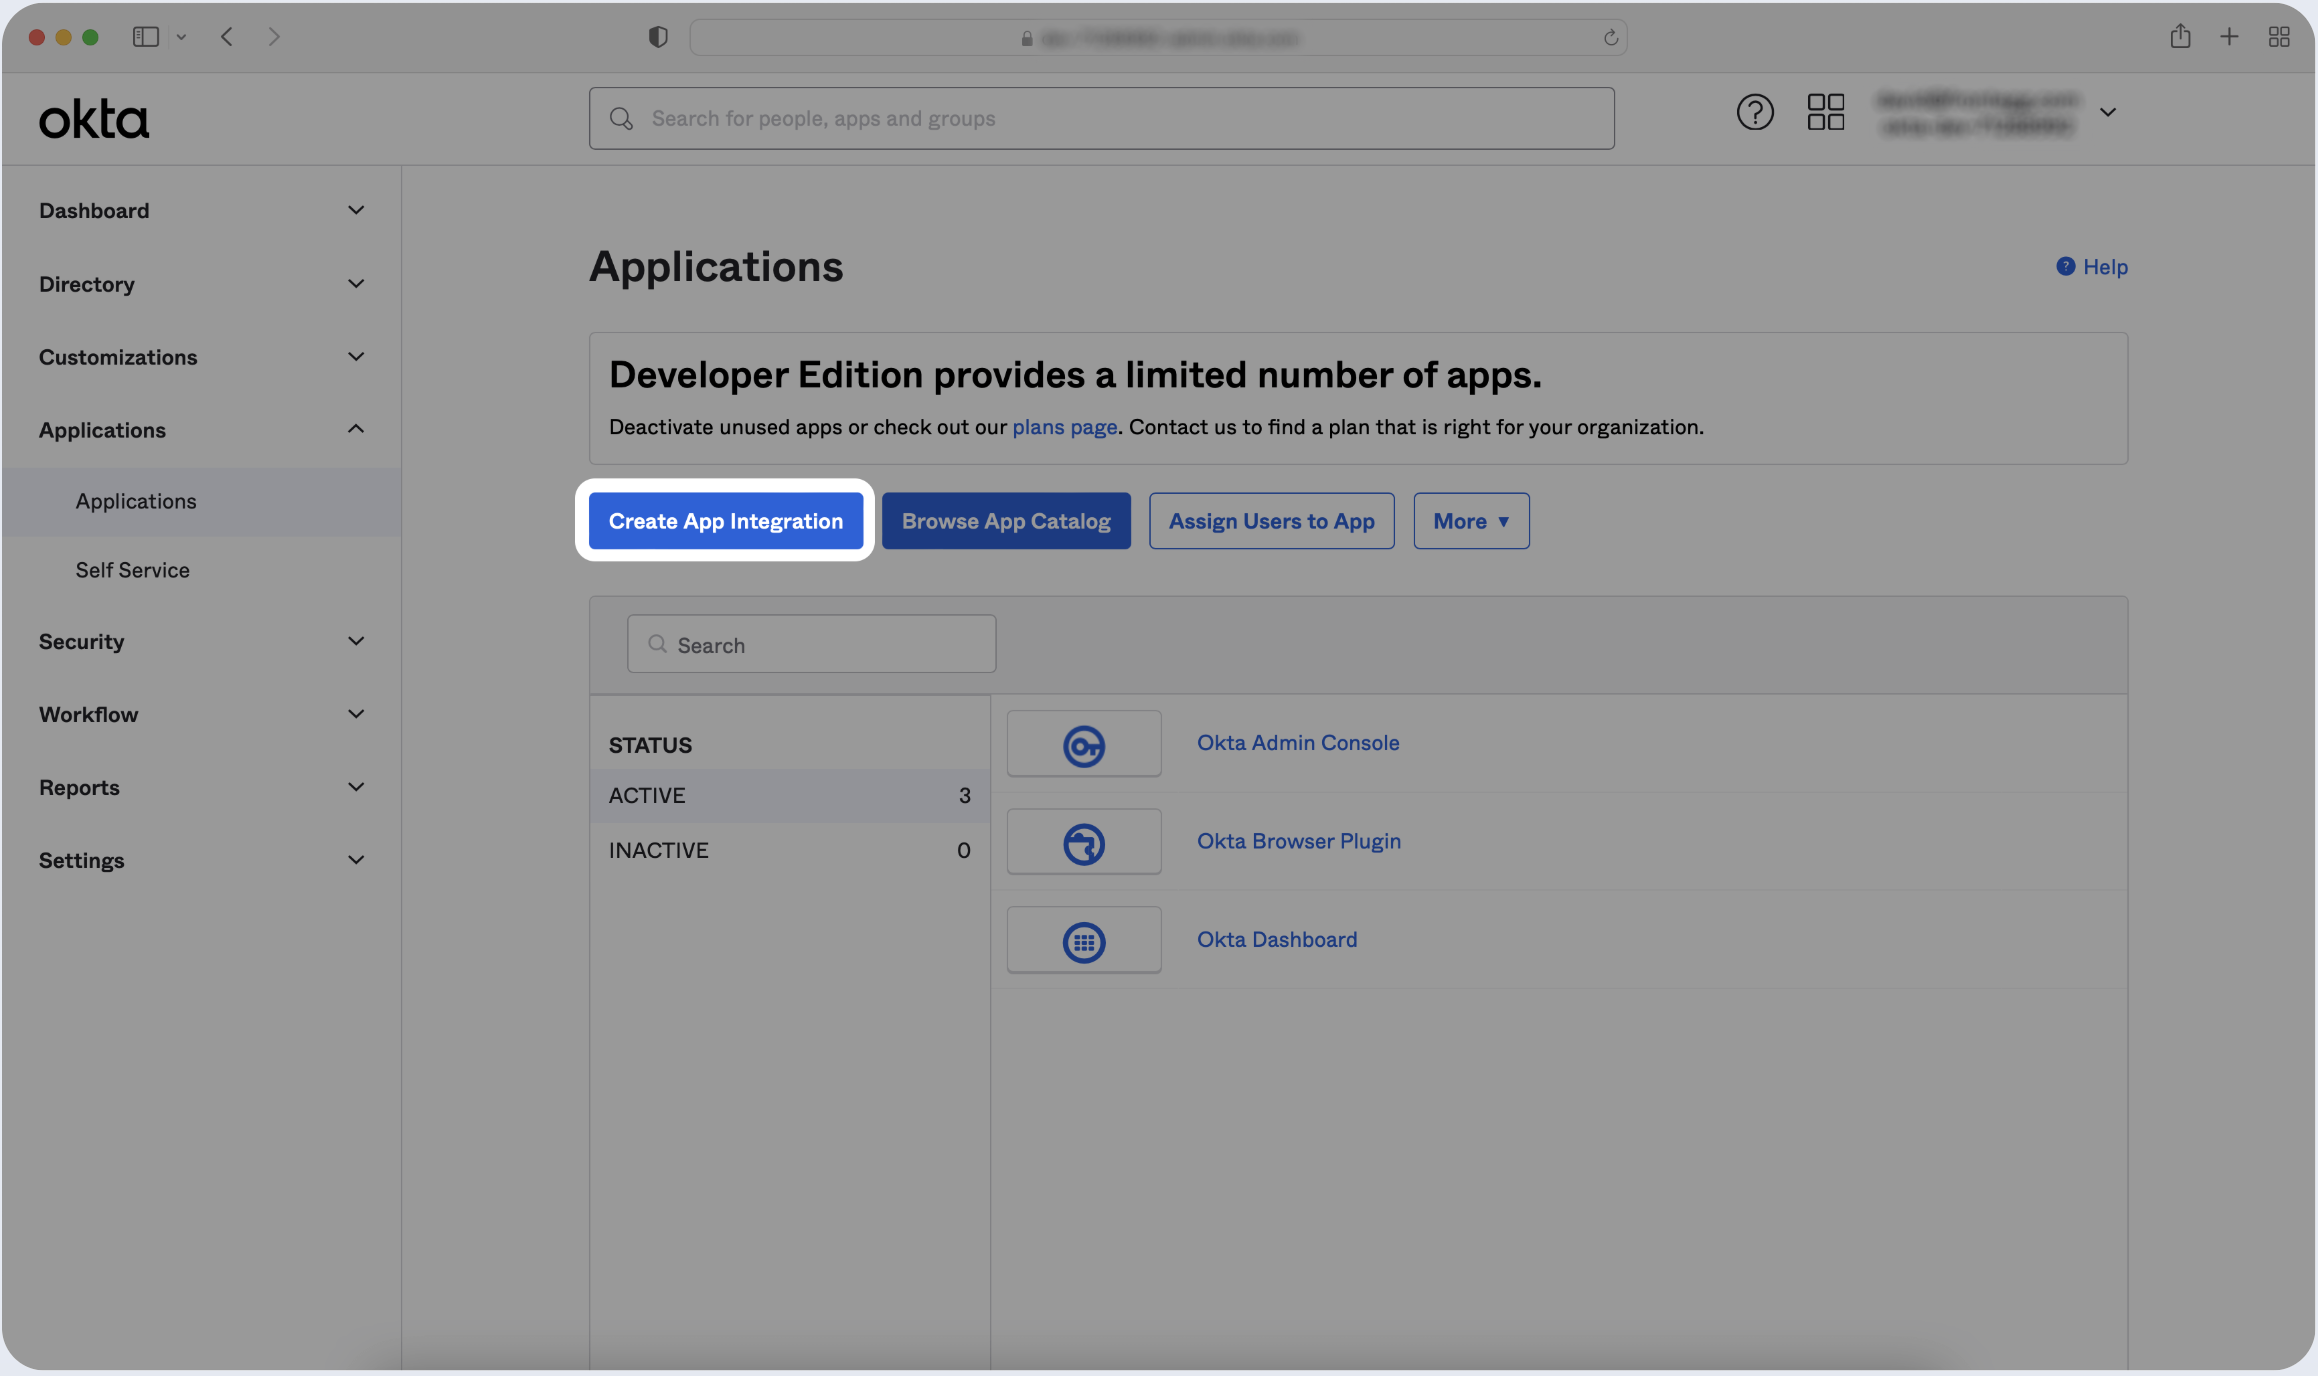
- Click Create App Integration.
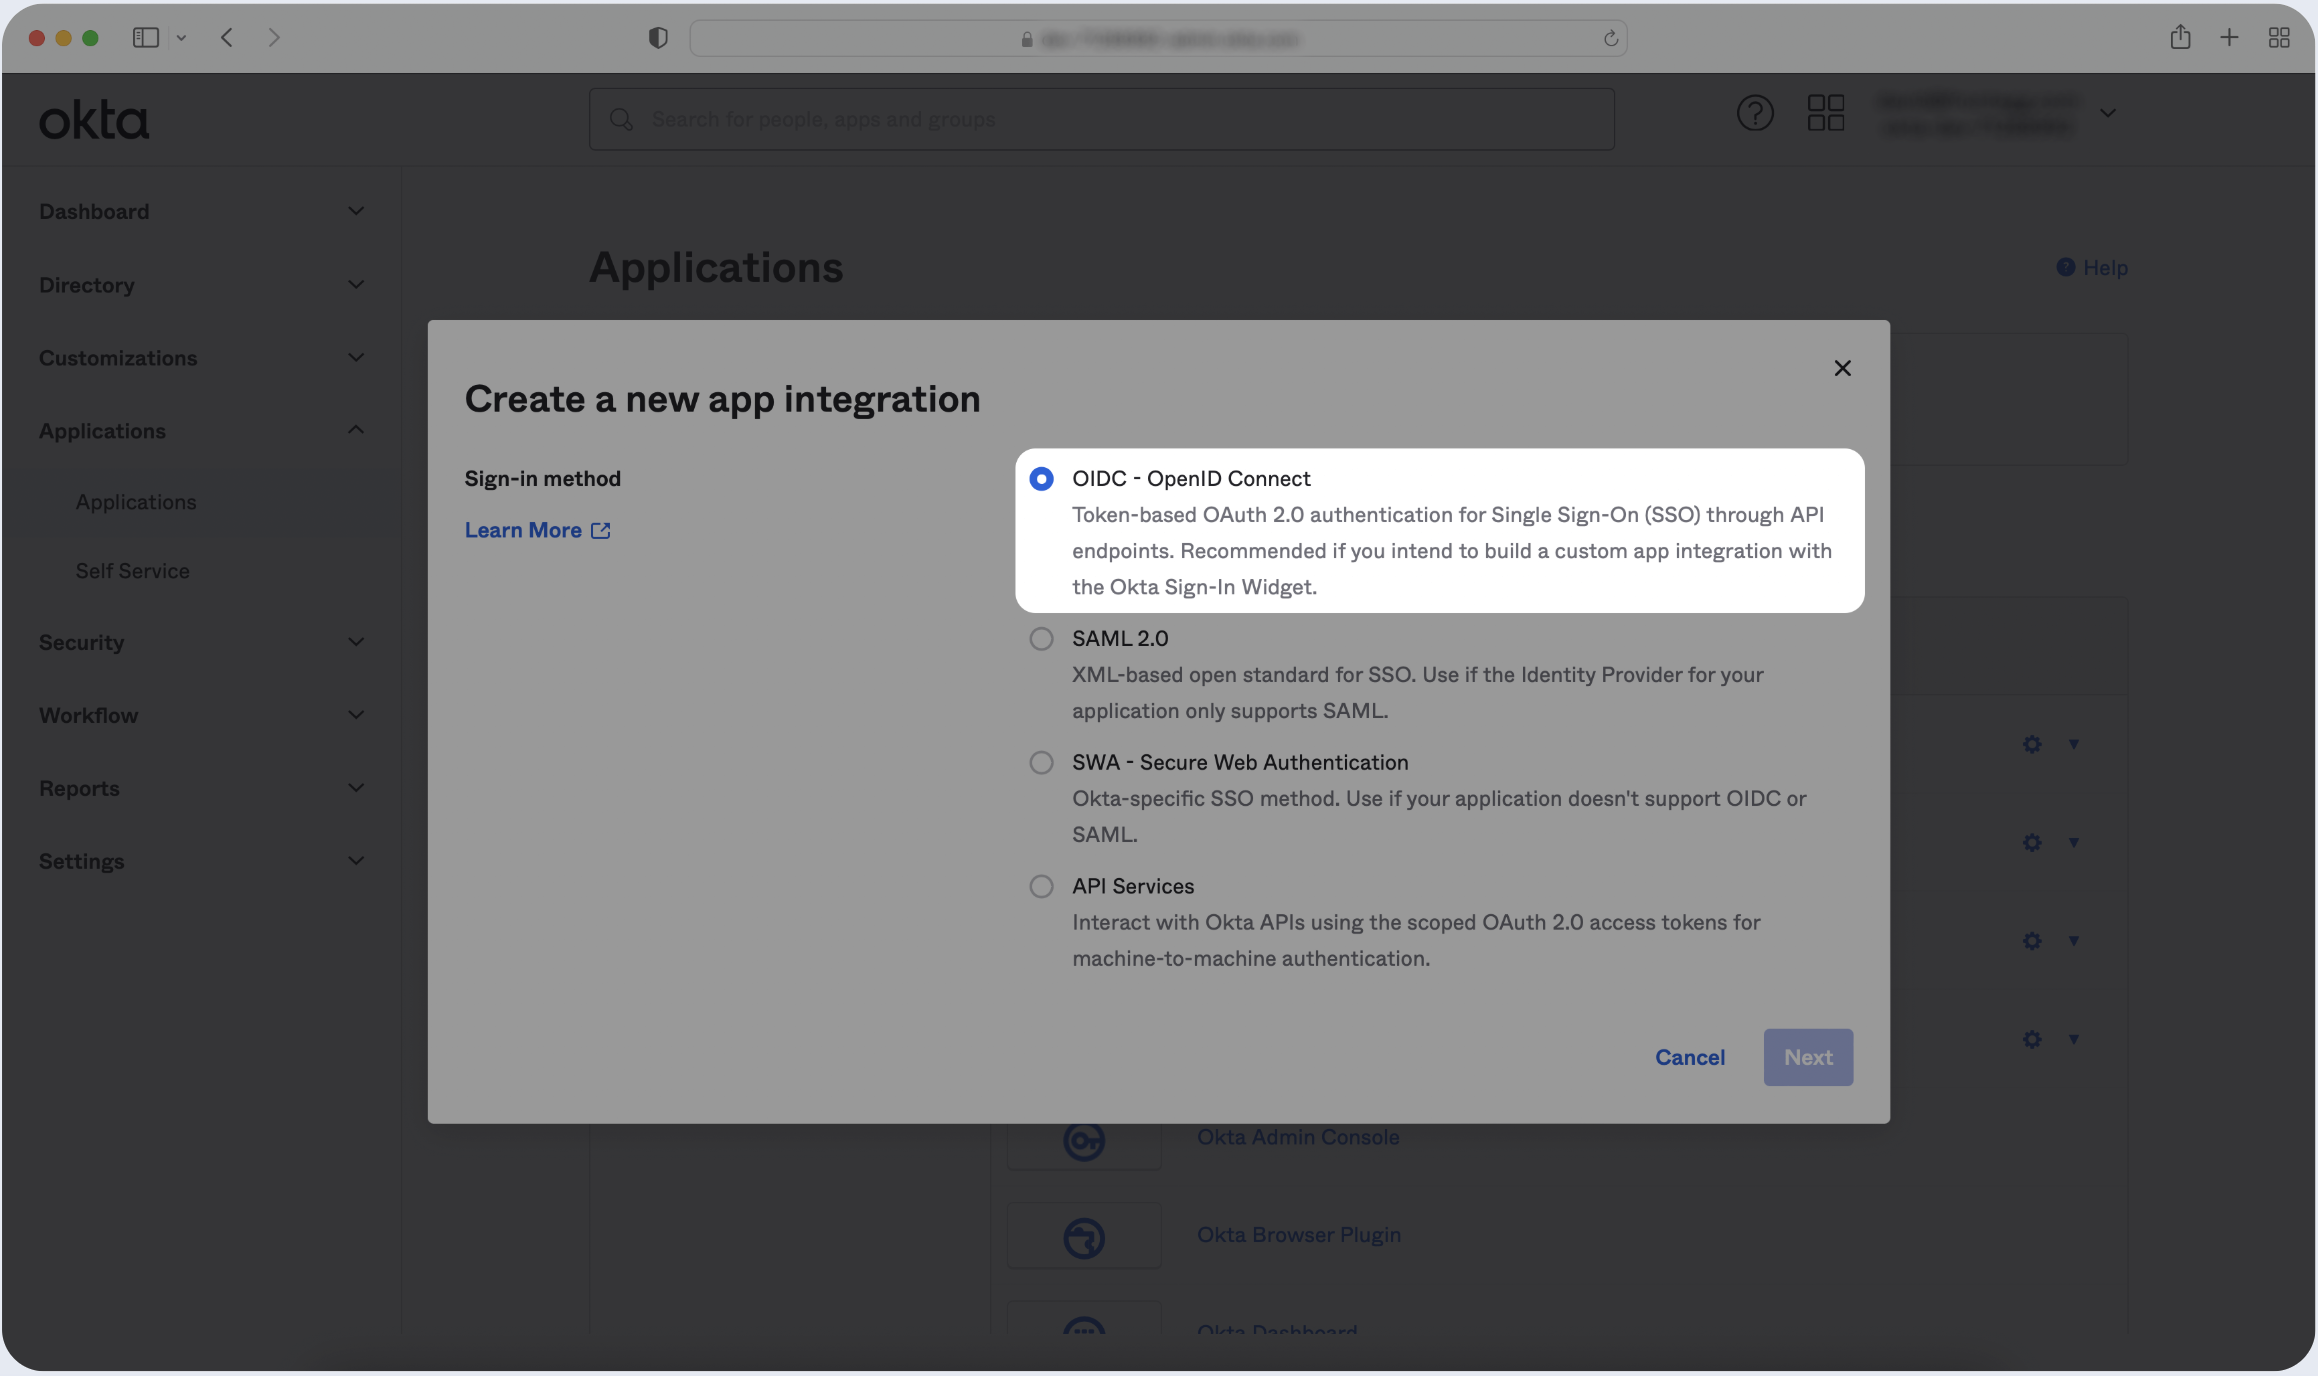
- Click Create New App and choose OIDC - OpenID Connect as the Sign-in method. Then, click Next.
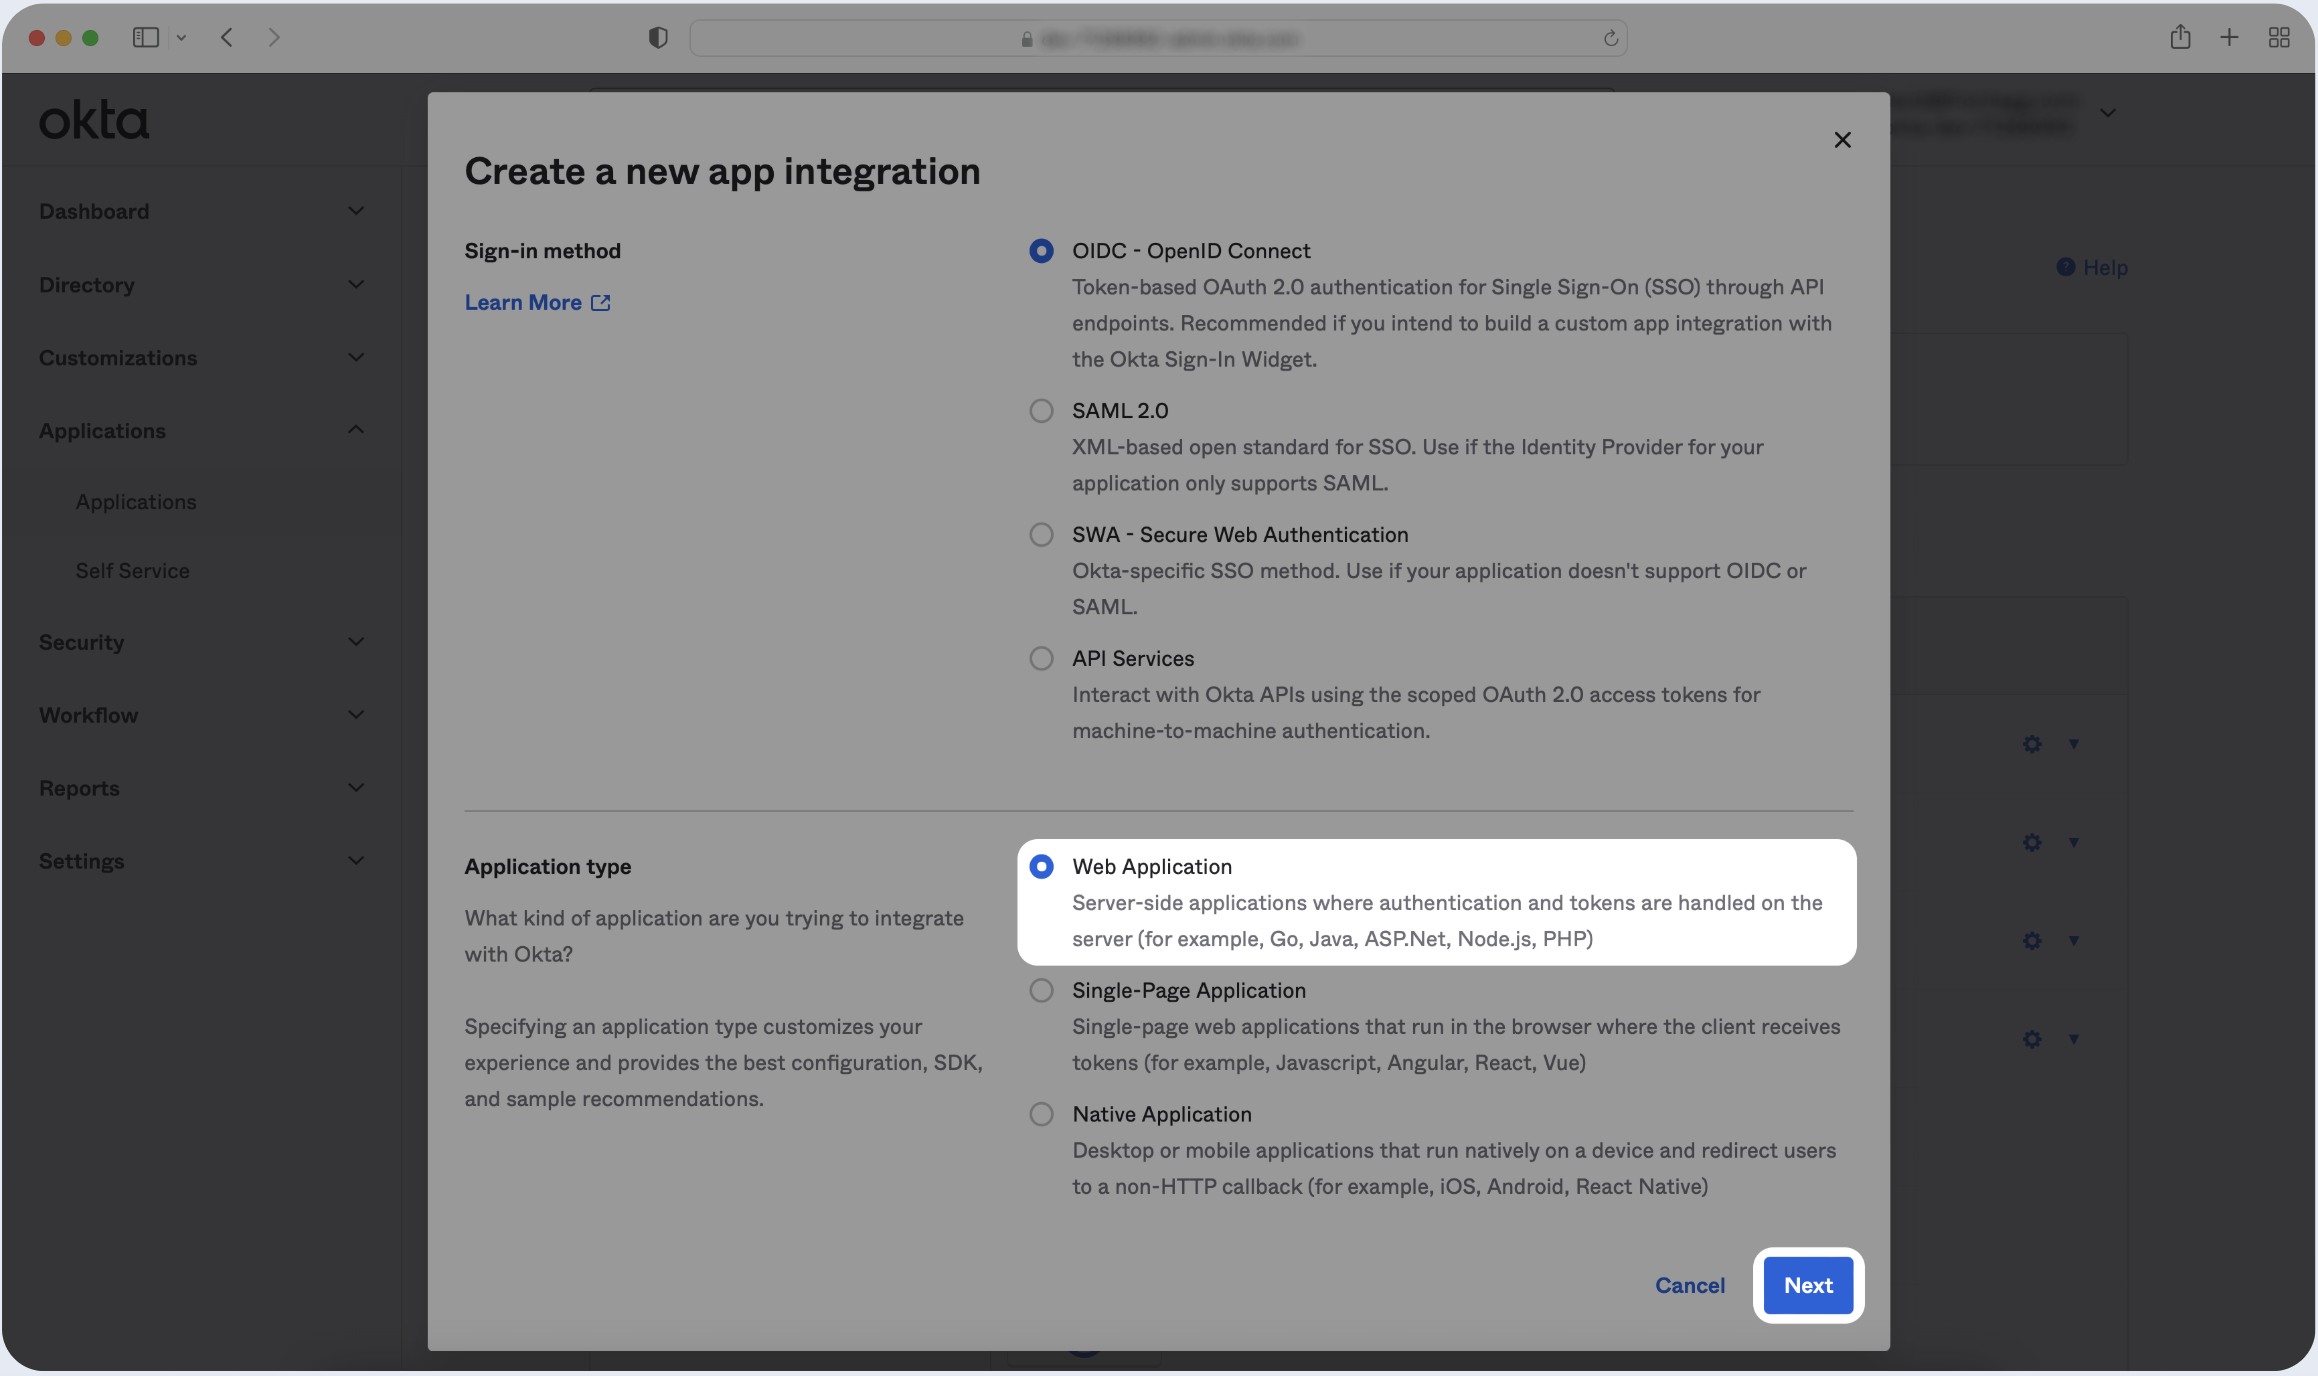
- Select Web Application as the Application type, then click Next.
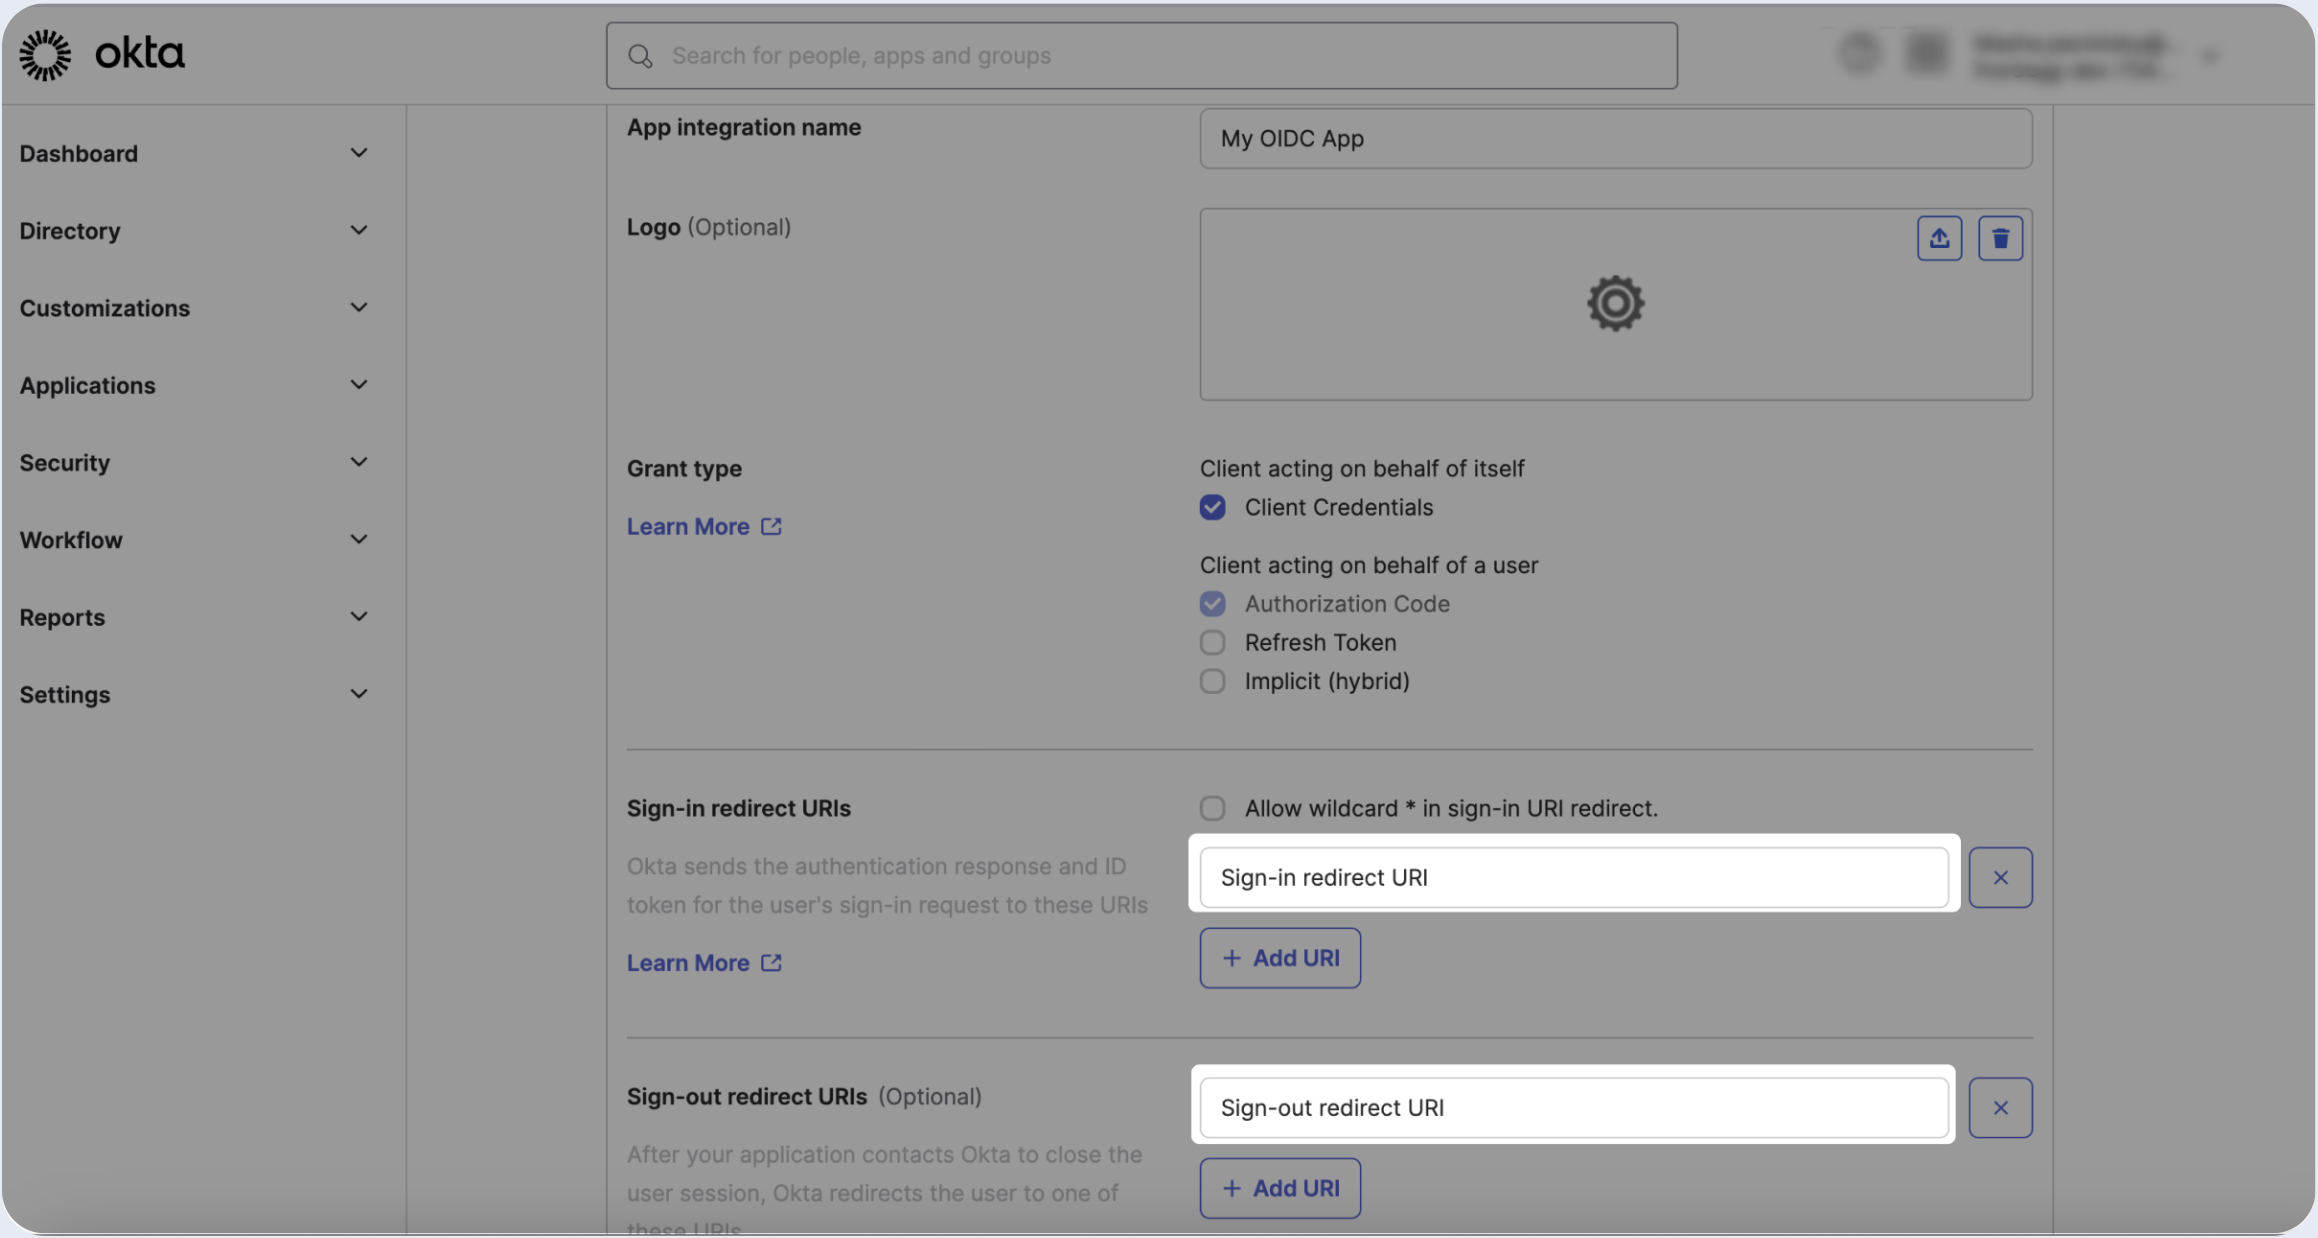
Step 2: Configure OIDC App
- Enter the name of your application:

- Make sure to select Client Credentials if the client is acting on its own behalf.

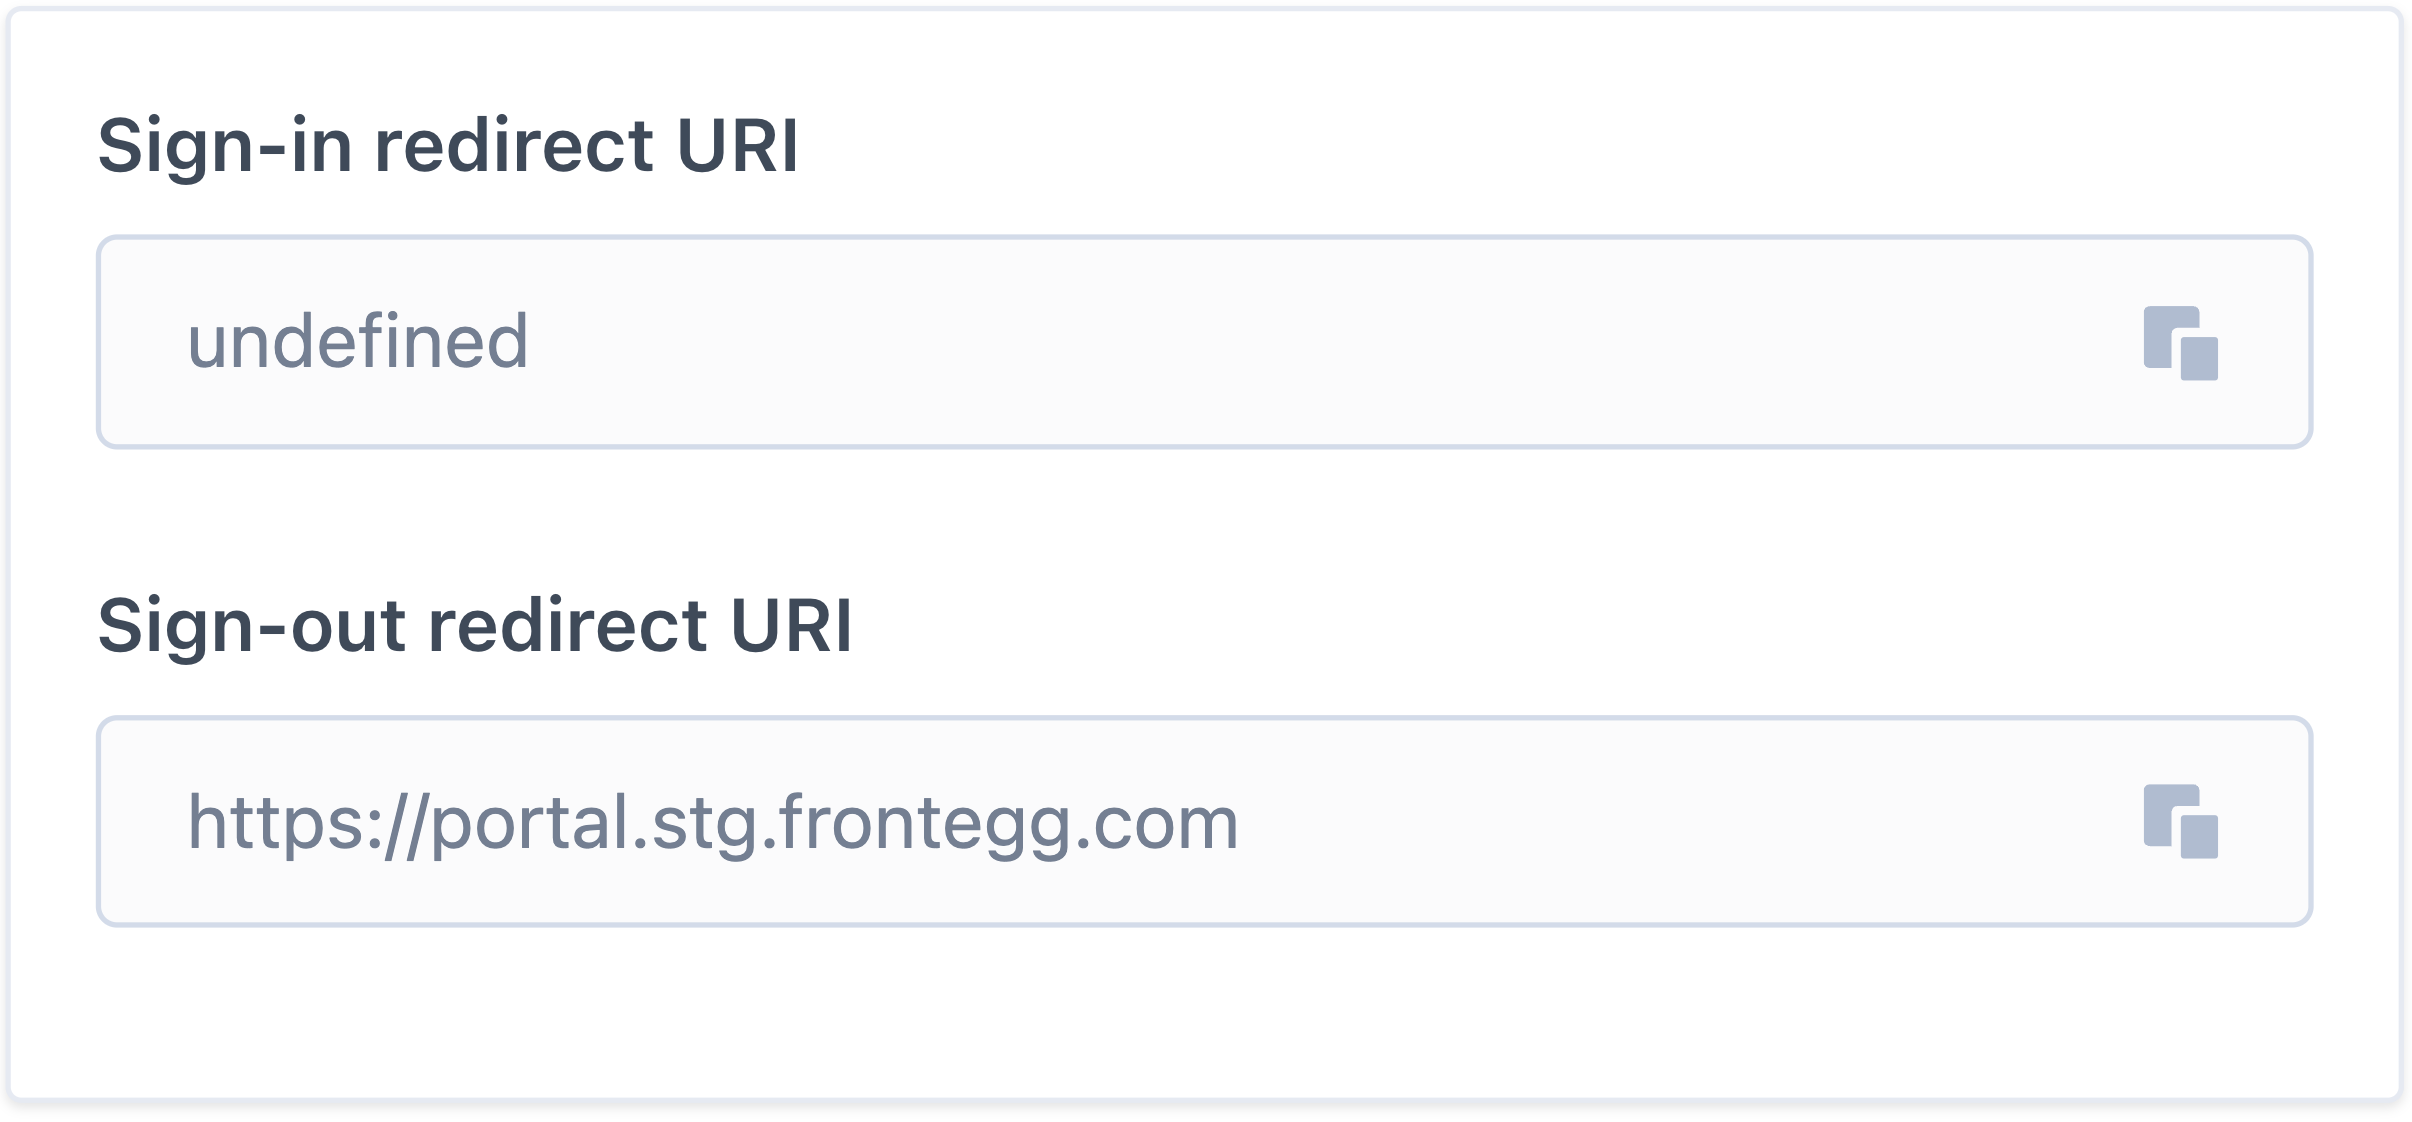
- Fill the Sign-in redirect URI and the Sign-out redirect URI.
Step 3: Add users to OIDC app
In order to test out SSO authentication, you will first need to assign your Okta SAML app to Groups.
- Scroll to the Assignments tab of the app and then select Limit access to selected groups.
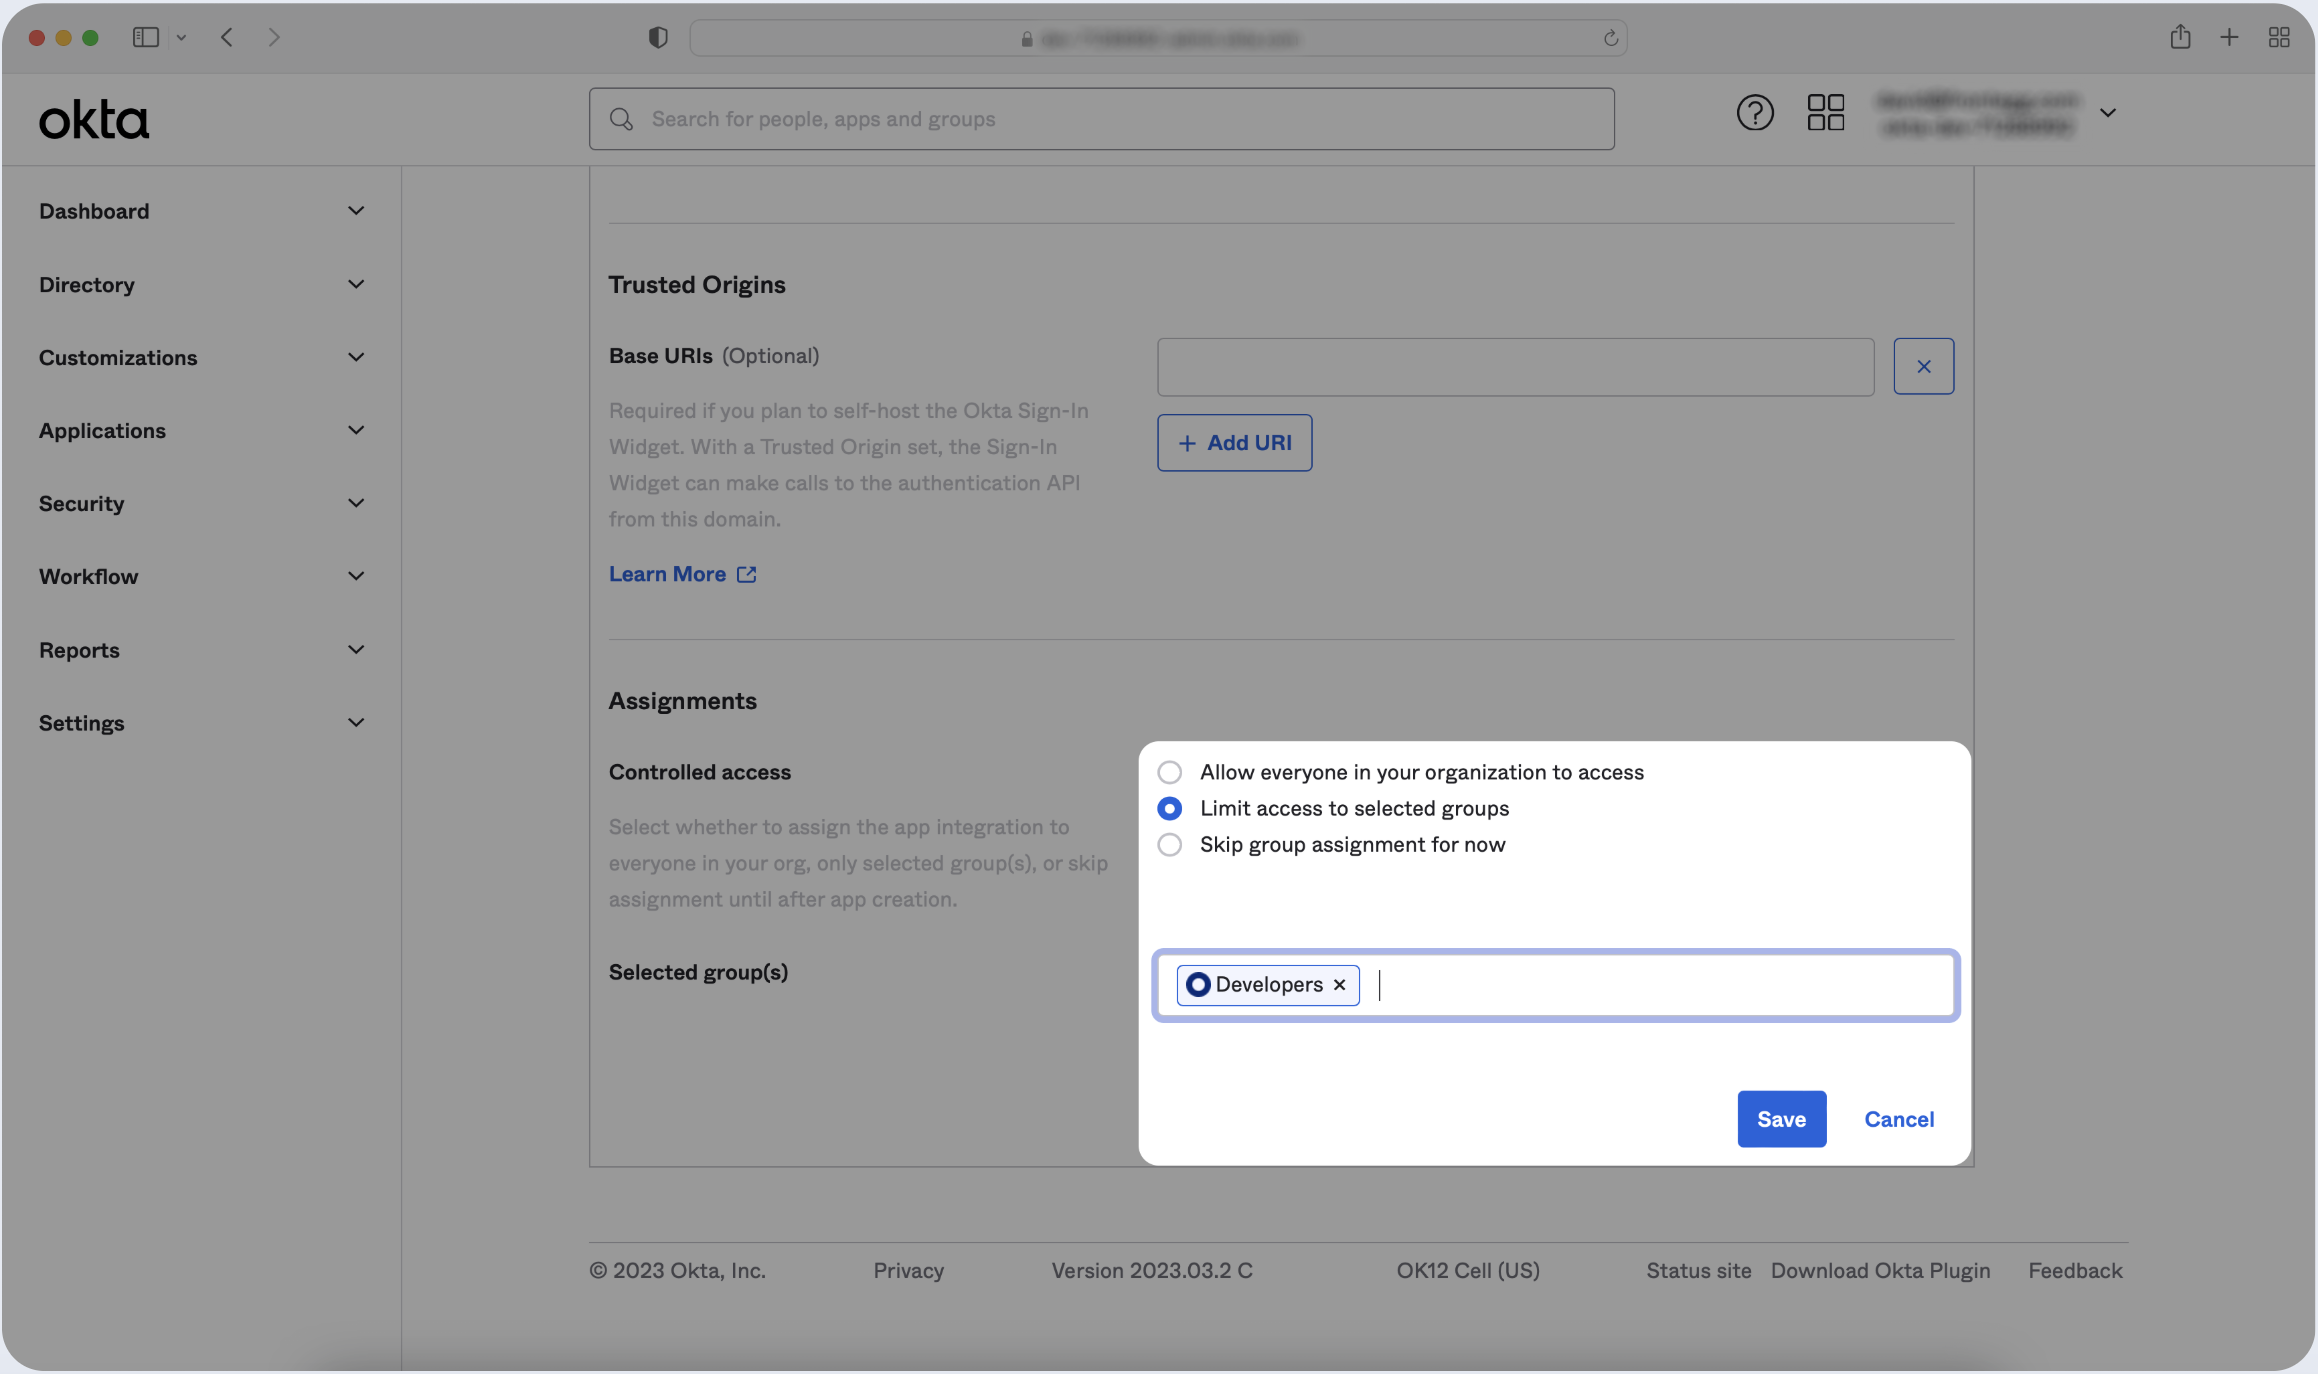
- Locate the specific group(s) you wish to assign to the app and click Assign next to each of them. Once finished, click Save.
Step 4: Provide your Issuer URL
In order to connect the OIDC your identity provider's configuration with the application.
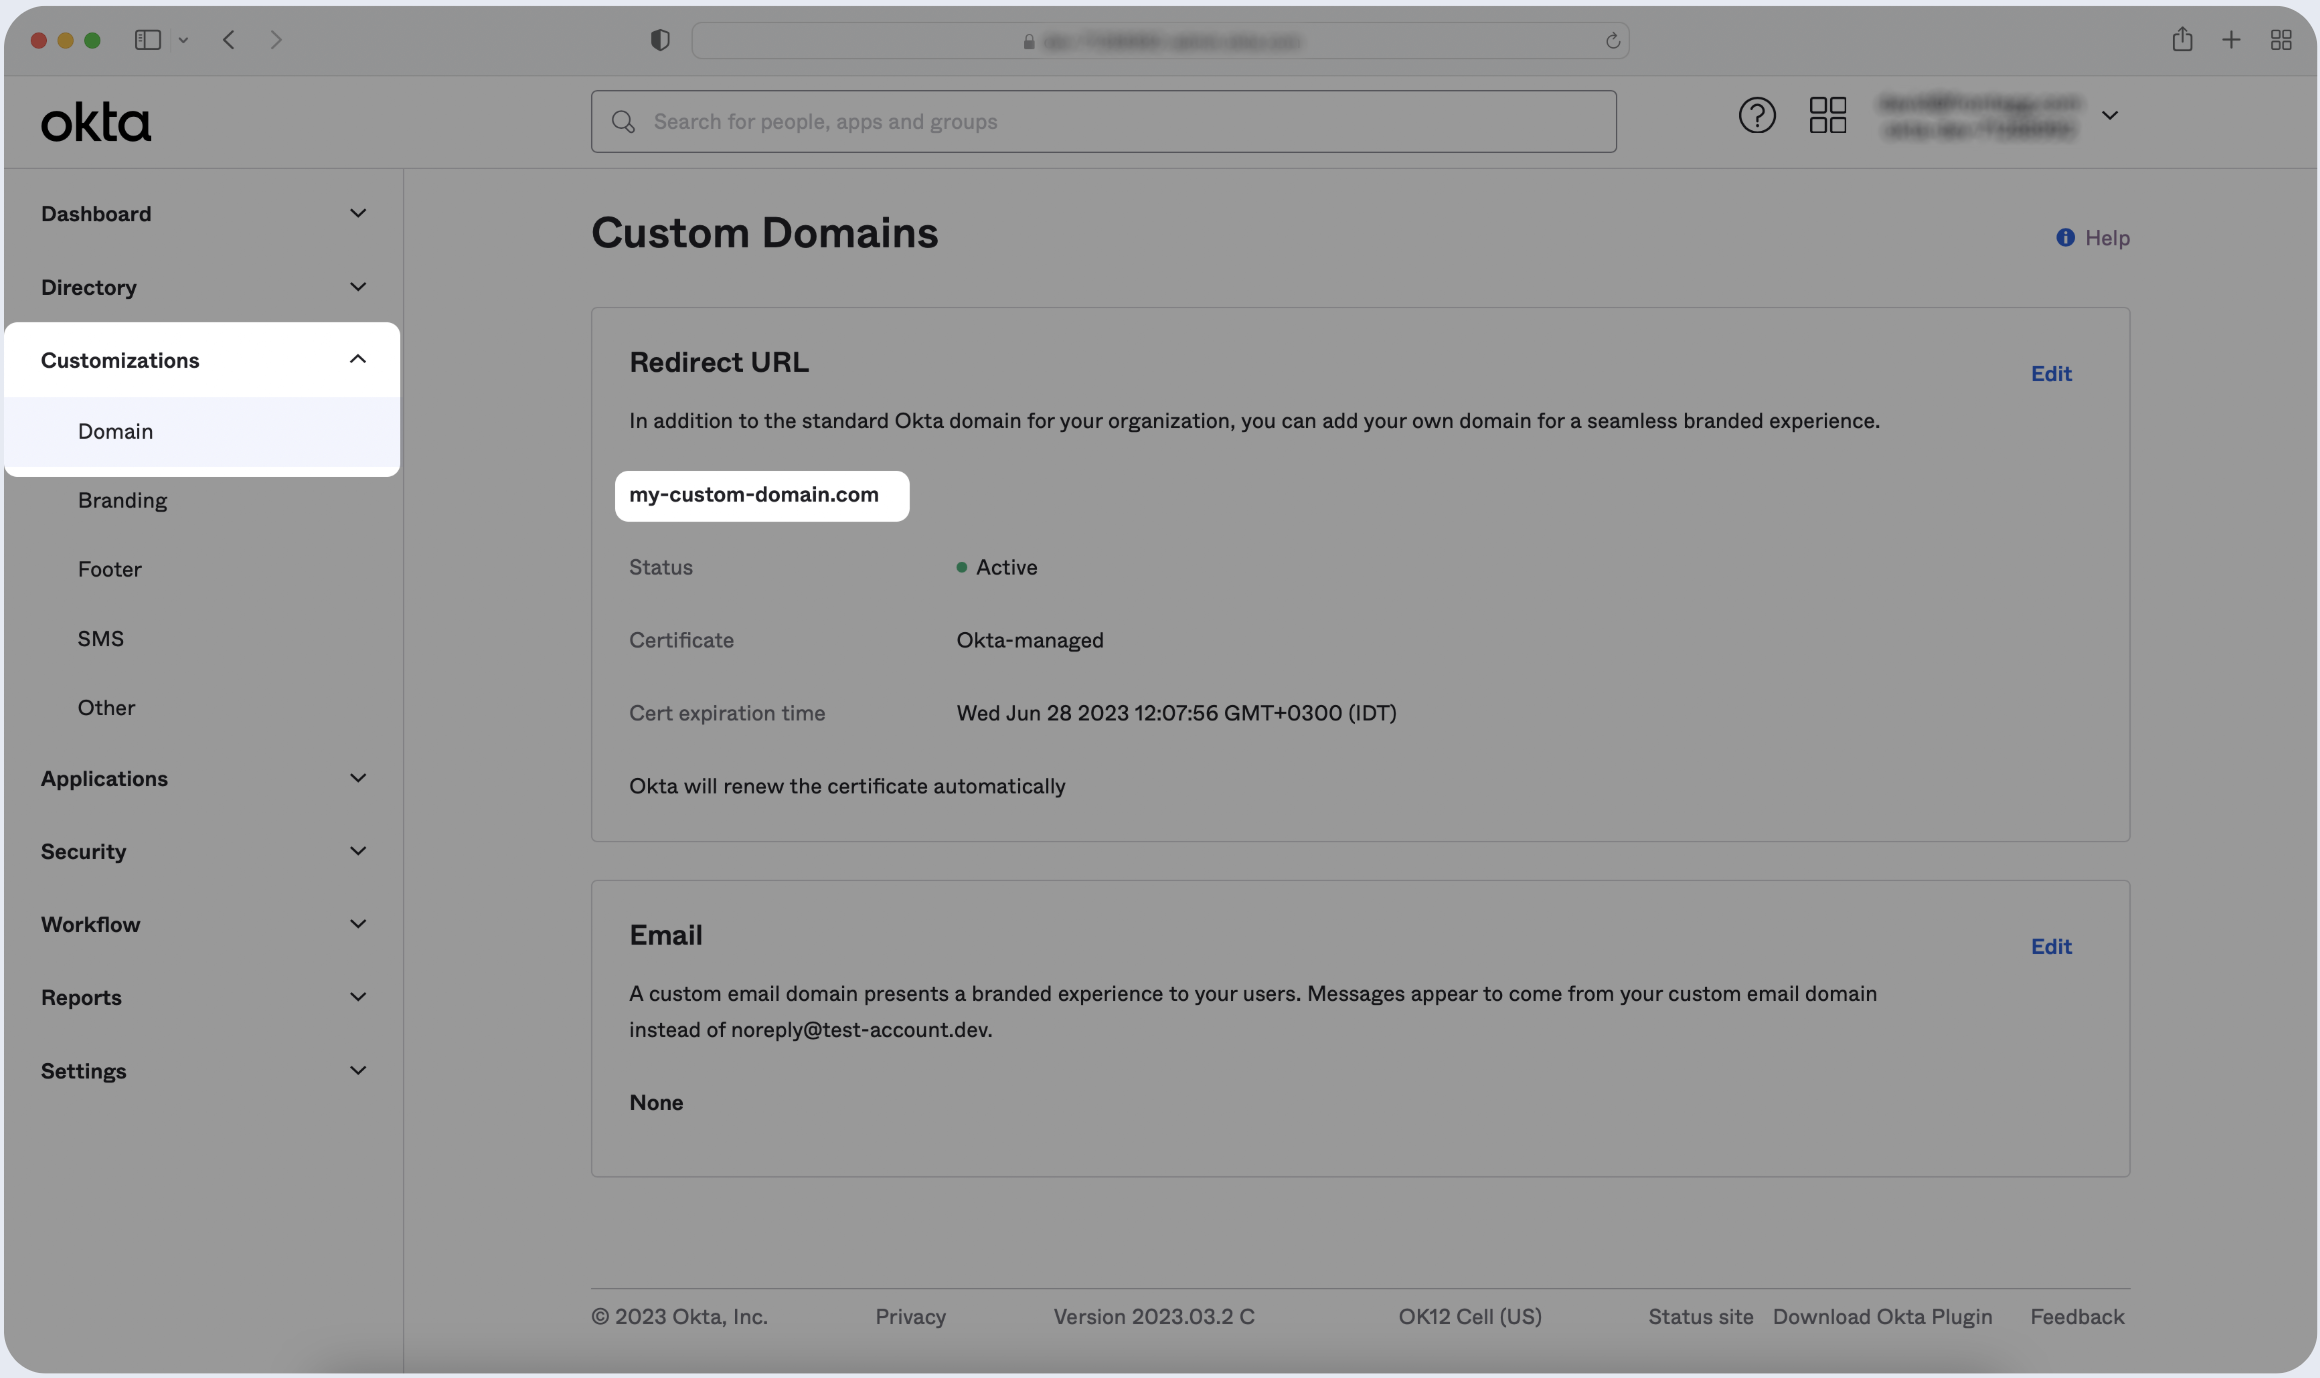
Custom Domain as issuer URL
- In your Okta Application Dashboard go to Domain under Customizations in the sidebar.
- Locate the Custom Domain under the Redirect URL.
- Copy the Custom Domain.
- Paste the URL below.
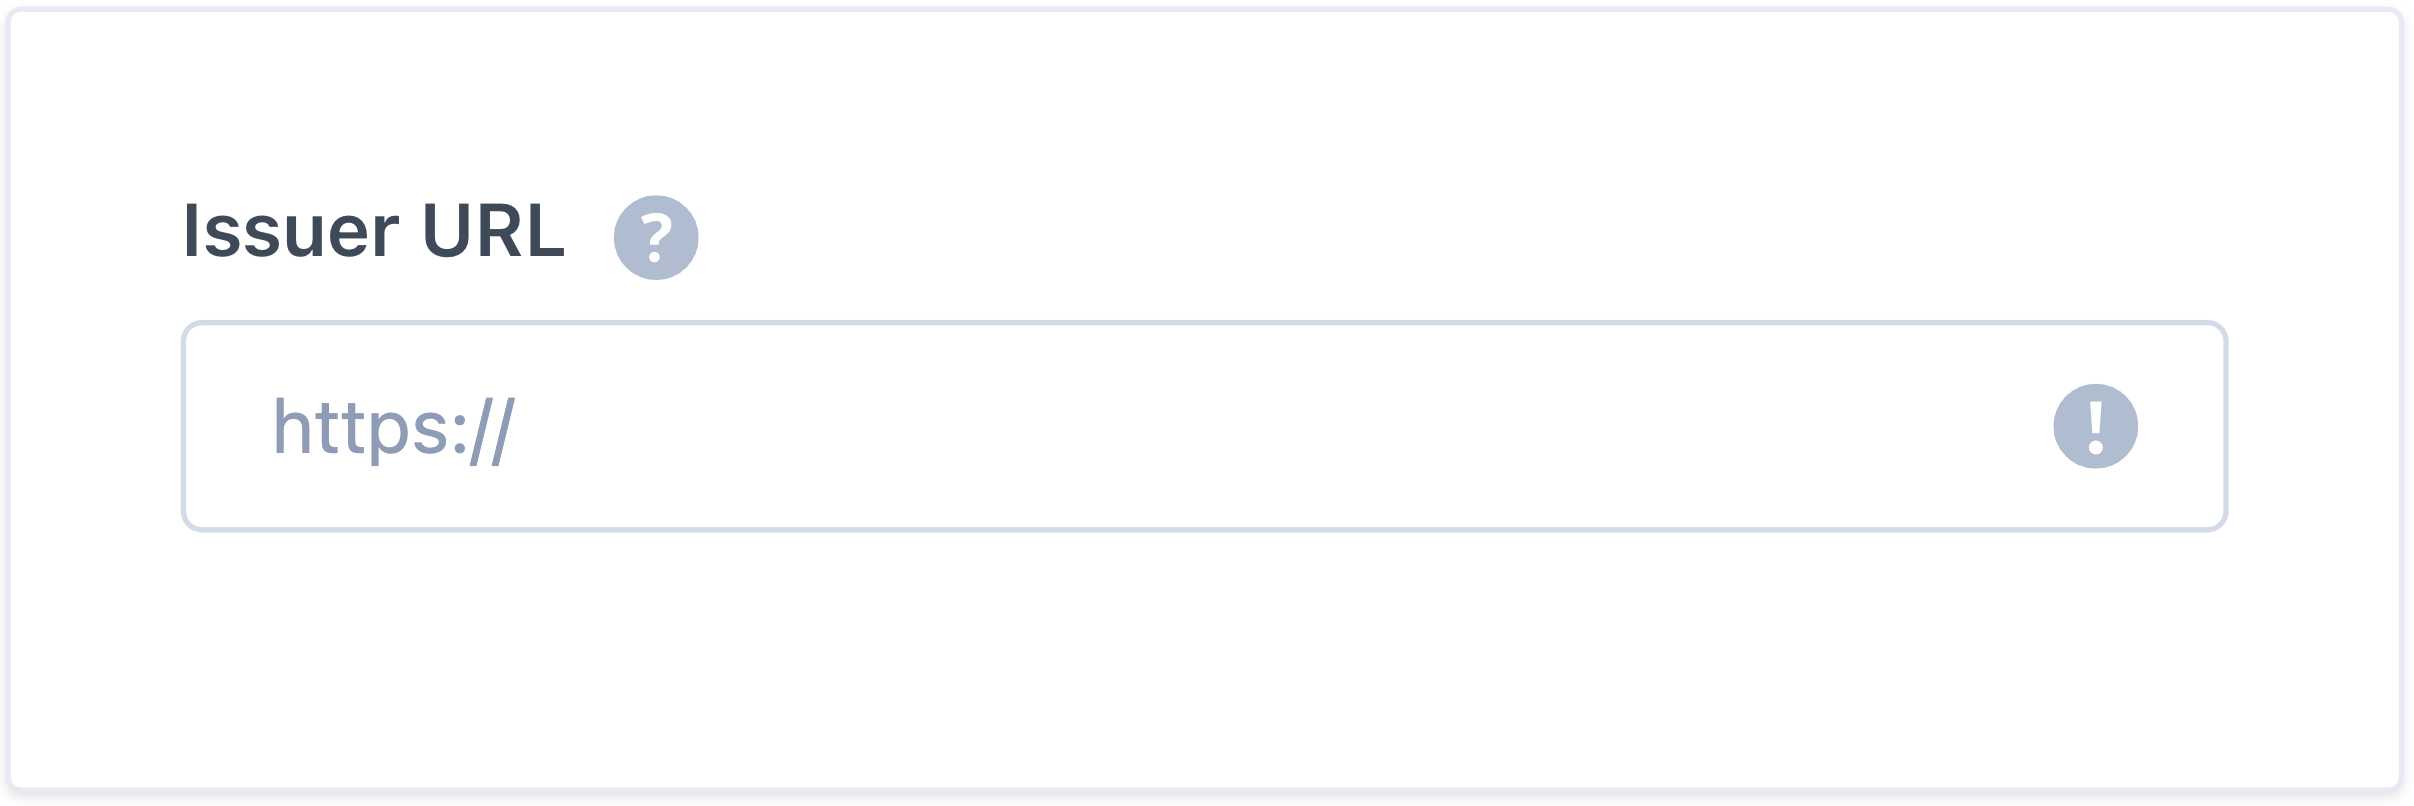
Valid URL
Valid URL
If the issuer URL is correct, it will show a green checkmark; if not, ensure the URL is valid and try again.
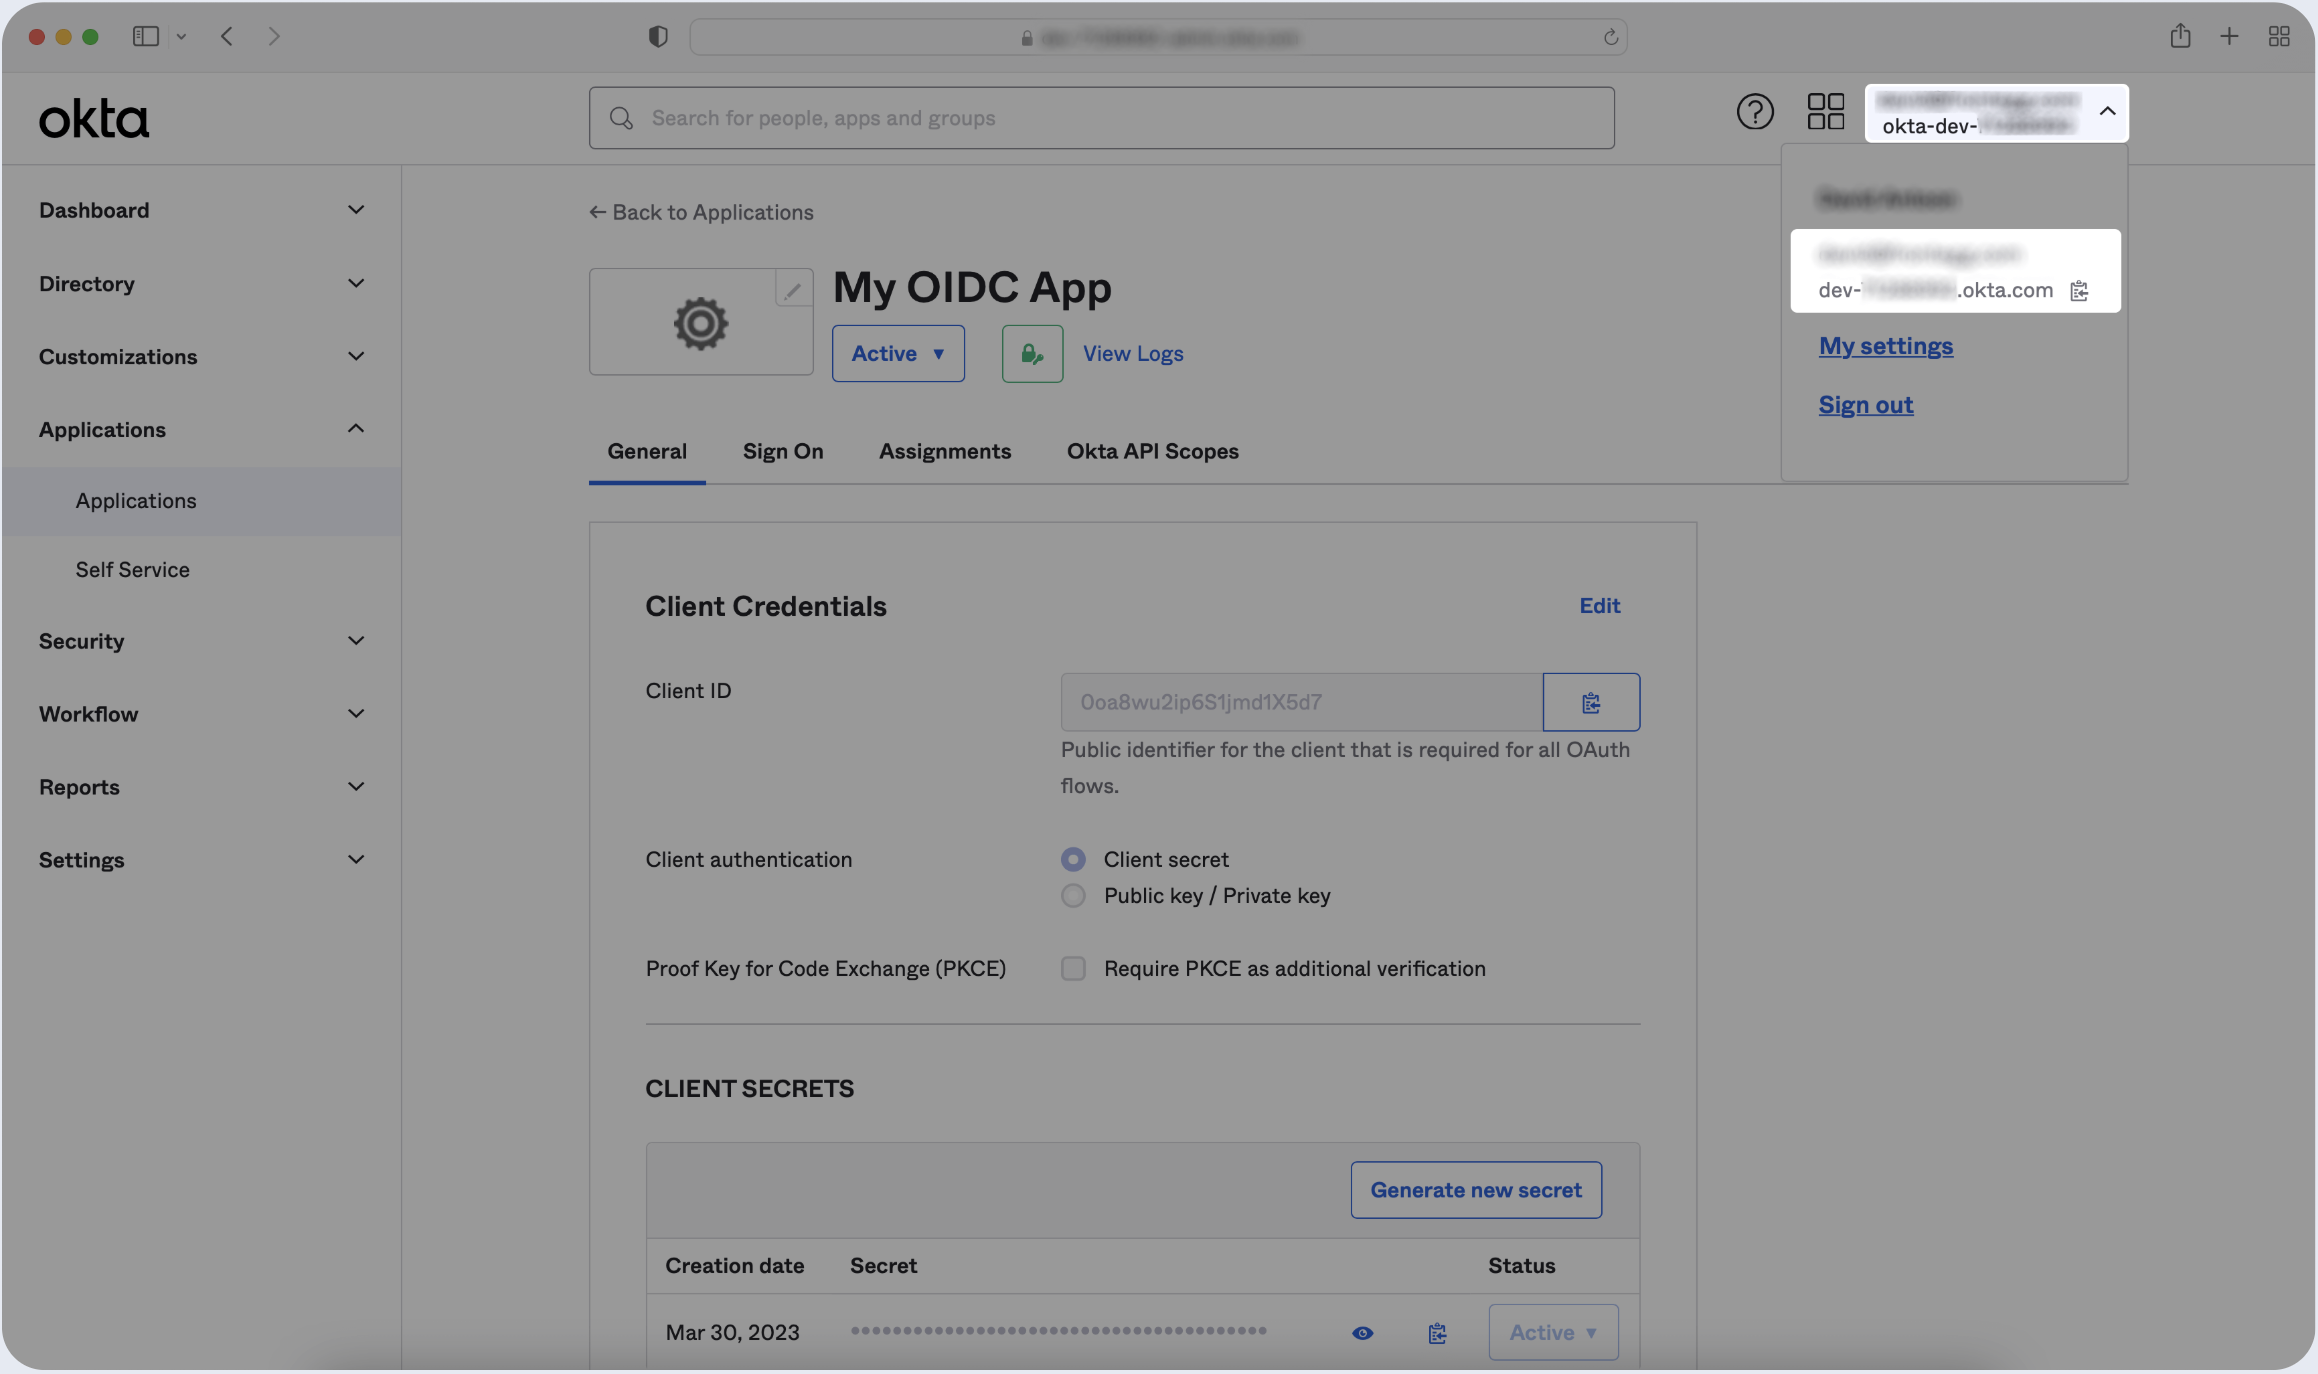
Okta Domain as issuer URL
- Click on the Account button on the top-right corner of the OIDC app you just created.
- Locate the Okta Domain inside the popup
(Ex: "dev-[APP_ID].okta.com"). - Click Copy button.
- Paste the URL below.
Valid URL
Valid URL
If the issuer URL is correct, it will show a green checkmark; if not, ensure the URL is valid and try again.
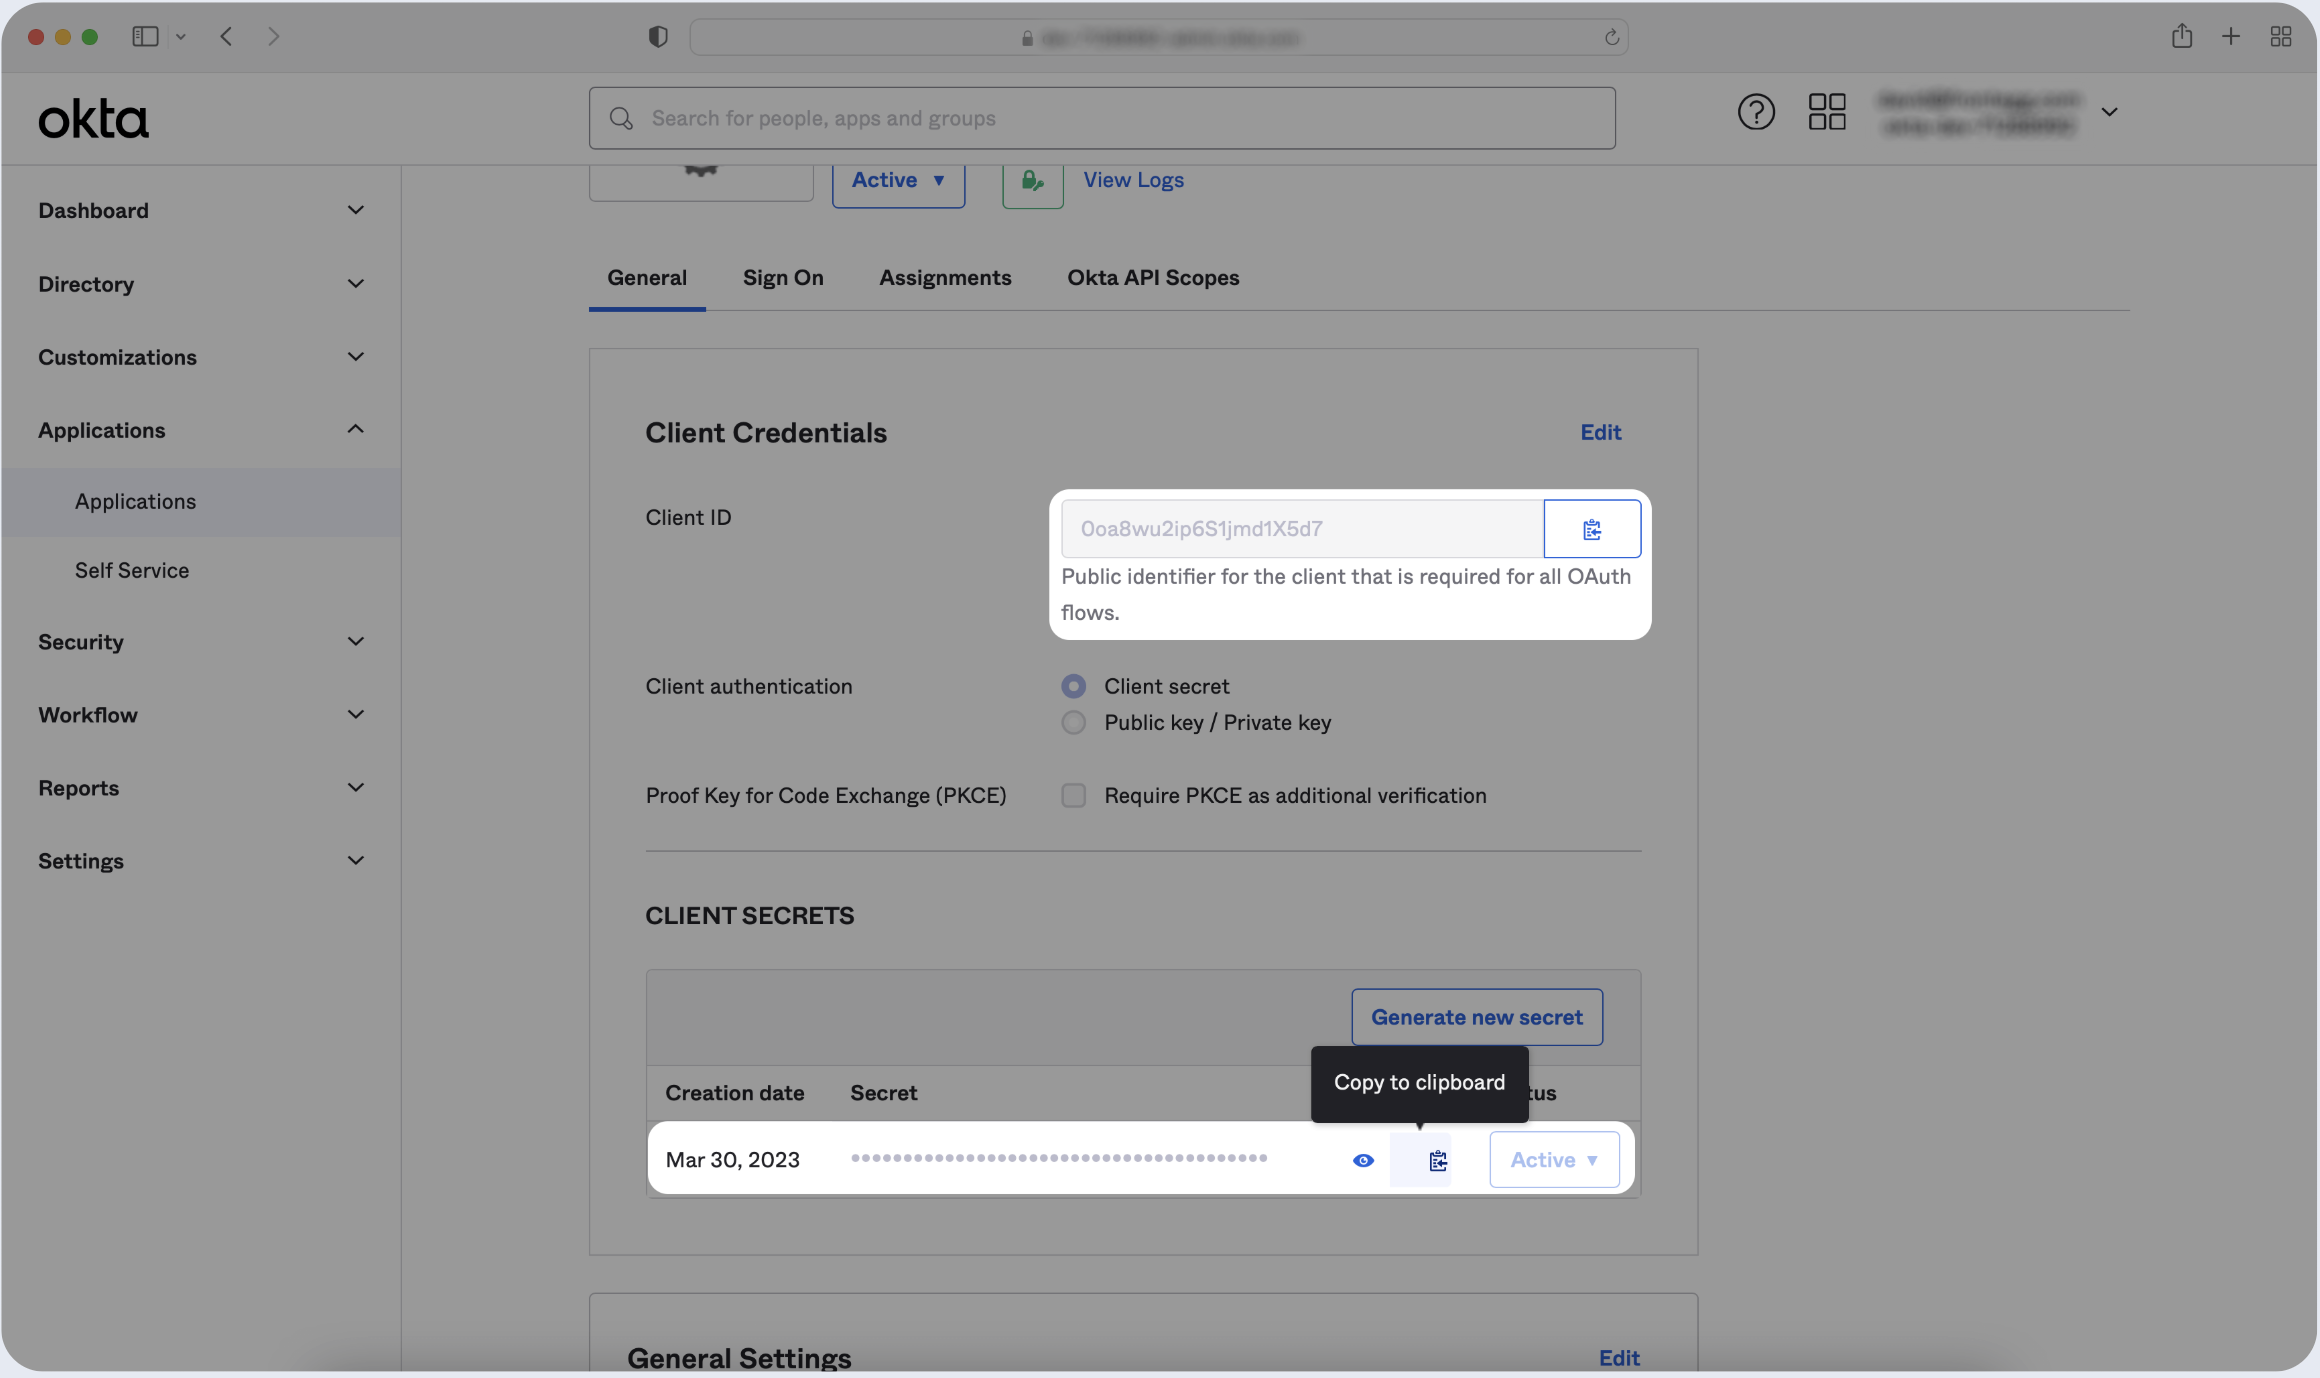
Step 5: Submit Identity Provider Config
In order to connect the OIDC your identity provider's configuration with the application:
- Click on the General tab of the OIDC app you just created.
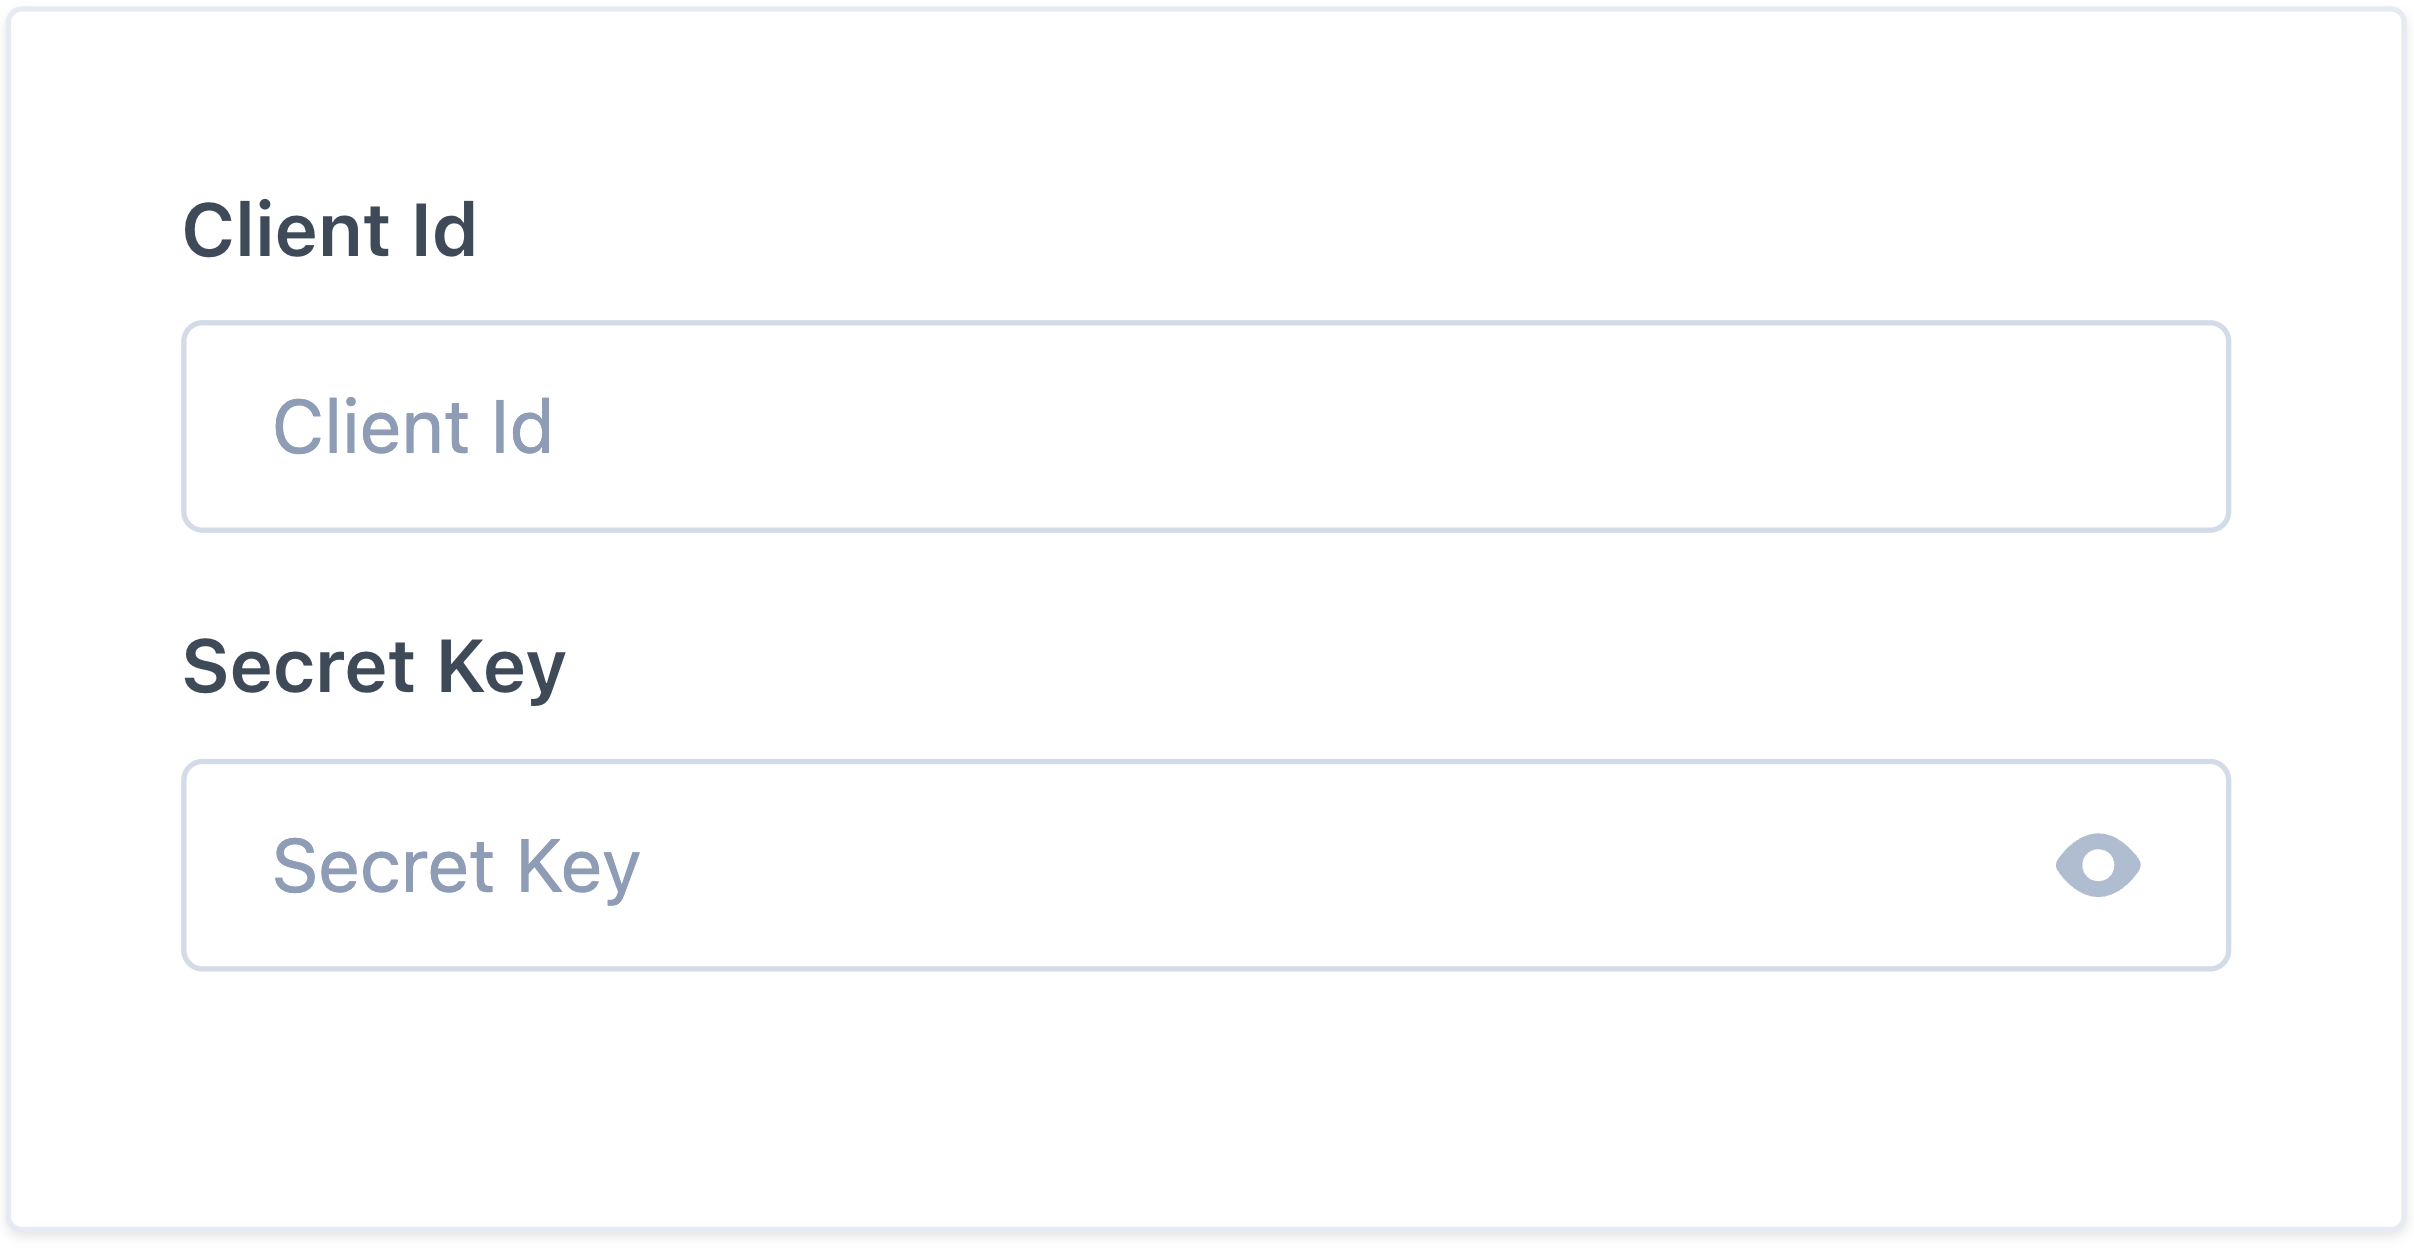
- Locate the Client ID under the Client Credentials.
- Locate the Secret Key under the Client Secrets.
- Copy both values, then paste it below.
Step 5: Proceed with domain claiming and role assignment
- Click on Proceed with domain claiming and role assignment to confirm the completion the configuration of the IDP form.
- Follow the instructions in the Self-service OIDC configuration guide to complete this step and manage authorization.