Facebook login
To enable your users to log in with Facebook, start by activating Facebook login in the builder and then set up an OAuth application with Facebook.
Follow the steps below for setup.
Enabling Facebook login in builder
- Open the Frontegg portal.
- Click on the Login Box button.
- In the left panel, toggle Facebook to on.
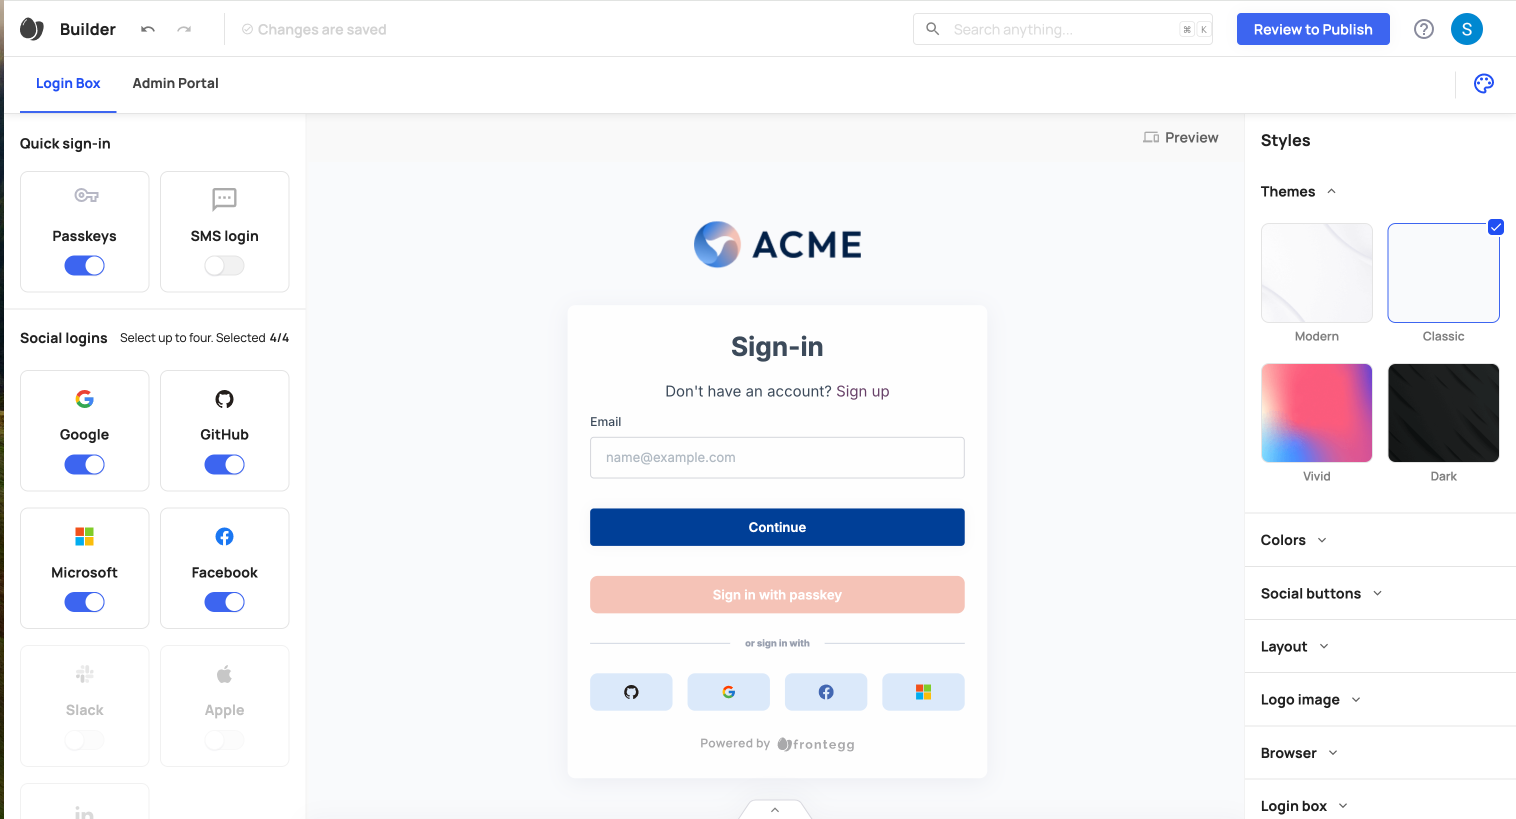
- Click Review to Publish, then Publish to Dev.
After modifying any settings, commit your changes and publish them to apply across your environments.
Creating a Facebook application
Complete the following steps to configure Facebook login.
Step 1: Register your app
- Go to Facebook for Developers, log in, and select My Apps.

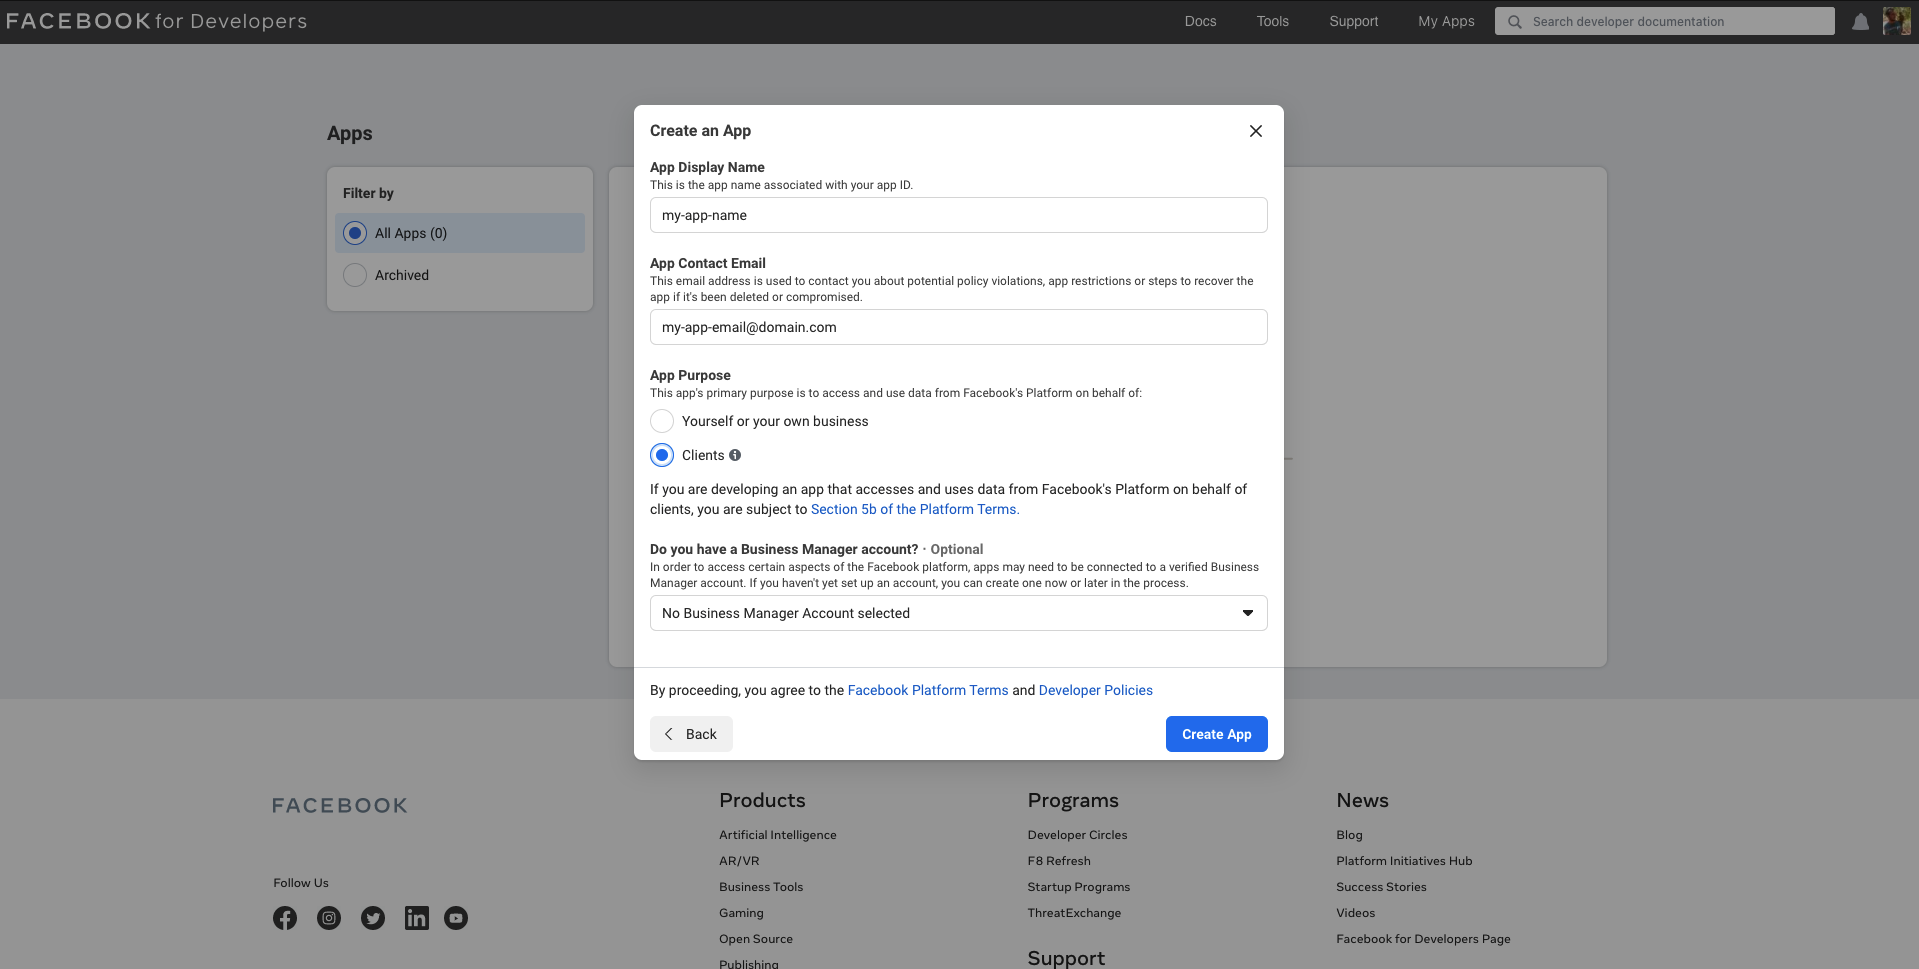
- Click Create App and select an app type. For more information, refer to Facebook’s app type documentation.
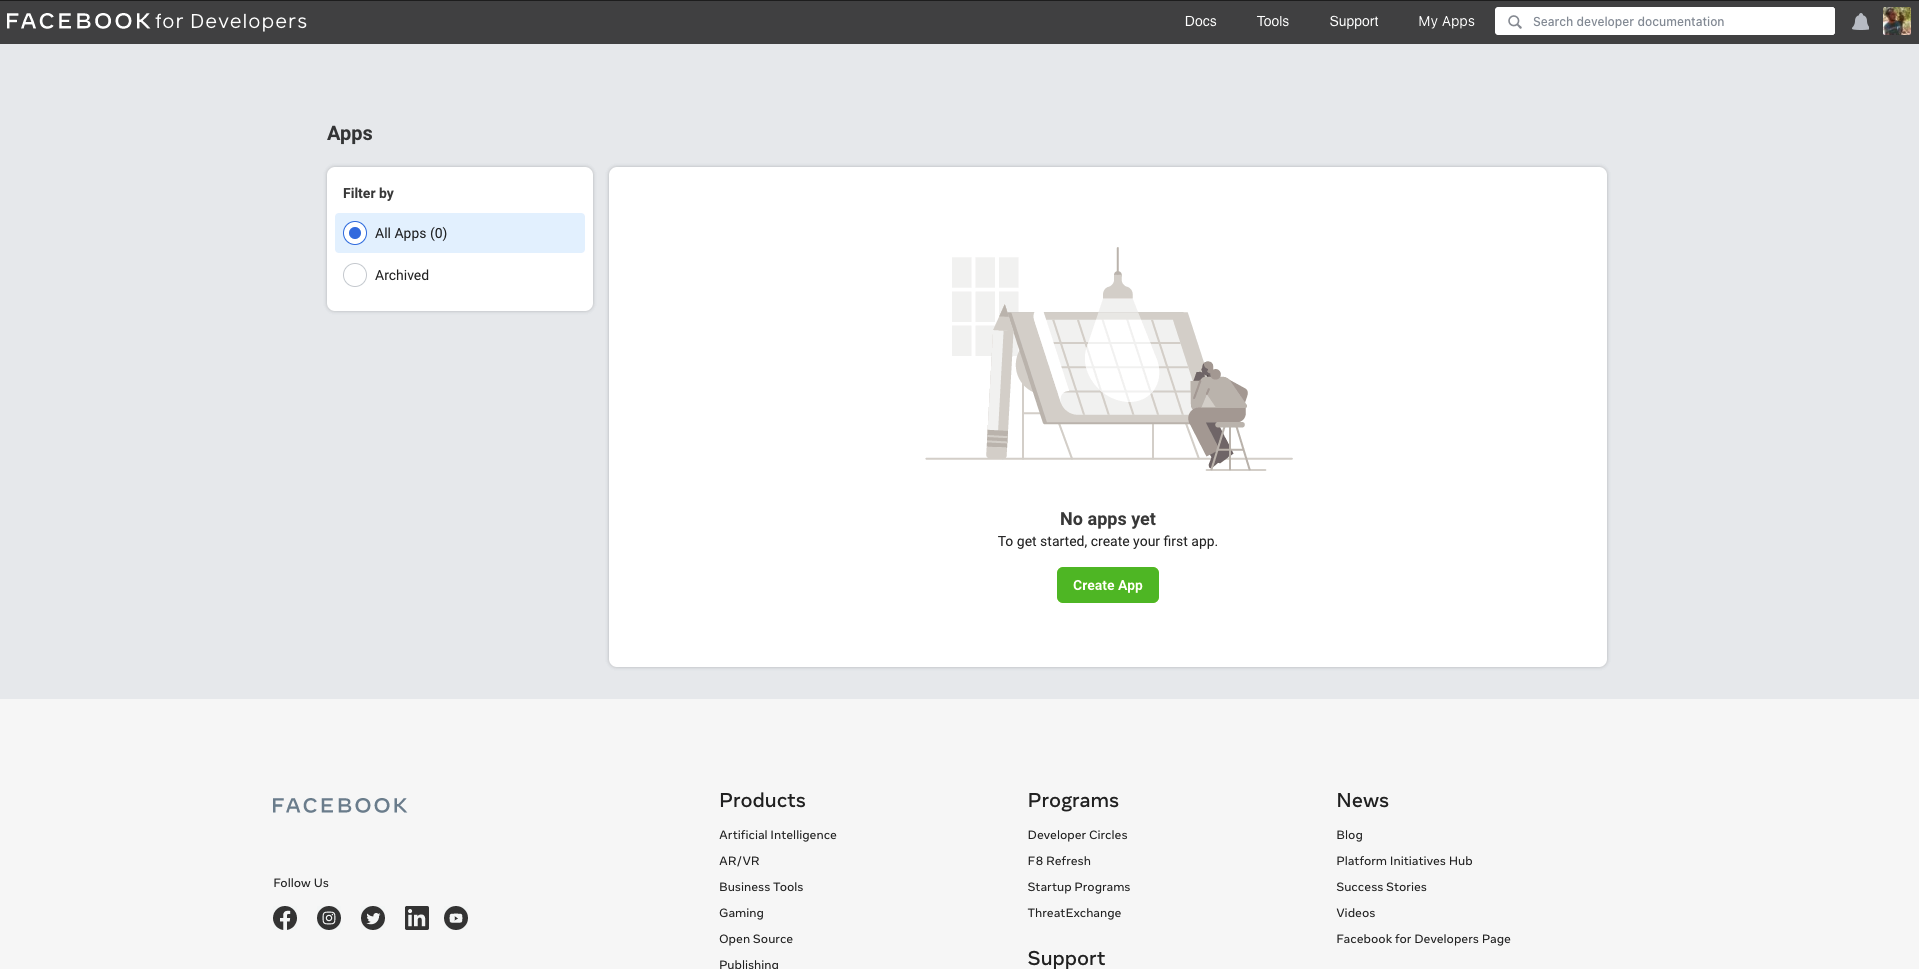
- Set your App Name and Contact Email for the app, then click Create App.
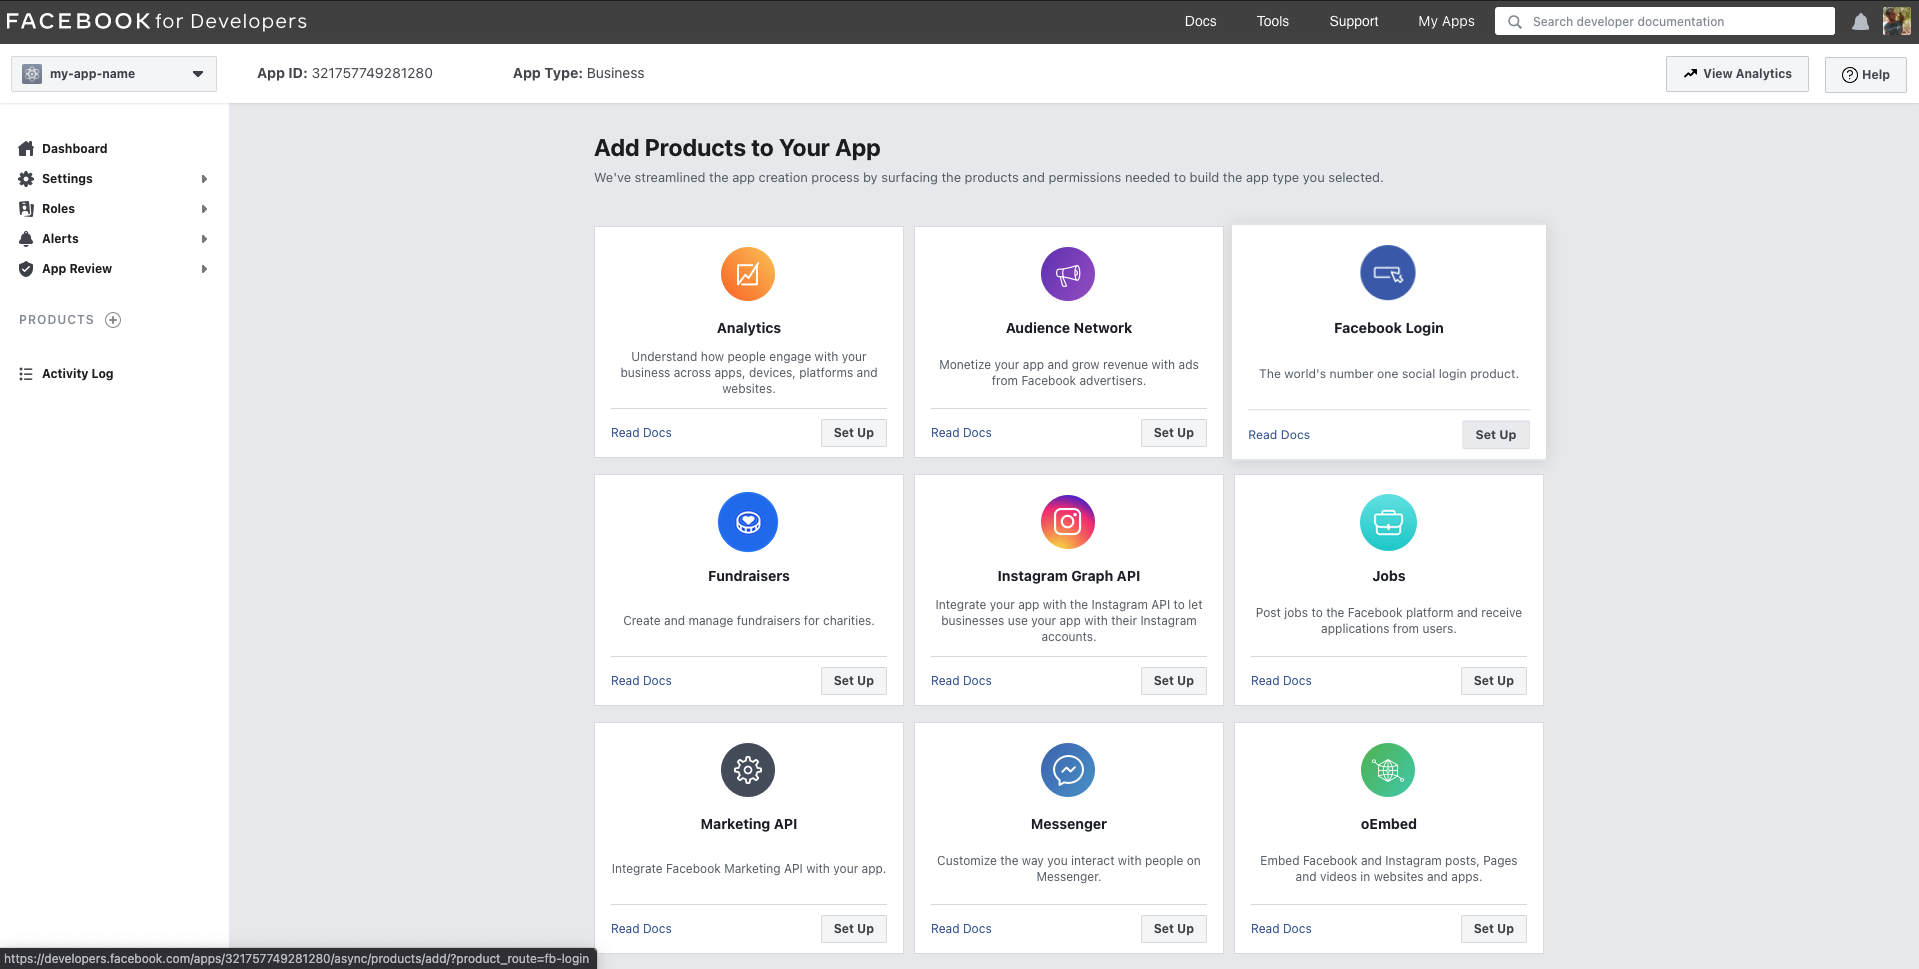
Step 2: Add Facebook login
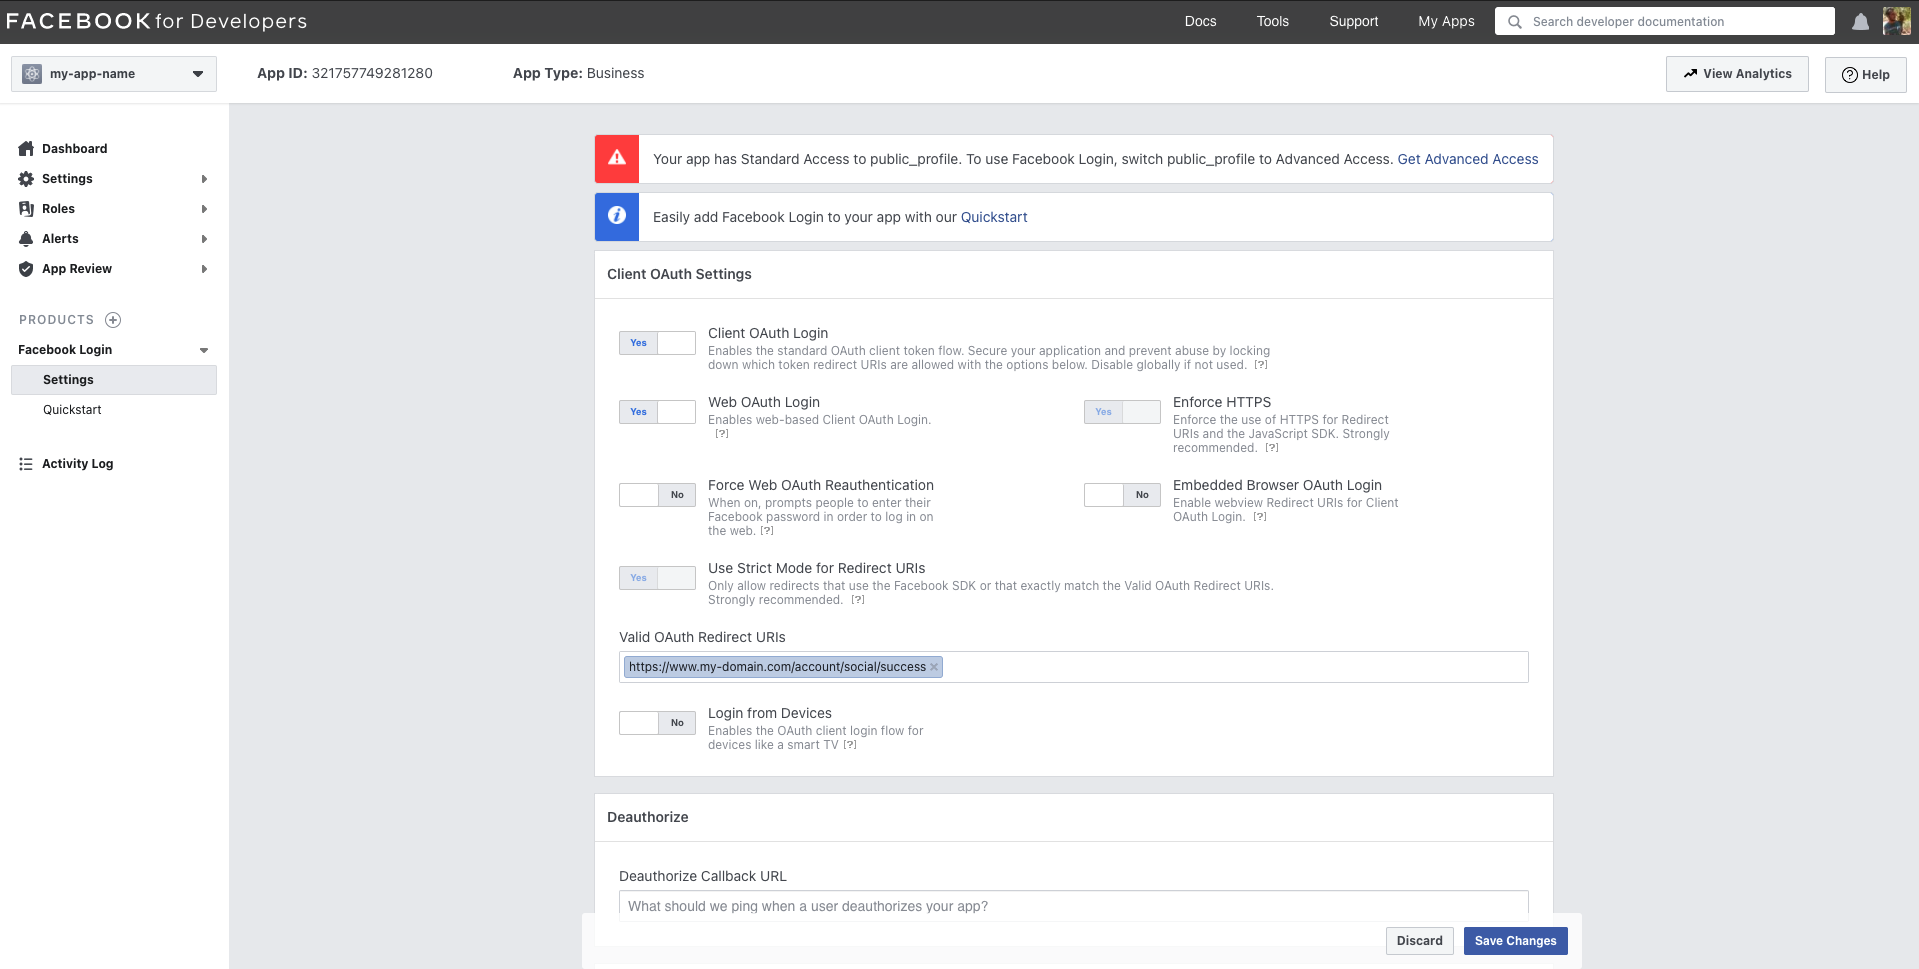
- In your application’s dashboard, click Set Up for Facebook Login.
- Enable Client OAuth Login and Web OAuth Login.
- Under Valid OAuth Redirect URIs, enter the redirect URI where users should be sent after login success:
- For hosted login, use
https://{{YOUR-FRONTEGG-DOMAIN}}/oauth/account/social/success. - For embedded login, use
https://{{YOUR-APPLICATION-URL}}/account/social/success.
- For hosted login, use
Step 3: Enable public_profile permission
- Go to App Review ➜ Permissions and Features.
- Locate
public_profileand click Get Advanced Access.
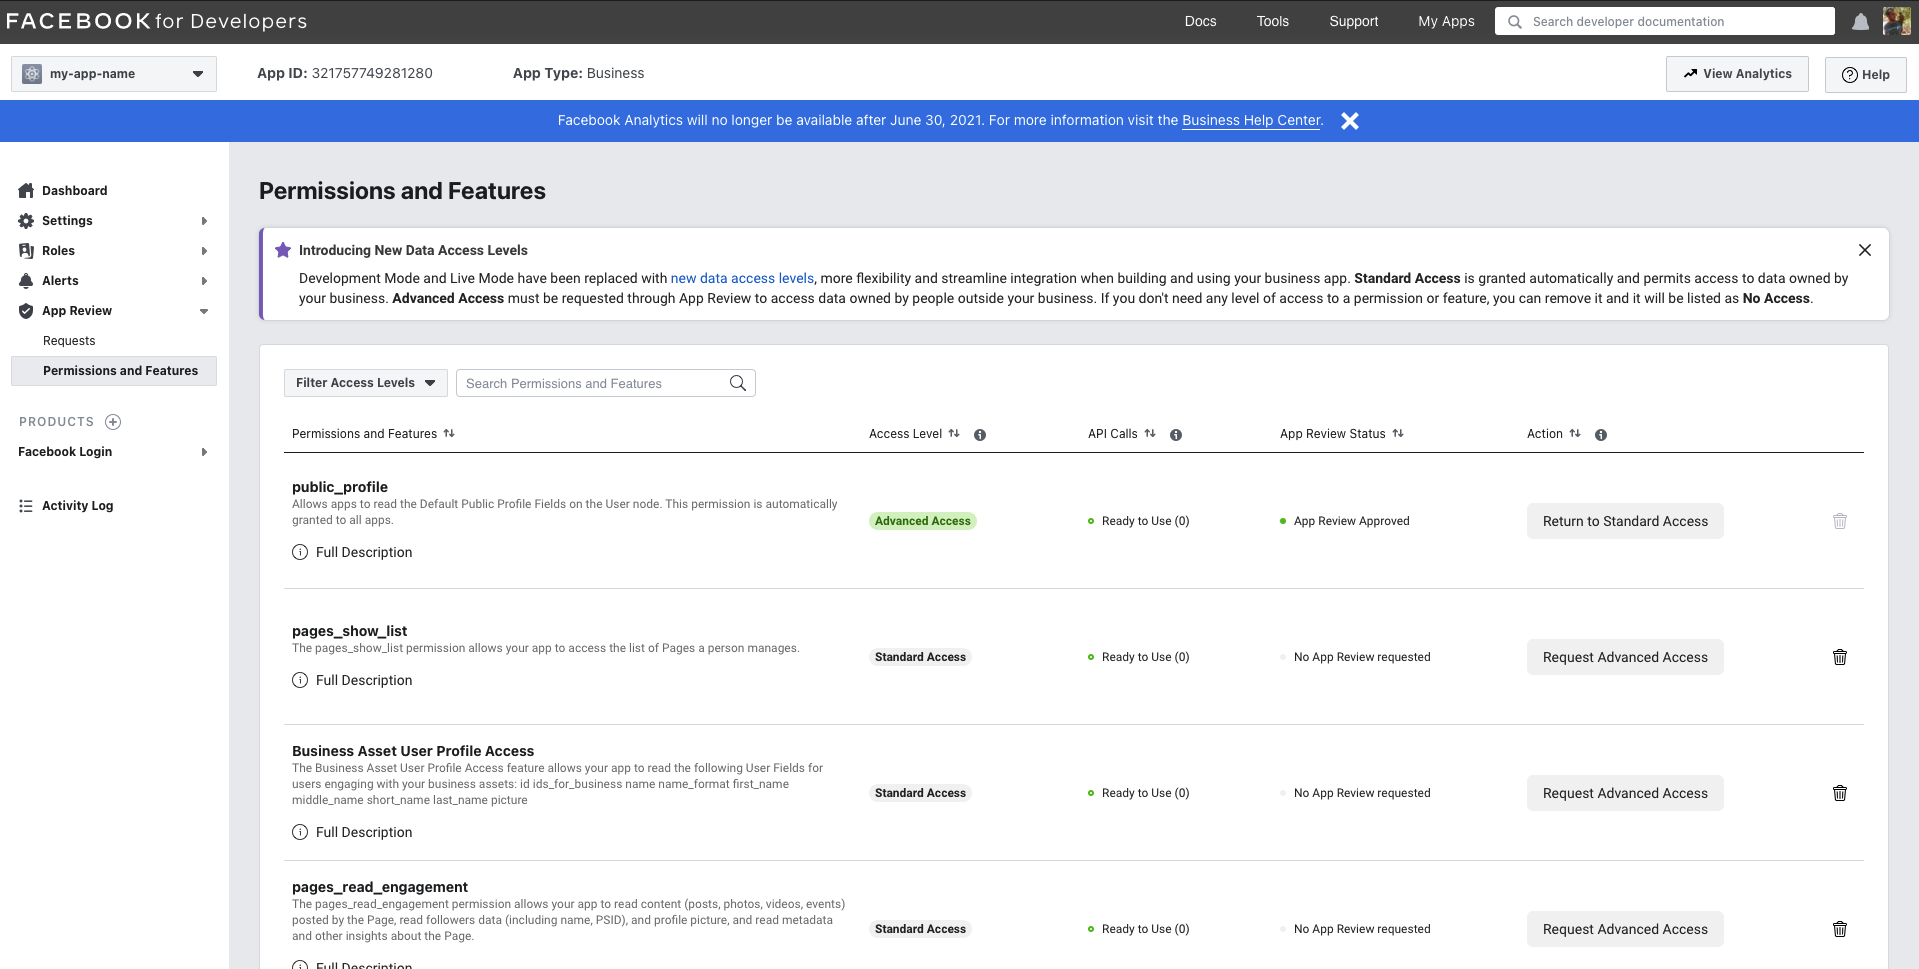
Advanced Permission
Advanced Permission
If the Get Advanced Access option is unavailable, your app type may already have this permission by default, or it may not be available for that type.
Entering Facebook credentials in Frontegg
Once your app is registered and configured, you can enter your Facebook credentials in Frontegg.
Test environment
Test environment
If you’re still developing your app, you can create a Facebook Test App and enter those credentials into the Frontegg portal. Once you’re ready for production, replace the test credentials with those for your production app.
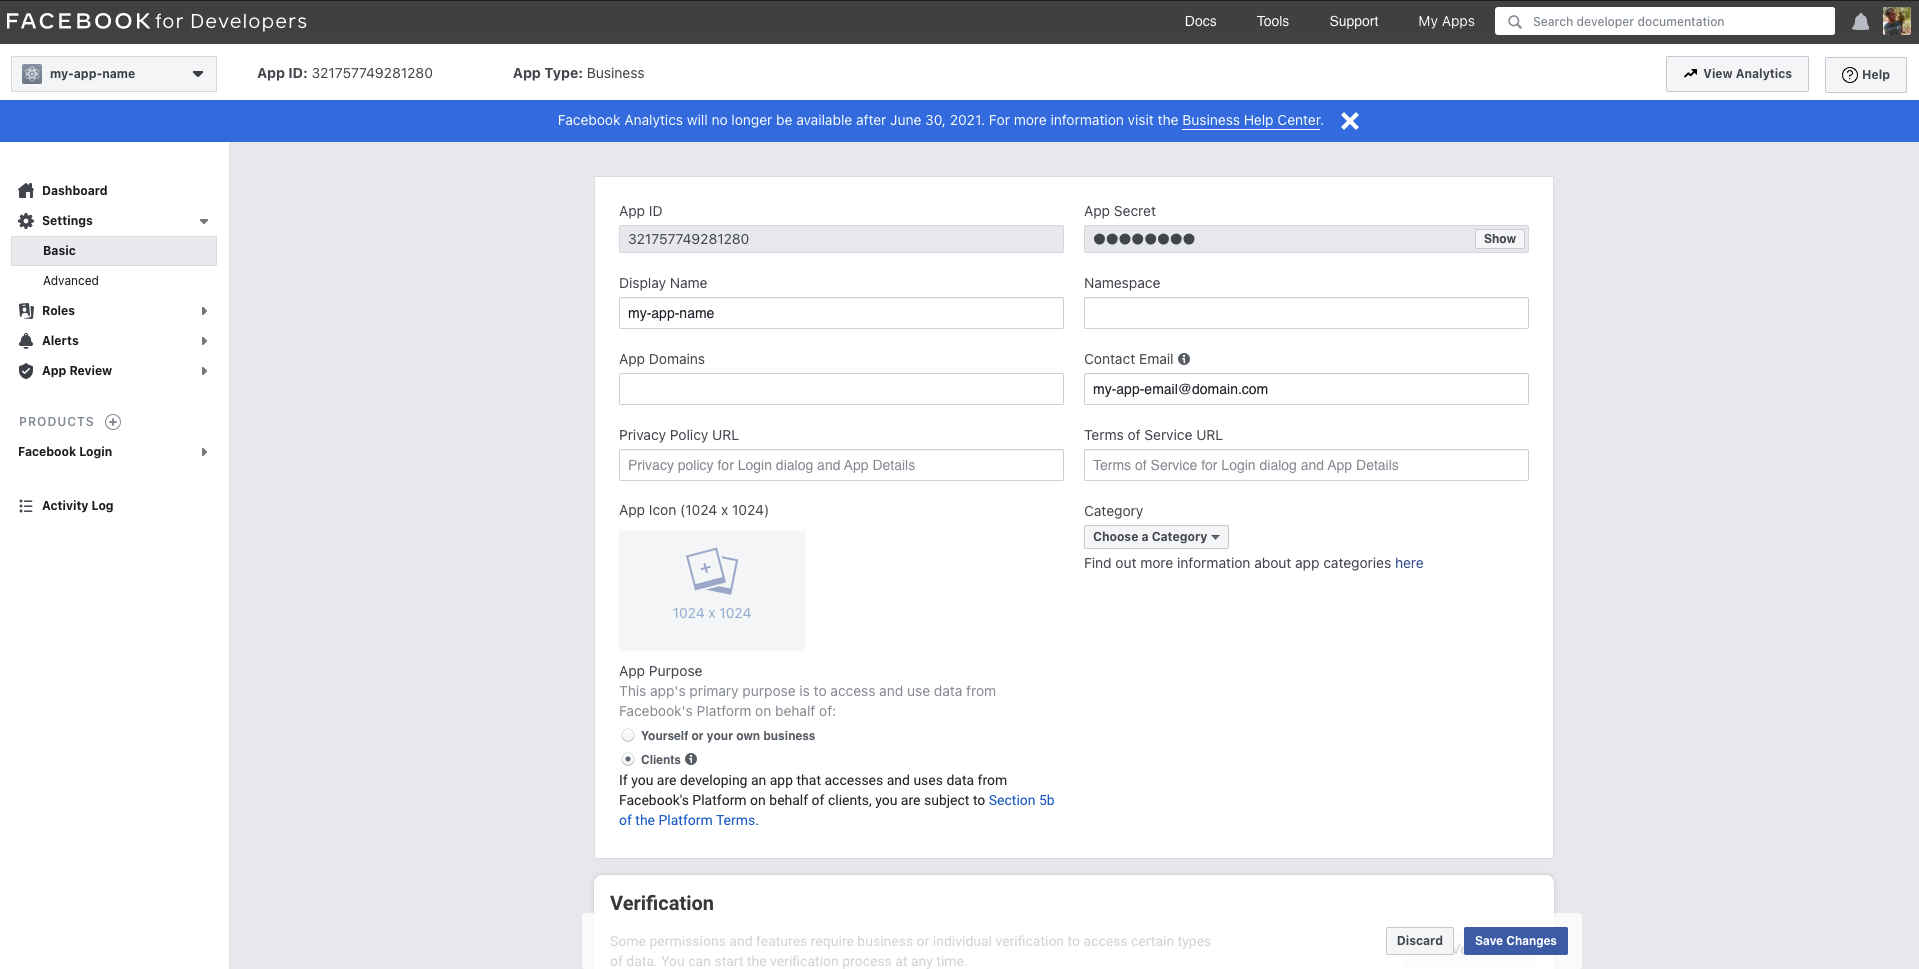
- Copy the App ID and App Secret from your Facebook app’s settings.
- In Frontegg, go to [ENVIRONMENT] → Authentication → Social Logins.
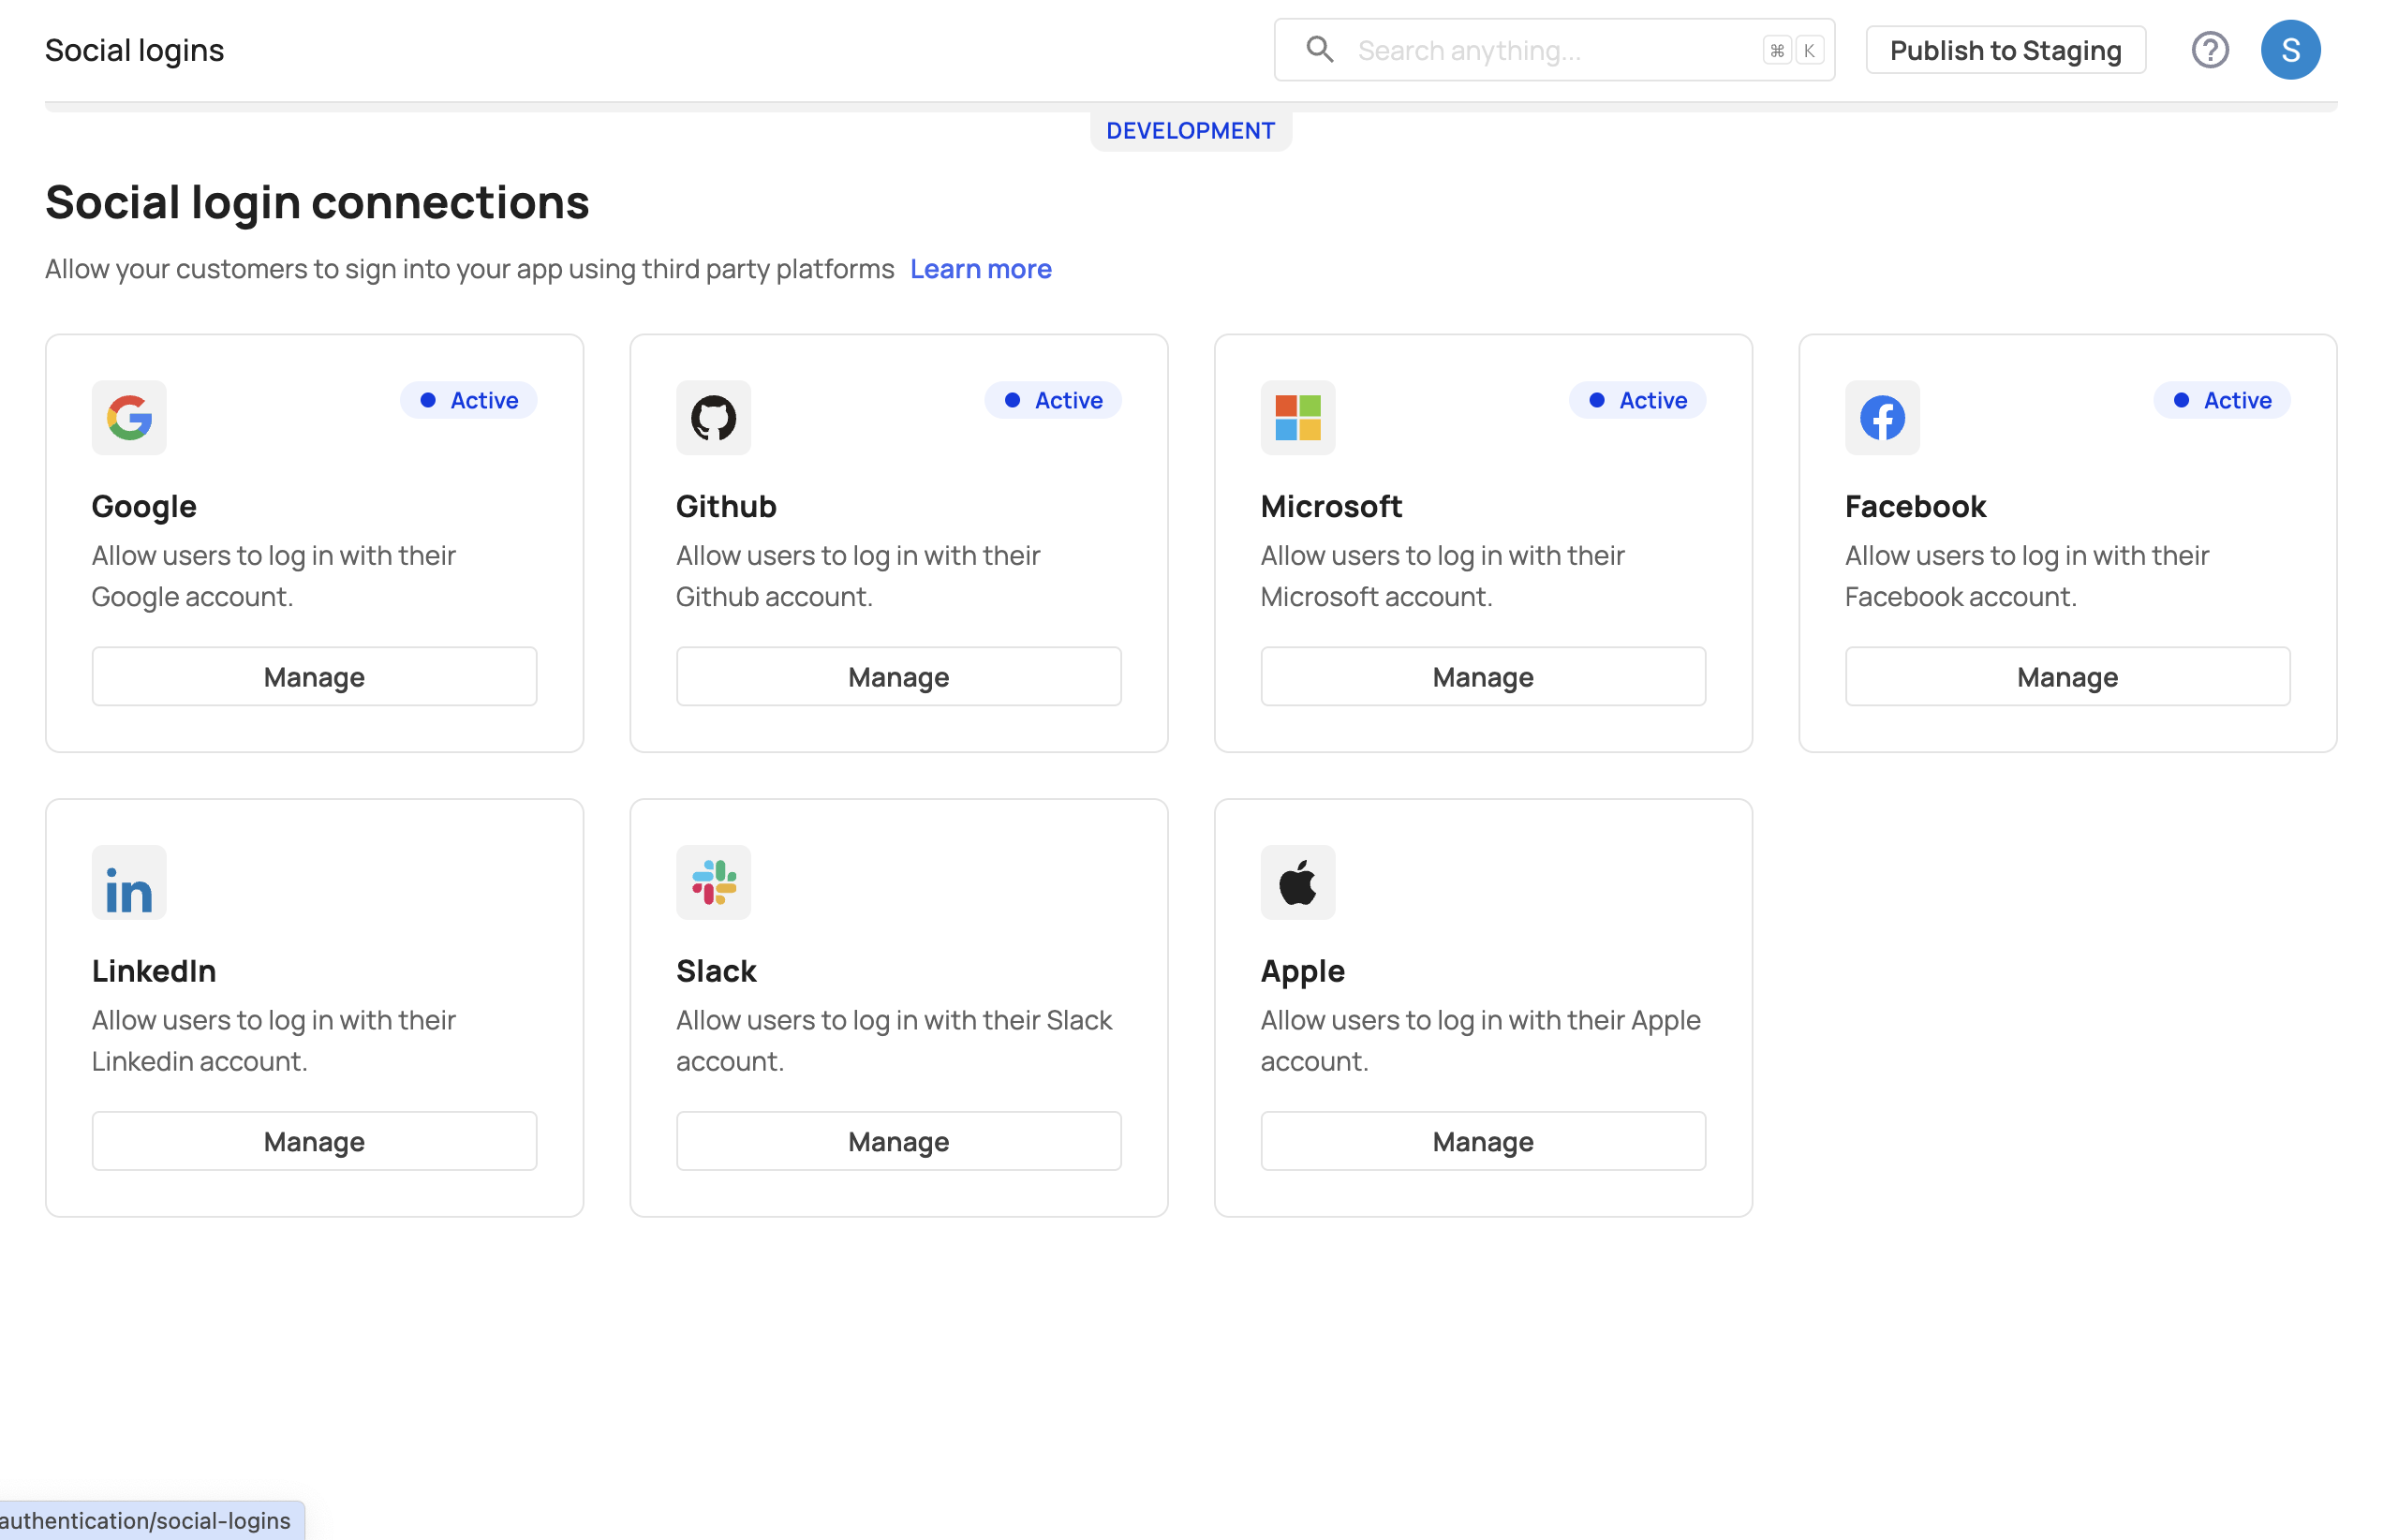
- Click Manage on the Facebook card, then enter your App ID and App Secret. Save and publish your changes.

Testing Facebook login
- Go to your login screen, where you should now see a Facebook button that redirects to the Facebook OAuth Consent screen.
- Test to ensure that login functionality is working.
Setting Up Facebook Login Permissions
Setting Up Facebook Login Permissions
By default, only invited users can log in with Facebook. To allow new users to sign up using Facebook, enable Allow Signups in the Login Box builder’s left panel.
Creating a test environment in Facebook
To test your app in a development environment, create a Facebook Test App.
Step 1: Create test app
- In the My Apps section, select your app’s name from the top left corner and click Create Test App.
- Enter a name for the test app, then click Create Test App.
Step 2: Add Facebook login
Follow the same setup steps as for your production app:
- From the test app’s dashboard, click Set Up for Facebook Login.
- Copy the test App ID and App Secret and enter them in Frontegg as described earlier.
Customizing authentication scopes for Facebook
Scopes let you specify what type of information your application can access after users grant it permission. By default, Frontegg fetches user profile and email scopes for Facebook login. To add more custom scopes:
- In Frontegg, go to [ENVIRONMENT] → Authentication → Social Login → Custom → Scopes.
- Check Facebook's supported scopes here.