Apple login
Enabling Apple login allows users to sign in using their Apple accounts, simplifying the login process. To enable Apple login, first activate Apple in the builder, then create the required credentials through Apple’s developer portal.
Follow the steps below for a seamless integration.
Enabling Apple login in builder
- Navigate to Home and open the Login Box builder.
- In the left panel, toggle Apple to on.
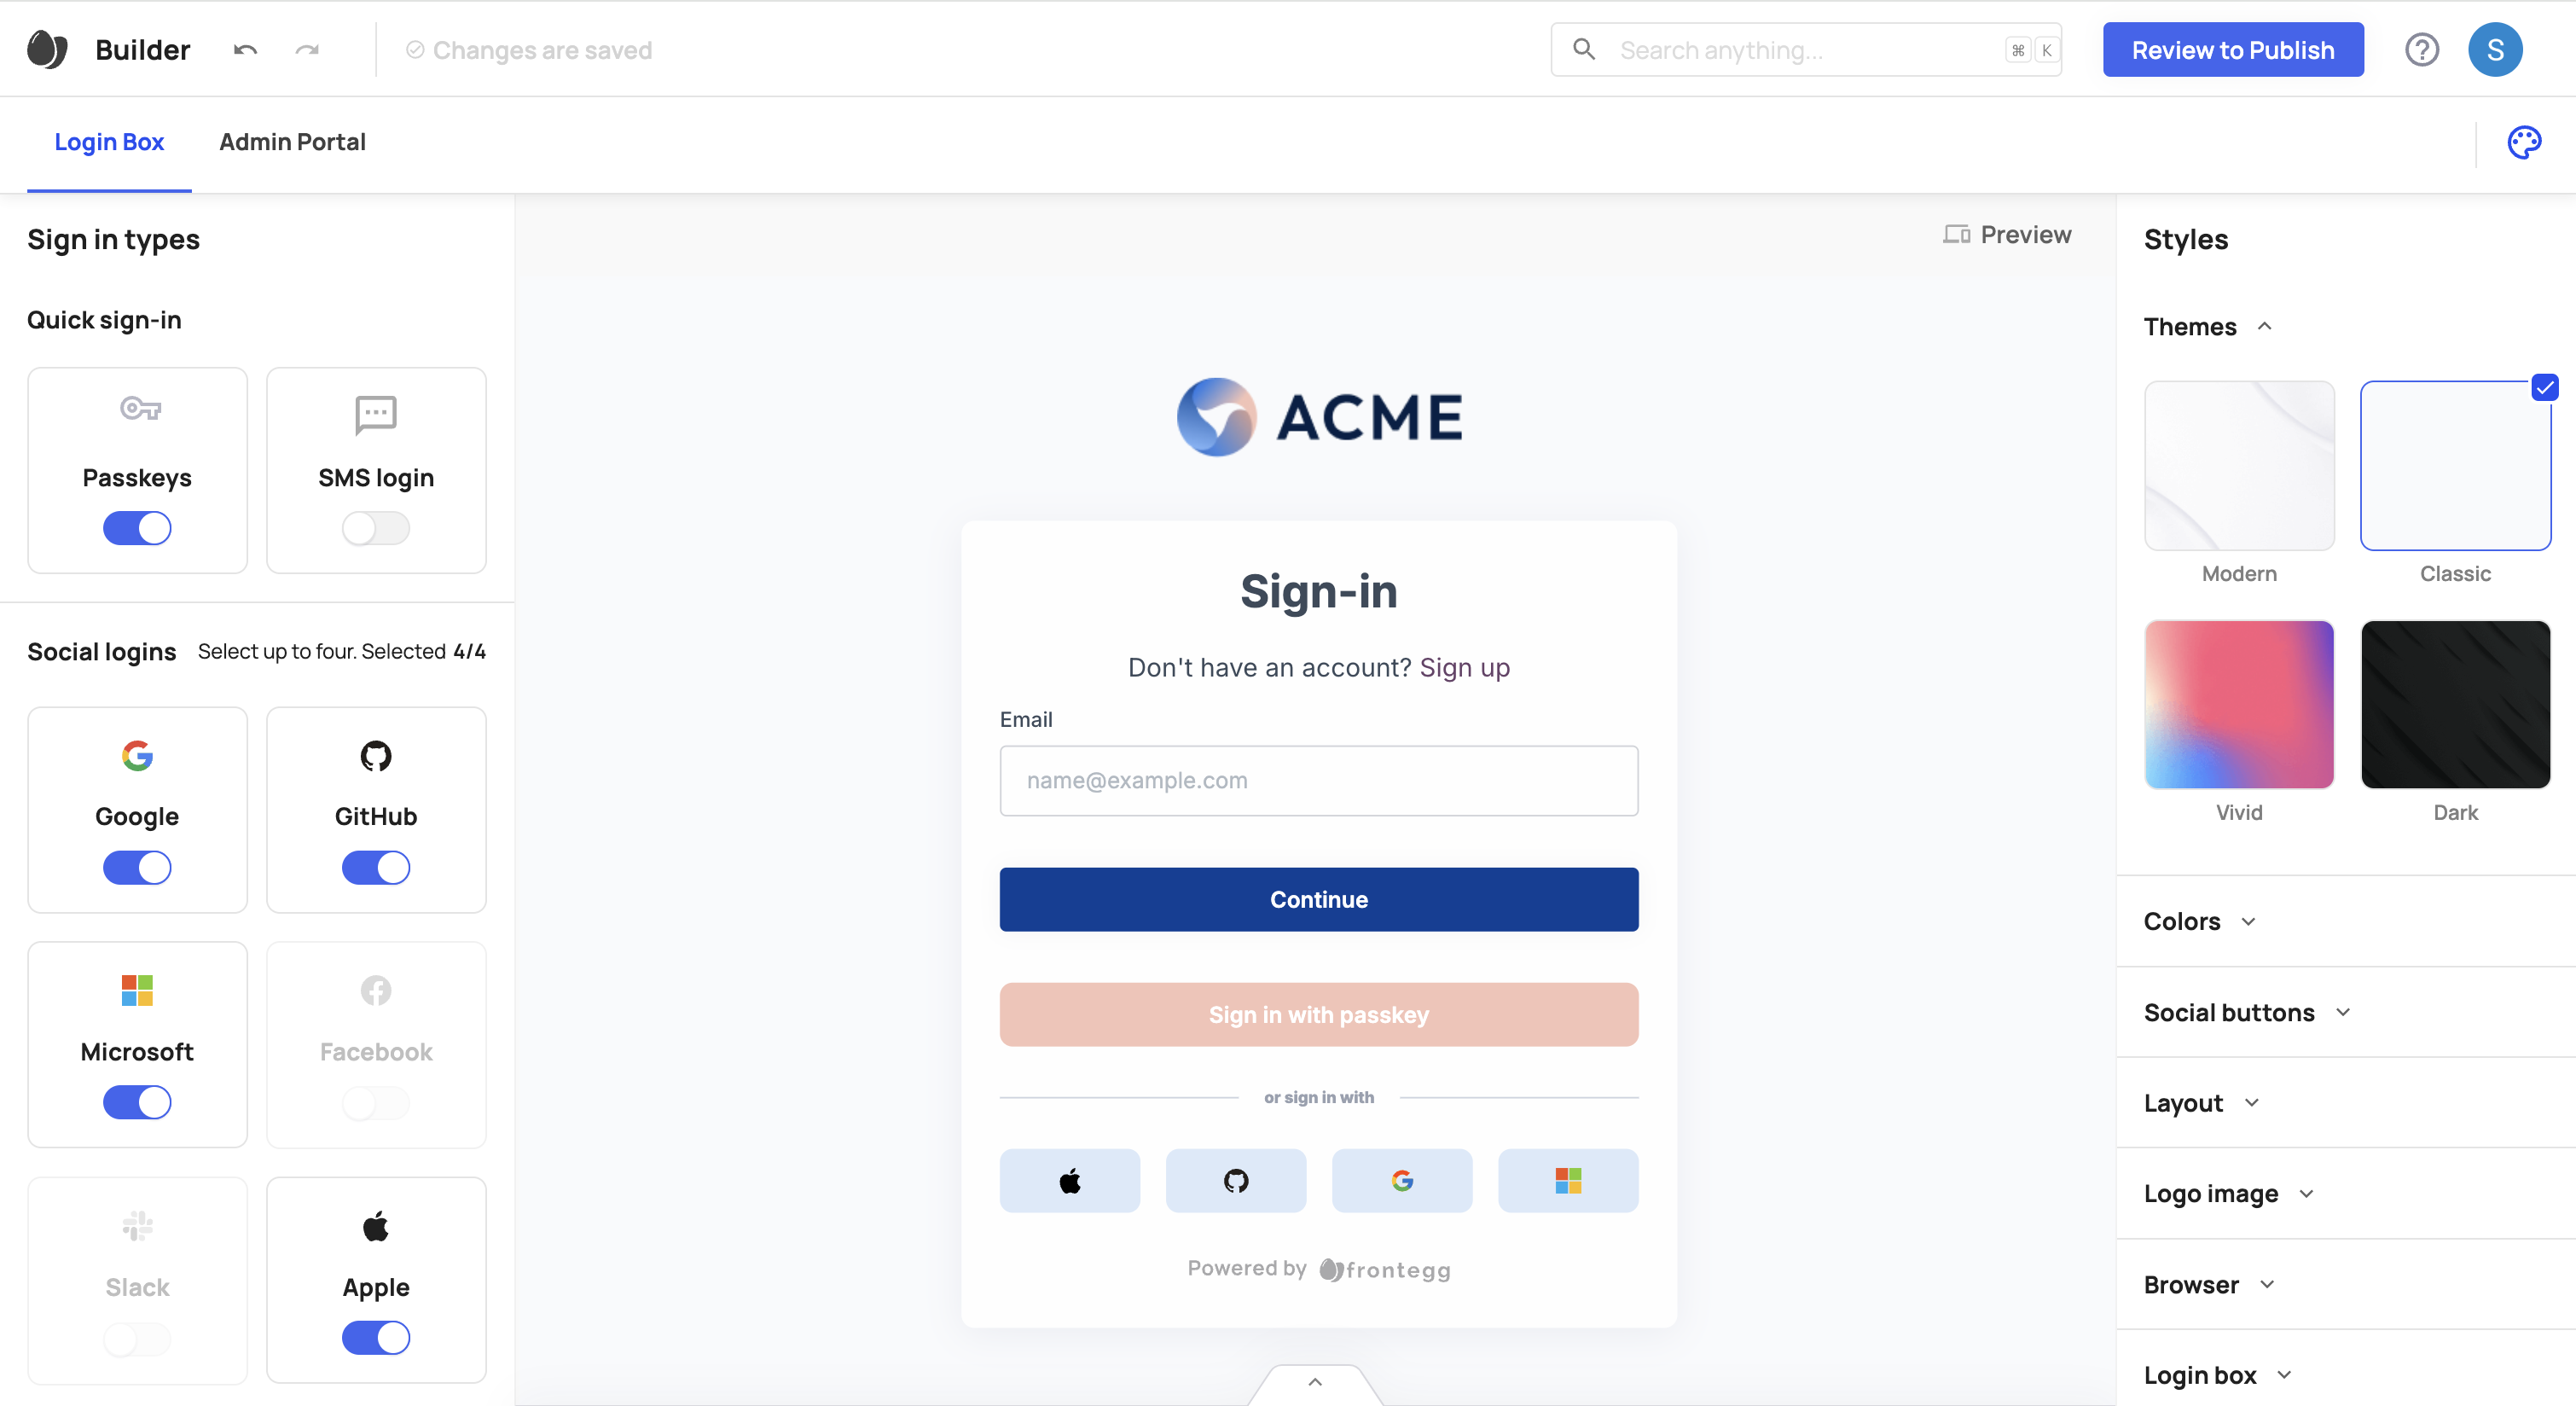
You can have up to four social login options on your login page.
After modifying any settings, commit your changes and publish them to apply across your environments.
Creating Apple credentials
Log in to your Apple Developer Account. This will be referred to as the Home Page throughout the setup.
Follow the steps below to set up Apple Login.
Step 1: Create an application
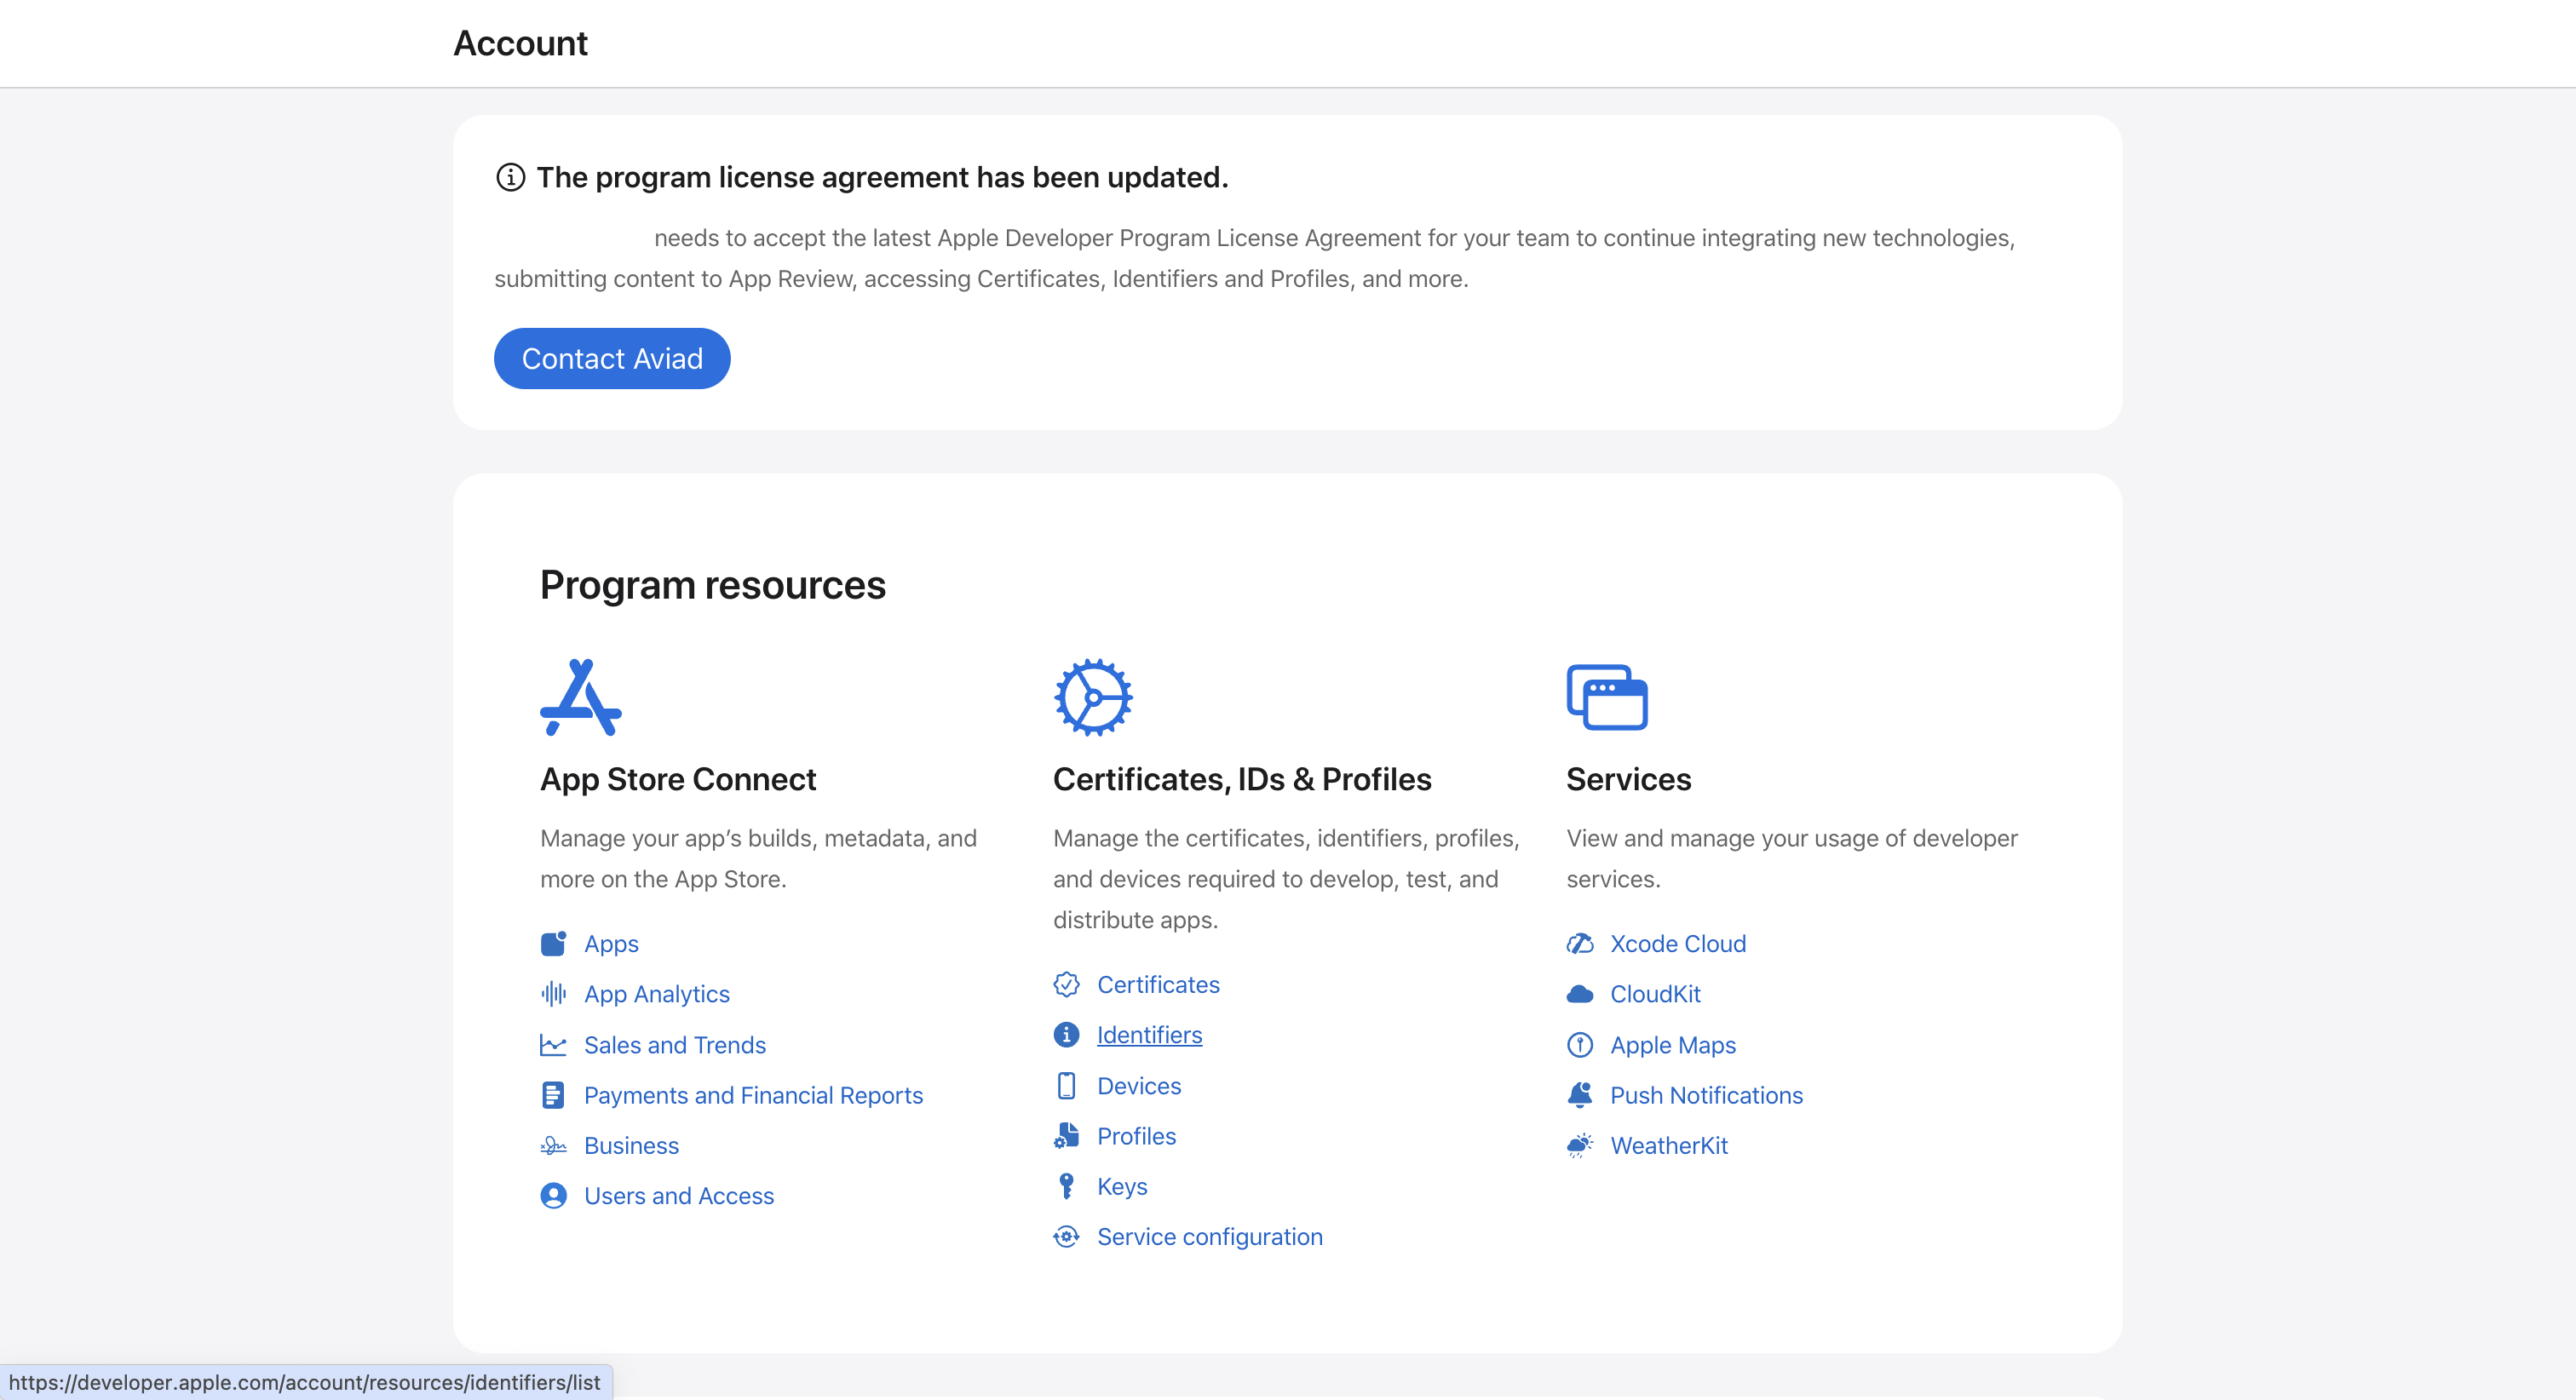
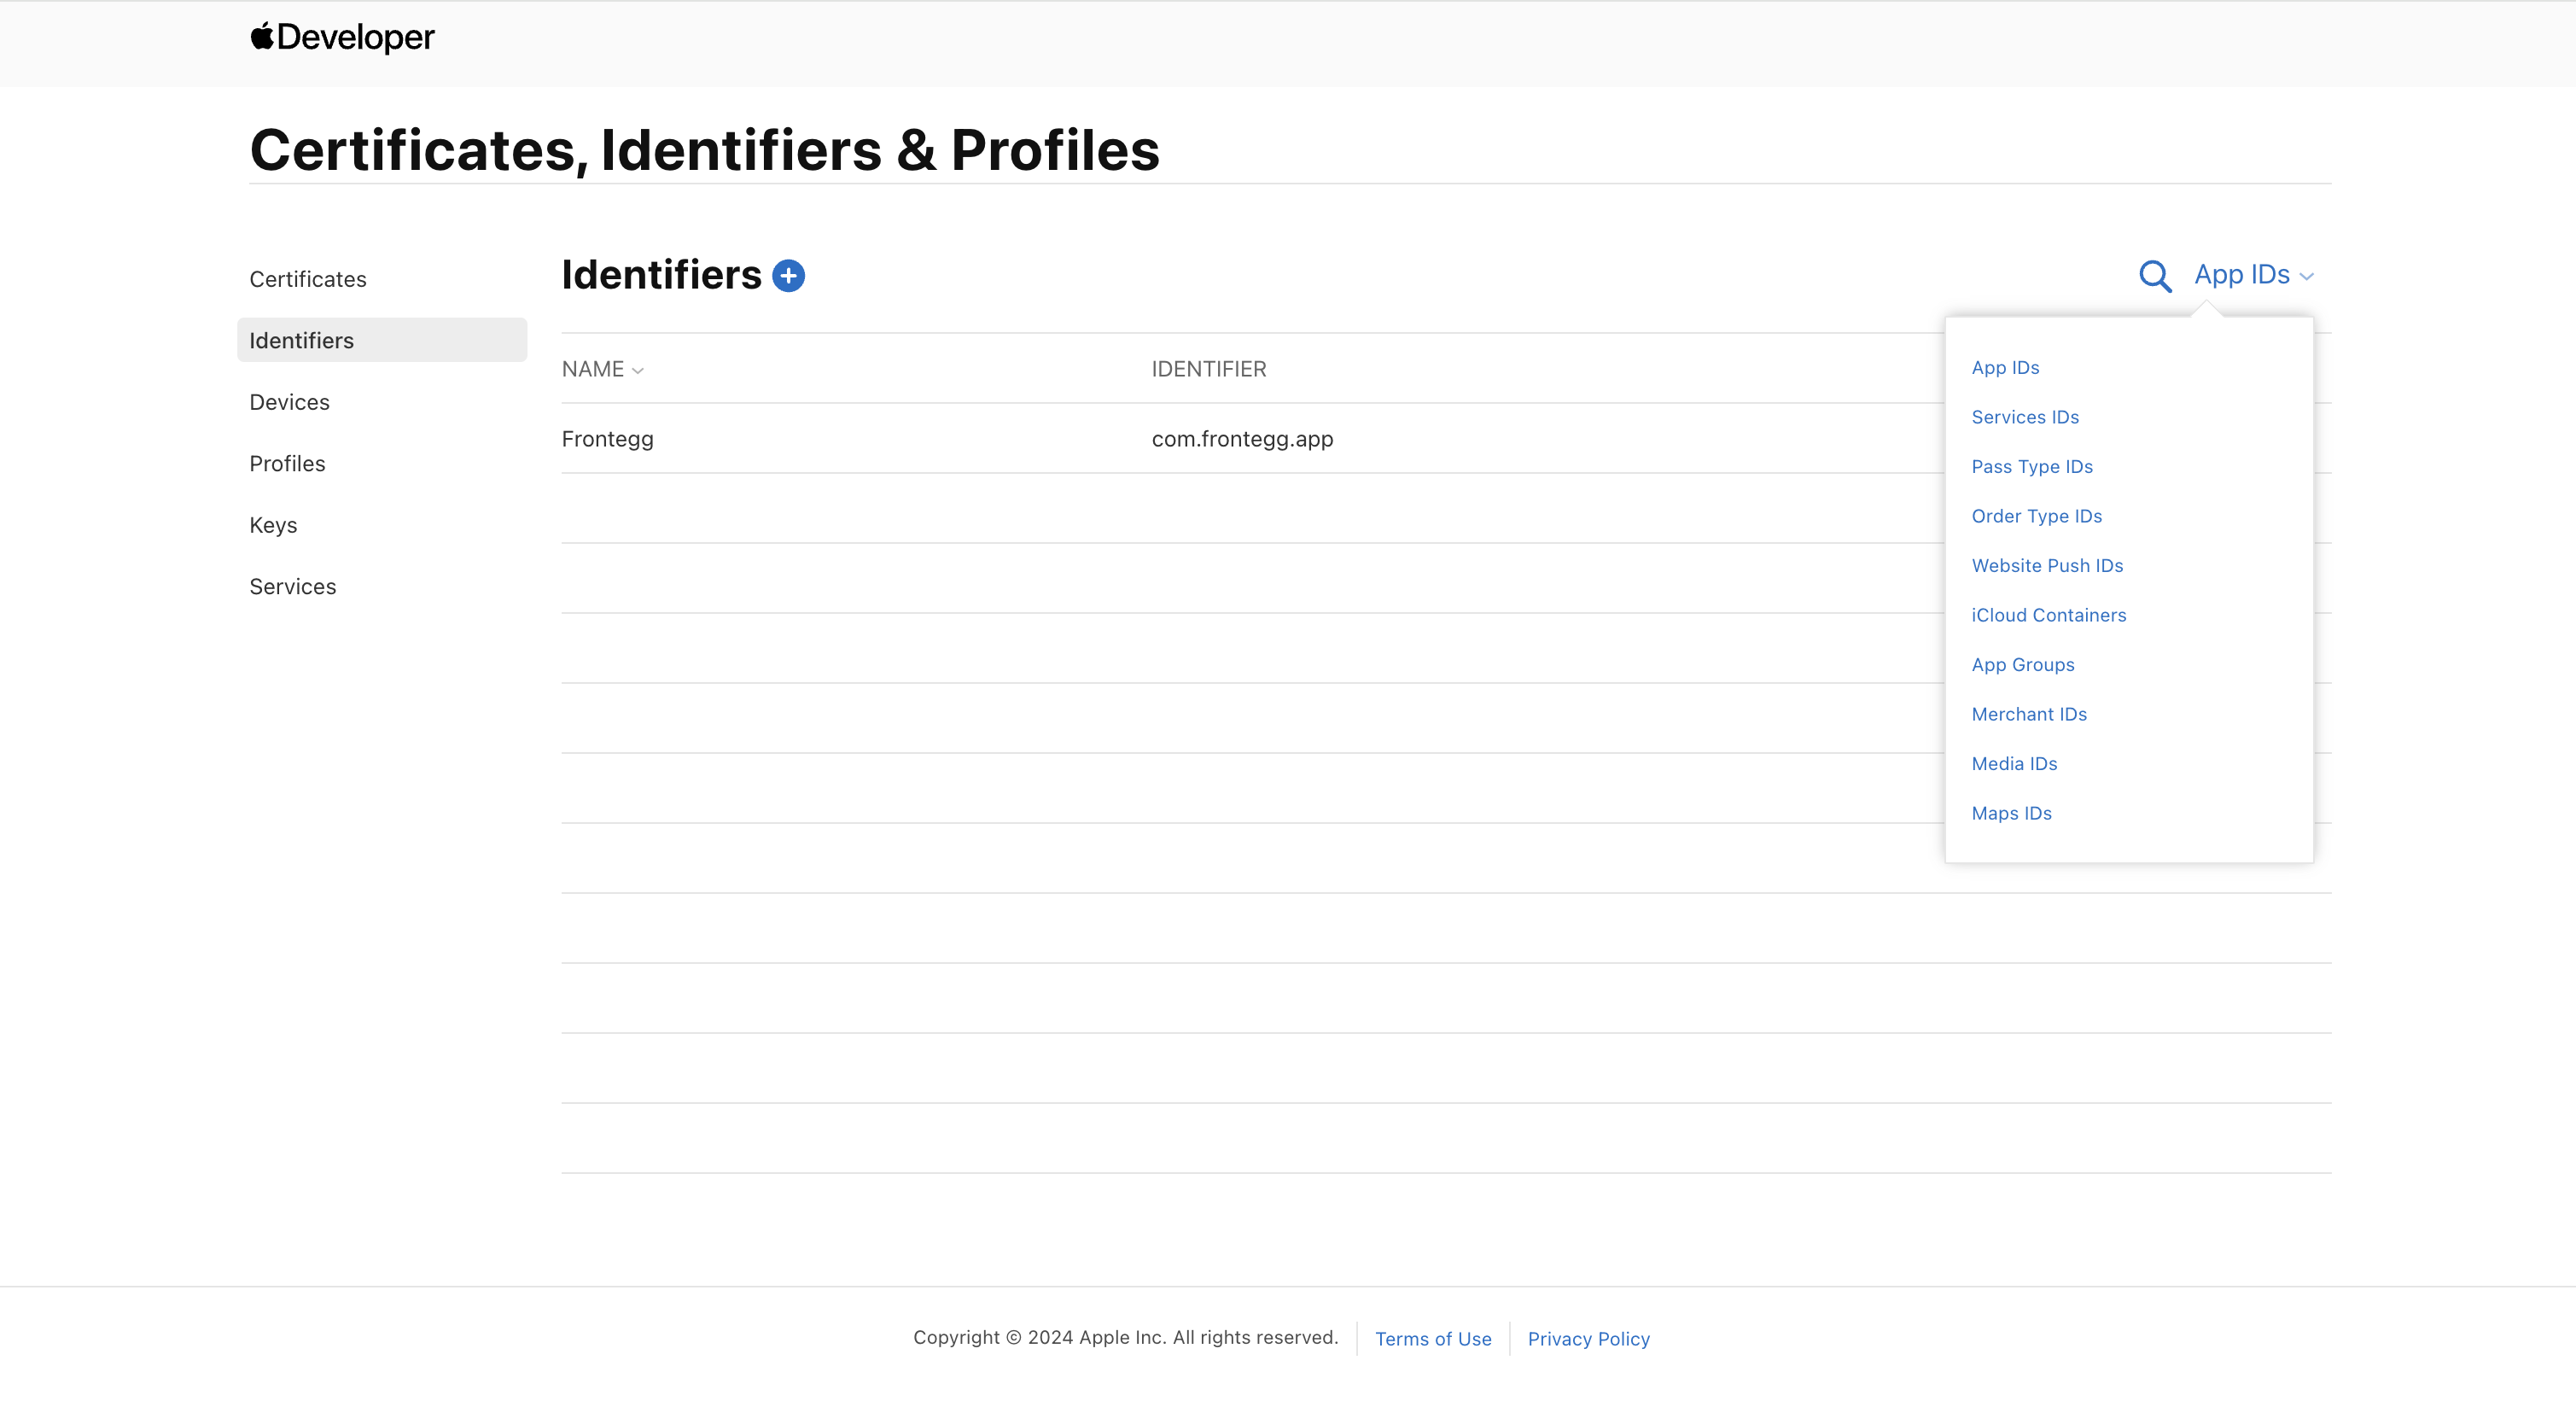
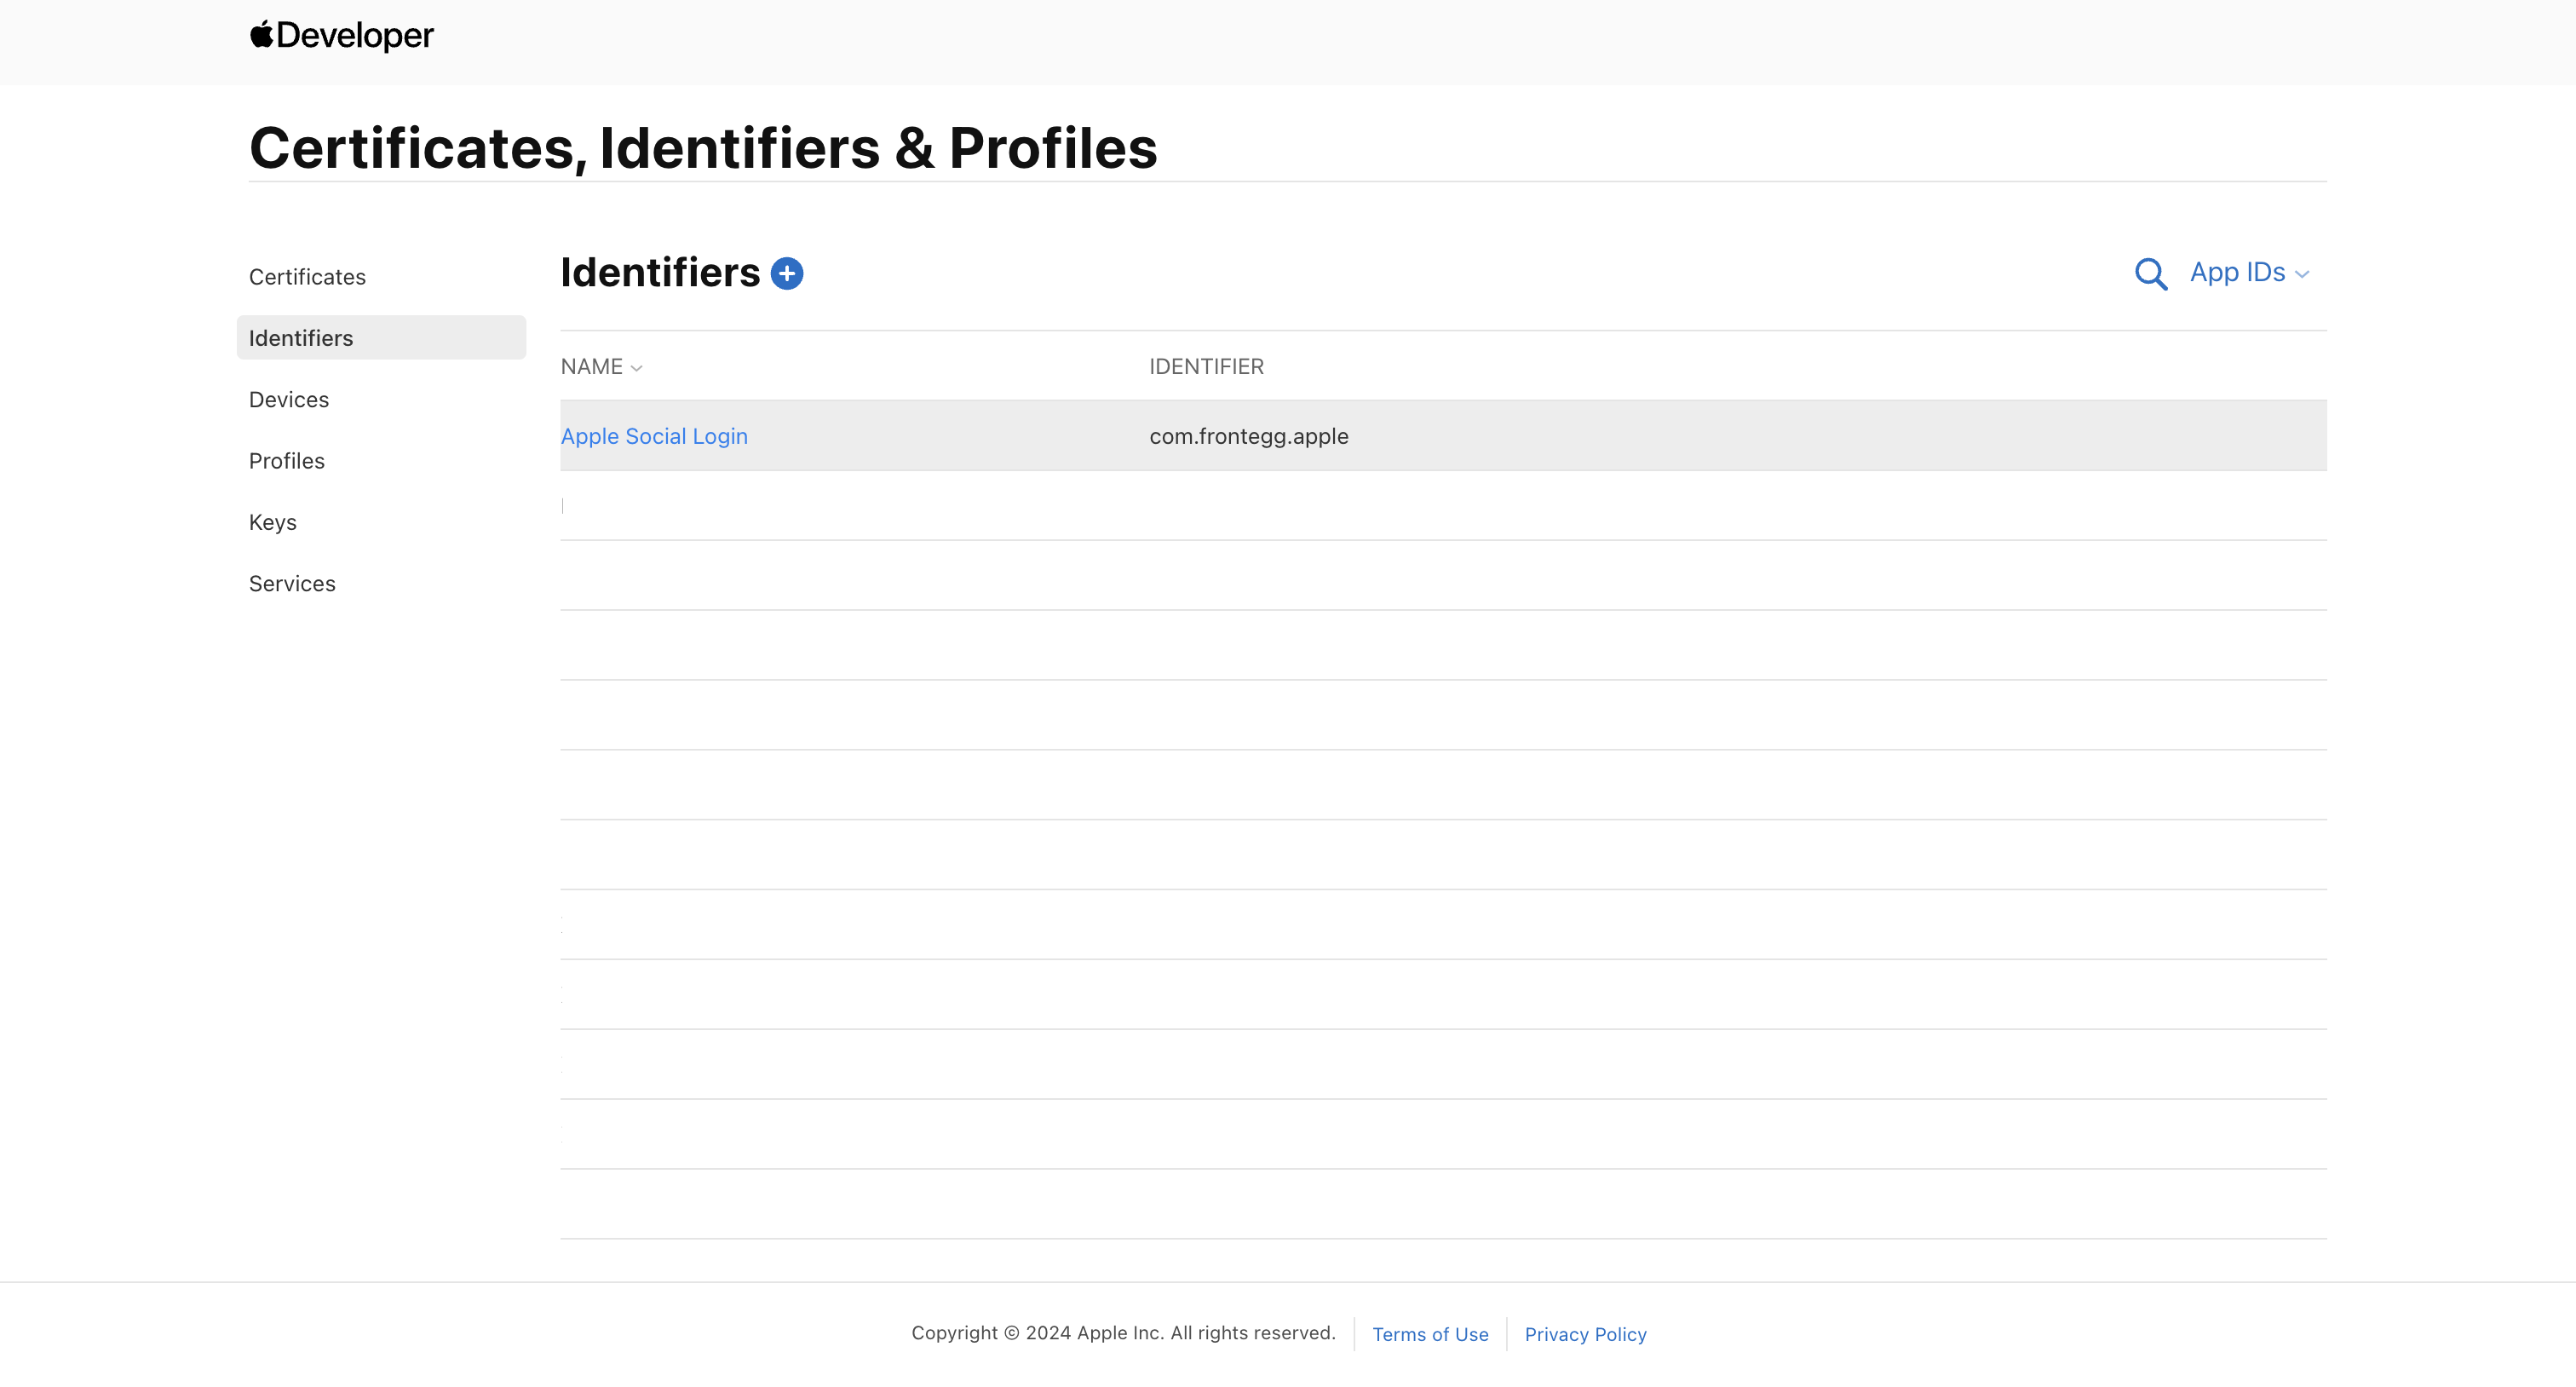
- In the Home Page, under Certificates, Identifiers & Profiles, click on Identifiers.
- Ensure App IDs is selected at the top right, then click the blue plus button to add a new App ID.
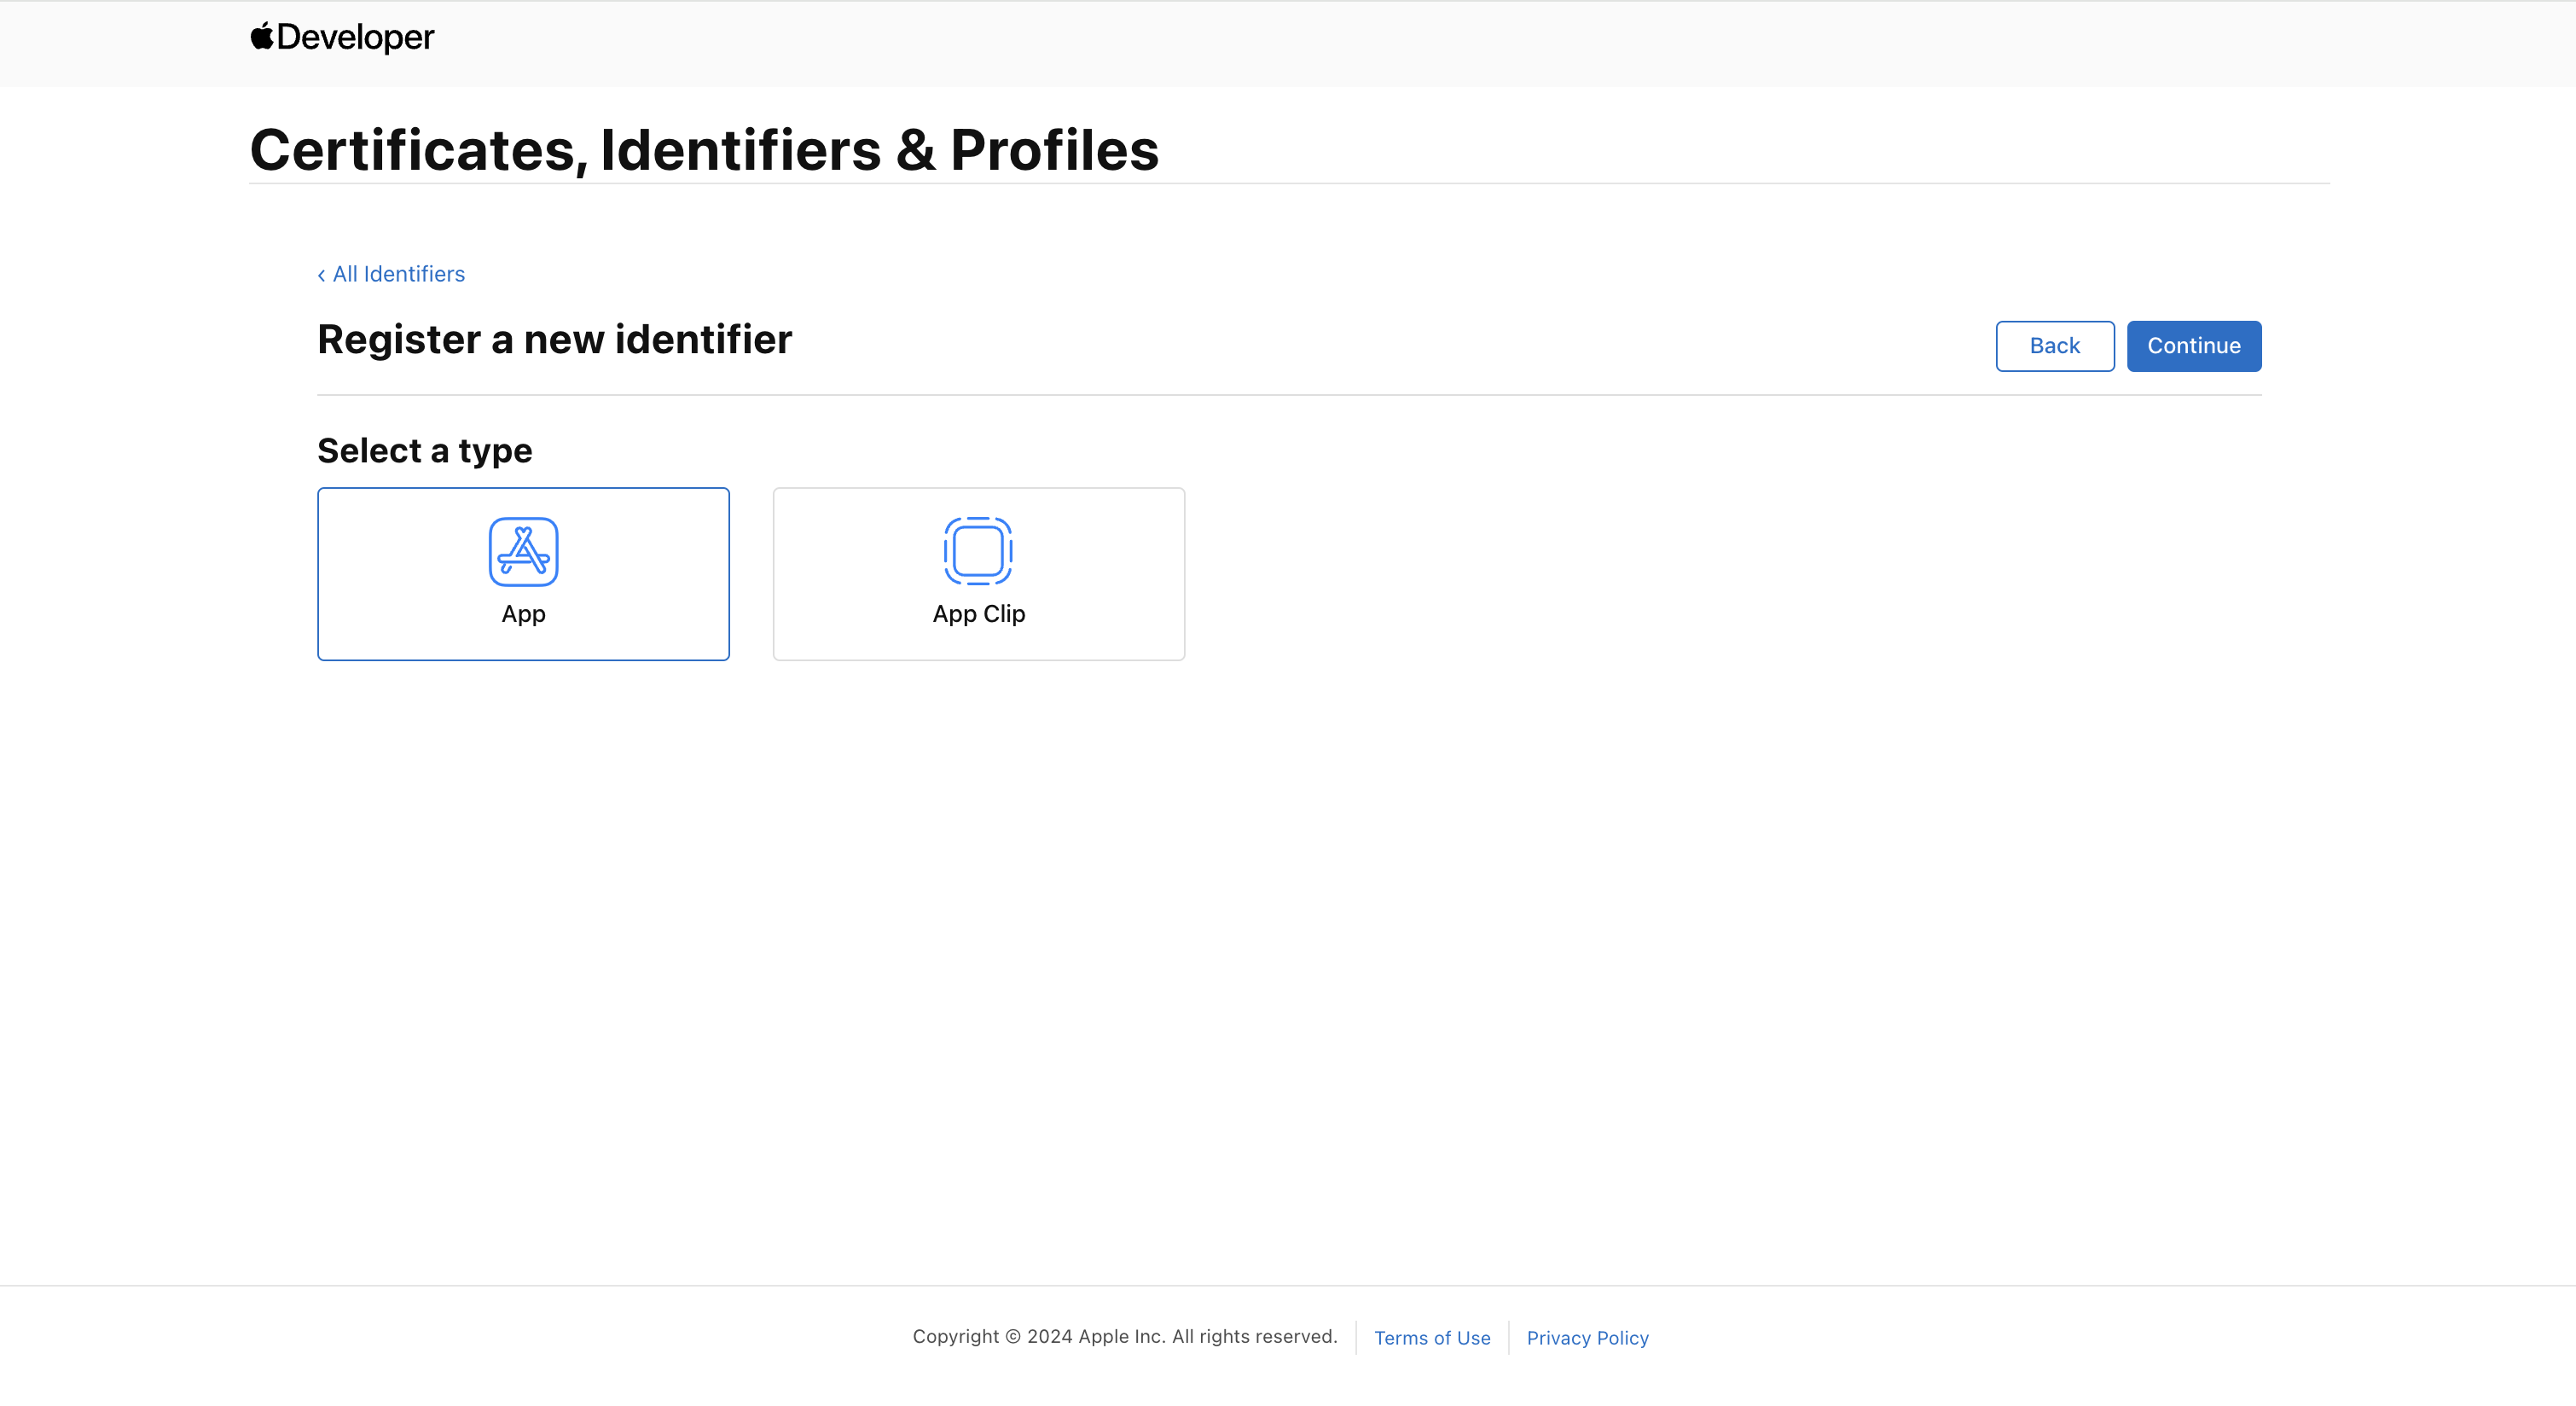
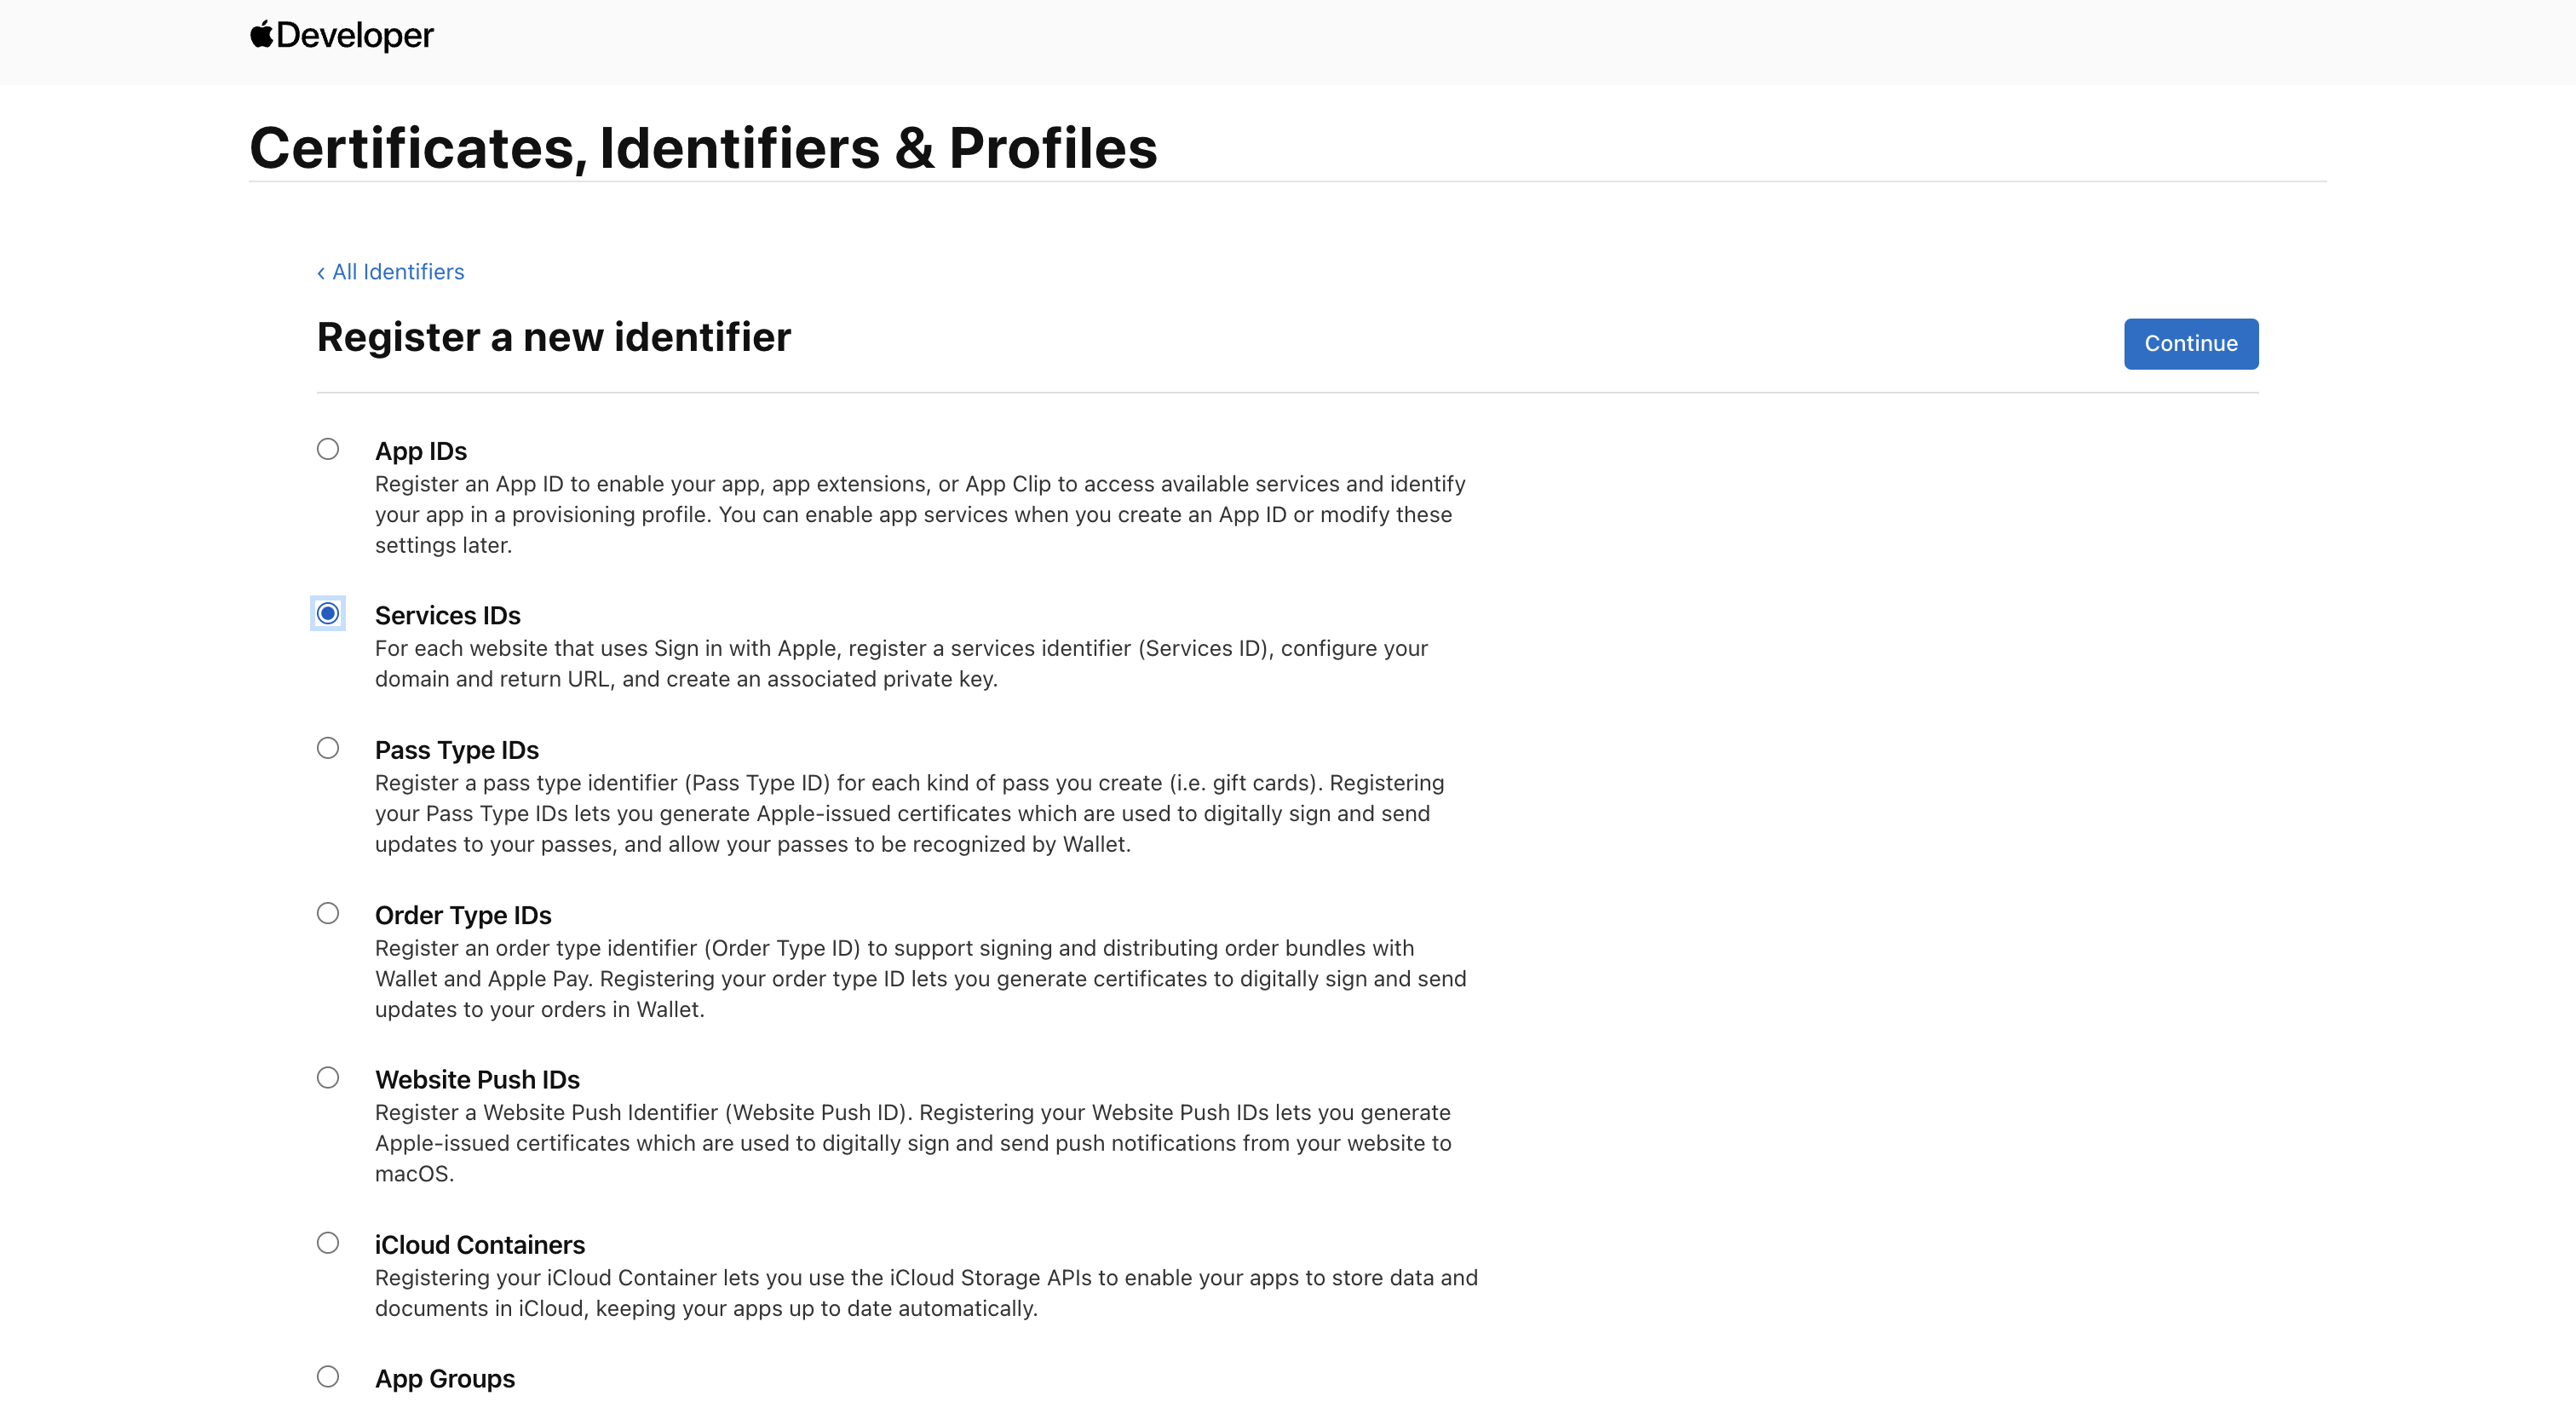
- Select App IDs on the new screen and click Continue.
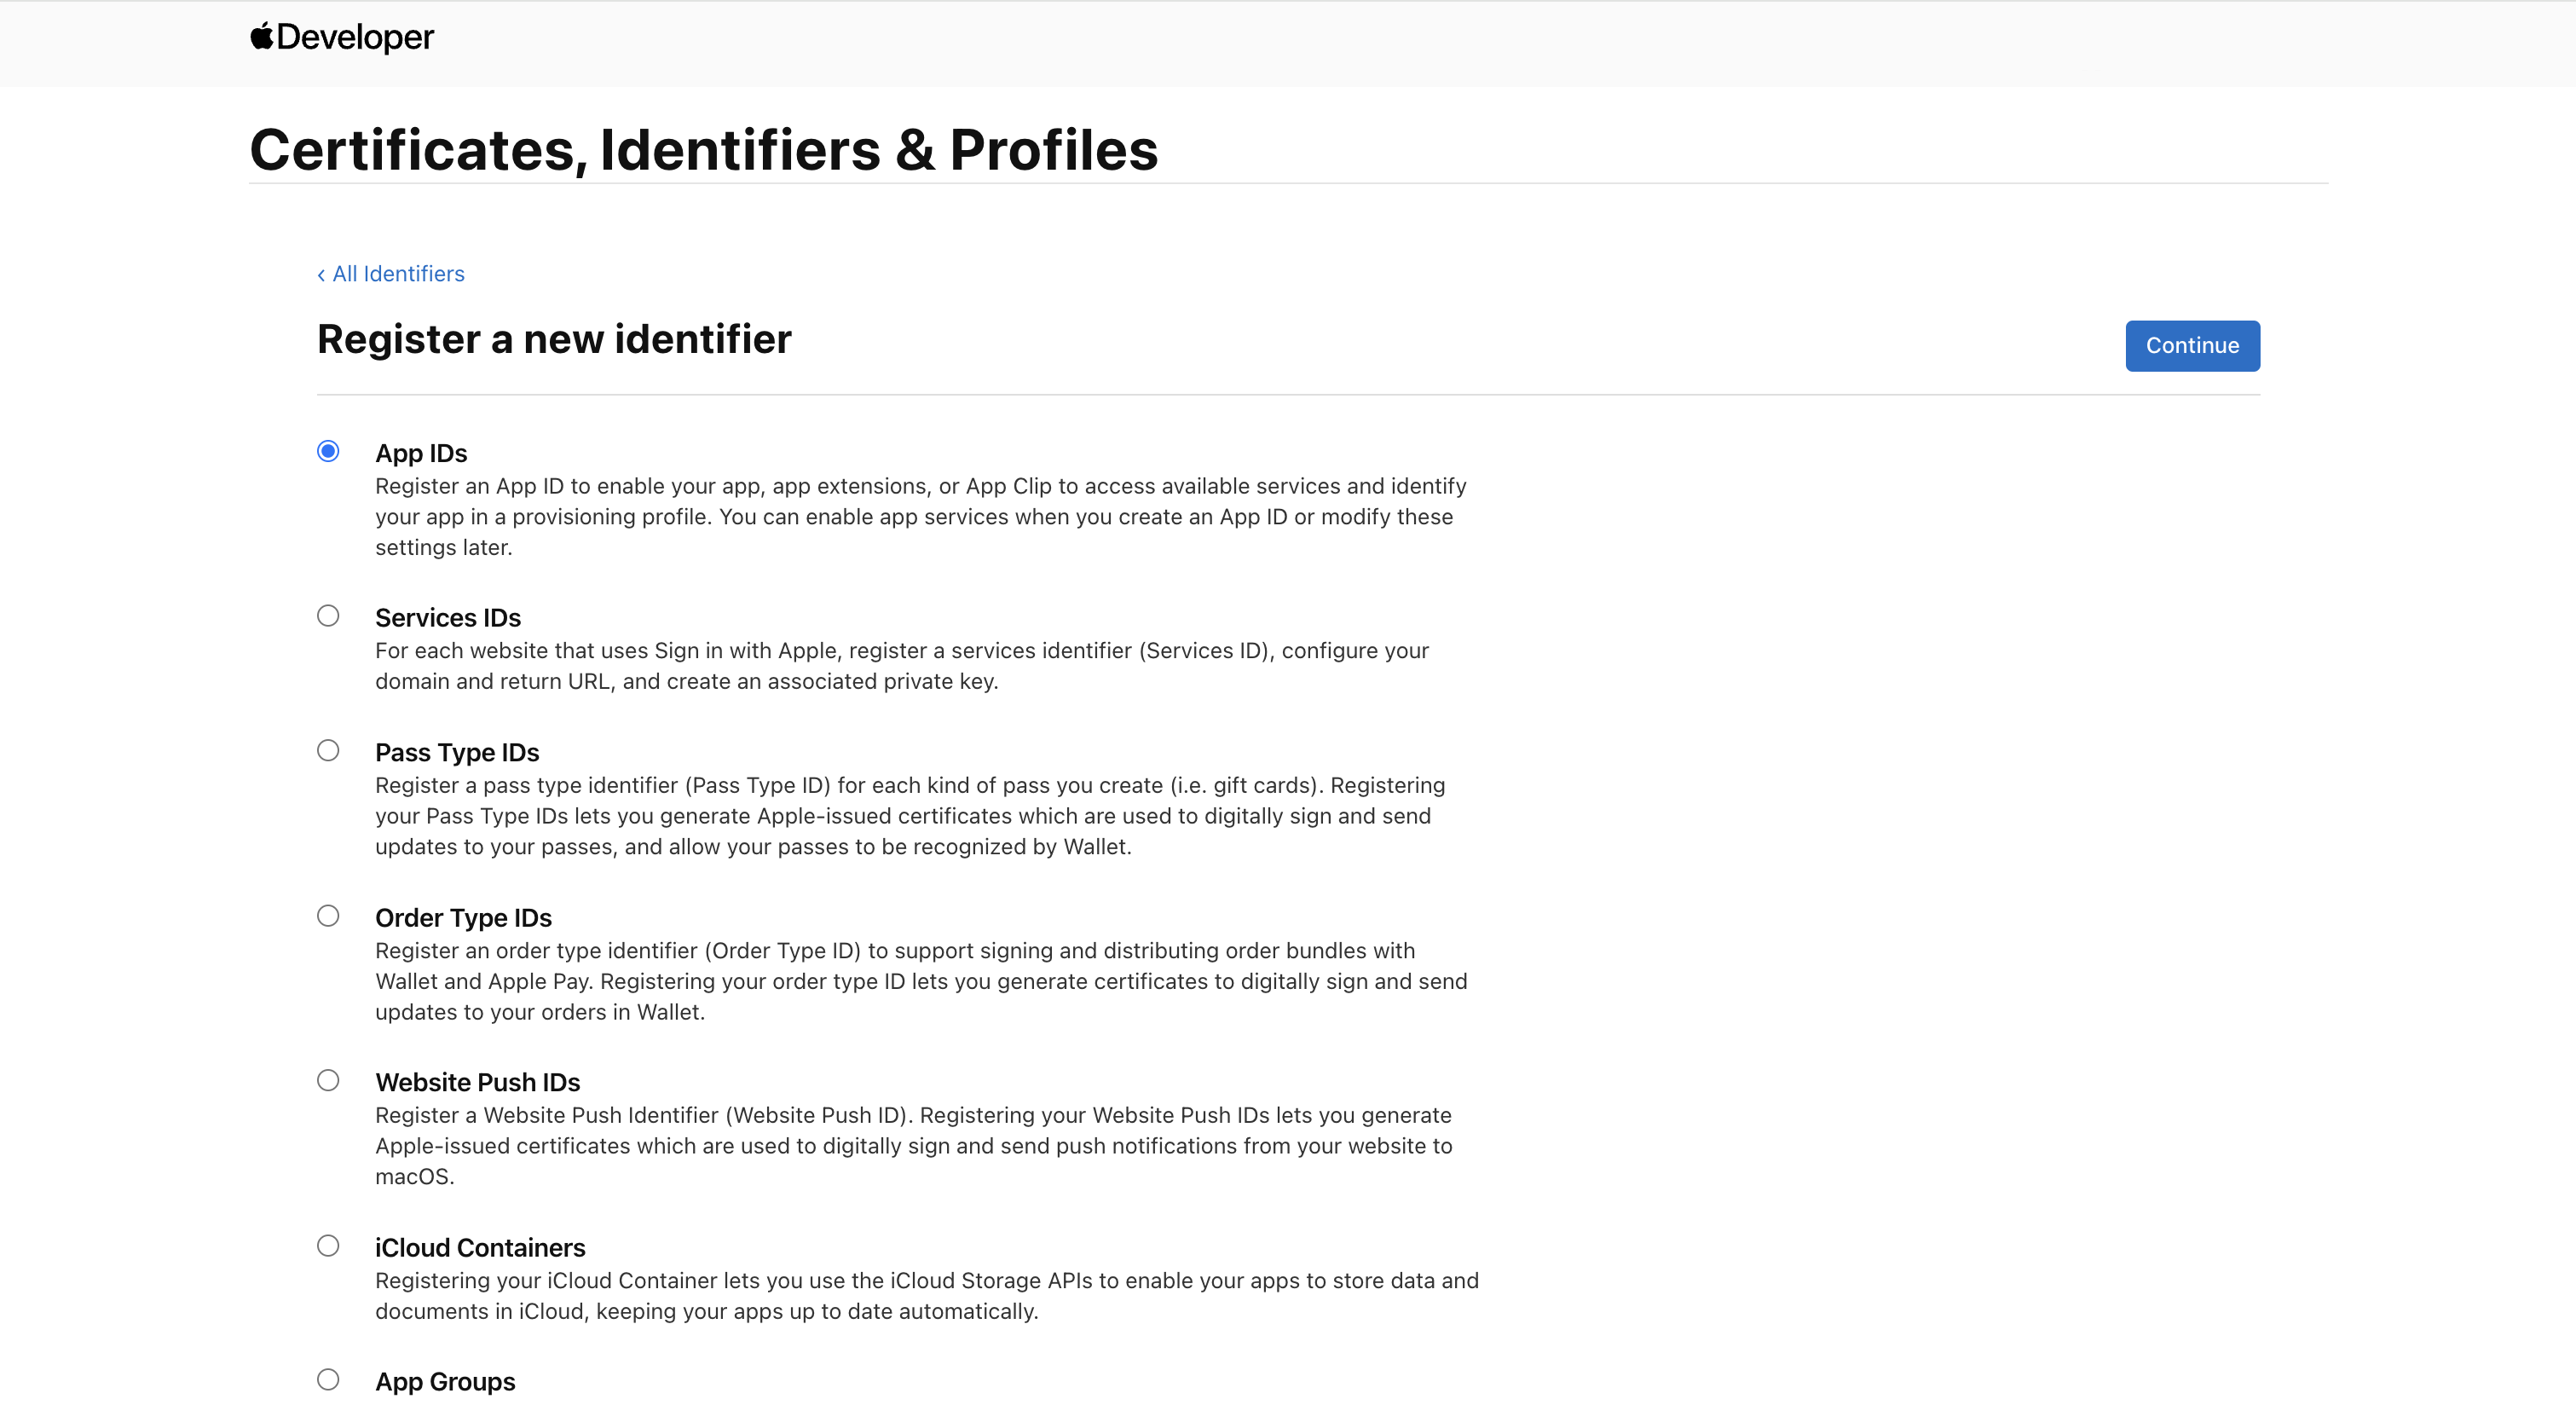
- Set App as the Identifier type and click Continue.
- Provide a Description and a Bundle ID (use a reverse-domain format, e.g.,
com.example.myapp). Ensure the Explicit option is selected for the Bundle ID.
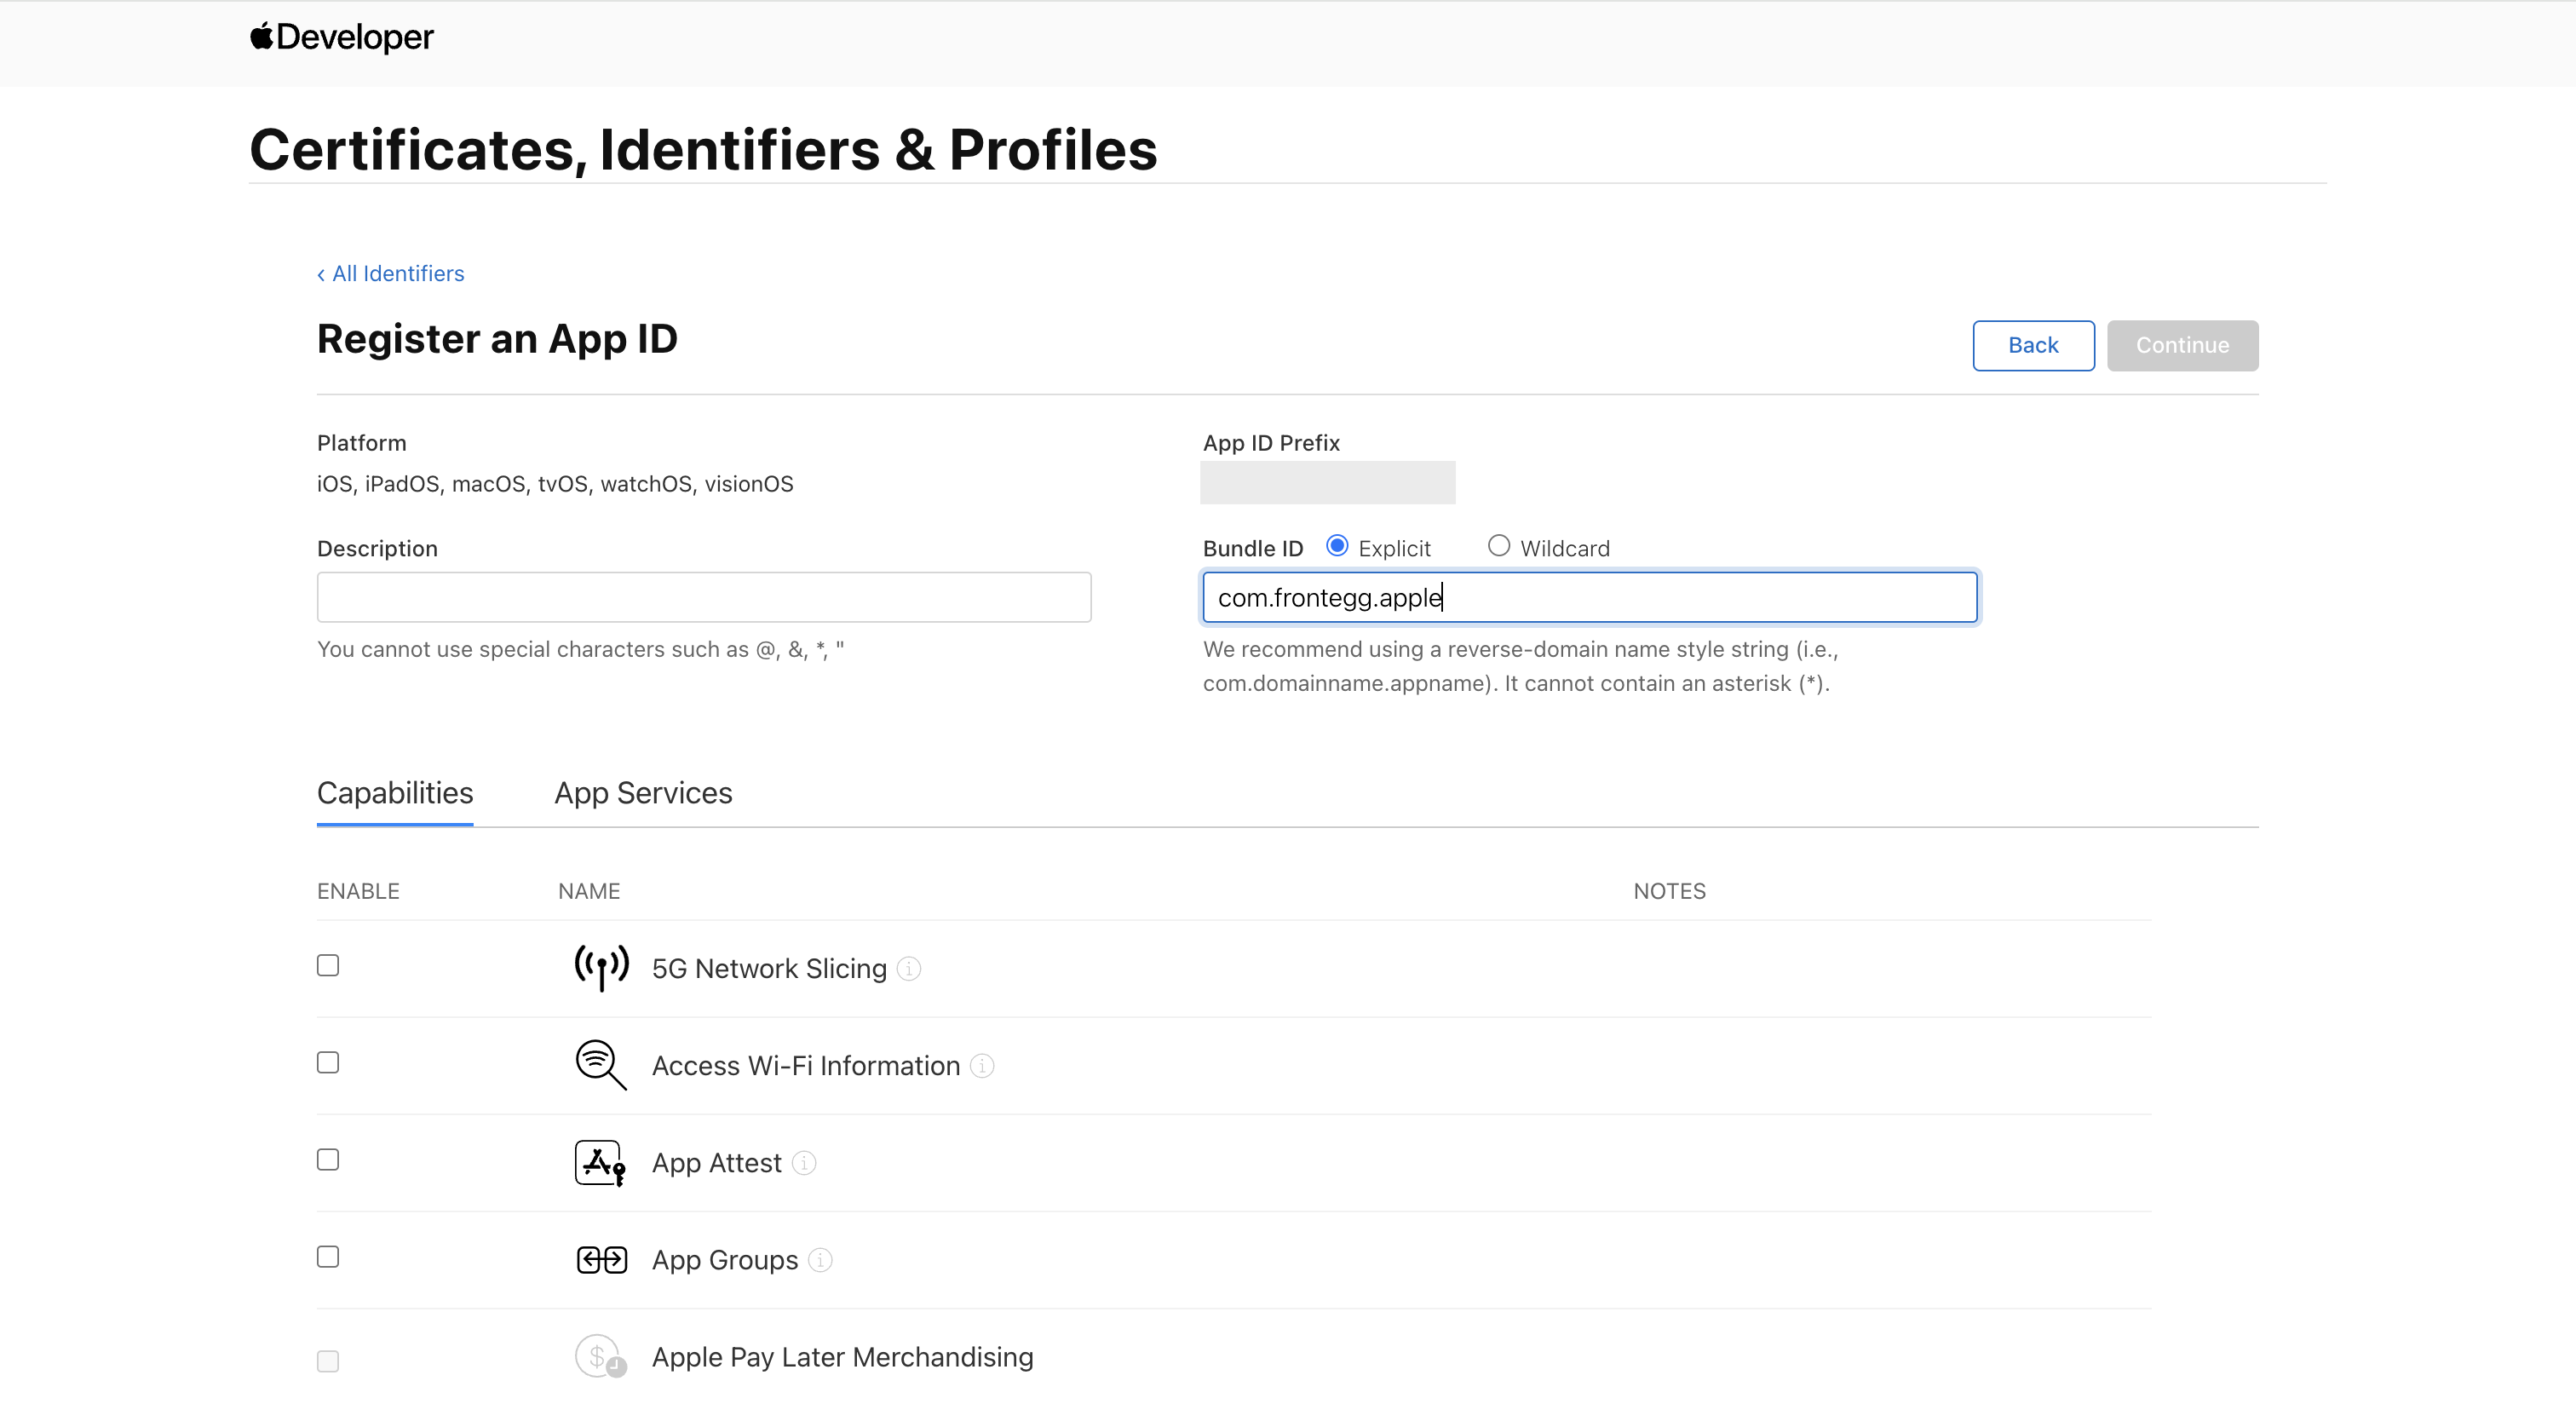
- Scroll down to Capabilities and select Sign In with Apple.
- Make sure the app is enabled as the Primary App ID.
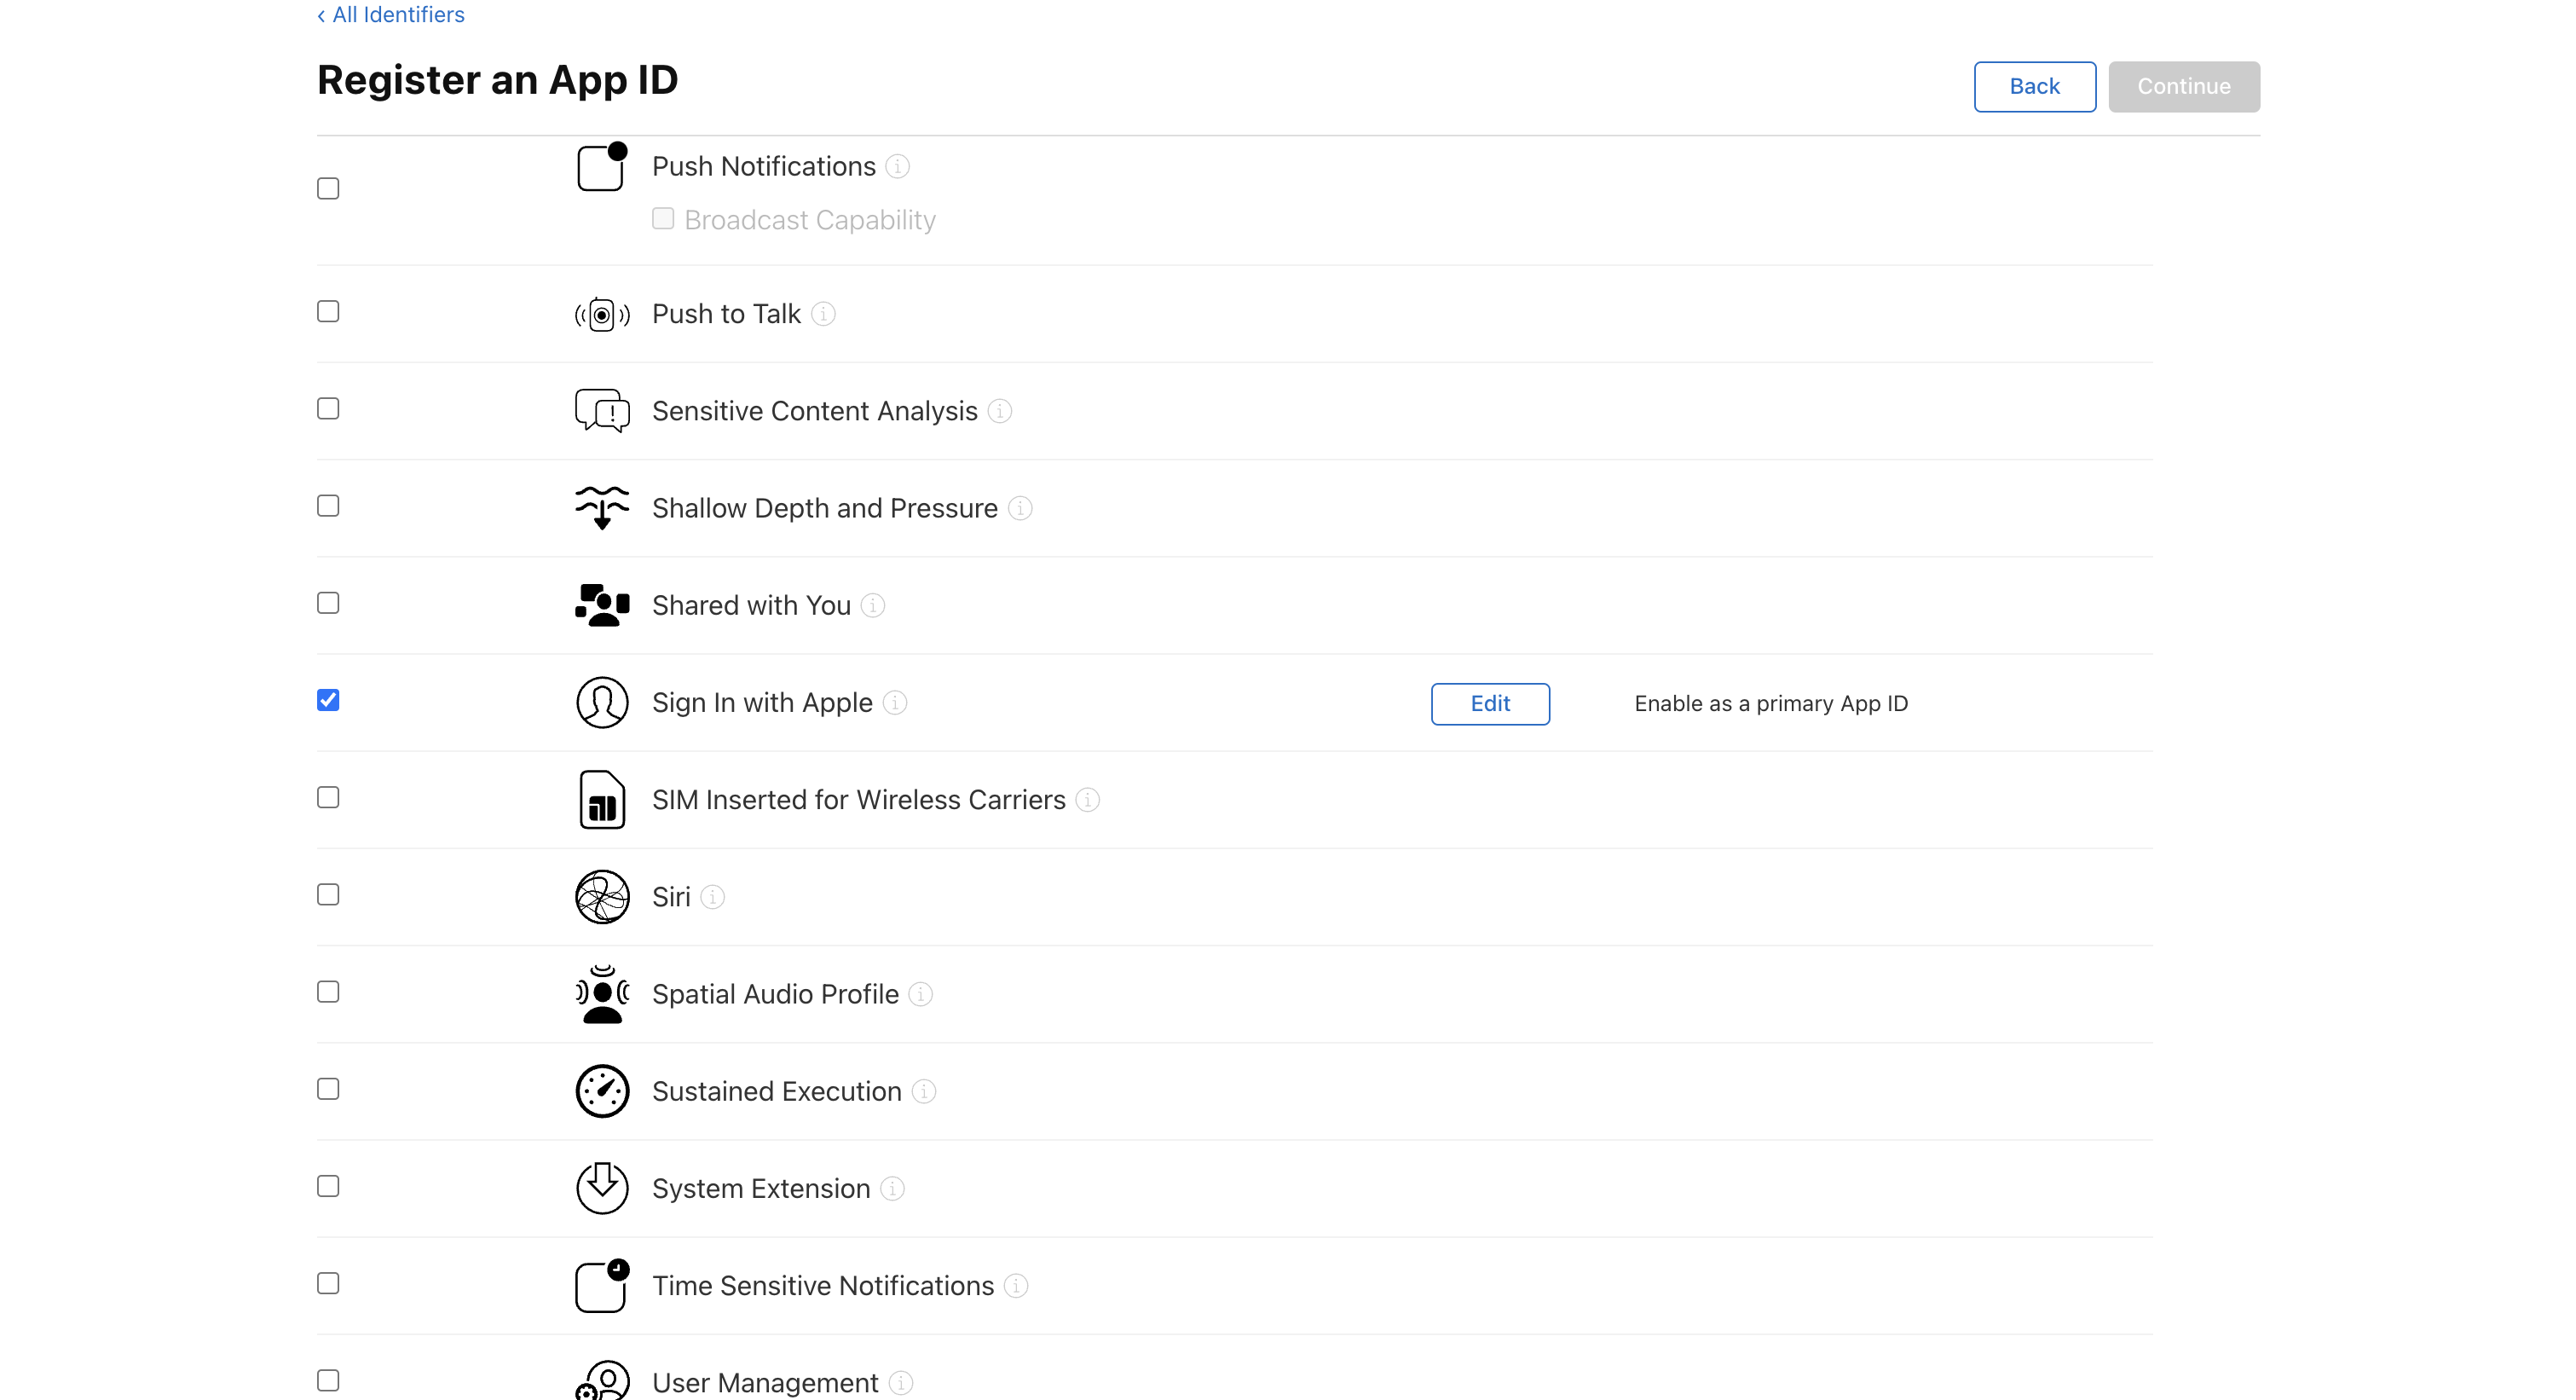
- (Optional) To group this App ID with other App IDs, click Edit next to Sign In with Apple and select the relevant App IDs.
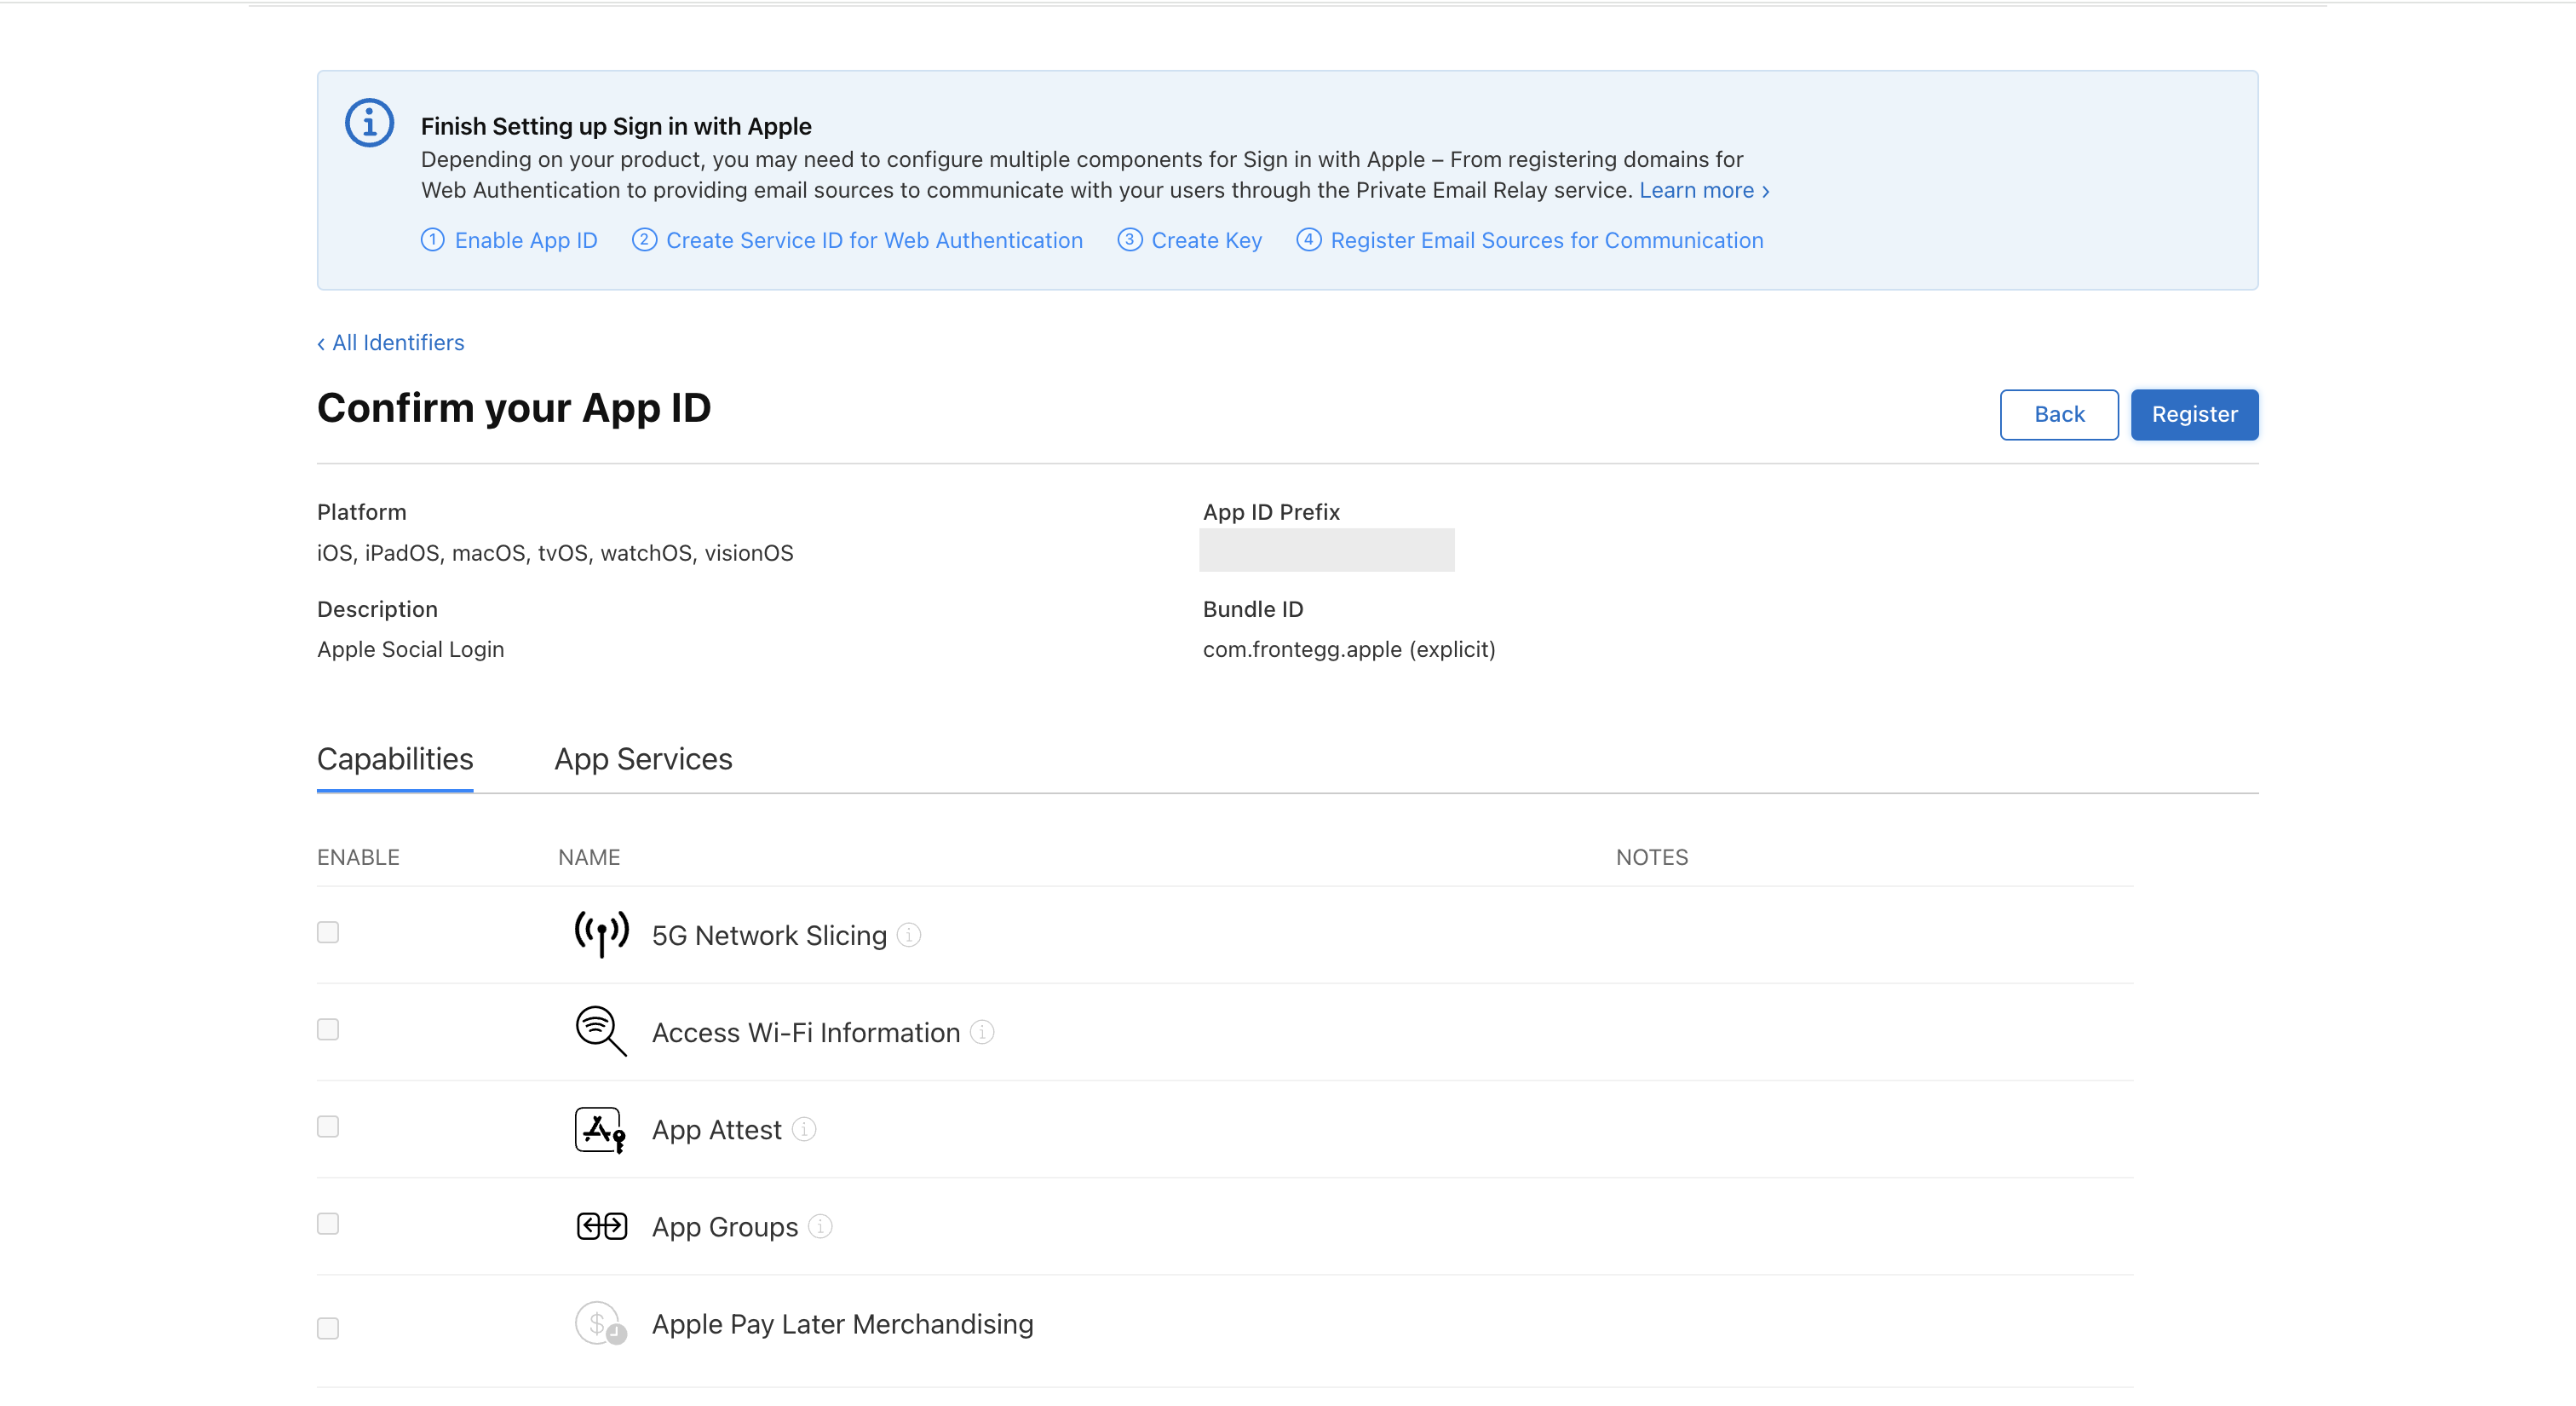
- Click Continue ➜ Register. Your new App ID will appear in the list.
Step 2: Register your service ID
- In the Home Page, go to Identifiers and select Service IDs at the top right.
- Click the blue plus button to add a new Service ID.
- Set Service ID as the Identifier type and click Continue.
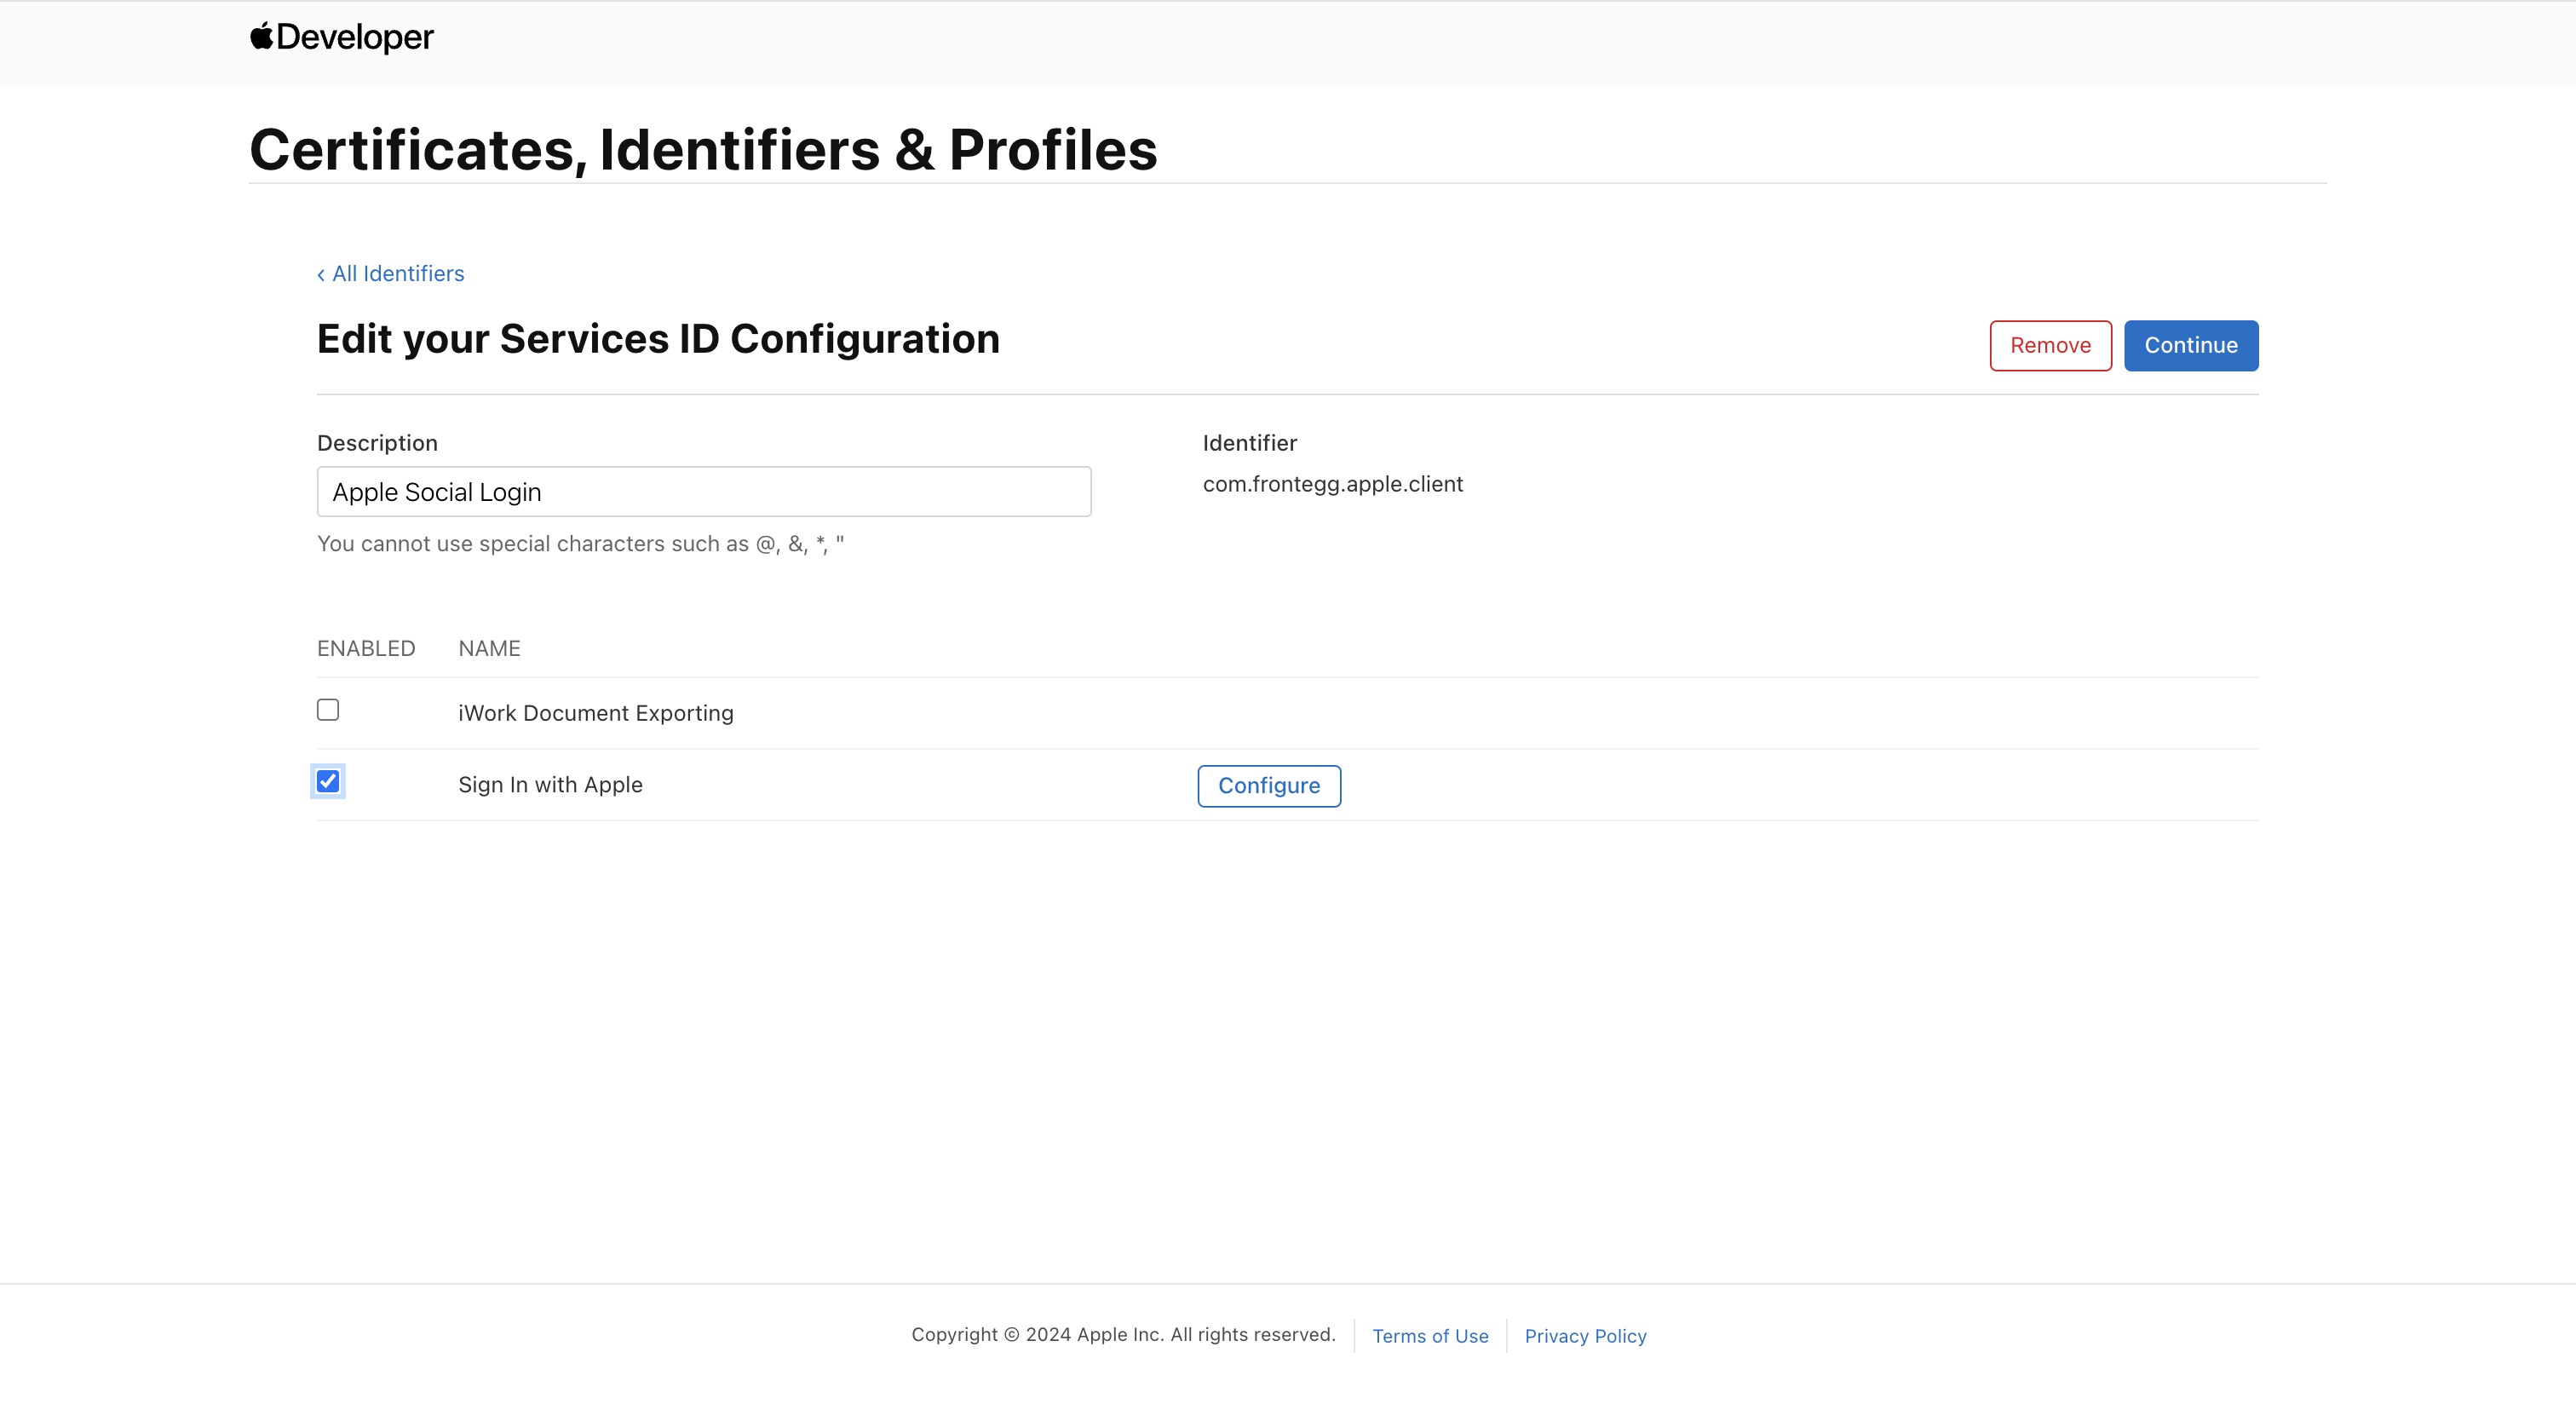
- Add a Description and Identifier (this will serve as your Client ID in Frontegg). Save the Identifier.
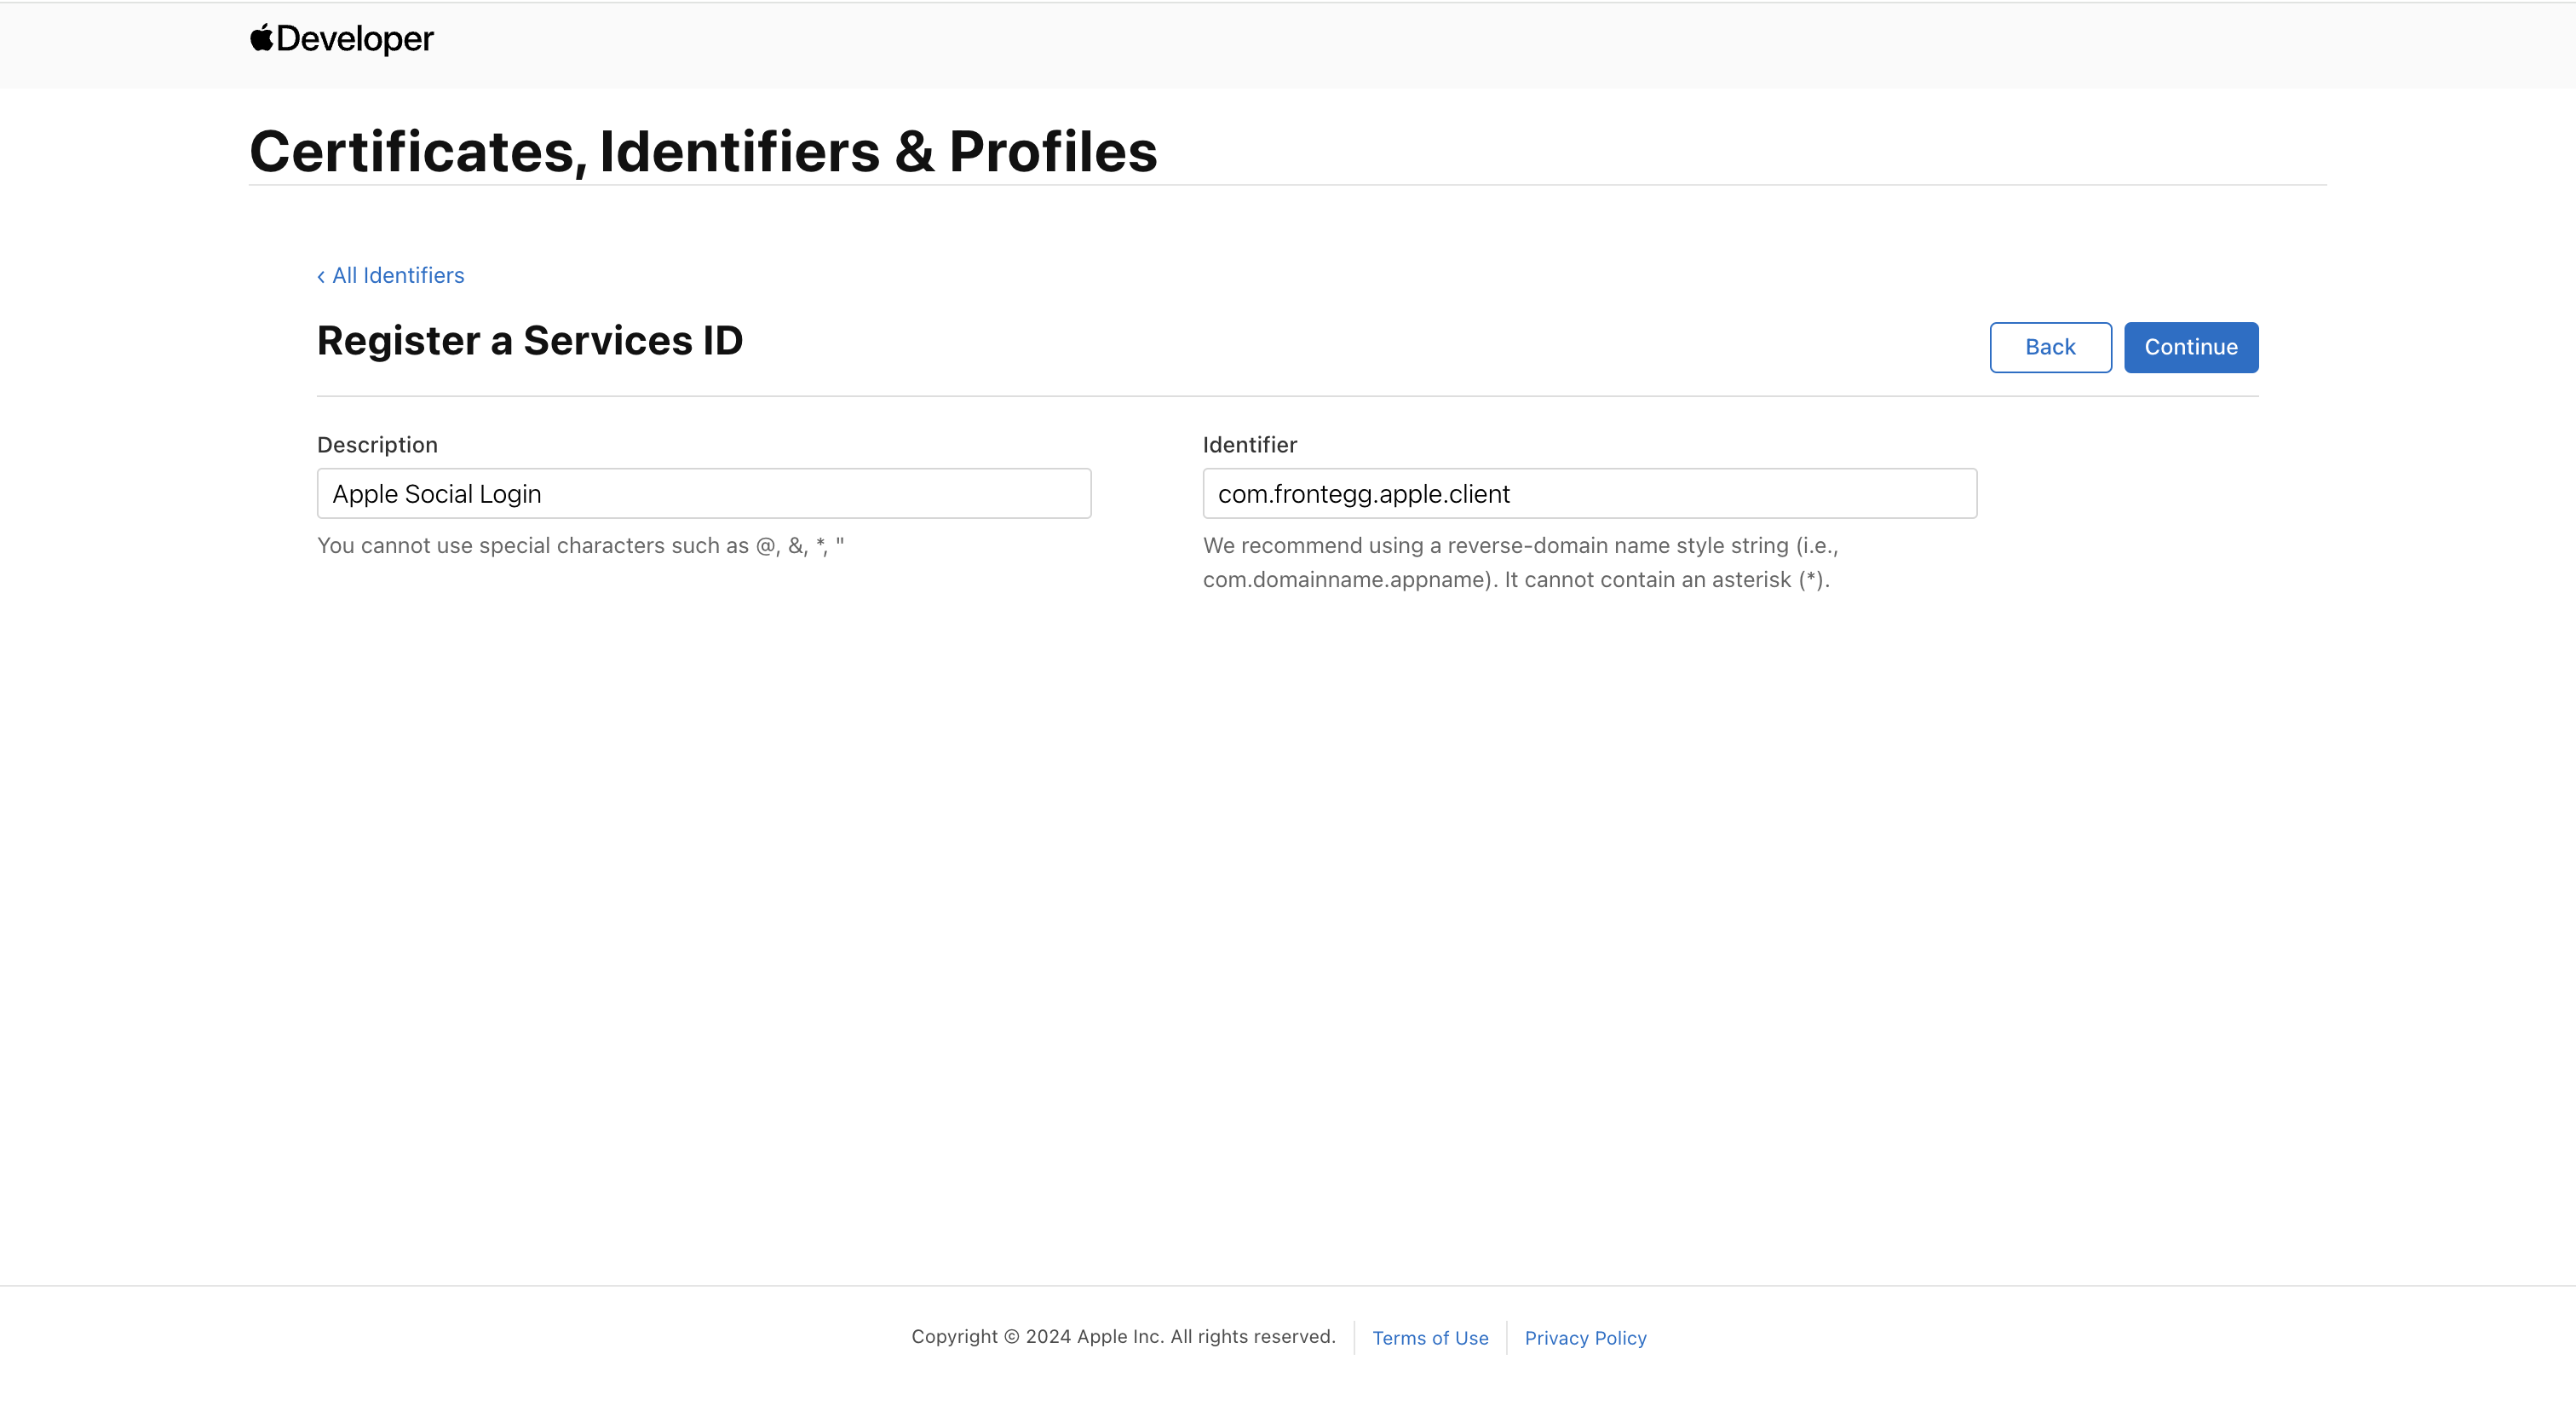
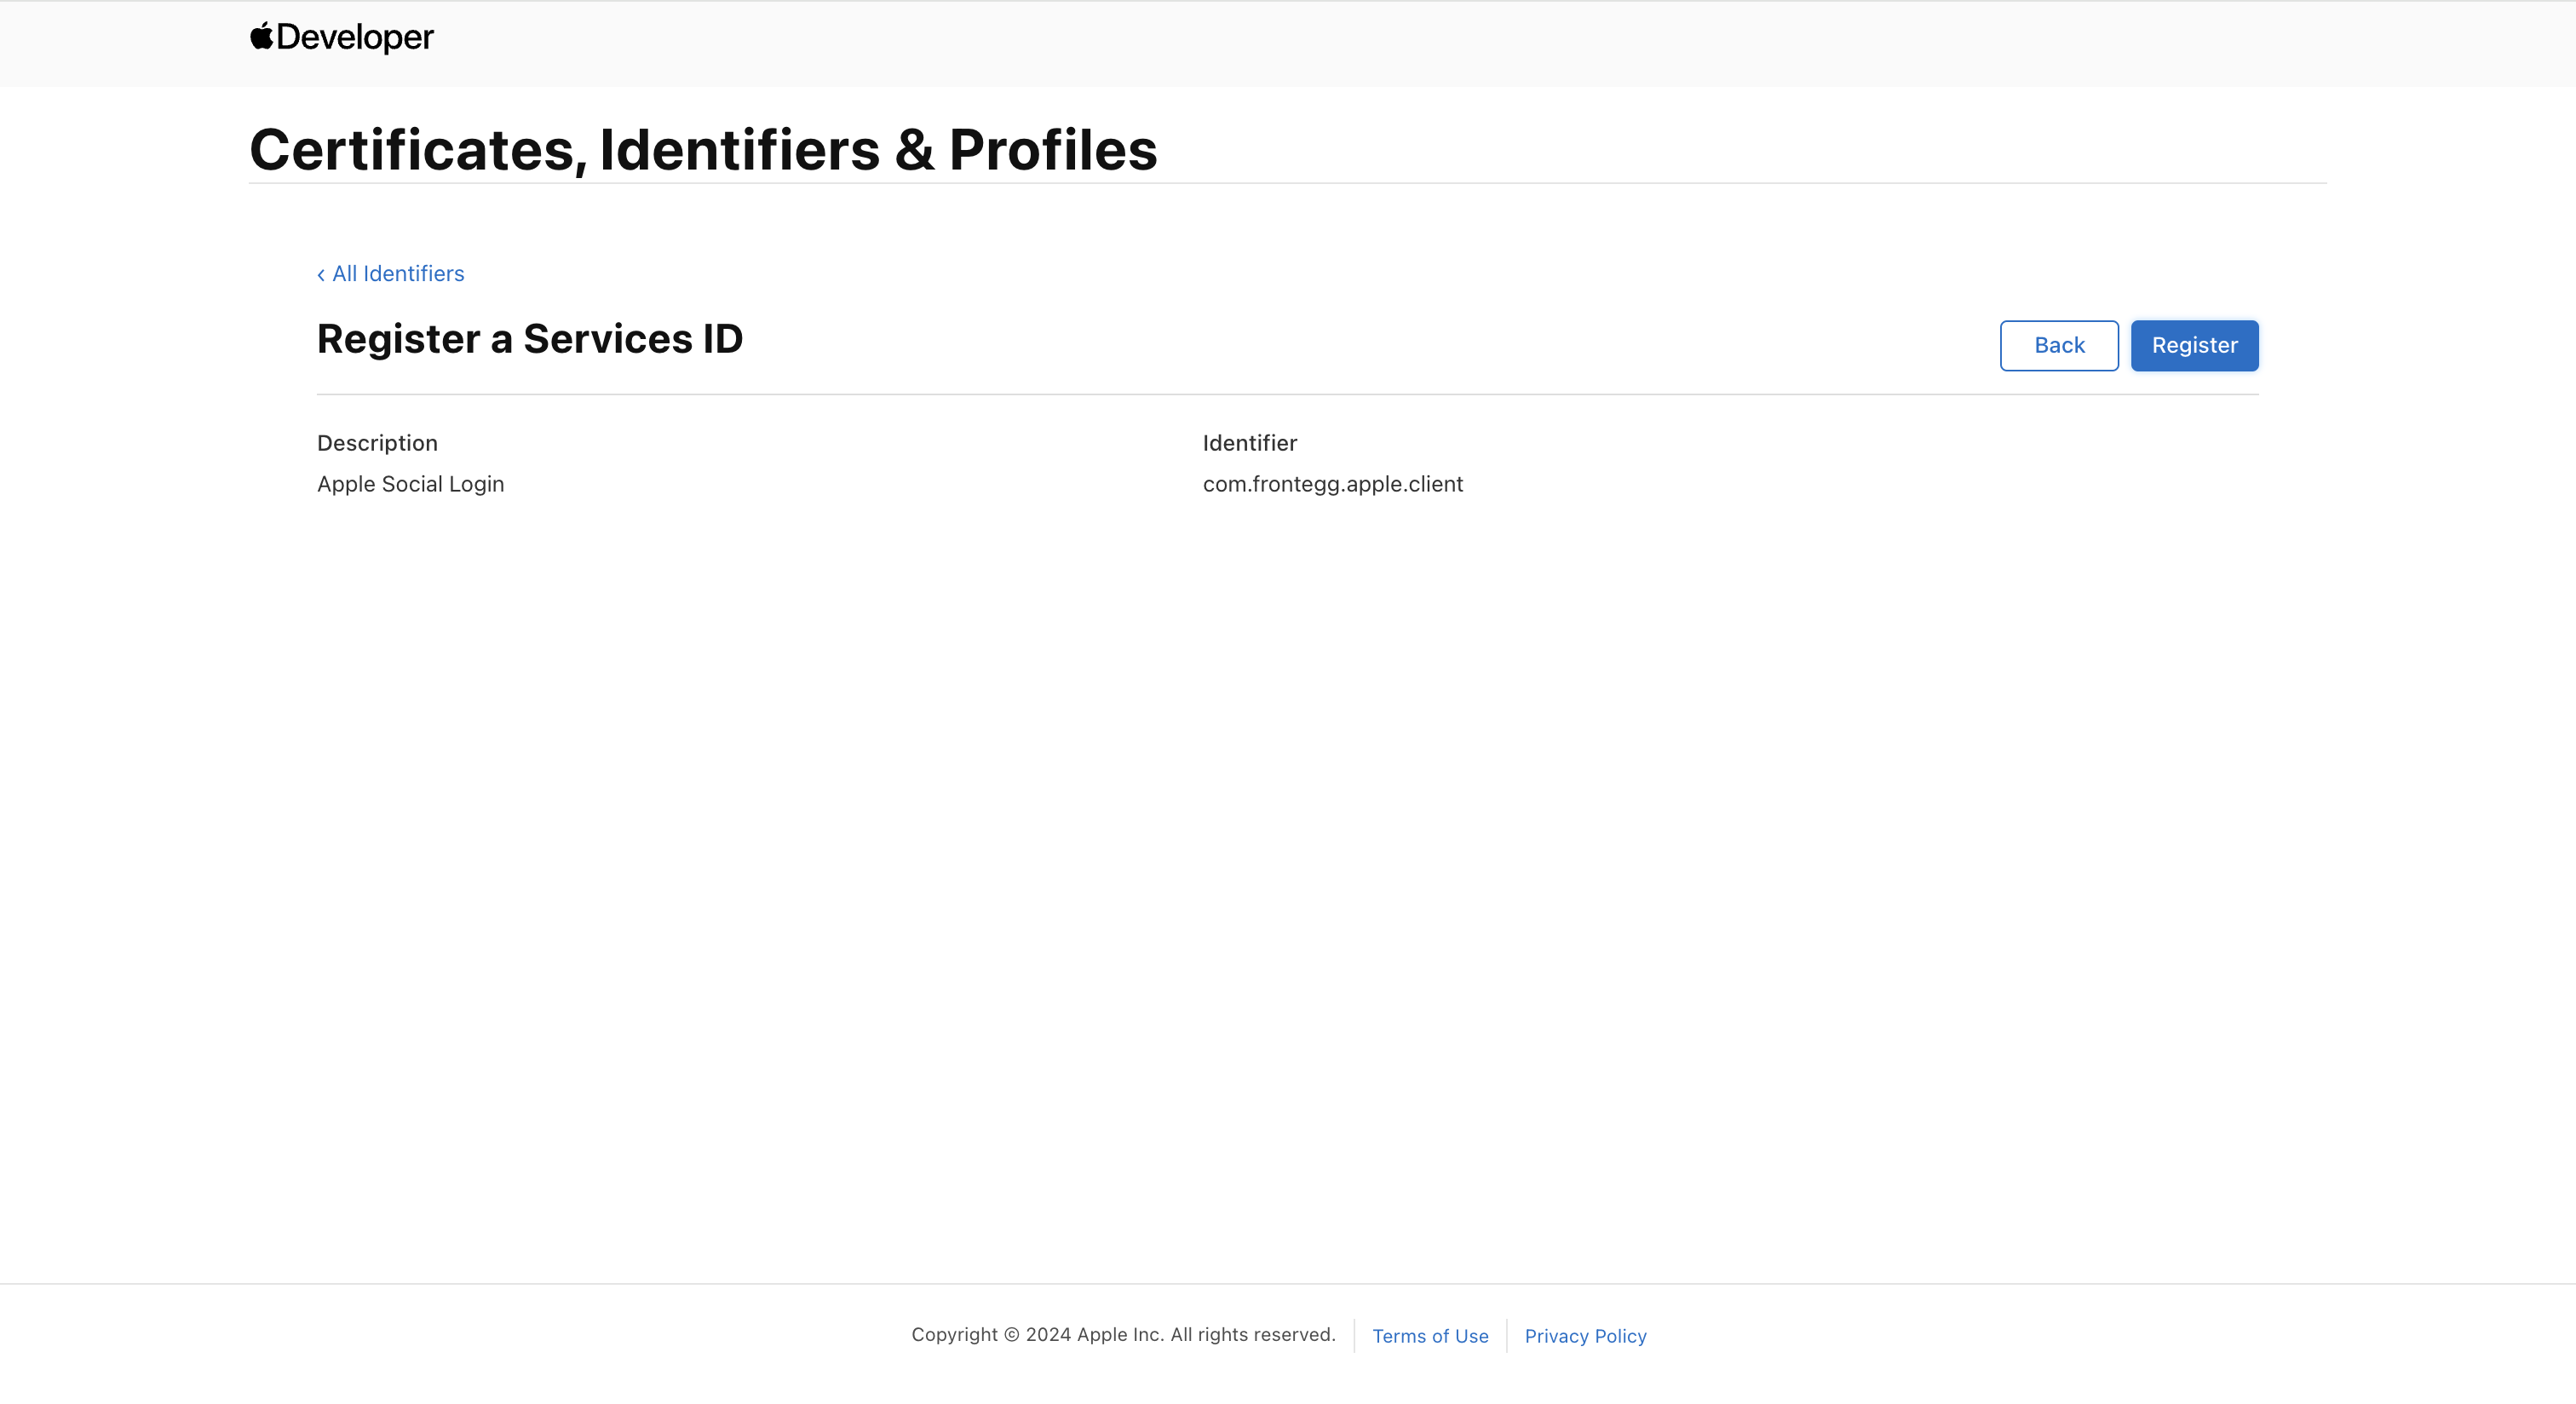
- Click Continue ➜ Register.
- Back in Certificates, Identifiers & Profiles, click on the new row that has just been created and select Sign In with Apple ➜ Configure.

- In the Web Authentication Configuration dialog, complete the following:
- Set Primary App ID to the App ID created earlier.
- Under Domains and Subdomains, enter
{YOUR_DOMAIN_IN_FRONTEGG}. - Under Return URLs, enter
https://${YOUR_DOMAIN_IN_FRONTEGG}/identity/resources/auth/v2/user/sso/apple/postlogin.
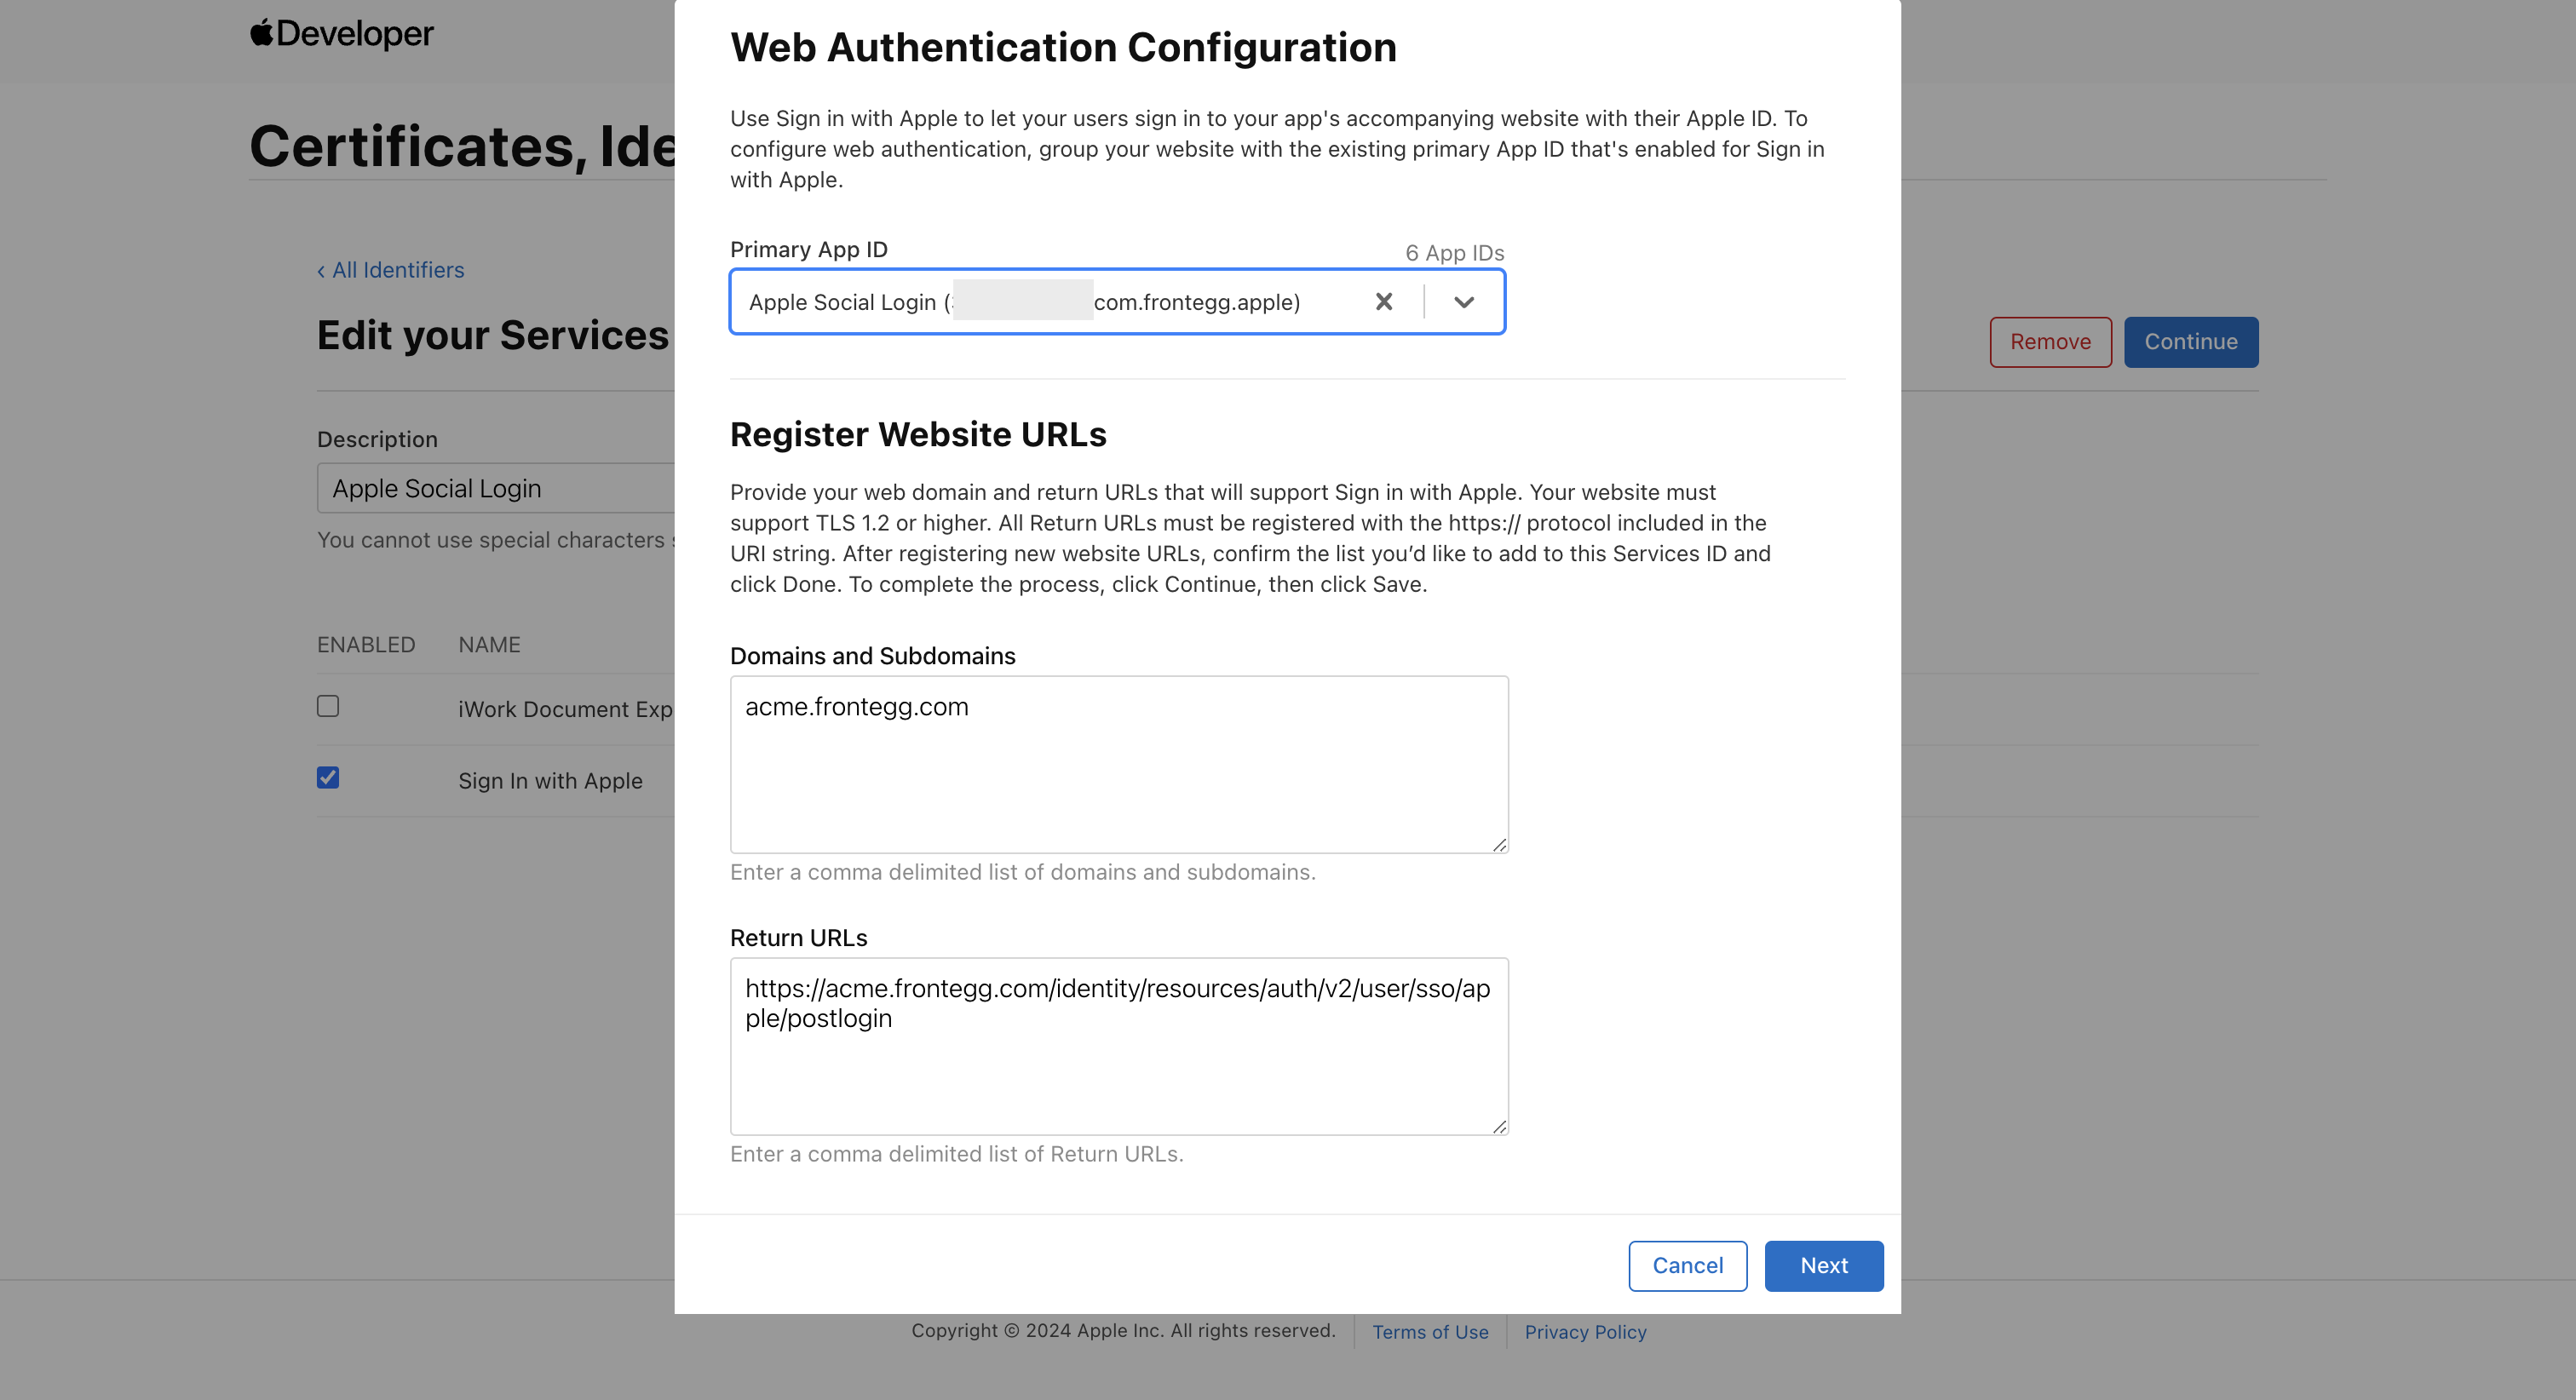
- Click Next ➜ Done ➜ Continue ➜ Save.
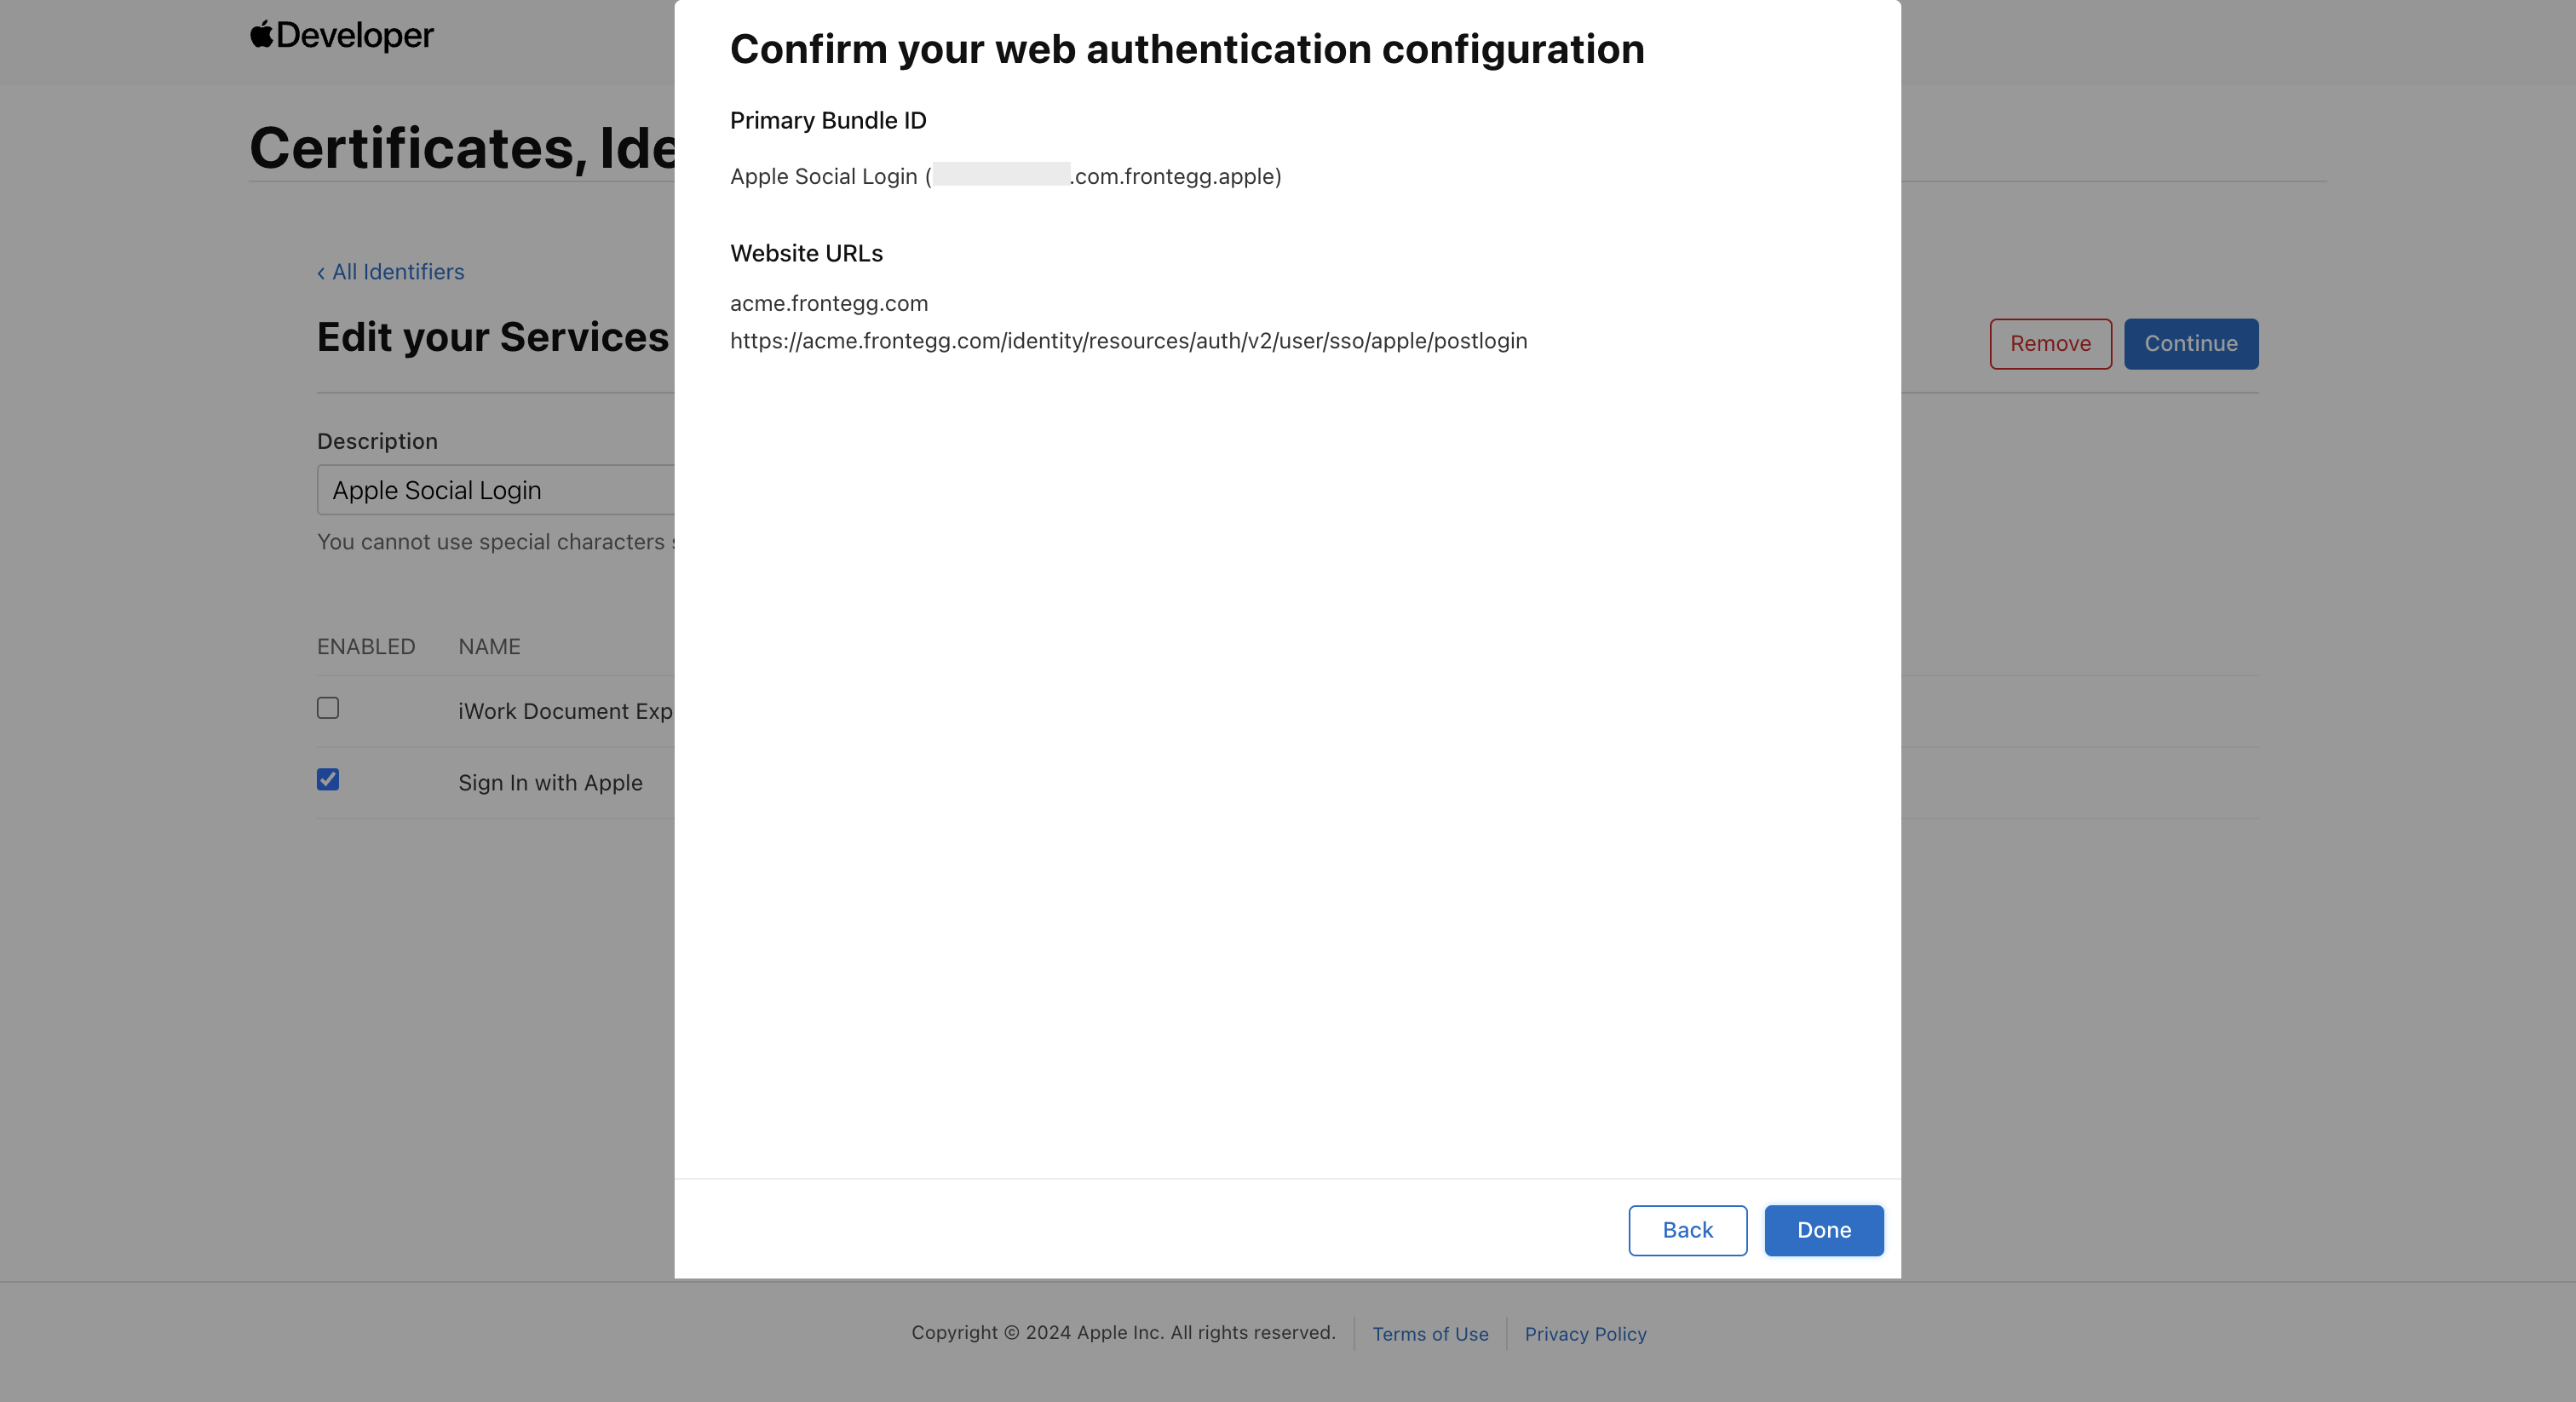
Save your Service ID for later use.
Step 3: Register a private key
In the Home Page, under Certificates, Identifiers & Profiles, select Keys.
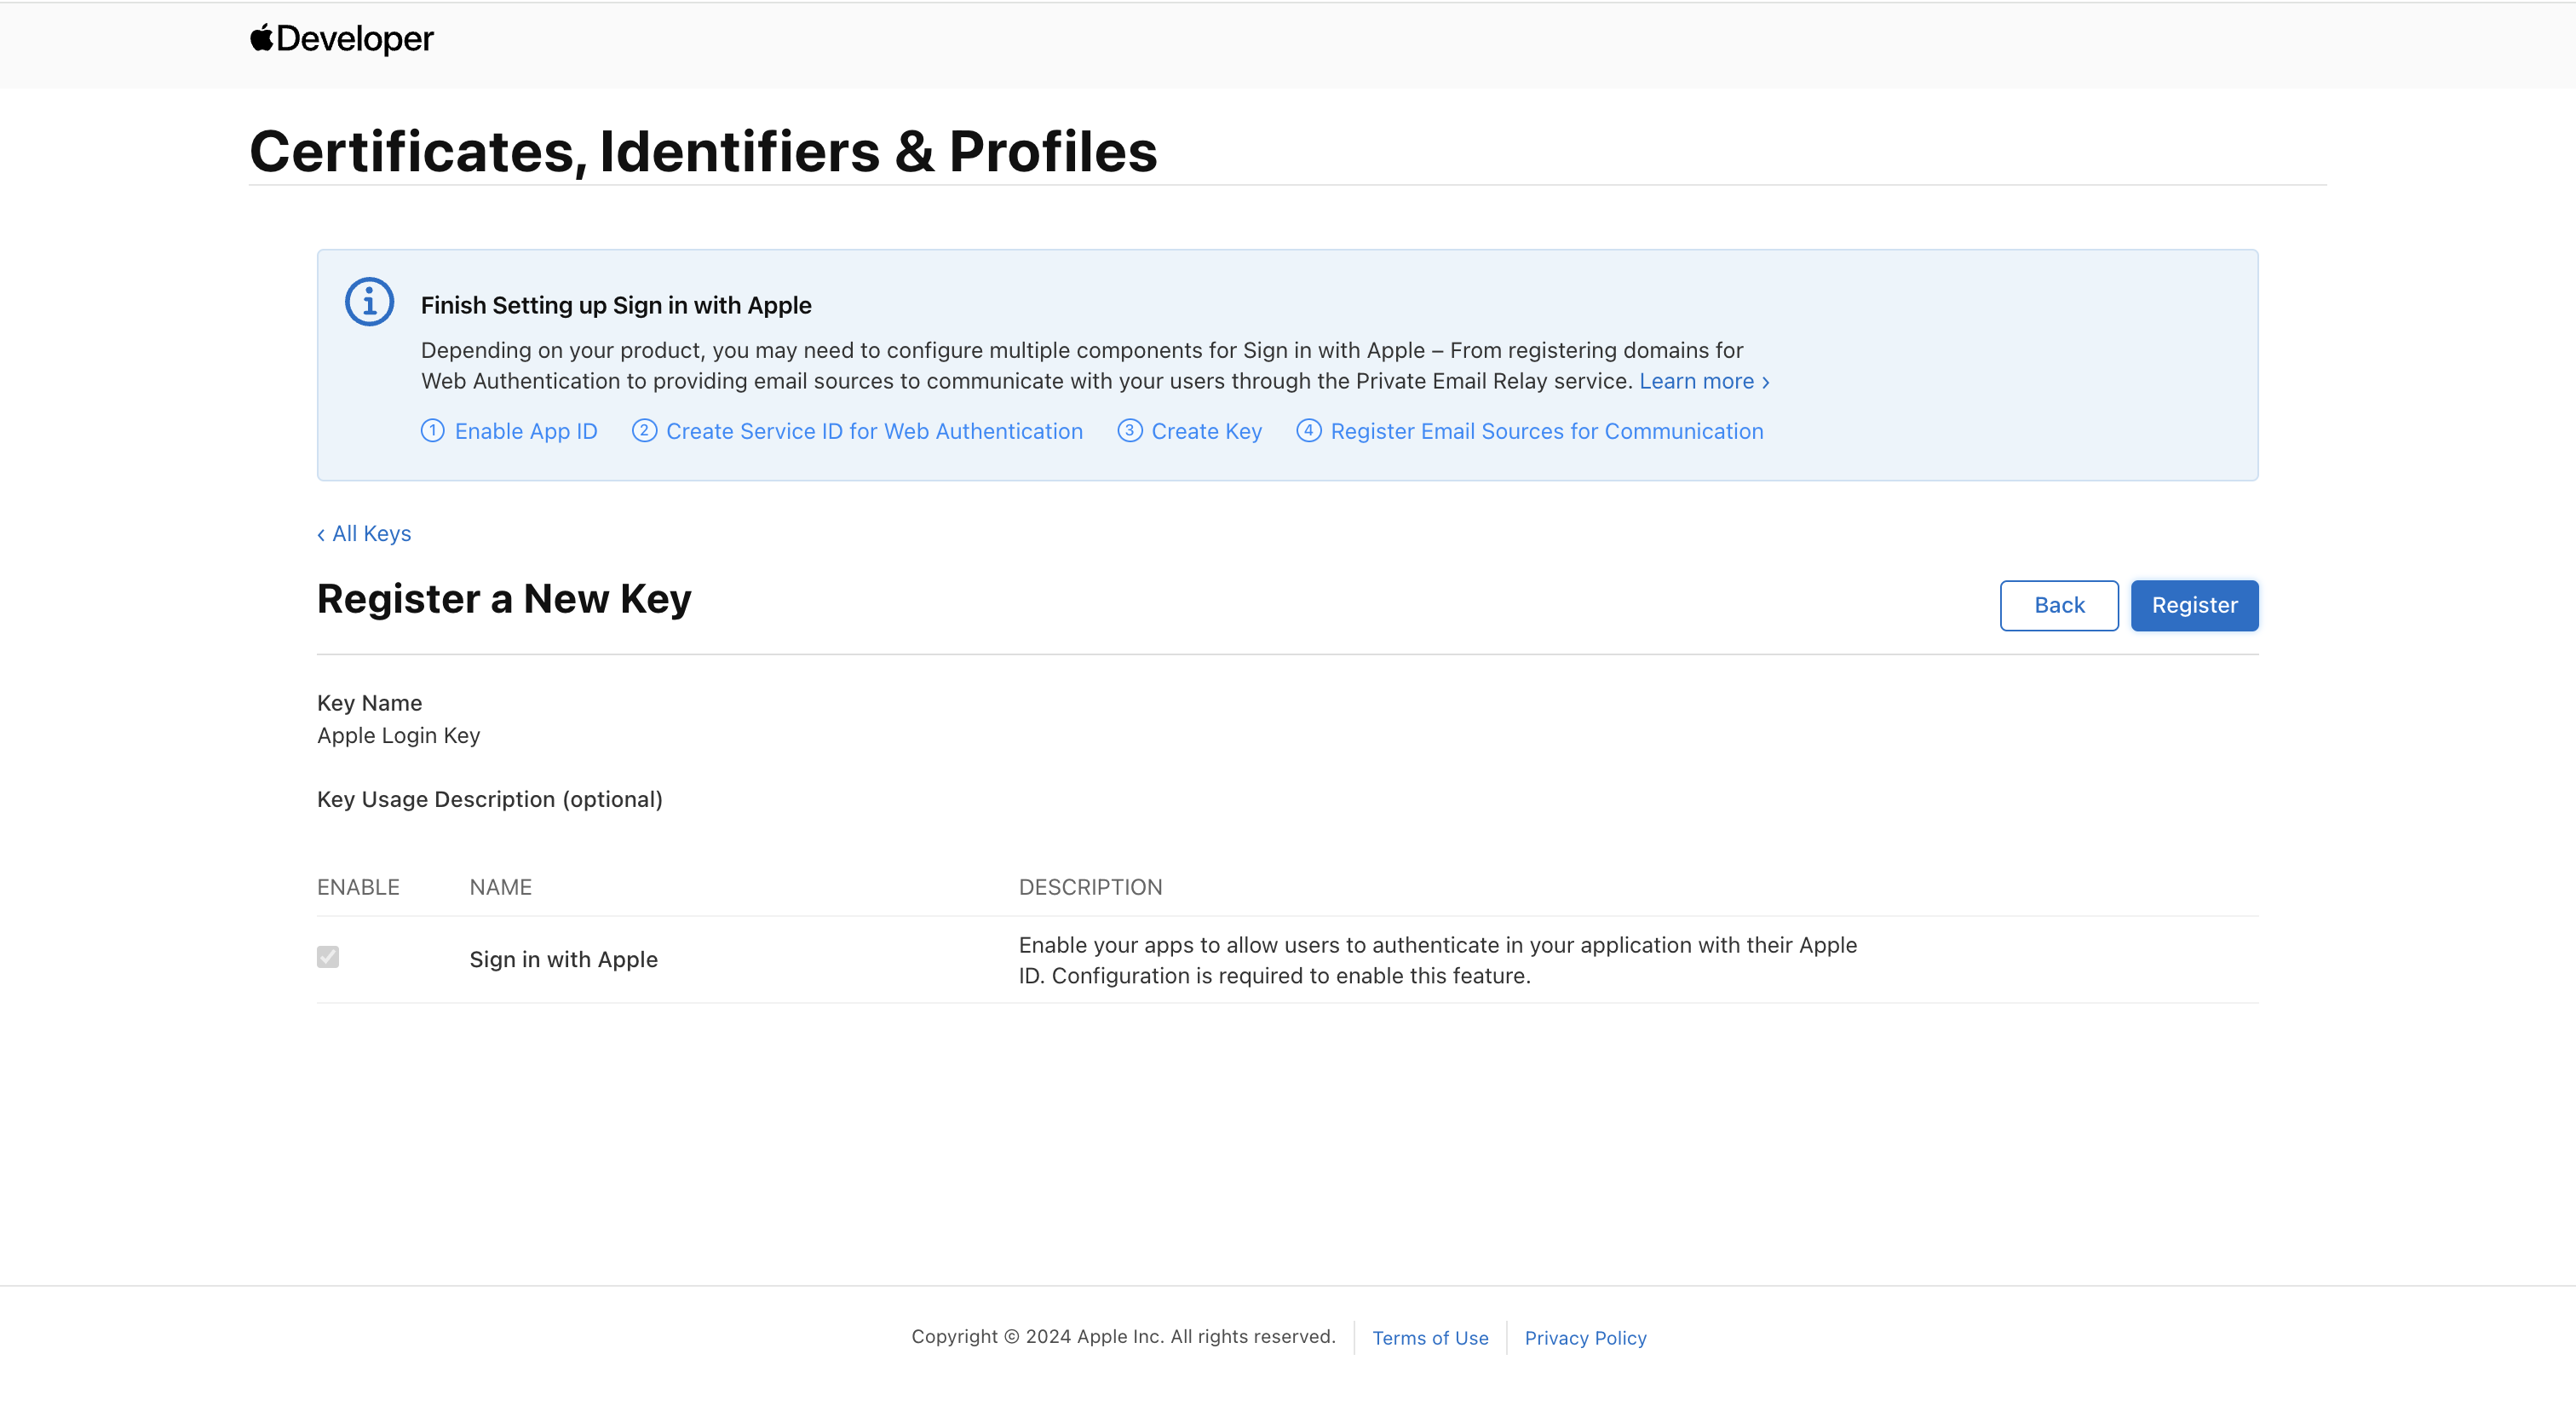
Click the blue plus button to add a new Key.
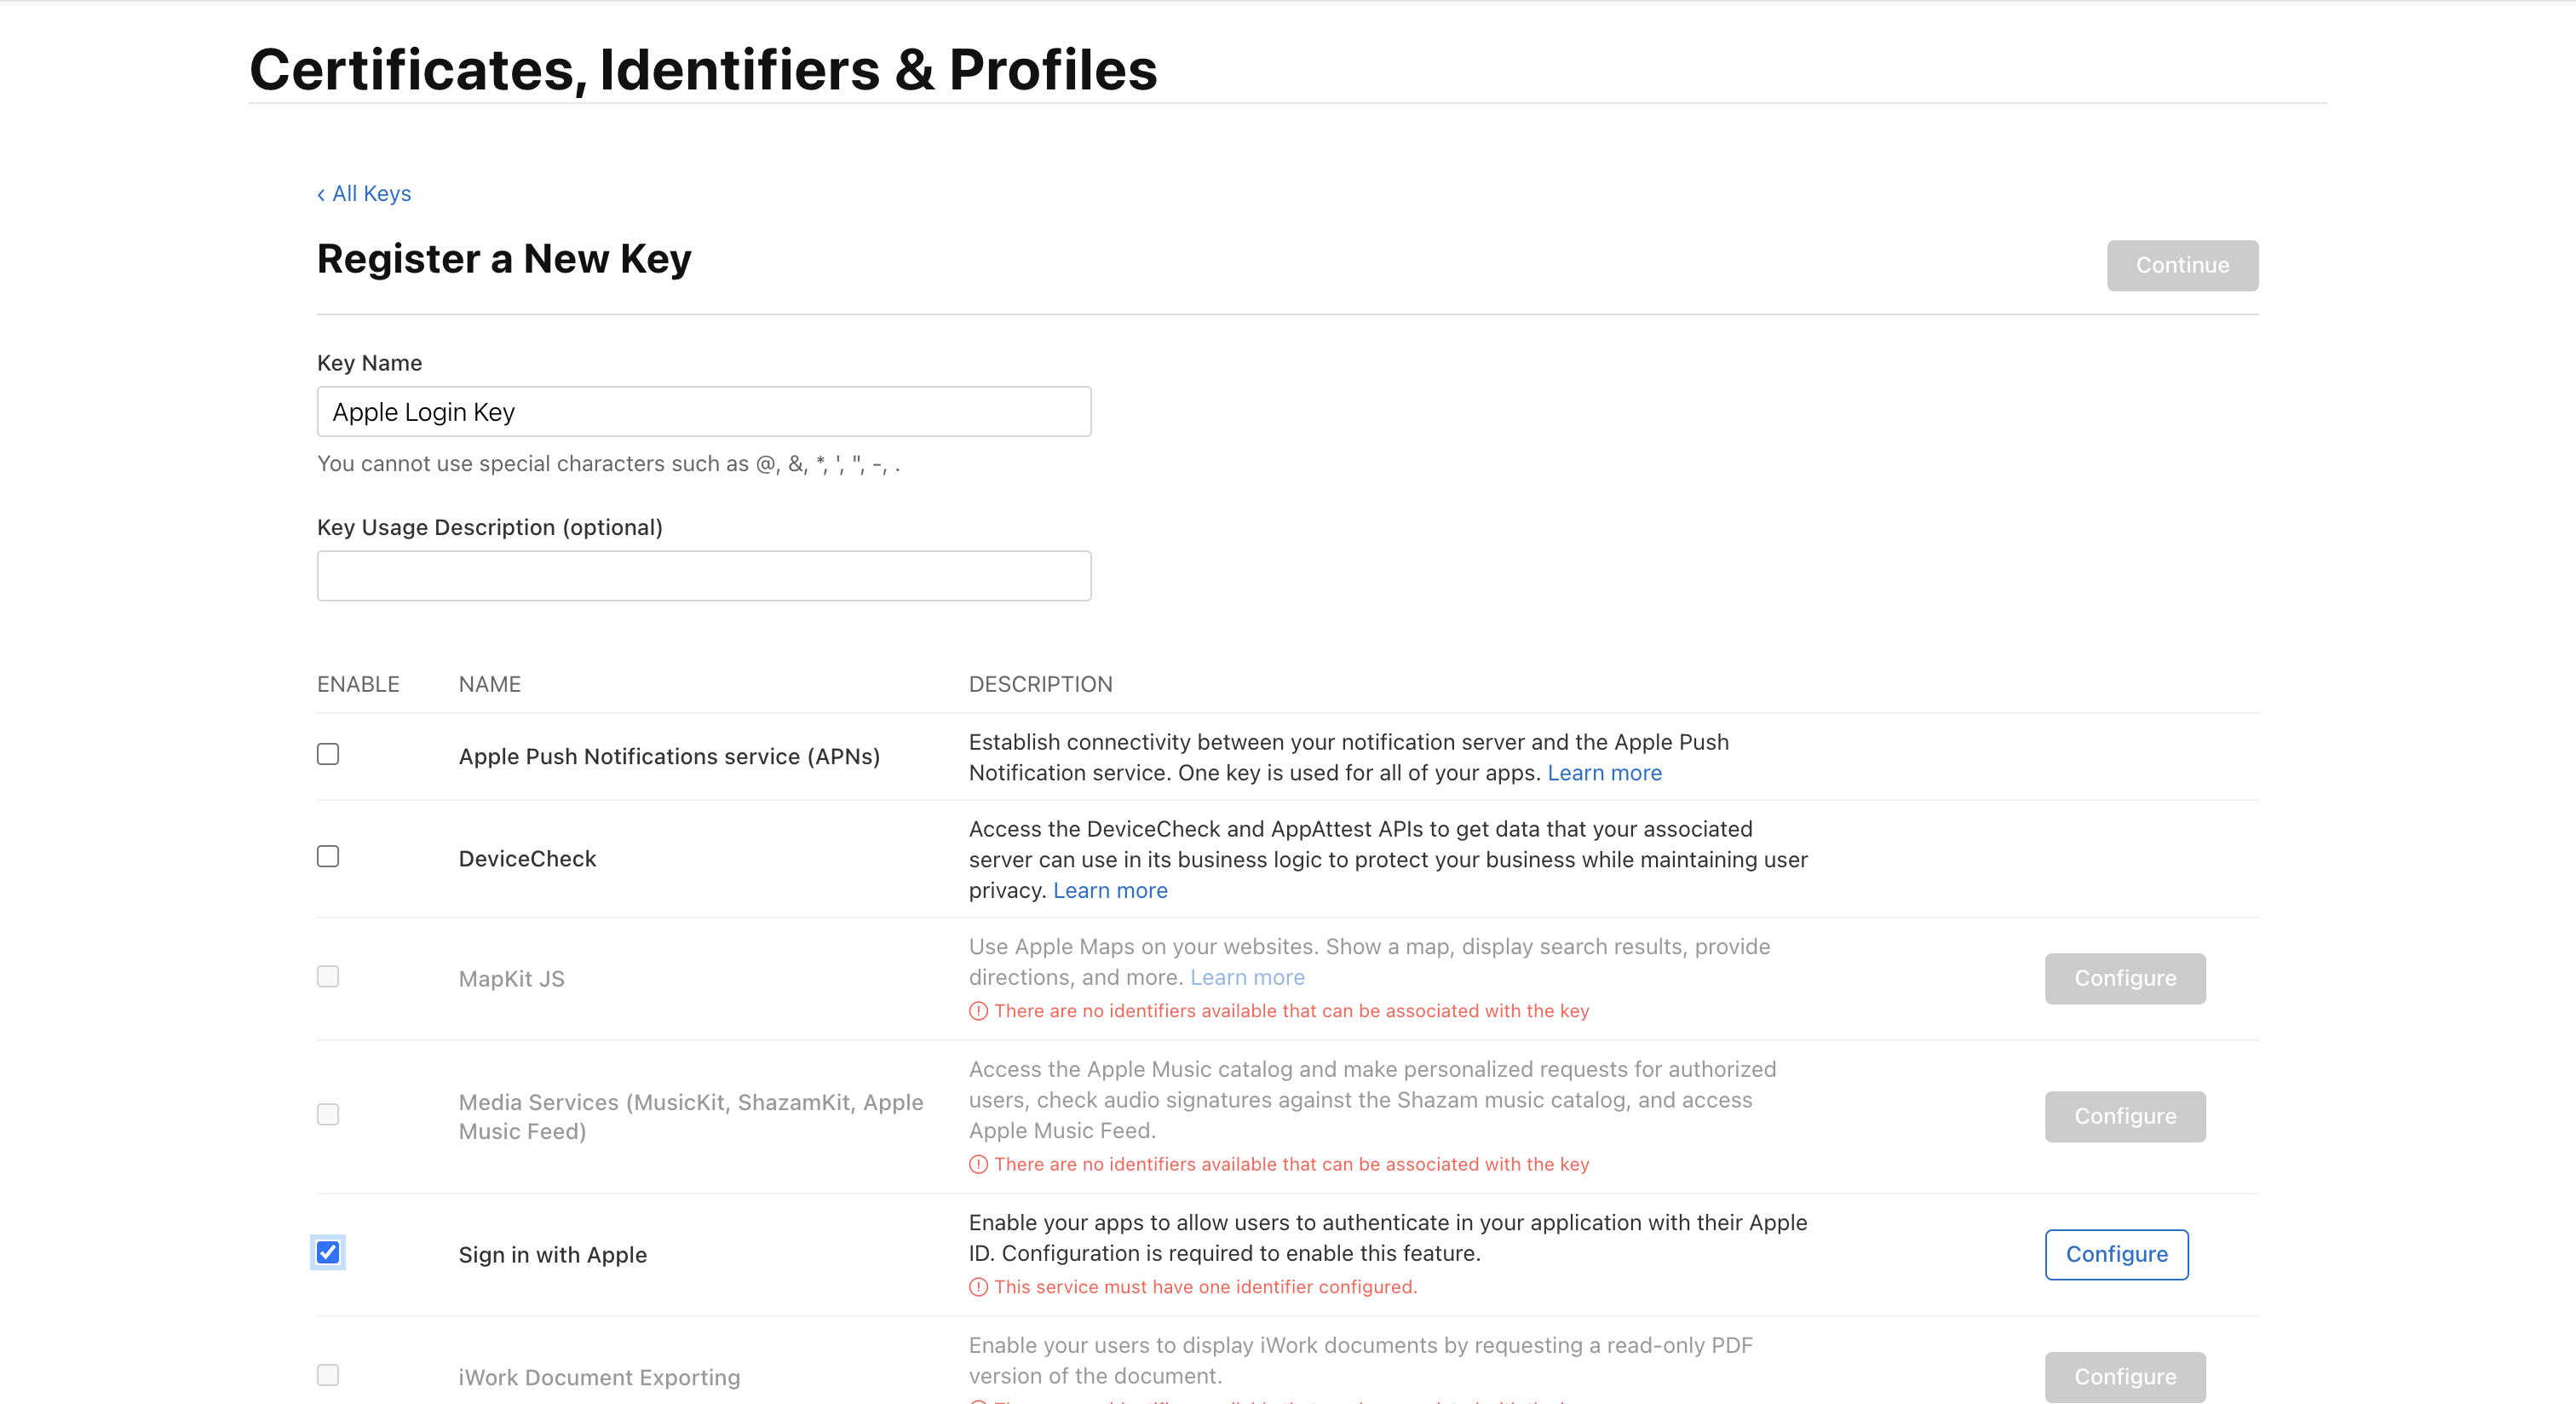
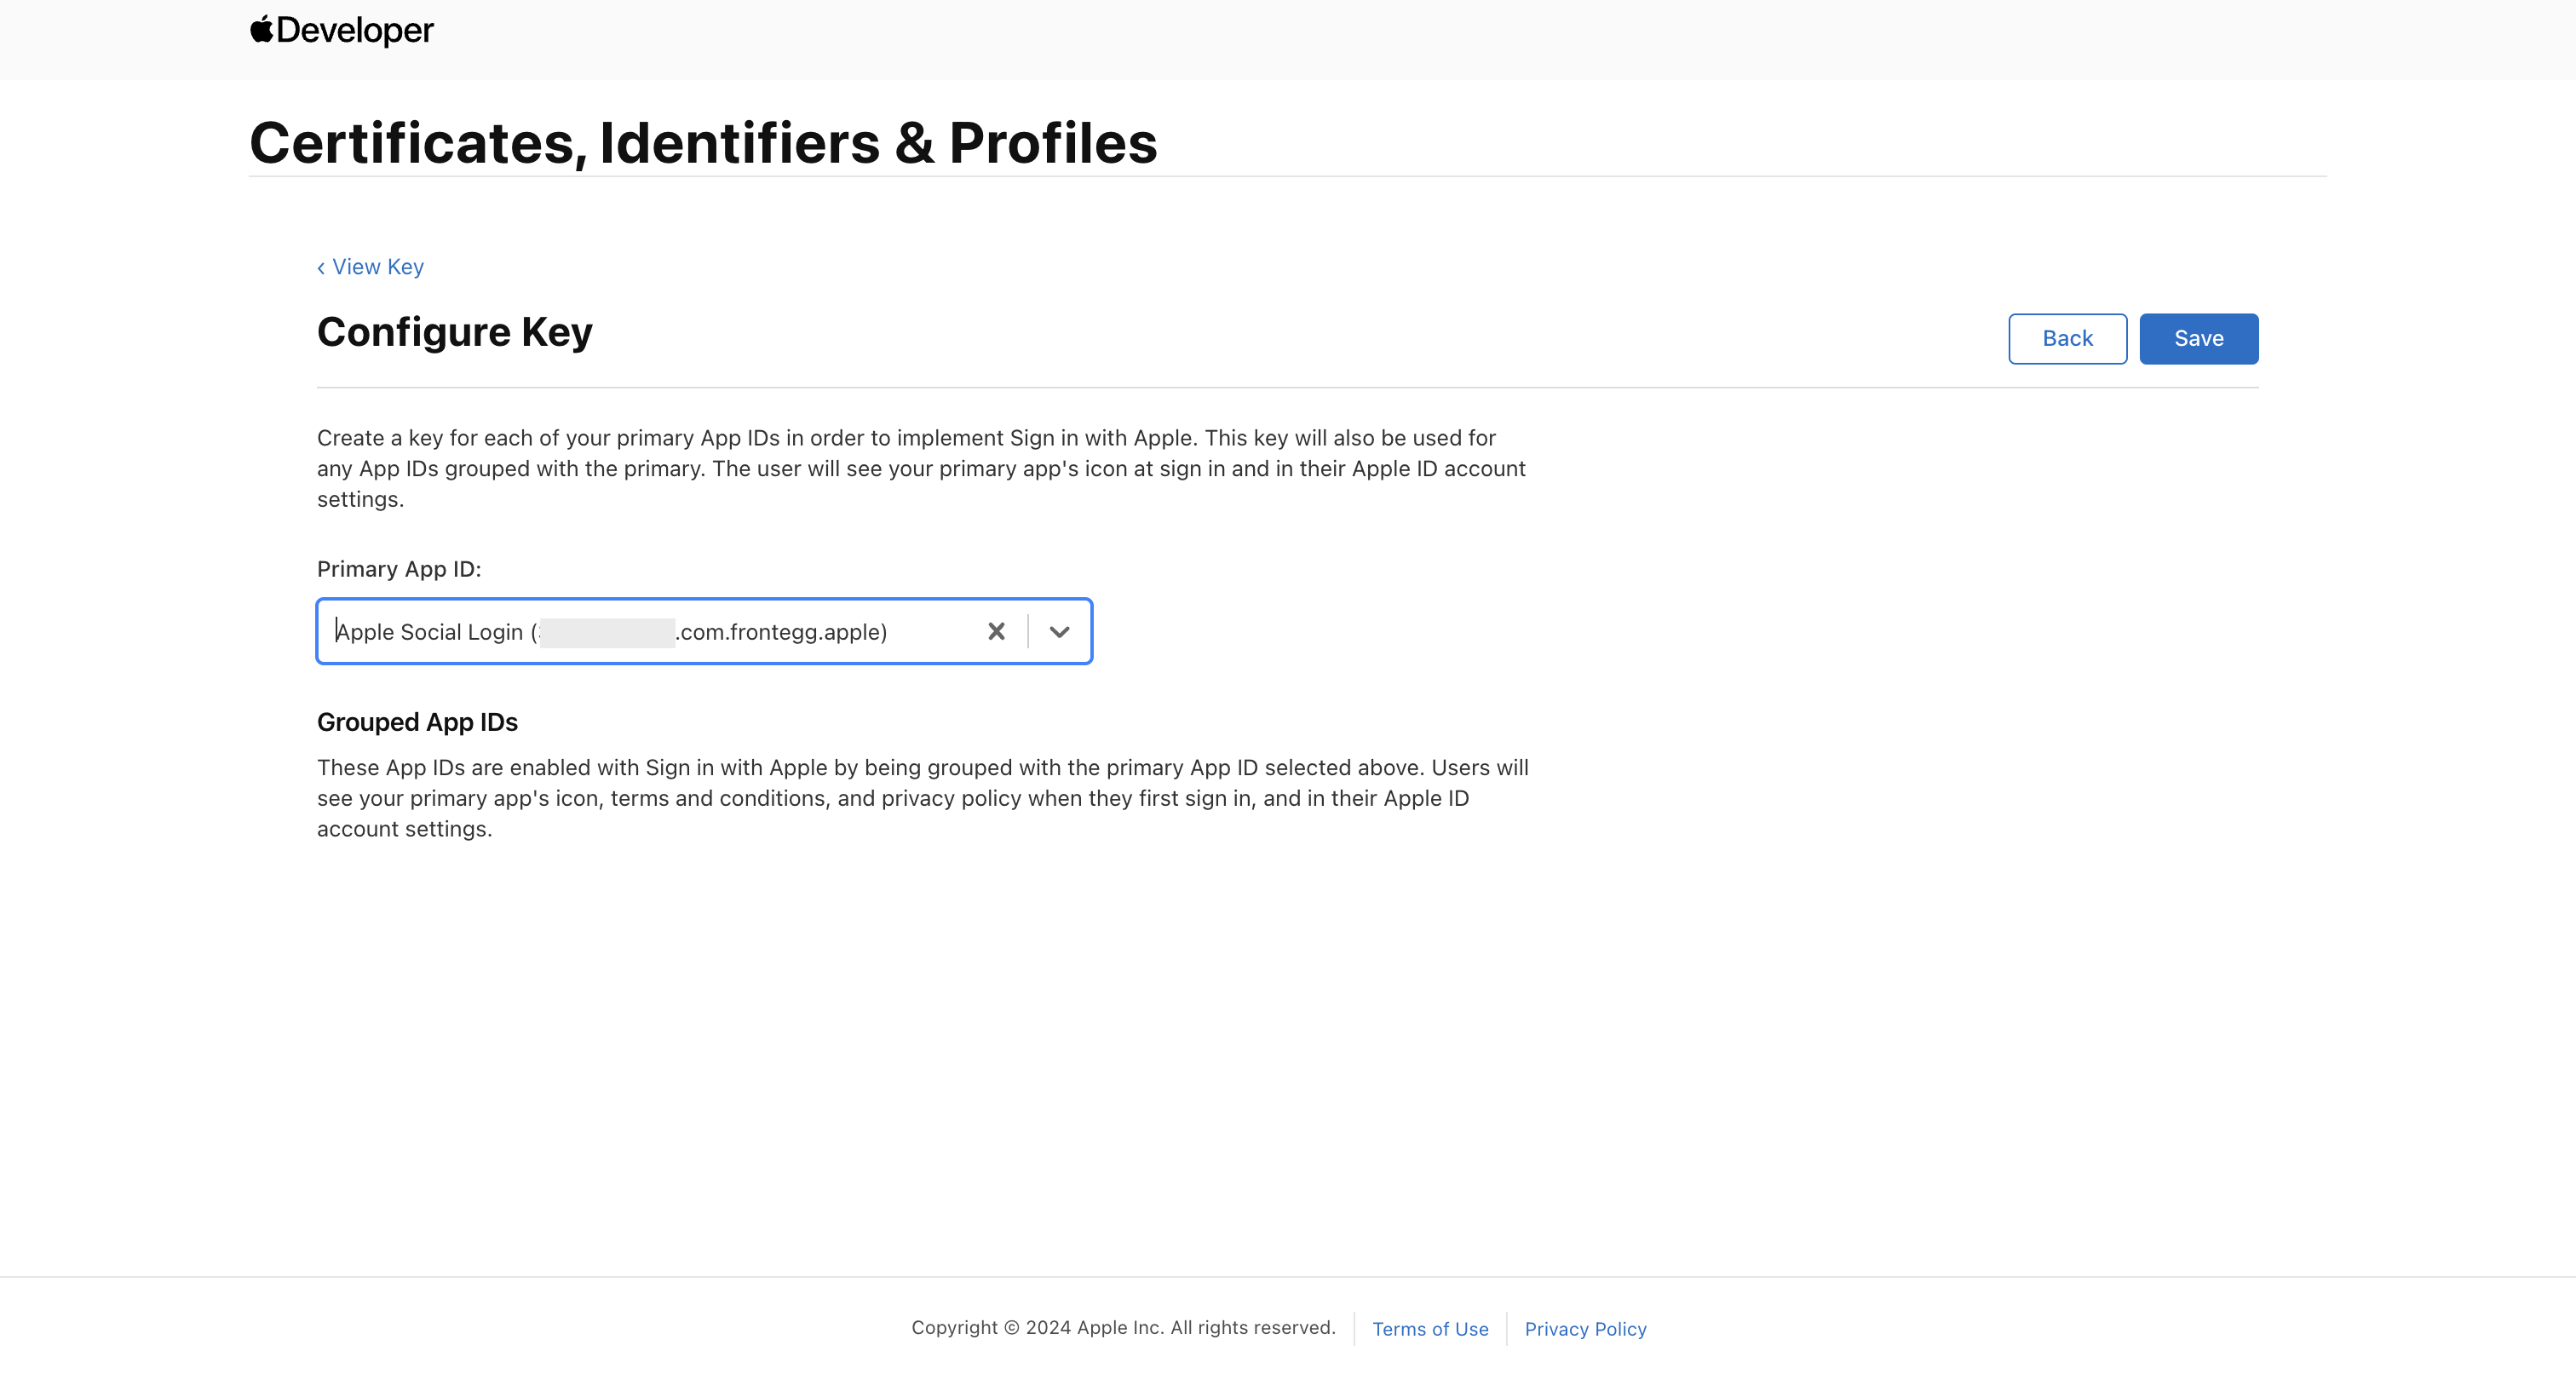
Provide a Key Name and select Sign In with Apple ➜ Configure.
Select your App ID as the Primary App ID ➜ Save. You can only create two keys per App ID.

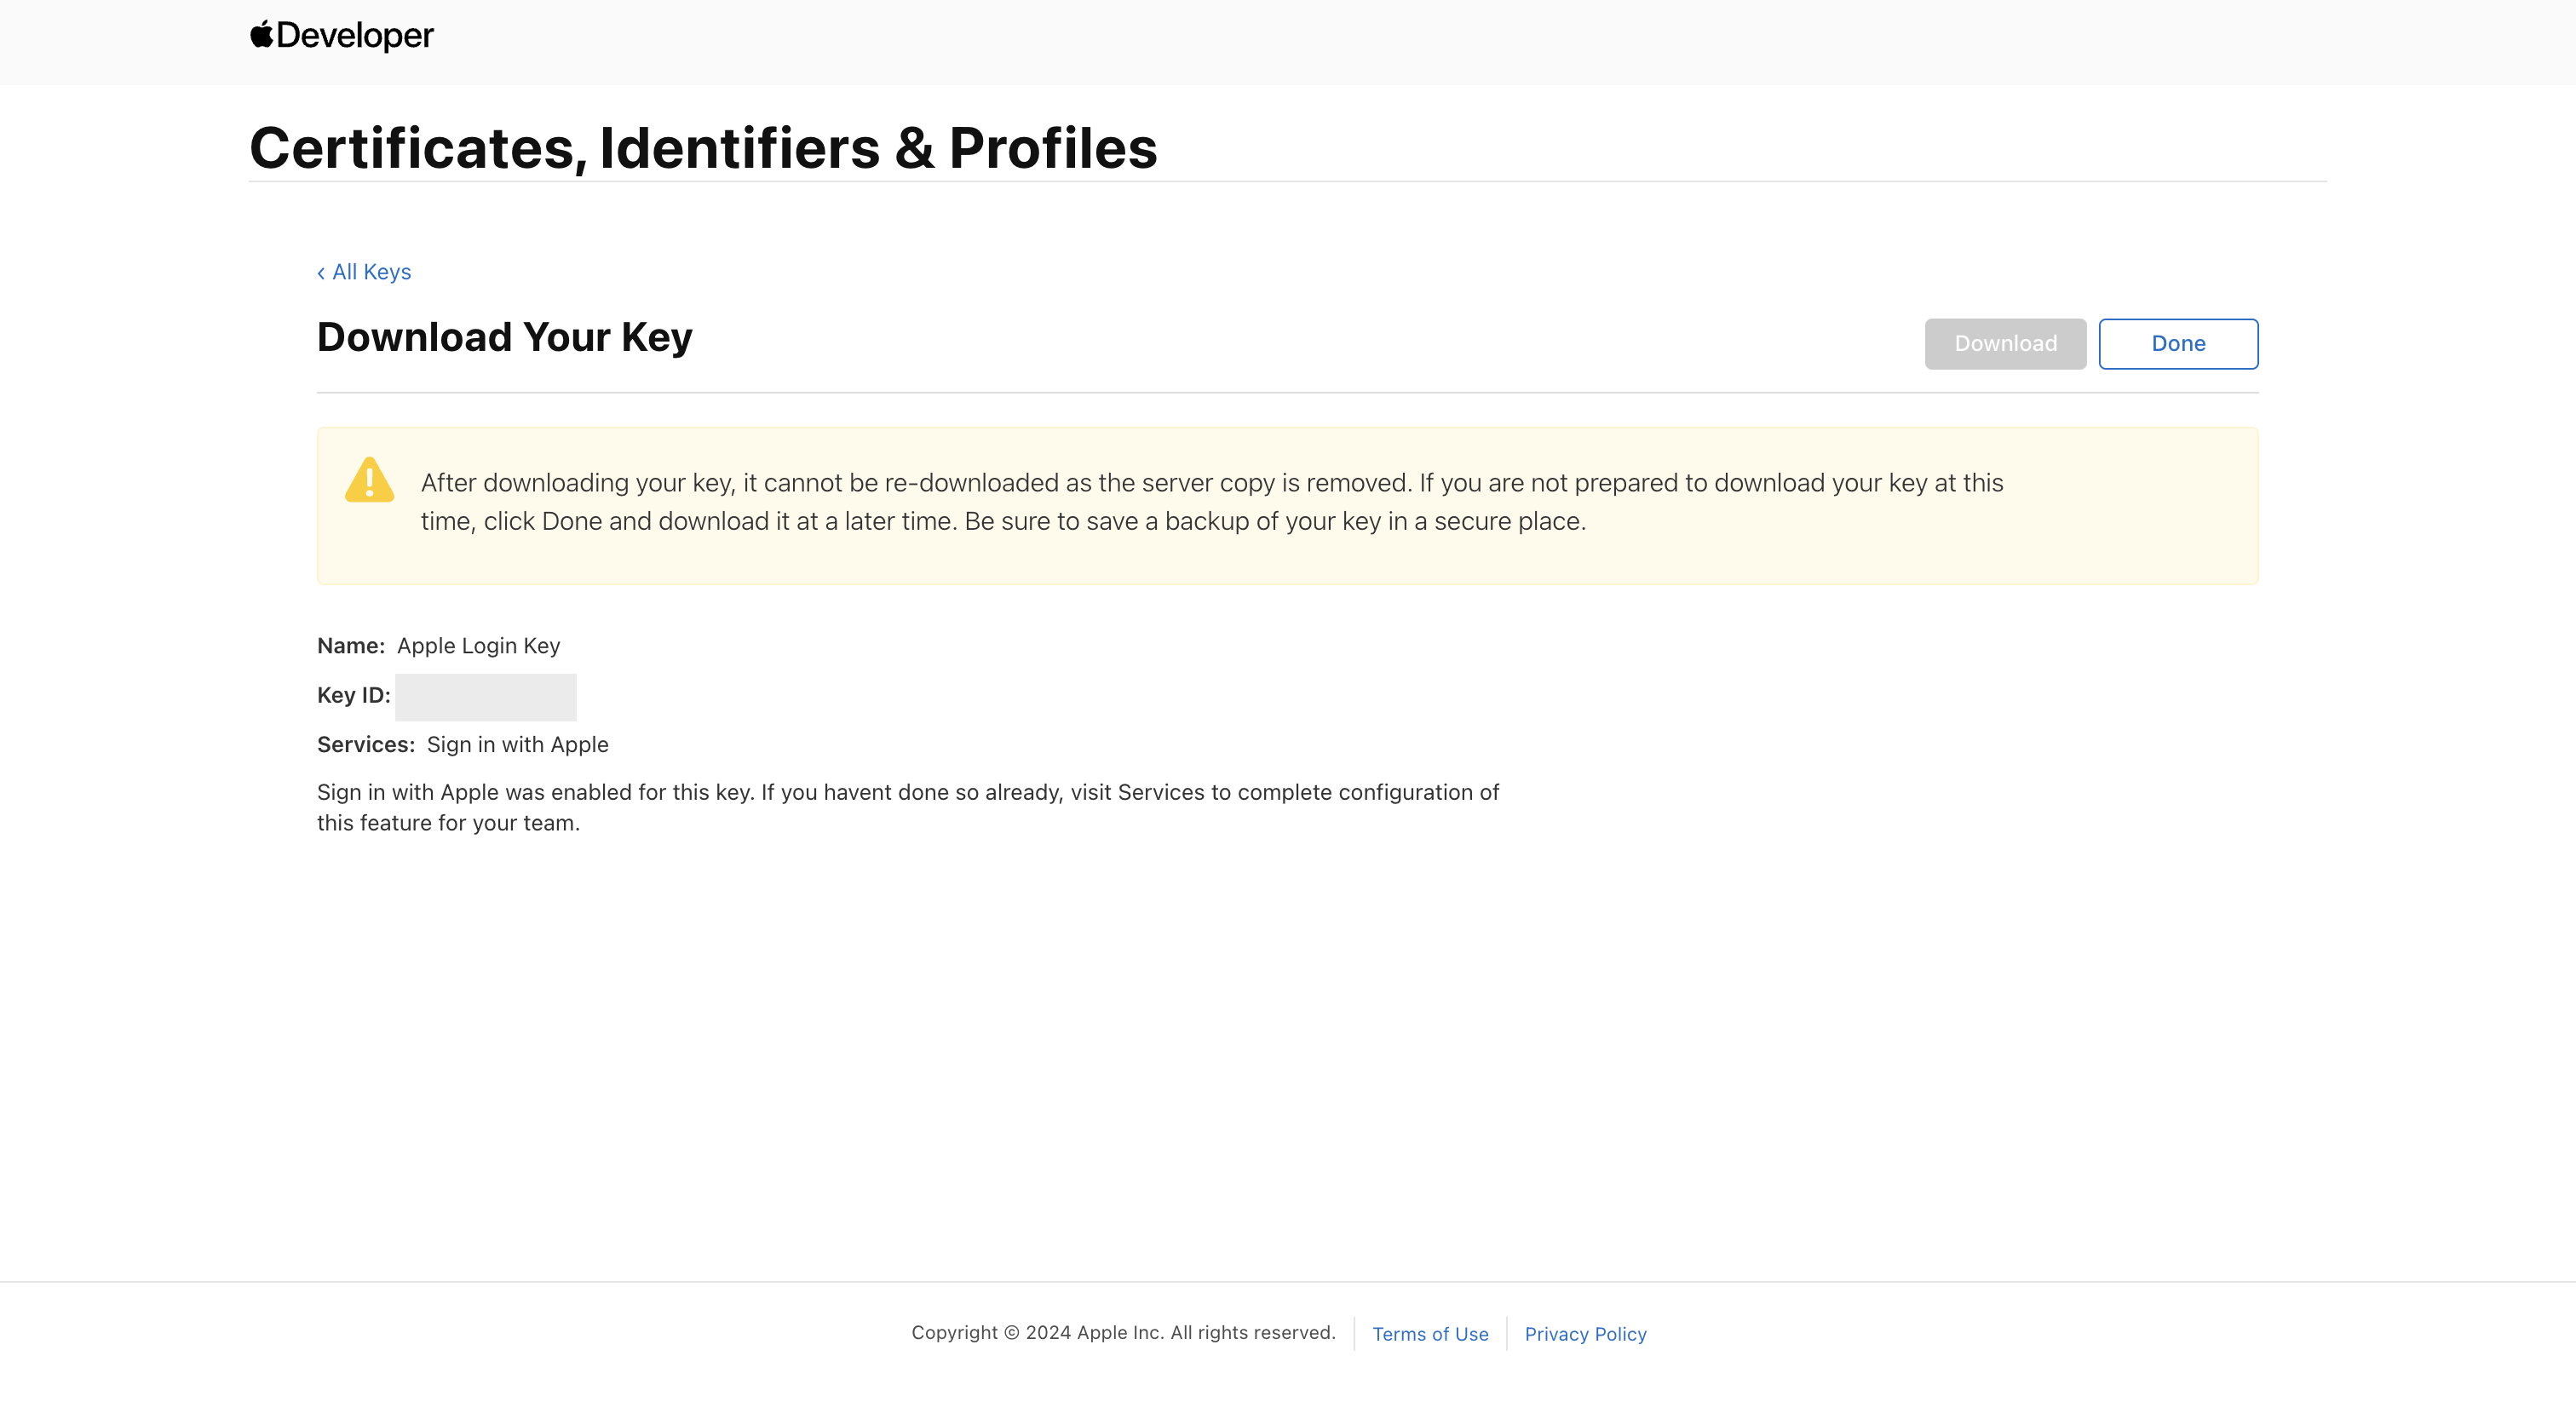
- Click Continue ➜ Register. Your Private Key will be provided for download. This key is only available once, so save it securely.
- Write down the Key ID provided, as well as the Service ID created on STEP 2.
Step 4: Retrieve your team ID
- On the Home Page, go to Membership.
- Note your Team ID along with the Service ID and Key ID created earlier.
Step 5: Configure Apple in Frontegg
- In the Frontegg portal, go to Configurations ➜ Authentication → Social logins.
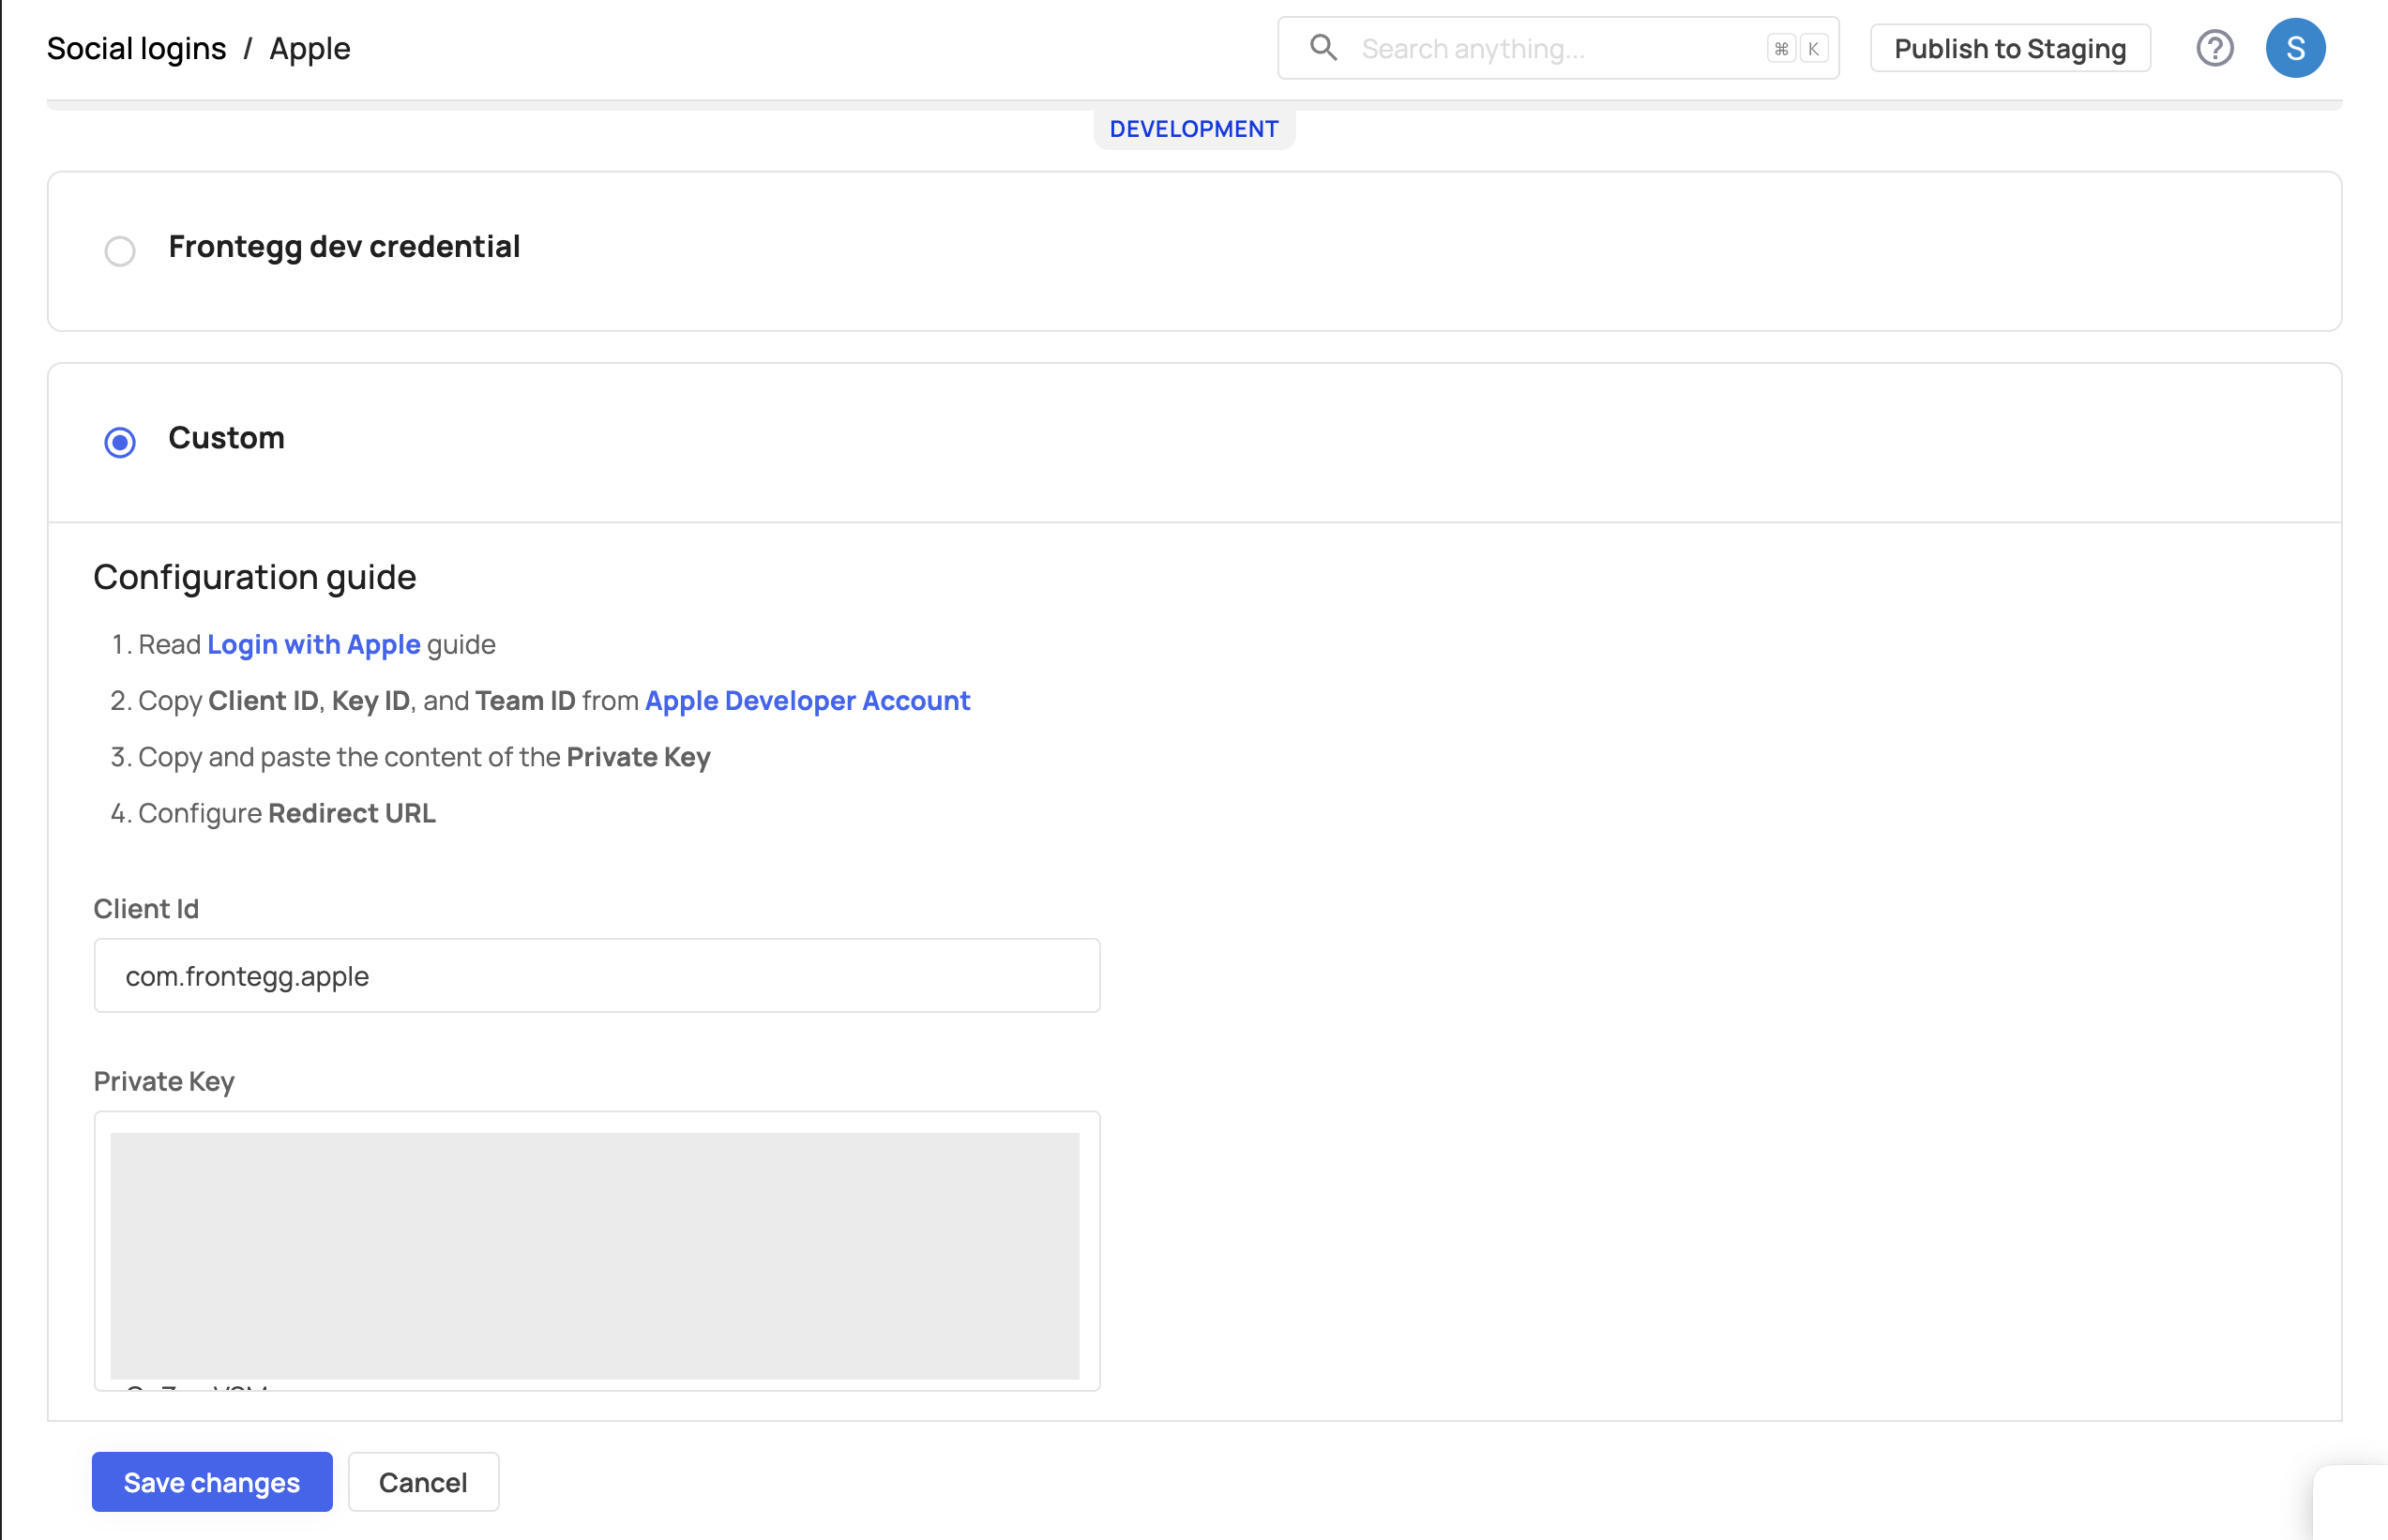
- Click the Apple Manage button, then select Custom and enter the following:
- Client ID: The Service ID from Step 2.
- Private Key: The private key contents from Step 3.
- Key ID: The Key ID from Step 3.
- Team ID: The Team ID from Step 4.
- Redirect URL: Set to the URL where you want users redirected after login.
Save your changes.
Step 6: Test Apple login integration
- In your application, attempt a login or signup with Apple to ensure successful integration.
Configuring Apple Login Permissions
Configuring Apple Login Permissions
By default, only invited users can log in with Apple. To allow new users to sign up via Apple, enable Allow Signup in the Login Box builder's left panel.
Customizing authentication scopes for Apple
Scopes specify what information your application can access. By default, Frontegg fetches the user profile and email. You can add custom scopes in [ENVIRONMENT] → Authentication → Social Login → Custom → Scopes. For more information, refer to Apple’s supported scopes.