Entitlement-based access in self-service
Frontegg allows you to define how users interact with the self-service portal of your application by giving you full control over their access to key features.
This functionality can facilitate your business growth by enabling you to offer premium features to customers on higher-tier plans. By controlling feature access in this way, you can ensure that users only receive the functionalities that are relevant to them. This not only enhances the customer experience by delivering tailored solutions, but also helps you optimize your product offerings and resources.
Step 1: Enable the entitlements option in your application code
To begin, you need to enable the entitlements option in your application code by adding the following lines:
entitlementsOptions={{
    enabled: true,
}}
See entitlementsOptions for more information.
Step 2: Create a feature
- In the Frontegg portal, navigate to [ENVIRONMENT] → Configurations → Entitlements → Features.
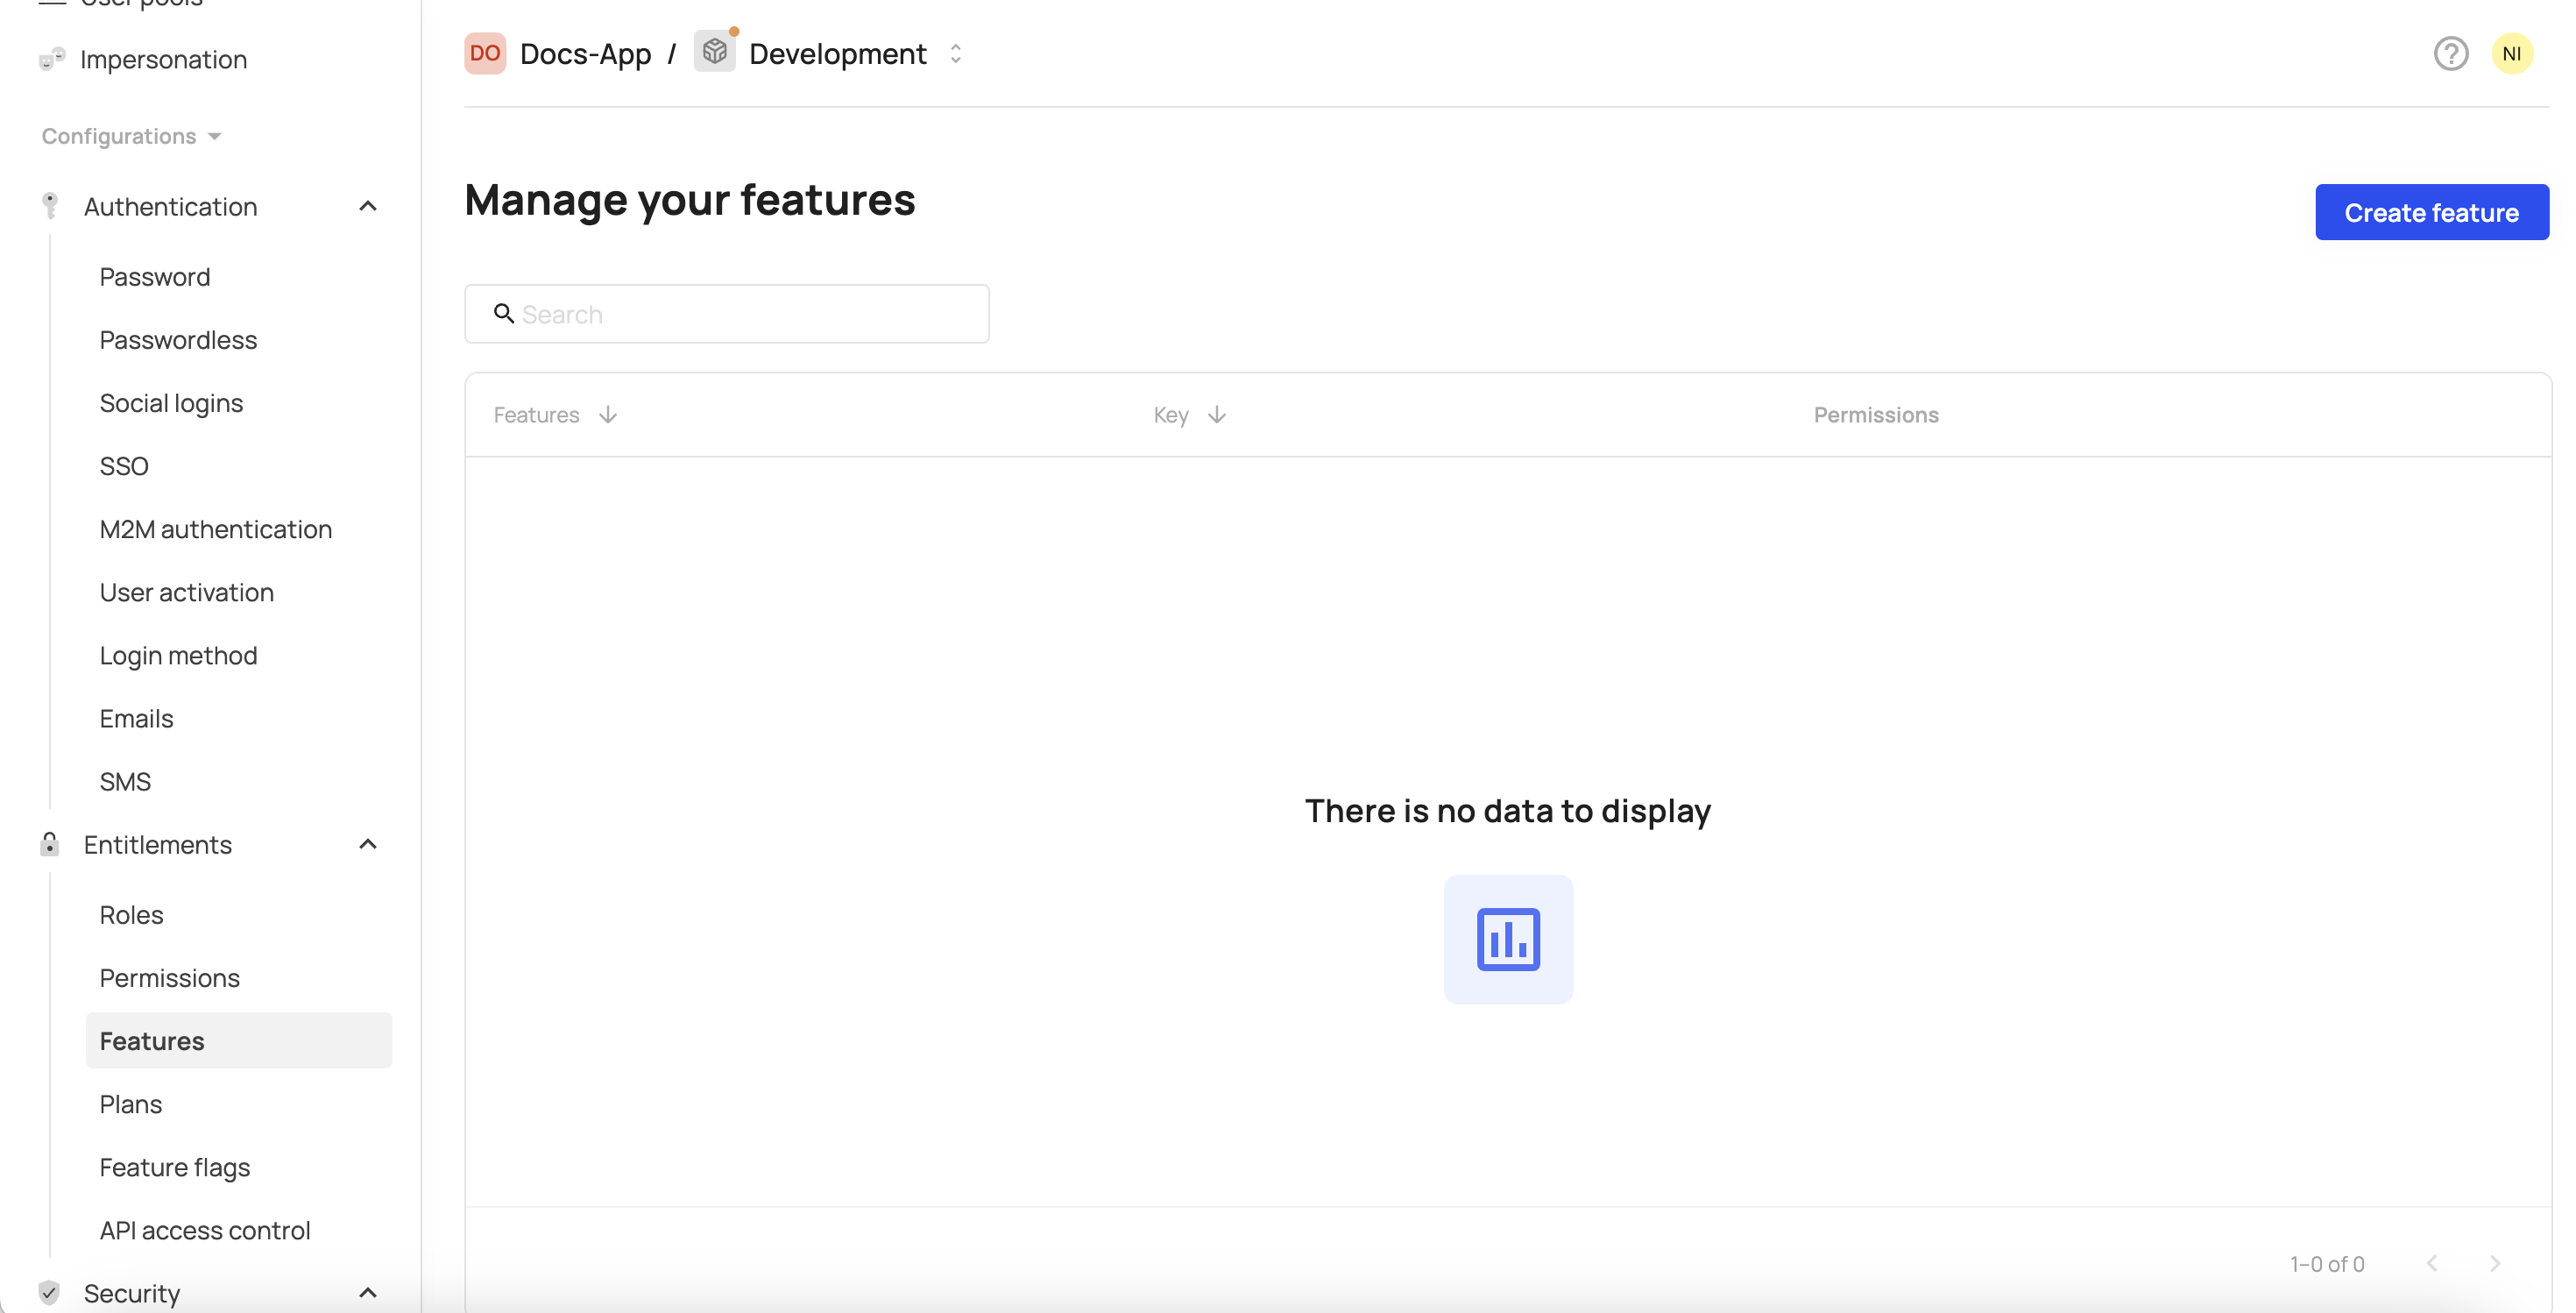
- Click Create feature.
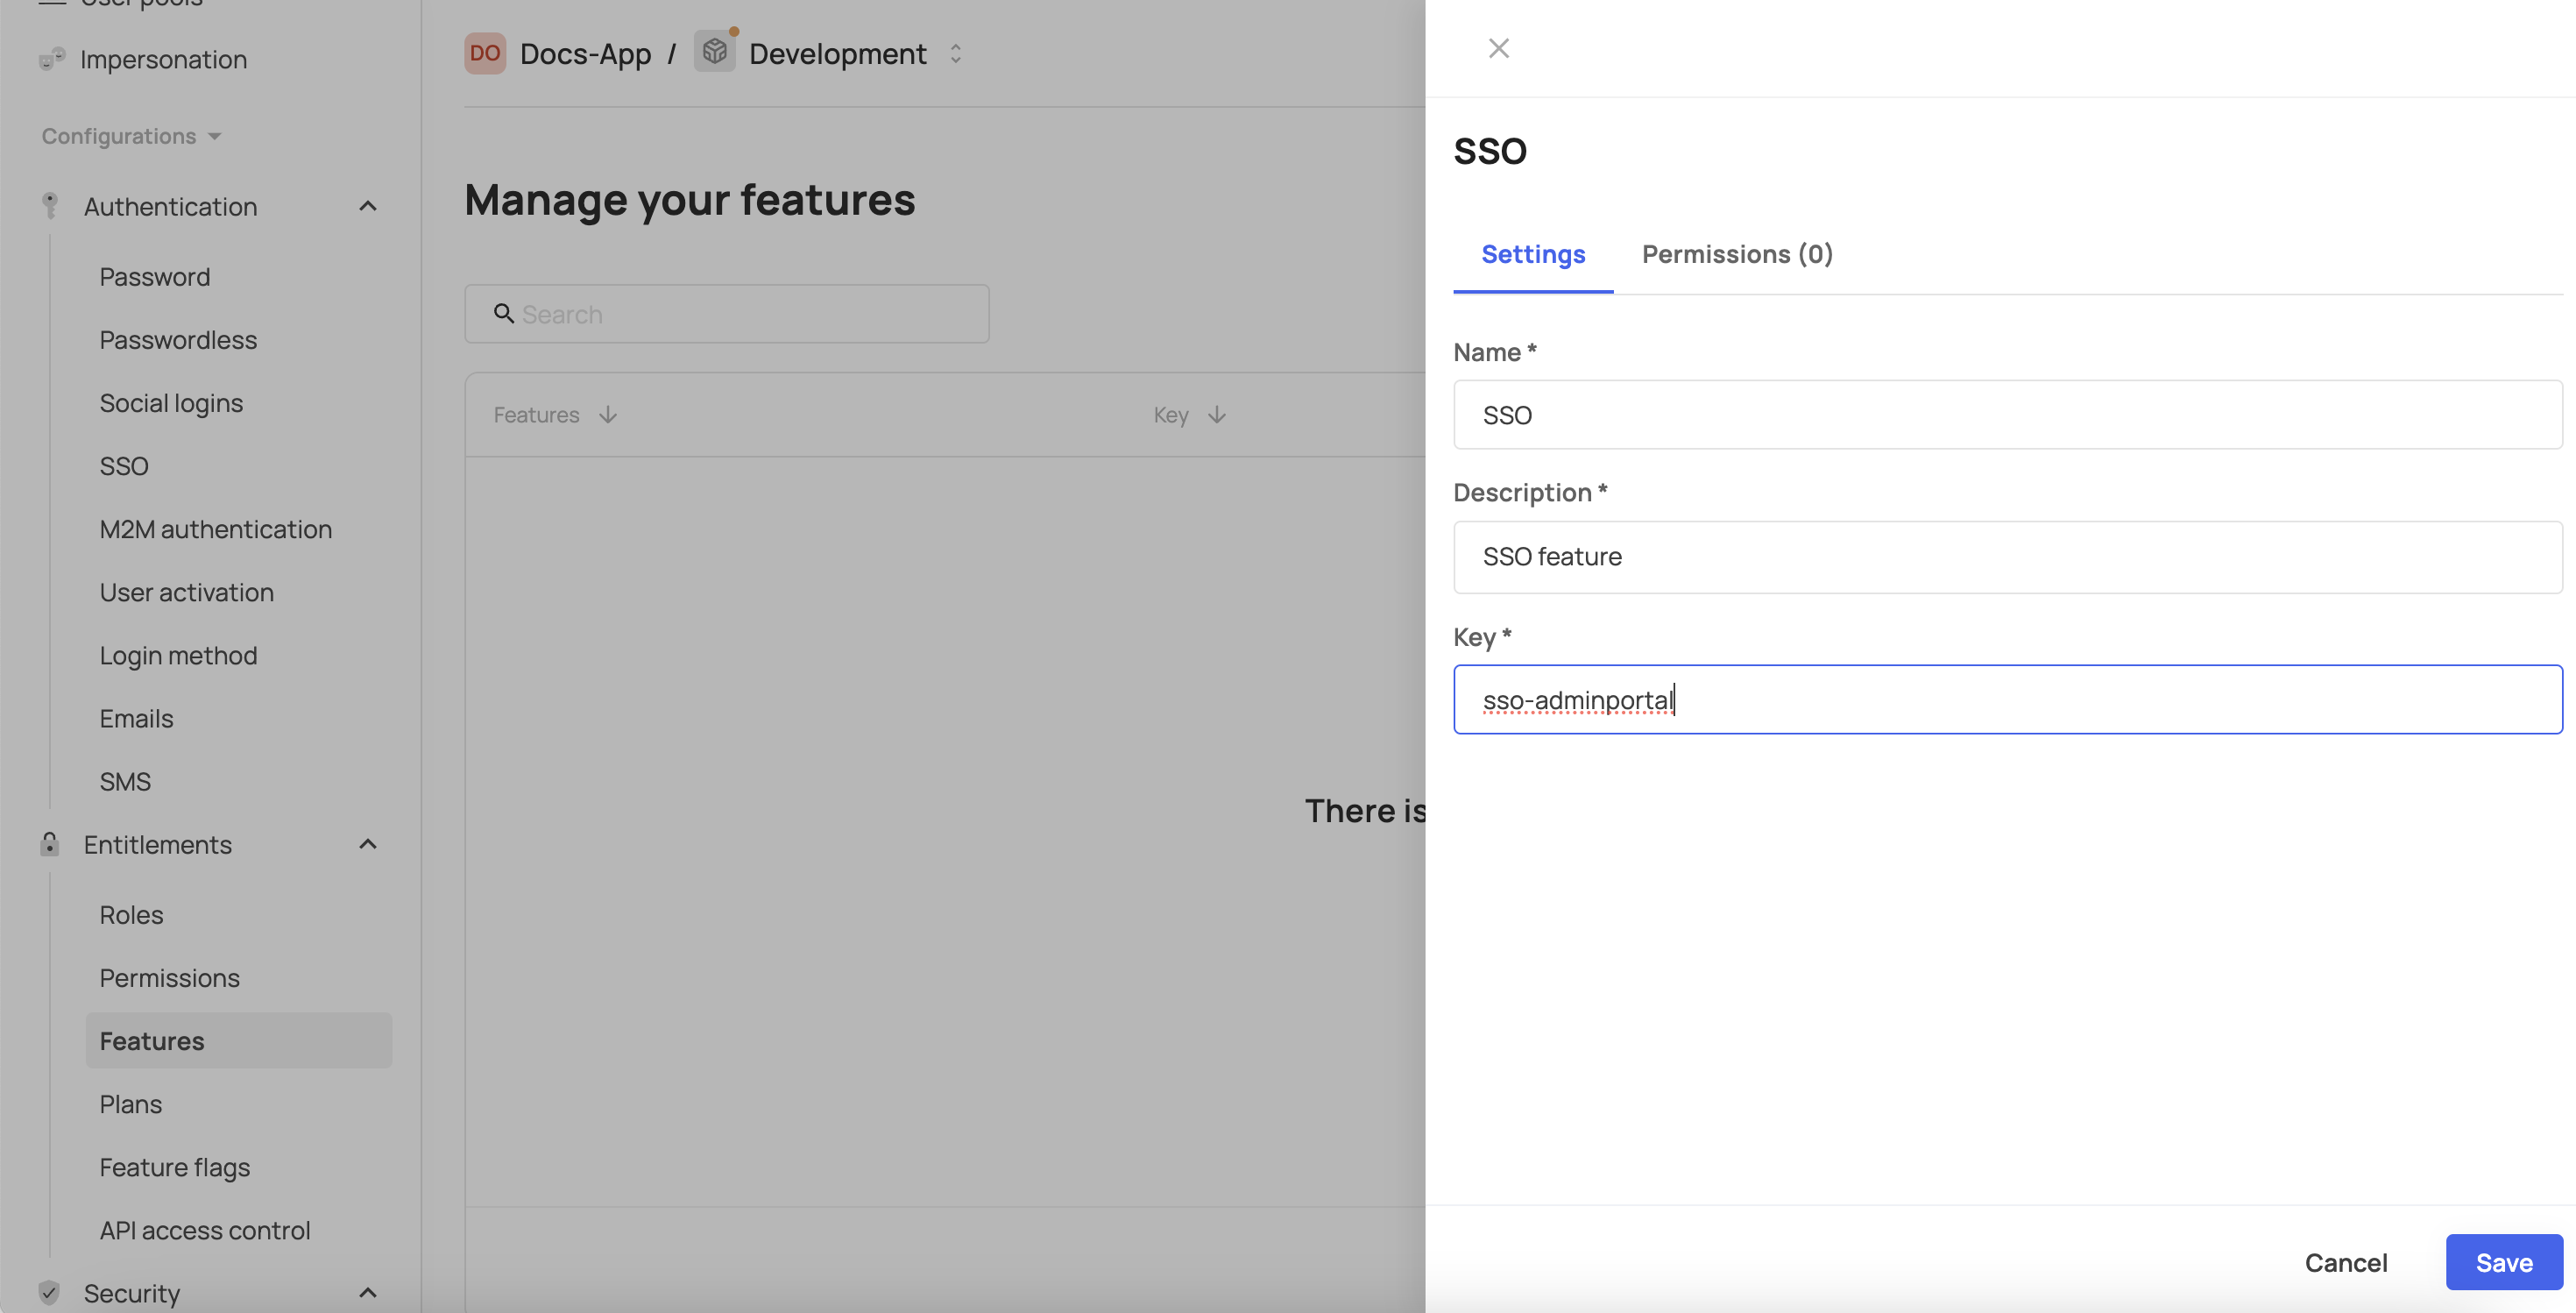
- Enter the required feature name into the Name field (the feature is the actual tab in the self-service portal you'd like to control), description into the Description field and feature key into the Key field.
- Click Save.
Step 2: Create a feature plan
- Navigate to Plans.
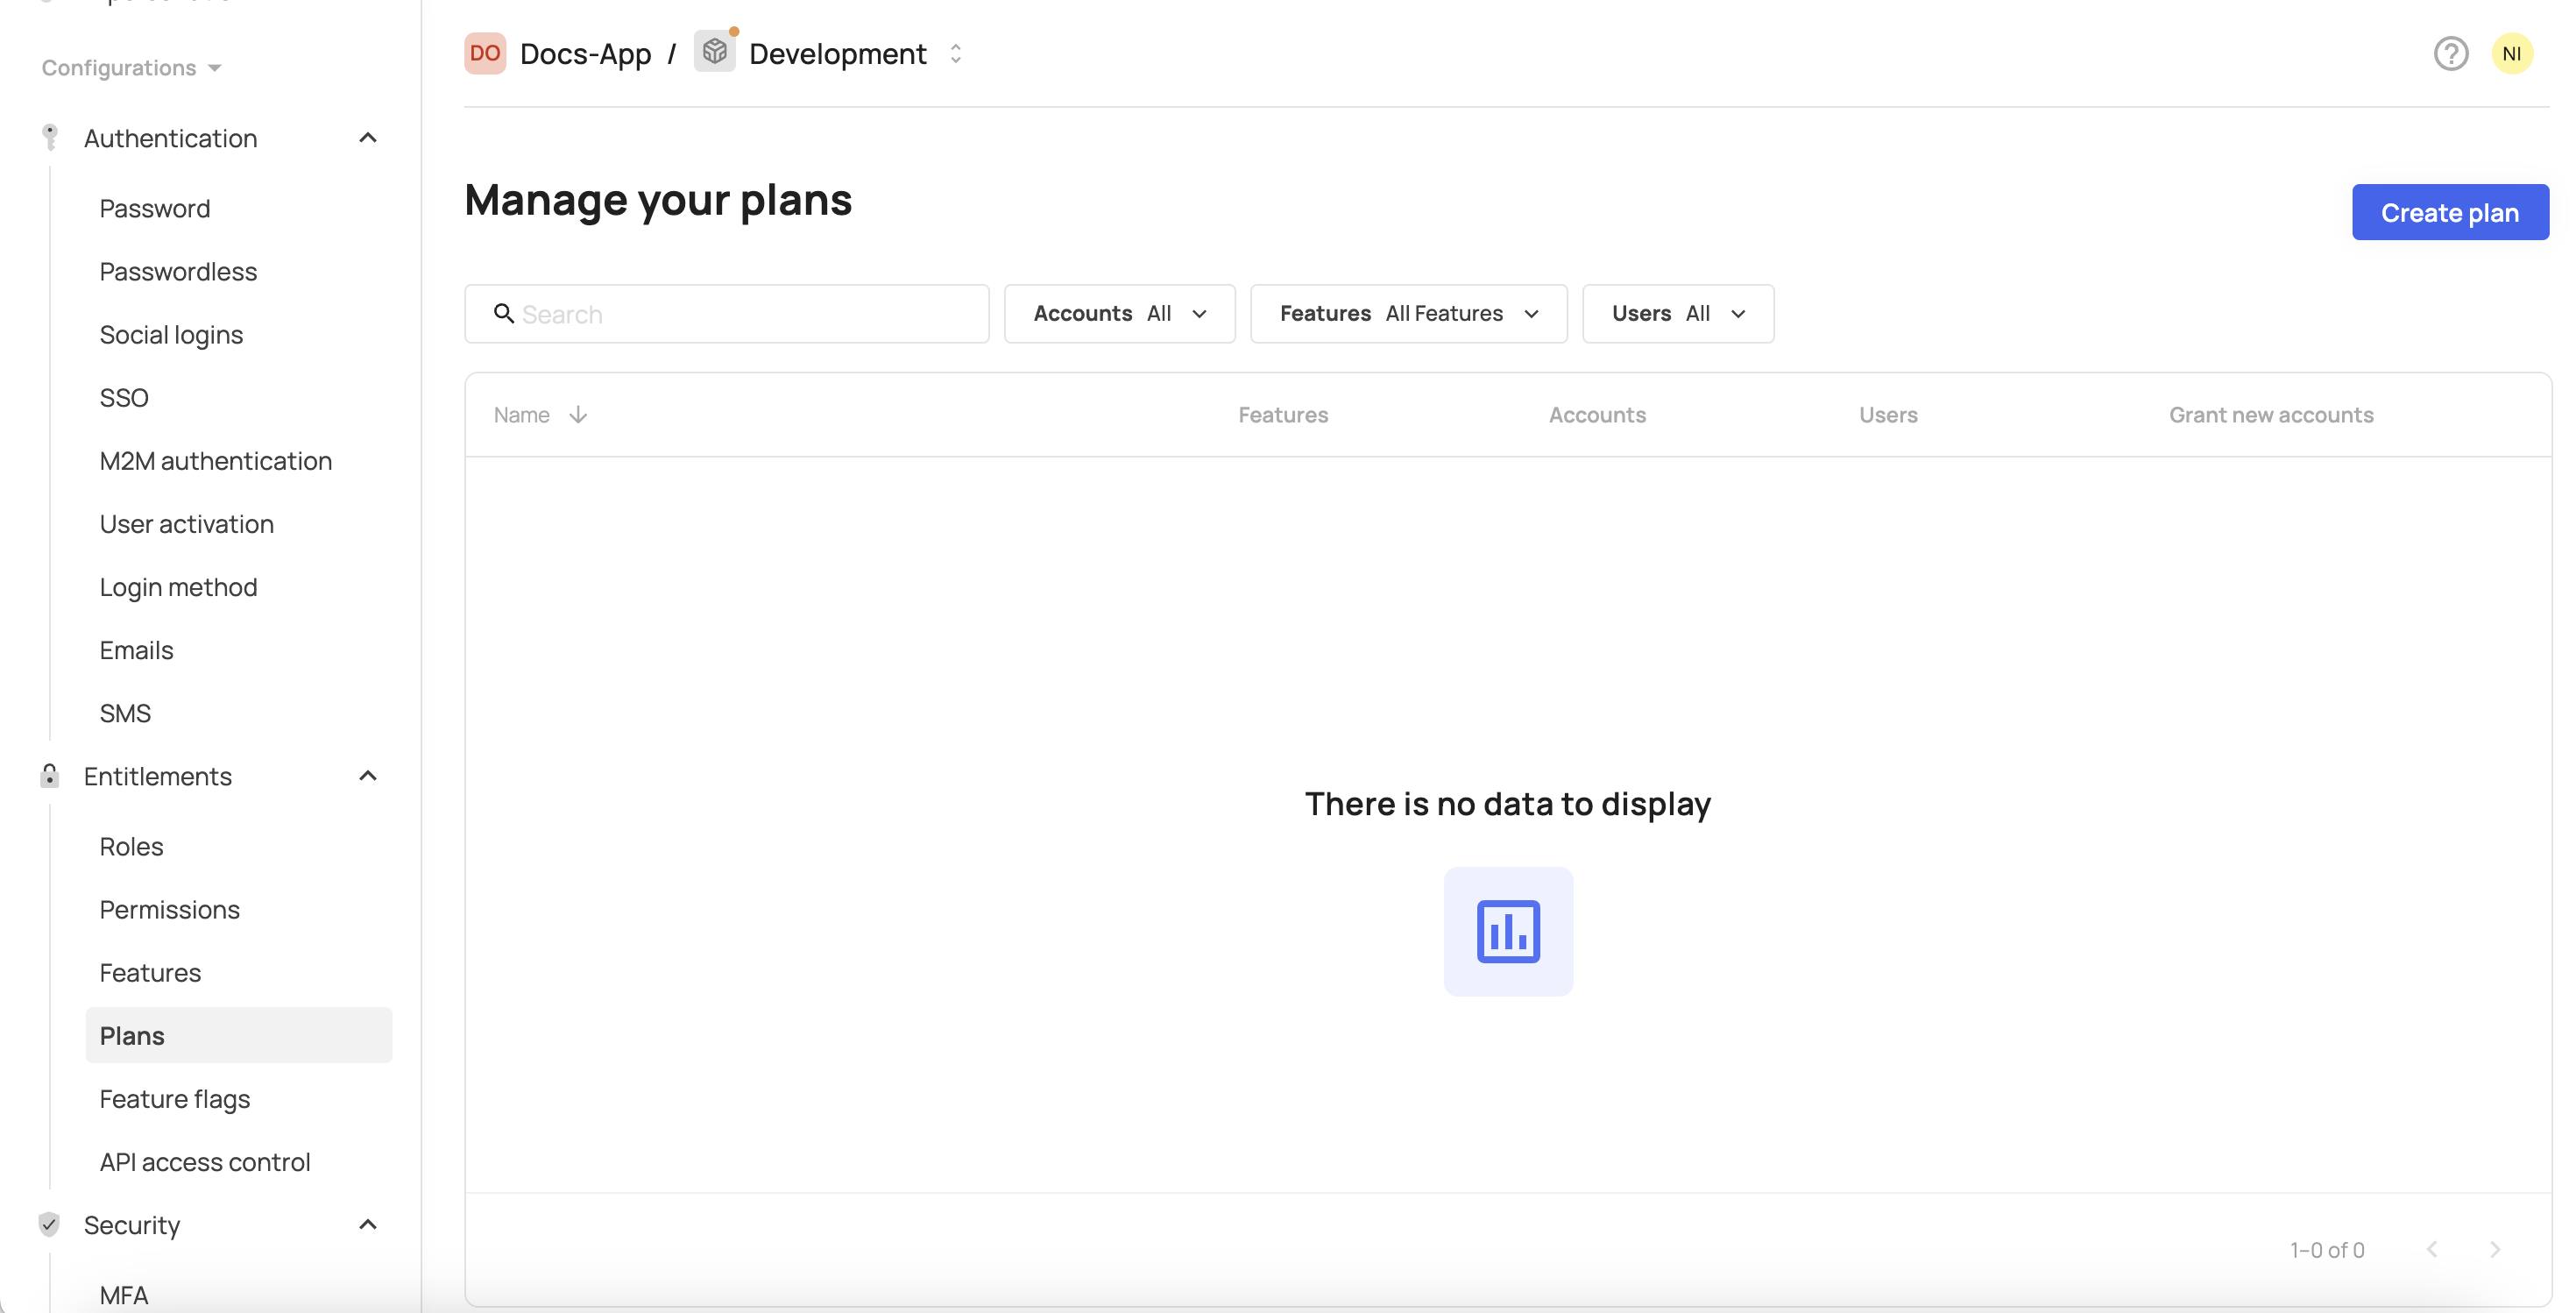
- Click Create plan.
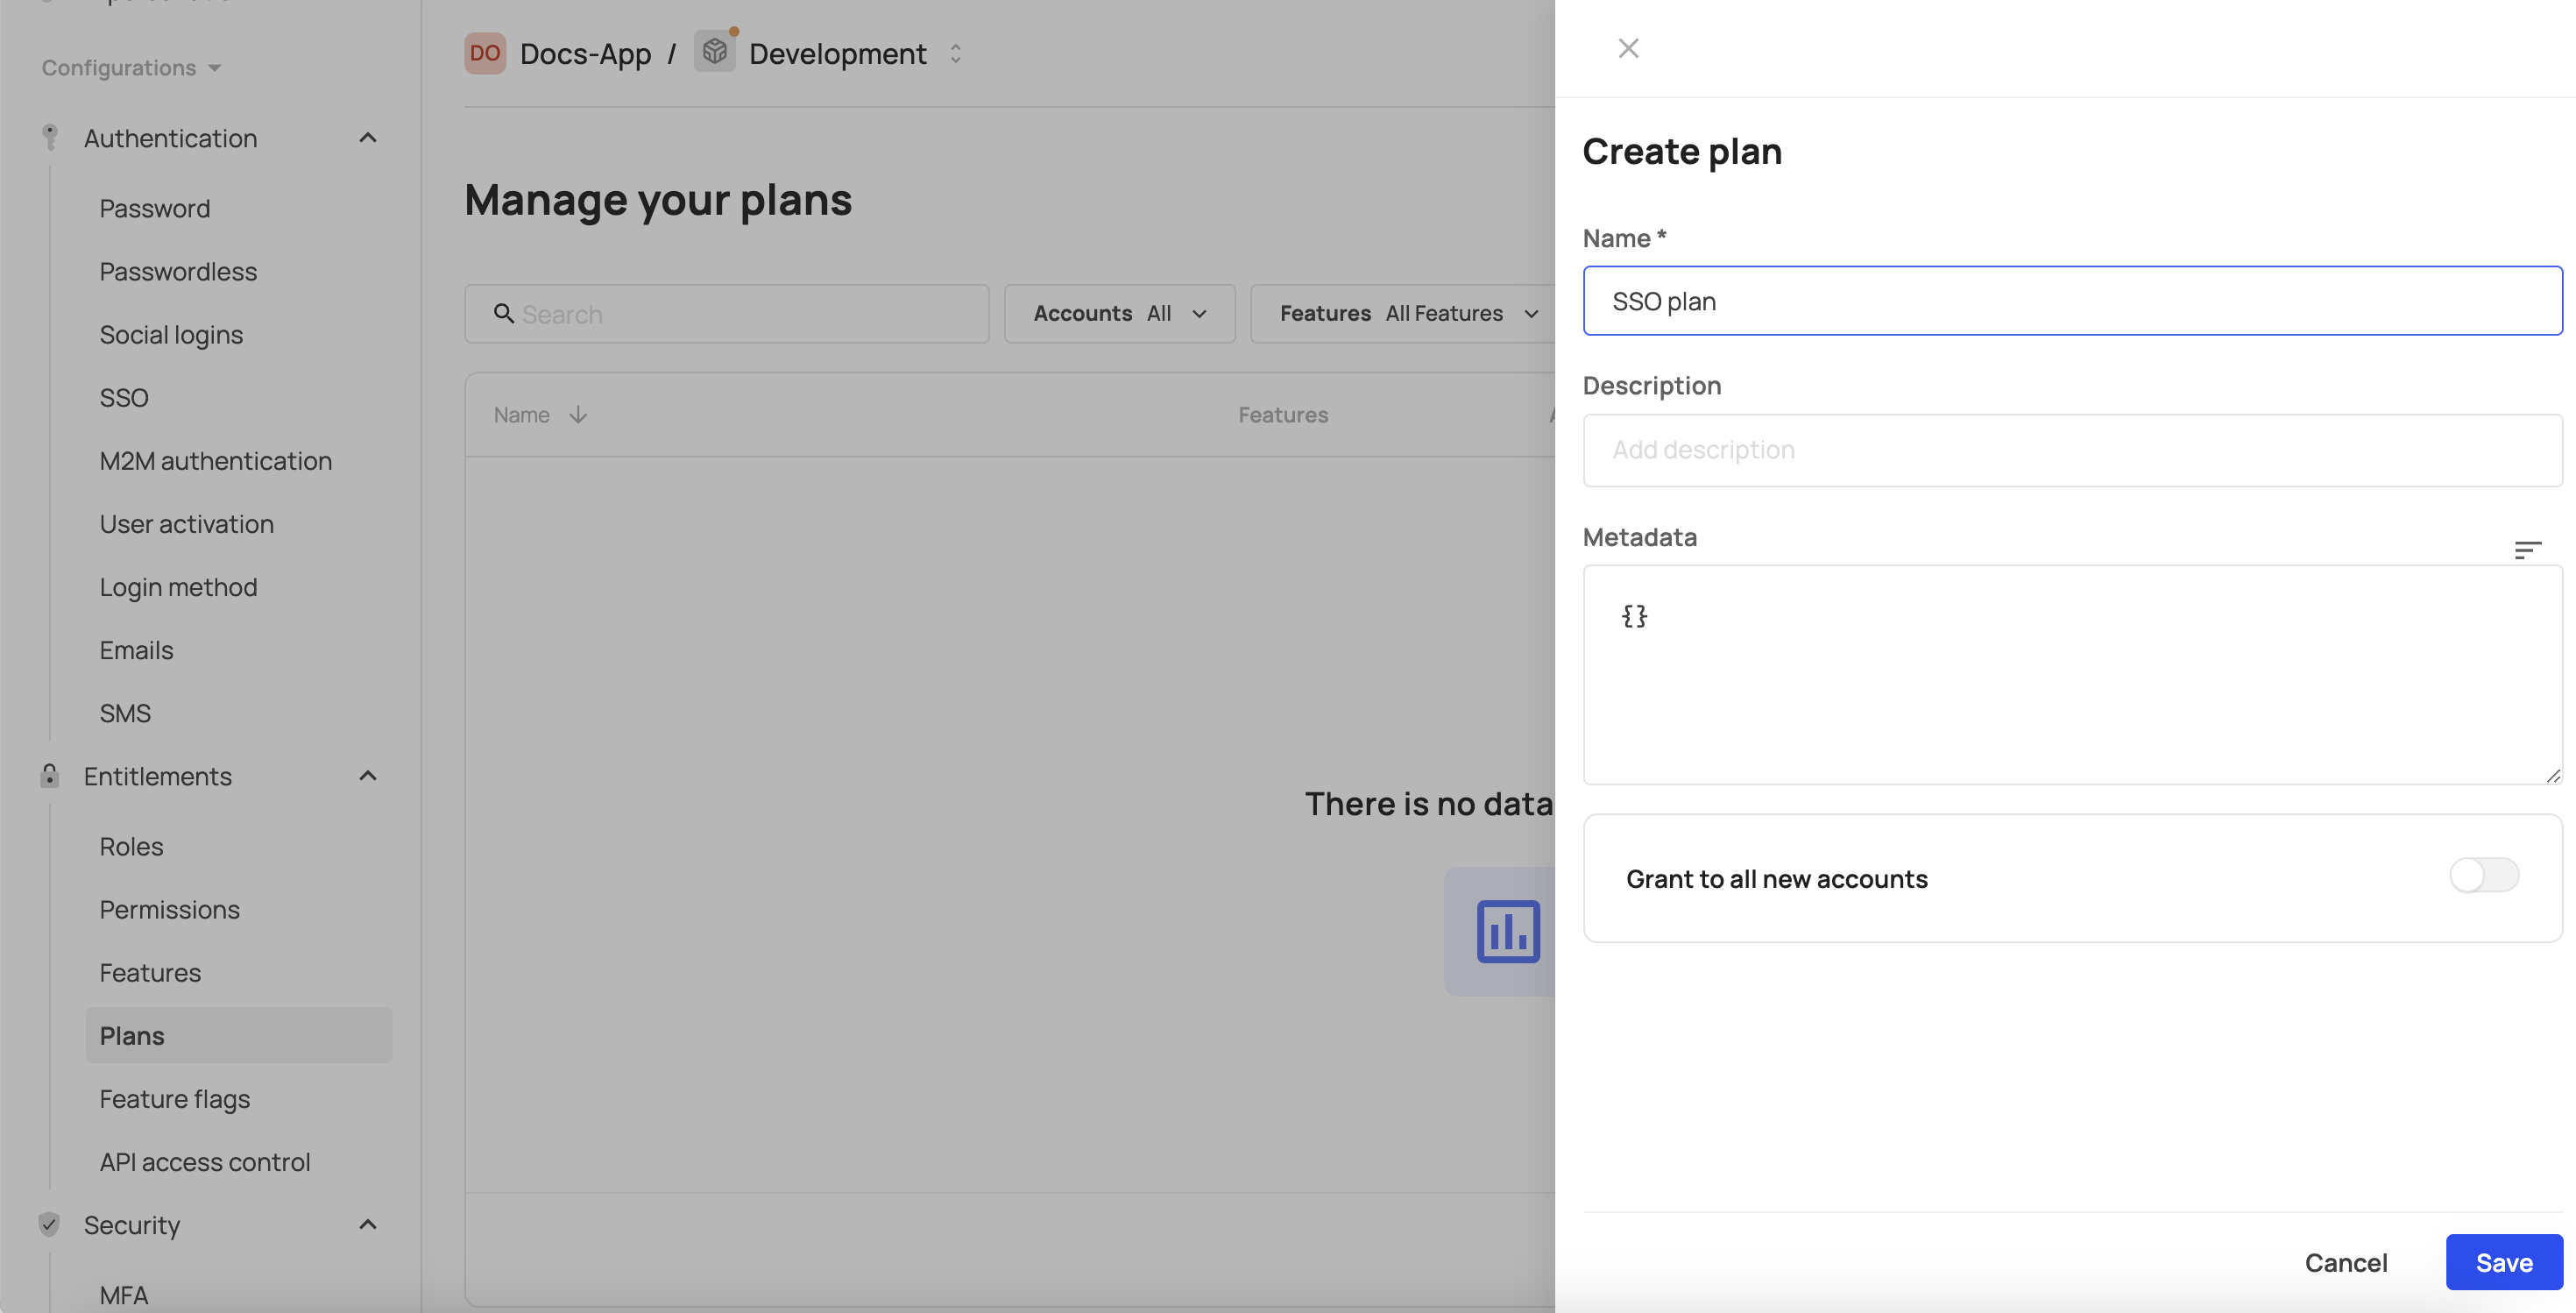
- Enter the required plan name into the Name field. If required, provide an optional description in the Description field and metadata into the Metadata field. Additionally, you can enable this plan for all new accounts in the environment, by switching the Grant to all new accounts toggle.
- Click Save.
Step 3: Add the feature to the plan
- Go to the Features tab.
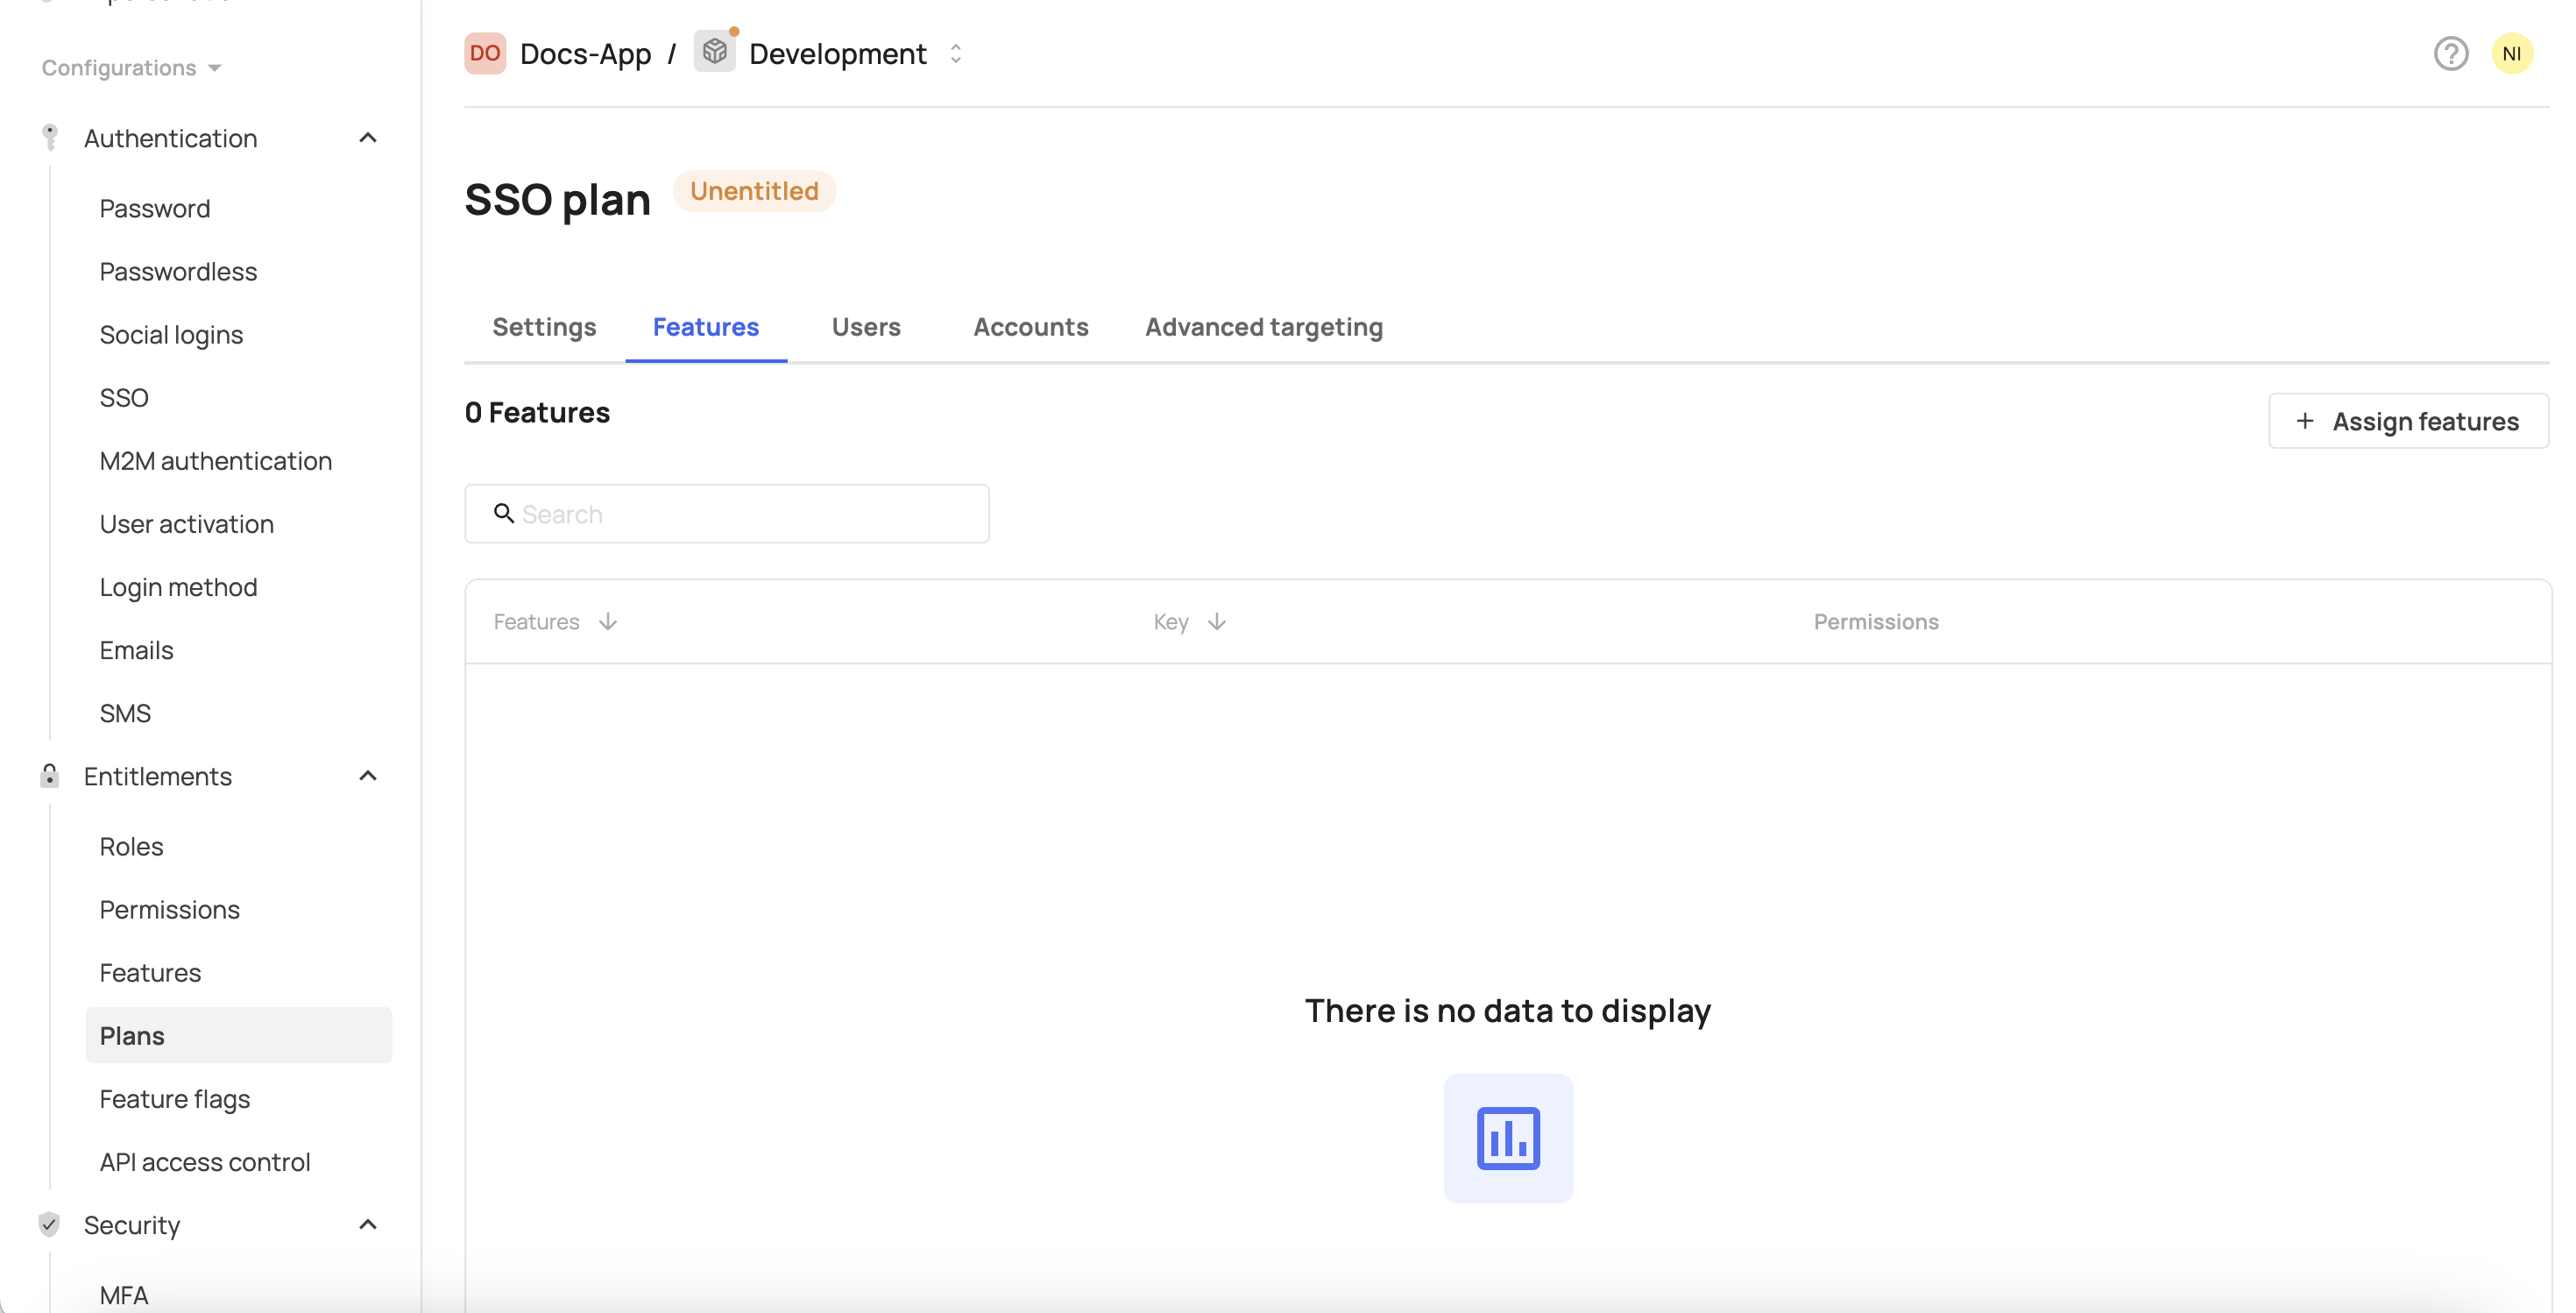
- Click Assign features.
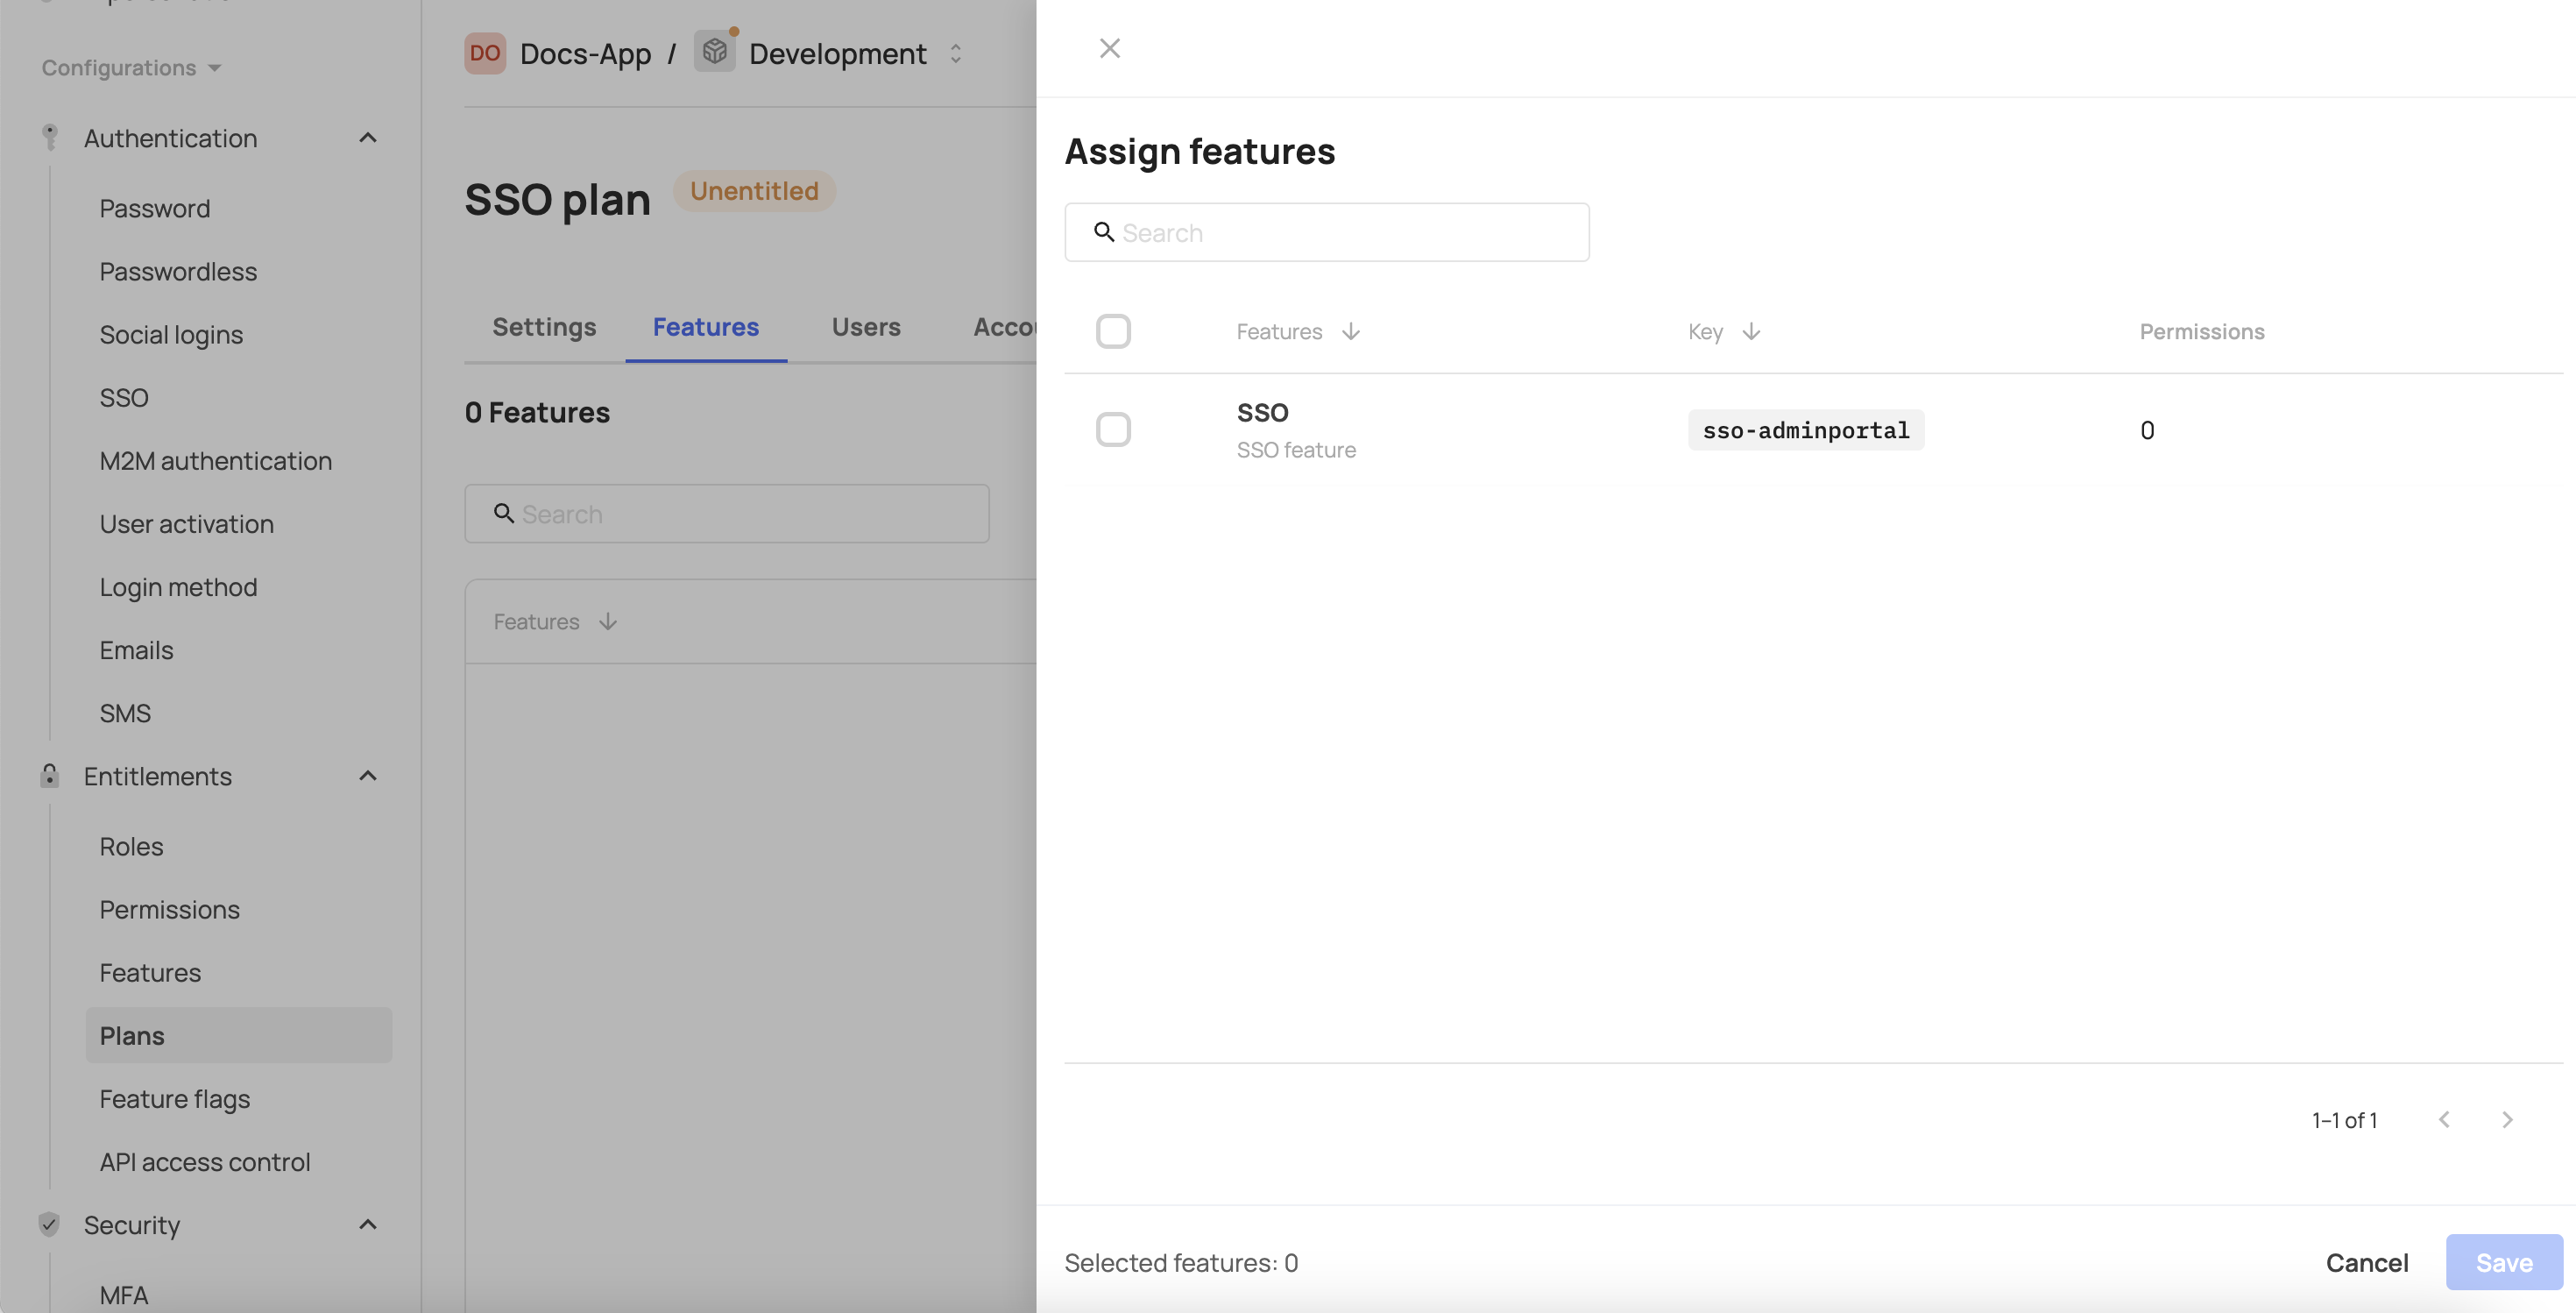
- Select the feature you created in step 1.
- Click Save.
Step 4: Add accounts to the feature inside the plan
- Go to the Accounts tab.
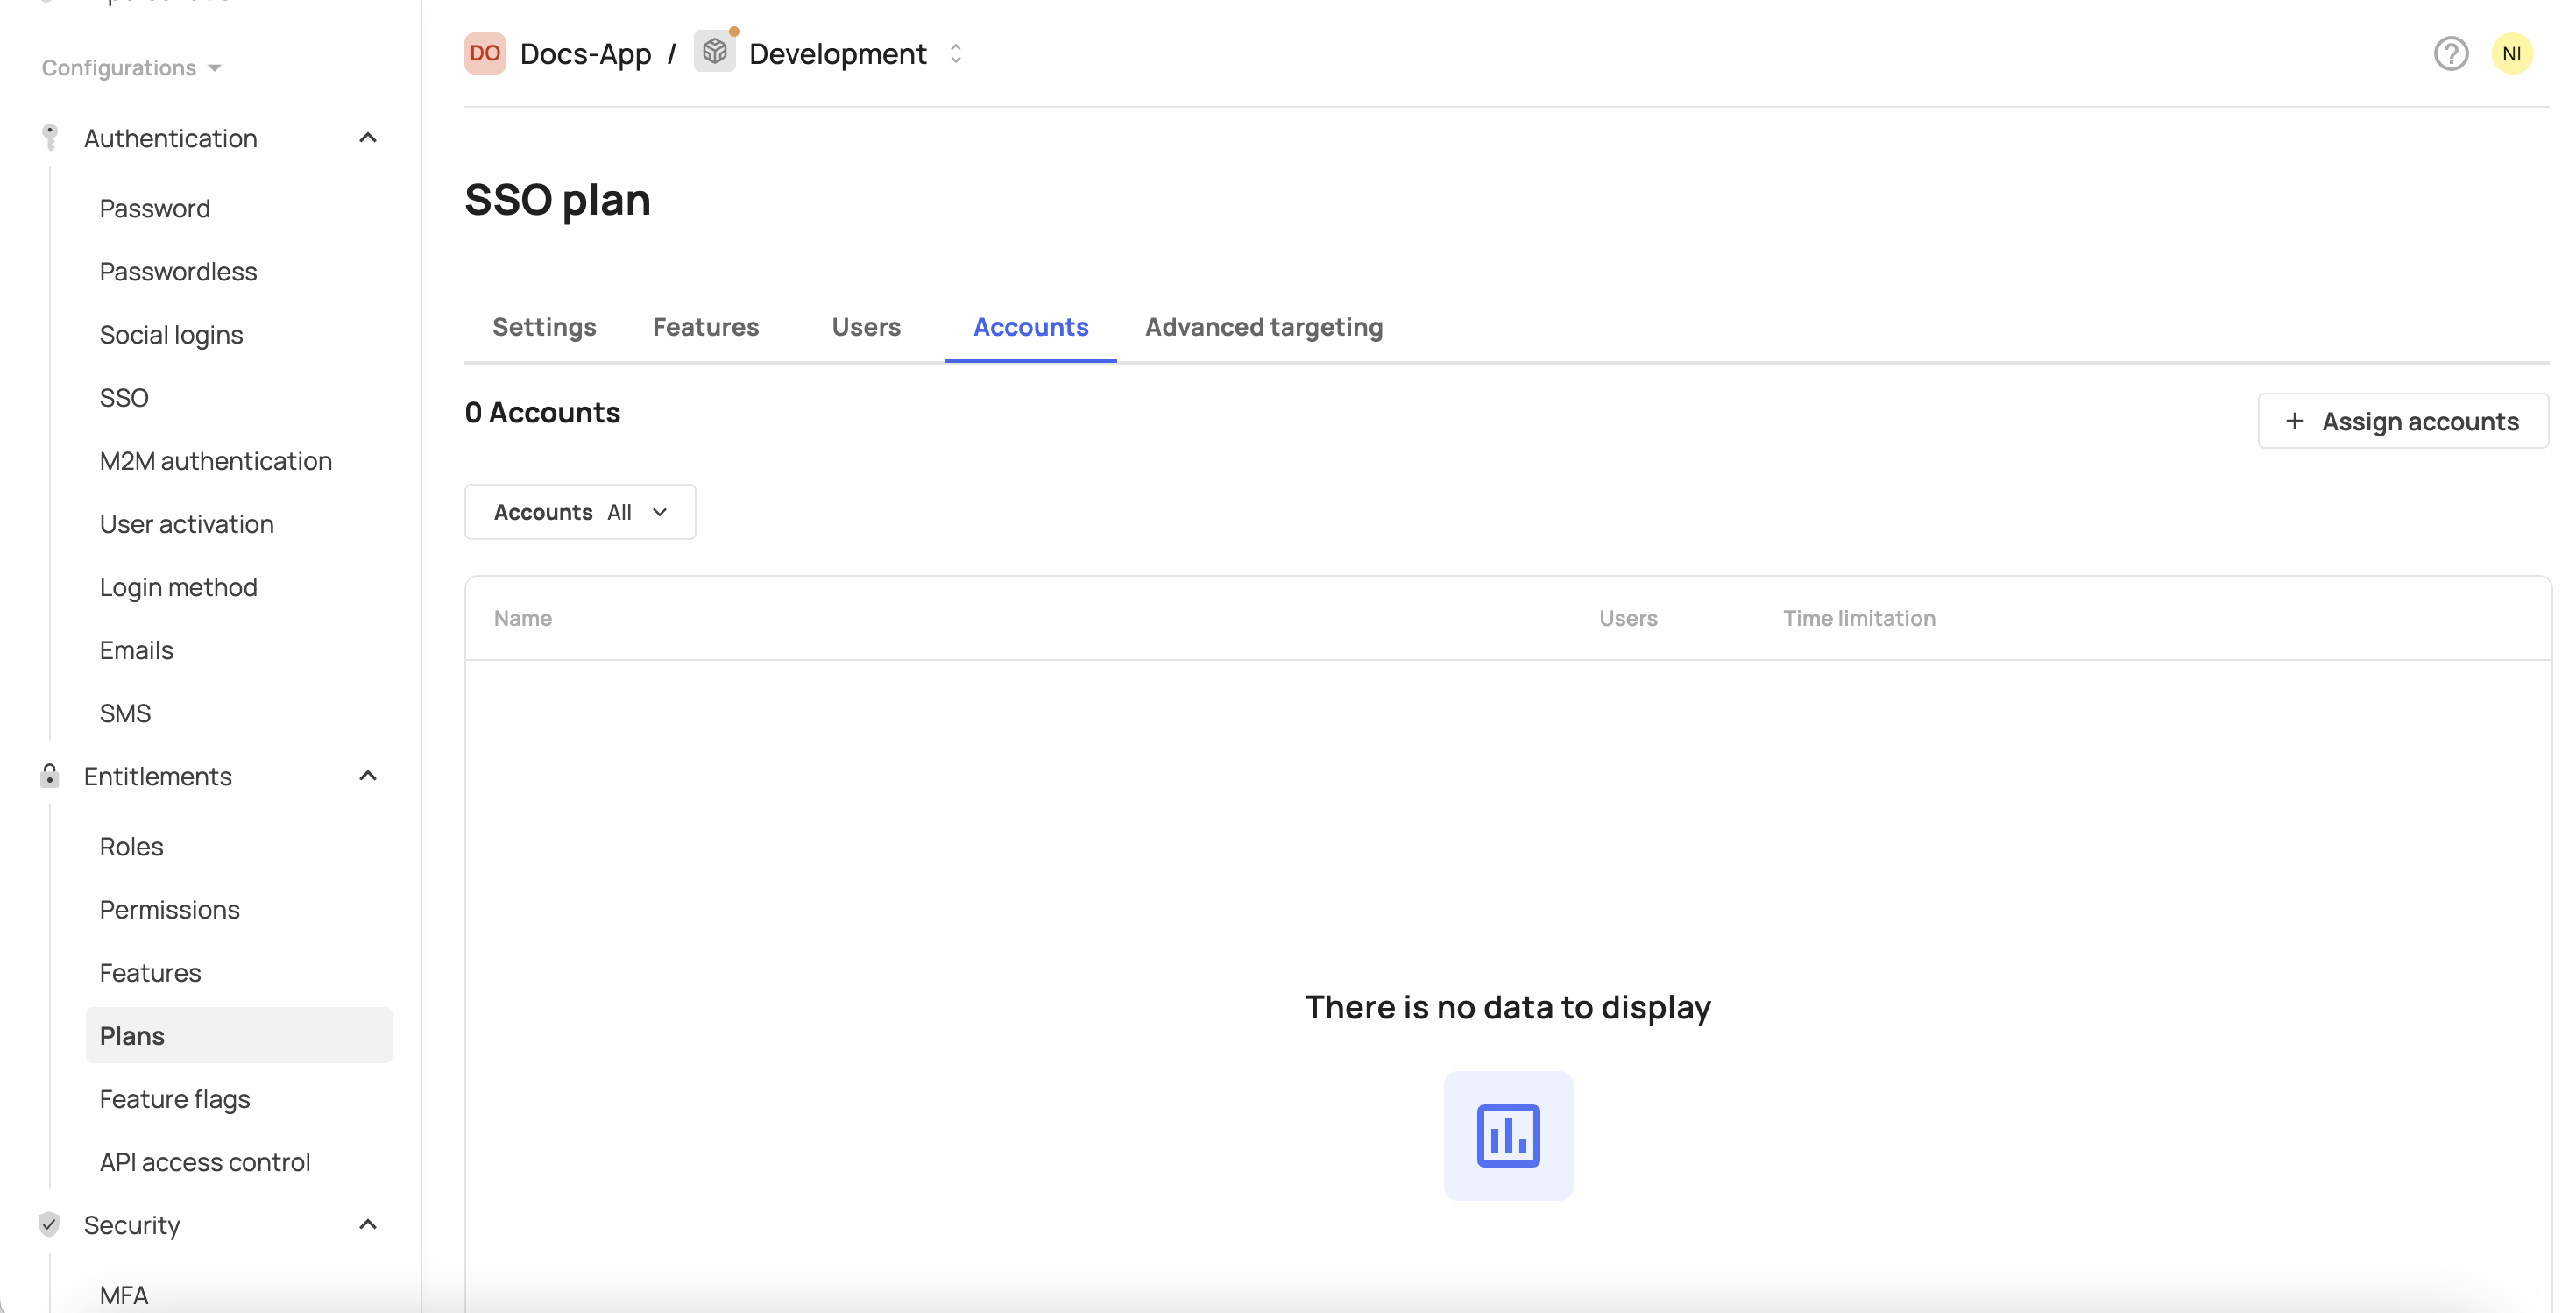
- Click Assign accounts.
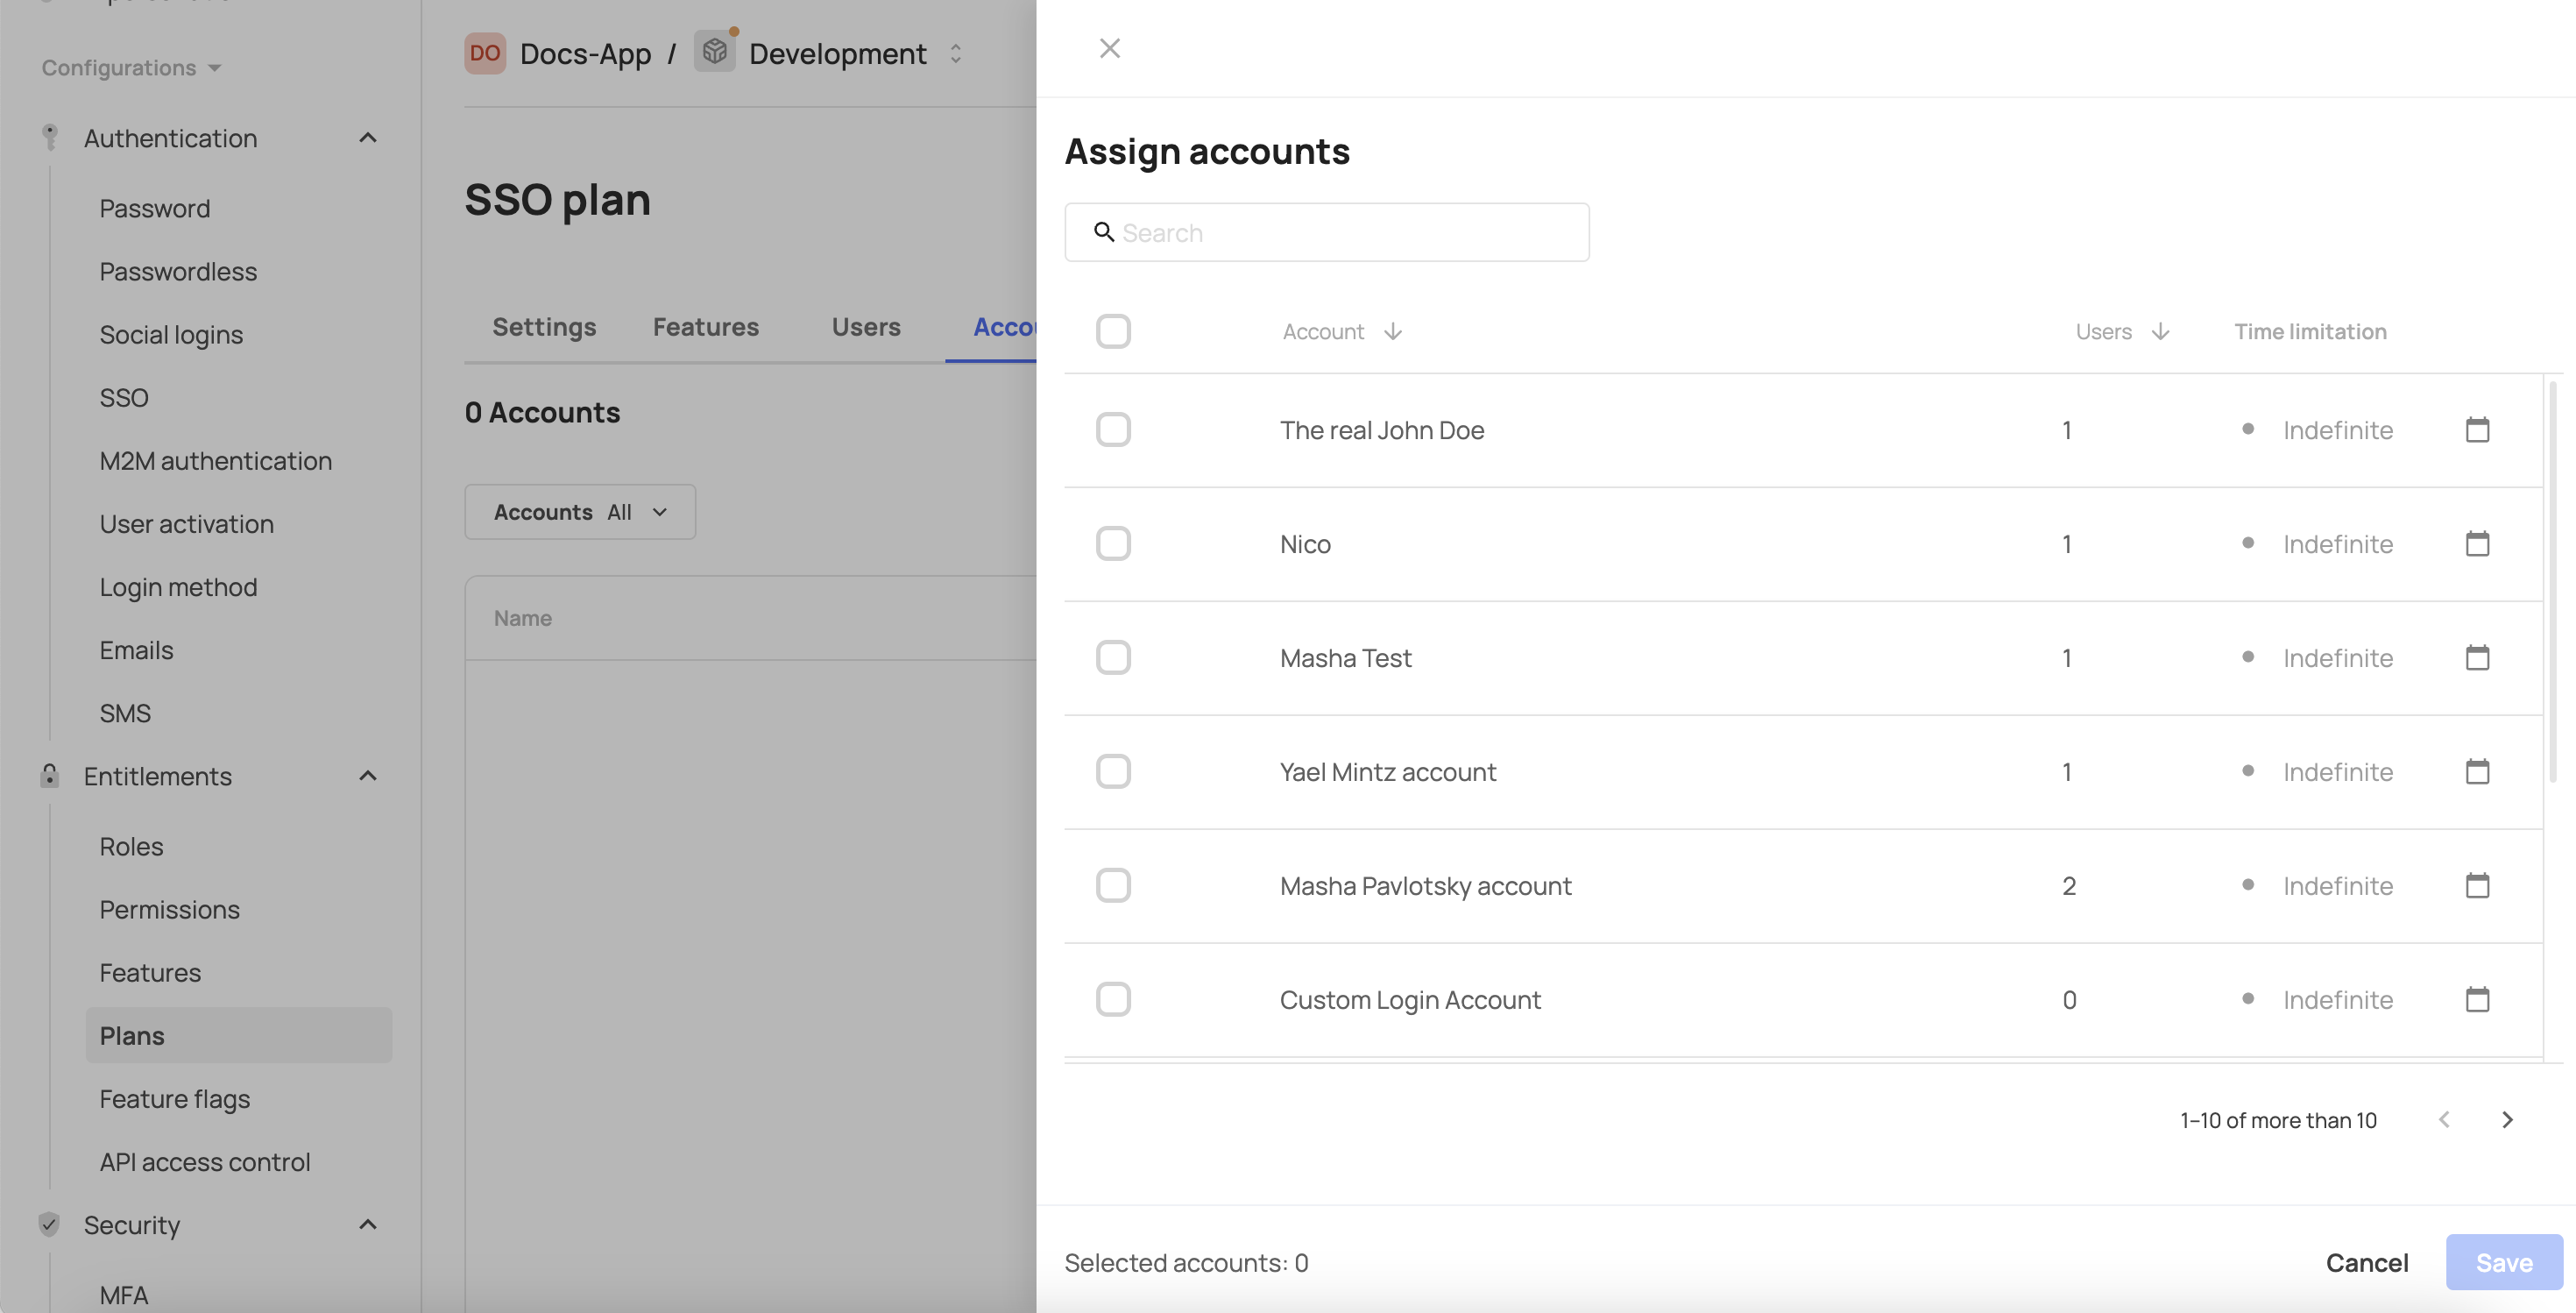
- Select accounts that you want to grant access to this feature in the self-service portal.
- Click Save.
Step 5: Define the feature's permissions
This step establishes the connection between a feature and its corresponding permission. Once configured, users must have both the required permission and the associated feature enabled to gain access. If a user has the permission but lacks the feature, access will not be granted. Only when both are assigned will the user be entitled to the feature. Read more about this functionality here.
- Go to the Features tab.
- In the row of your feature, click the three vertical dots at the end of the line.
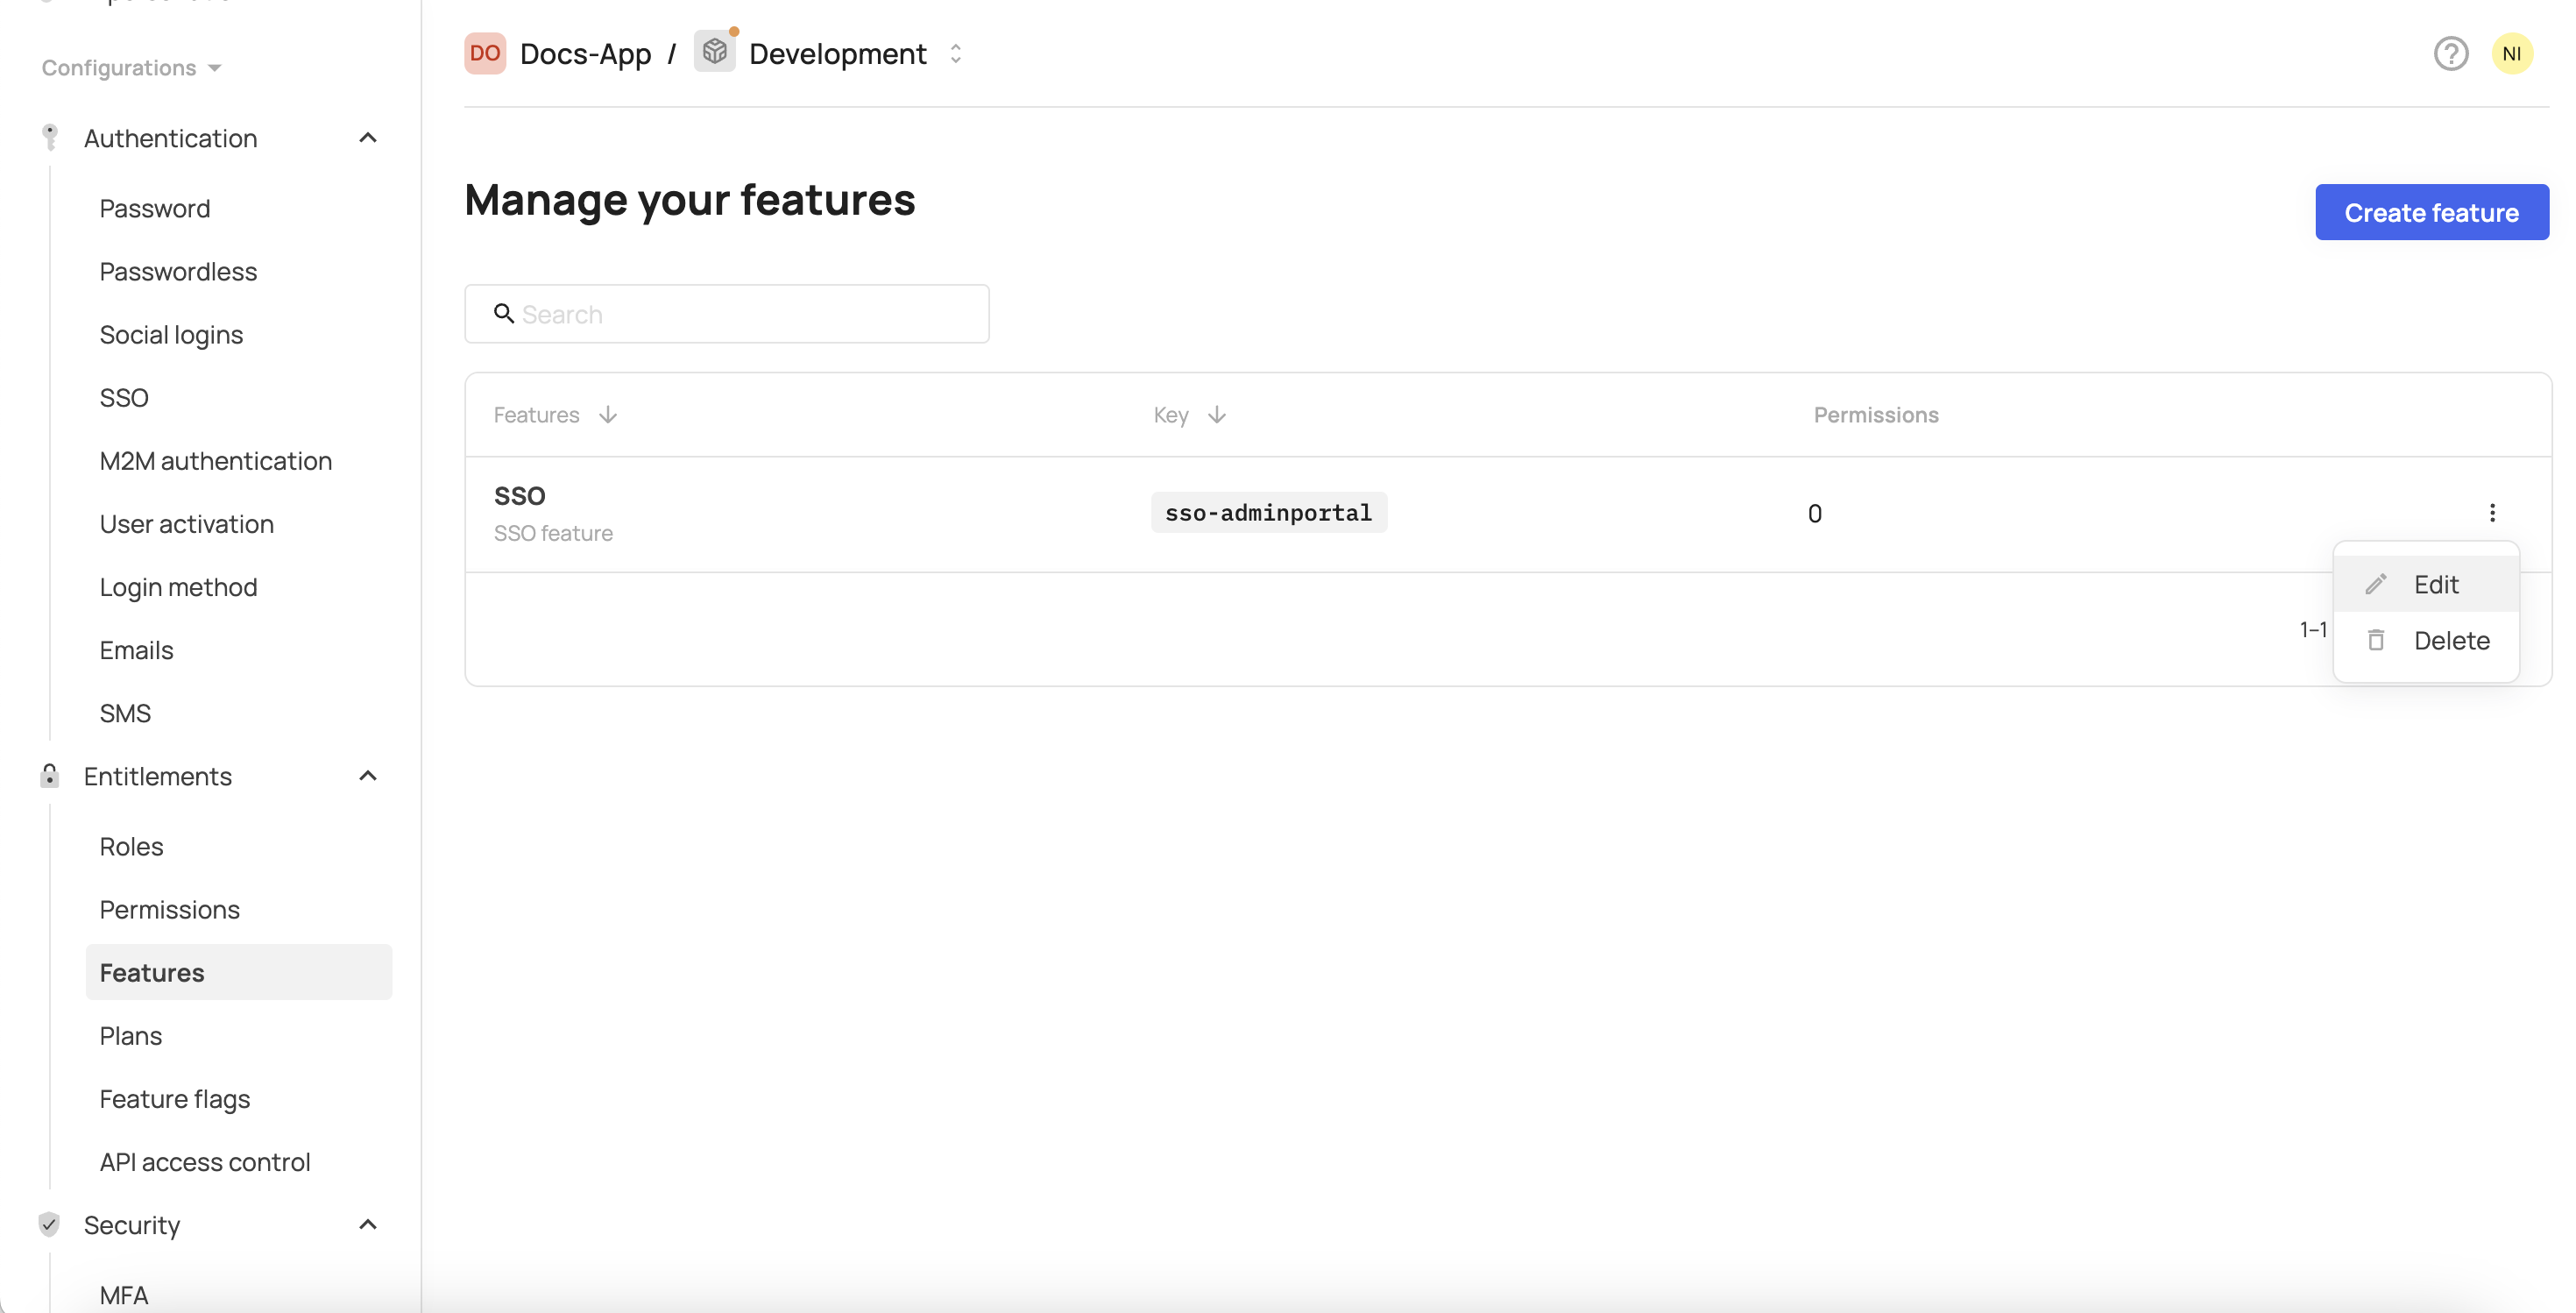
- Click Edit.
- Click the Permissions tab.
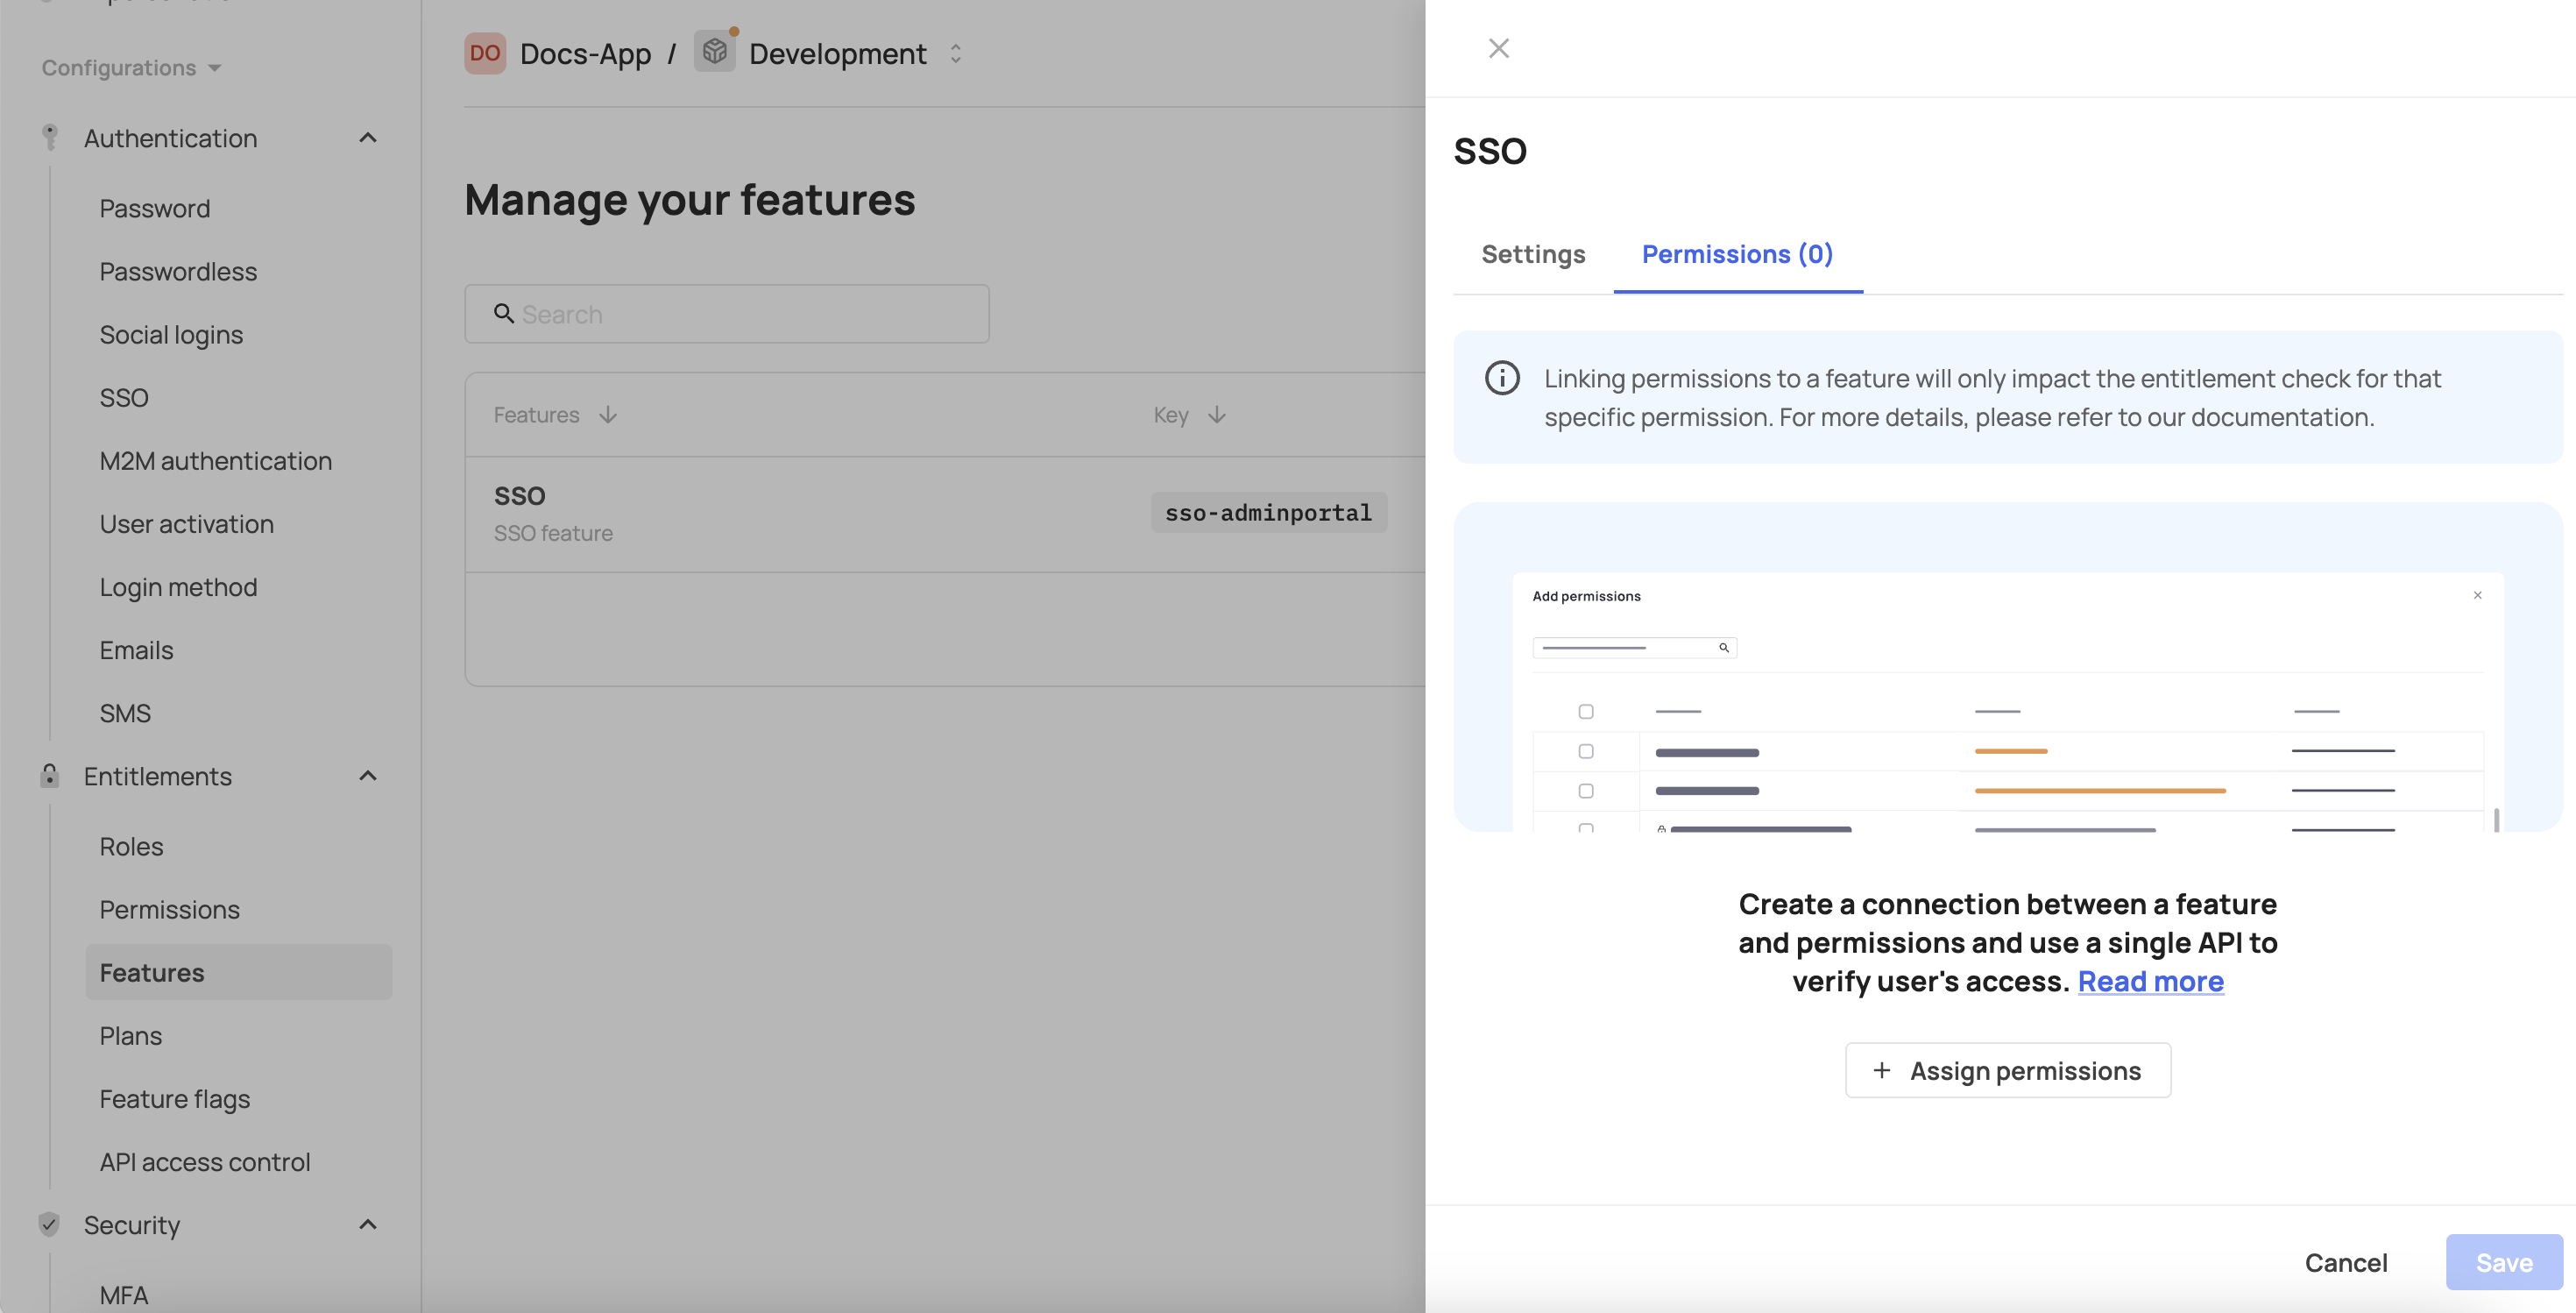
- Click Assign permissions.
- Select the required permissions.
- Click Assign permissions
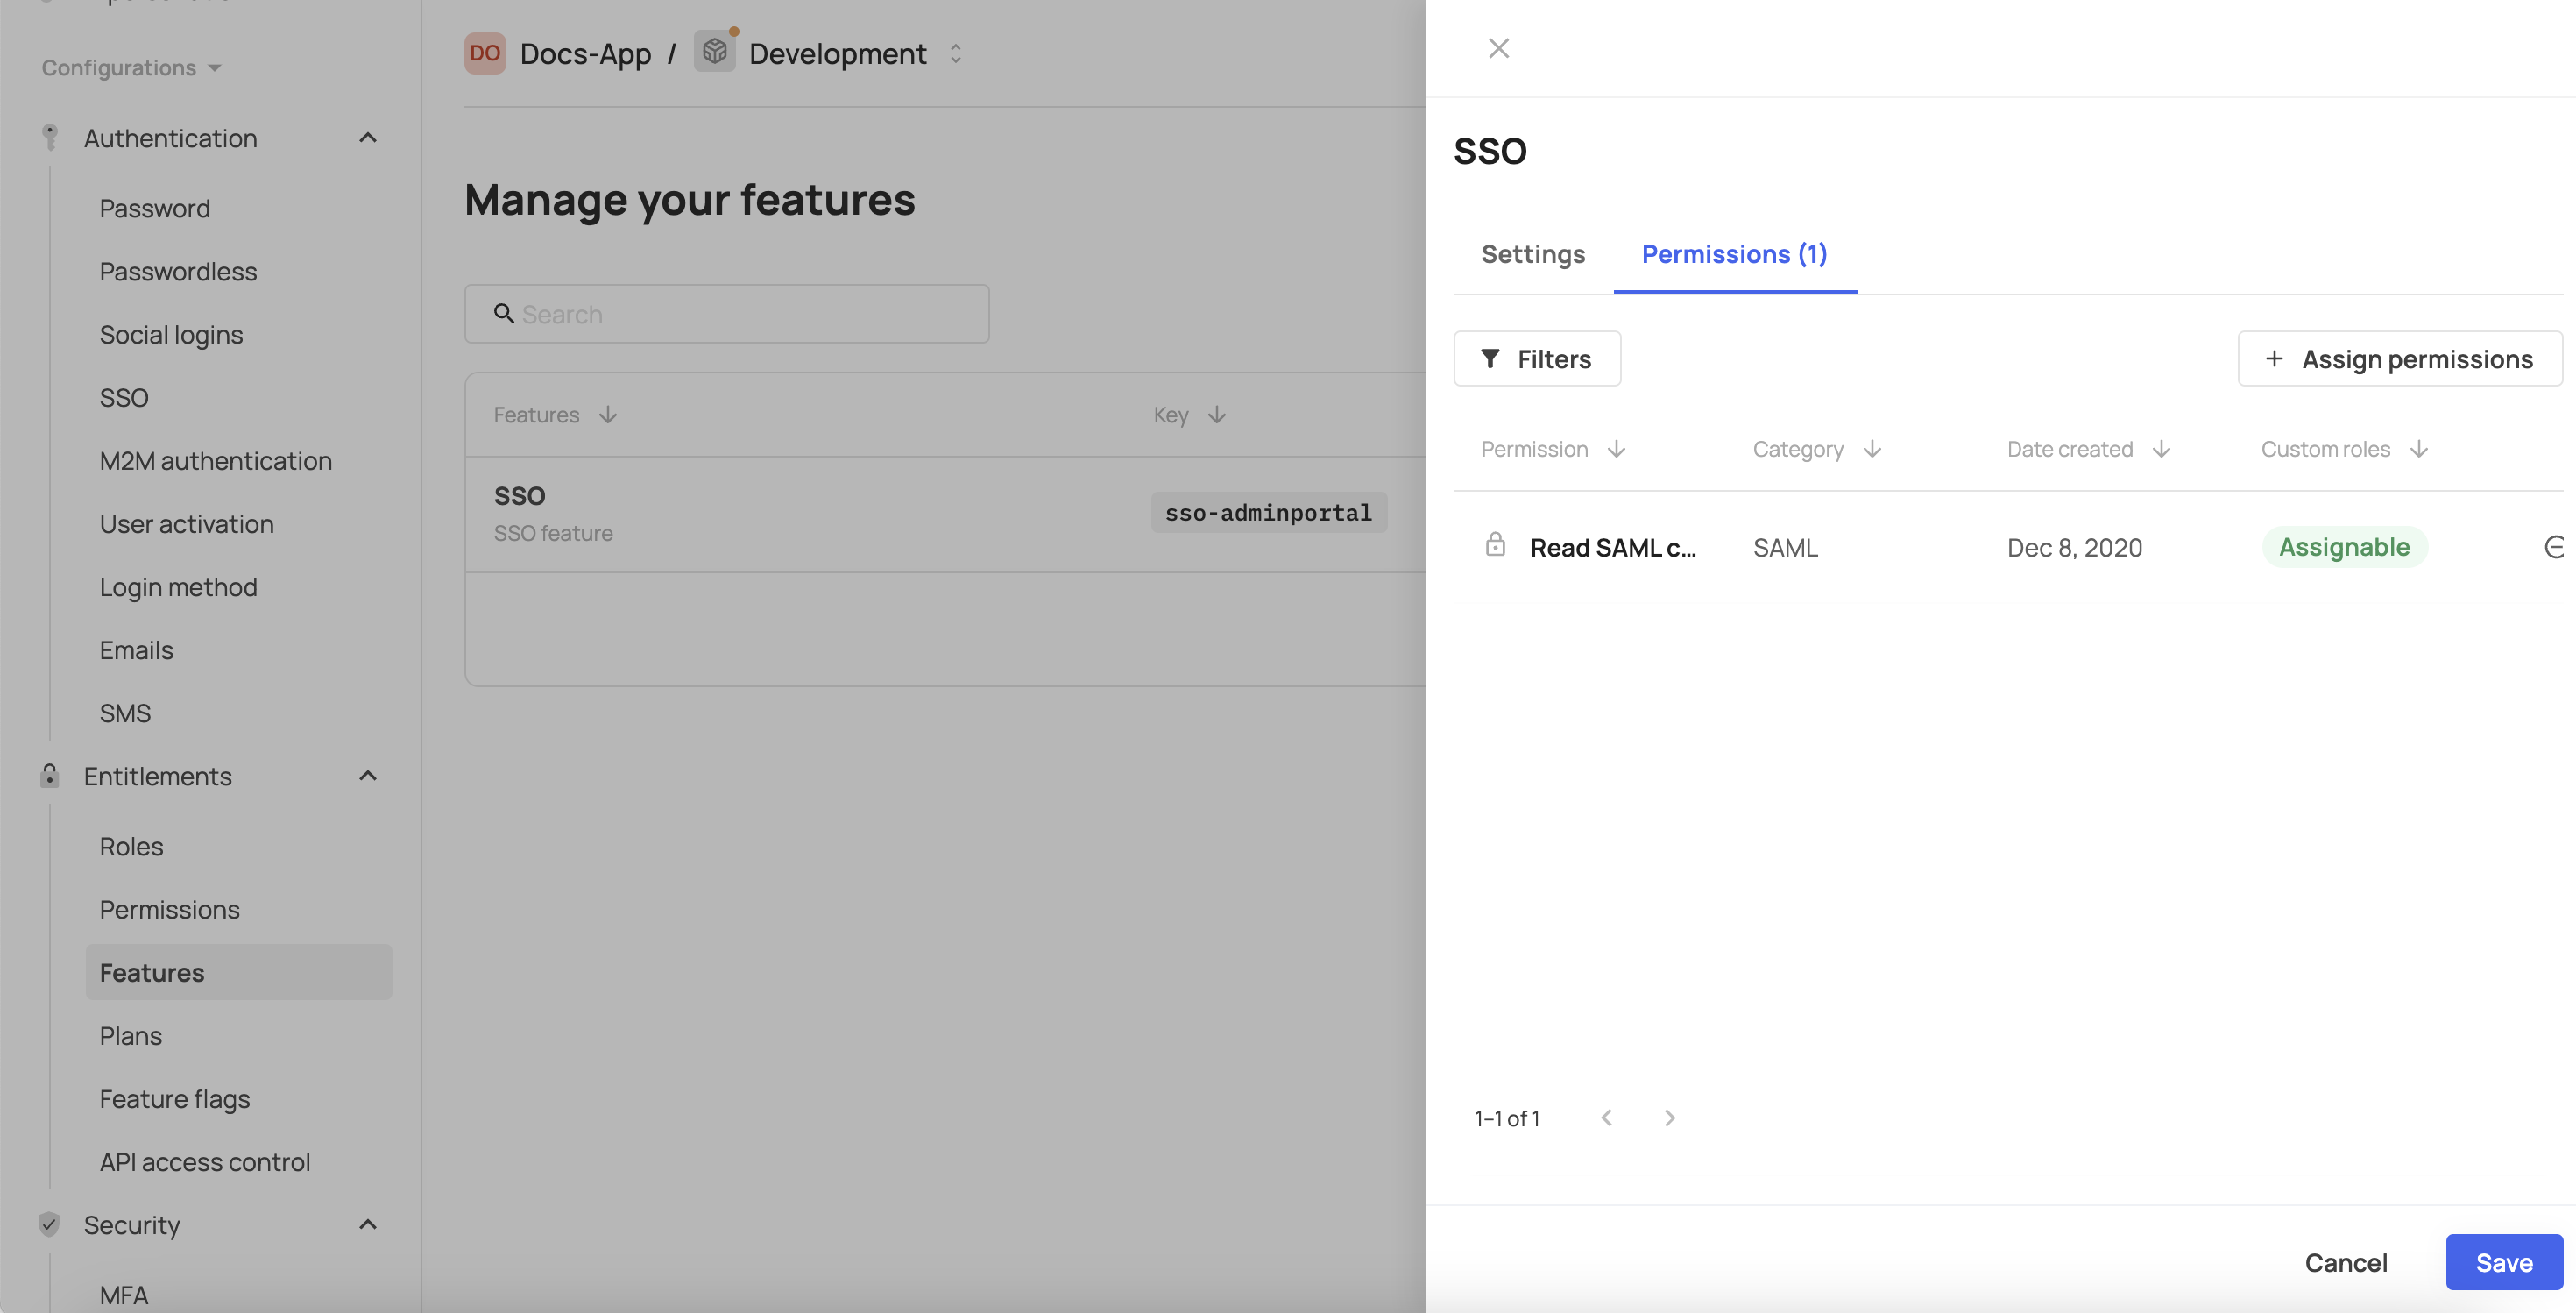
- Click Save.
Example integration: SSO feature
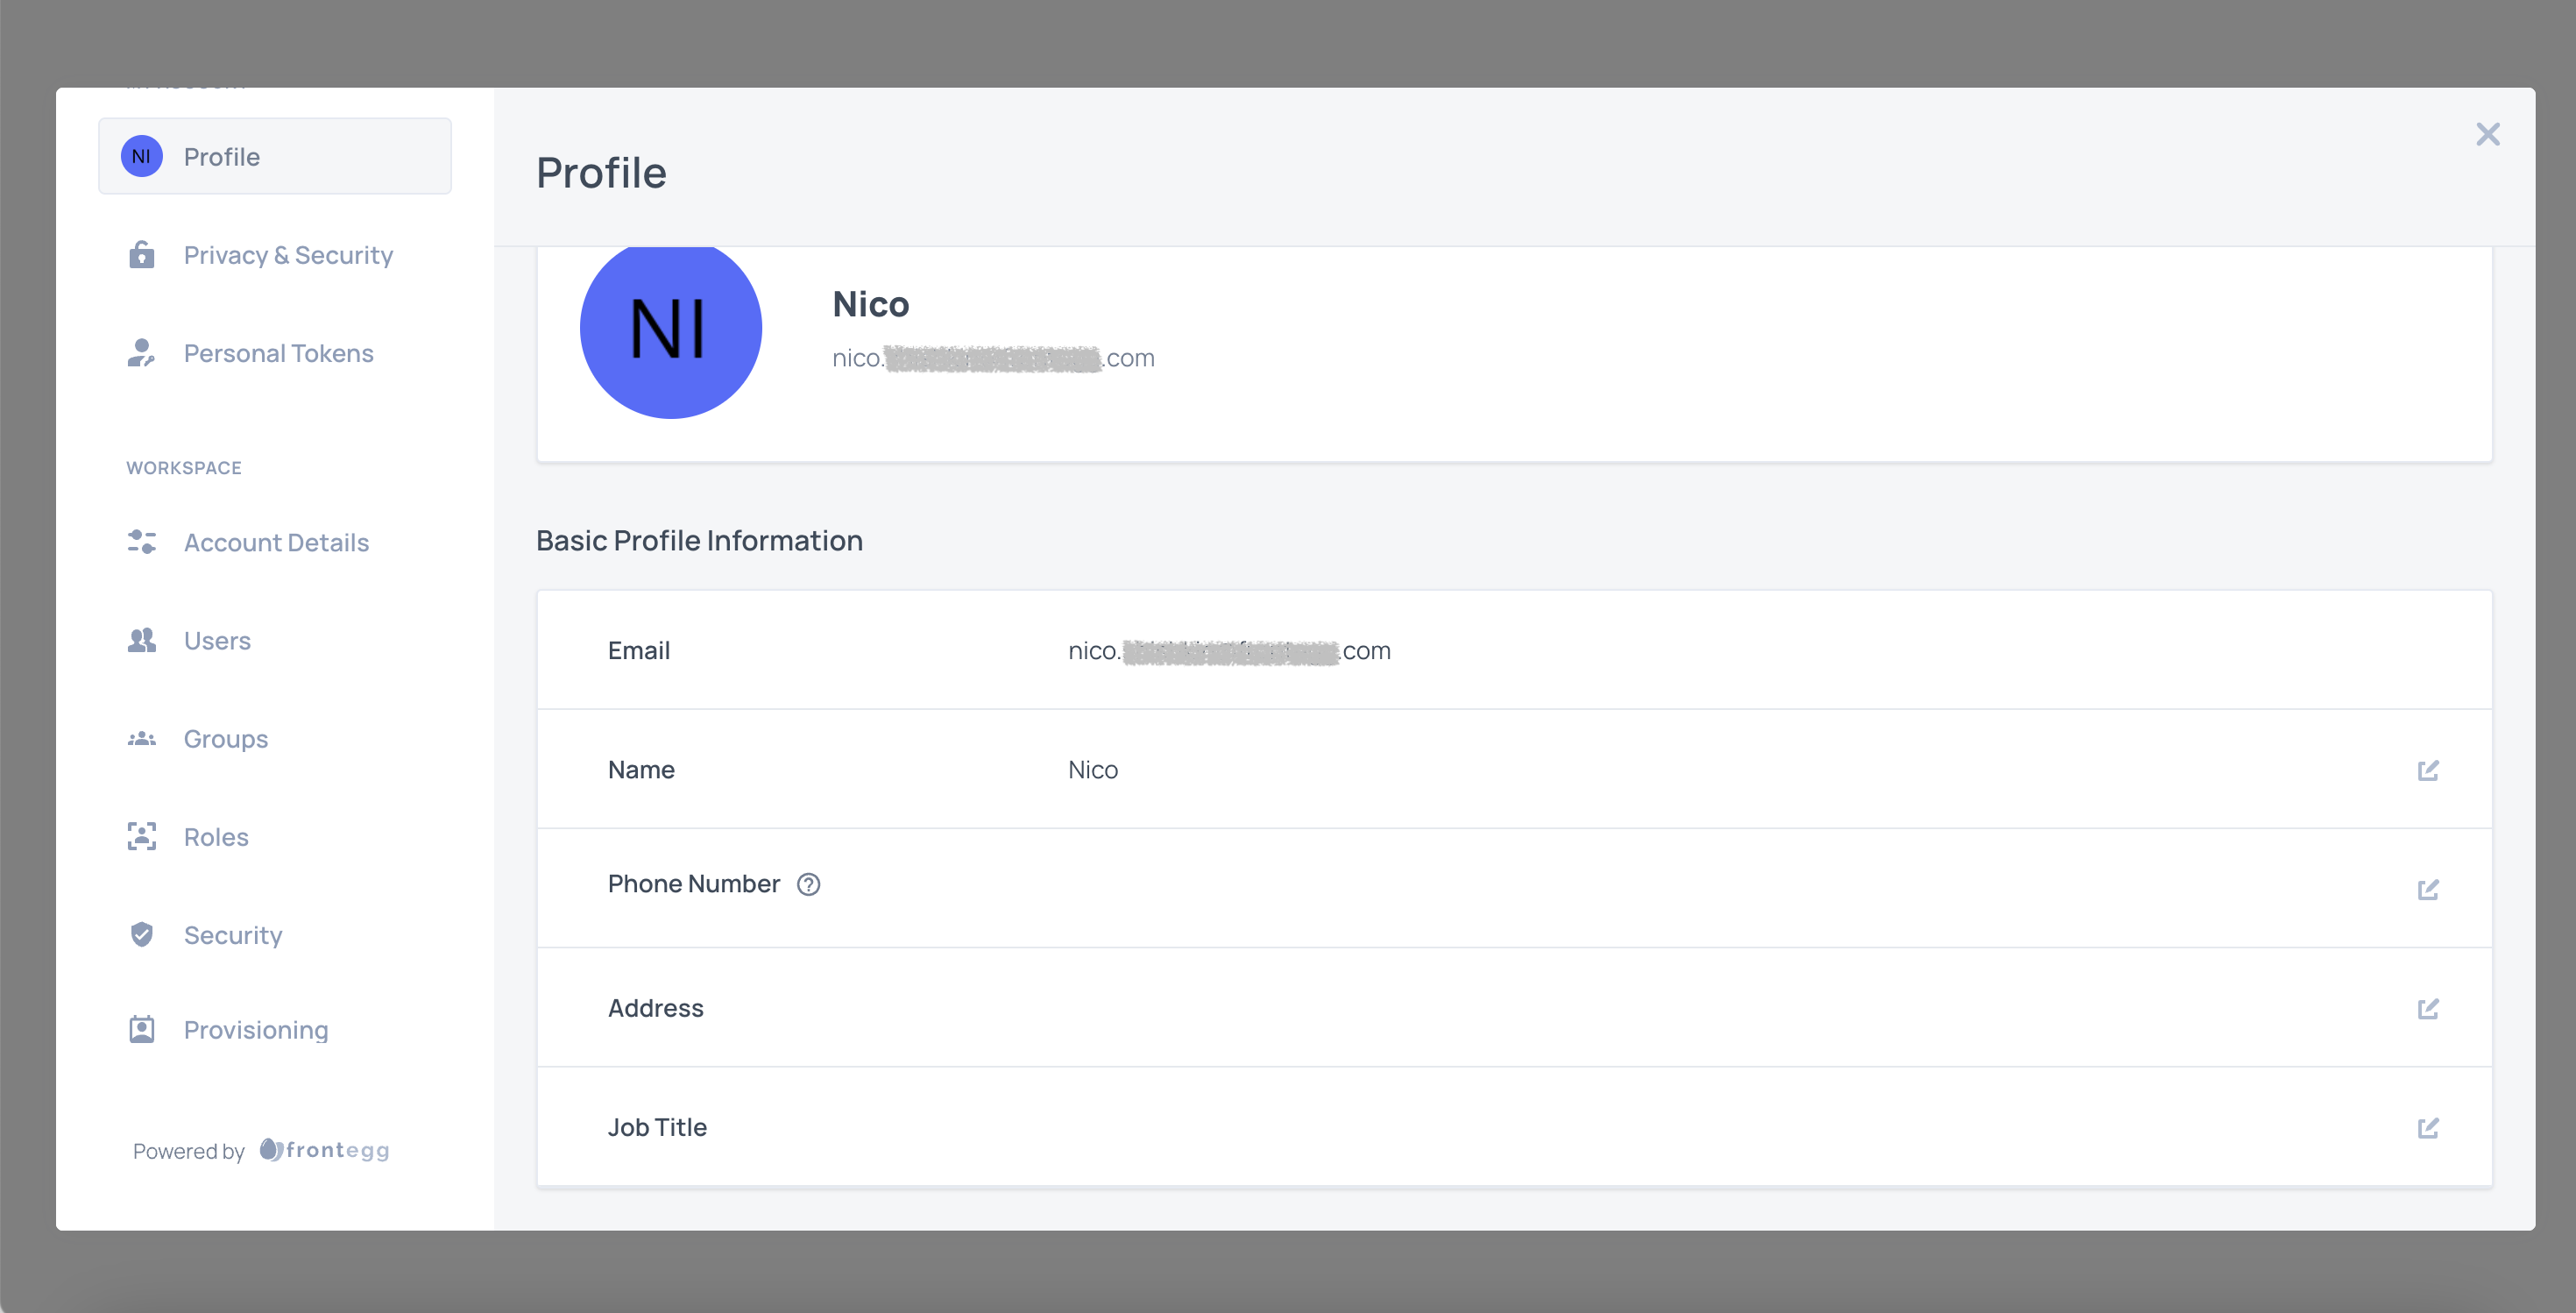
Before the change, the user had access to all available permissions, and the SSO tab was visible in the self-service portal:
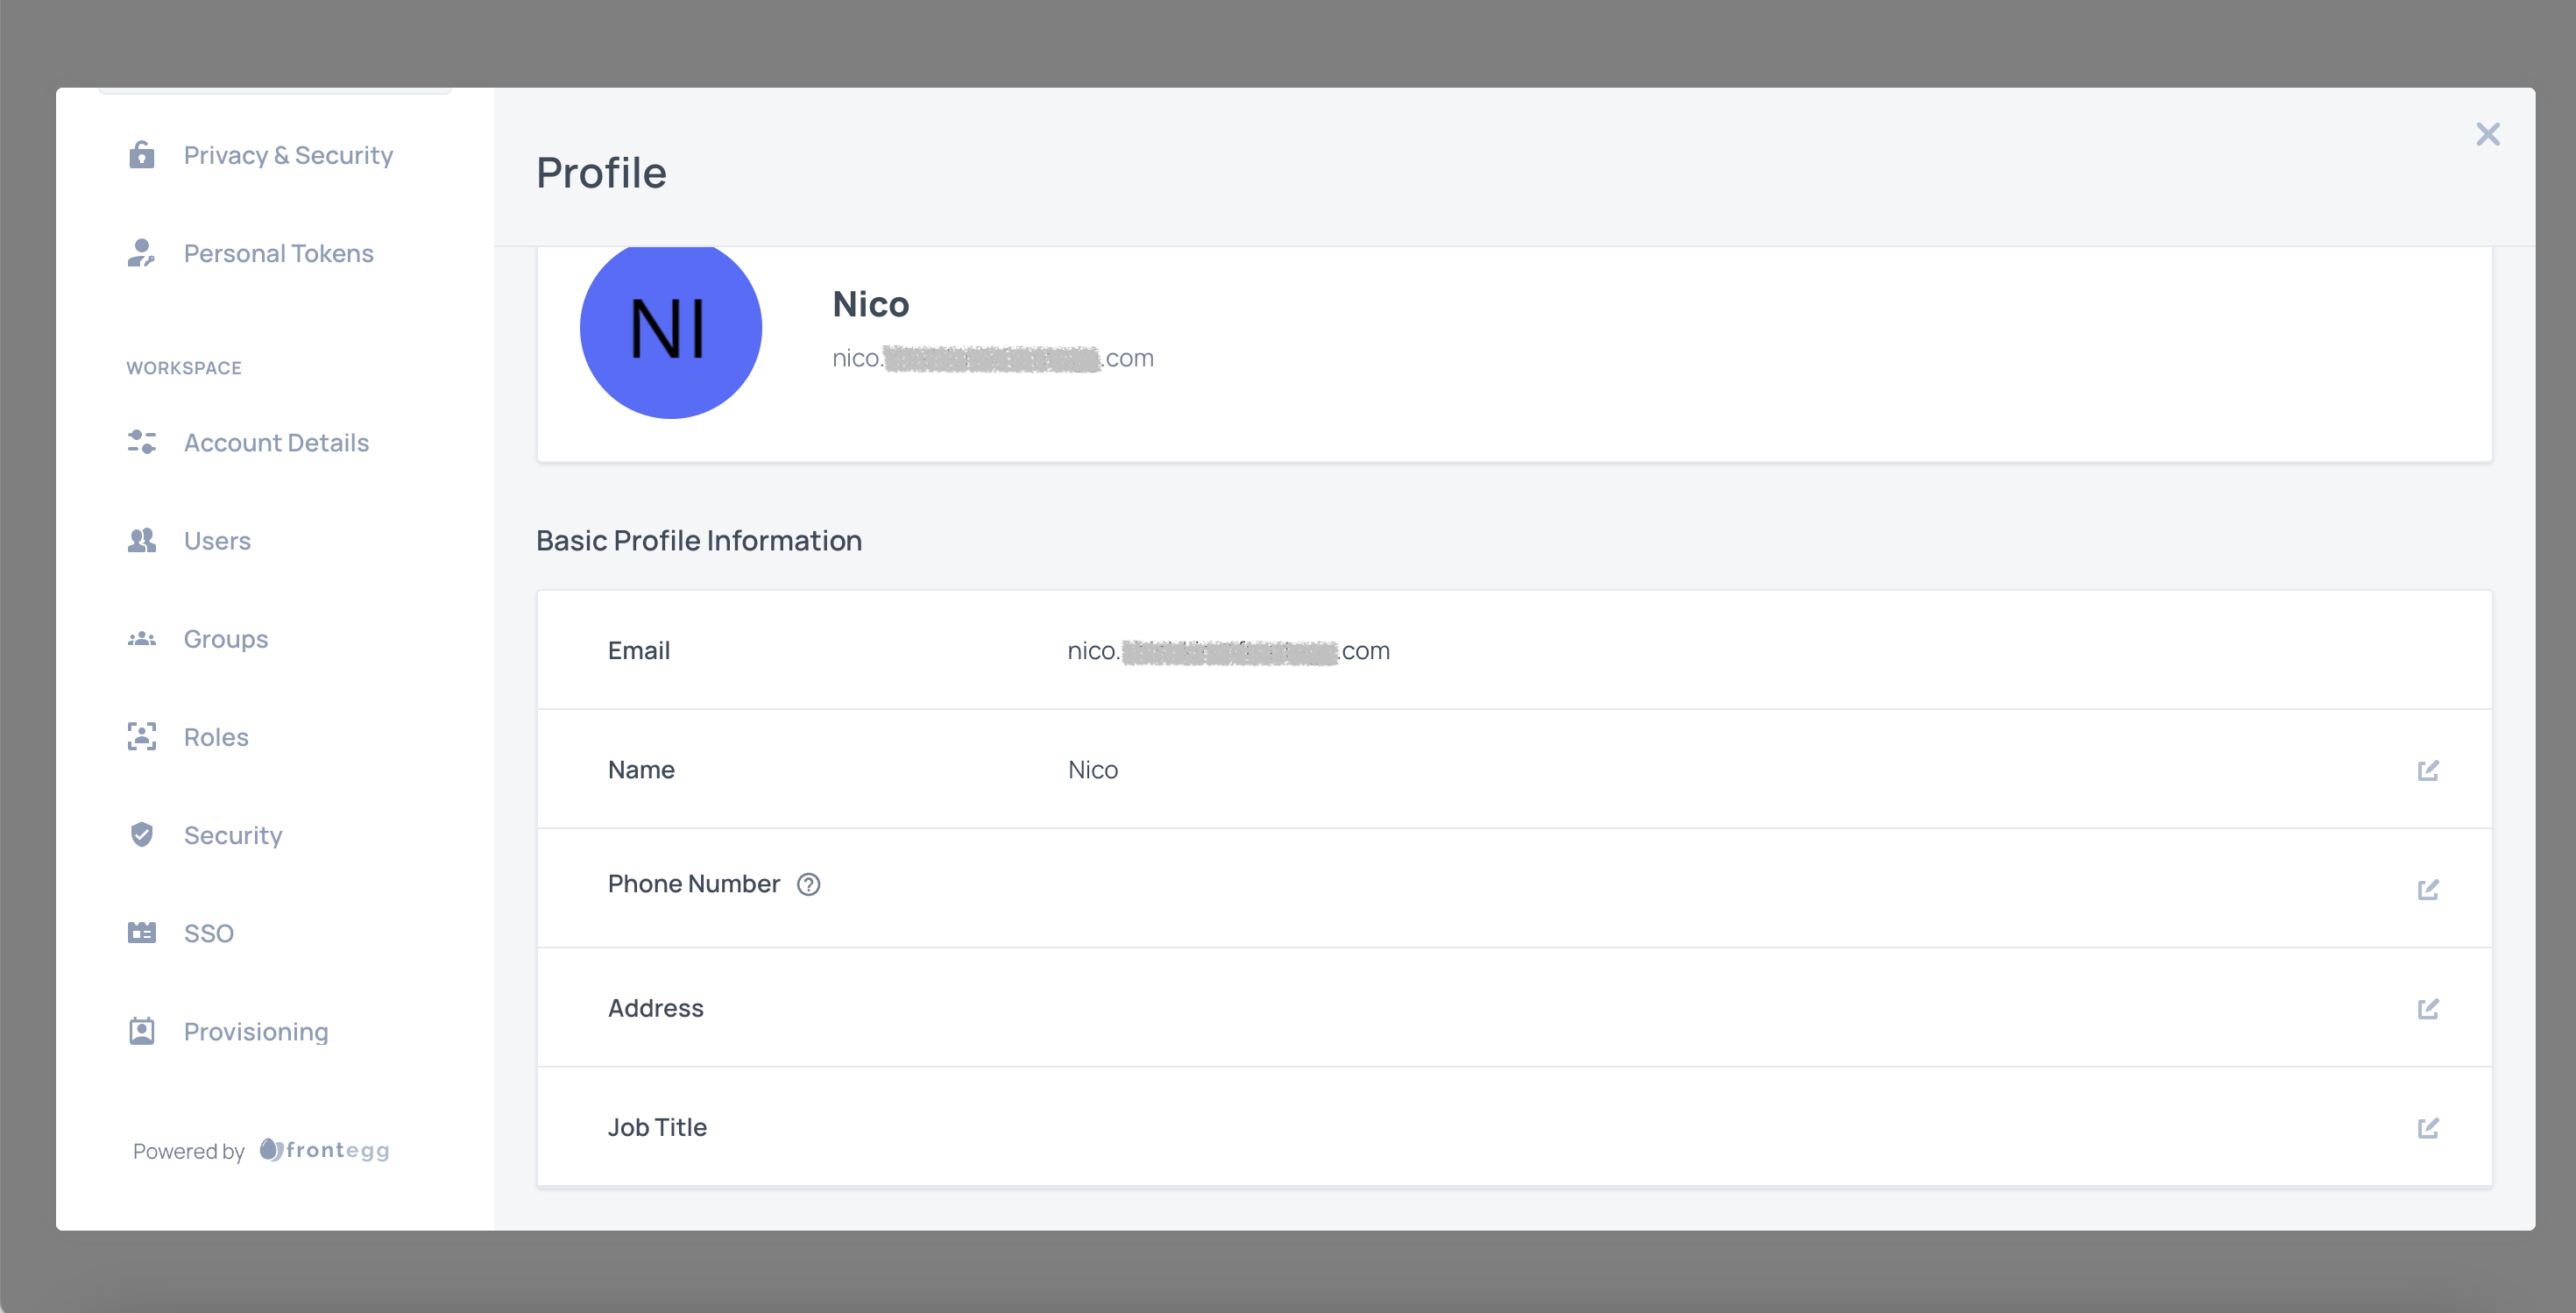
After the change, the user no longer sees the SSO tab, as they no longer have access to it.
Self-service features permissions
Use these permissions to control access using plans.
| Permission key | Permission description | Self-service portal section |
|---|---|---|
fe.secure.read.accountSettings | Read account settings page | Account details |
fe.secure.write.accountSettings | Write account settings | Account details |
fe.secure.read.tenantApiTokens | Read Tenant API tokens page | API tokens |
fe.secure.write.tenantApiTokens | Write Tenant Token | API tokens |
fe.secure.read.groups | Read Groups page | Groups |
fe.secure.write.groupsUsers | Write Groups permissions | Groups |
fe.secure.delete.groupsUsers | Delete Group users | Groups |
fe.secure.delete.groups | Delete Groups | Groups |
fe.secure.write.groups | Write Groups | Groups |
fe.secure.write.groupsRoles | Has write permission | Groups |
fe.account-hierarchy.write.subAccount | Write subaccounts | MSP |
fe.account-hierarchy.delete.subAccount | Delete subaccounts | MSP |
fe.account-hierarchy.write.subAccountAccess | Write subaccounts details | MSP |
fe.secure.read.userApiTokens | Read user API tokens | Personal tokens |
fe.secure.delete.userApiTokens | Delete user API tokens | Personal tokens |
fe.secure.write.userApiTokens | Write user API tokens | Personal tokens |
fe.secure.read.provisioningConfiguration | Read provisioning configurations | Provisioning |
fe.secure.write.provisioningConfiguration | Write provisioning configurations | Provisioning |
fe.secure.delete.provisioningConfiguration | Delete provisioning configurations | Provisioning |
fe.secure.read.securityPolicy | Read security and privacy pages | Security all |
fe.secure.read.emailDomainRestrictions | Read email domain restrictions | Security - Email |
fe.secure.write.emailDomainRestrictions | Write email domain restrictions | Security - Email |
fe.secure.delete.emailDomainRestrictions | Delete email domain restrictions | Security - Email |
fe.secure.read.ipRestrictions | Read IP restrictions | Security - IP |
fe.secure.write.ipRestrictions | Write IP restrictions | Security - IP |
fe.secure.delete.ipRestrictions | Delete IP restrictions | Security - IP |
fe.secure.read.samlConfiguration | Read SSO configurations | SSO |
fe.secure.write.samlConfiguration | Write SSO configurations | SSO |
fe.secure.delete.samlConfiguration | Delete SSO configurations | SSO |
fe.secure.read.samlDefaultRoles | Read SSO default roles | SSO |
fe.secure.write.samlDefaultRoles | Write SSO default roles | SSO |
fe.secure.read.users | Read Users page | Users |
fe.secure.delete.users | Delete users | Users |
fe.secure.write.users | Write users | Users |
fe.secure.write.updateUser | Write user updates | Users |
fe.secure.delete.usersRoles | Delete user roles | Users |
fe.secure.read.roles | Read user roles | Users |
fe.secure.write.usersRoles | Write user roles | Users |
fe.secure.write.resendActivationEmail | Resend activation email | Users |
fe.secure.write.tenantInvites | Create invitation link | Users |
fe.secure.* | Secure general | Users |
fe.connectivity.read.webhooks | Read webhooks page | Webhooks |
fe.connectivity.write.webhook | Write webhooks | Webhooks |
fe.connectivity.delete.webhook | Delete webhooks | Webhooks |
fe.secure.read.audits | Read audits | Audit logs |